The Conversation (0)
Sign Up
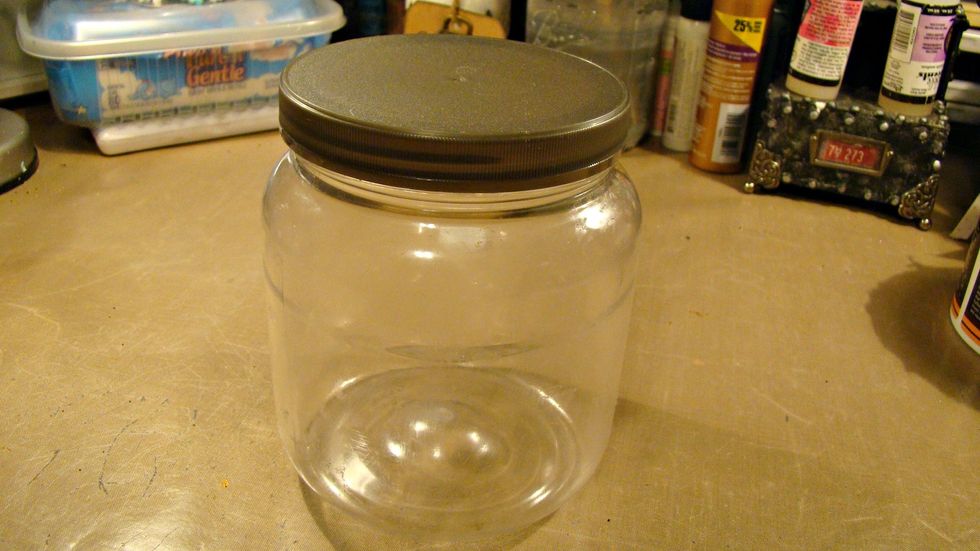
Choose your container that you want to decorate.
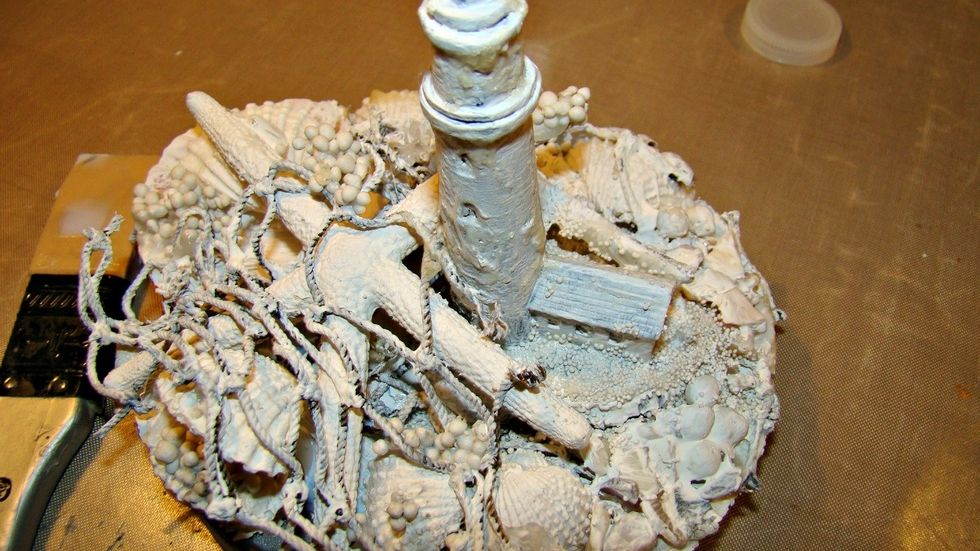
First the lid I gathered shells, fishnet, starfish, metal light house etc and adhered to the lid. I also added art stones in different sizes for texture. Give a nice coat of white gesso, set aside.

To prepare the net put in bowl and add sculpture medium and saturate.
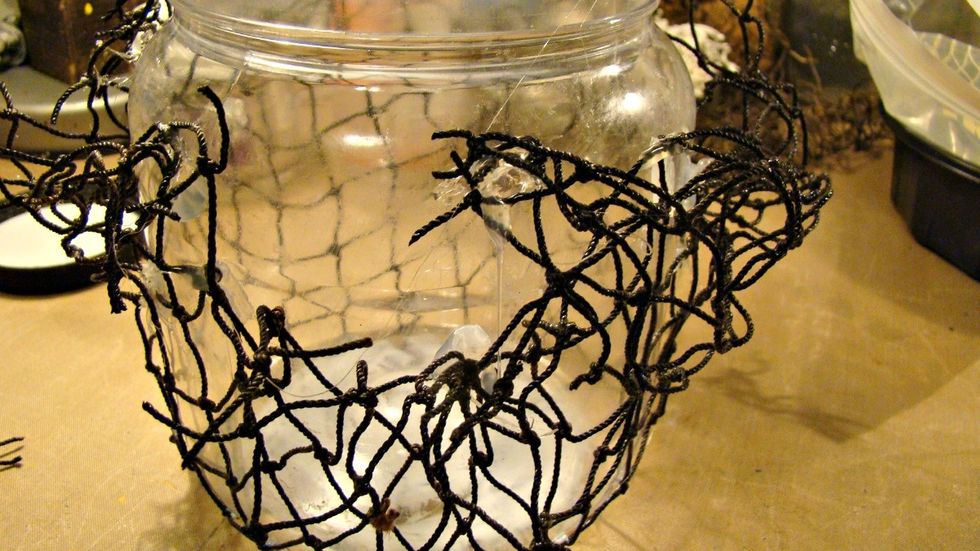
Using gloves take your net and apply it to the outside of container. Mold it and use hot glue to assist in holding the net till dry. Once dry it will be in the shape of your container.

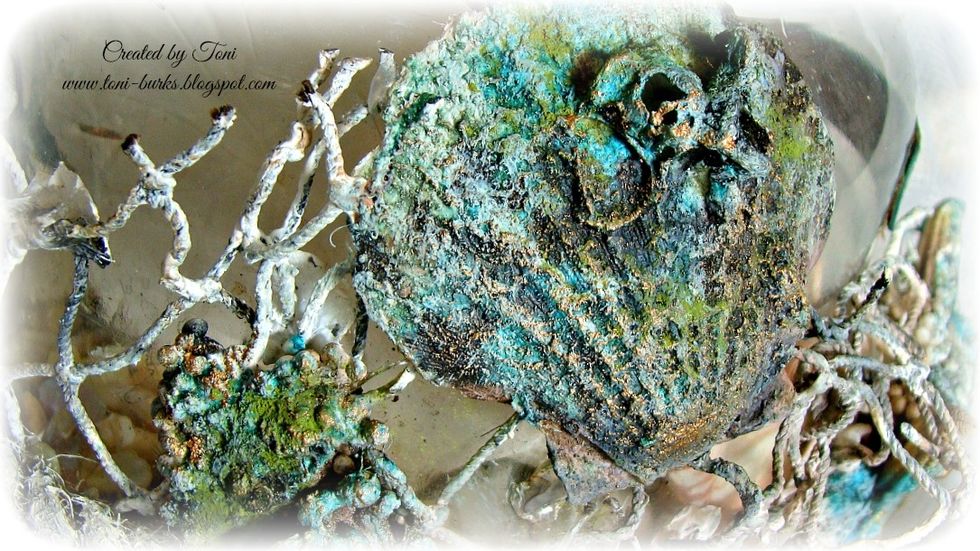
Remove the net and paint with white gesso. Start adding your shells and also paint with white gesso. Using a strong glue like E6000 or 3D matt gel adhere net to container
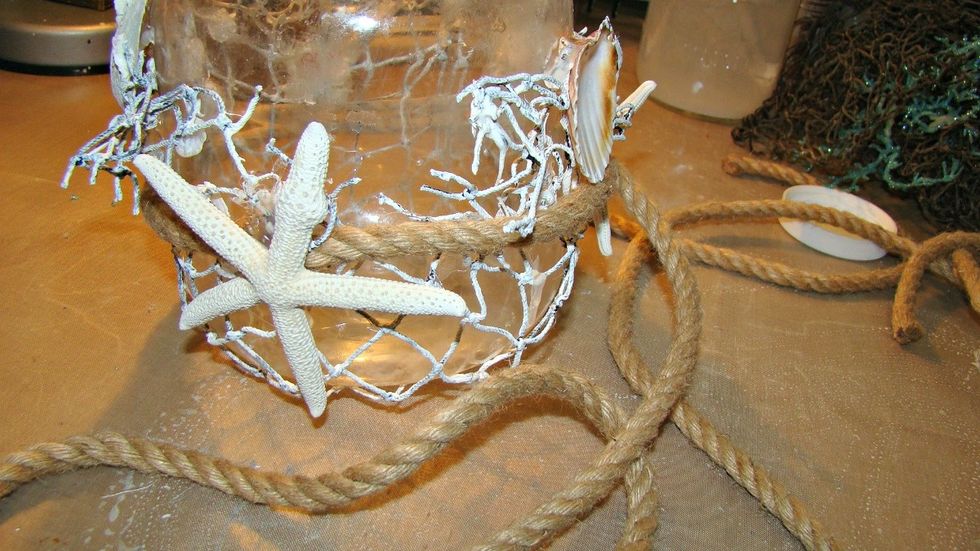
I decided also to add some nautical rope around the container for interest.

Make sure you prep your shells and art stones with gesso to prime for your paint and ink mediums.

I started with the light green of the patina set.

Here and there add the deep teal. Dry in between adding your colors.
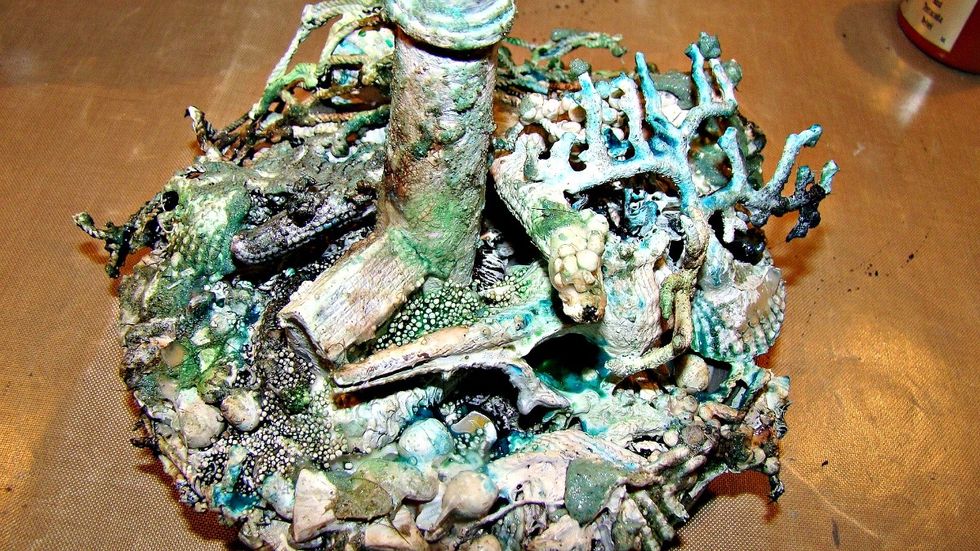
For depth I added Minx Shimmery Inks in Decadent and Midnight underneath and between the crevices for shadows. Don't be afraid to be heavy handed with the paints. Dry brush a coat of white gesso.
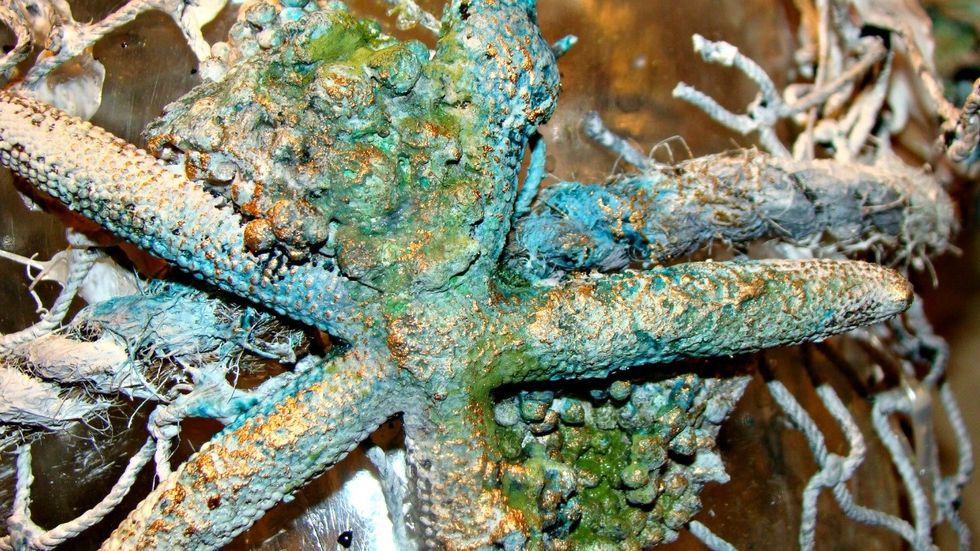
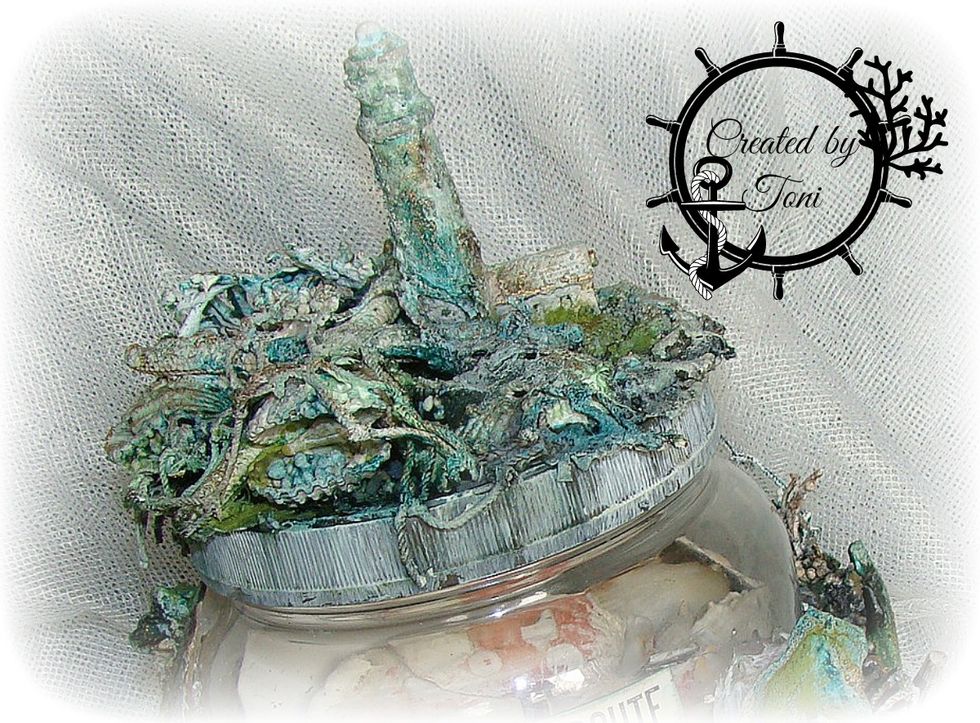
For a finishing touch using your finger or stipple brush apply the copper from patina set.
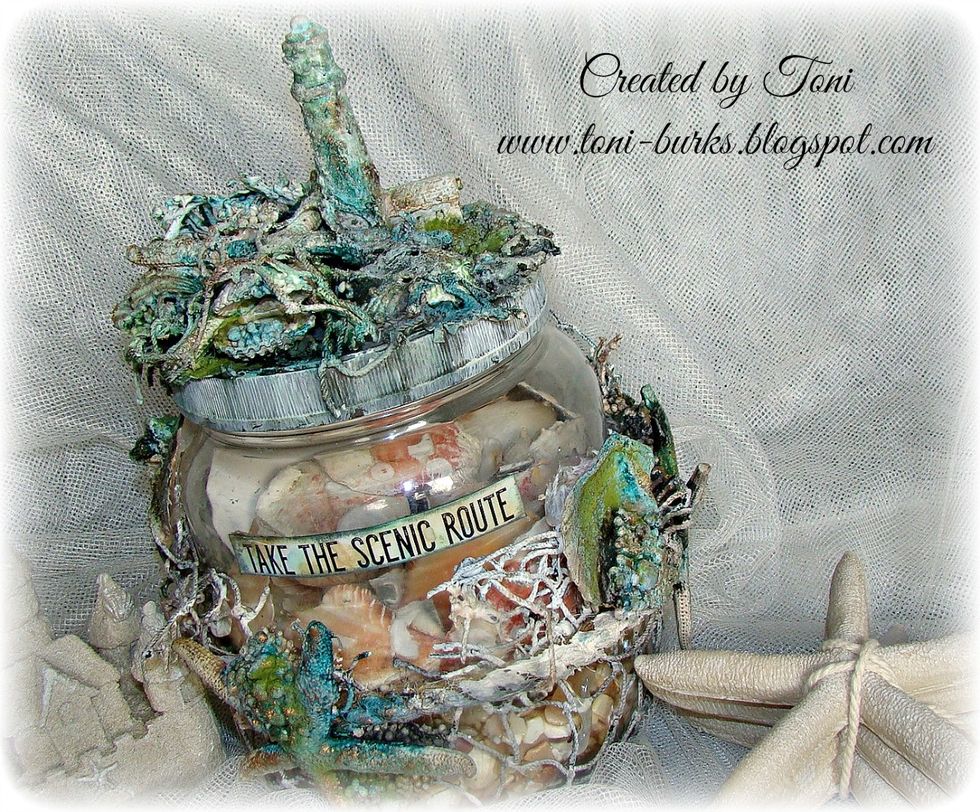
The chipboard tile is IDEOLOGY Chipboard Quote and I also added the minx to provide color.

Now you have a pretty container to hold your sea shells.
Hope this has inspired you to give your containers a bit of a facelift.
Would love you to follow me at http://toni-burks.blogspot.com/ https://www.pinterest.com/tonilburks/ https://www.facebook.com/toni.burksgrijalva https://www.instagram.com/tonilburks/