The Conversation (0)
Sign Up
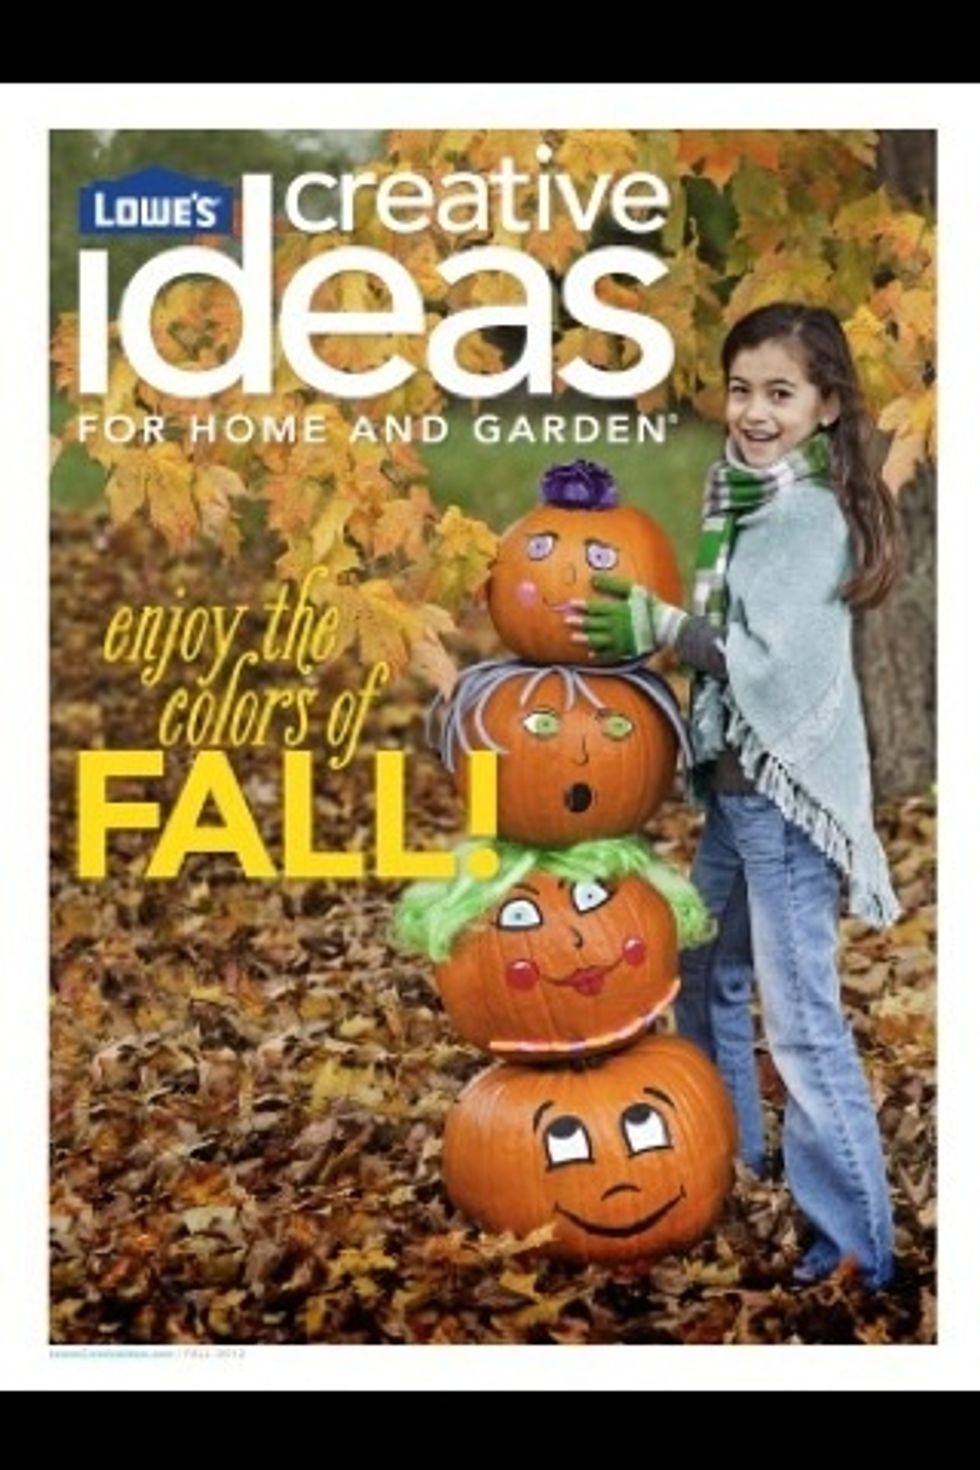
Get inspired by reading the Fall issue of Lowe's Creative Ideas. Realize you need some Halloween decorations, STAT, and head to the store to pick up your supplies.
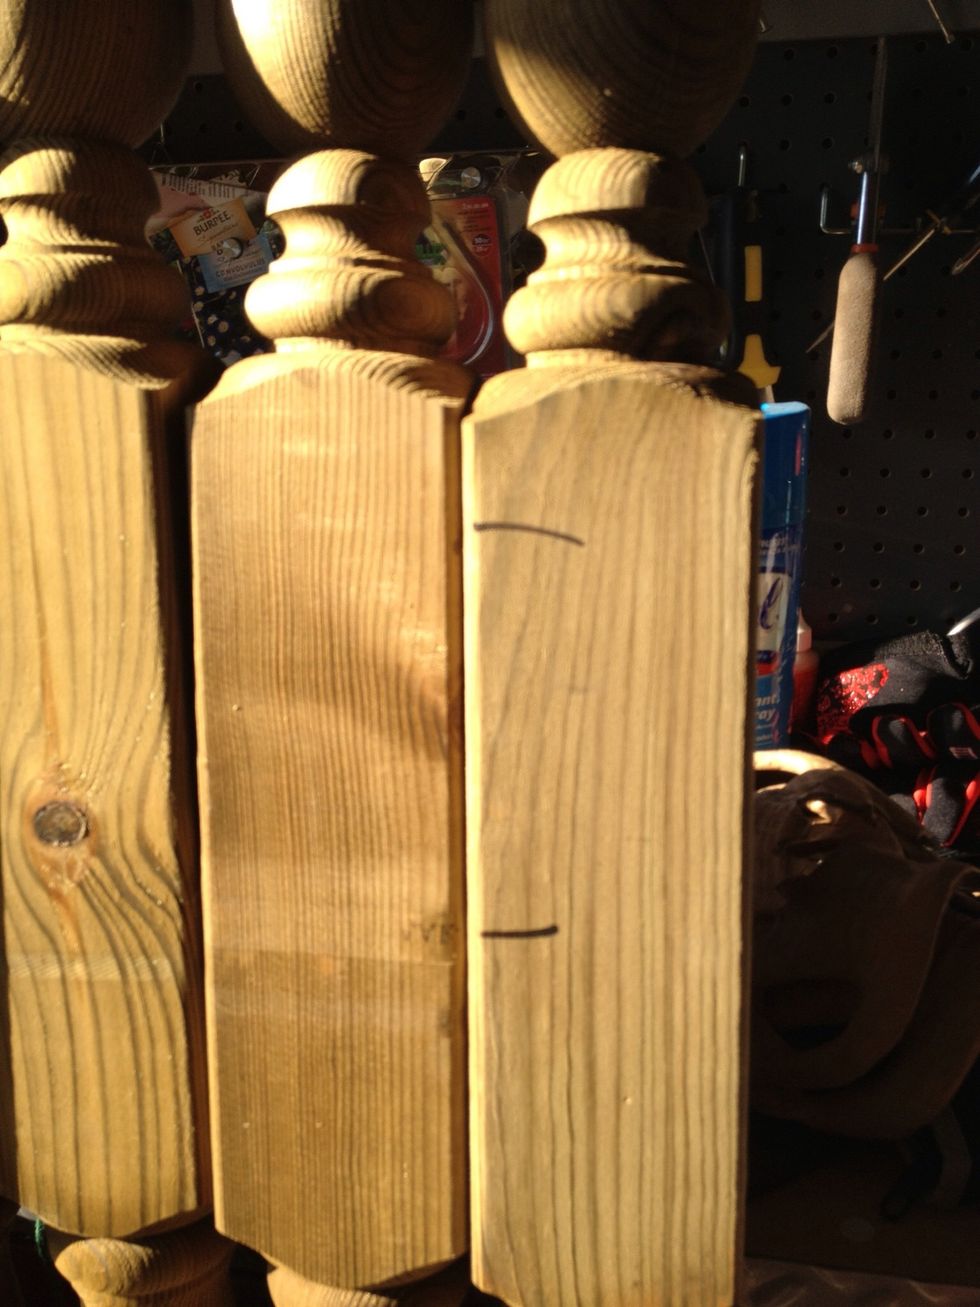
Cut your spindles and posts at varying lengths.
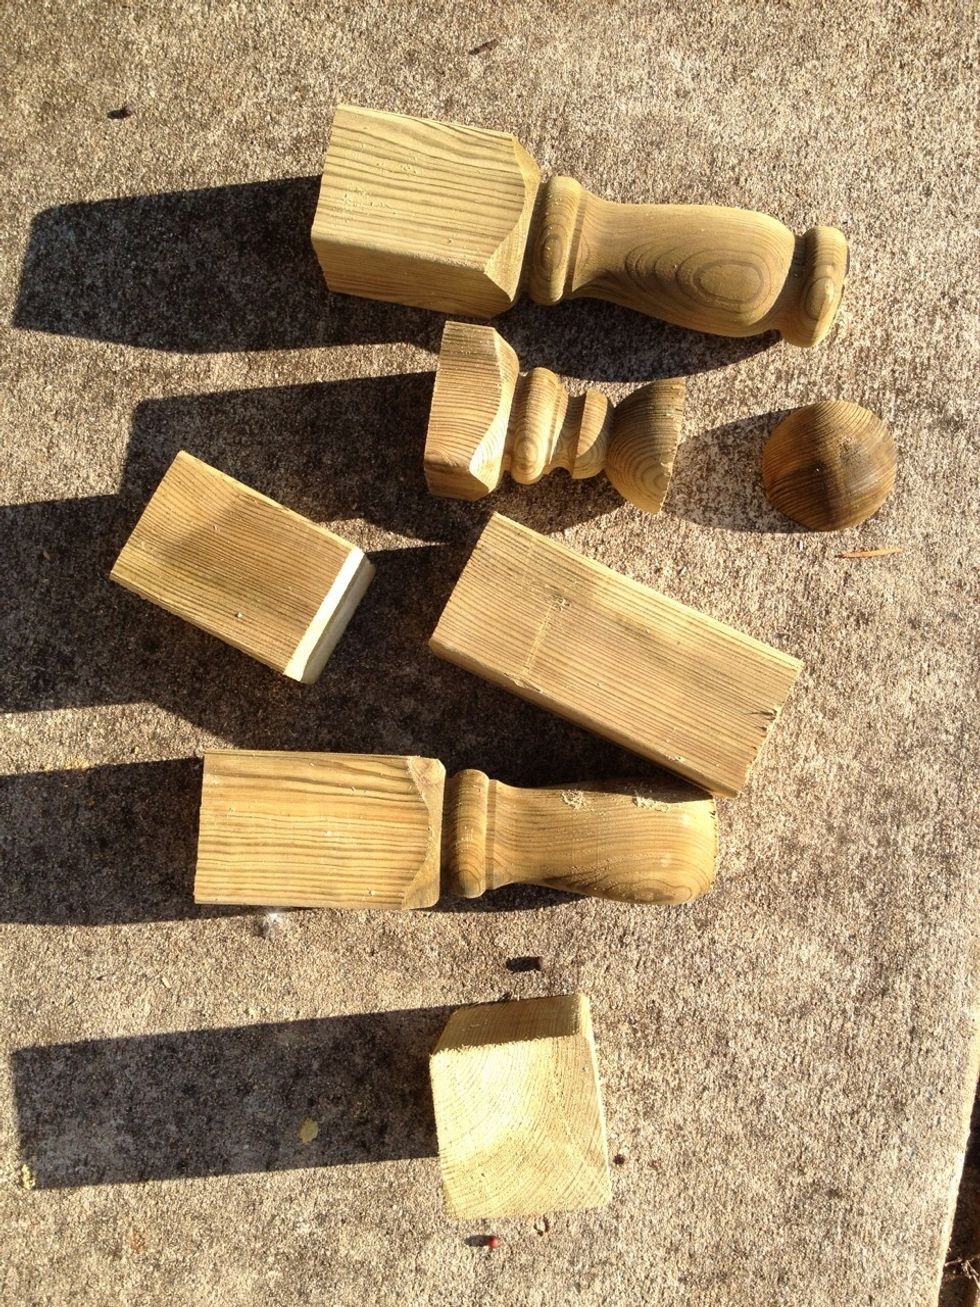
Decide which sections can be standalone, and which can be glued together. Get creative!
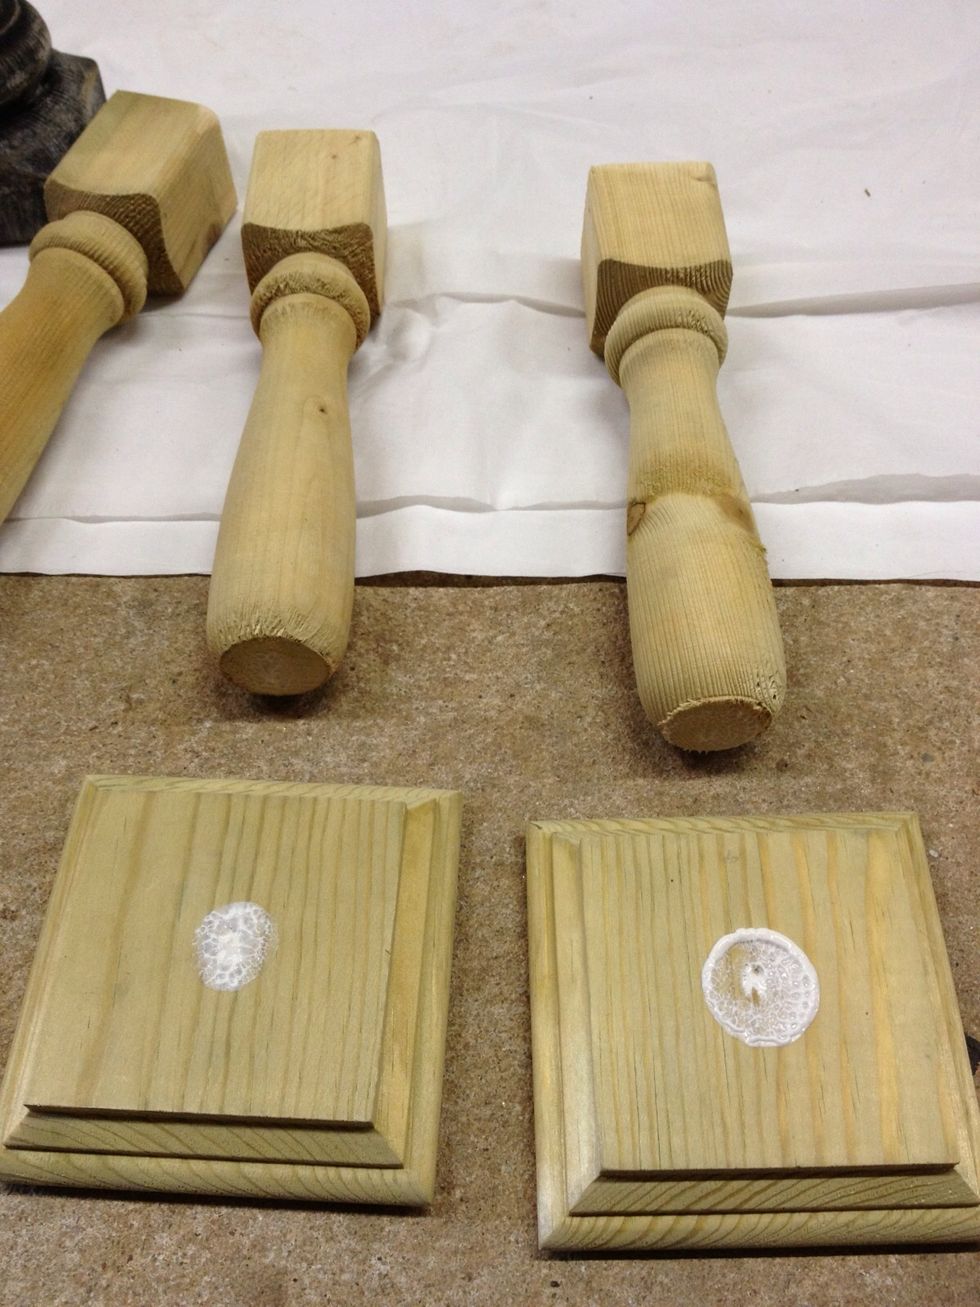
When gluing two sections together, it helps to apply glue, then let it get tacky before attaching the pieces.

Gather some friends and have a pillar painting party.
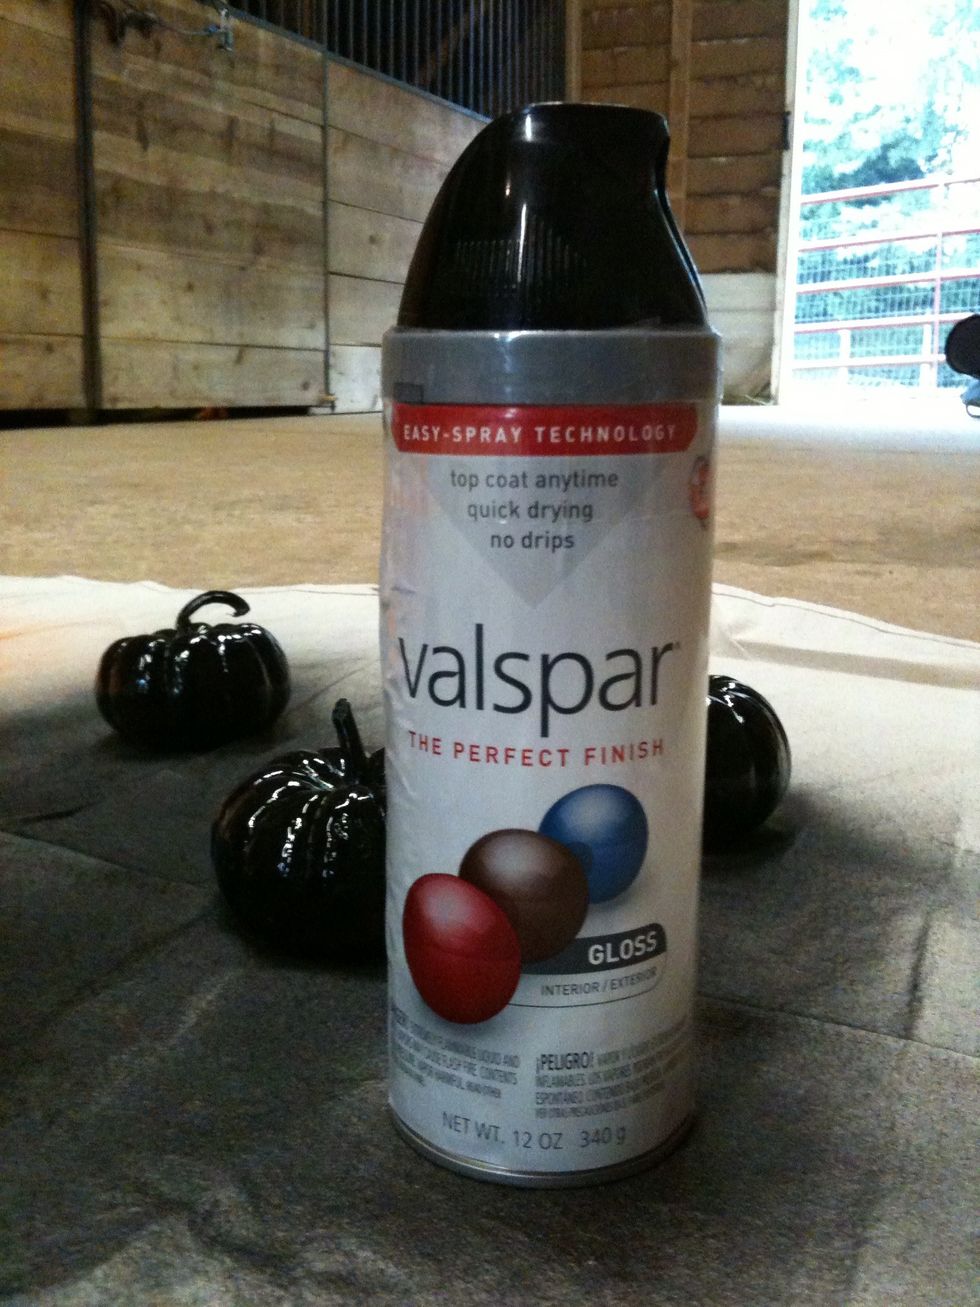
While your pillars are drying, spray paint some little pumpkins.
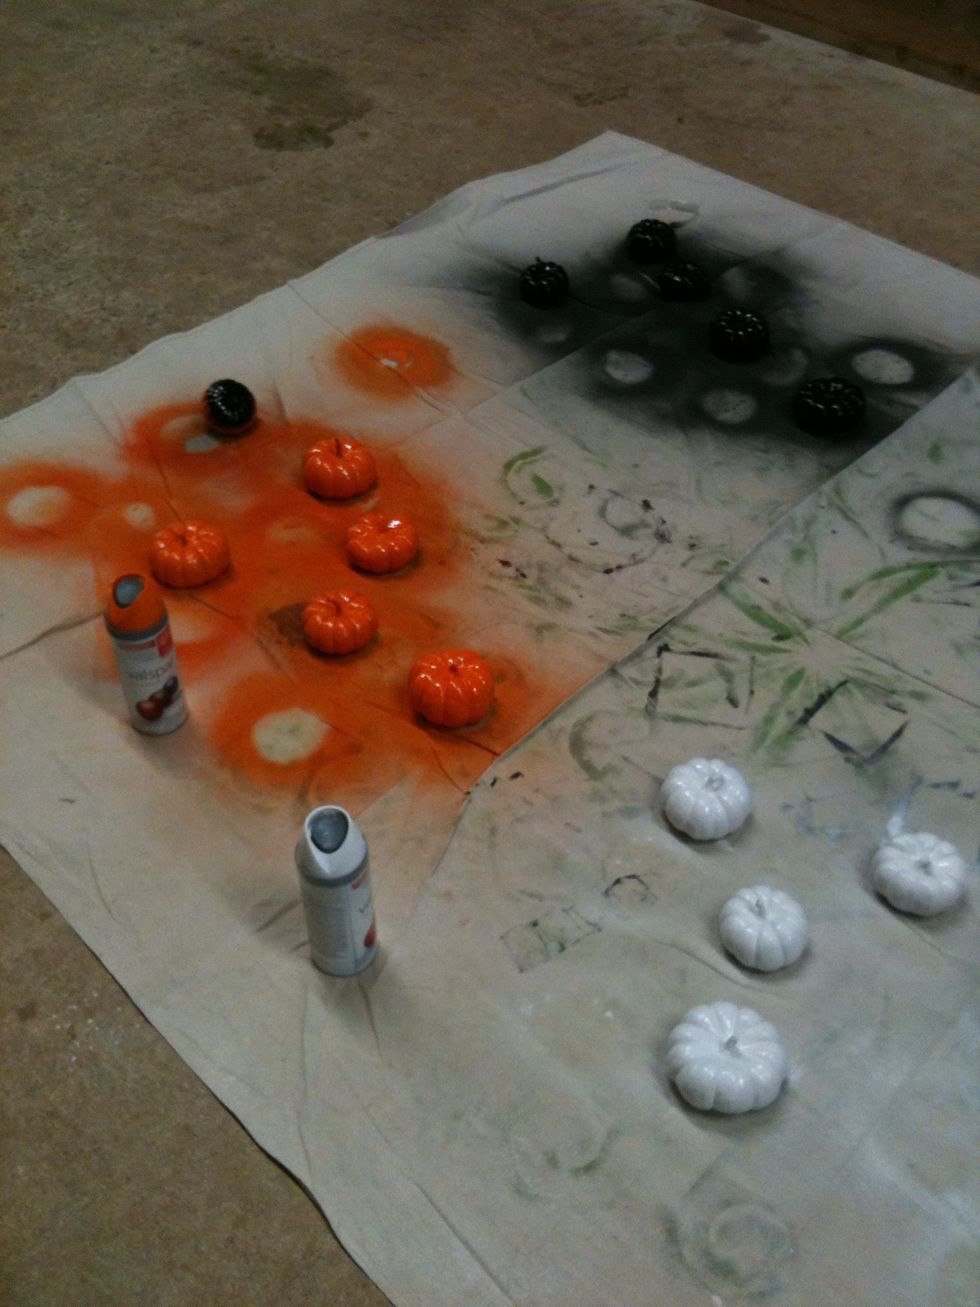
We used high-gloss orange, white, black, and silver.
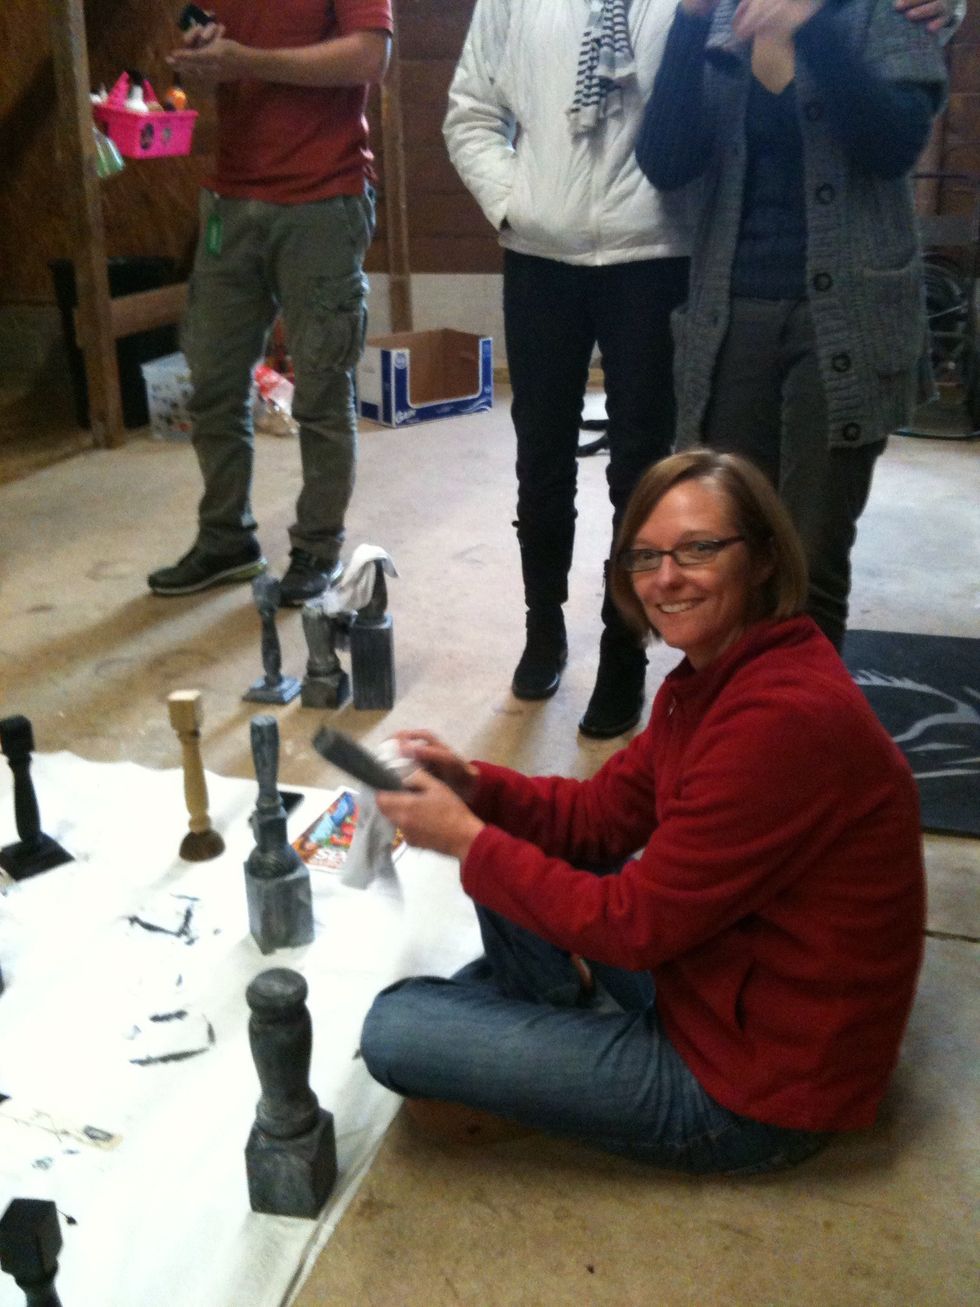
When the pillars are dry, rub white chalk over them (work it into the grooves in the wood). Roughing up the smooth sections will help the chalk stick. Then, use a soft cloth to rub off the excess.
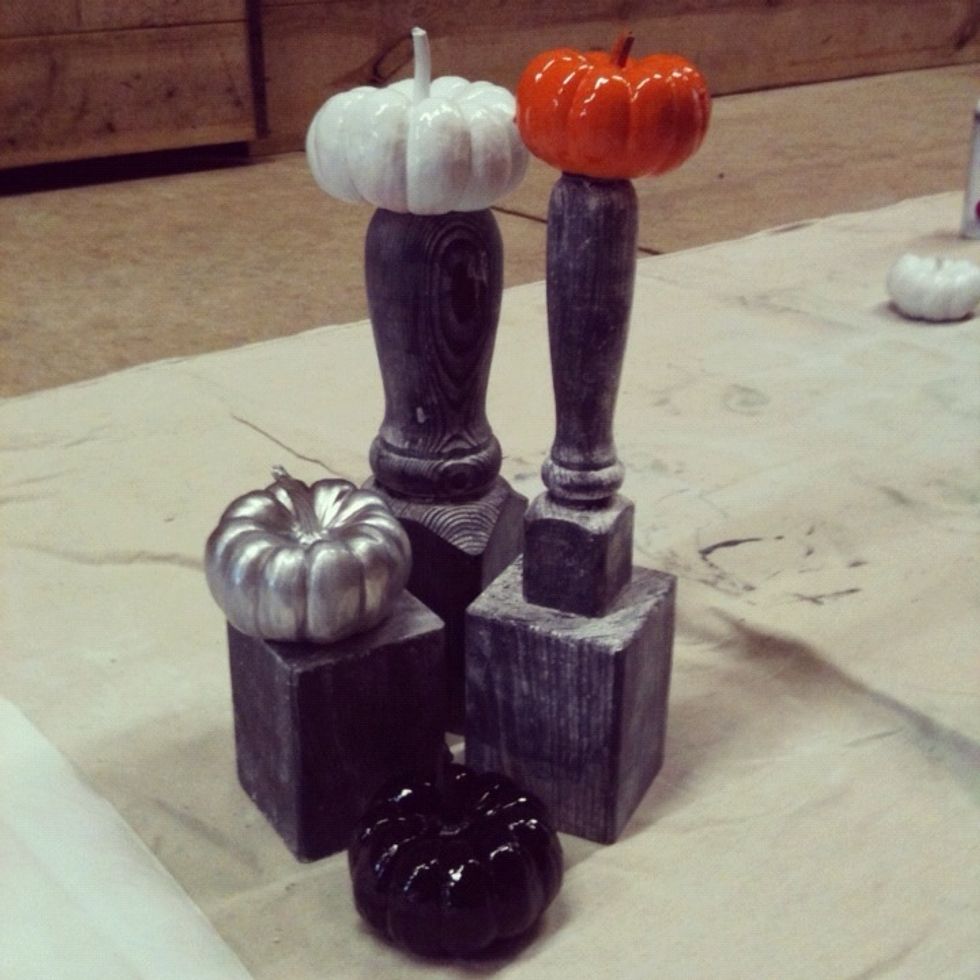
Place painted pumpkins on the flat tops of your pillars and group them as you please. That's it! Easy as (pumpkin) pie. :)