The Conversation (0)
Sign Up
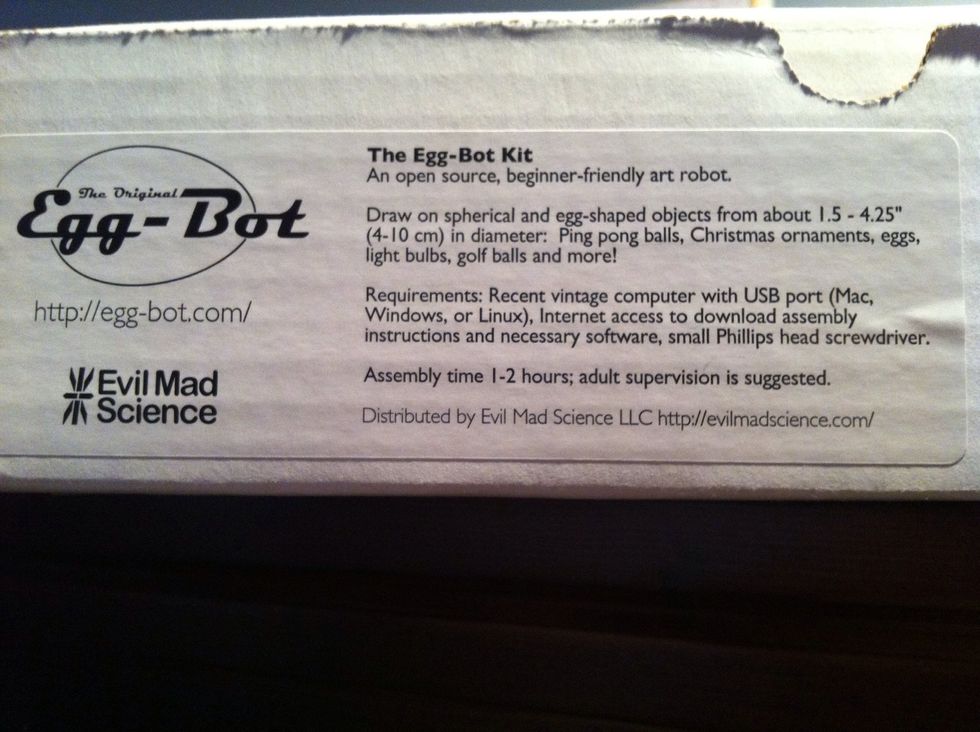
Purchase an EggBot kit from Evil Mad Science Laboratories online, follow the instructions to build it. Alternatively if you're a real hacker, build one from scavenged printer parts.
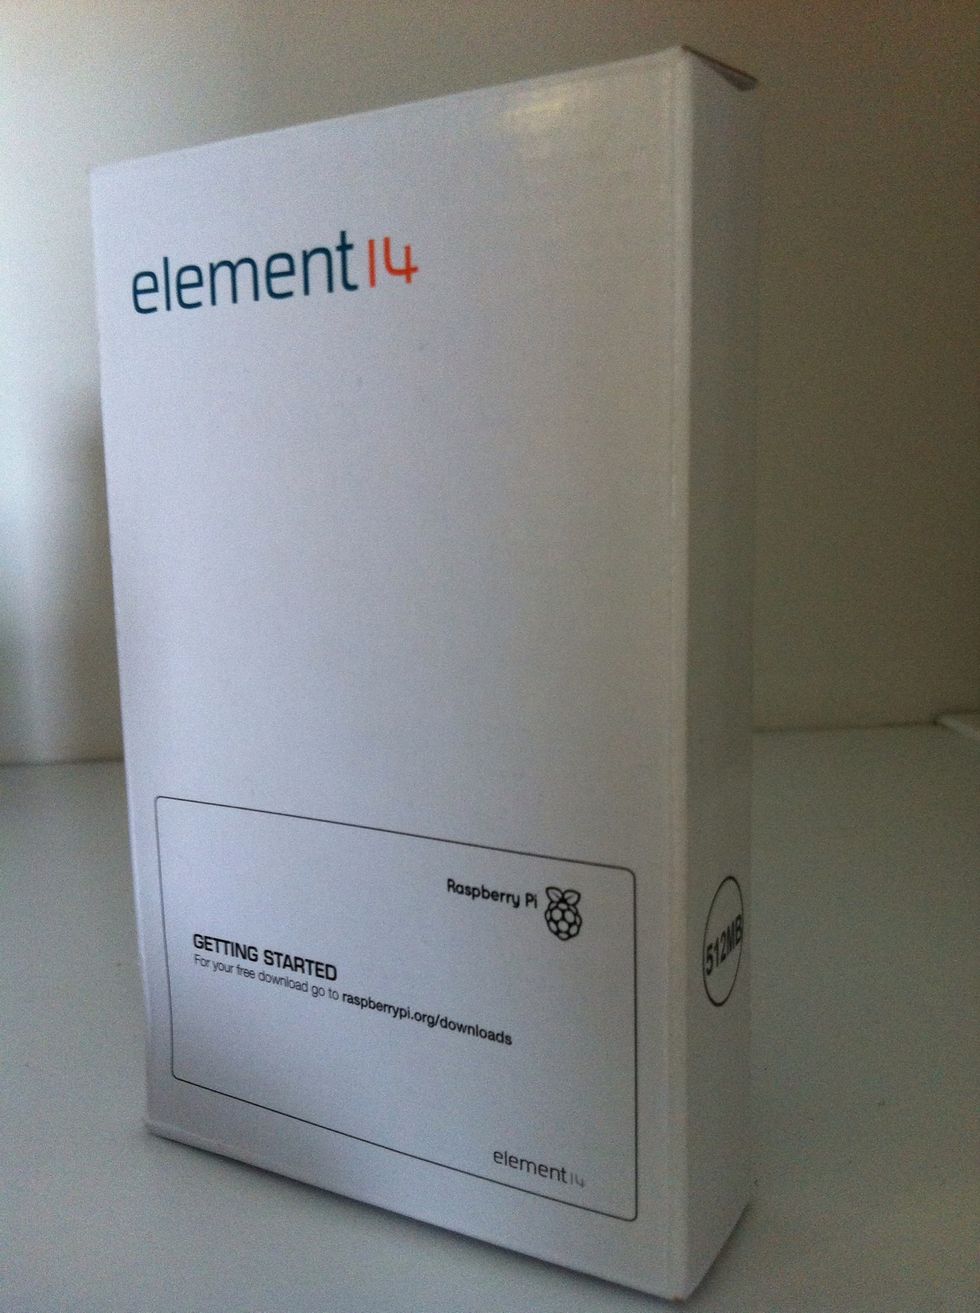
Purchase a Raspberry Pi computer from Element 14 online. In this Guide I used a Raspberry Pi model B with 512MB ram.
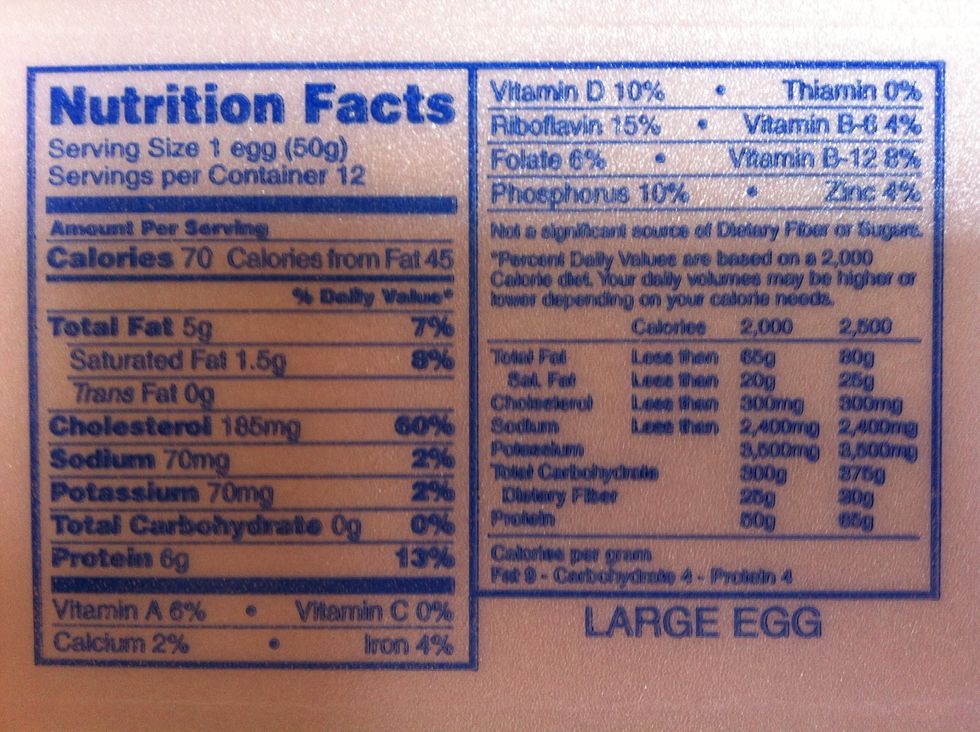
Purchase a dozen large, extra large or jumbo eggs. Alternatively if you live on a farm, just collect them from the henhouse.

Test the Egg-Bot by connecting the USB port to your computer and running the EggBot extensions in Inkscape. The EggBot comes with a microcontroller board you will install on the headstock.

Now, free the EggBot from external computers! Mark out and drill 2 mounting holes for the Raspberry Pi in the tail stock of the EggBot. Be careful not to inhale the fiberglass dust when drilling.

Insert bolts through the 2 holes. I used some spare motherboard standoffs from another computer build.
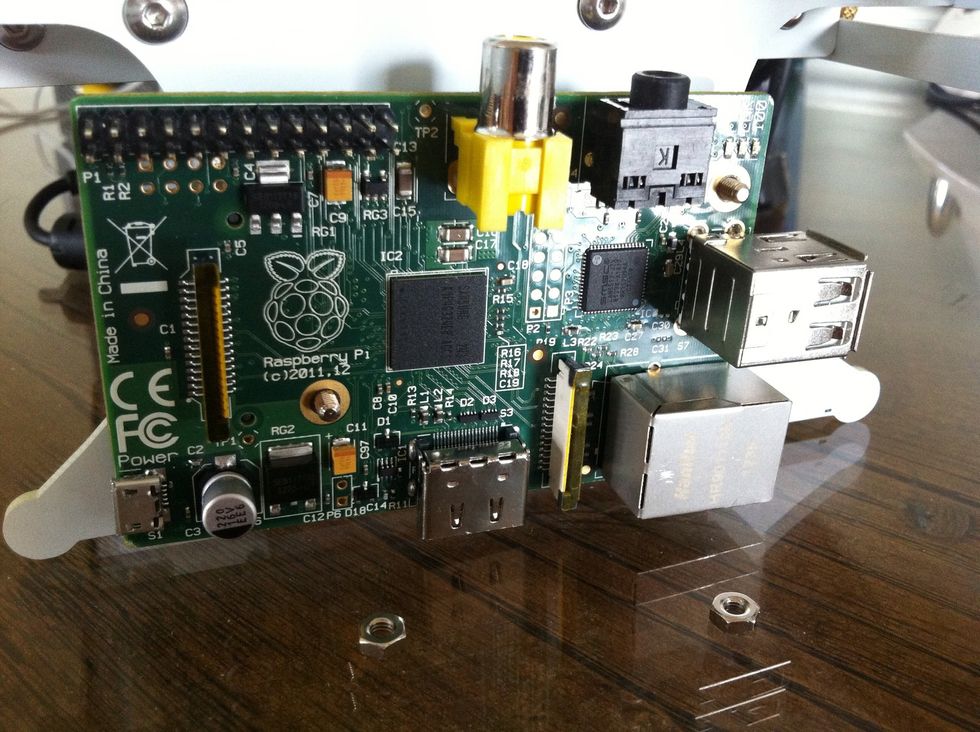
Mount the Raspberry Pi on the bolts or standoffs you installed on the tailstock. The HDMI port should be several millimeters above the table surface.
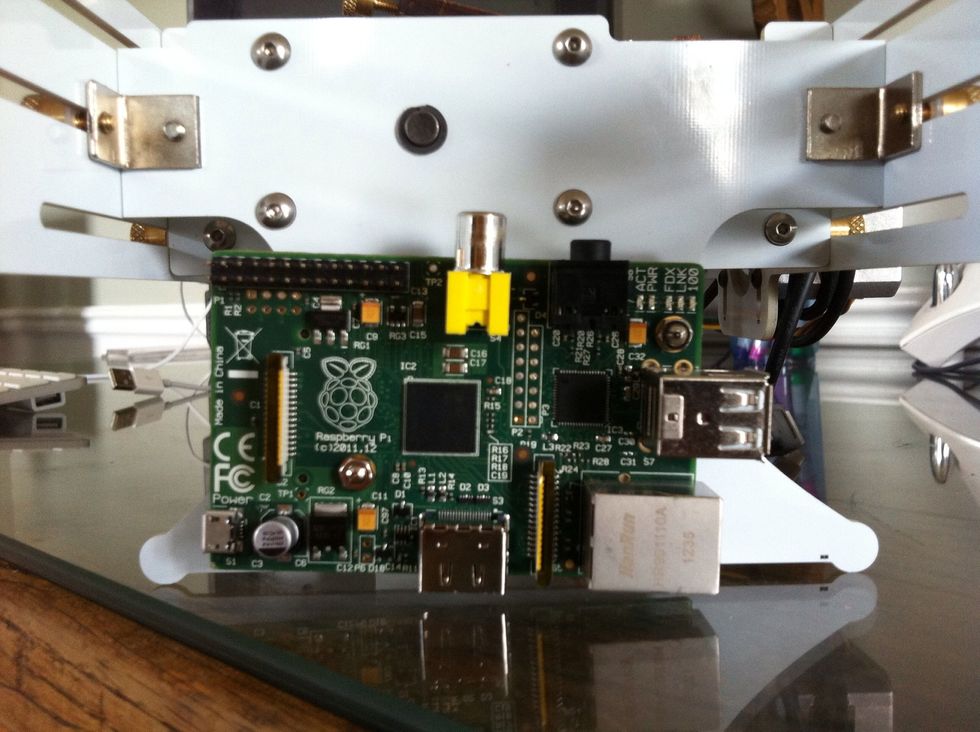
Secure the Raspberry Pi to the EggBot by gently tightening nuts onto the bolts or standoffs. The RCA video jack will face up, offset from the spring-loaded egg cup axle. The Pi SD card faces front.
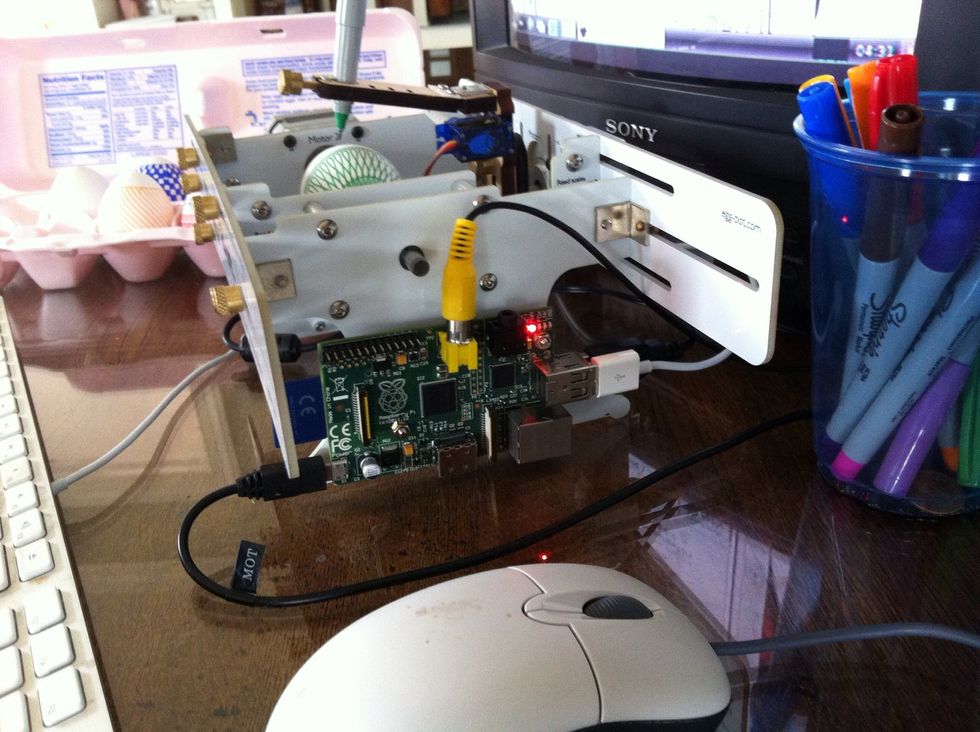
Connect a TV to the RCA output; connect a keyboard and mouse to one Pi USB port; connect the other Pi USB port to the EggBot's micro USB port; insert the Pi SD card; connect 5VDC Pi power source.
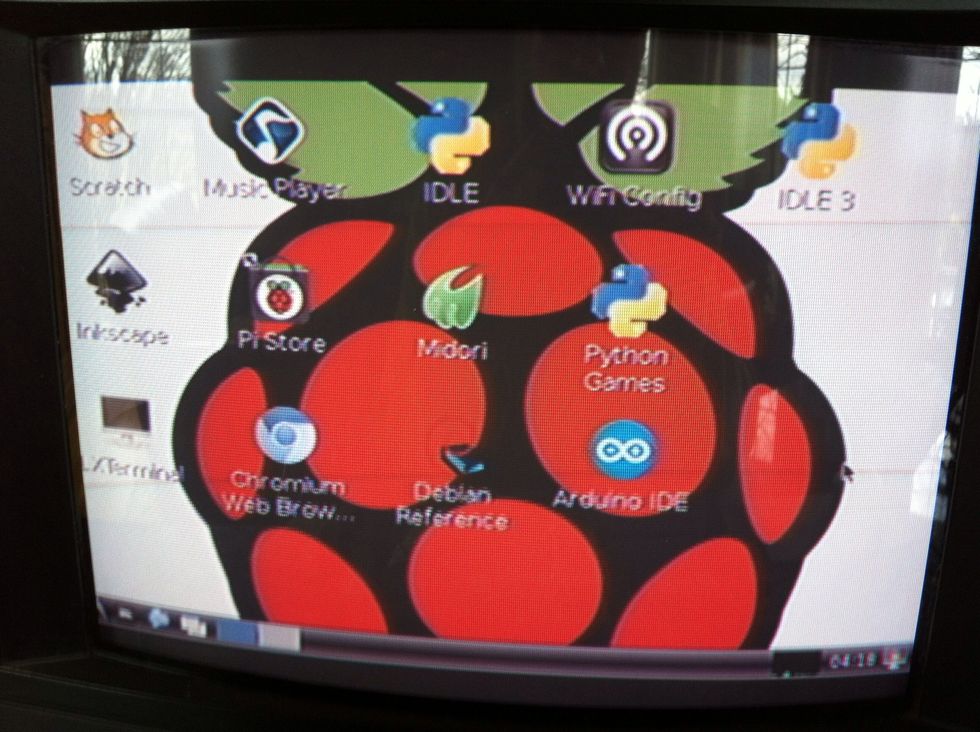
Install Inkscape with the terminal command "sudo apt-get install inkscape" (The Pi will need to be connected to your network via Ethernet for downloads). Install the EggBot extensions from EMSL.

With your Pi-powered EggBot connected to keyboard, mouse, and TV (but no external computer), decorate your eggs using the EggBot Inkscape extensions.

Happy Easter!