The Conversation (0)
Sign Up
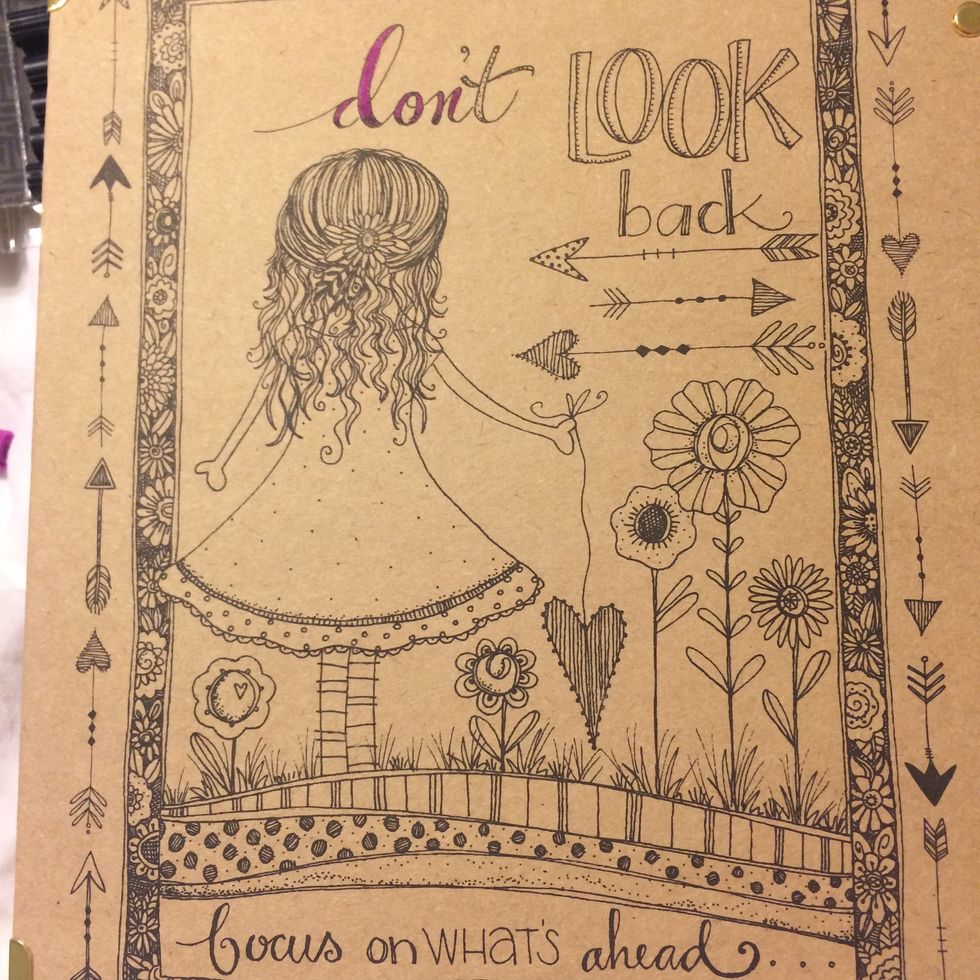
I started by coloring a planner cover. You can use a coloring book page as well.
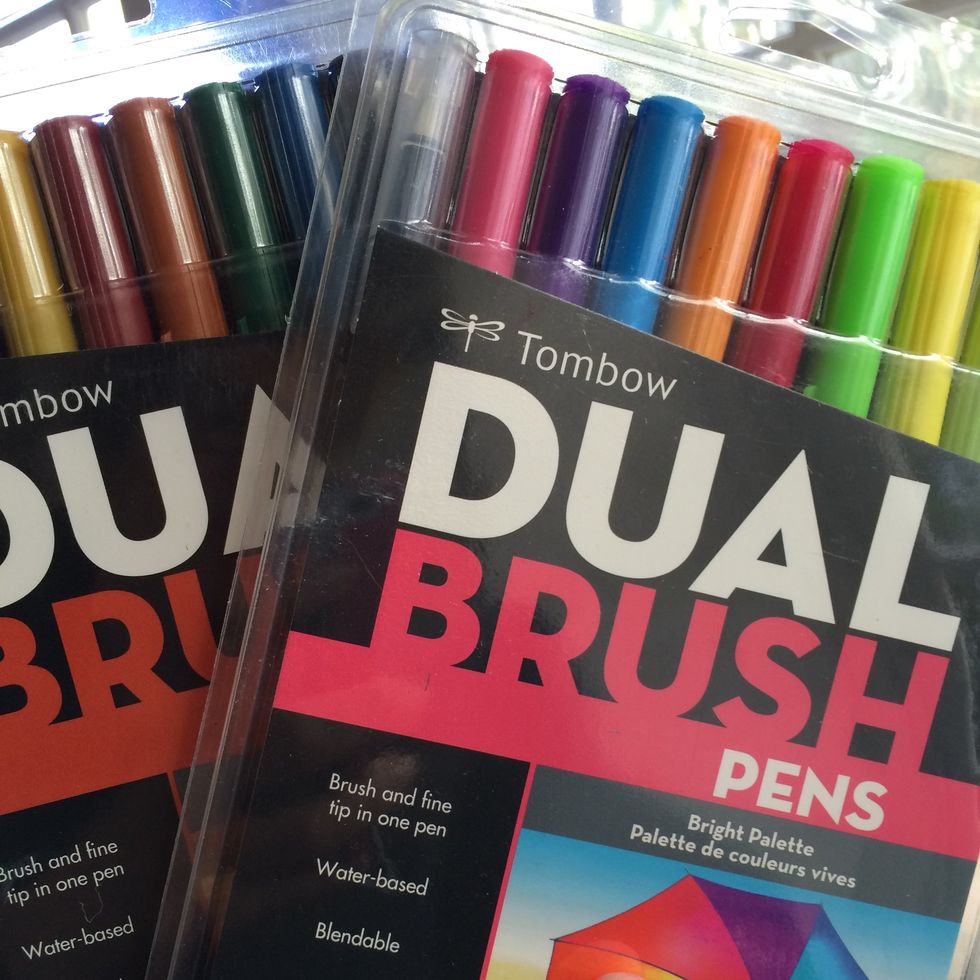
I used Tombow Dual Brush Pens in both the Bright Pallette and the Muted Pallette
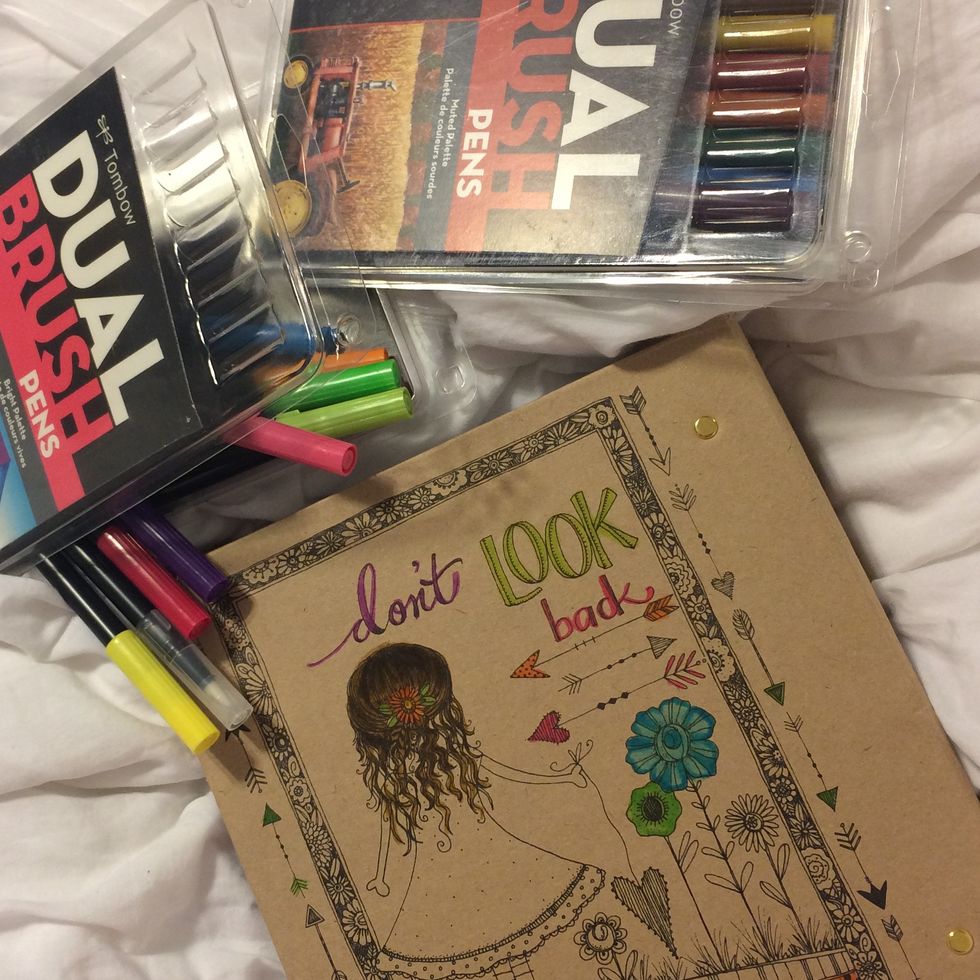
I mostly used the Bright Palette. But used the Muted Palette for her hair.
I finished coloring the entire image.

Then I used Art Anthology's Clear Coat in Dazzle. Using a Princeton brush I painted over all the areas that I wanted to protect from the Colorations, which will be my next step.
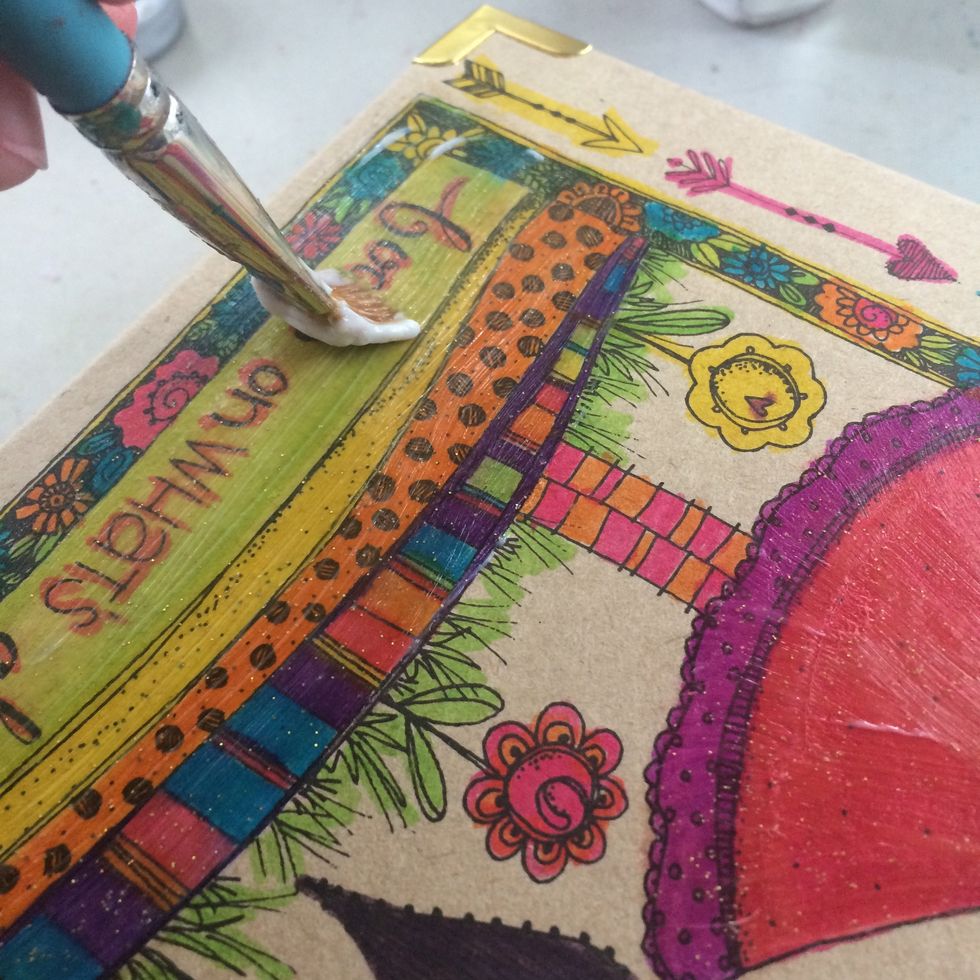
The Clear Coat will act as a resist. Plus it will add a little glitter to the image.

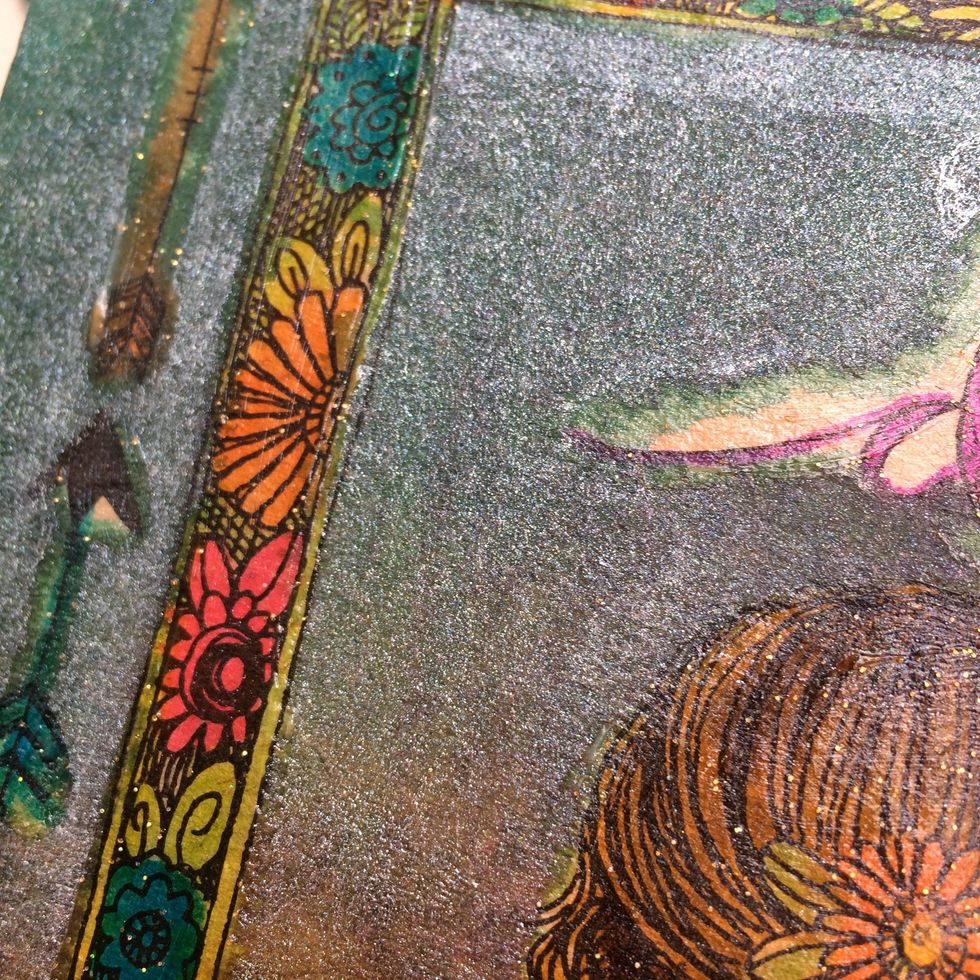
Here you can see how the Clear Coat also ads a glossy finish
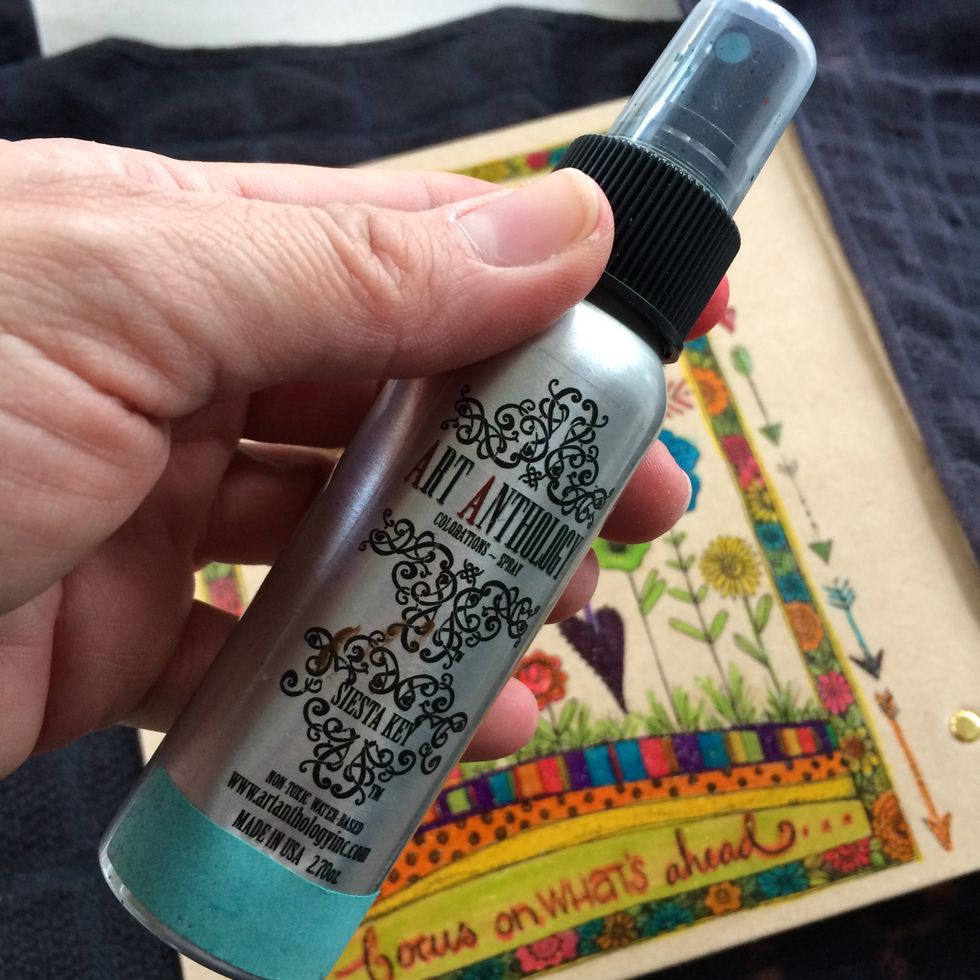
Once the Clear Coat is dry, I proceeded to use the Colorations
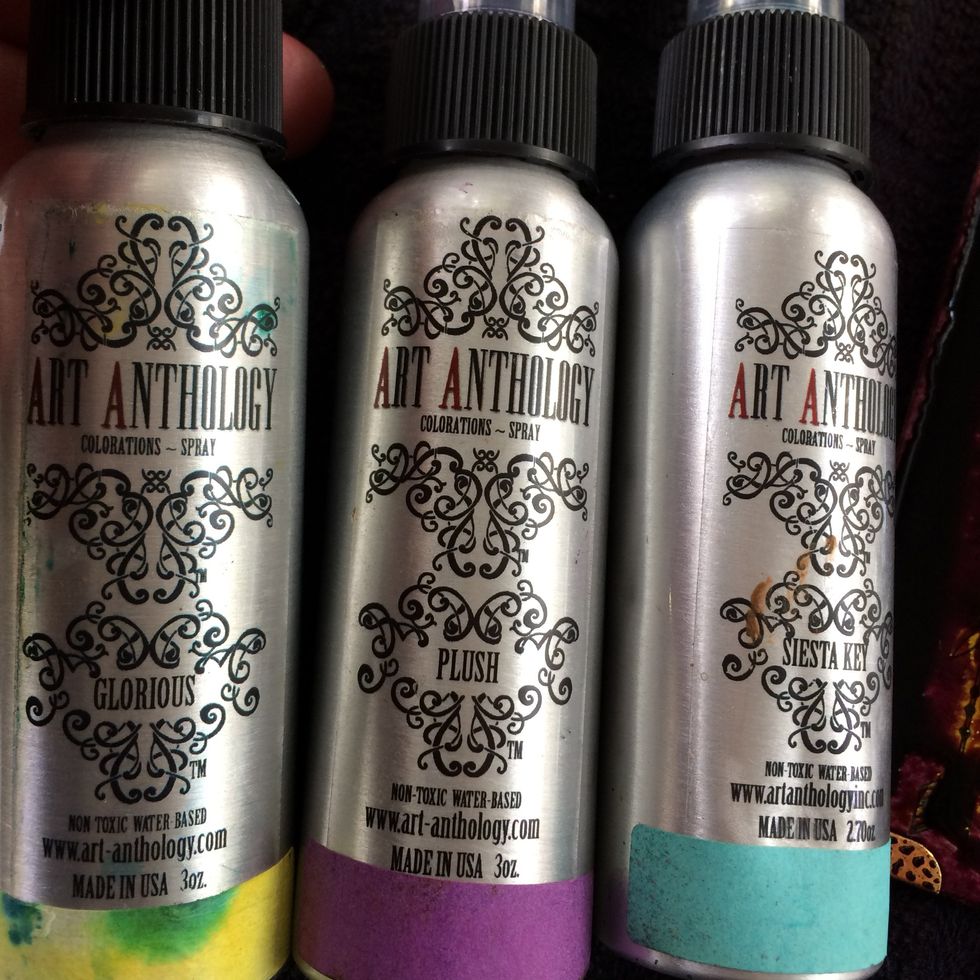
I used 3 colors, Glorious, Plush, and Siesta Key
I sprayed the Colorations on heavy. Since my surface is a thick chipboard it needs more than if it was just watercolor paper or cardstock.
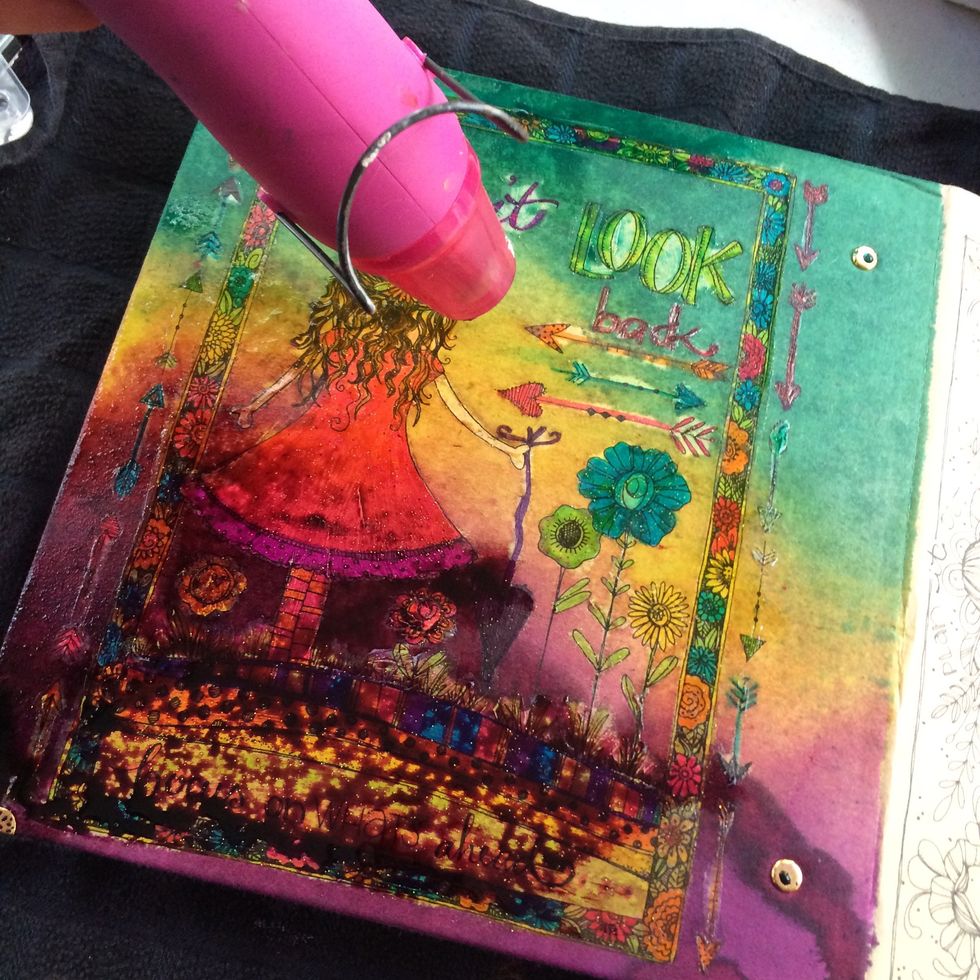
I did use a heat gun to apply heat to the misted area. Just to speed up the process of drying time.
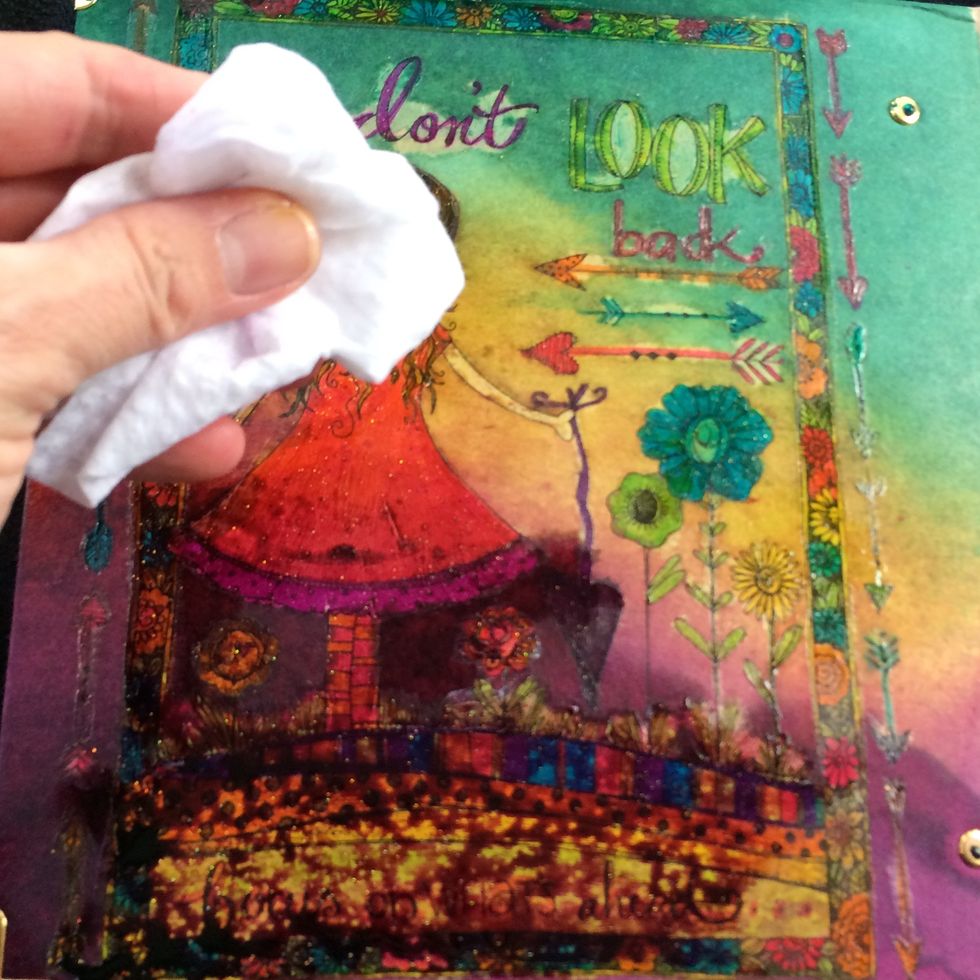
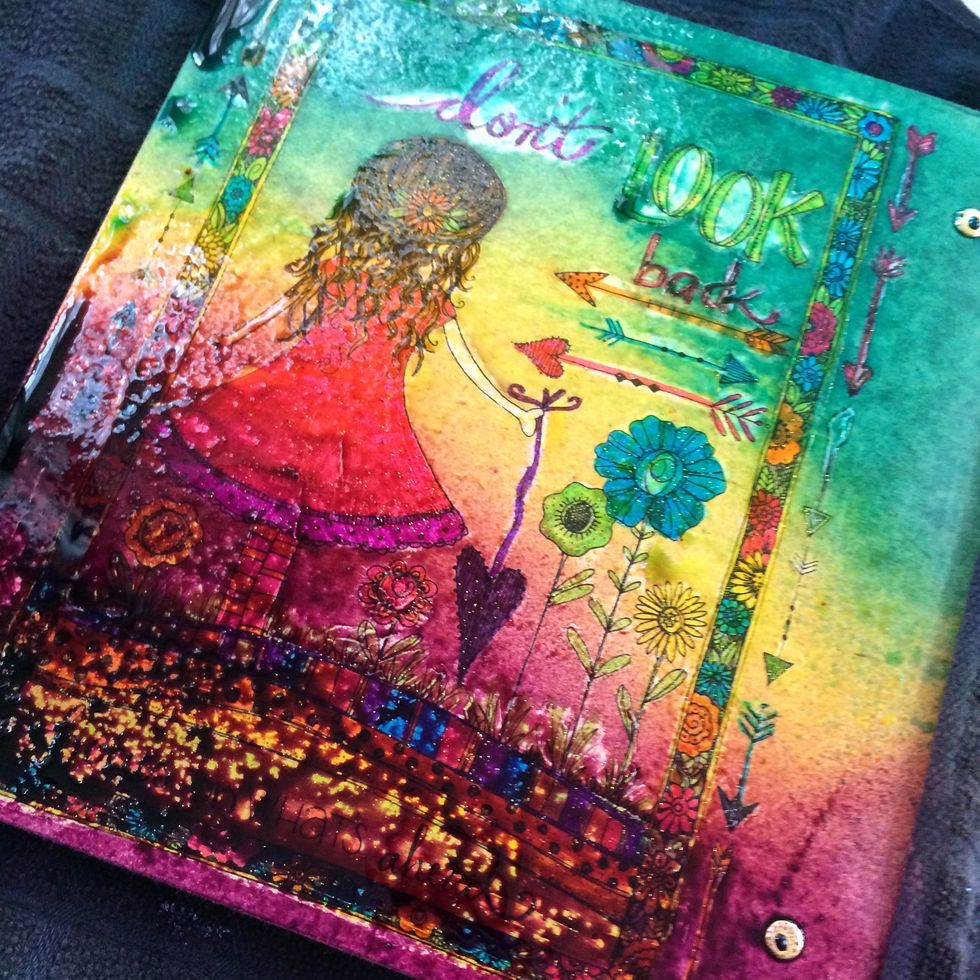
Then once the areas where dry, I used a baby wipe to wipe off the Colorations off the areas with Clear Coat over them.
See how the areas that had the Clear Coats resisted the spray from the Colorations? It's so awesome!
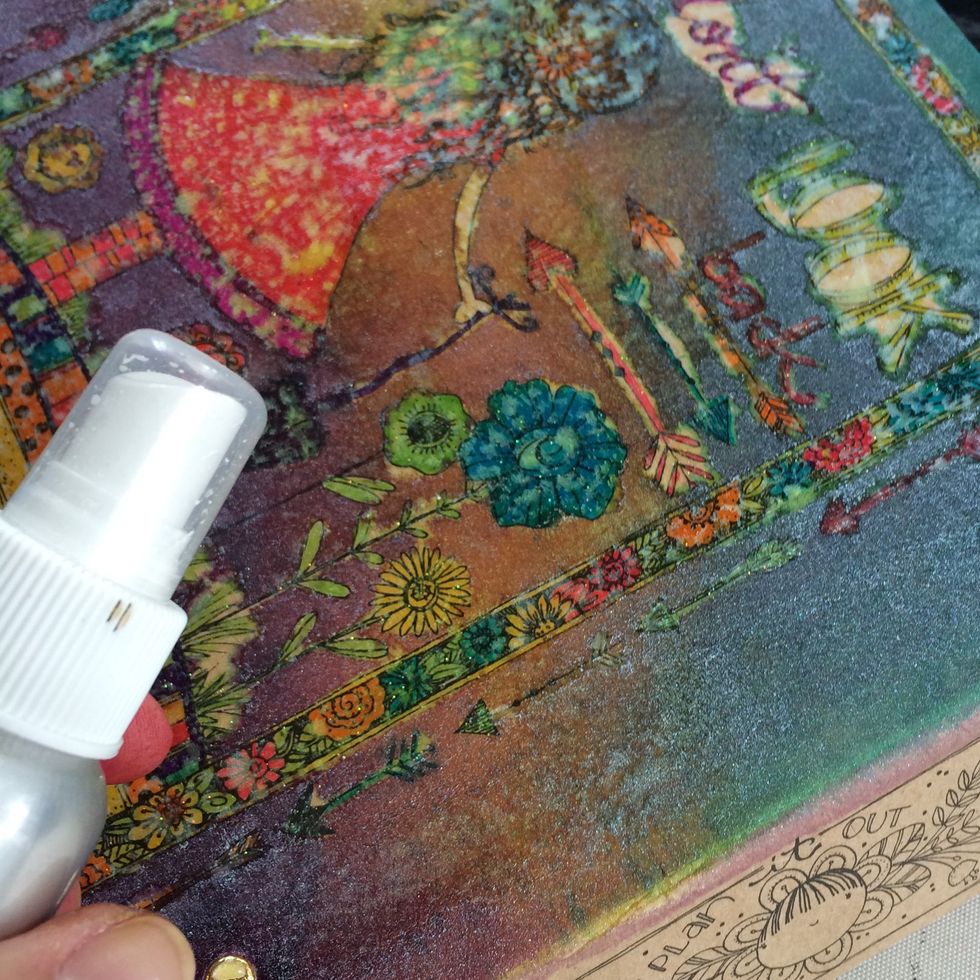
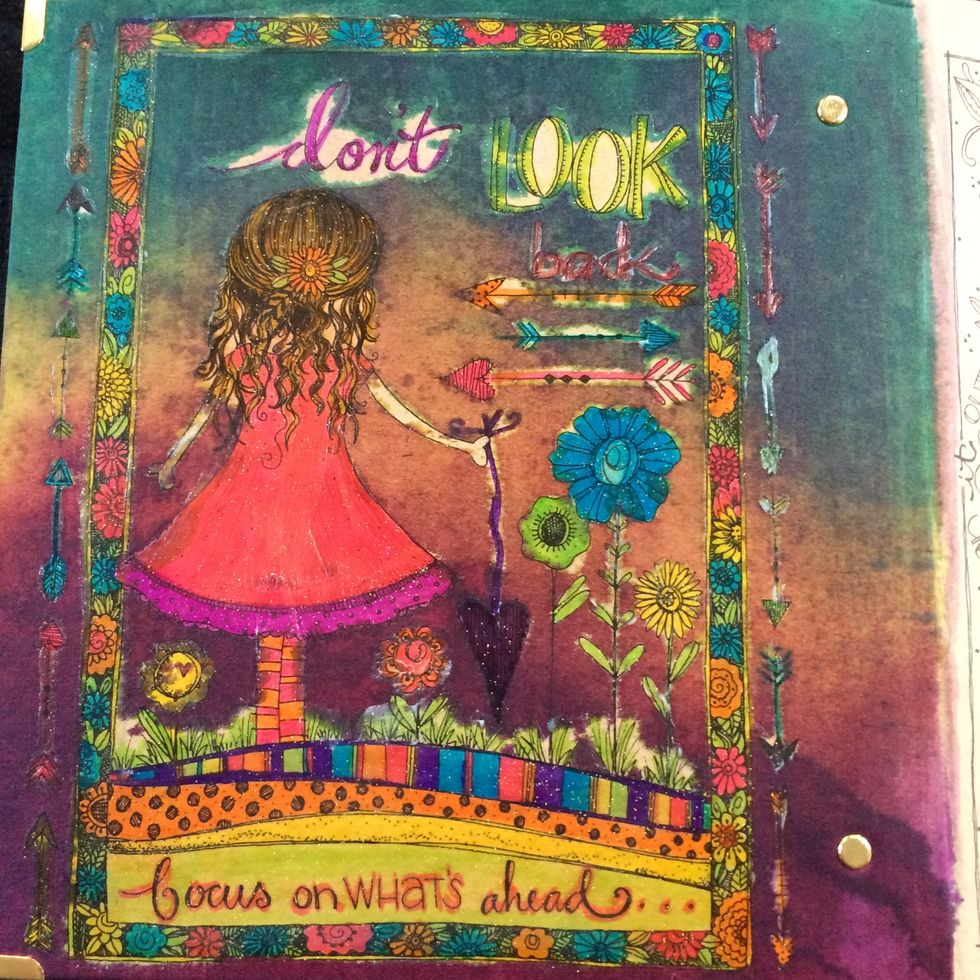
Then I sprayed the entire area with Fairy Dust in Ice
Just to add more shimmer! I'm all about the Shimmer!!!
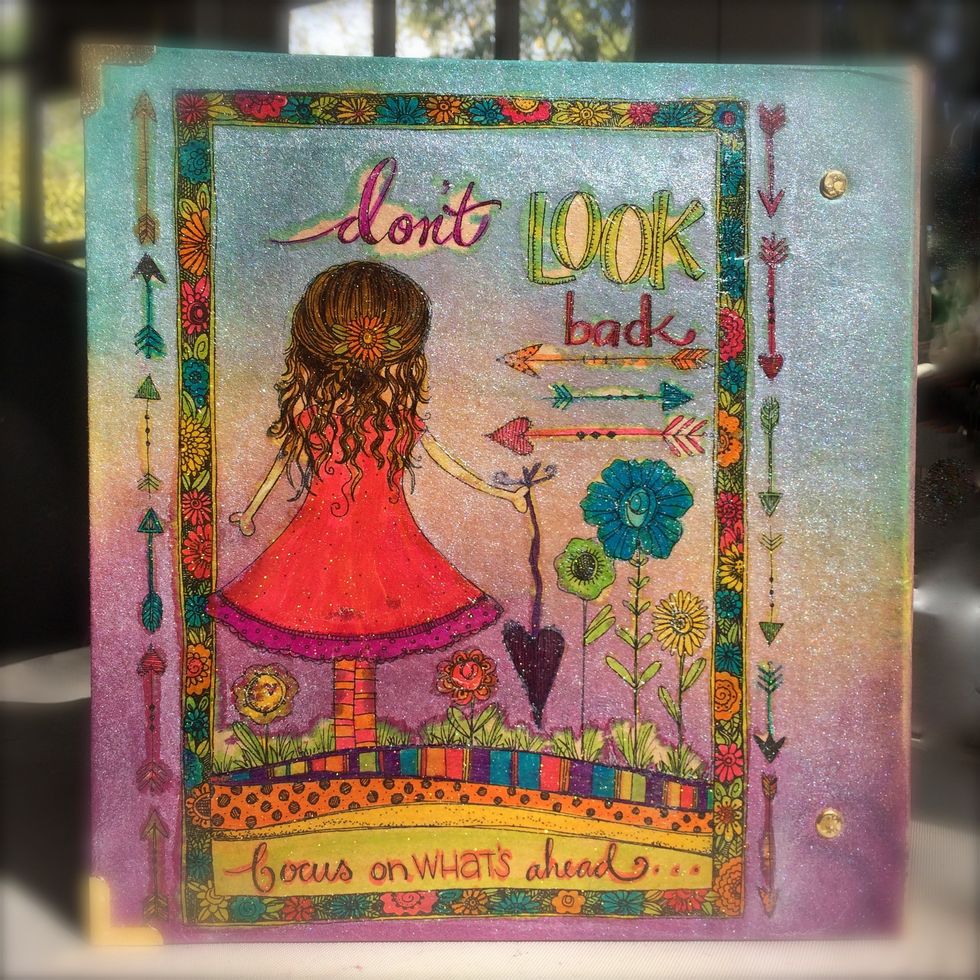
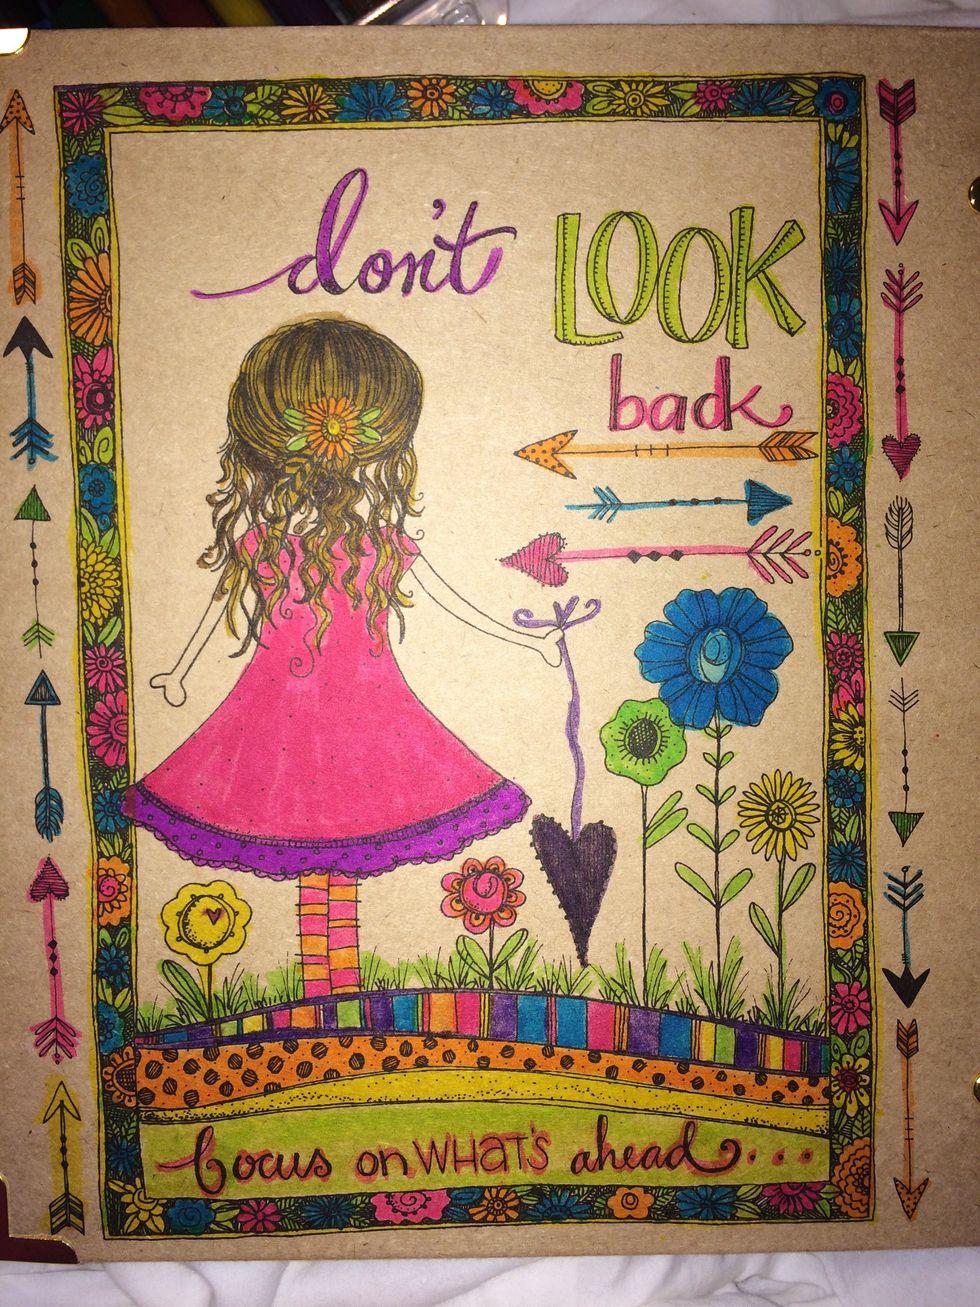
Here is the finished image!