The Conversation (0)
Sign Up
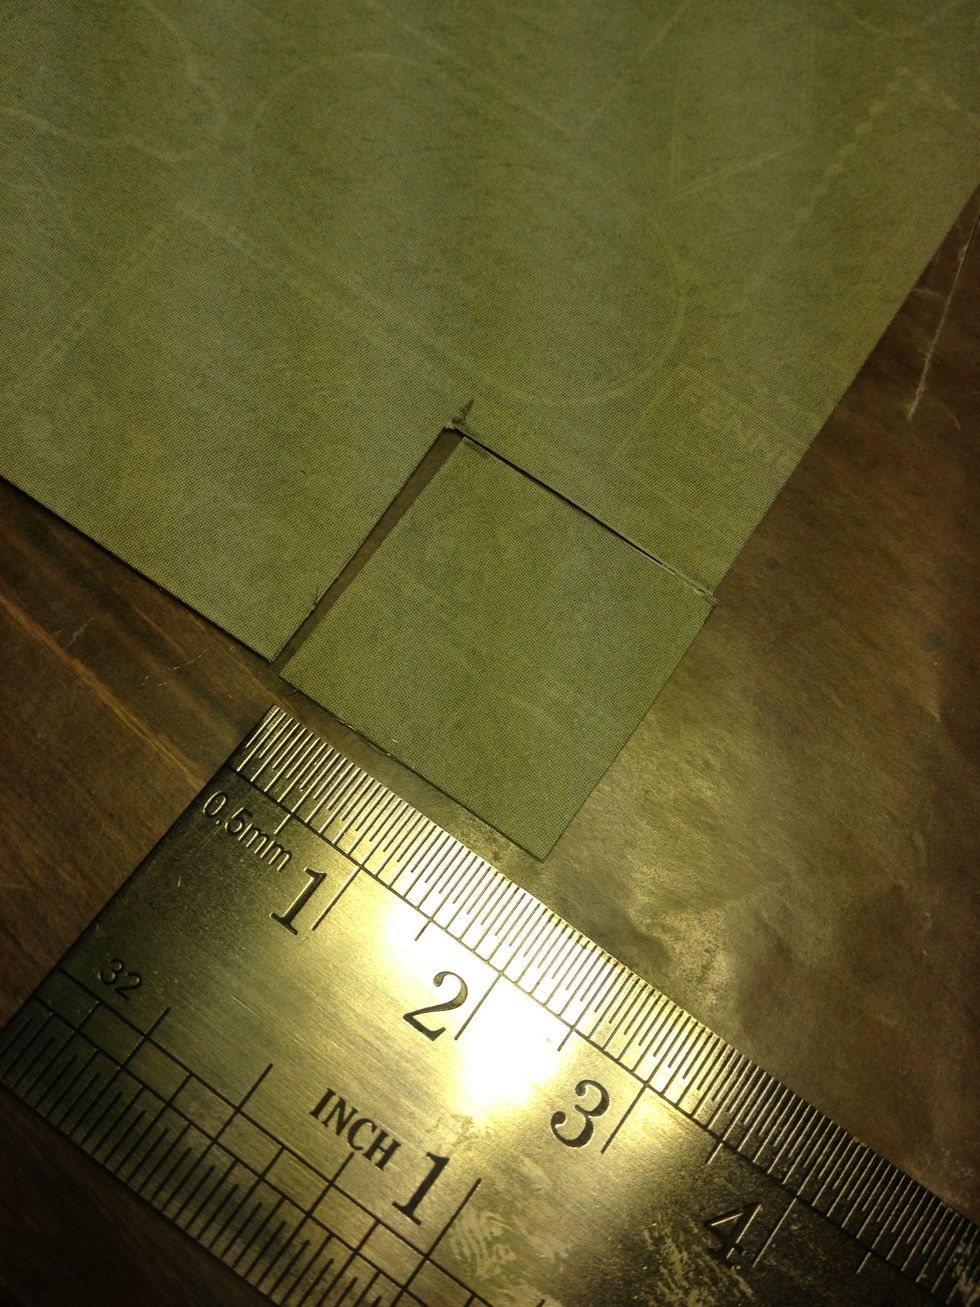
Measure, mark, and cut nine 2cm squares out of your scrapbook papers. I used nine different papers with 2 basic colors that matched my room
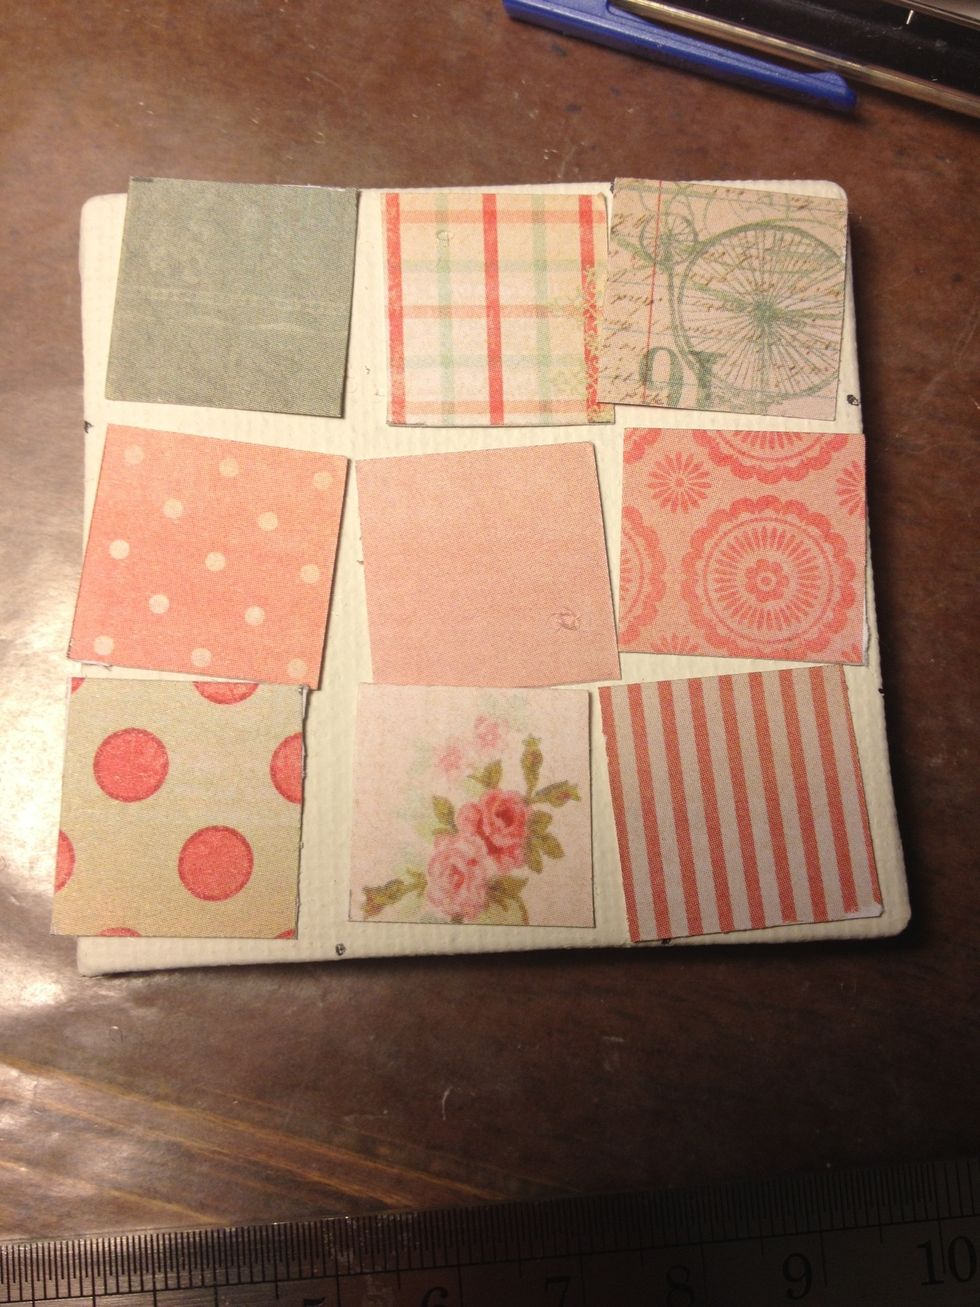
Here are the nine I selected.
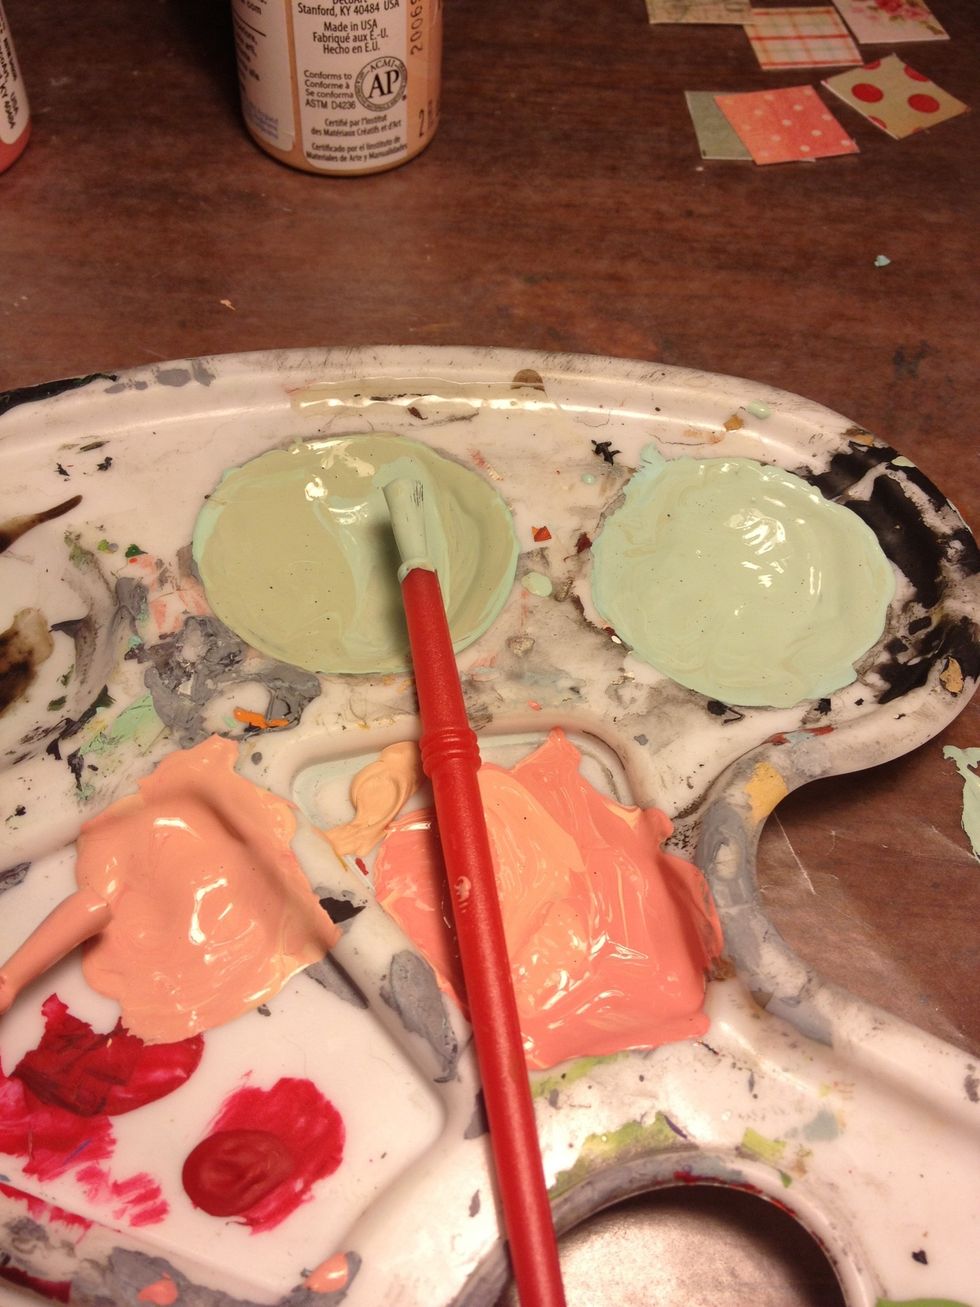
Mix some colors that match your color scheme.
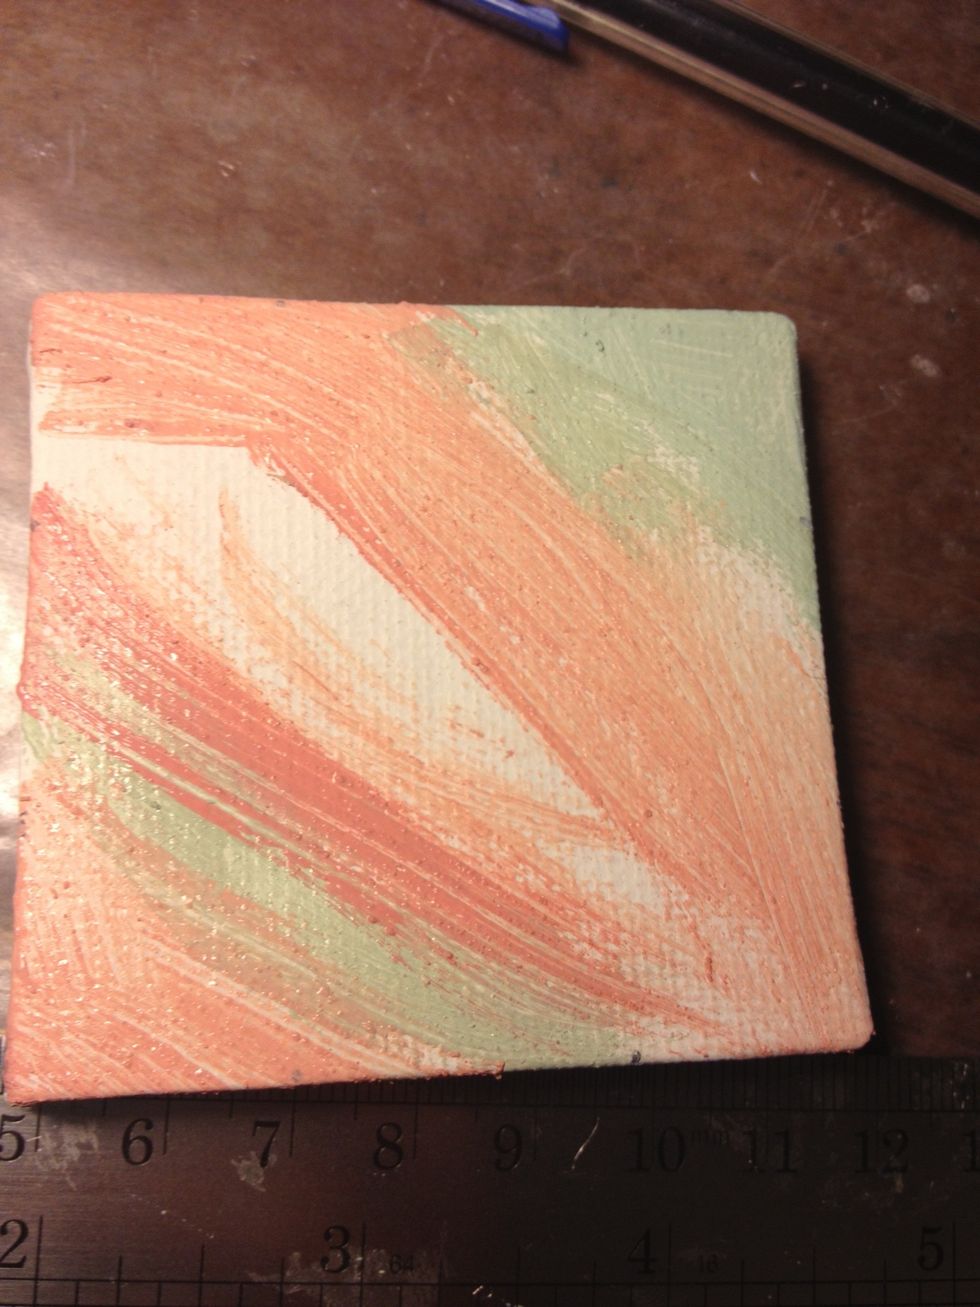
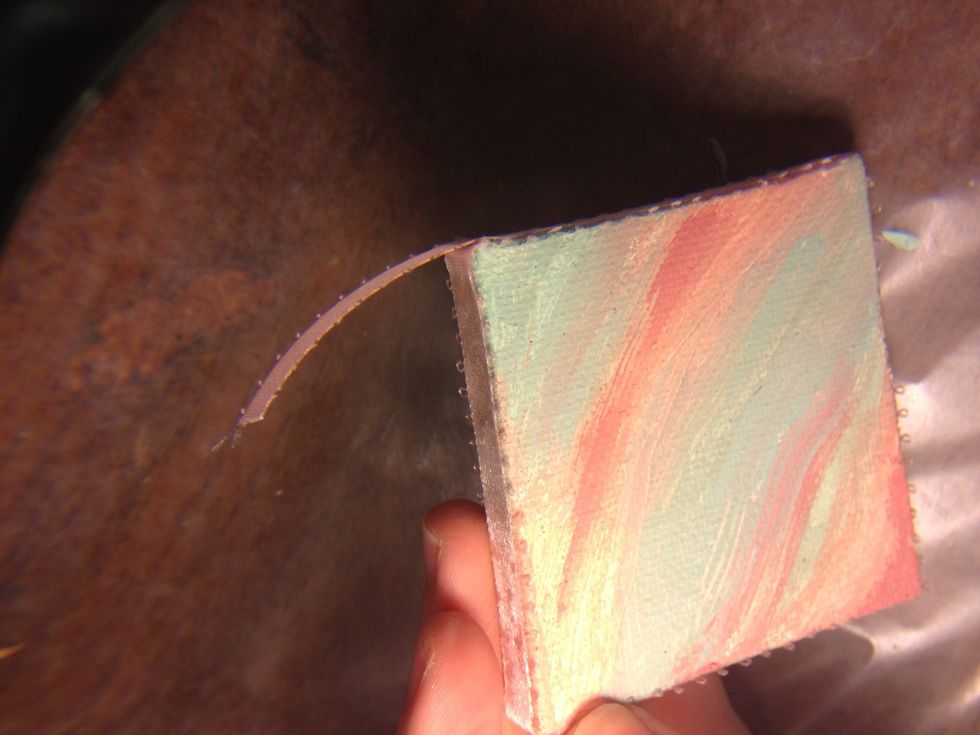
Start painting with the lighter colors
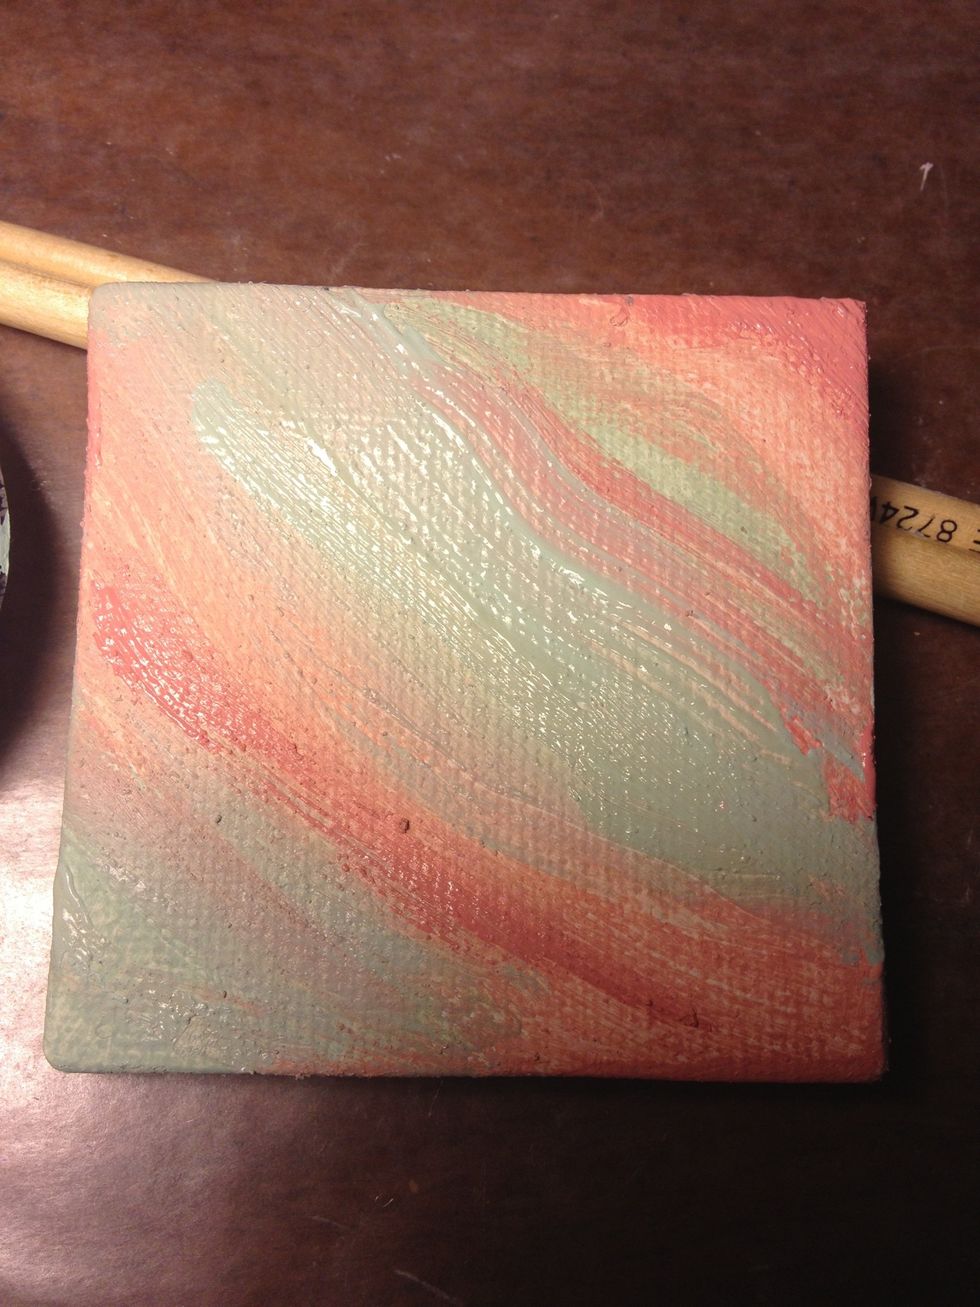
Then add darker colors for depth. Allow to dry.
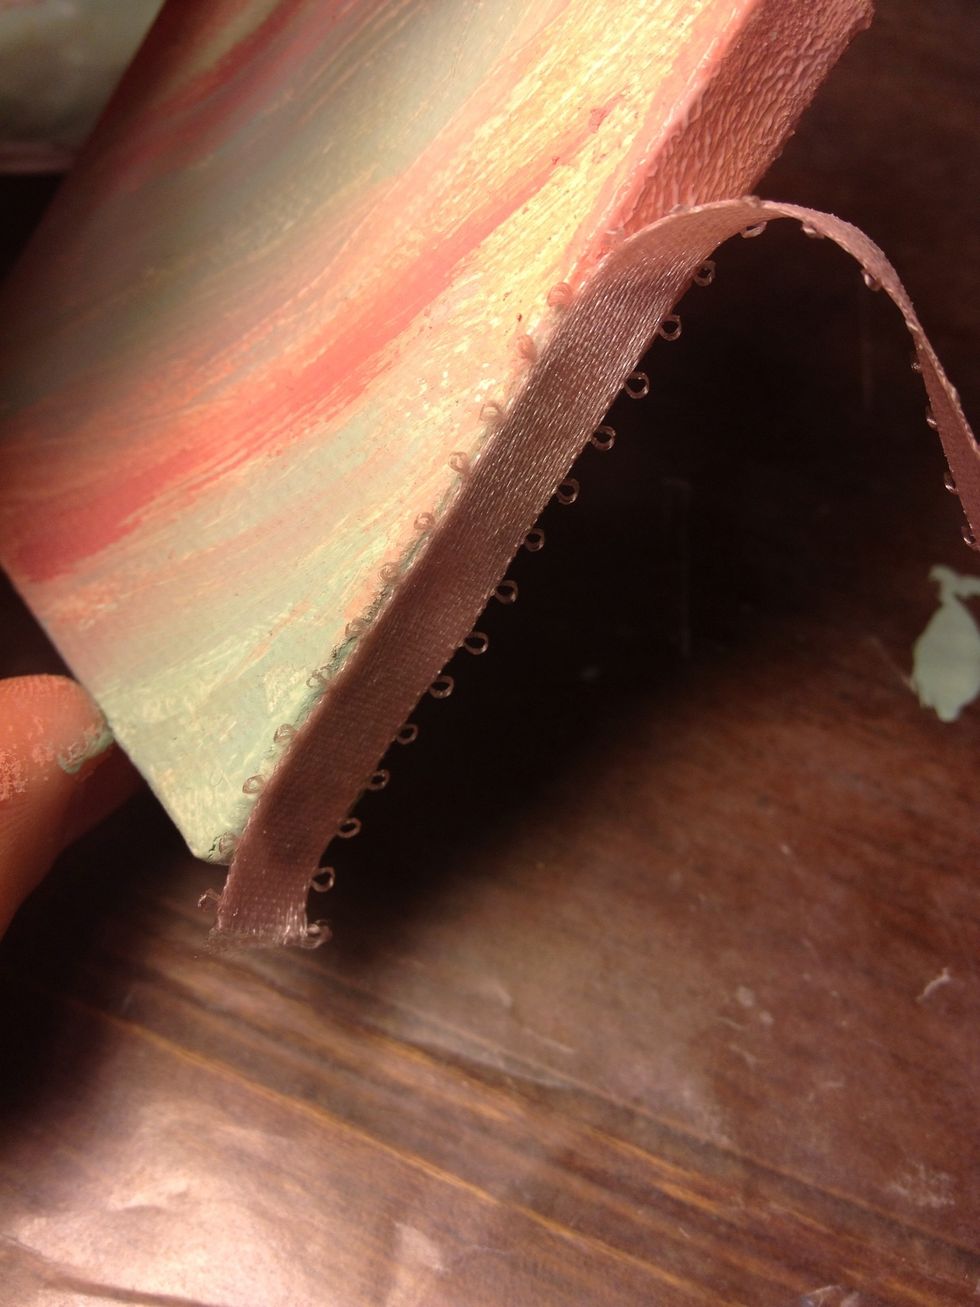
Start gluing the ribbon down around the edges of your piece leaving a bit extra at the starting corner.I used fabric mod podge, but I bet regular would be fine.
I had to add glue to both the ribbon and canvas. Not too thick!
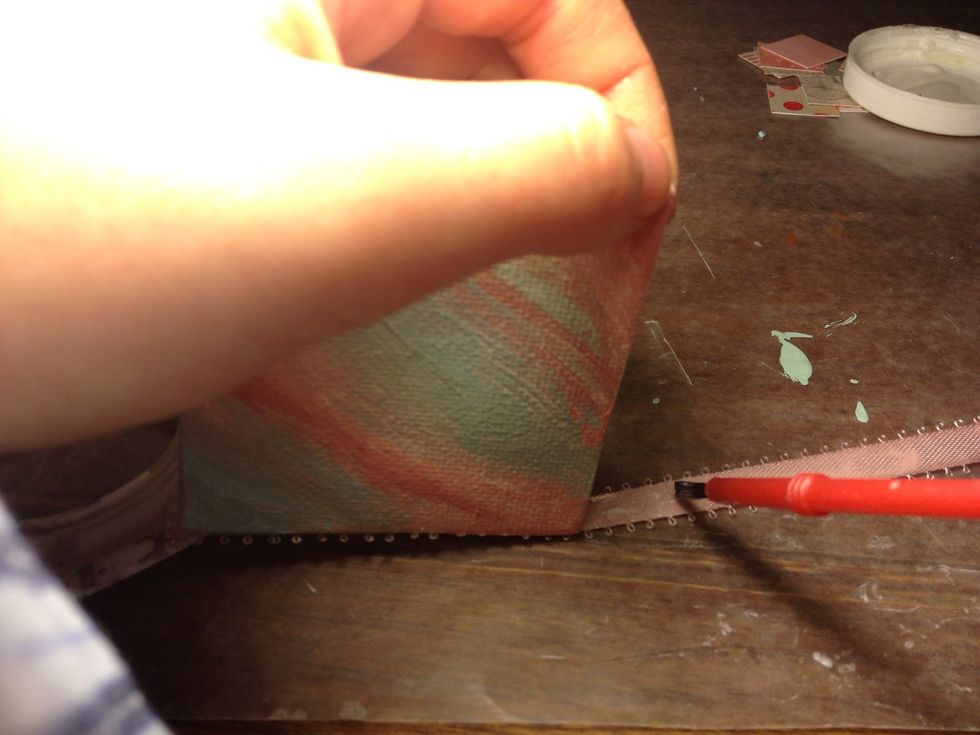
When you get back to the start corner, add some glue and tuck the beginning around the corner.
Glue the end on top of your beginning end and leave some extra ribbon to glue down so it doesn't end on a corner.
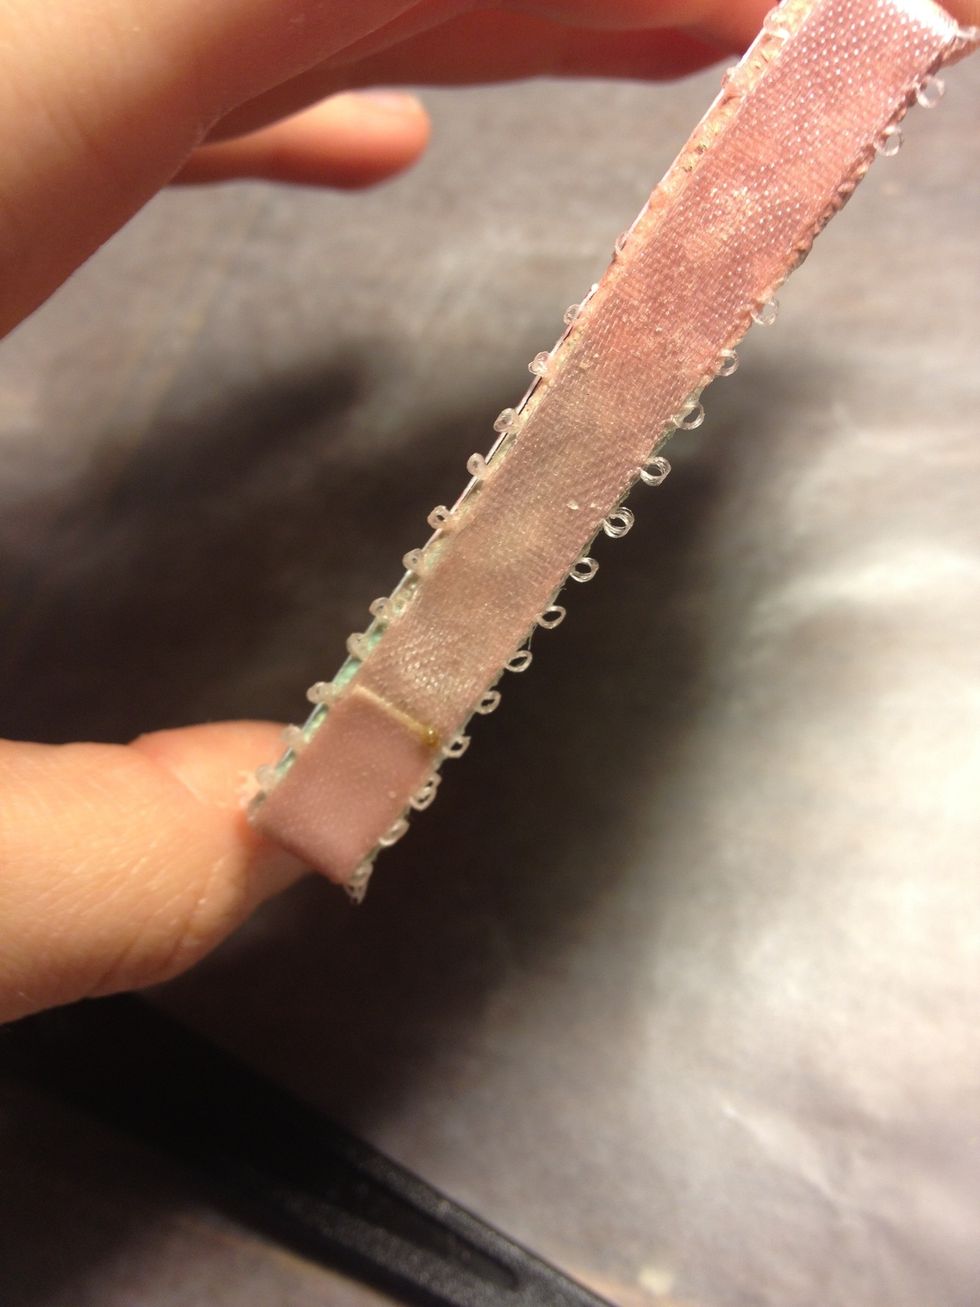
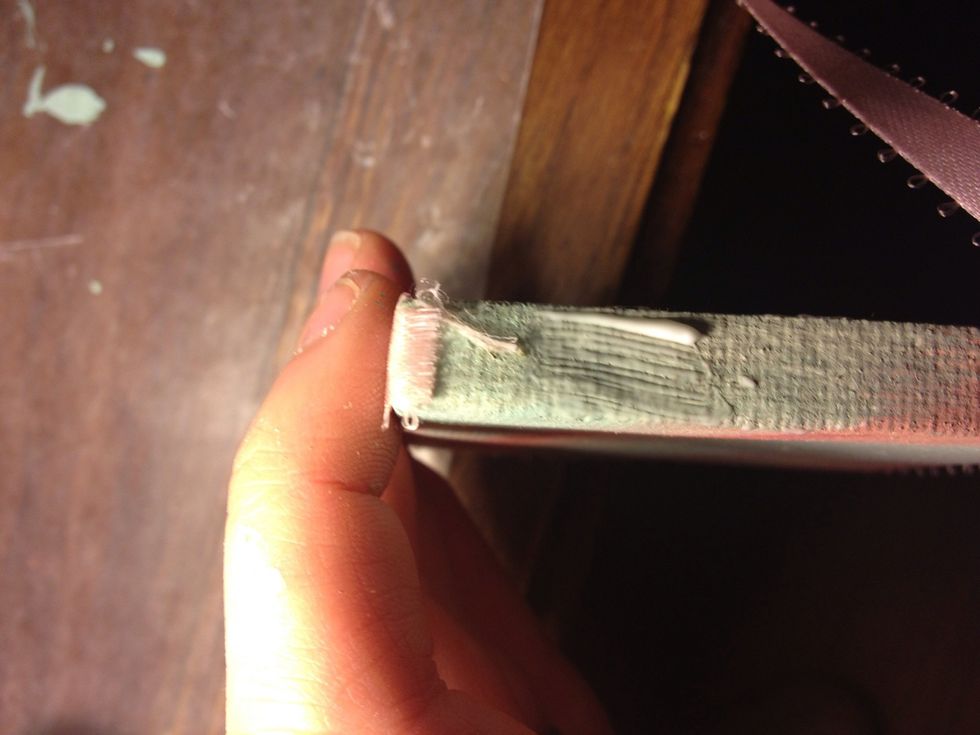
I cut mine down a bit and singed it because it wouldn't stop running!
Layout your squares in the design you like best. Then place them in that order around or next to the canvas.
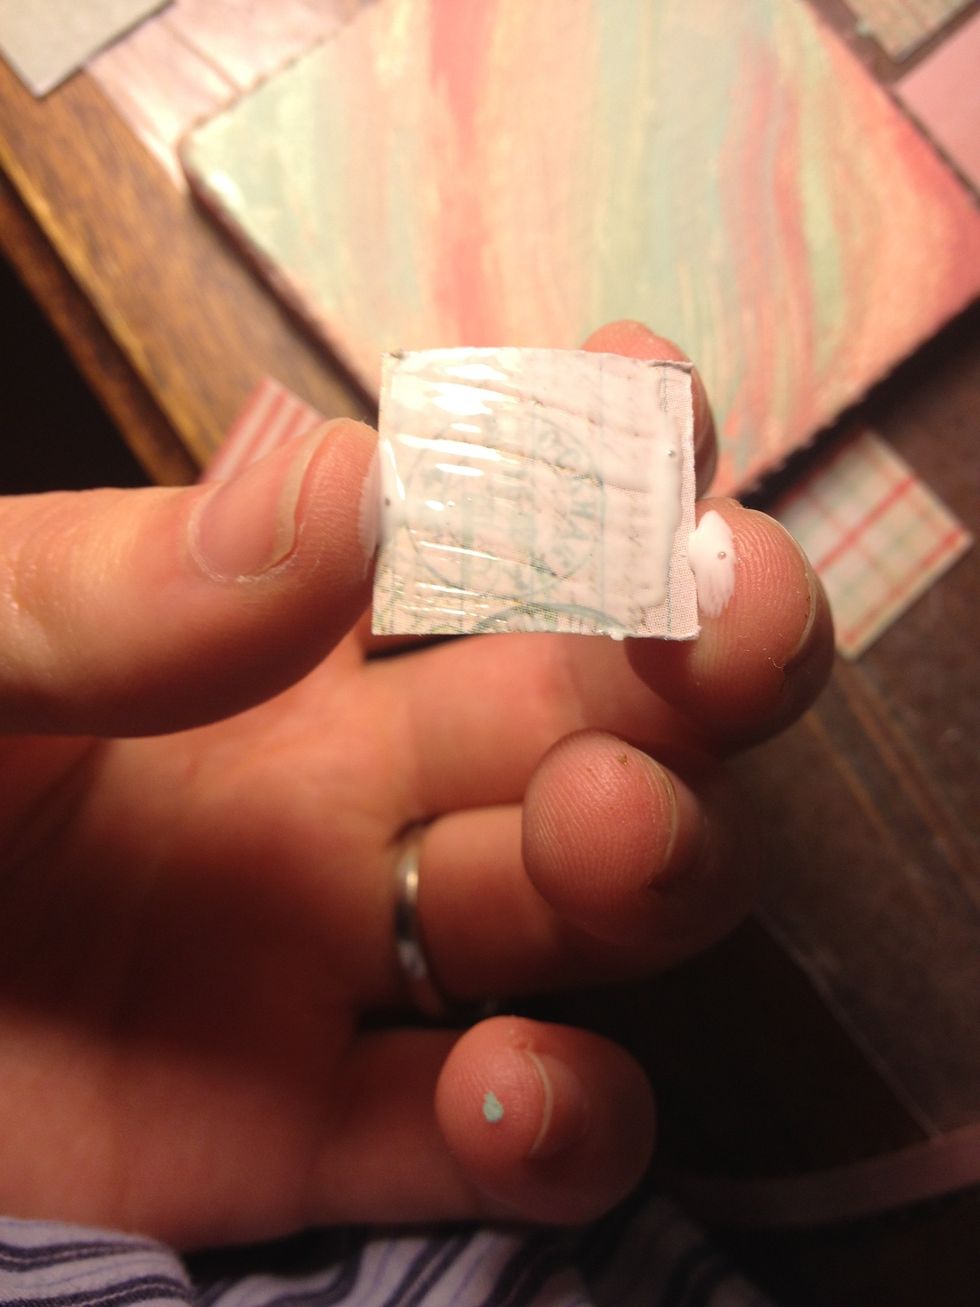
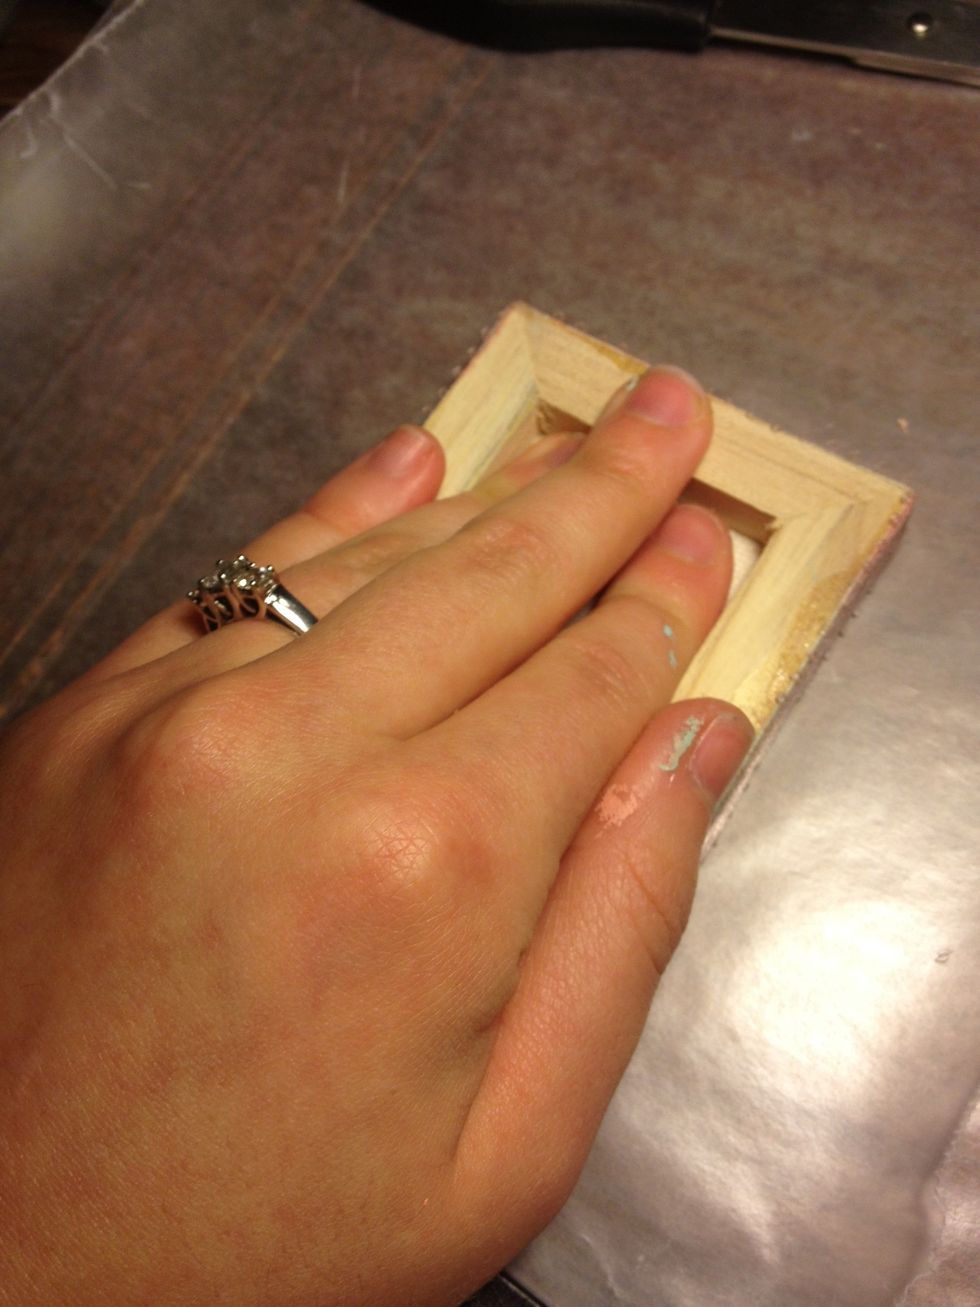
Start with a corner square. Add a thin layer of mod podge (this is too much) to the back and glue it carefully down. It should have very thin margins with the edges. (See next)
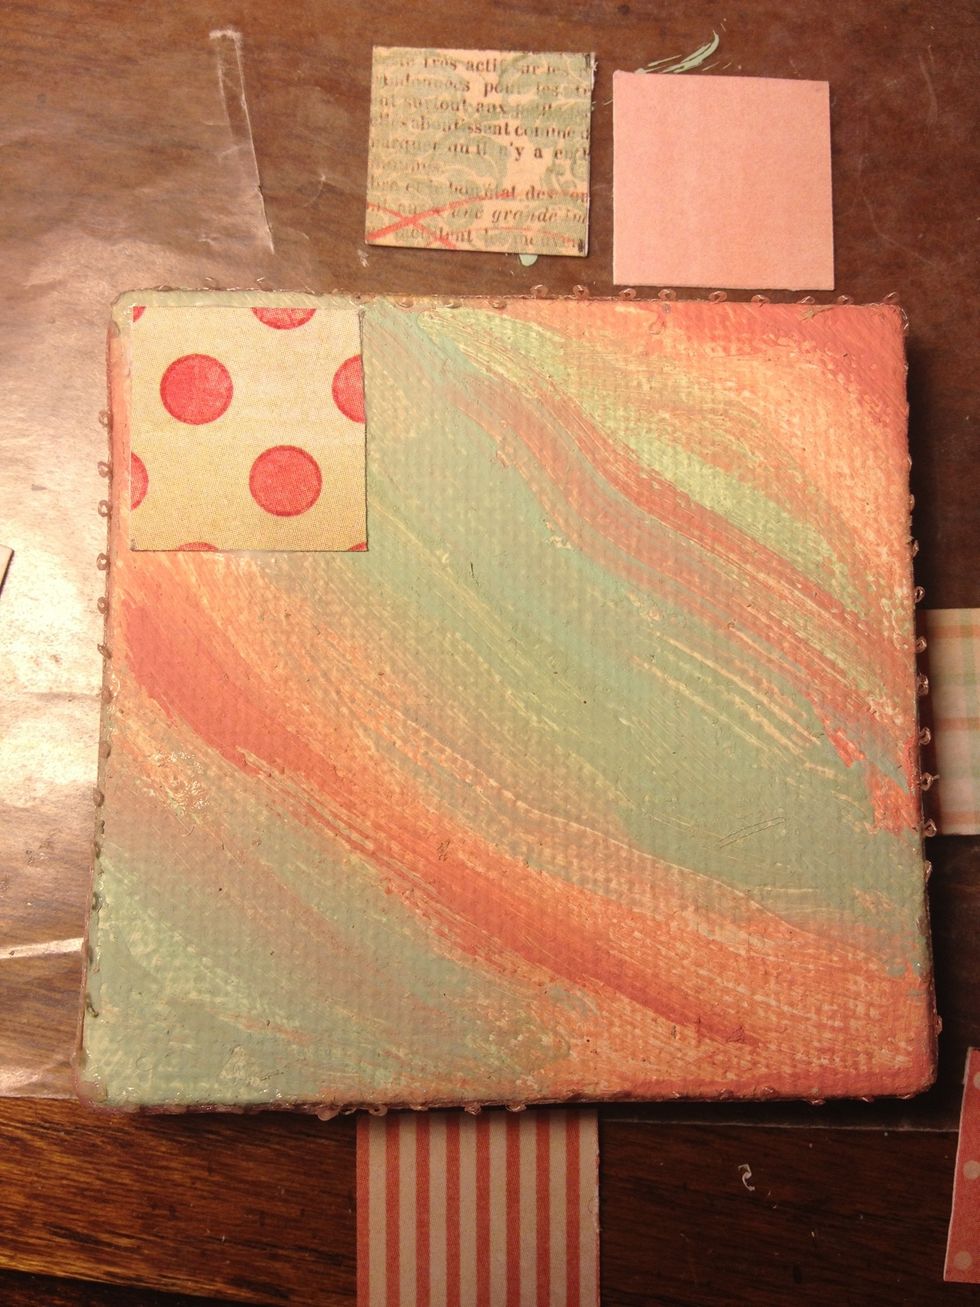
First square!
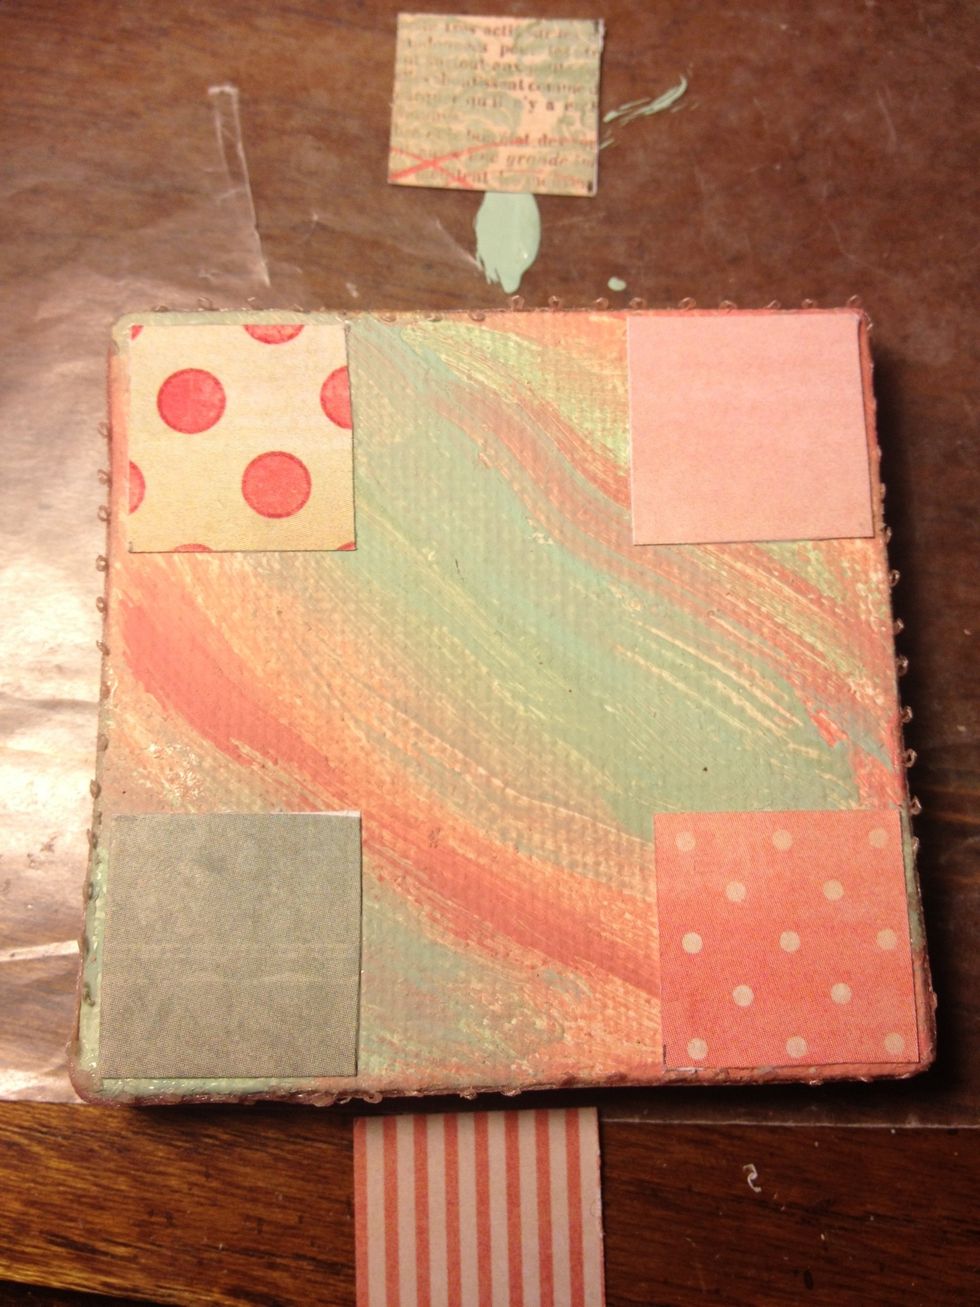
Next glue down the other corners for reference points.
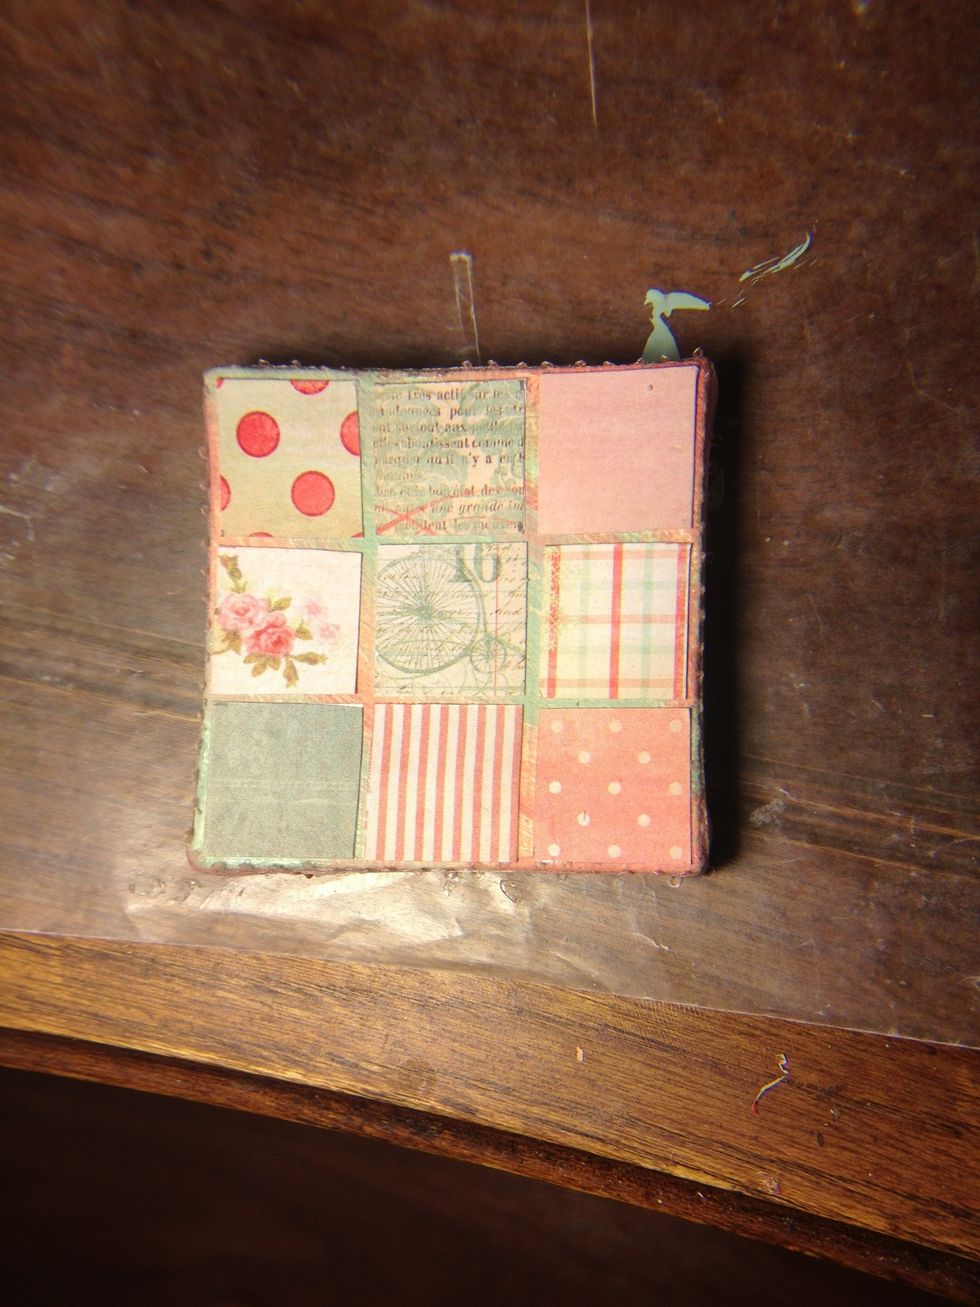
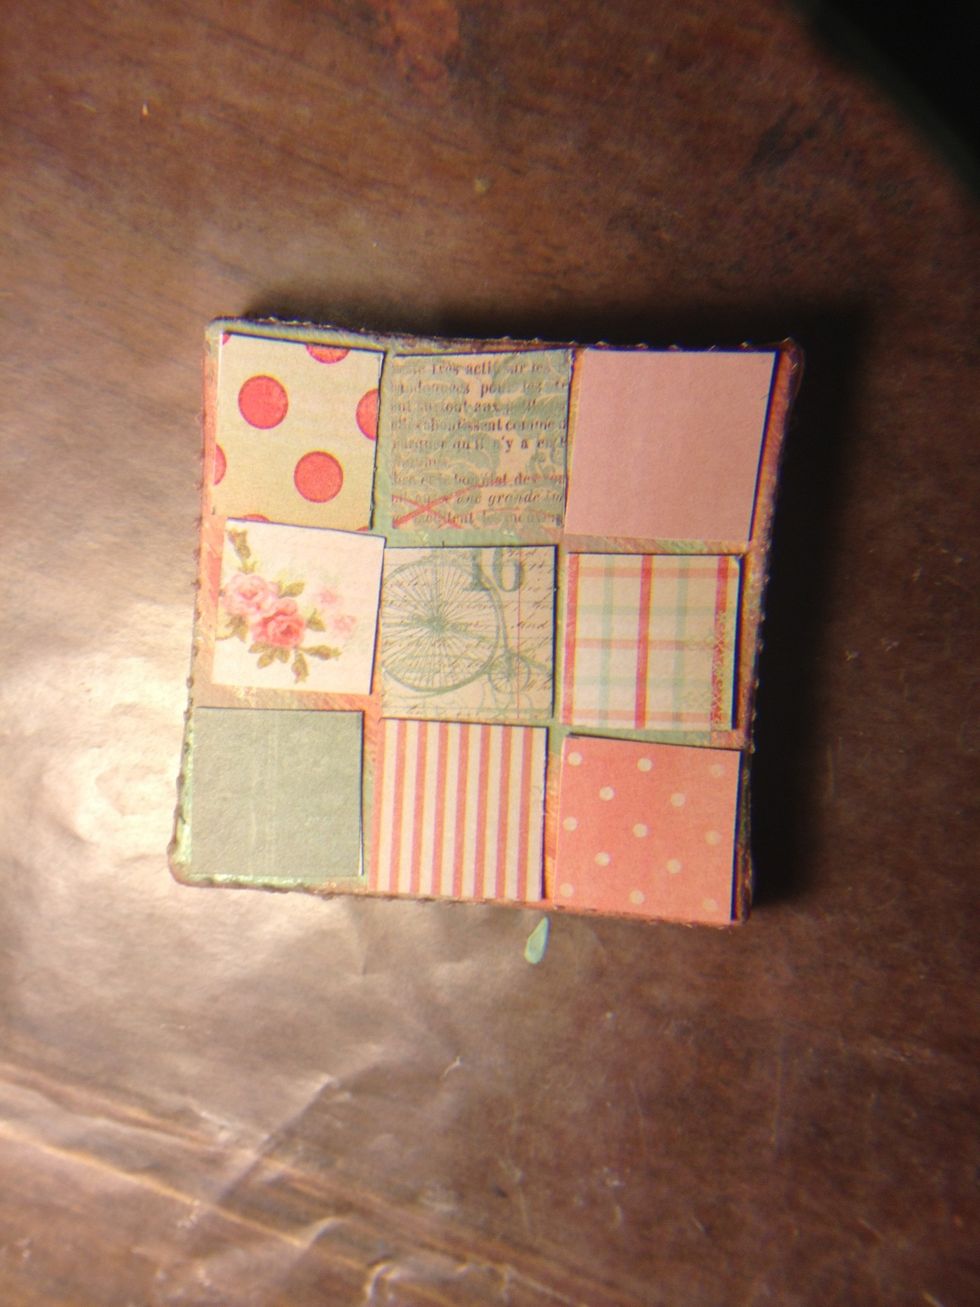
Add the rest in and it should be relatively even.
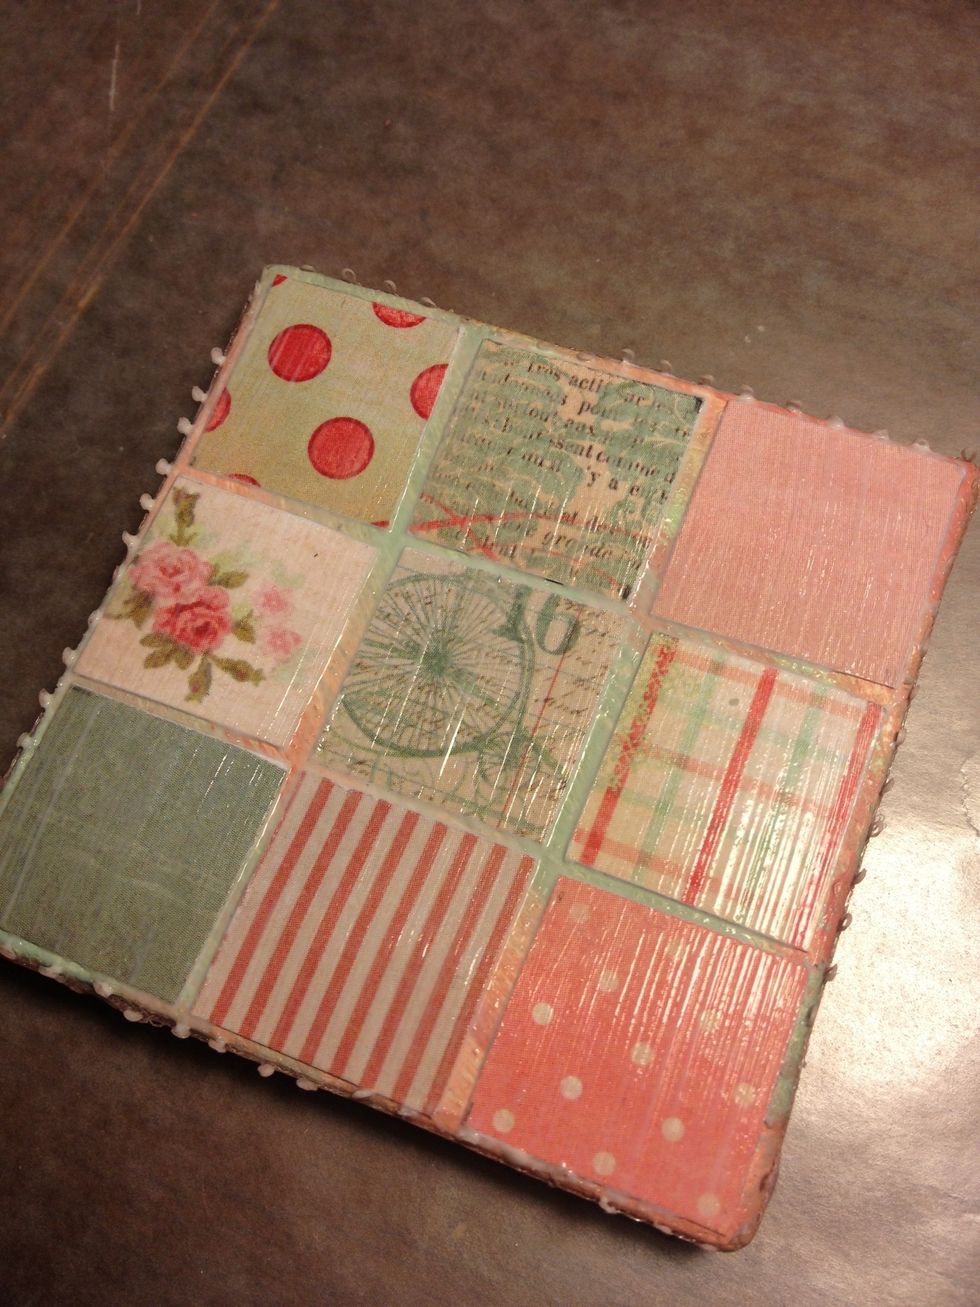
Add a thin layer of mod podge on top of all of them and let dry.
If they start to curl (mine did not) flip upside down on a -clean- sheet of wax paper and apply firm pressure for 5 minutes.
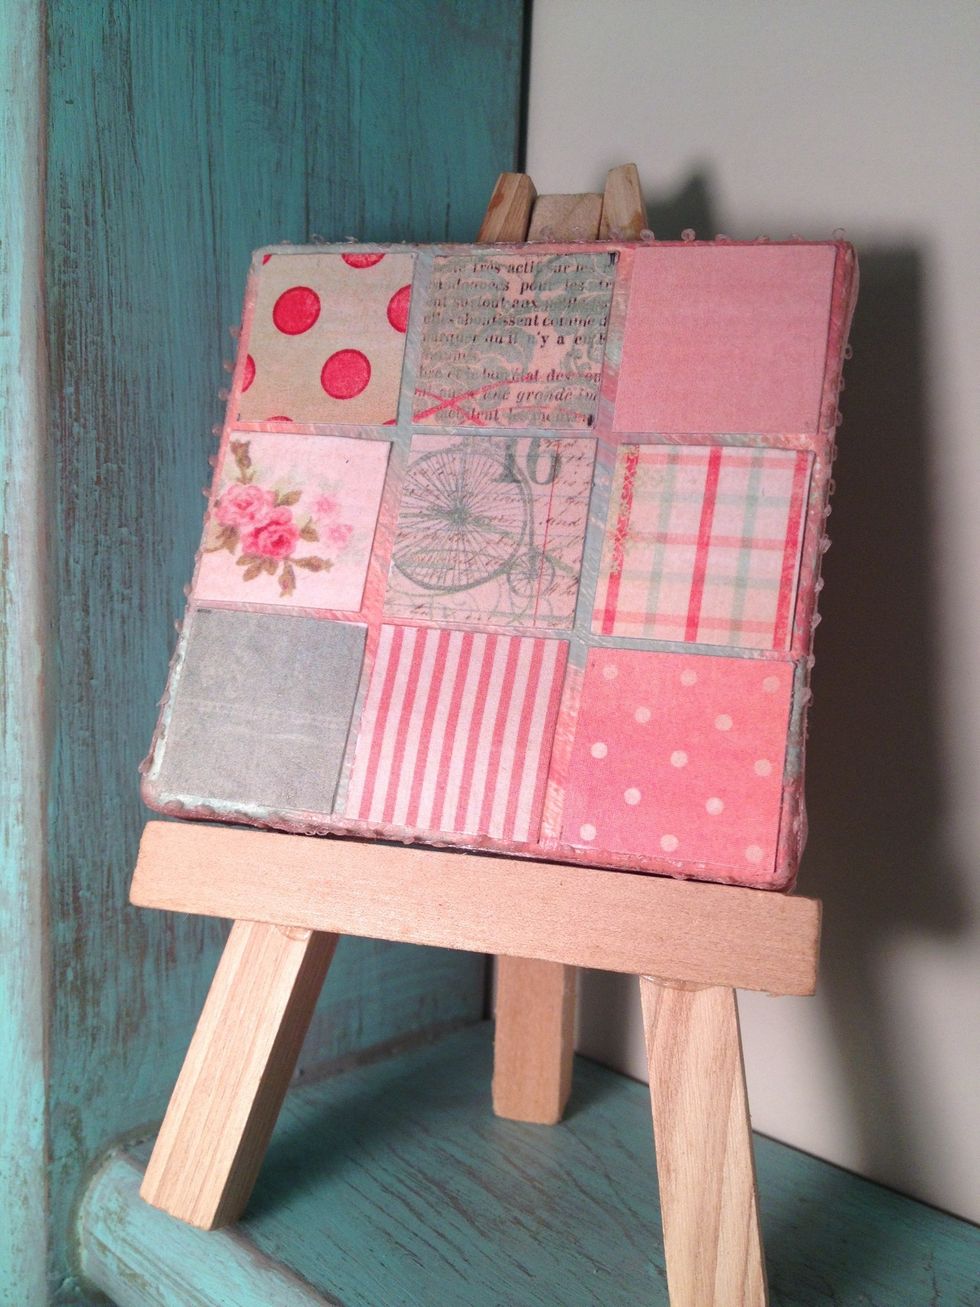
Finished product!