The Conversation (0)
Sign Up
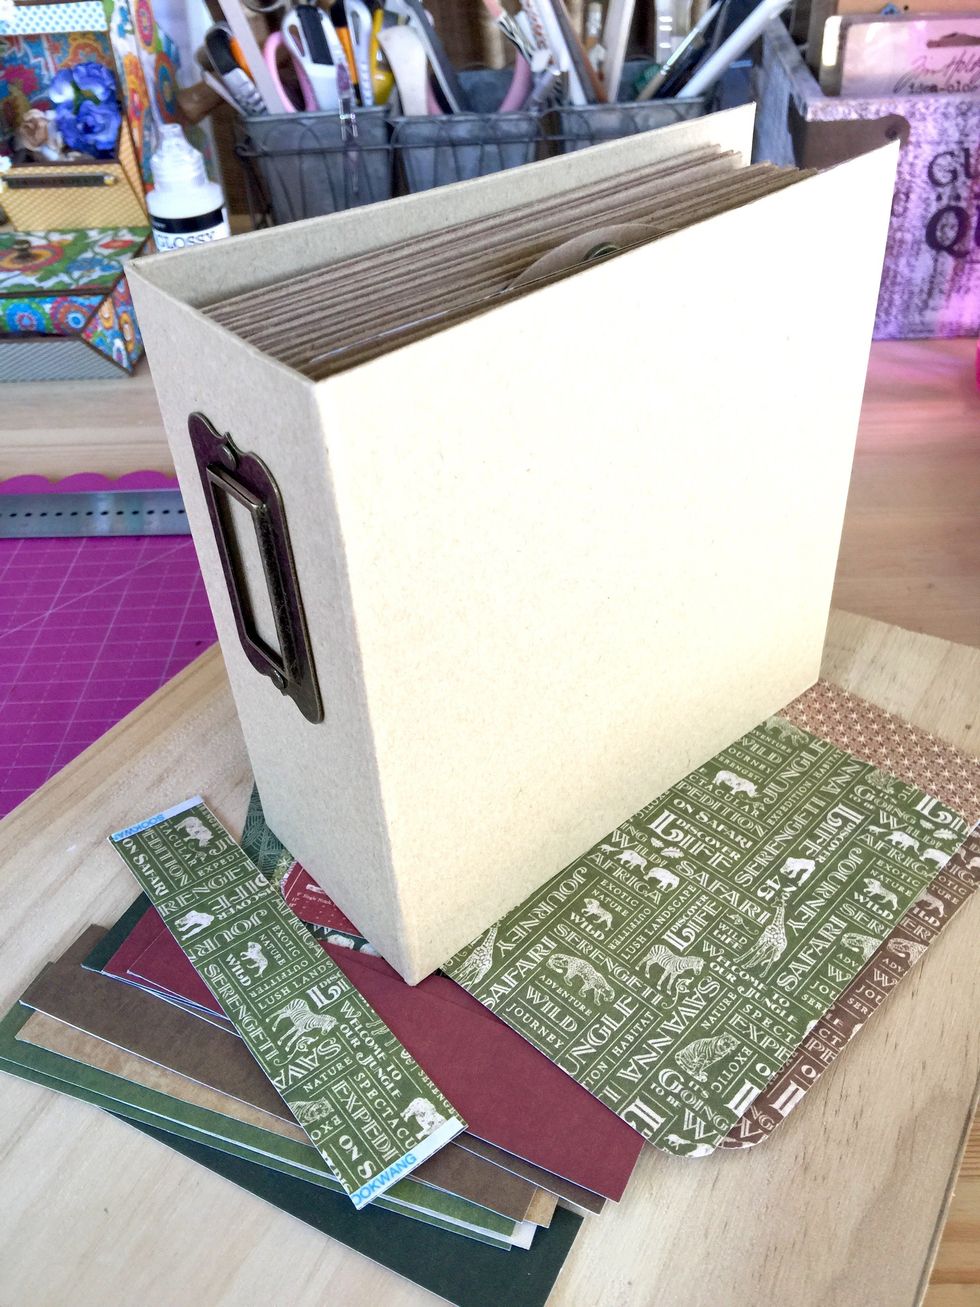
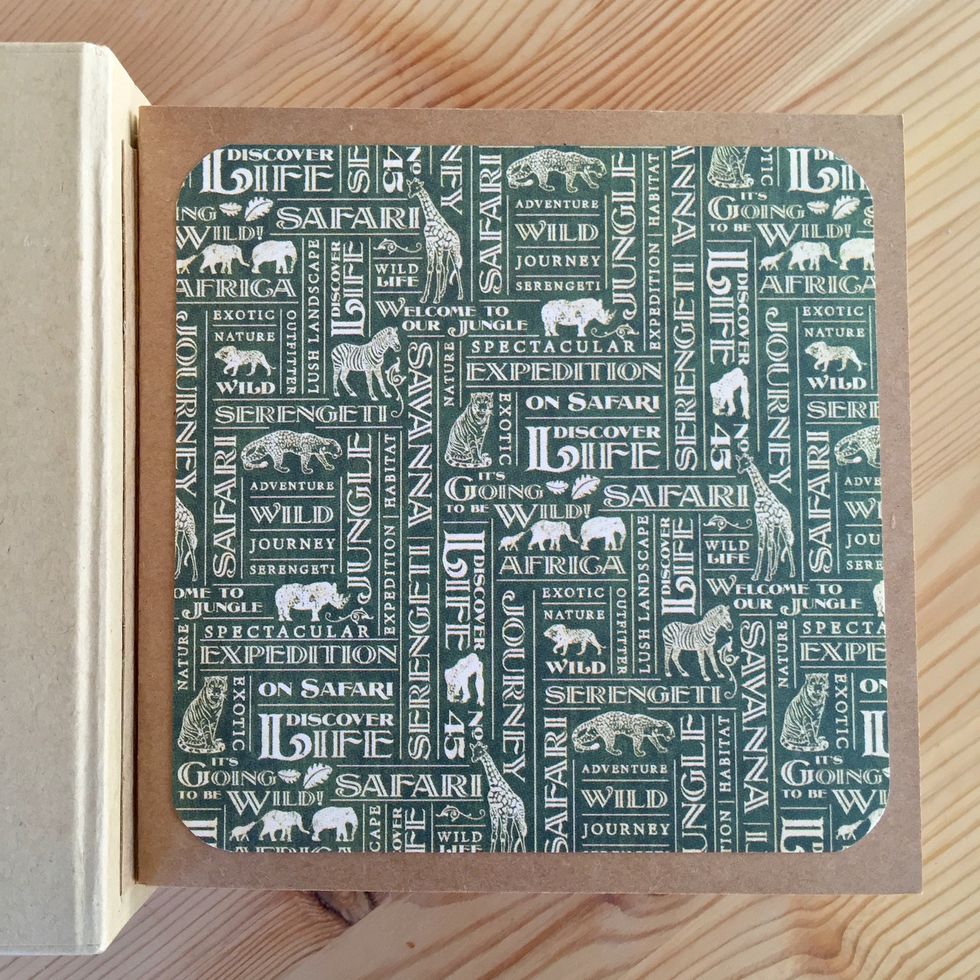
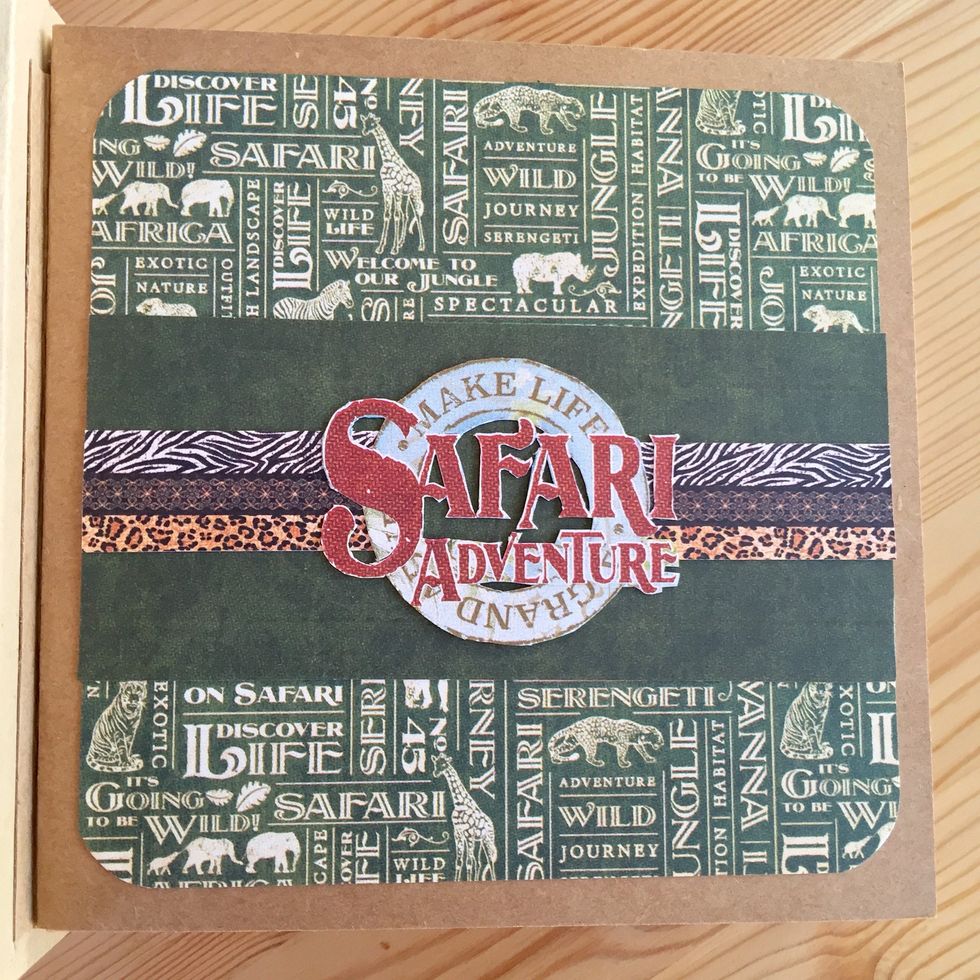
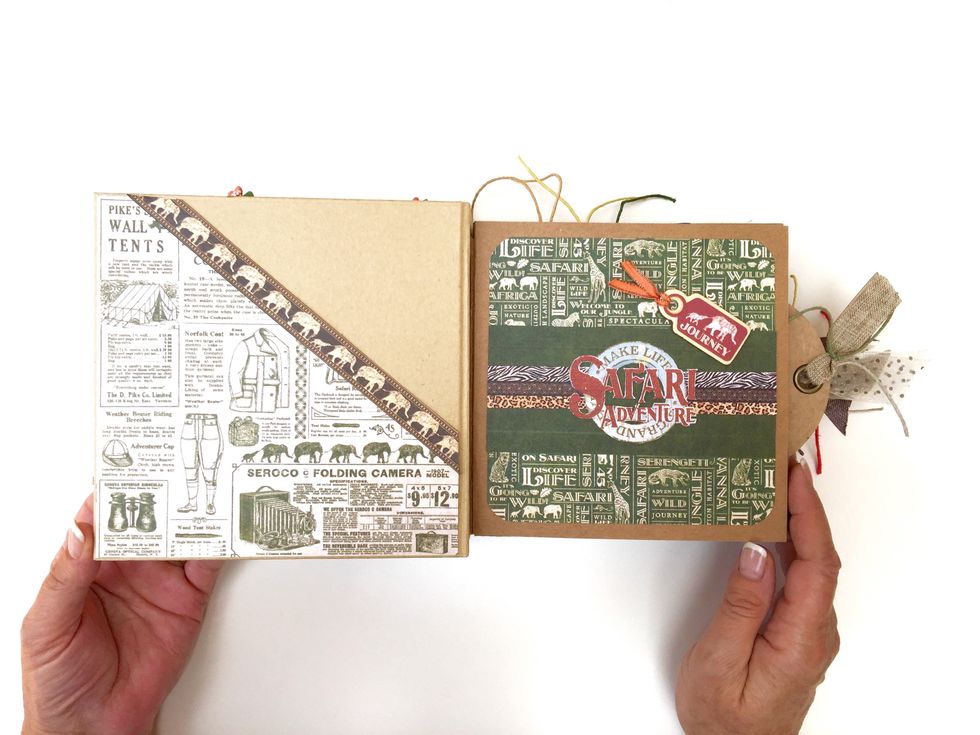
This is the Graphic 45 Square Tag&Pocket Album we are going to decorate to make a unique album with wonderful Safari Adventure Collection.
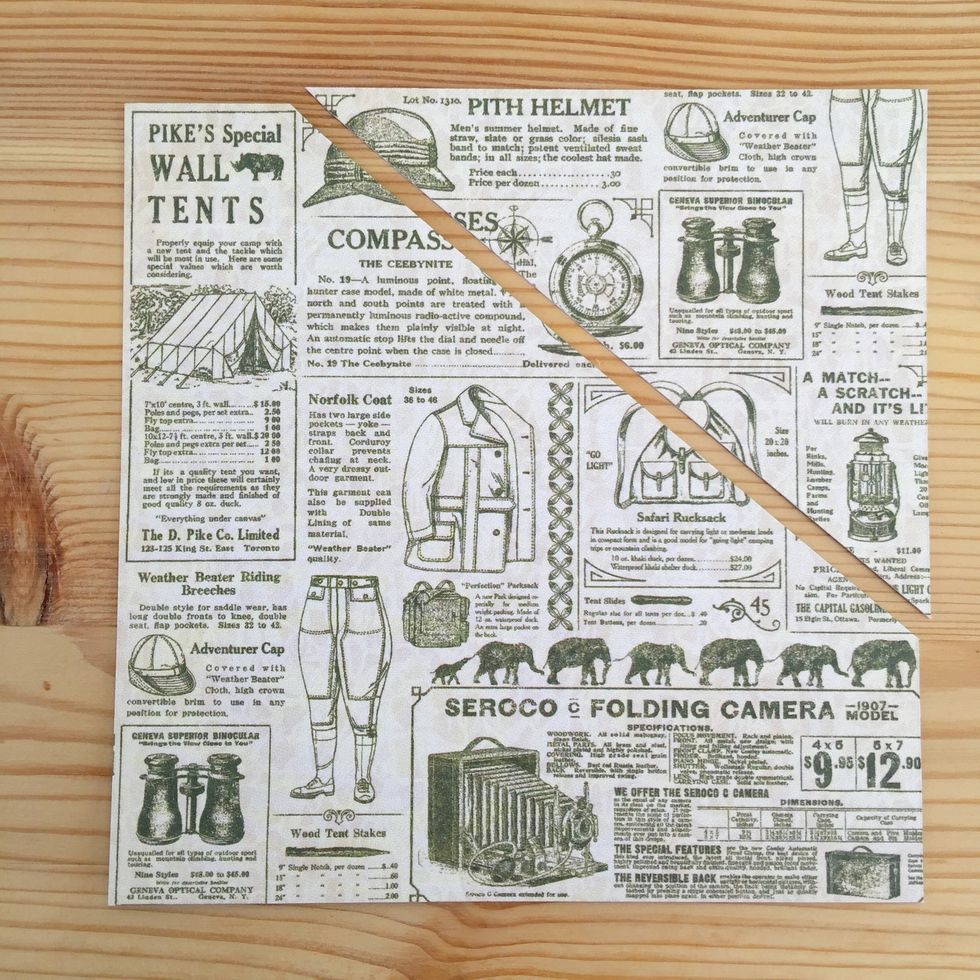
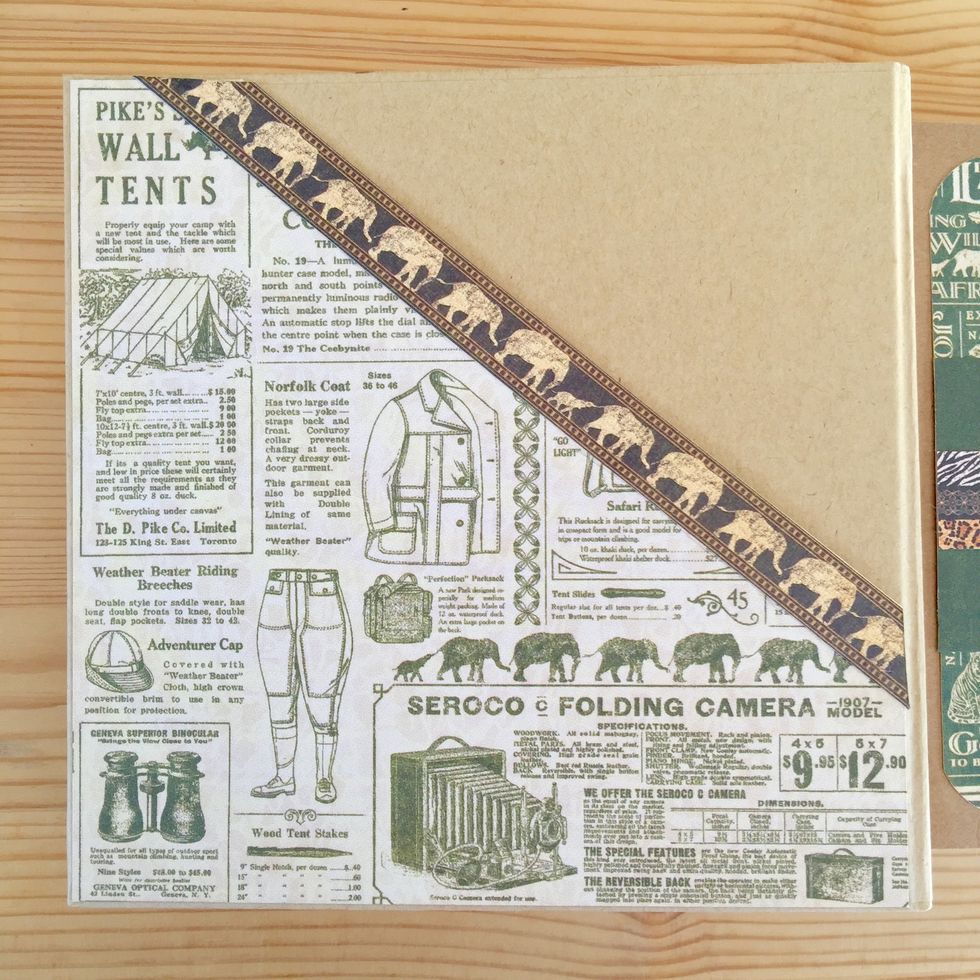
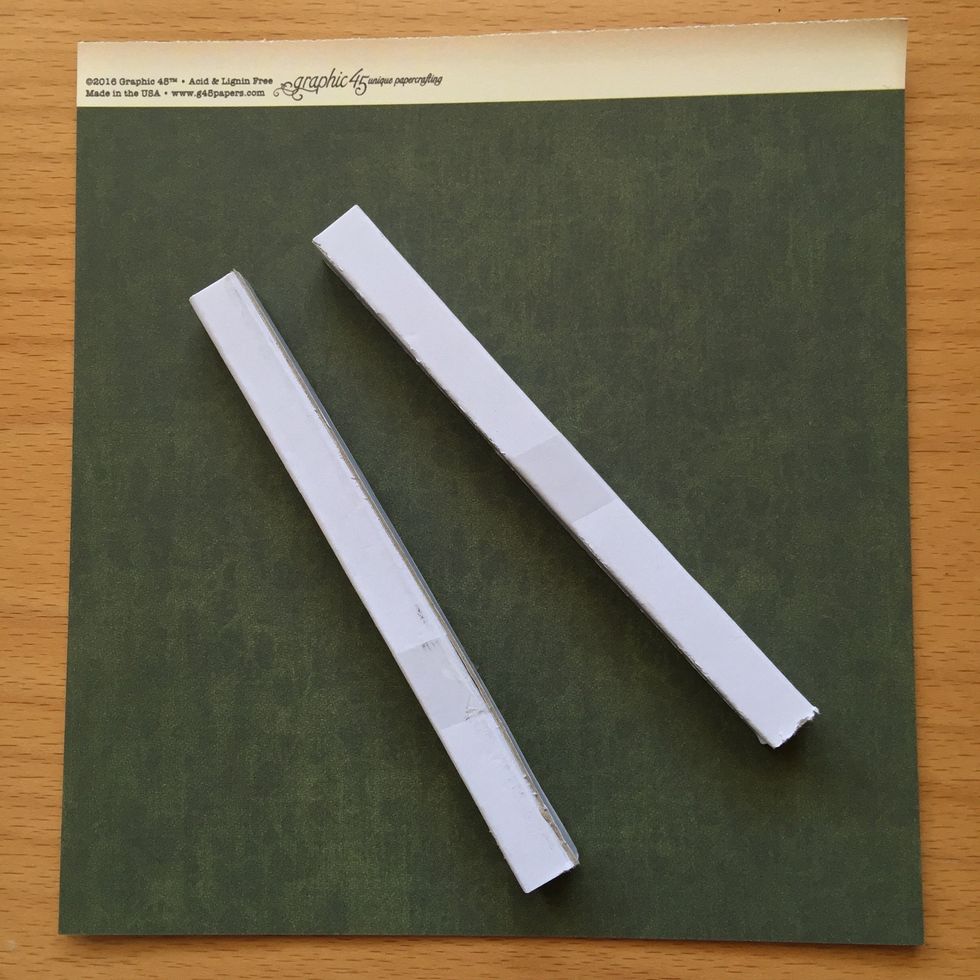
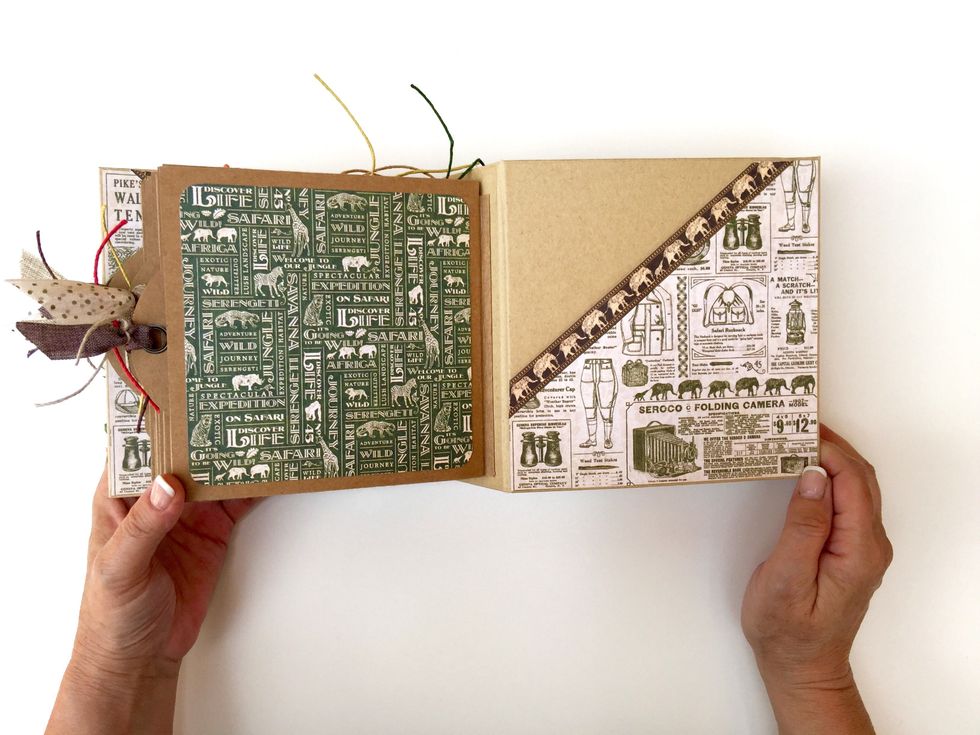
Cut a 6x6 in piece of paper in angle to make a pocket for the inside of the covers.
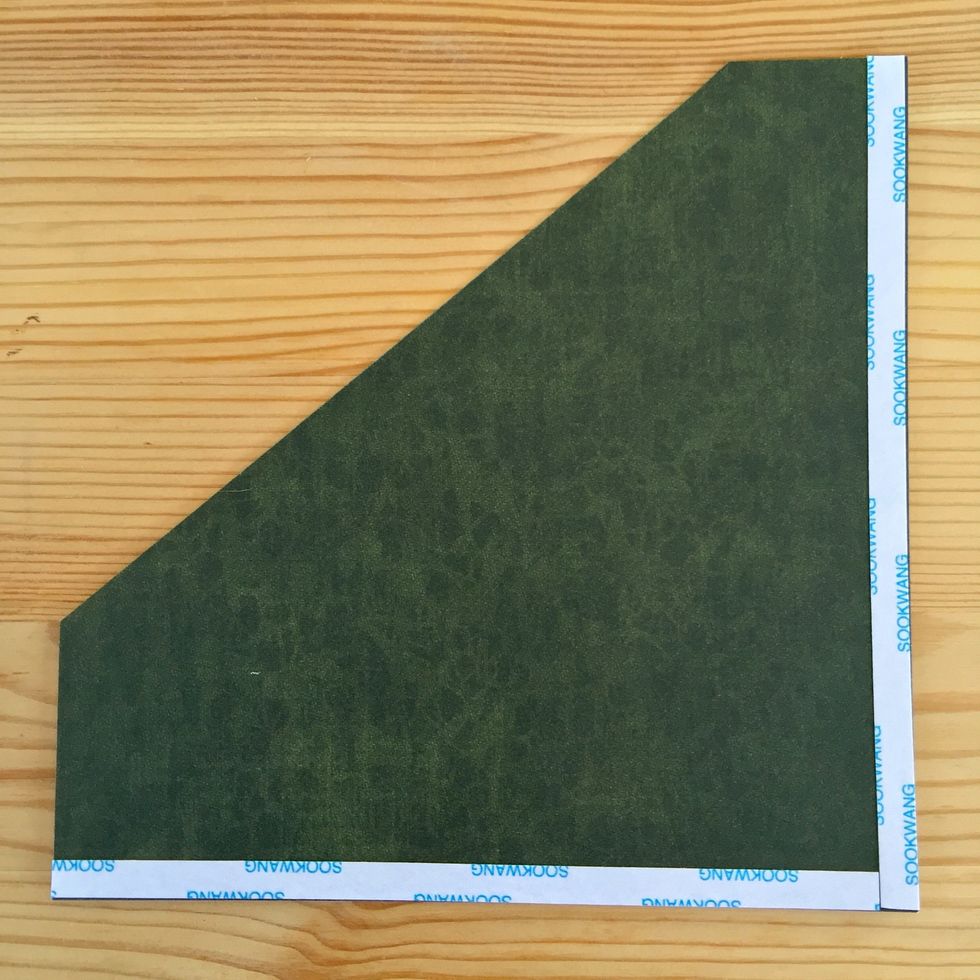
Use some double sided tape only on two sides.
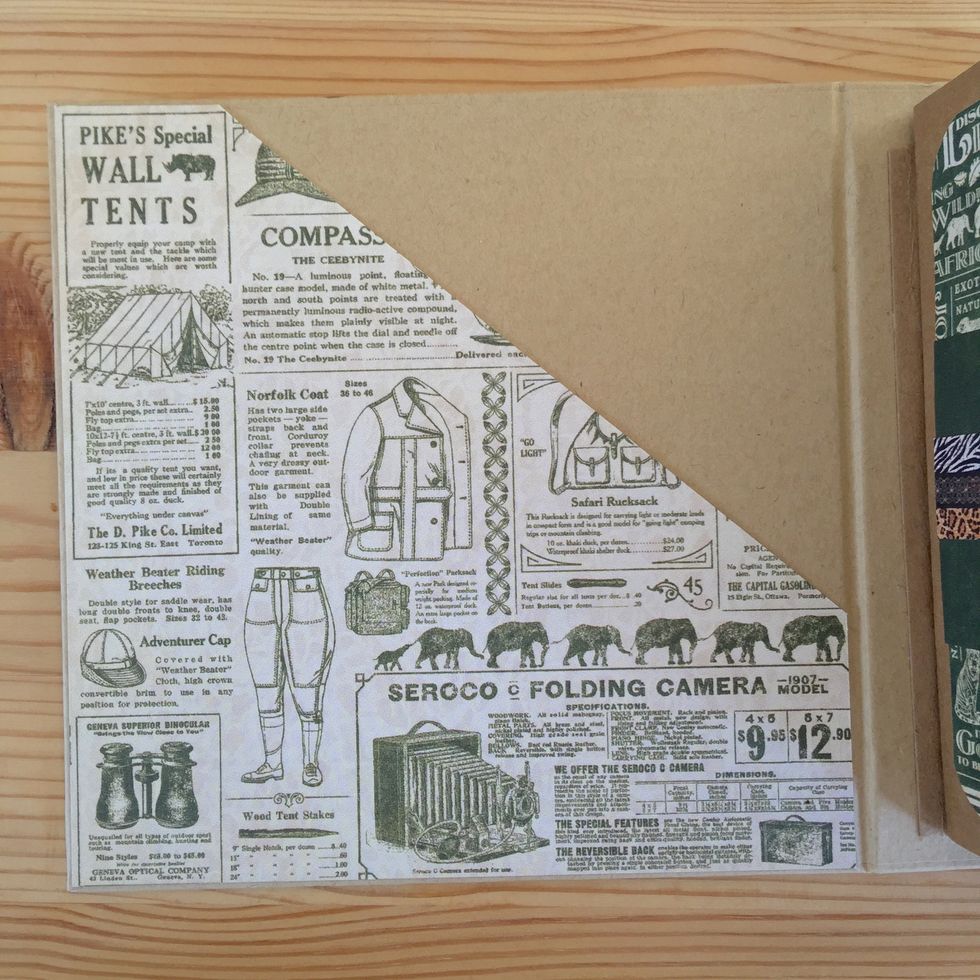
Stick the piece on the back of the cover.
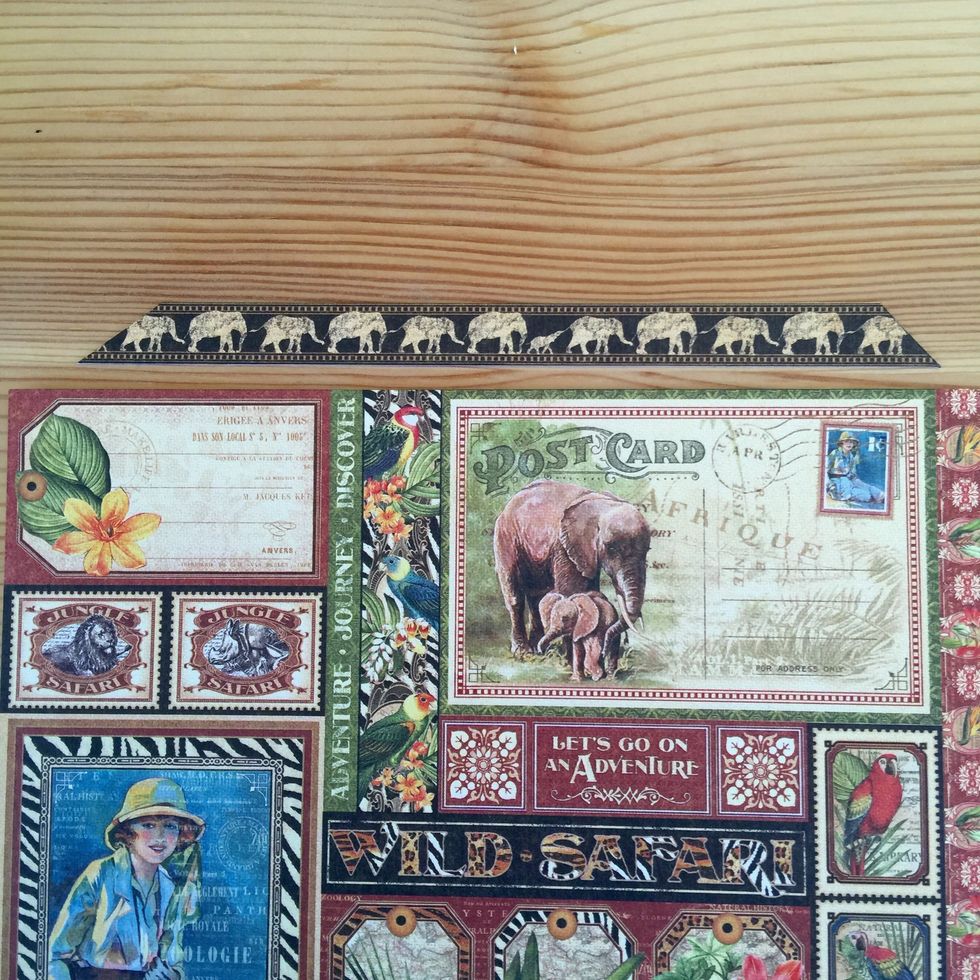
Cut this lovely strip of elephants to ornate the pocket.
And glue it on the pocket.
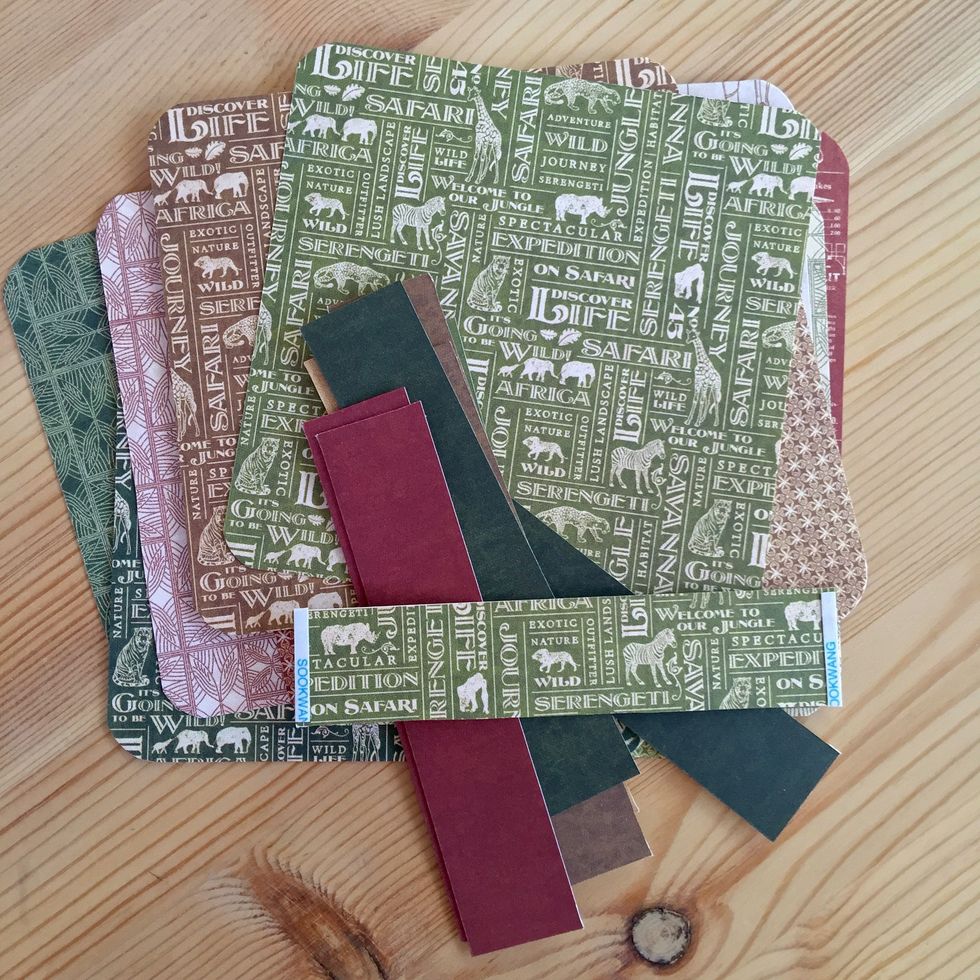
We will need some 5x5 in papers to partially cover the album pages and some 5x1 in strips more to stick on the pieces of paper as I'll show you later.
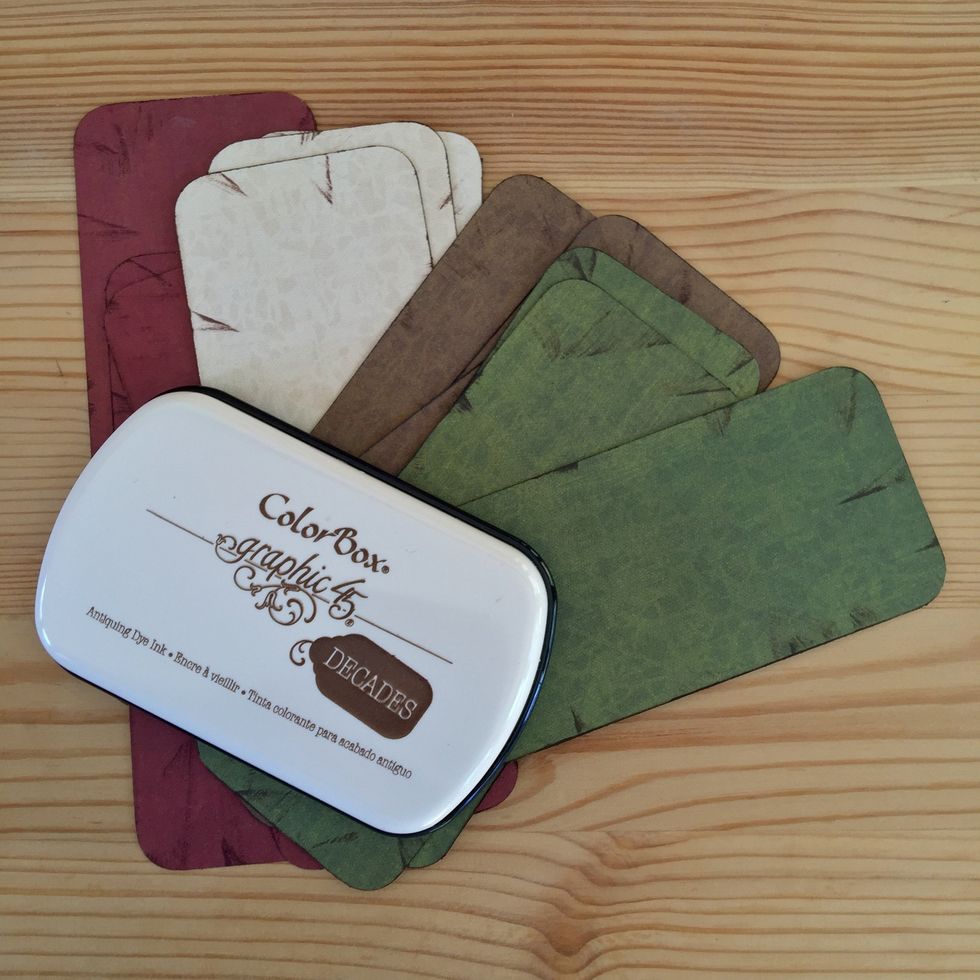
Also need some 5x2 in pieces with rounded corners and inked edges.
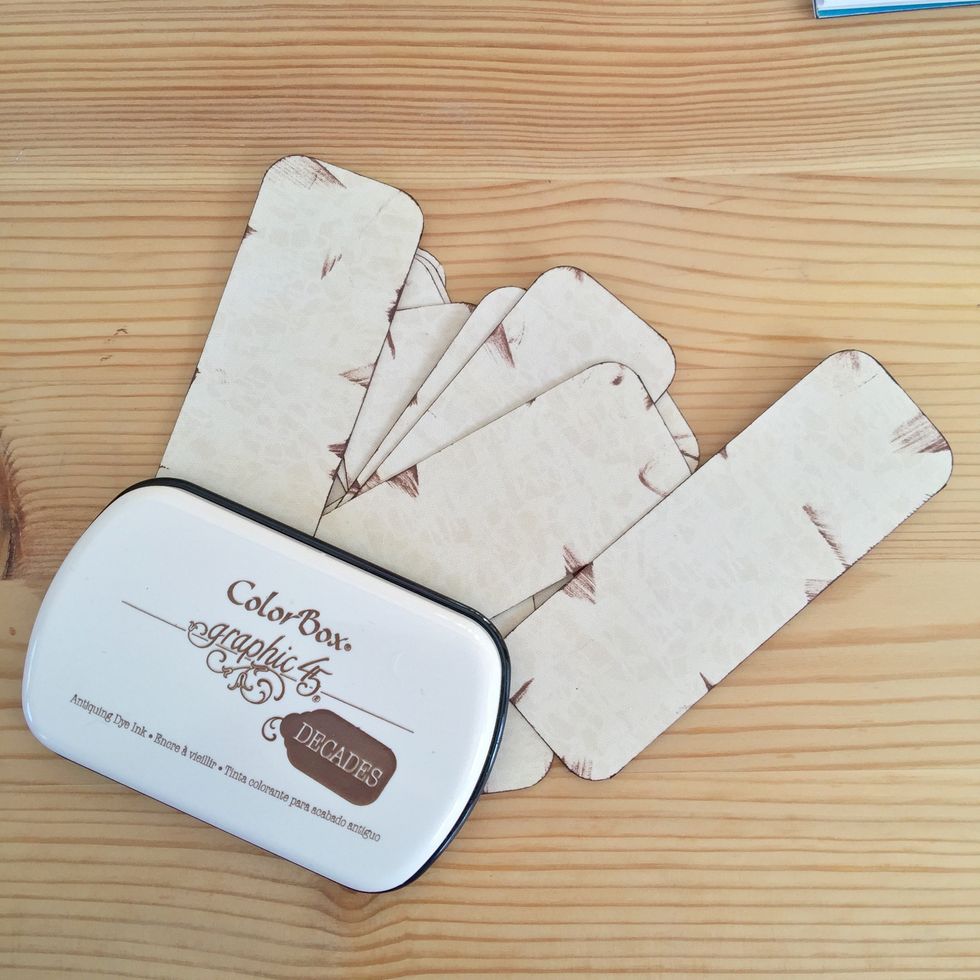
And 4x1 1/2 in pieces.
For the first page stick a piece of paper with rounded corners.
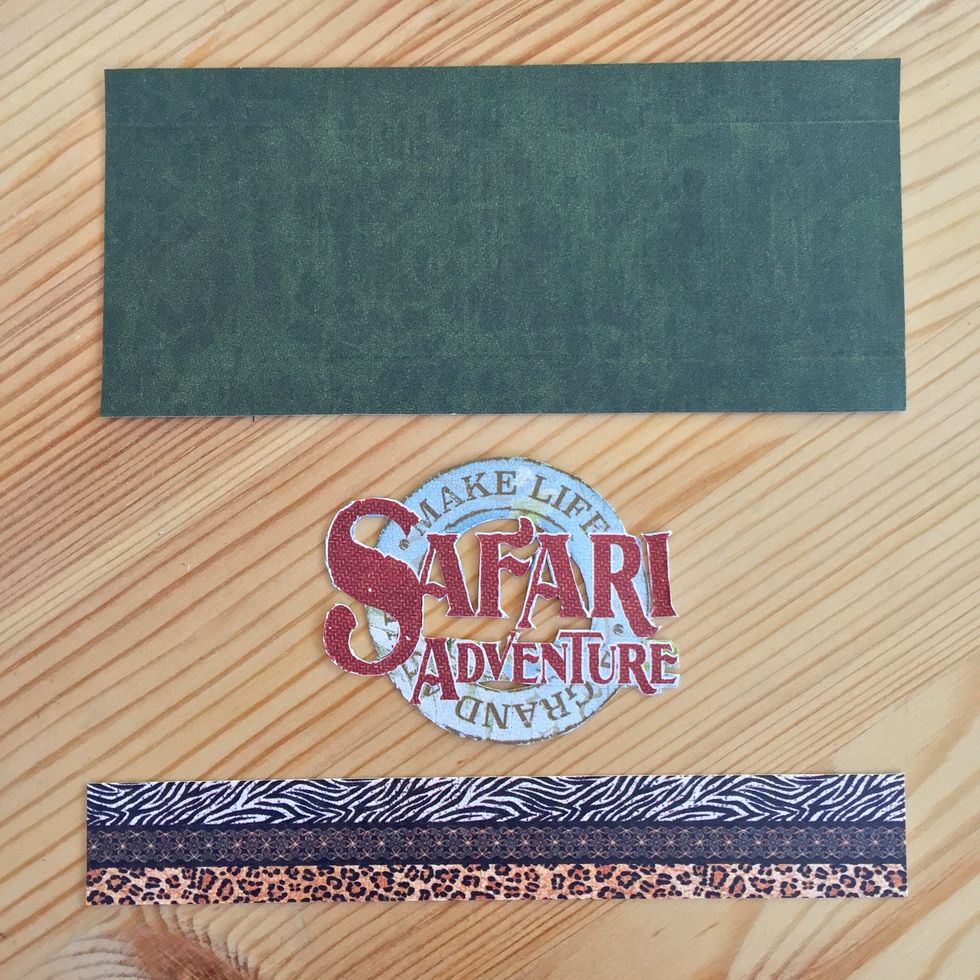
Fussy cut and a strip to make an embellishment.

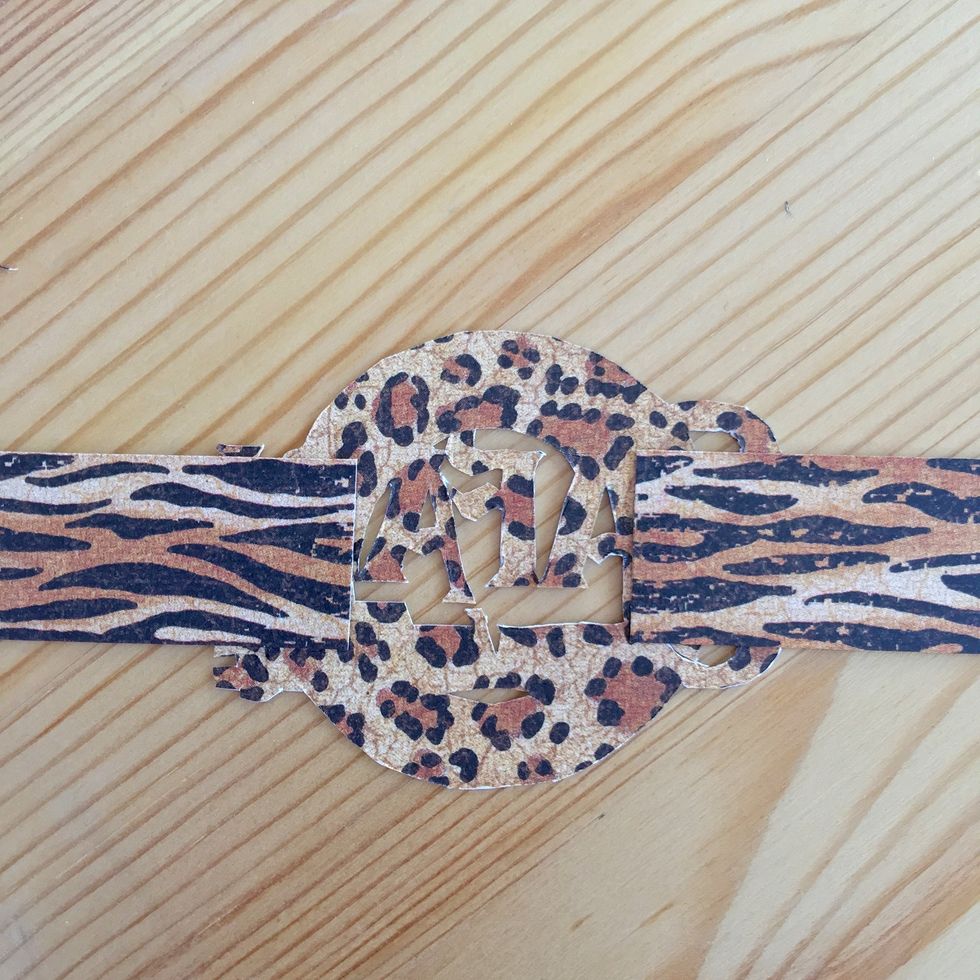
Glue on the back this two stripes.
Glue on a green band and then on the piece os paper.

Add a chipboard.
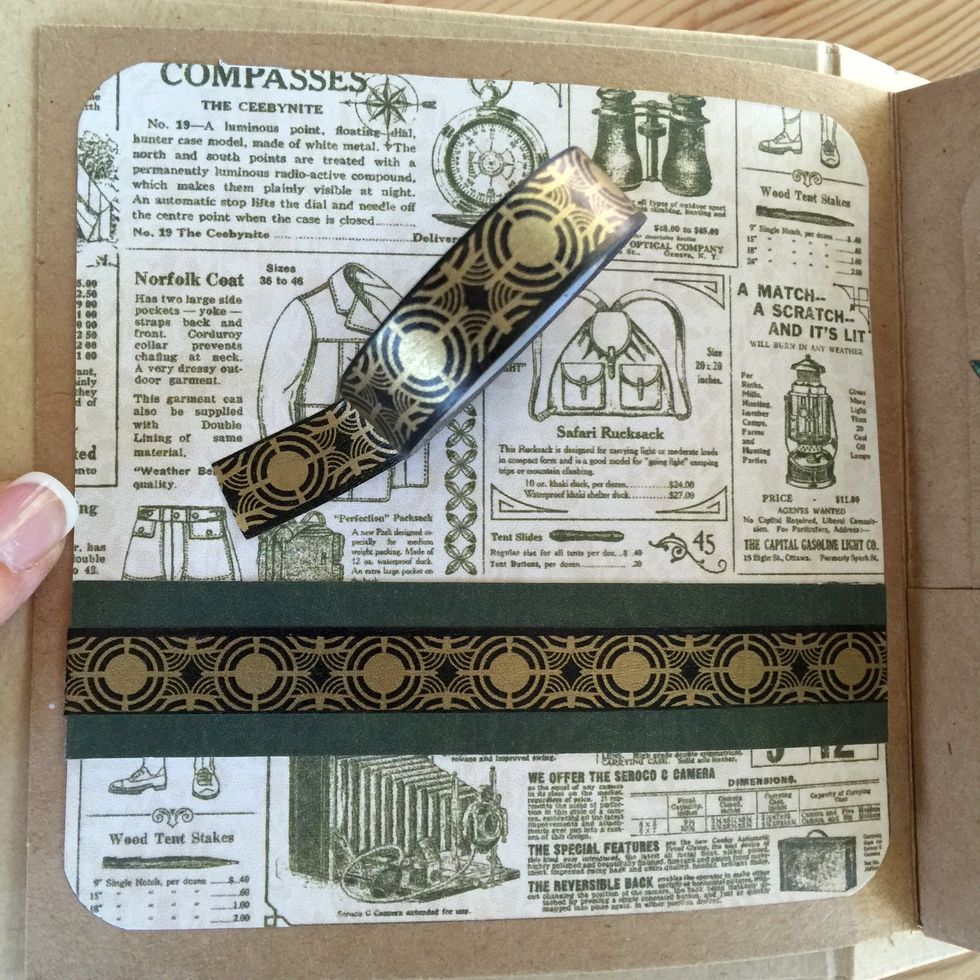
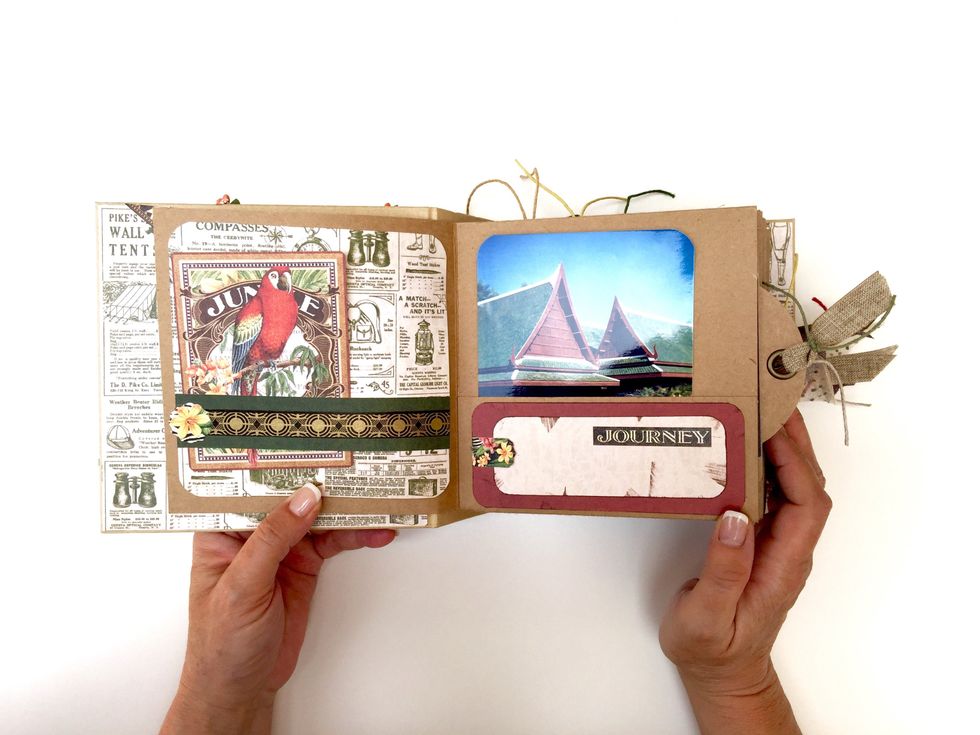
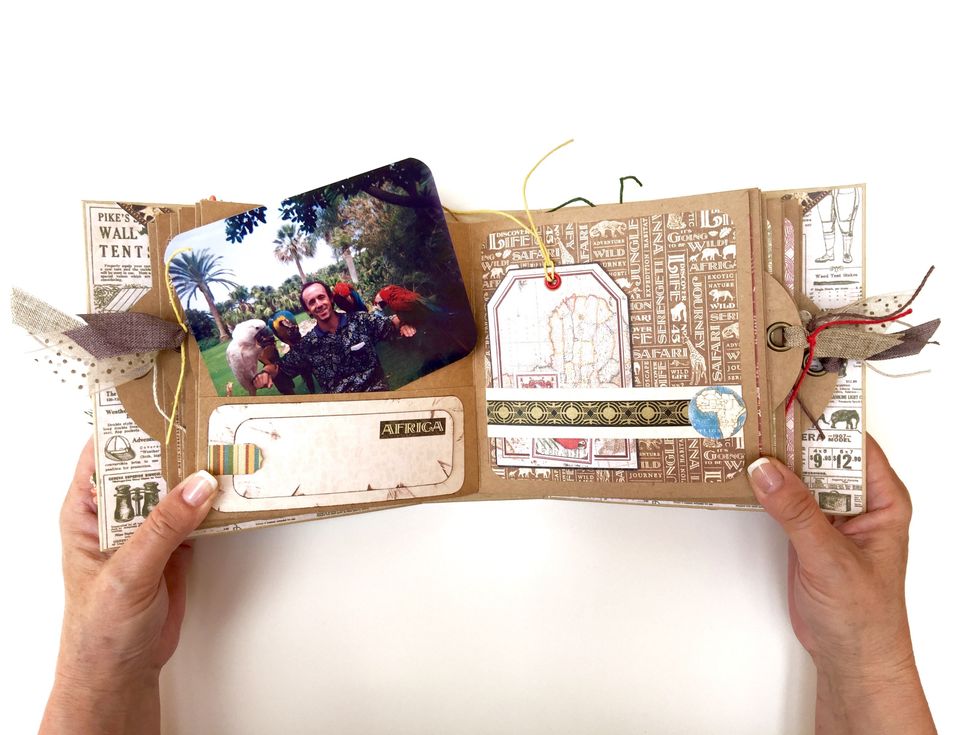
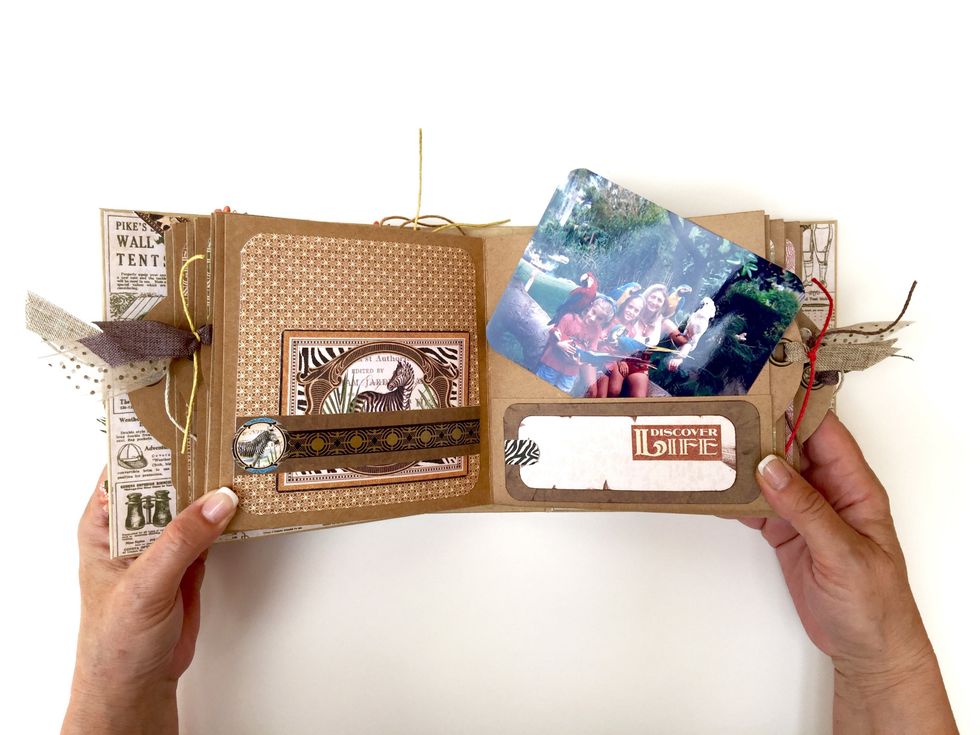
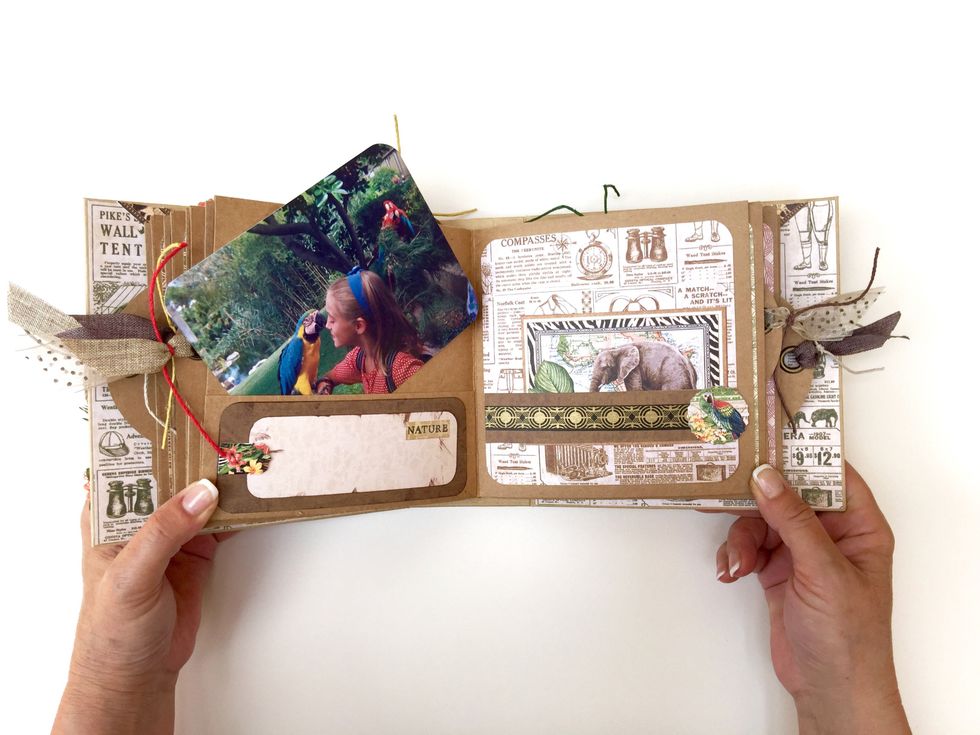
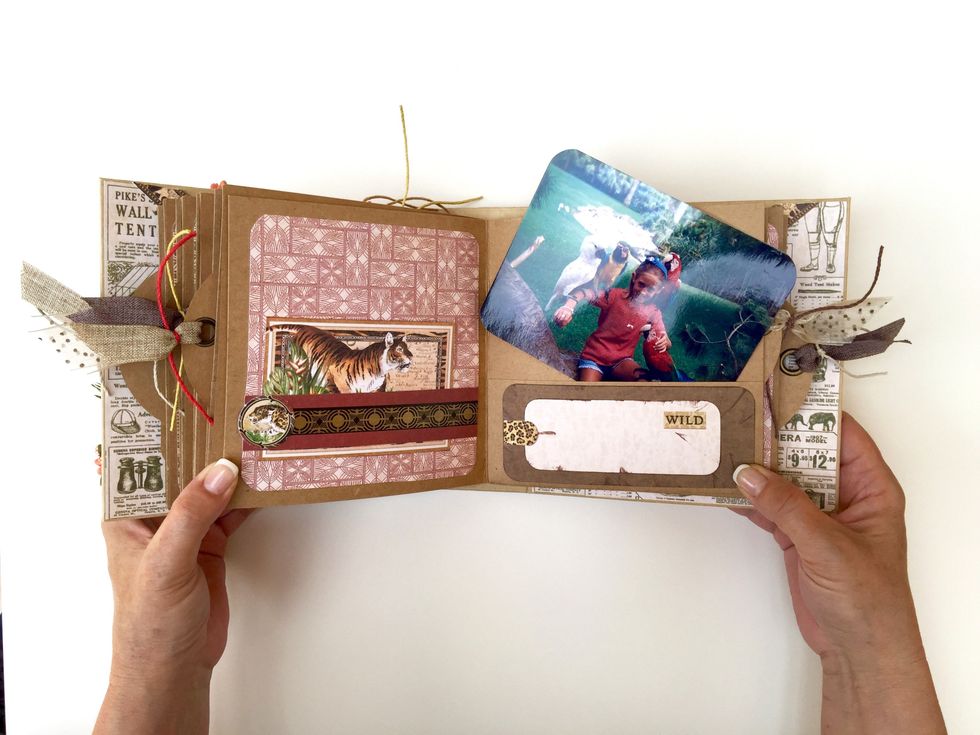
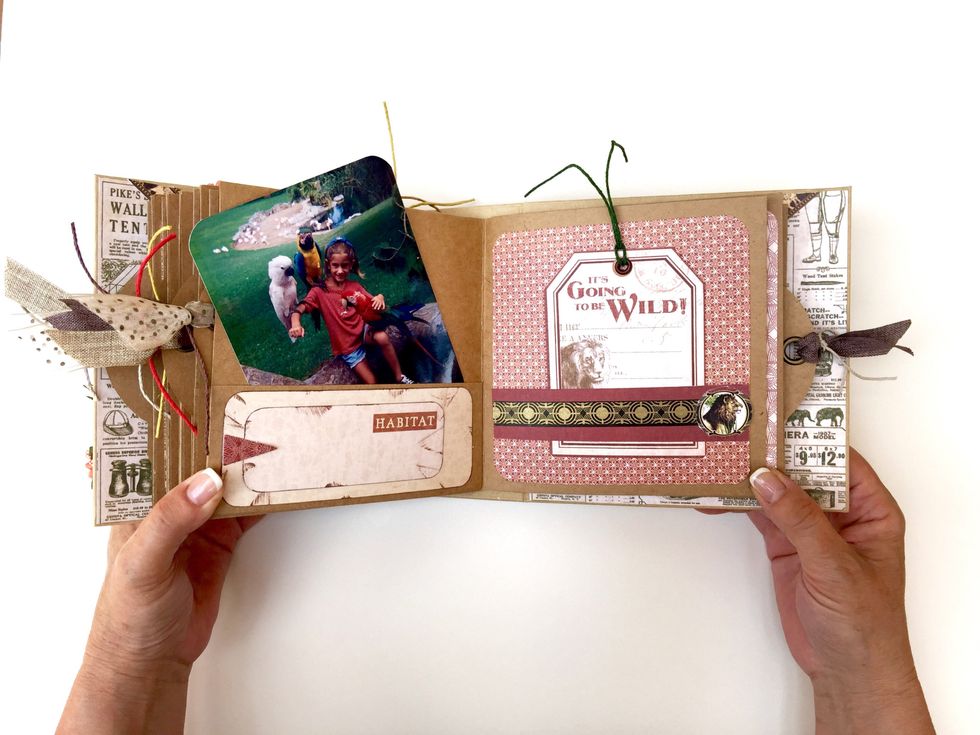
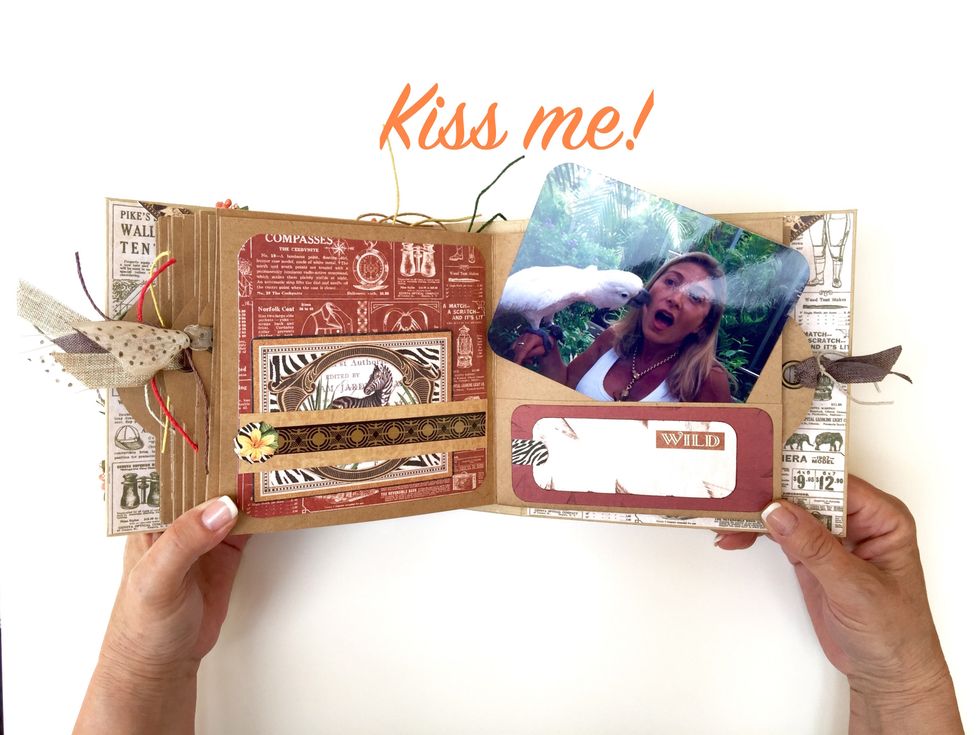
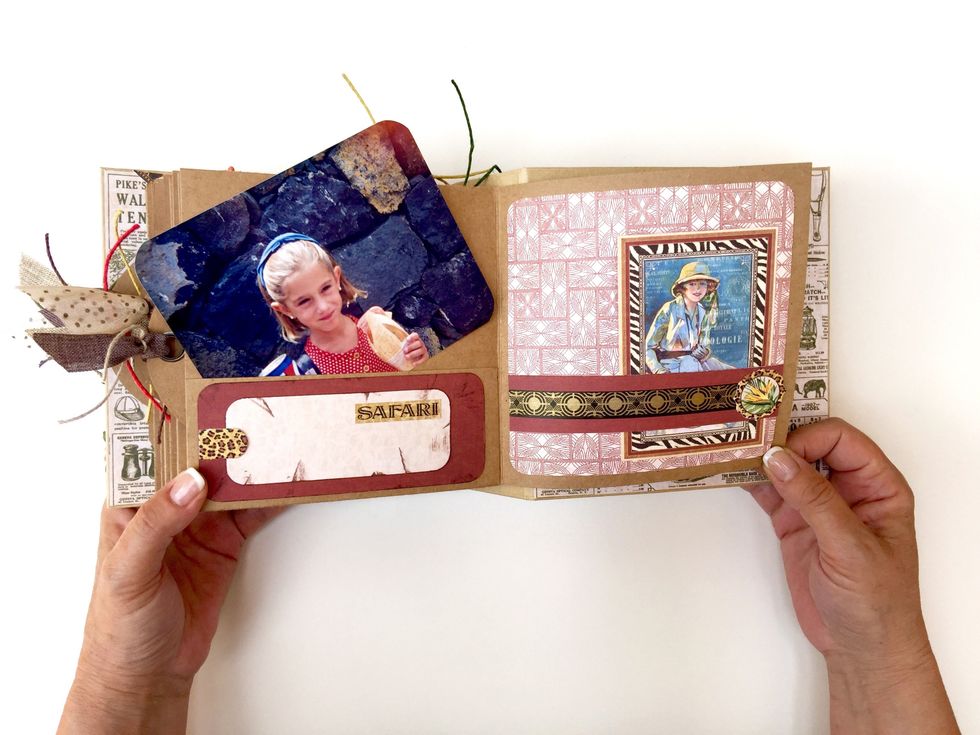
For next pages, glue a piece of paper on the page, then the stripe as a band and a piece of washi tape.
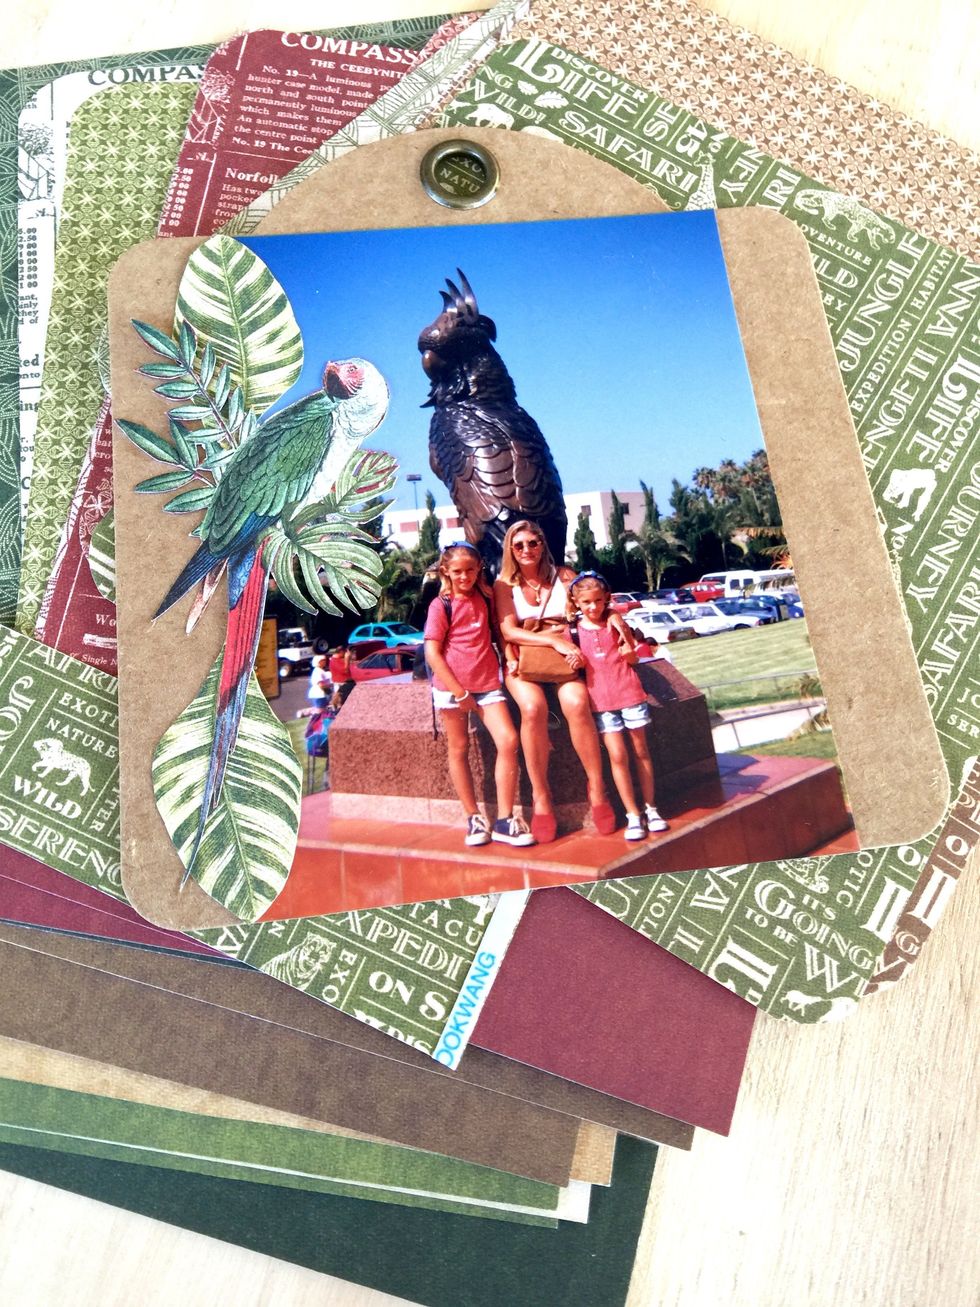
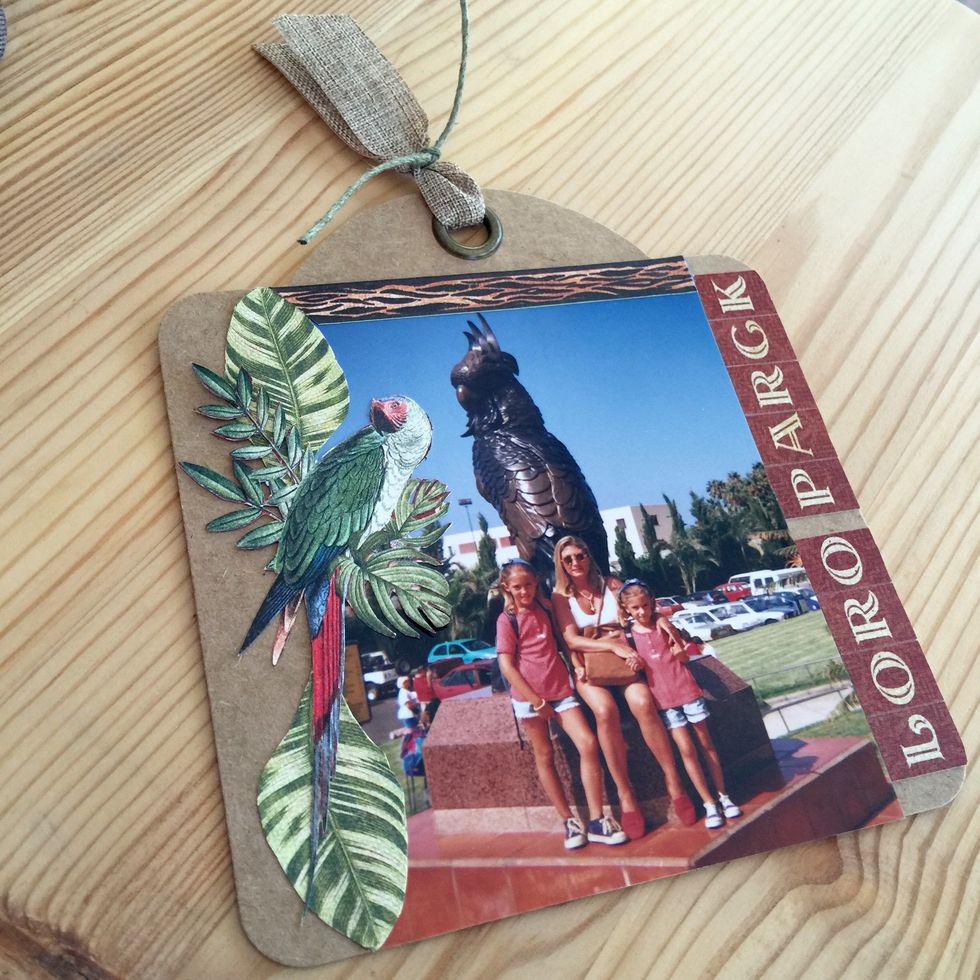
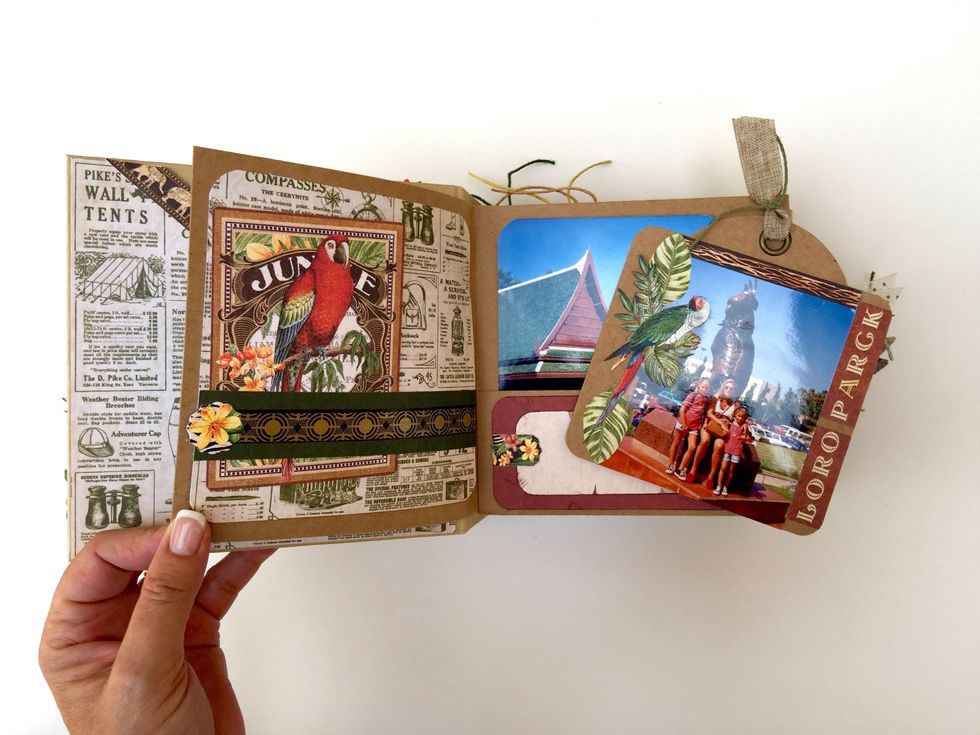
Stick pictures on the tags and some fussy cutting pieces.

Add some words made with stickers. To get they are perfectly aligned use a rule. Stick the letters on the rule and then place on the paper.
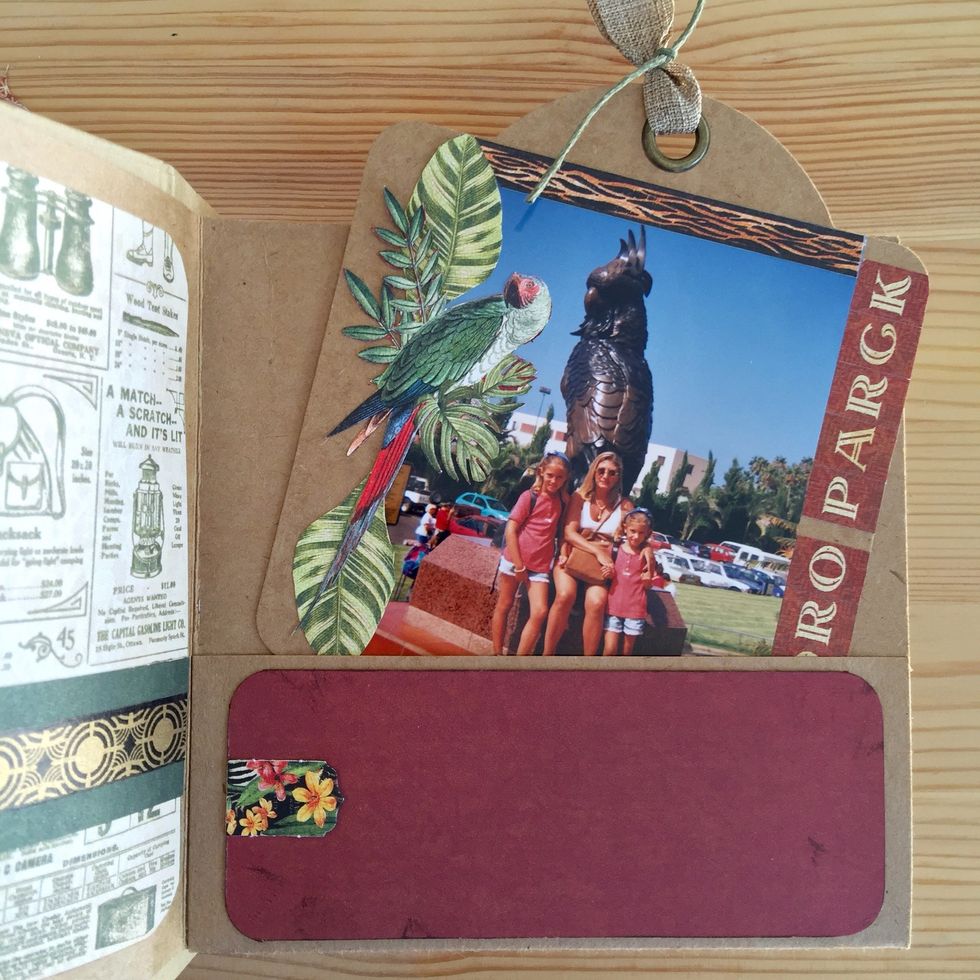
Add stripes and some embellishment like this piece of banner.

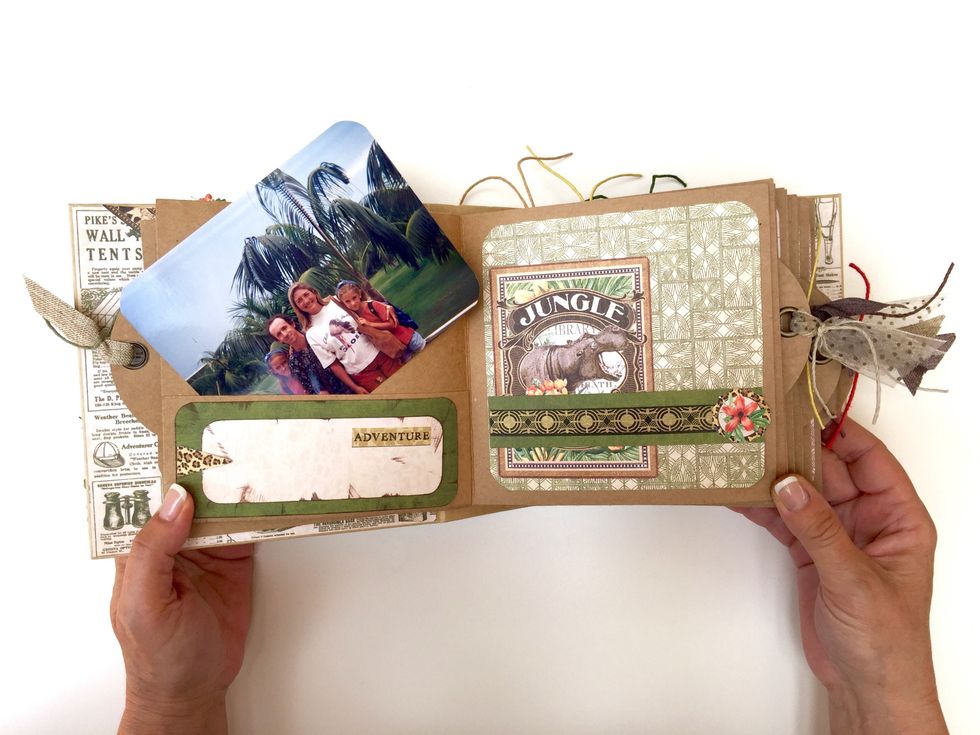
Add the smaller strip and a word or write a date or comment.
Put the tags with your photos inside the side pockets.
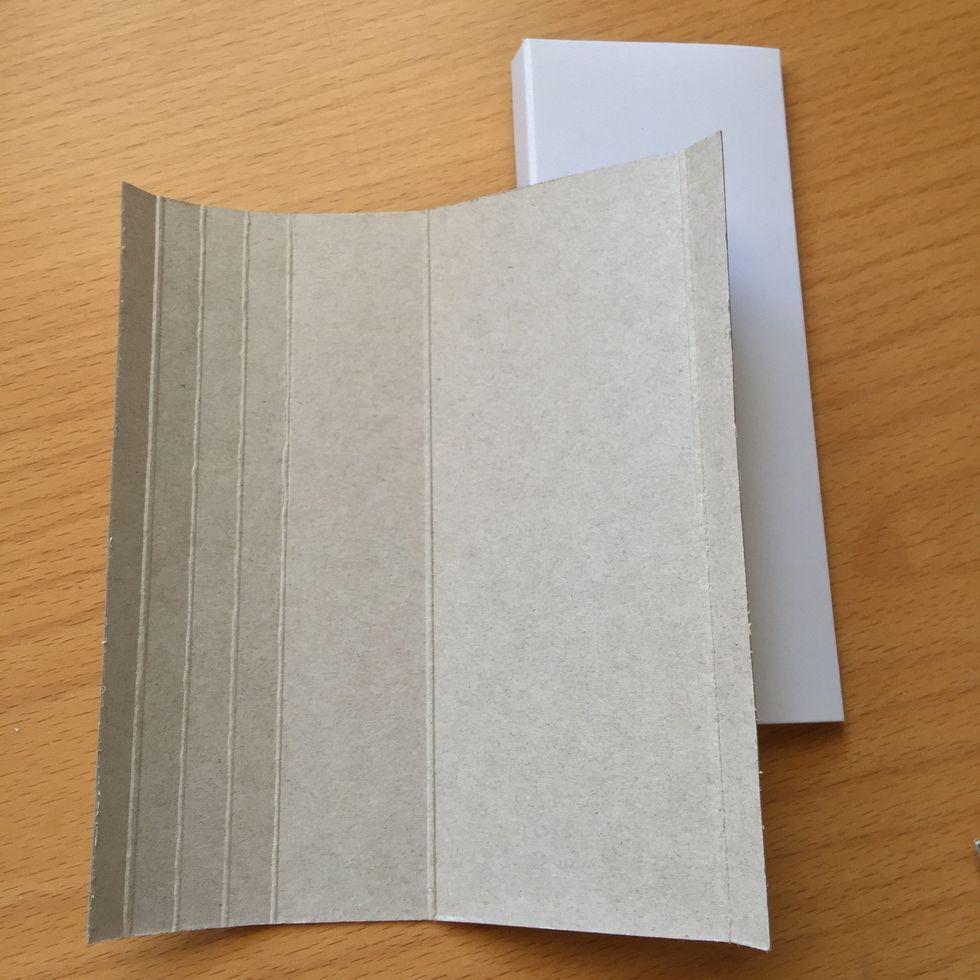
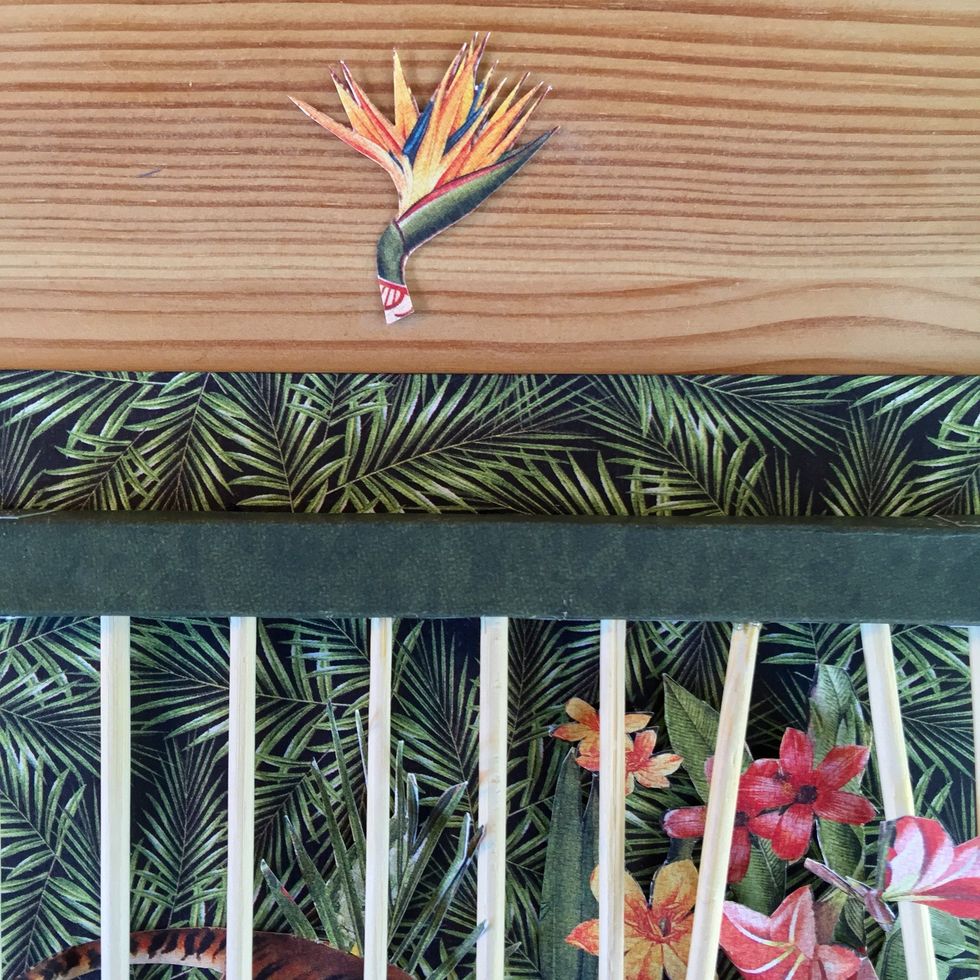
To decorate de cover we need some cardstock.
Make two pieces as shown.
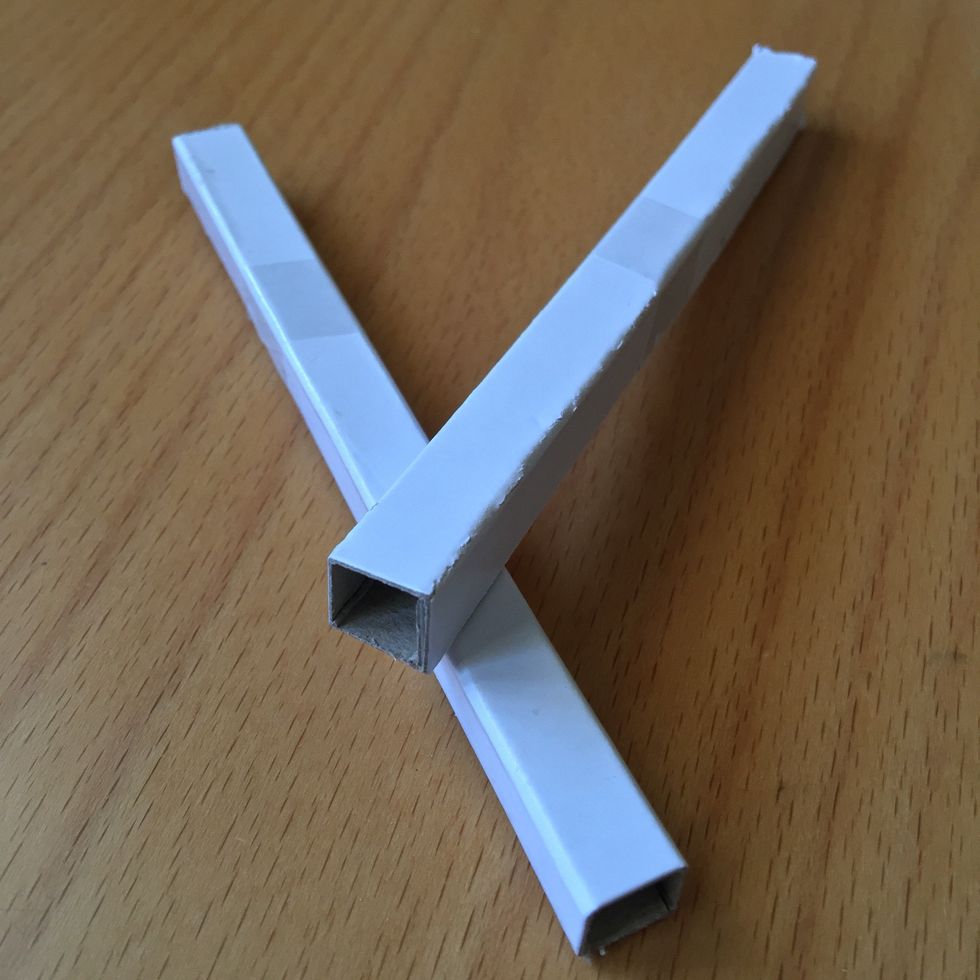
Chosse a paper to cover the pieces
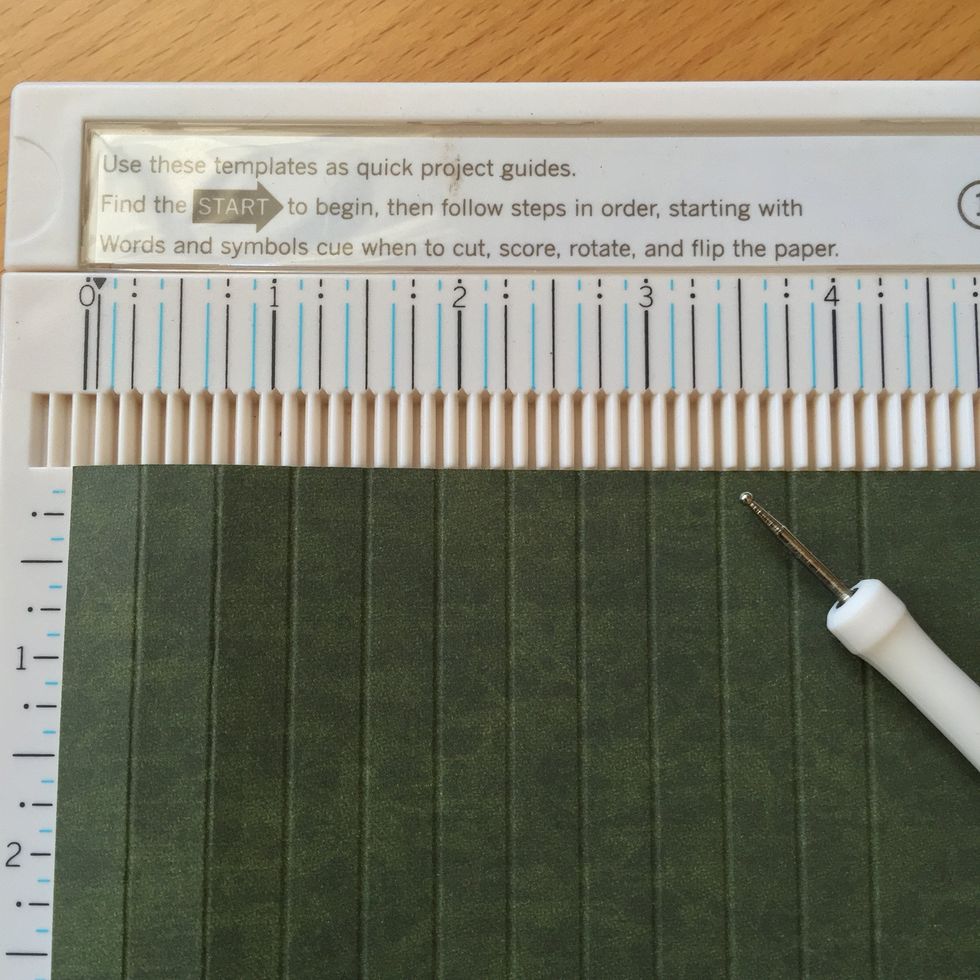
Score the paper before gluing.
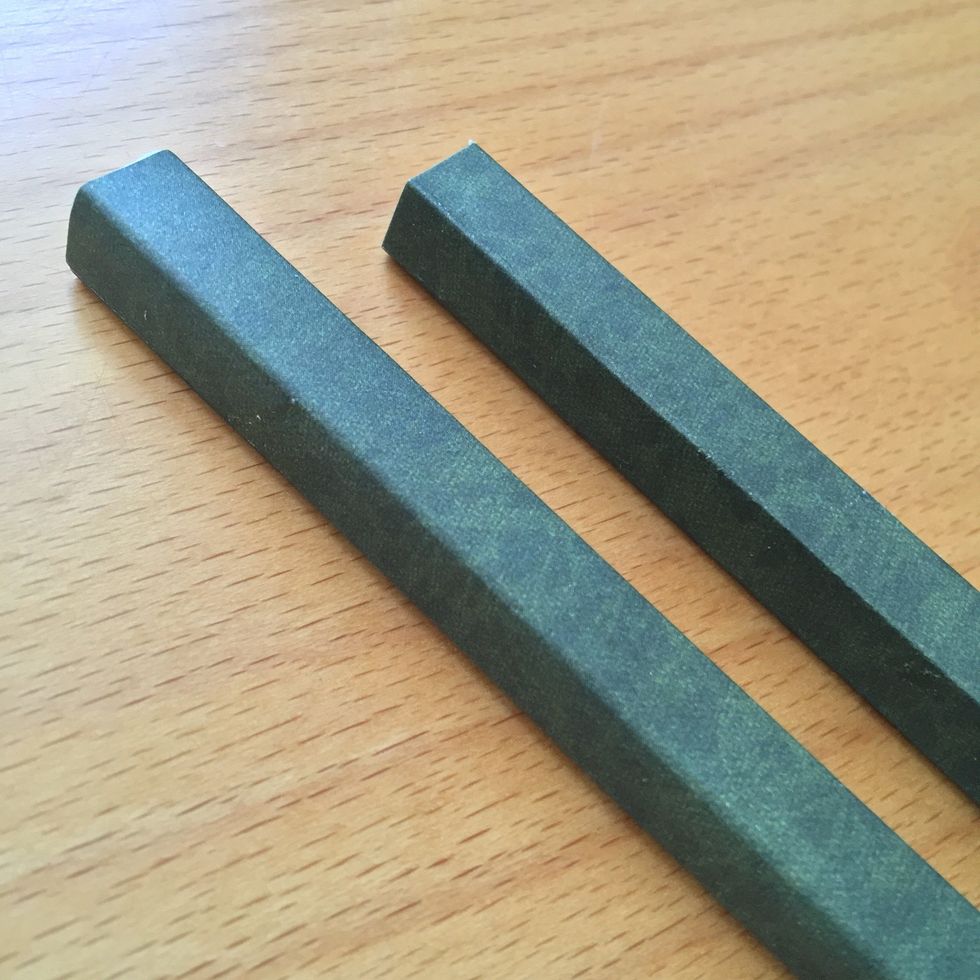
Glue the paper on the two pieces.
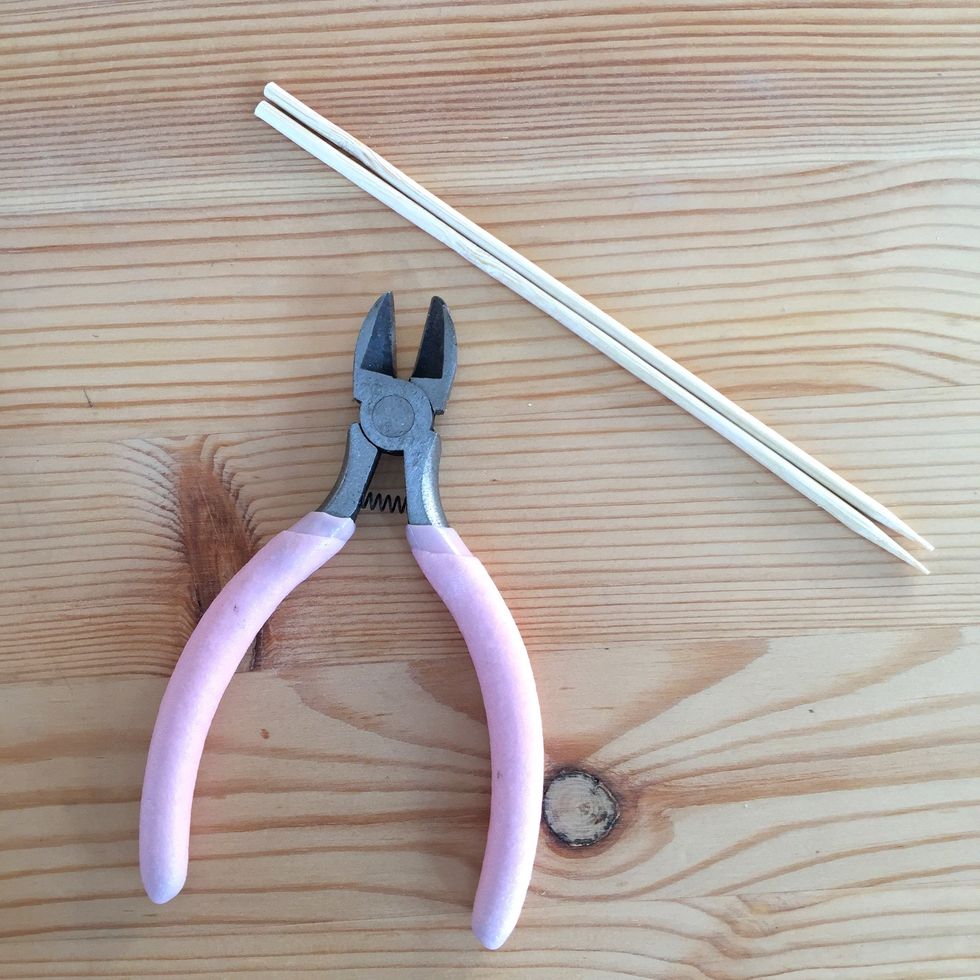
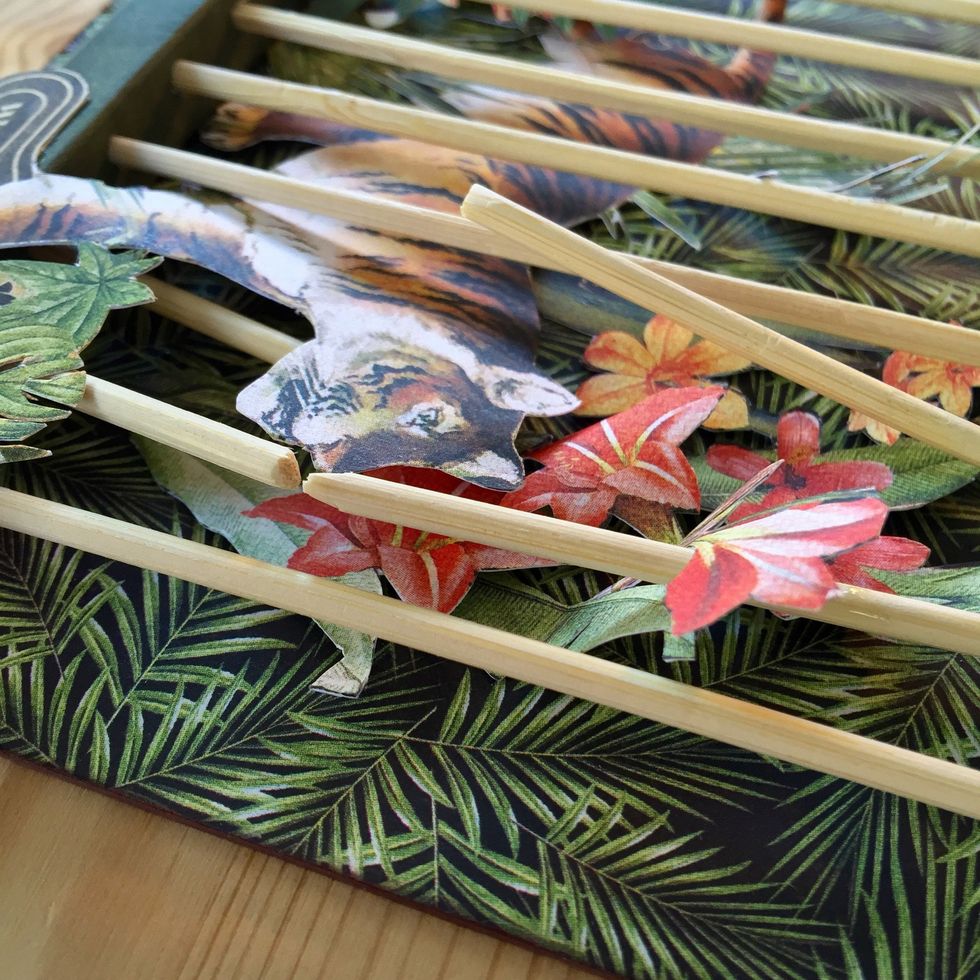
We will need some wooden or bamboo skewers.
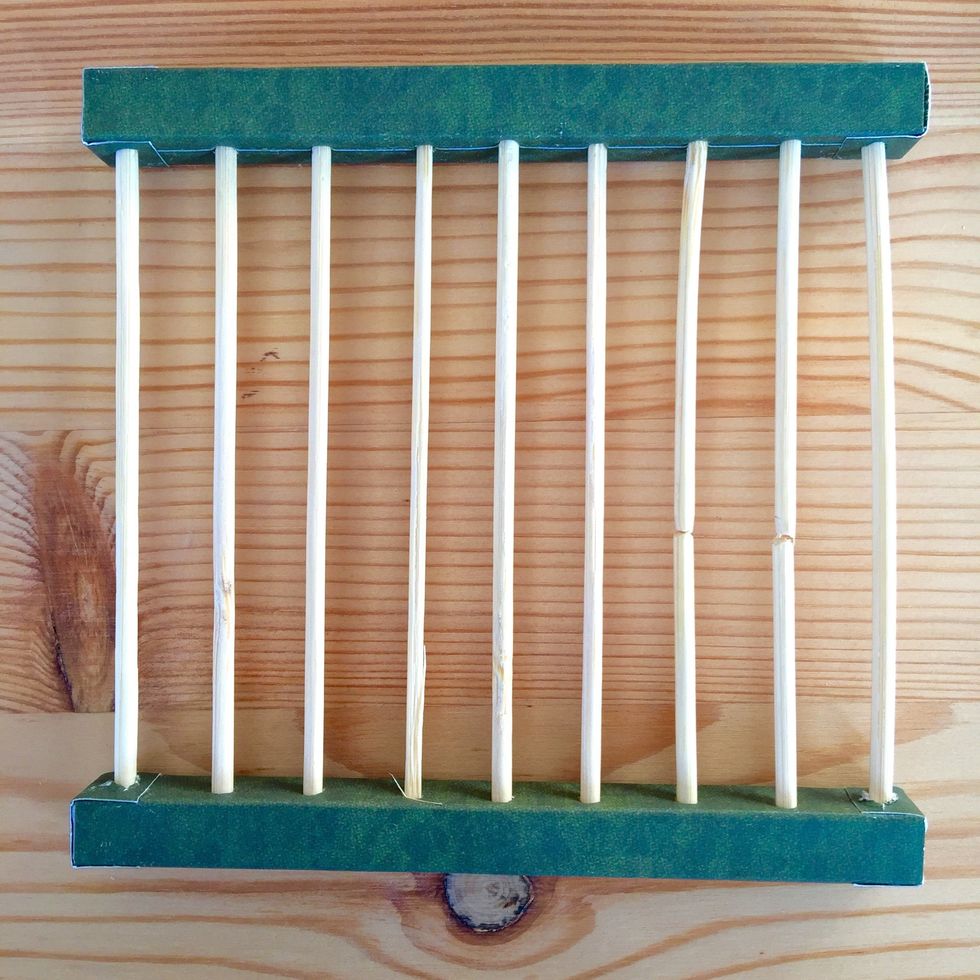
Make holes on the two pieces and insert the skewers.
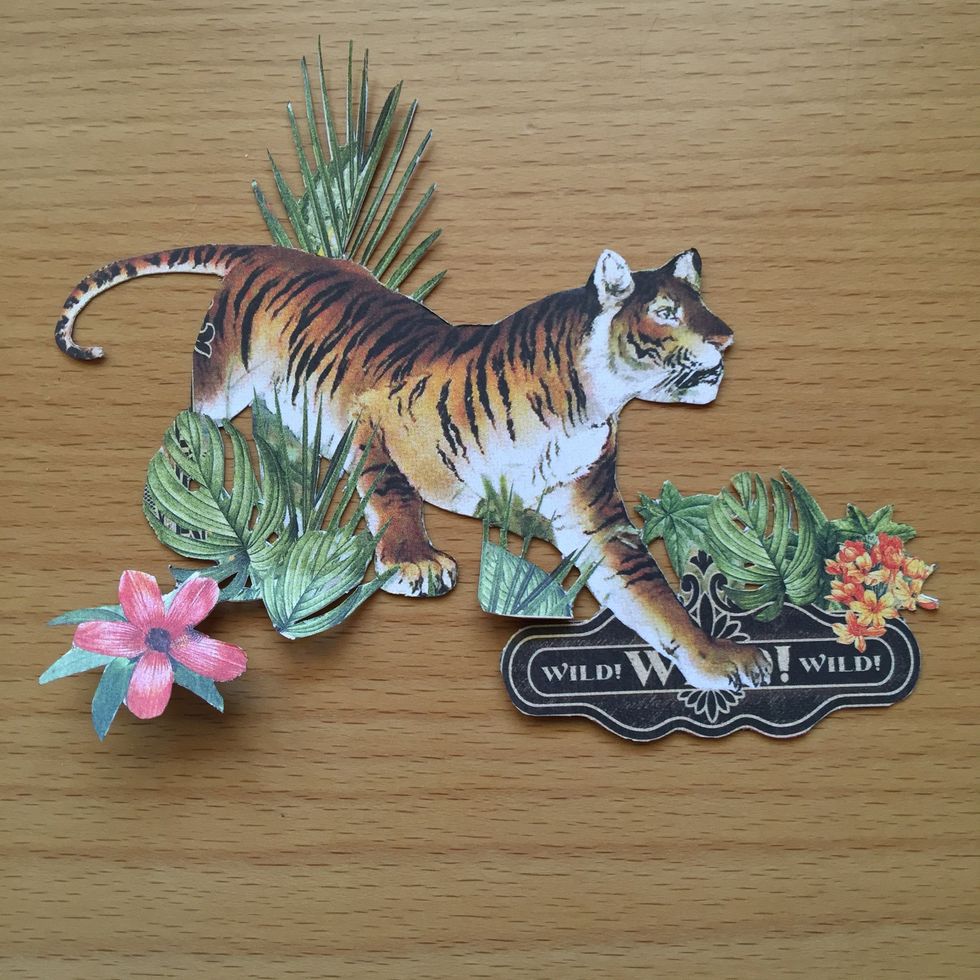
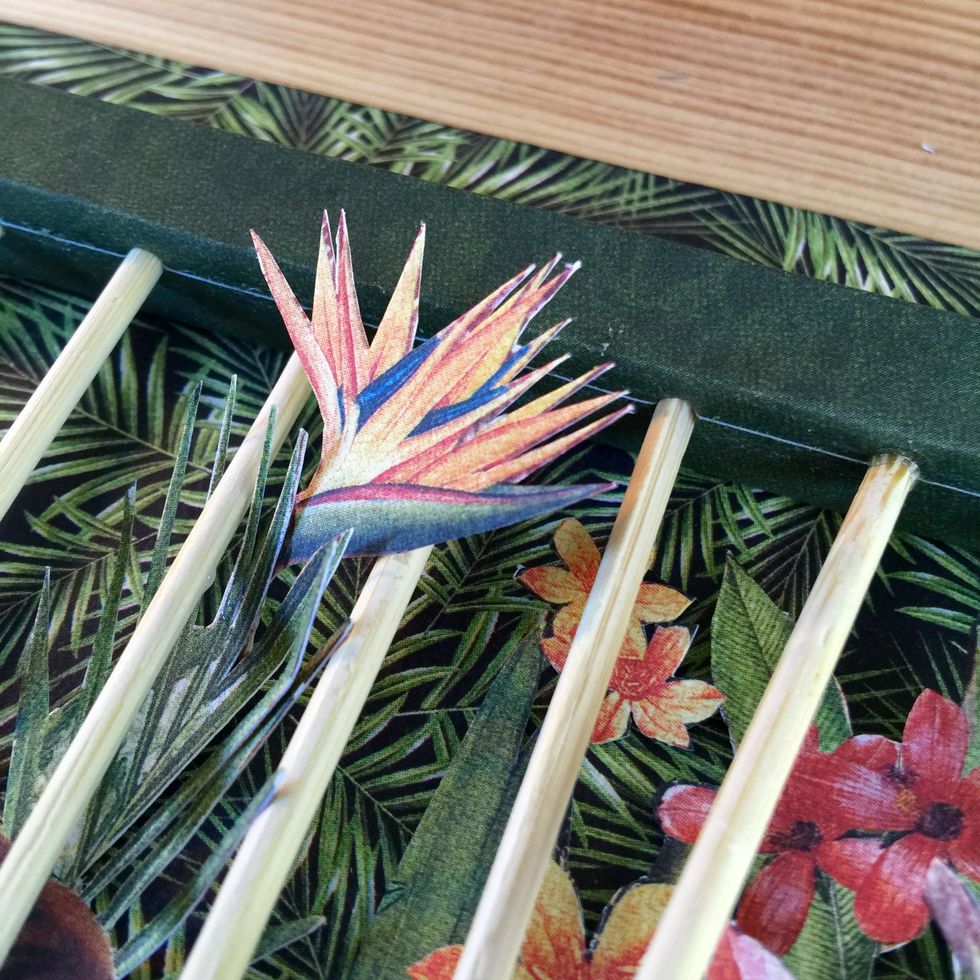
Fussy cut a tiger and some flowers and plants.
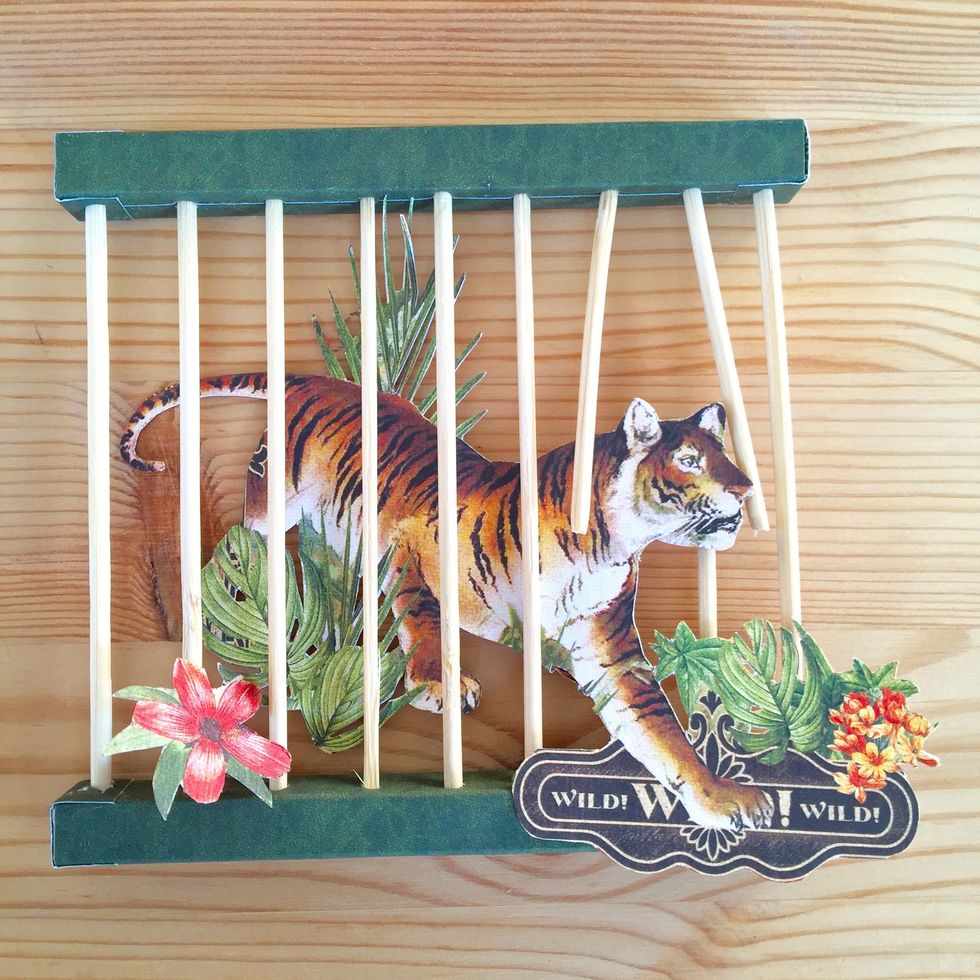
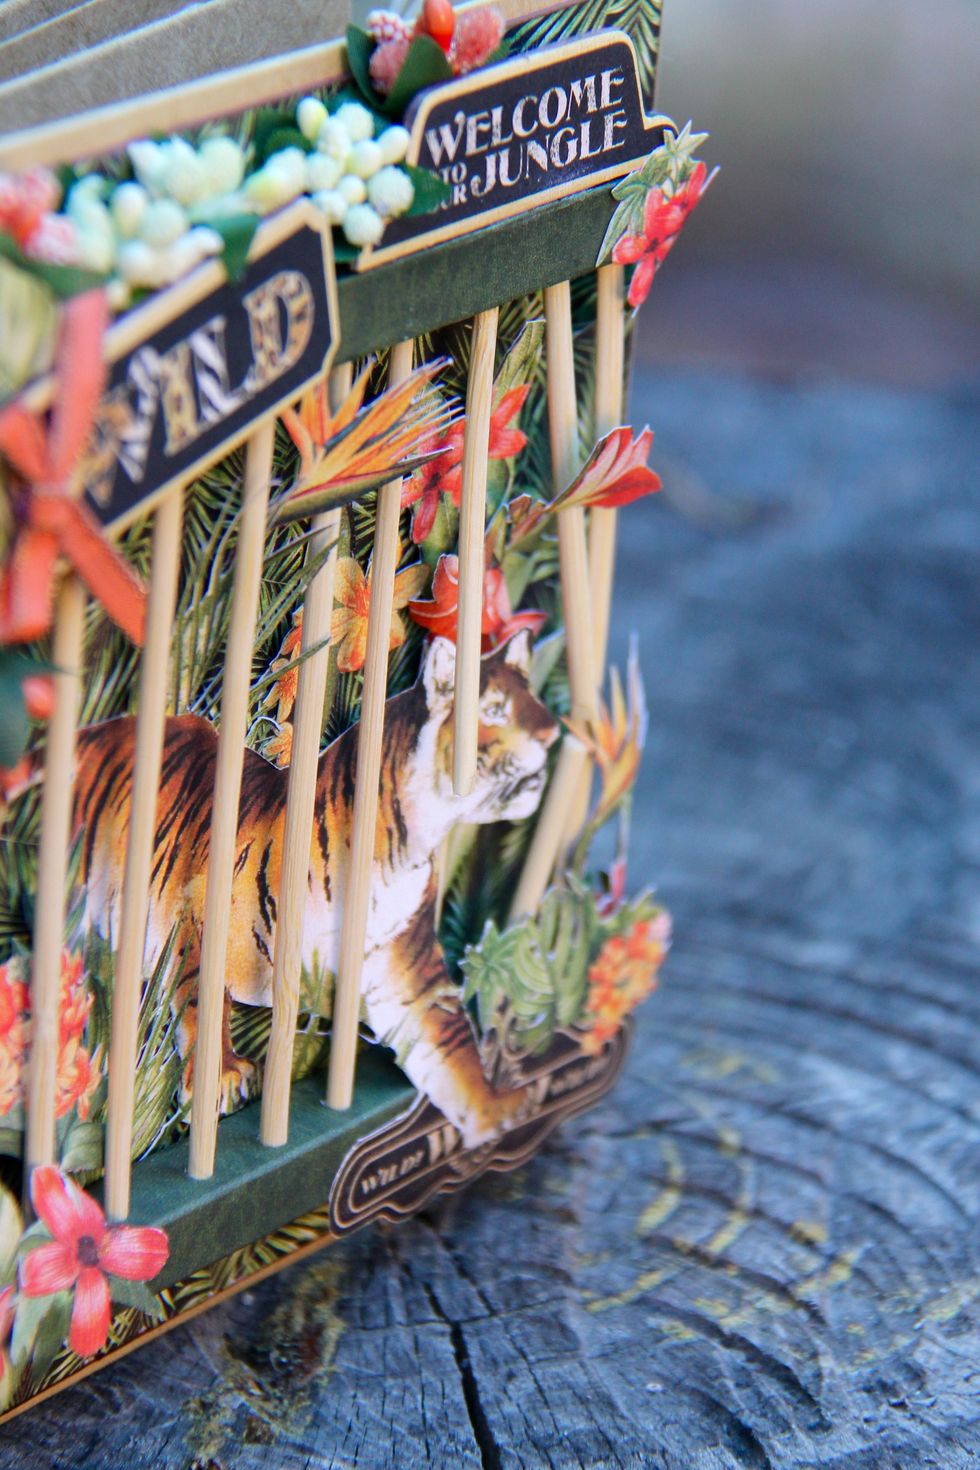
Cut two skewers to look like the tiger escapes from it cage!

Select a paper for the back of the cage. Glue the paper on a cardboard. Use glue and foam squares to give dimension to the flowers.
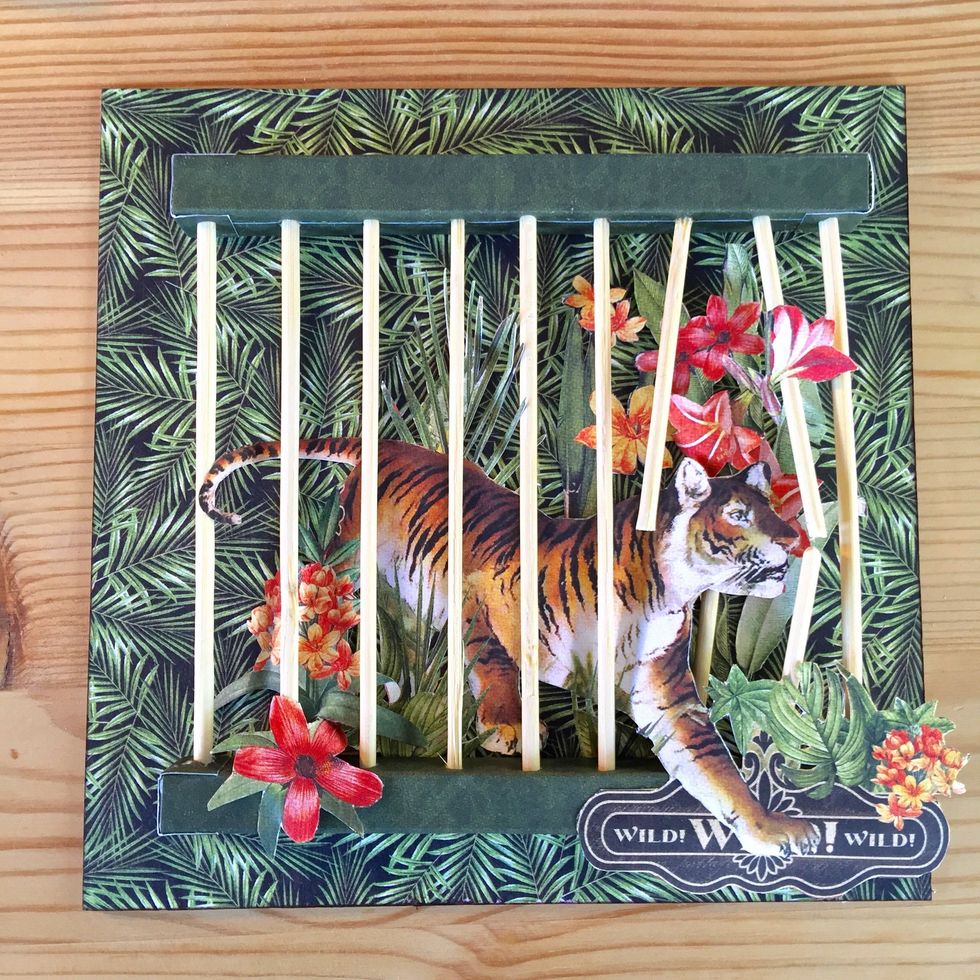
Glue the cage on the paper.
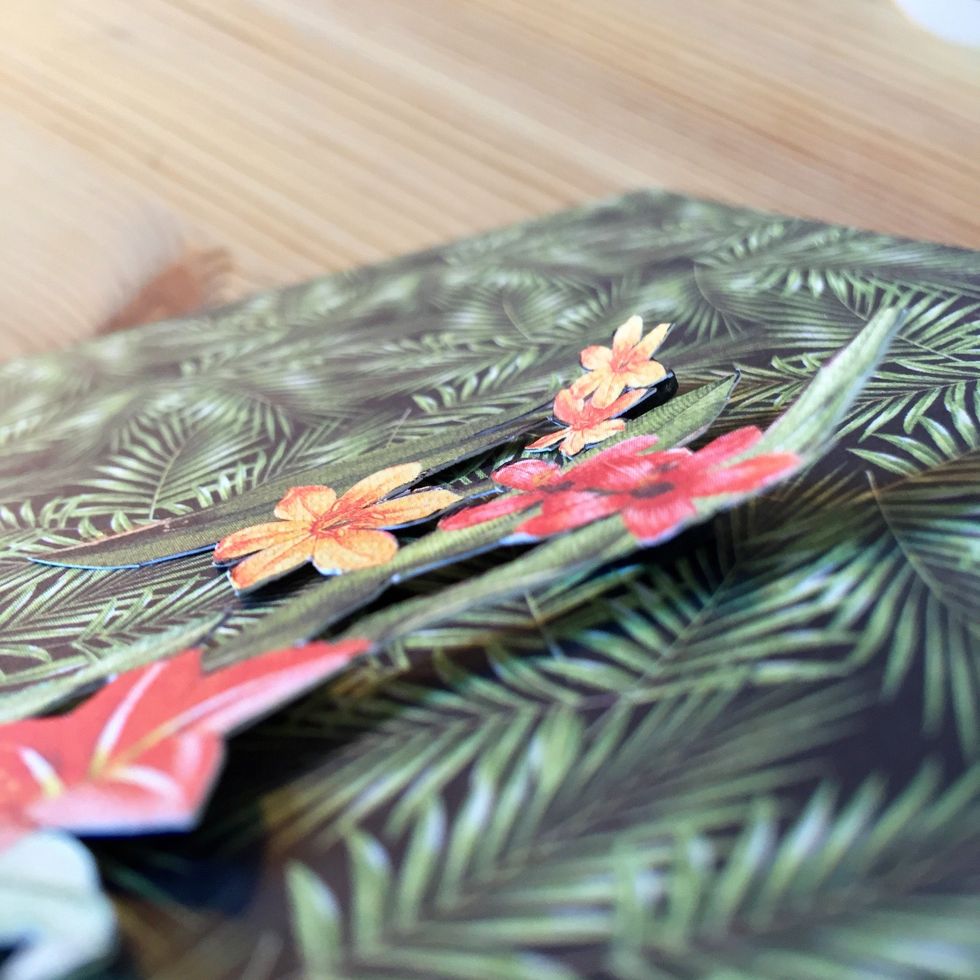
Here you can see some layers of paper.
Add more flowers.
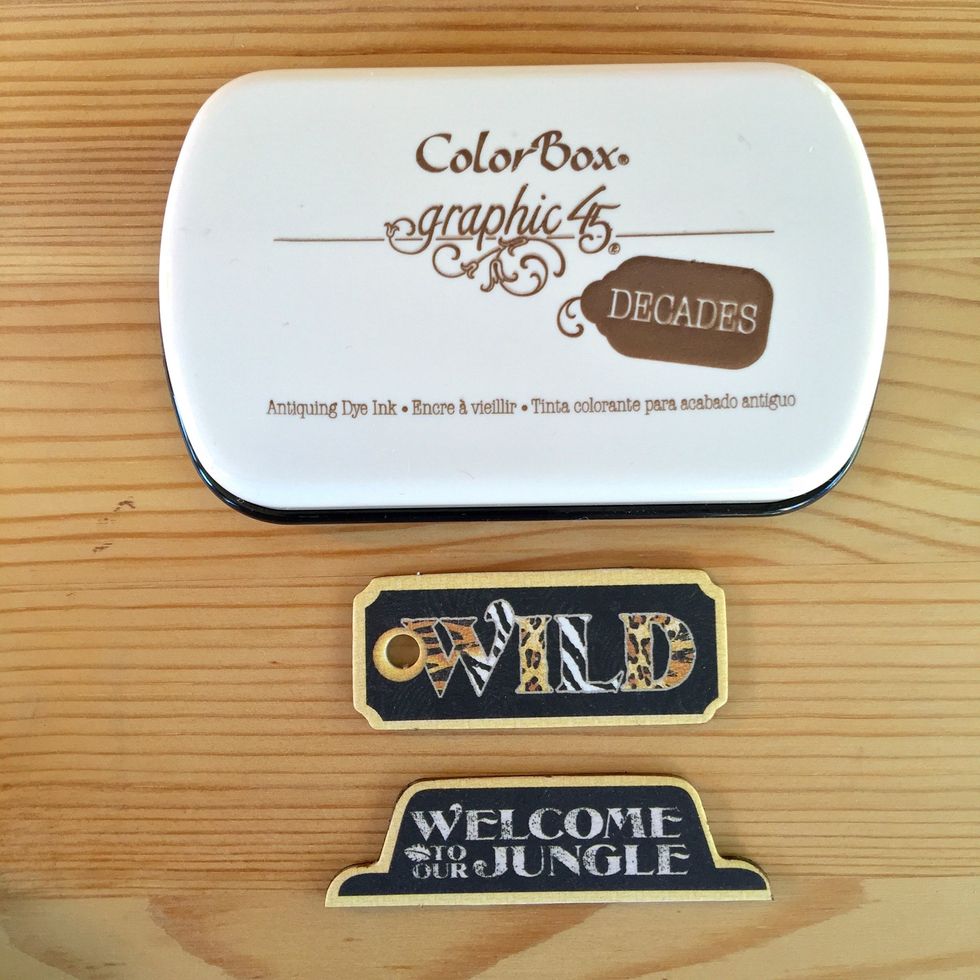
Ink edges of two chipboards.
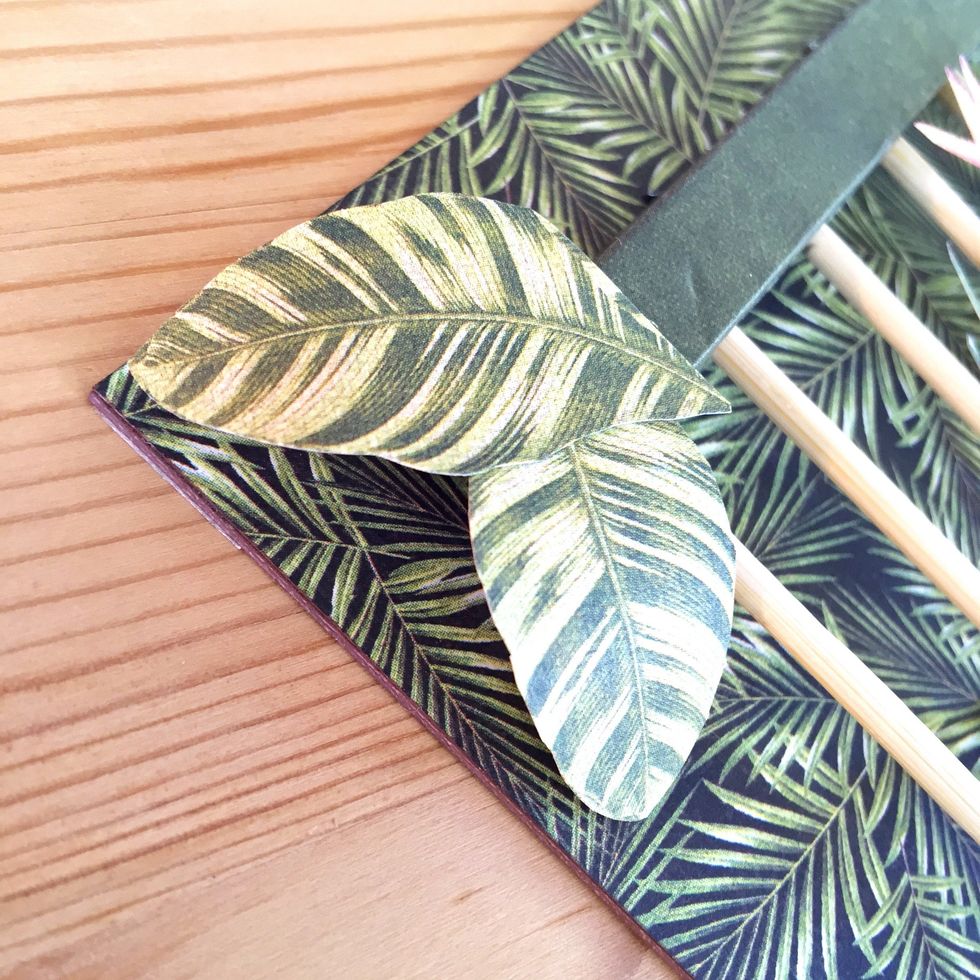
Glue two leaves on left corner.
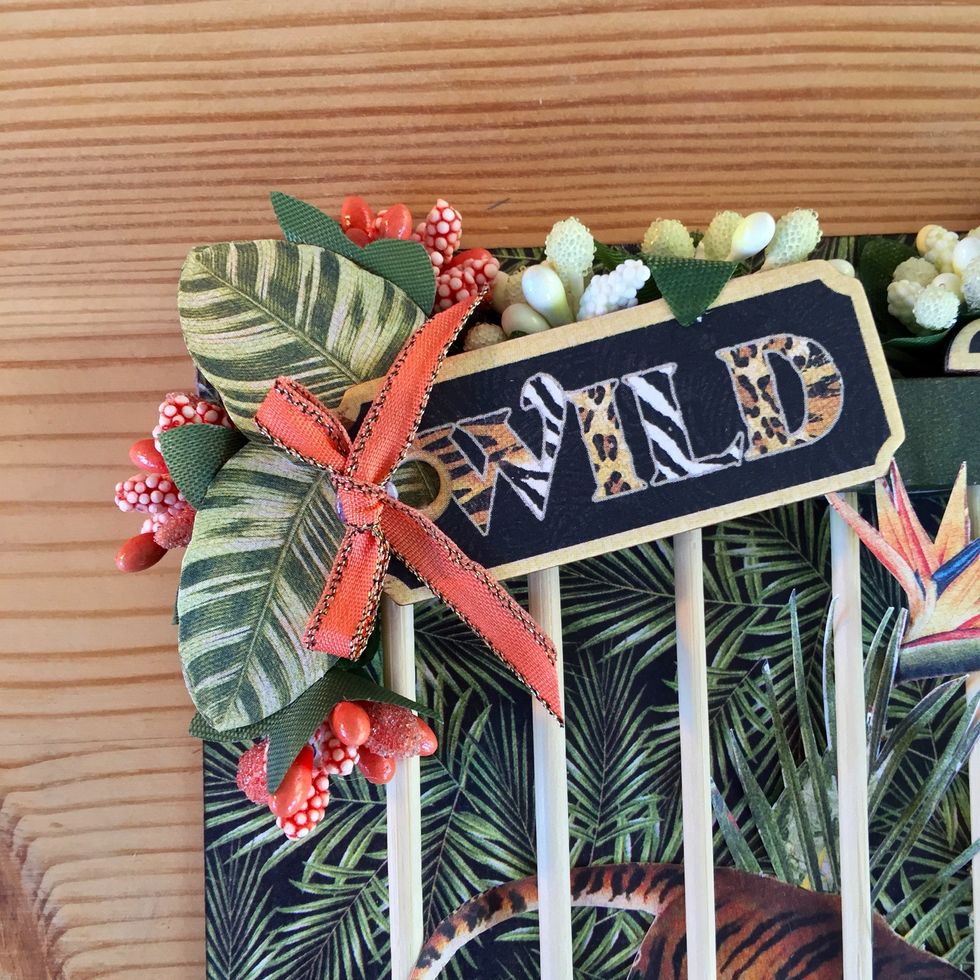
Add the chipboard and some paper flowers and a little bow.
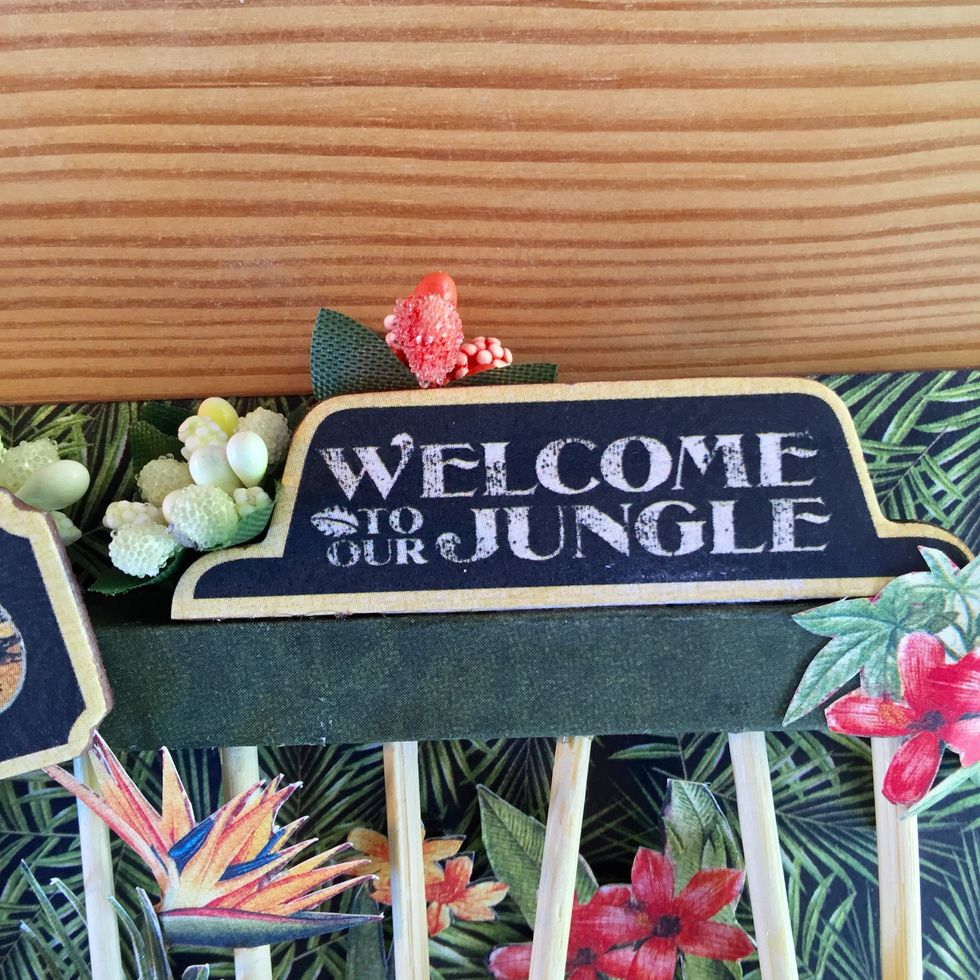
Glue the other chipboard on the top of the cage and add more paper flowers.
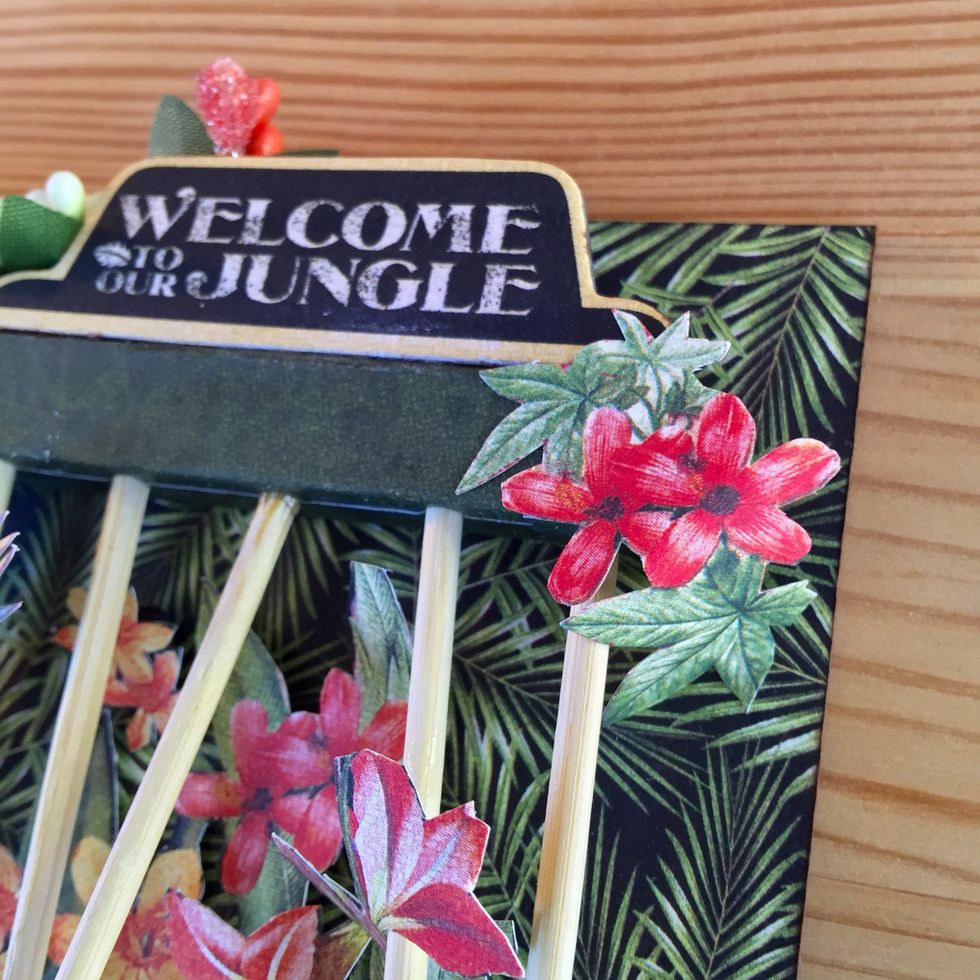
And fussy cut flowers.
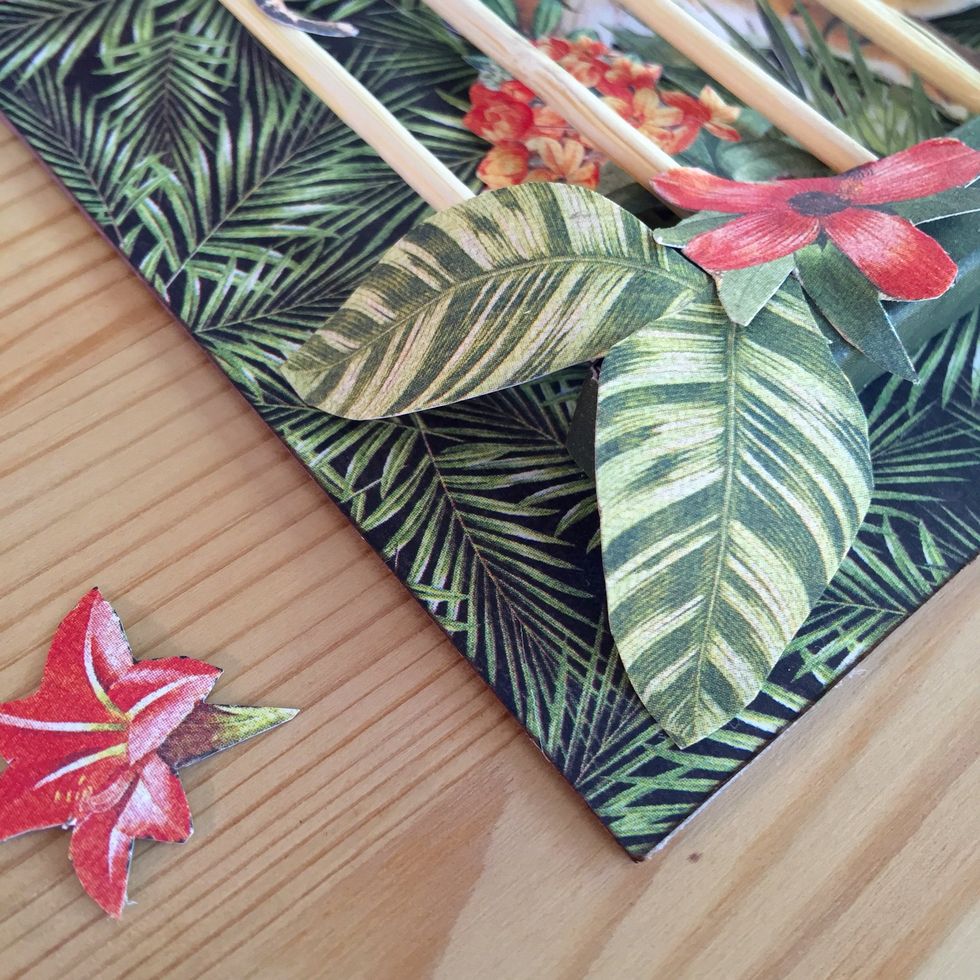
Decorate lower left corner.
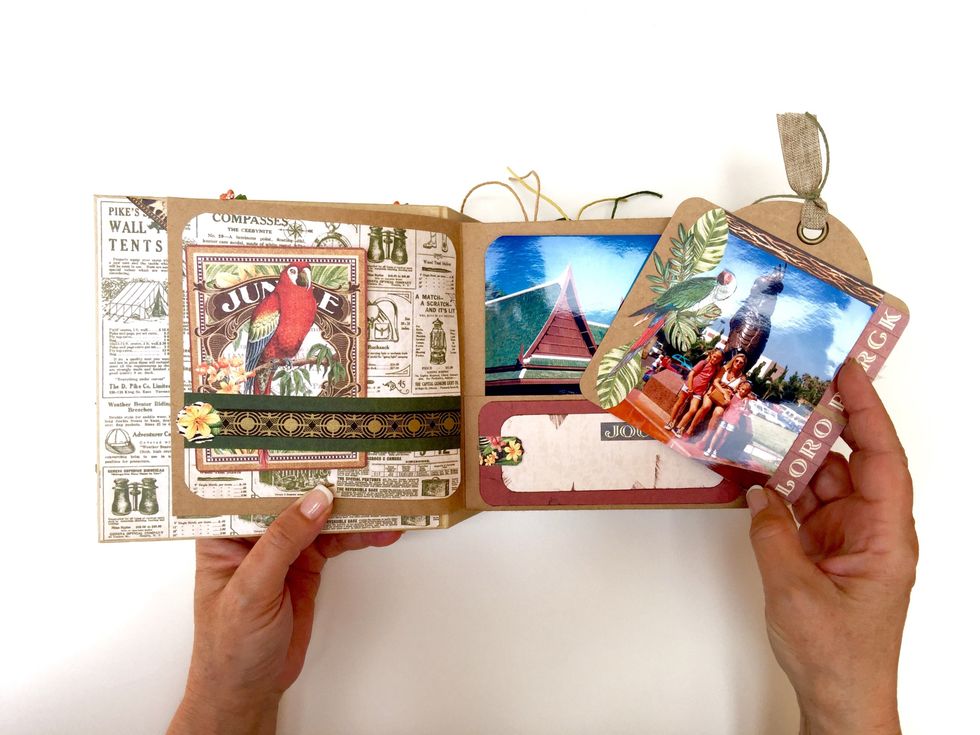
We have finished the album! Next photos show each page.
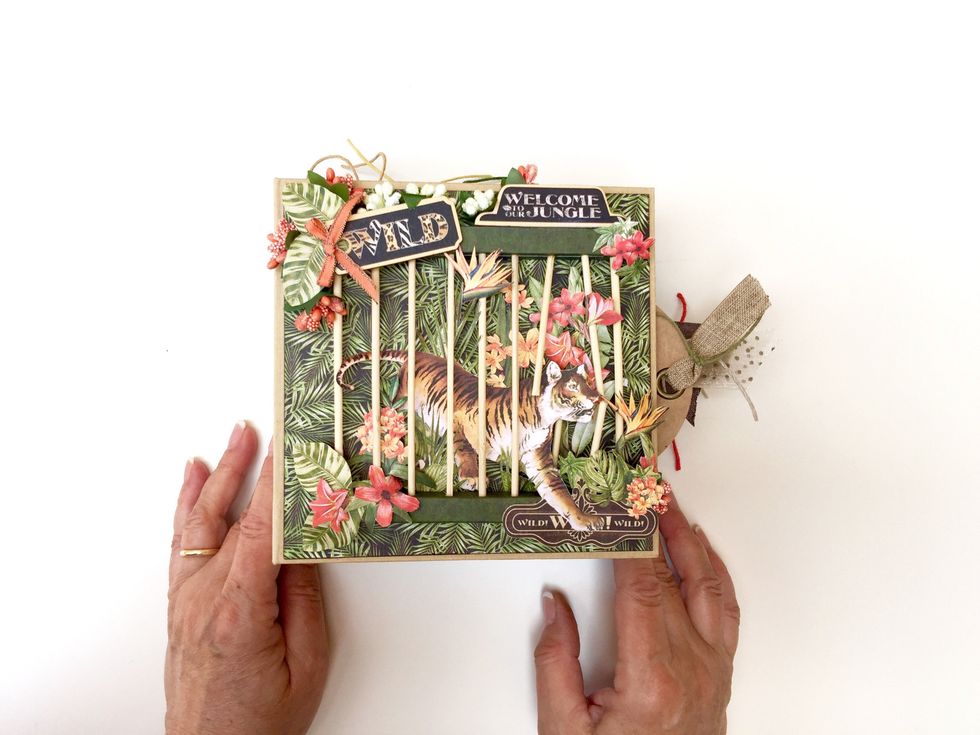
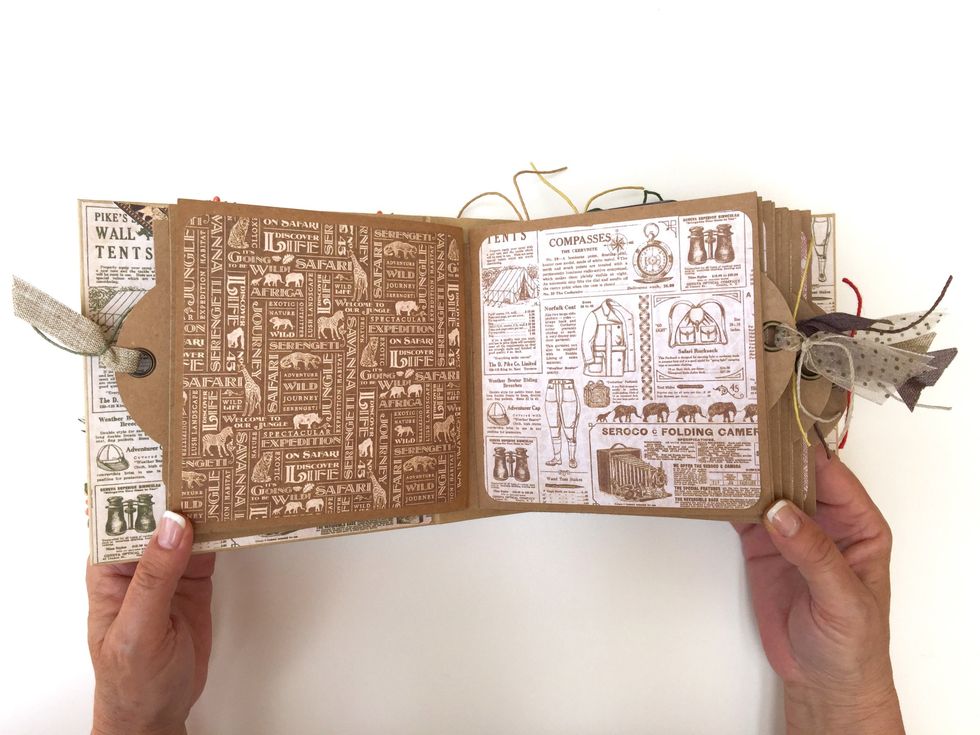
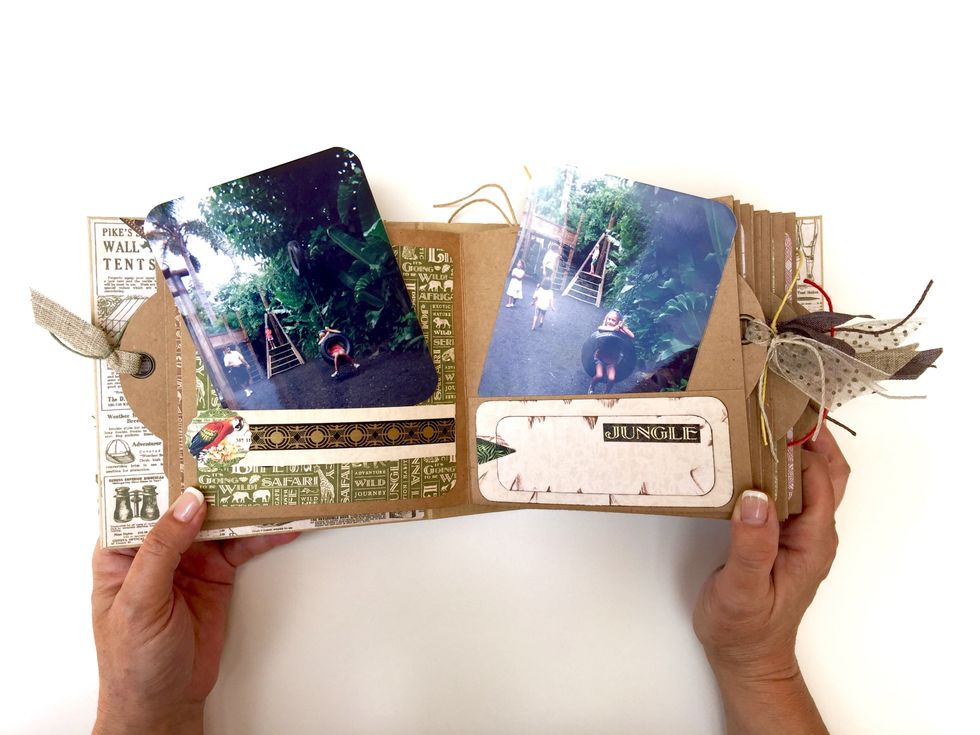
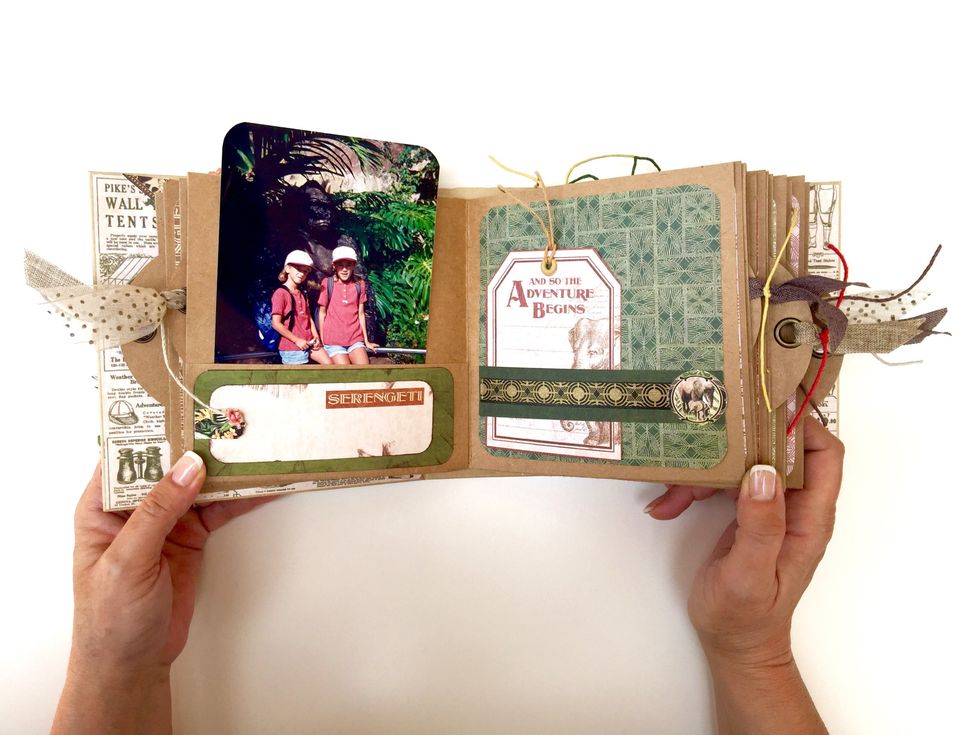
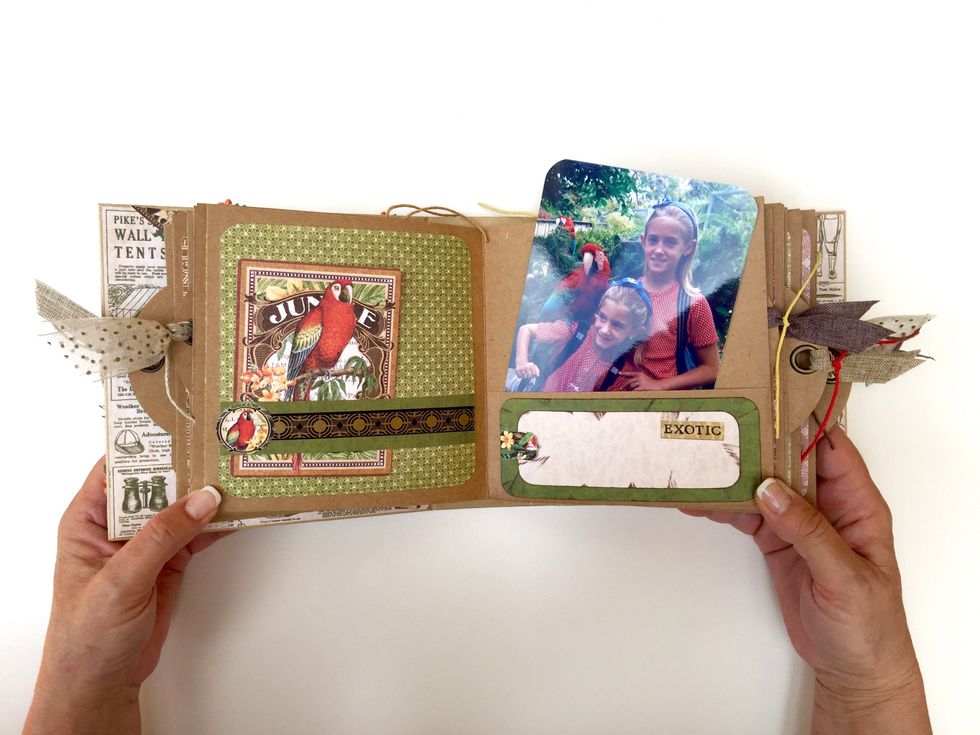
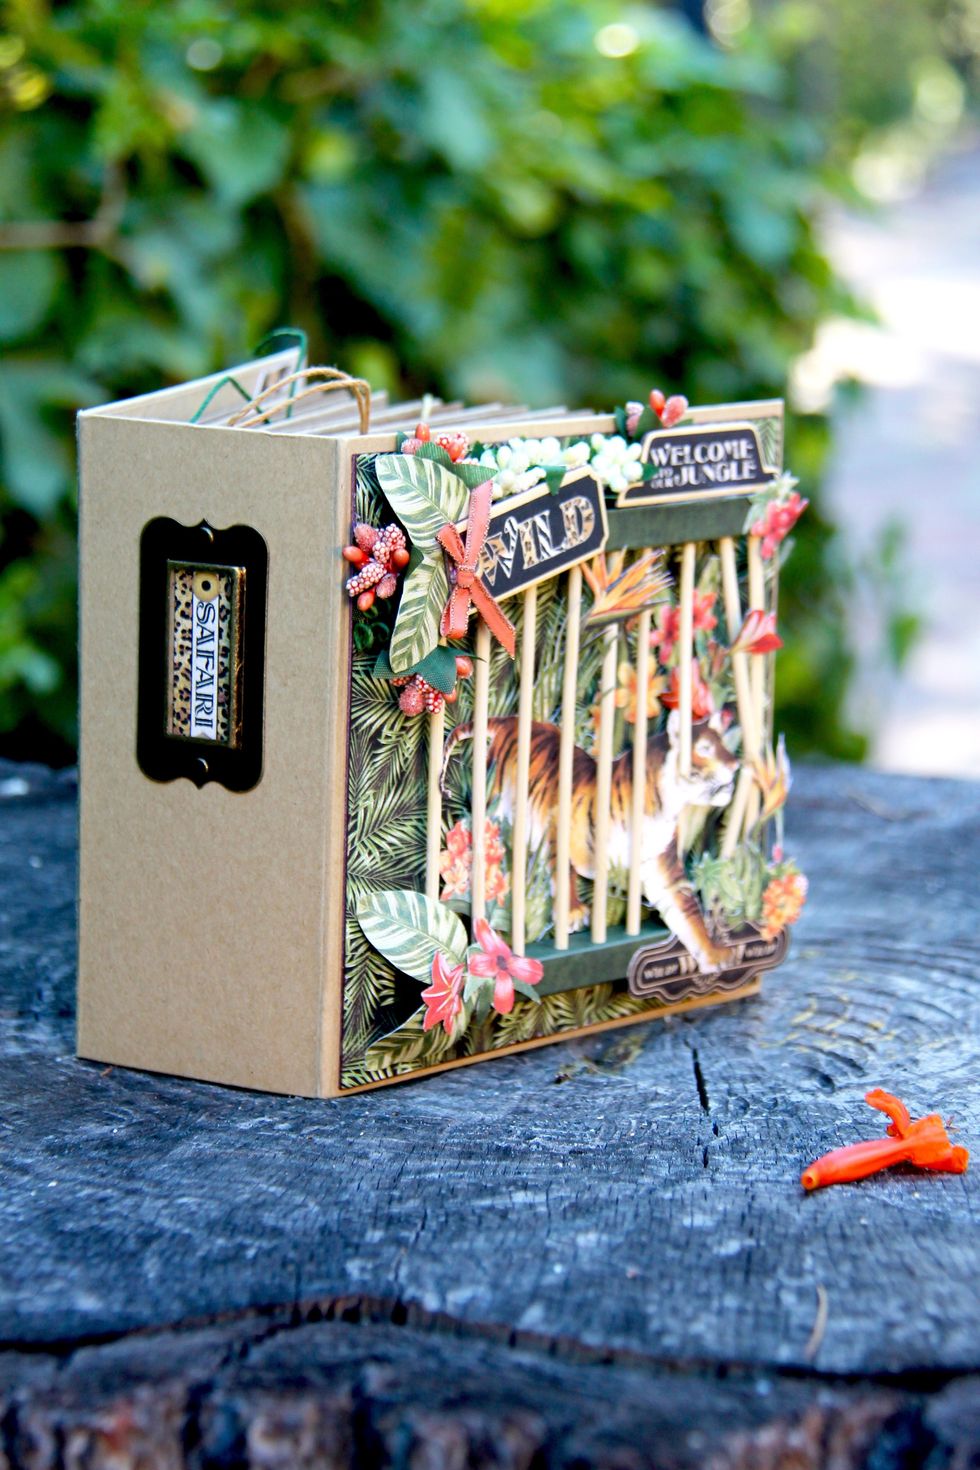
Safari Adventure Square Tag&Pocket Album by Marina Blaukitchen, Product by Graphic 45.