The Conversation (0)
Sign Up
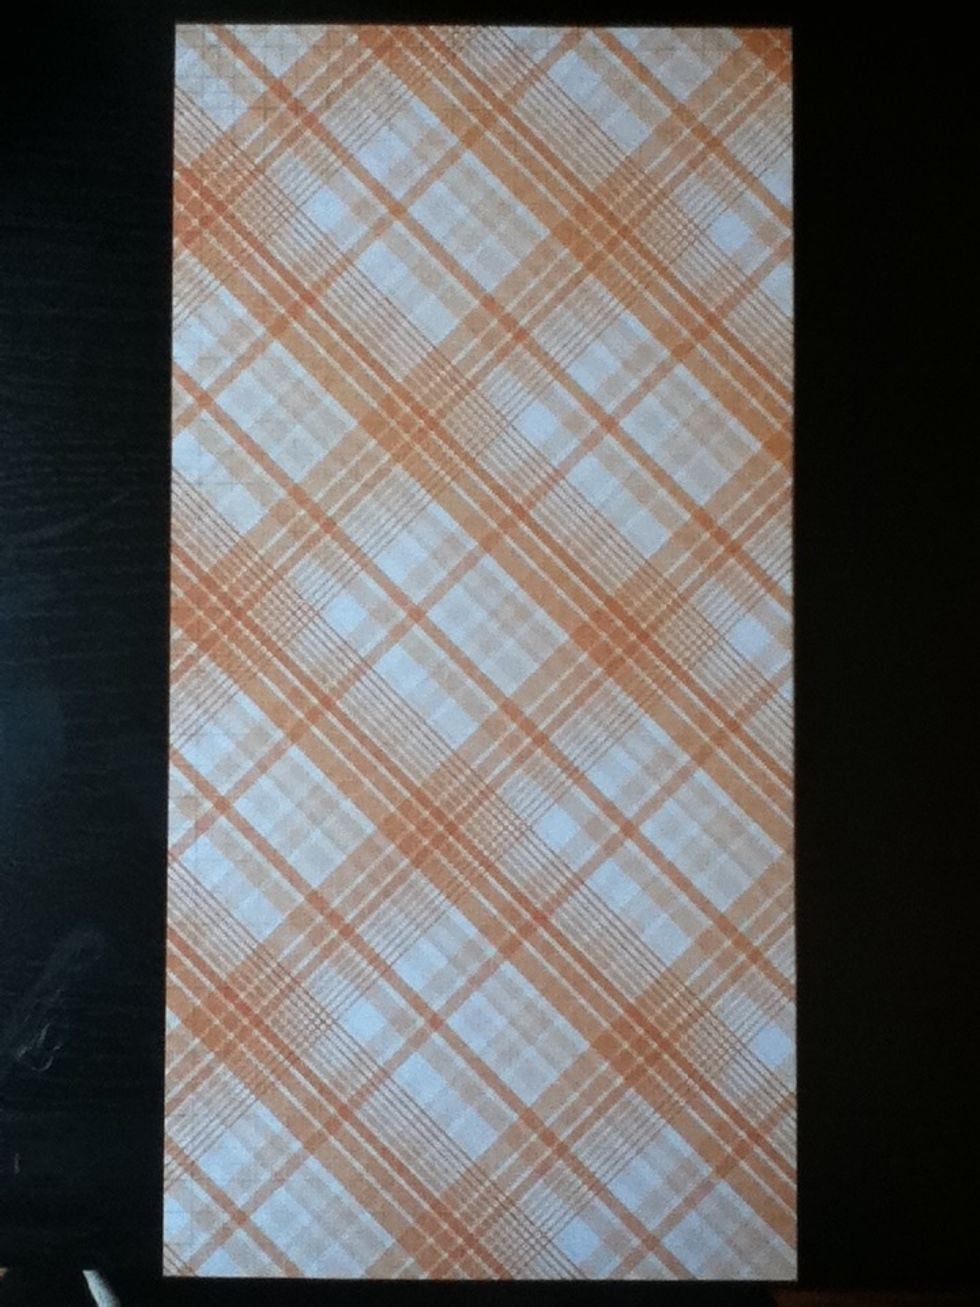
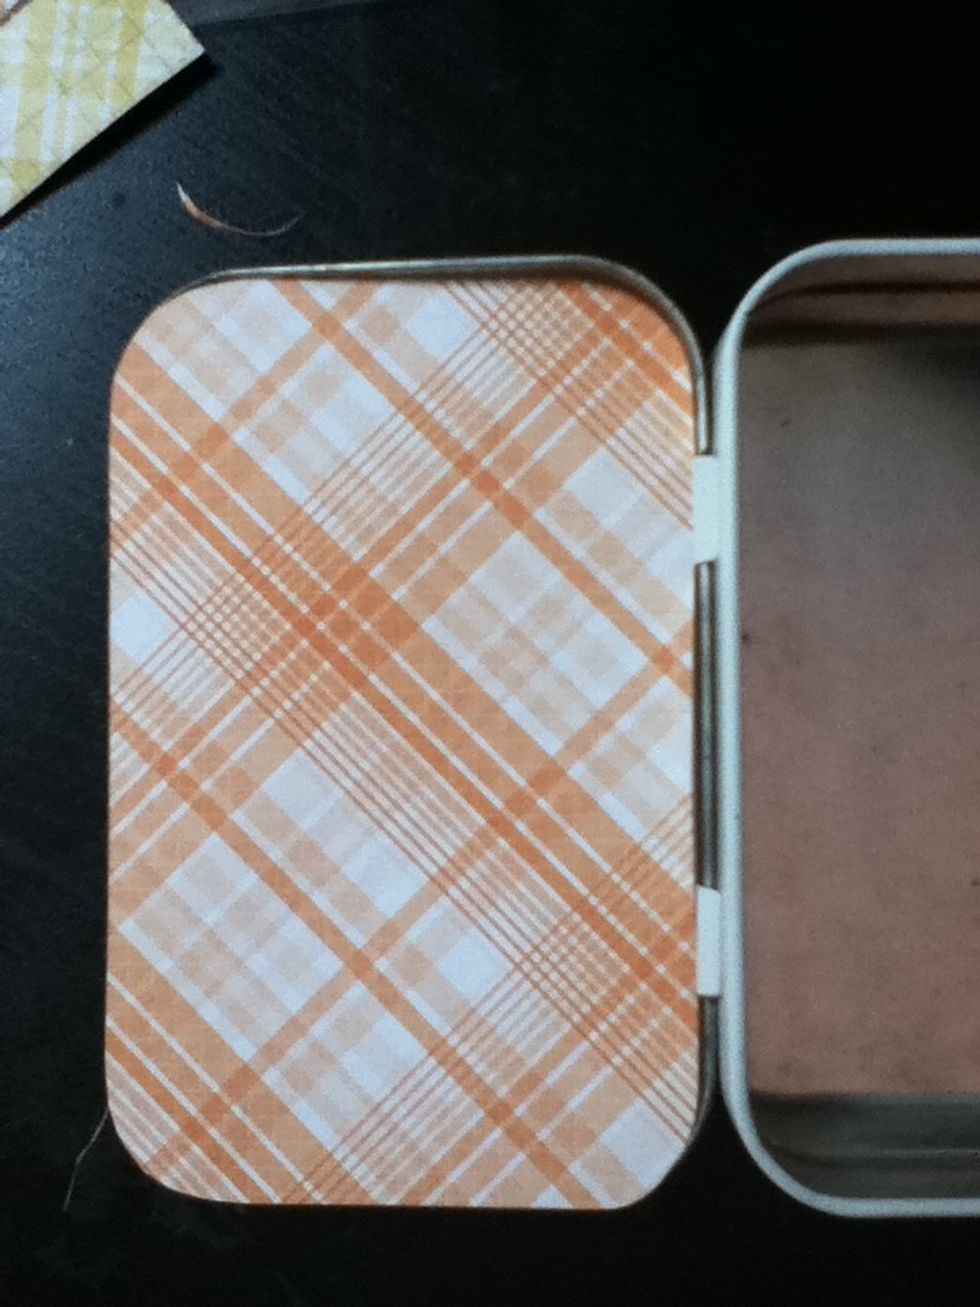
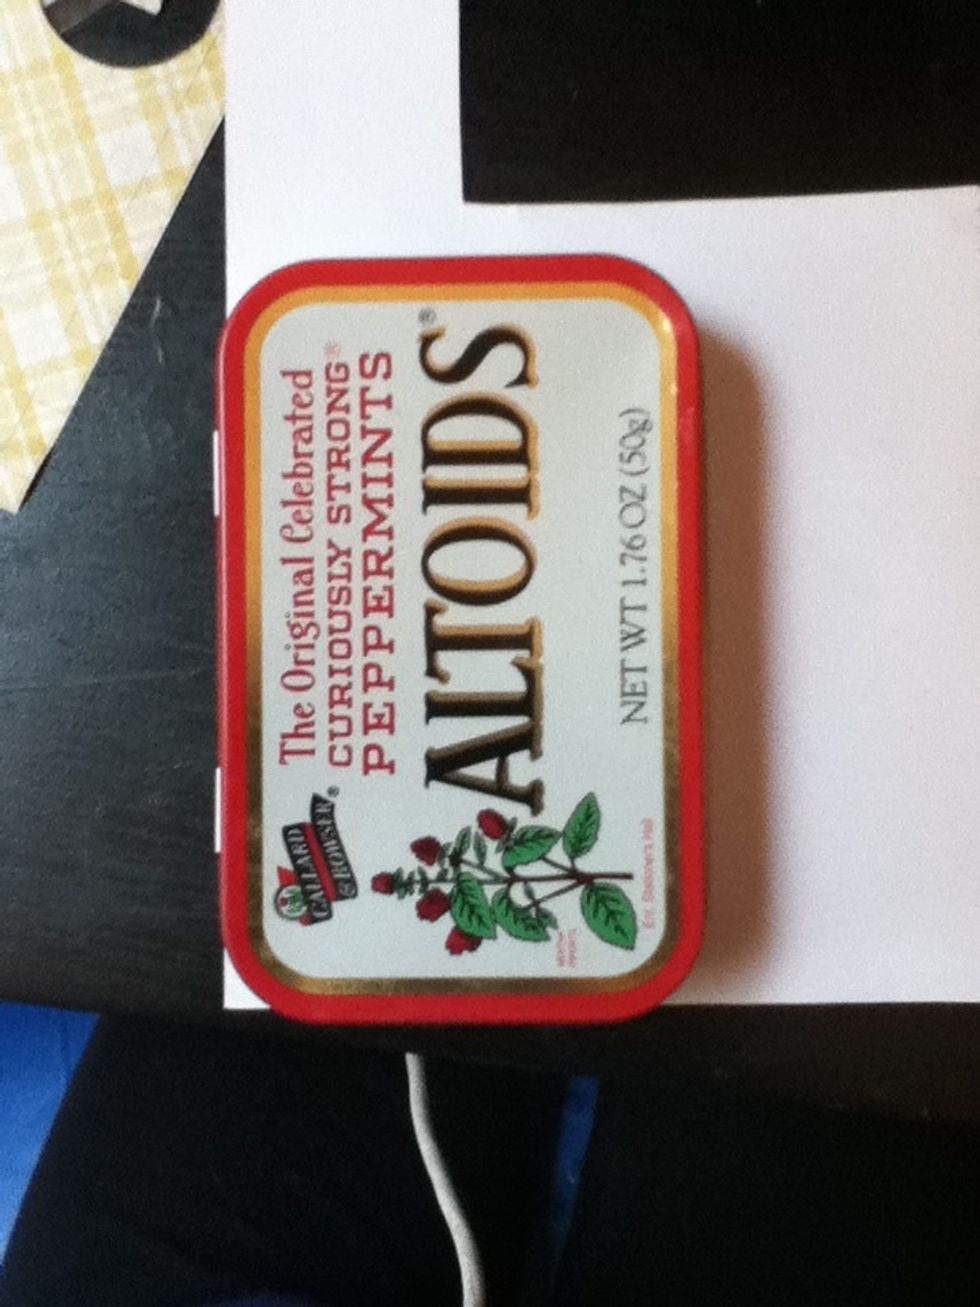
Choose a piece of patterned paper that you would like to use as the cover for your tin.
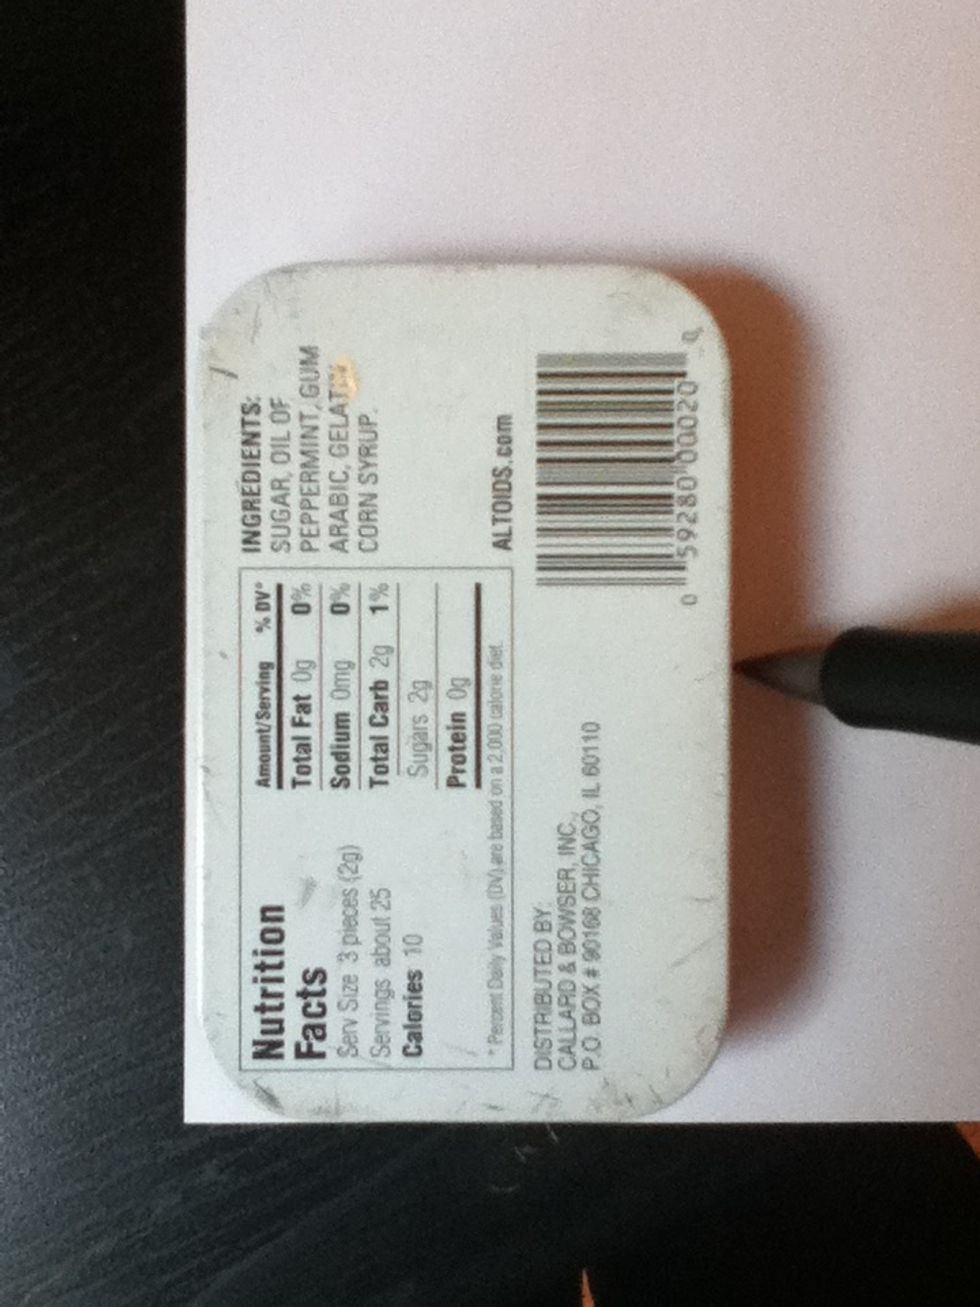
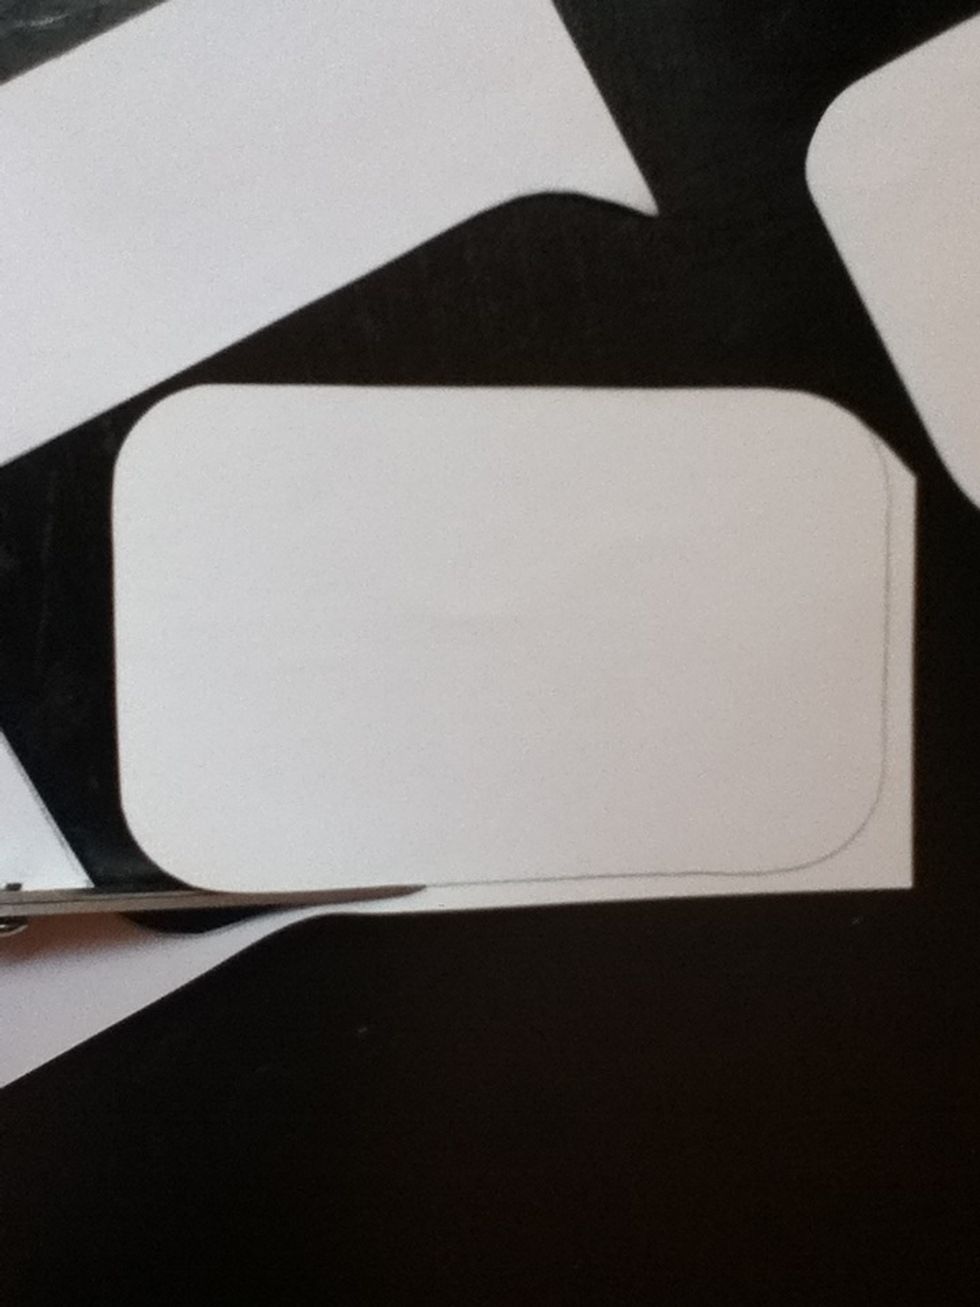
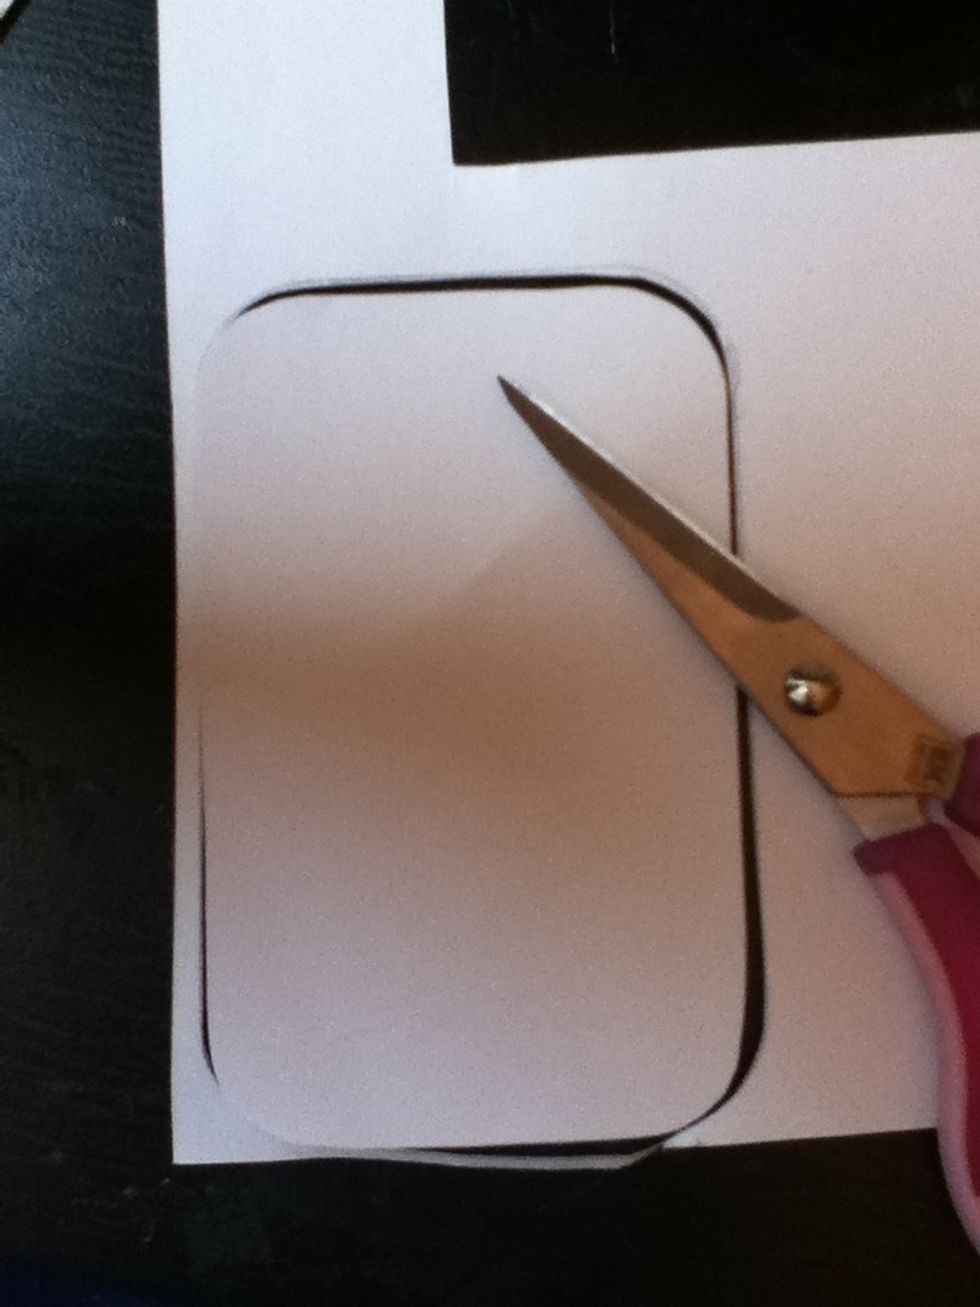
Flip your paper and your tim over, and trace around the tin. Be careful!
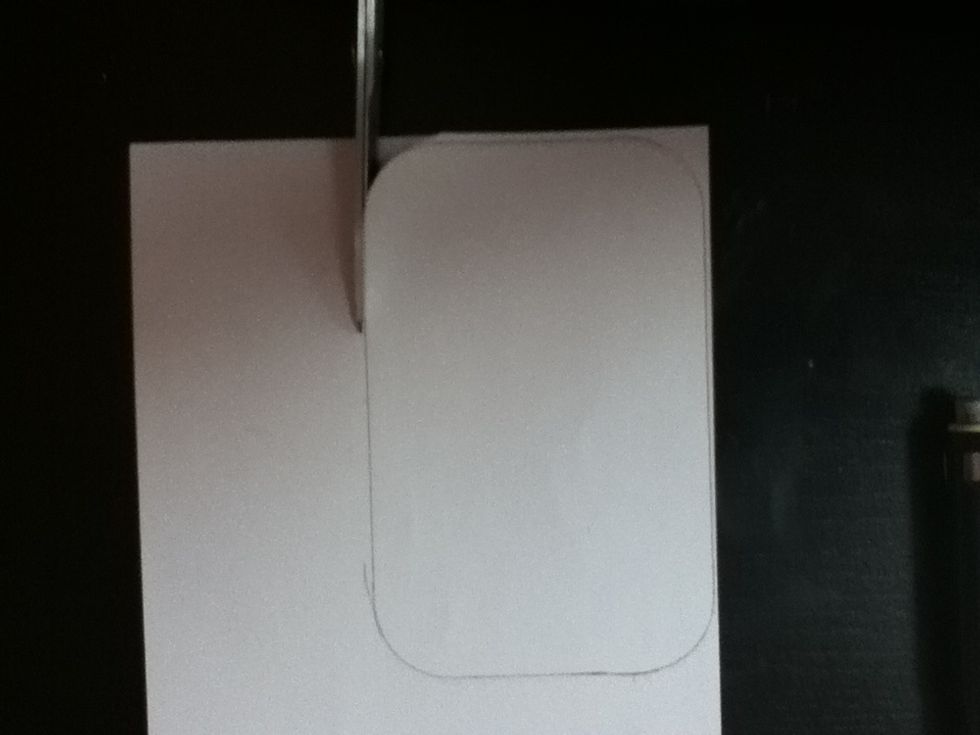
Carefully cut out the shape that you have traced. Now place your cutout on the cover of your tin to check the fit. Trim it down slightly if needed.
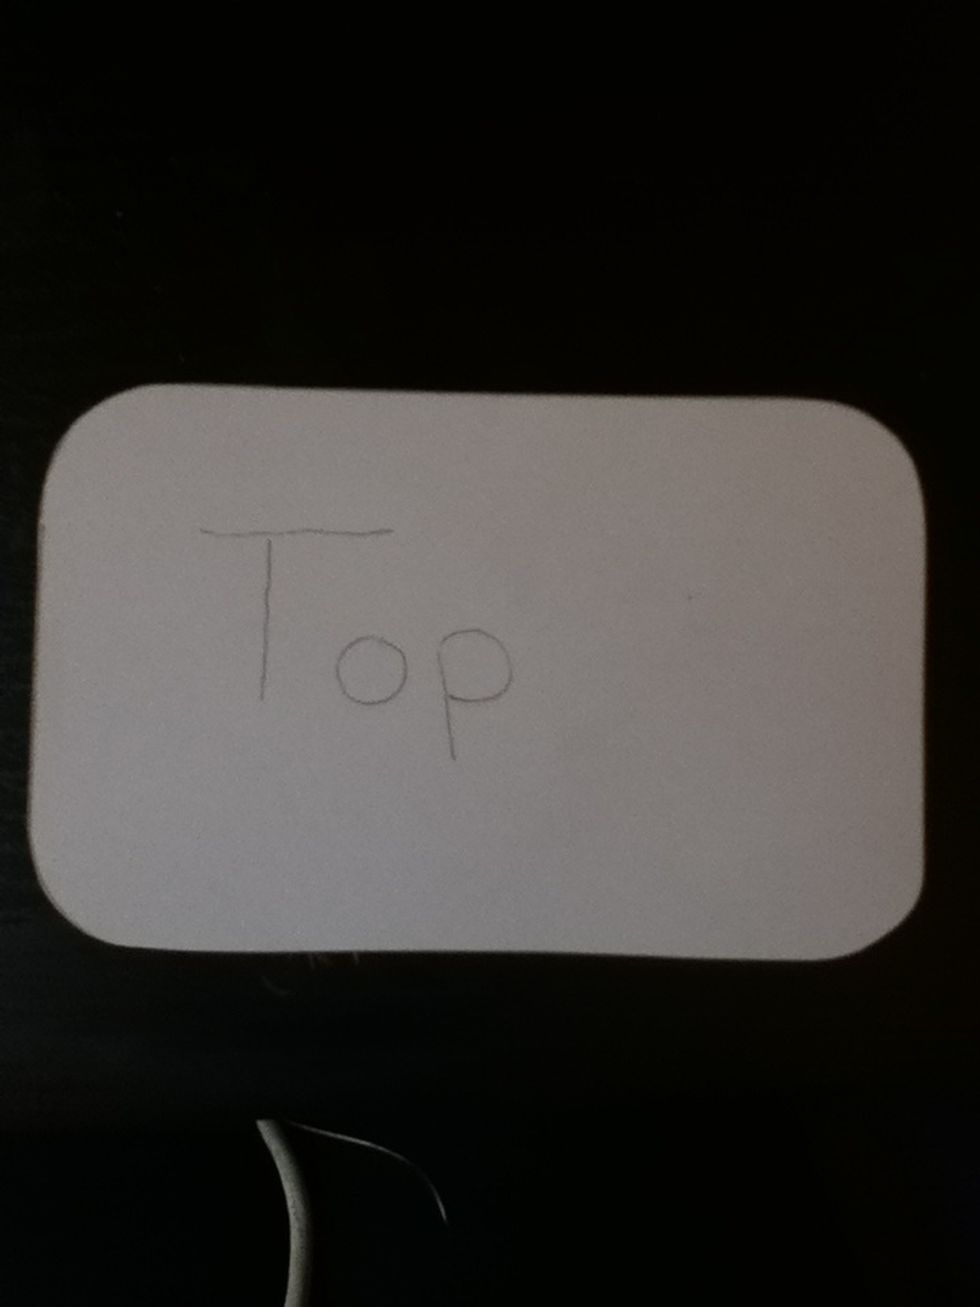
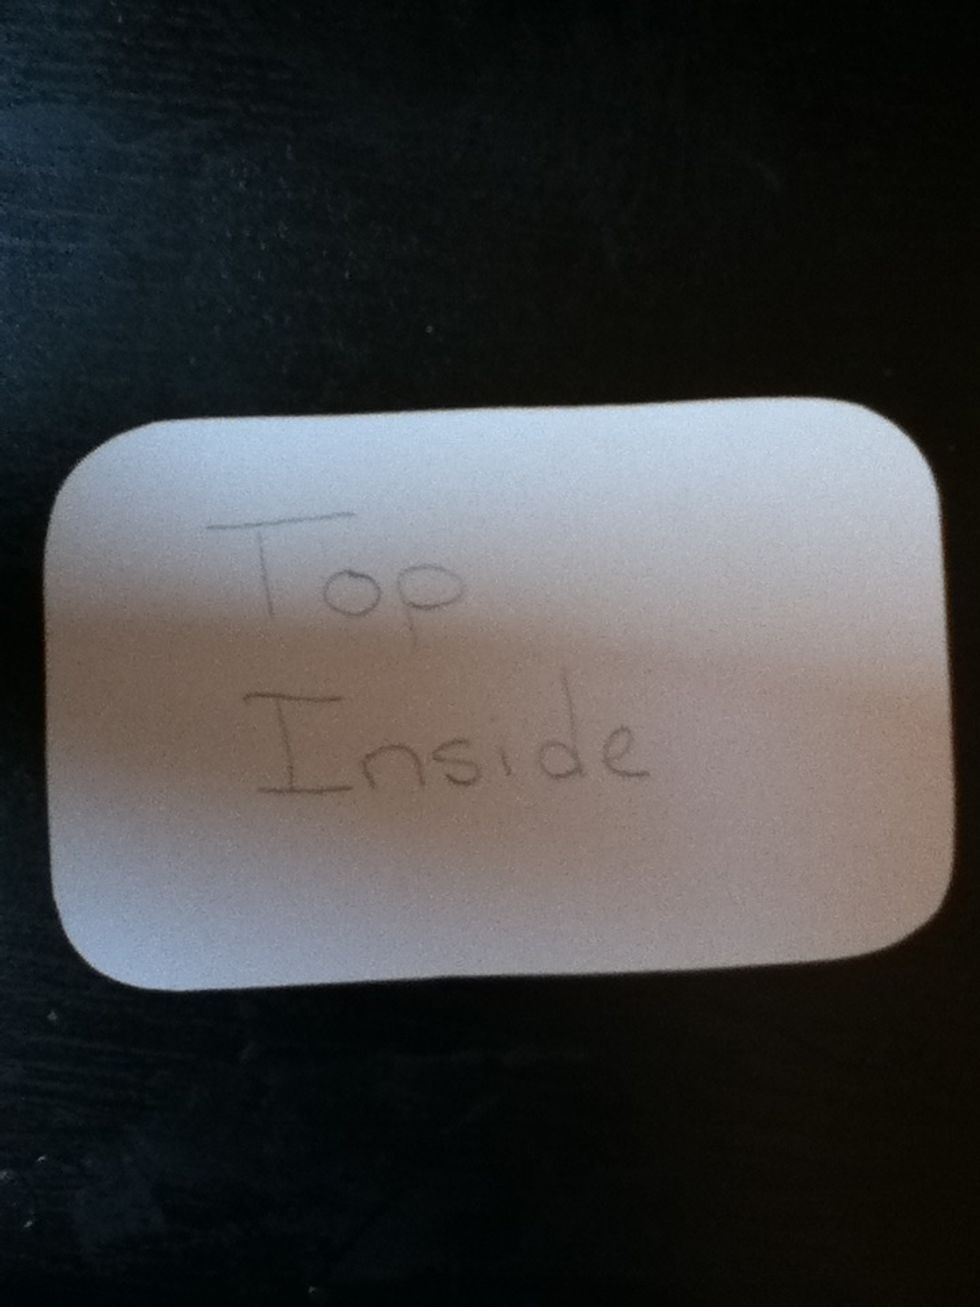
Lightly wright "top" on the back of your cut out, and set aside for later.
Using the same paper,trace around your tin again in the same fashion as before.
Cut it out. If possible, try to cut slightly inside the lines.
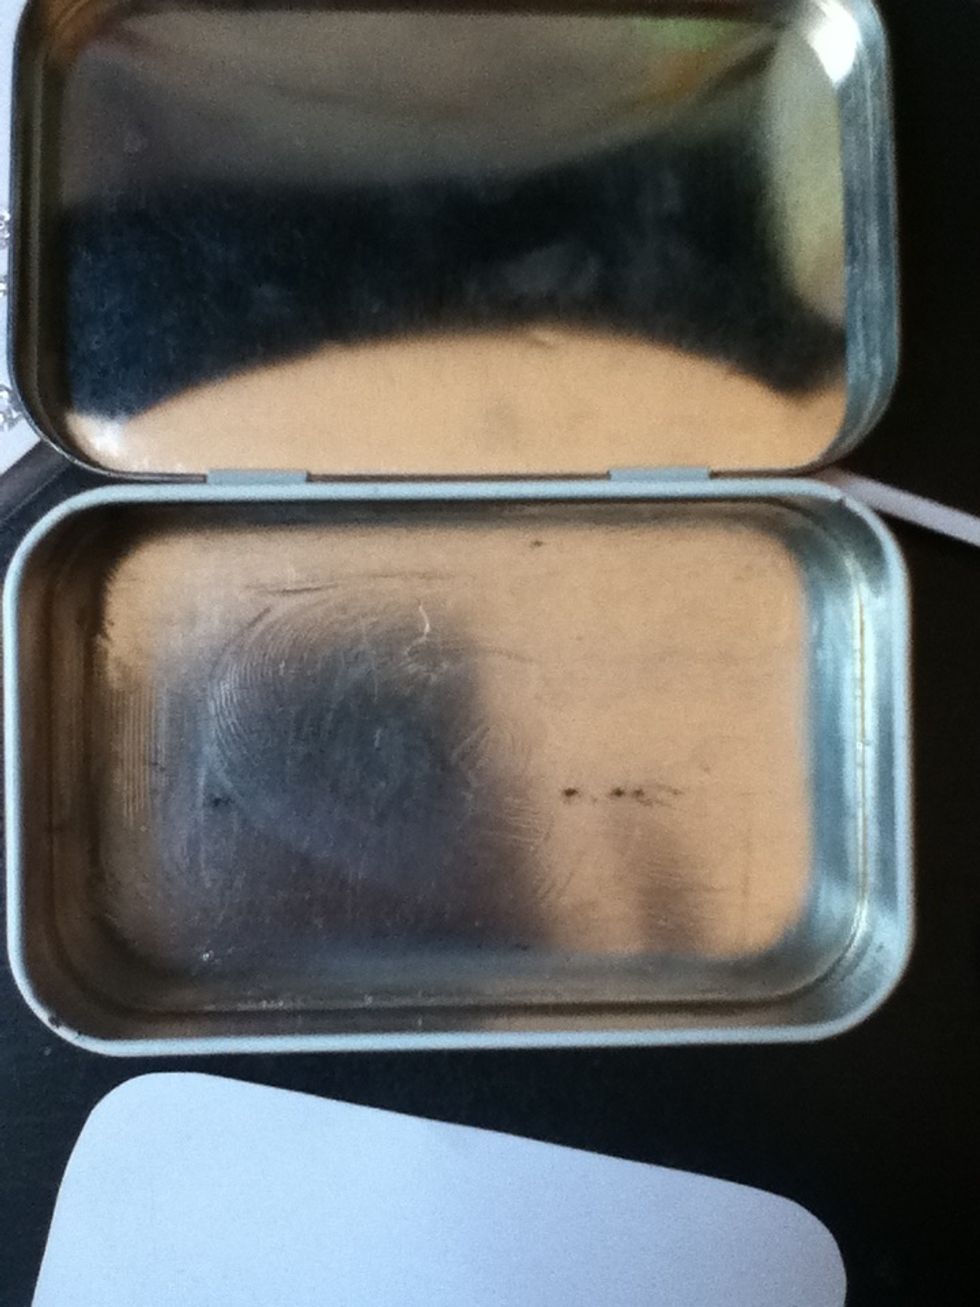
Place your paper in the inside cover of your tin. It won't quite fit snugly inside; it will be slightly too big. Slowly trim it down until......
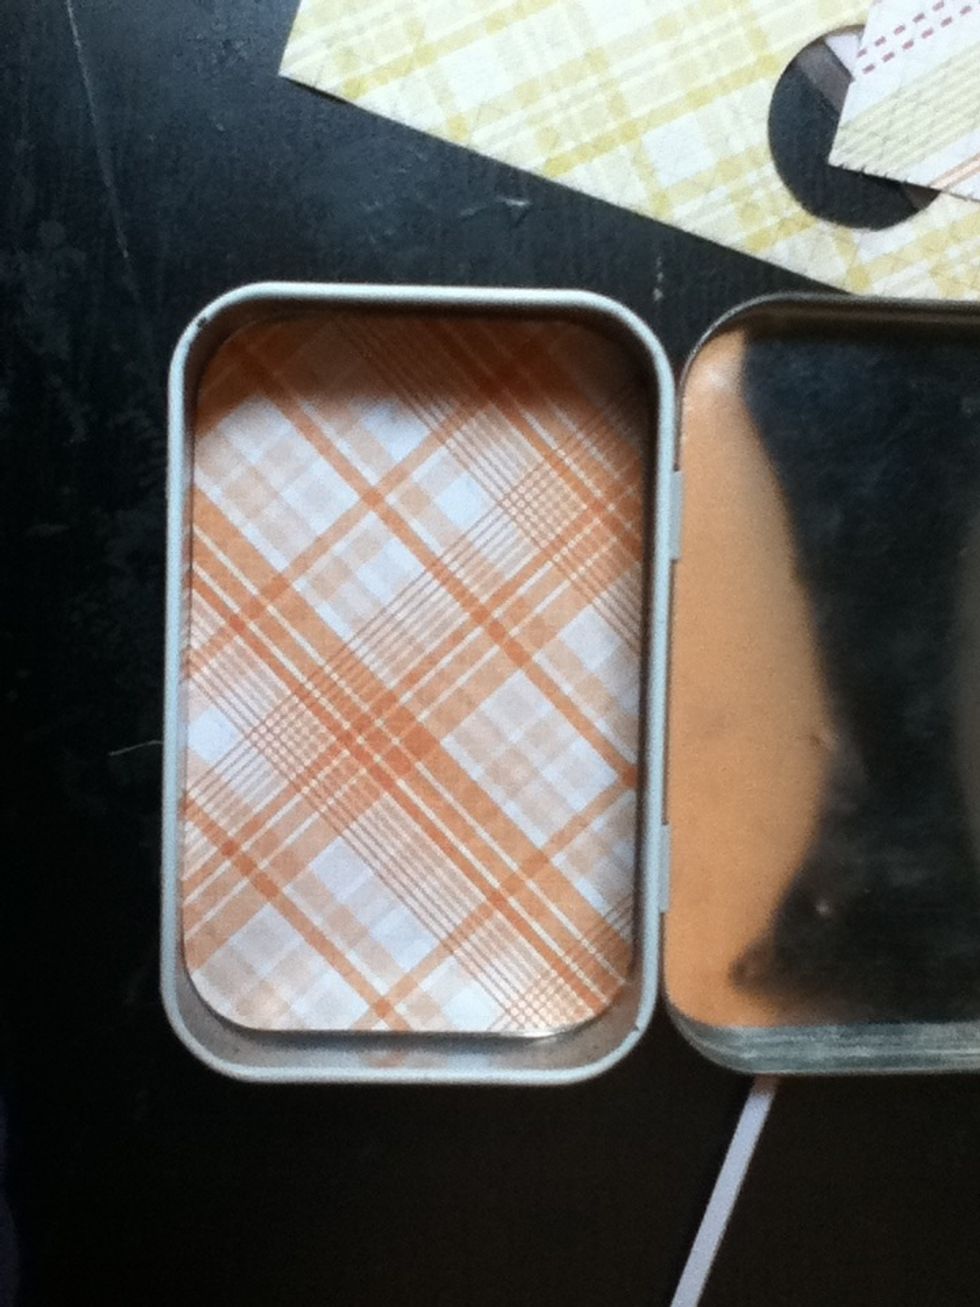
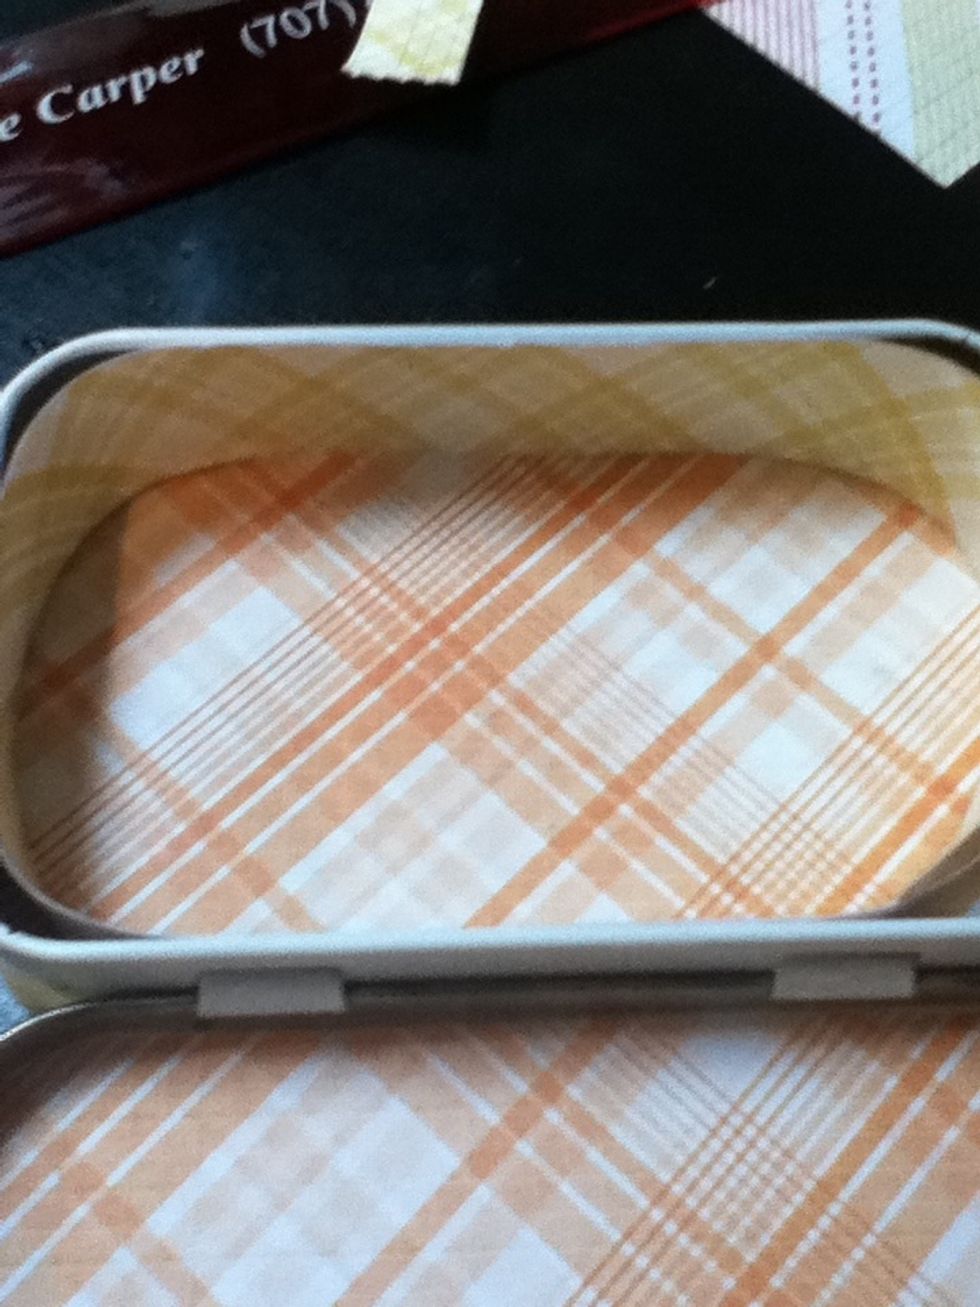
It fits snugly inside!
Labeled this piece "top inside". Set aside.
Now trace the bottom of your tin onto the same paper. Make sure that the top of your tin is facing upwards as you trace.
Cut it out, again staying slightly inside your traced lines.
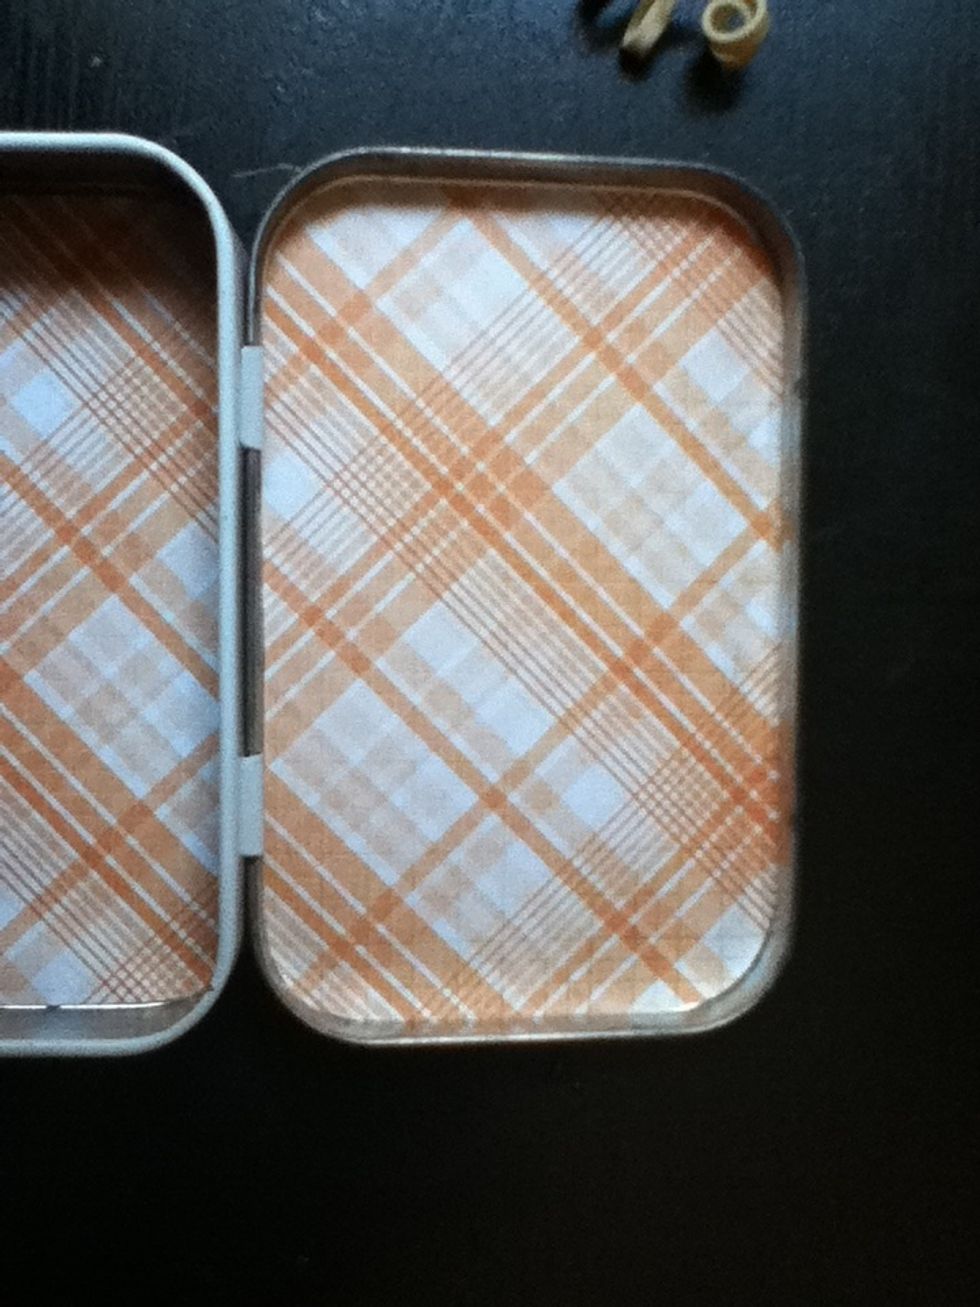
Trim your paper until it fits snugly inside the bottom of your tin.
Put a thin layer of double sided tape or glue on the inside bottom of your tin.
Place the paper that you just cut out (the one that has no writing on it) on the gluey surface. Smooth it down to get rid of any air bubbles and to stick it down.
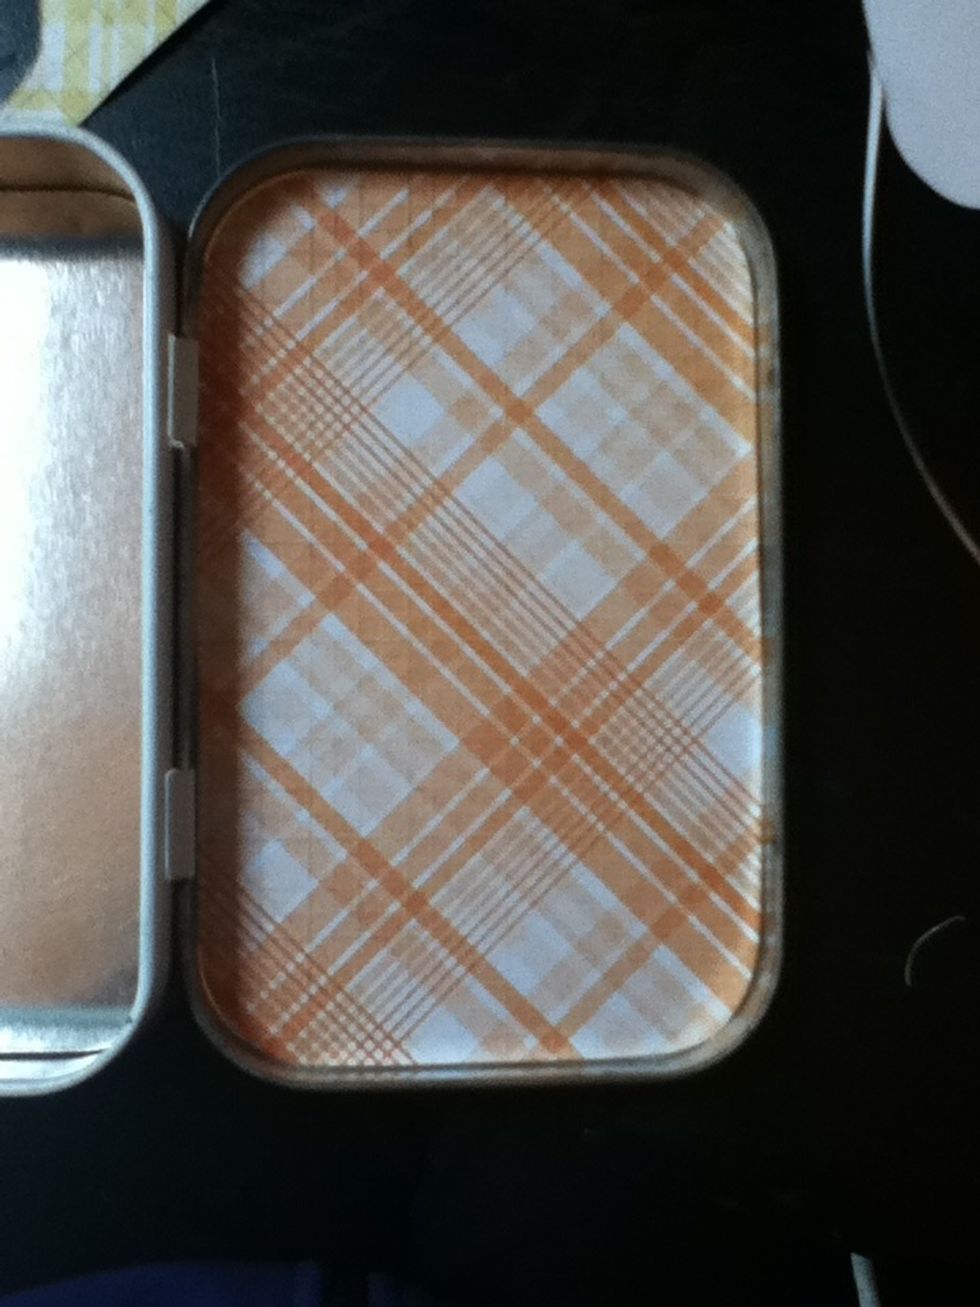
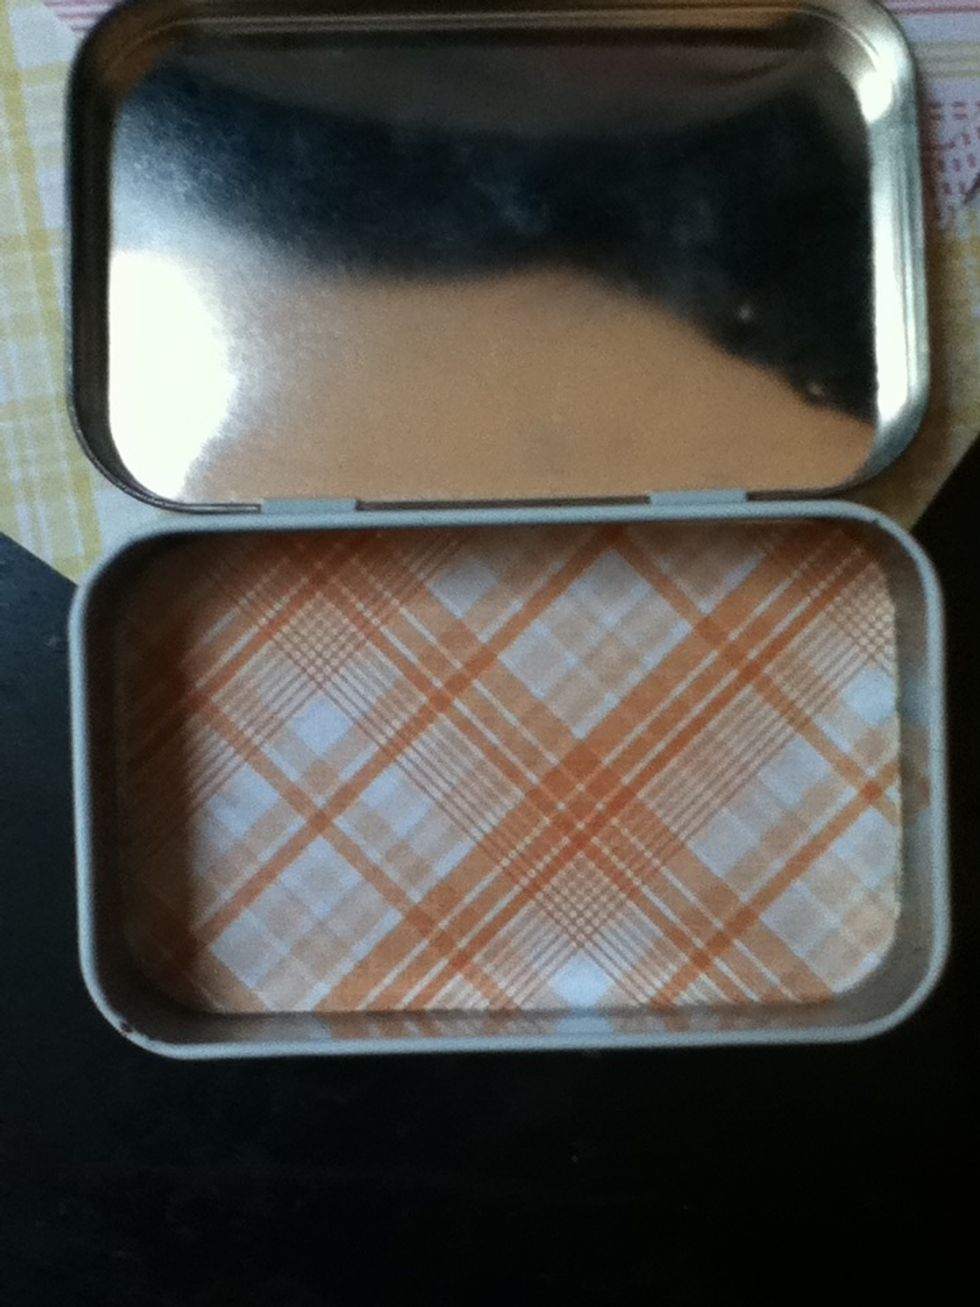
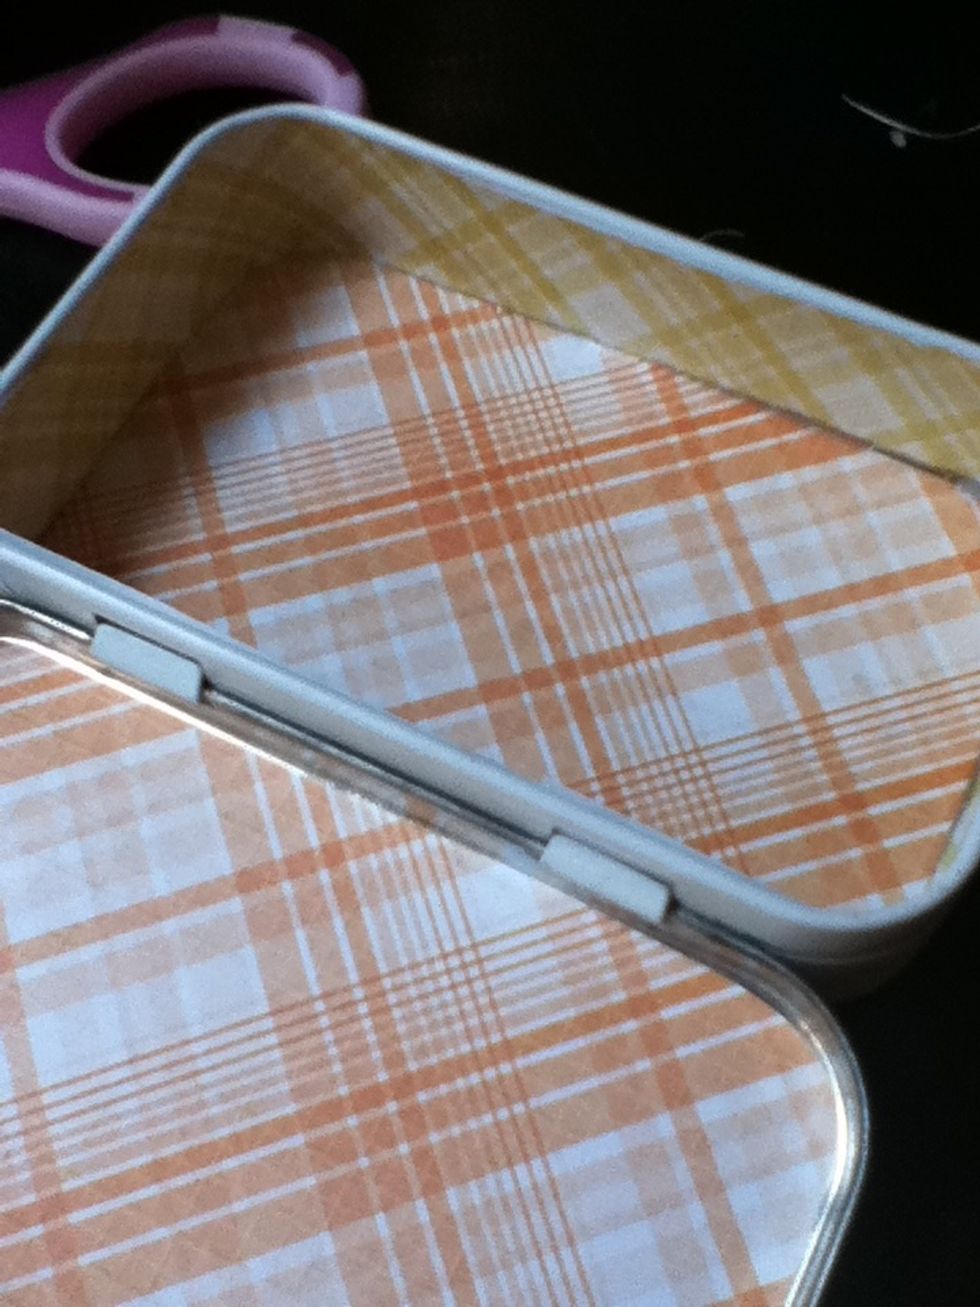
Use the same method to stick the paper labeled "top inside" to the inside of the lid.
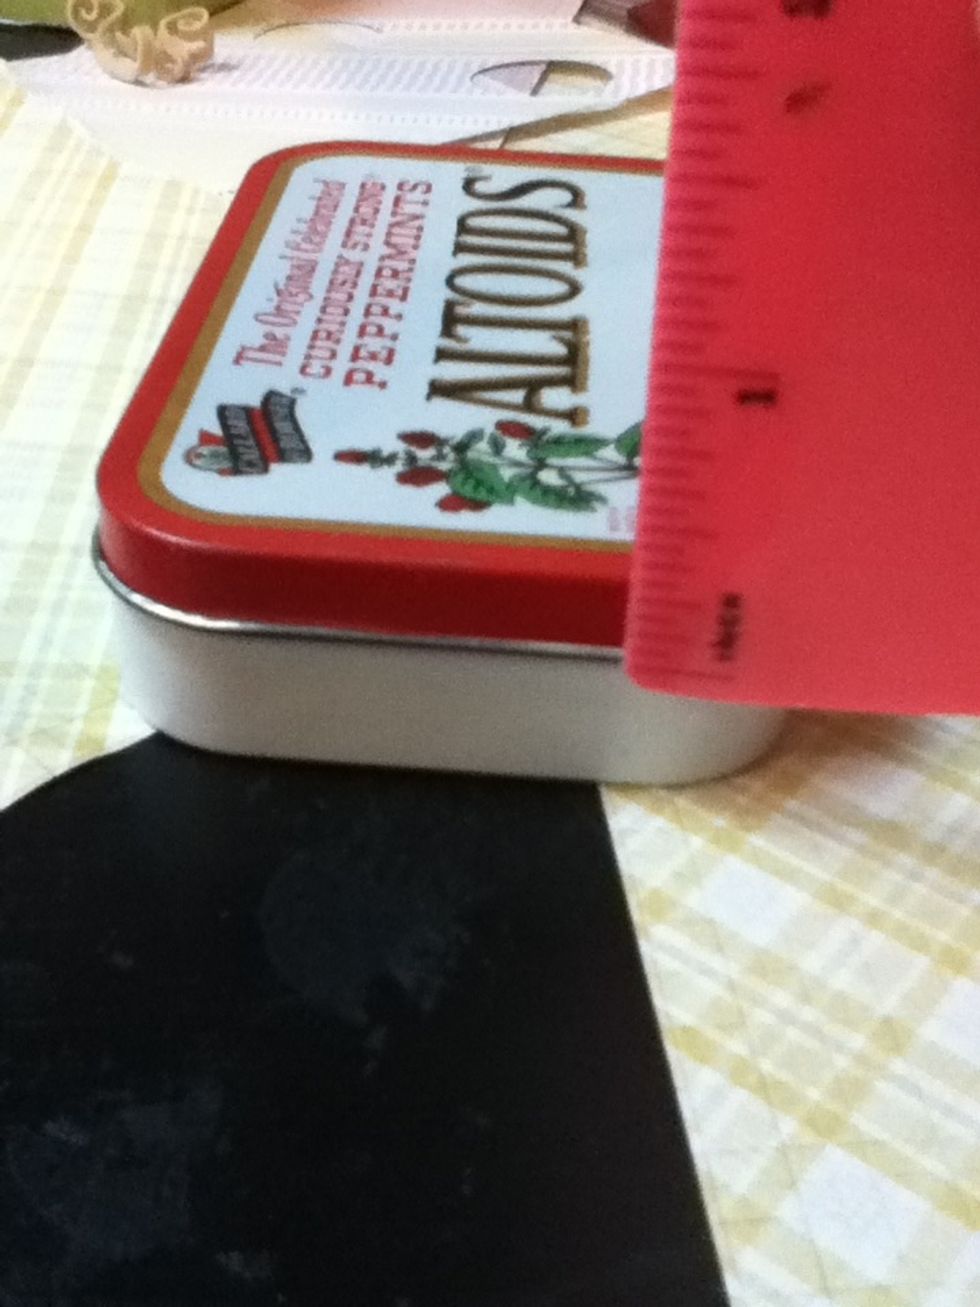
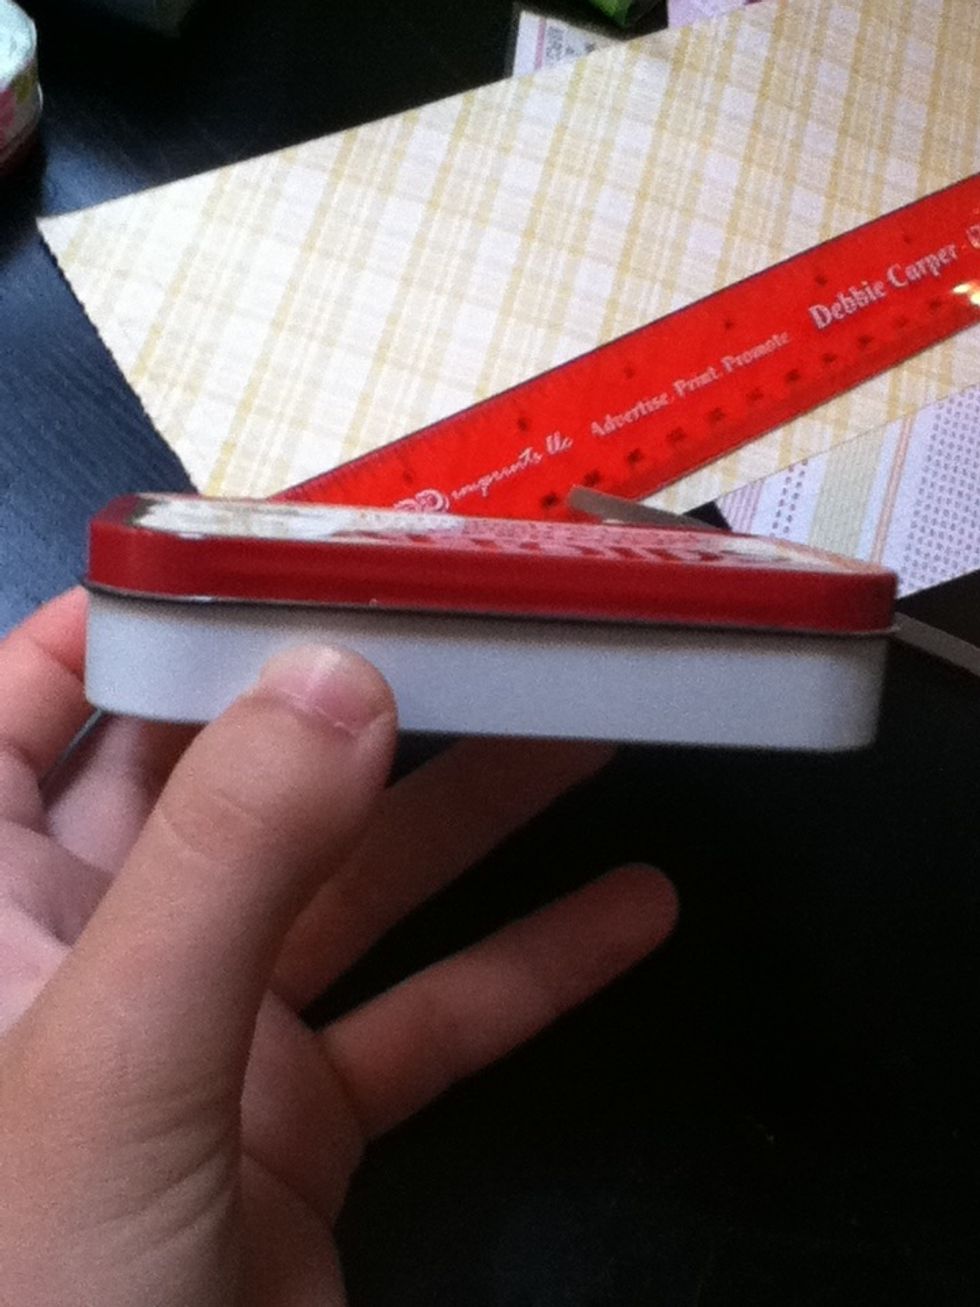
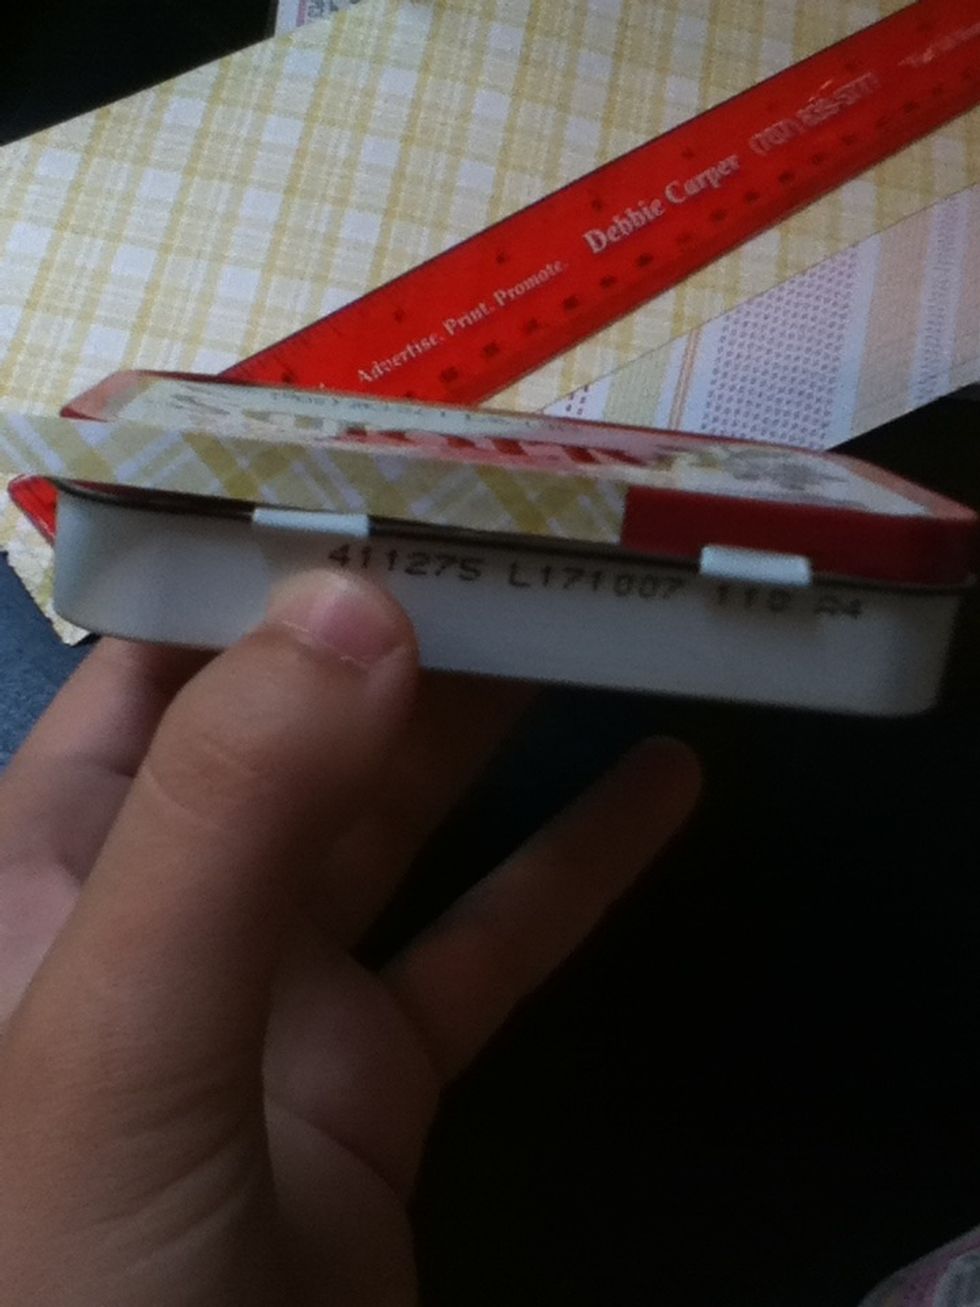
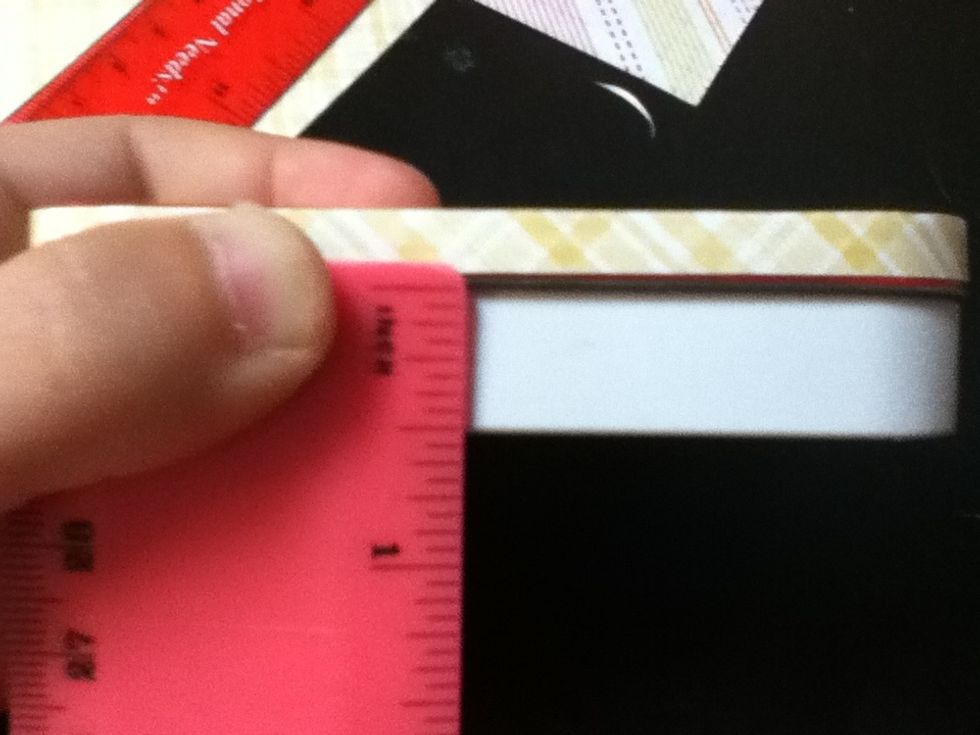
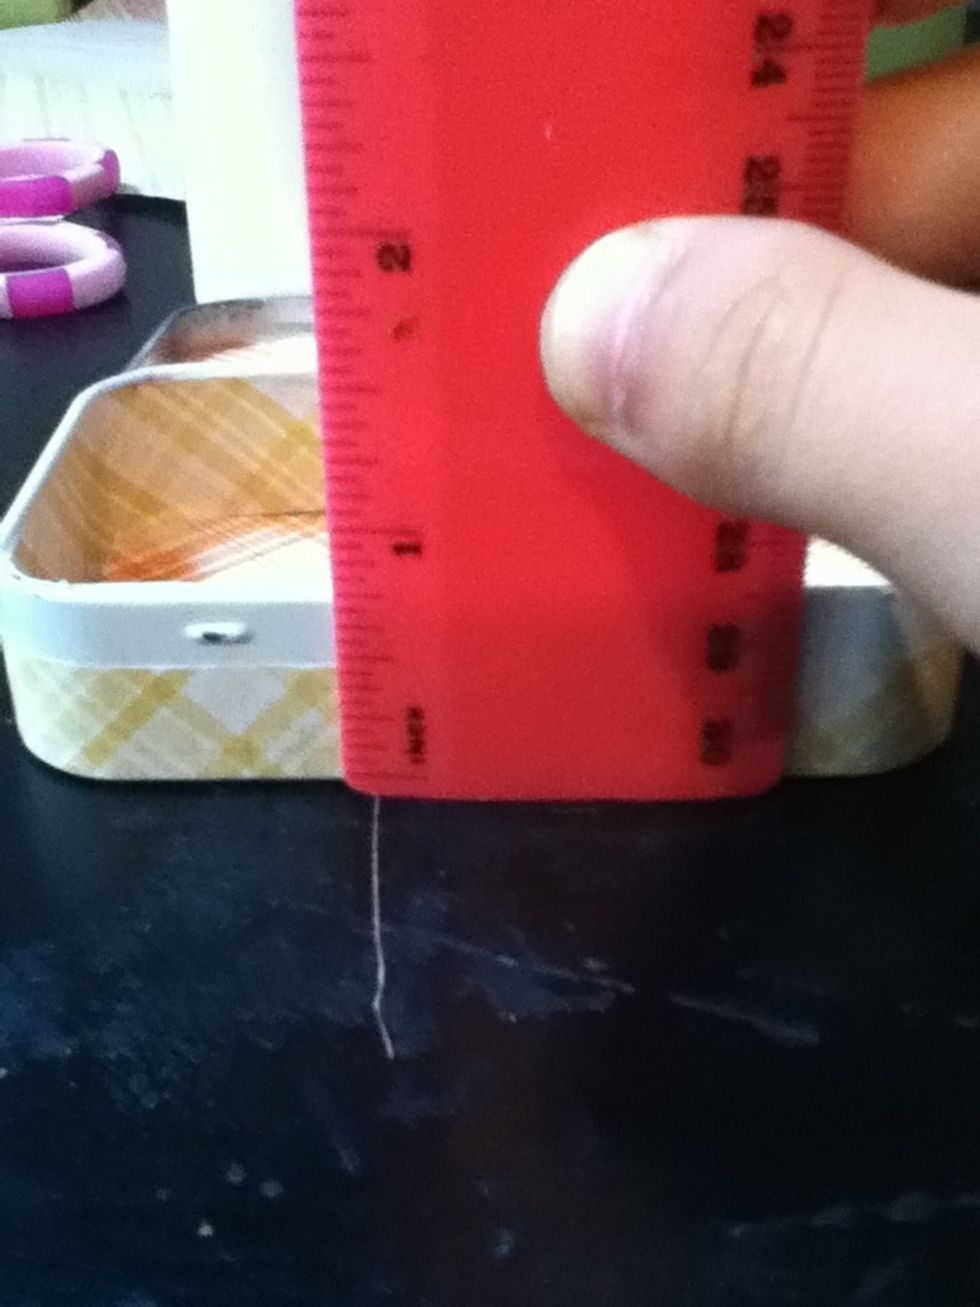
Measure the height of your lid. Mine is about a 1/4".
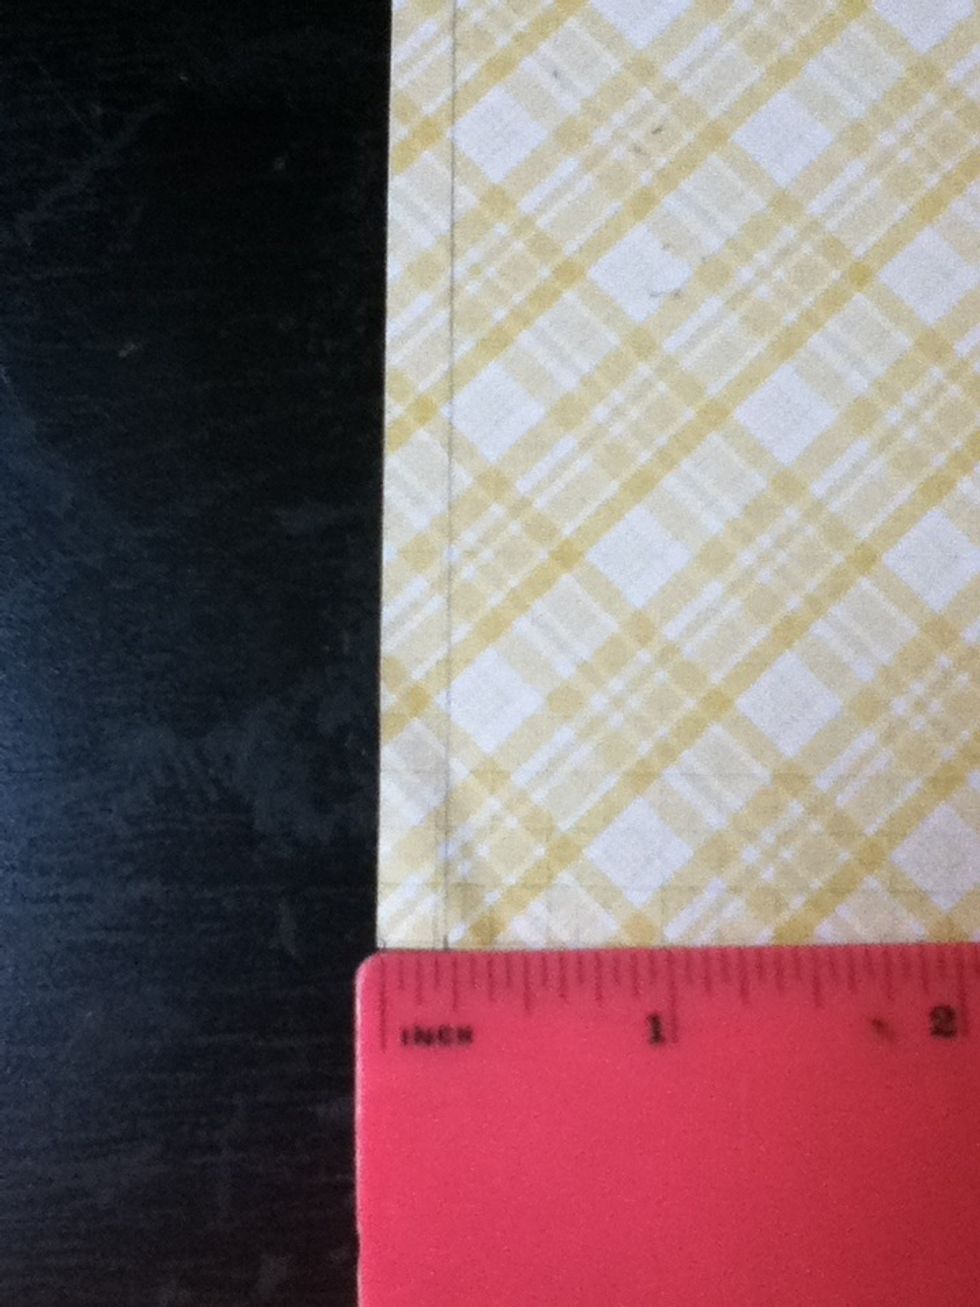
Draw a line as far from the edge of the paper as your measurement( so mine was a line 1/4" in.)
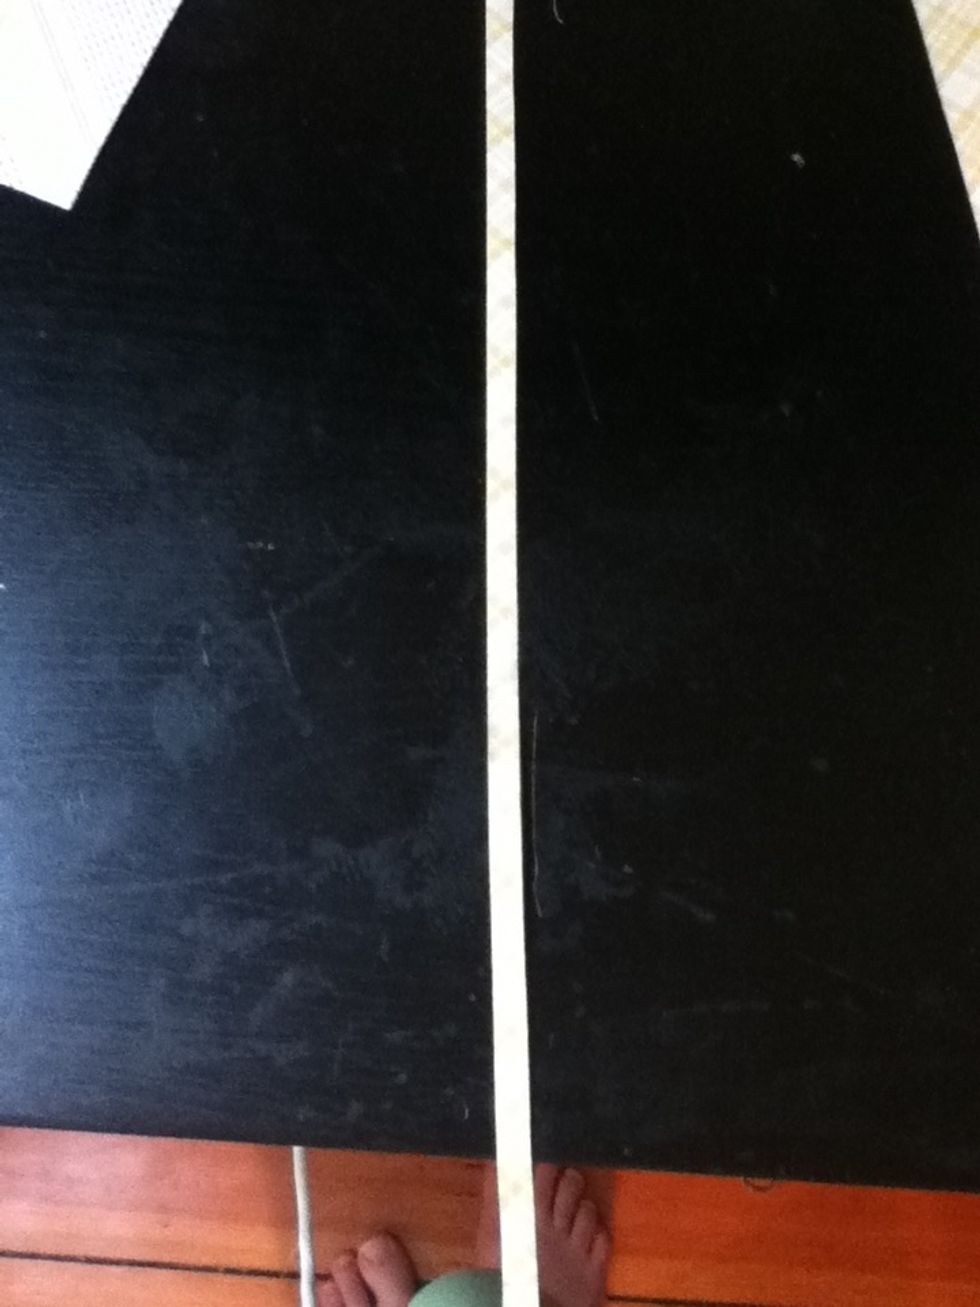
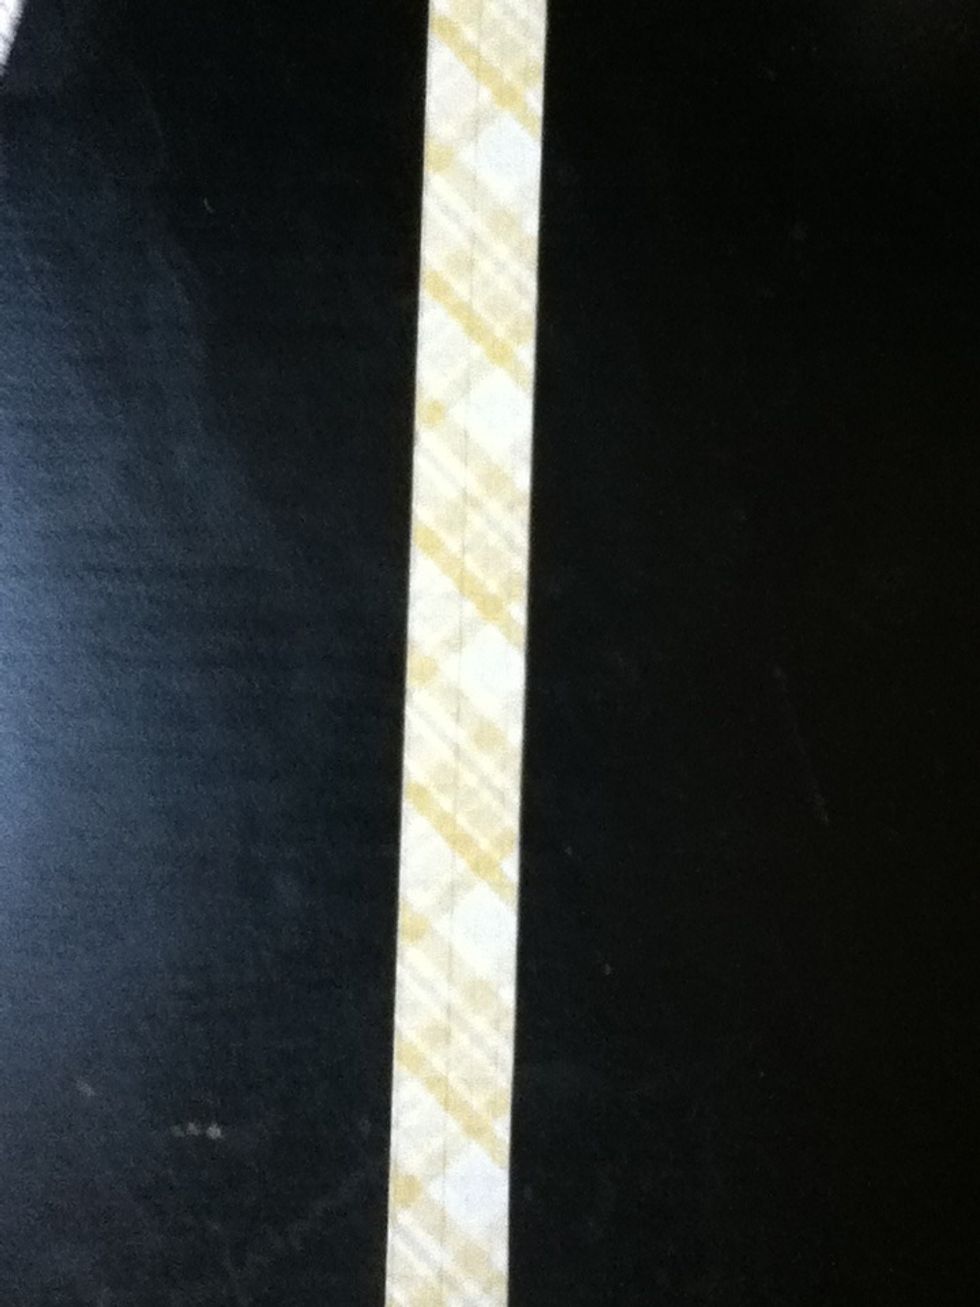
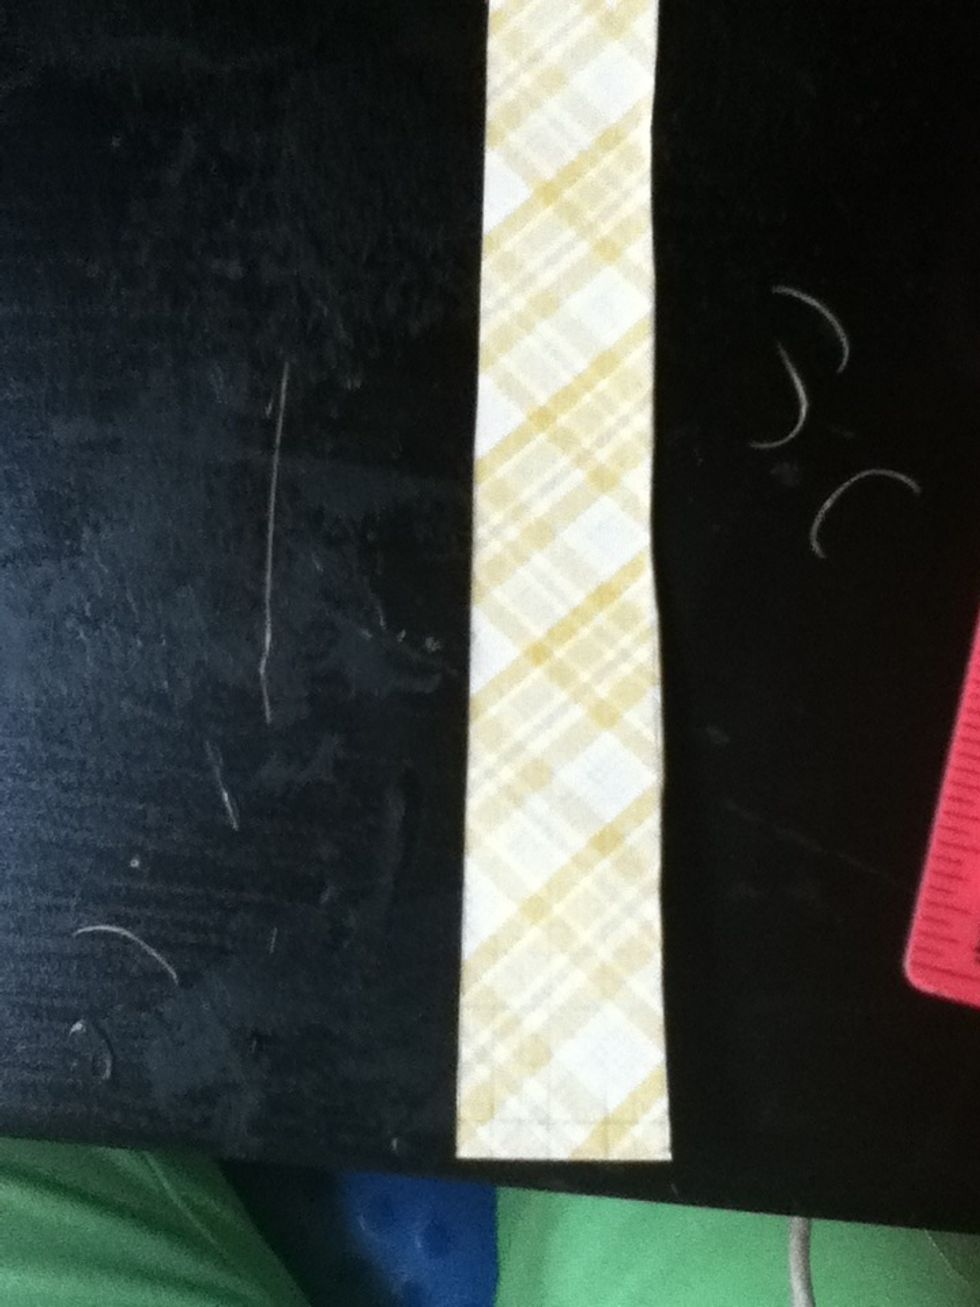
Cut on the line to produce a strip as wide as the measurement.
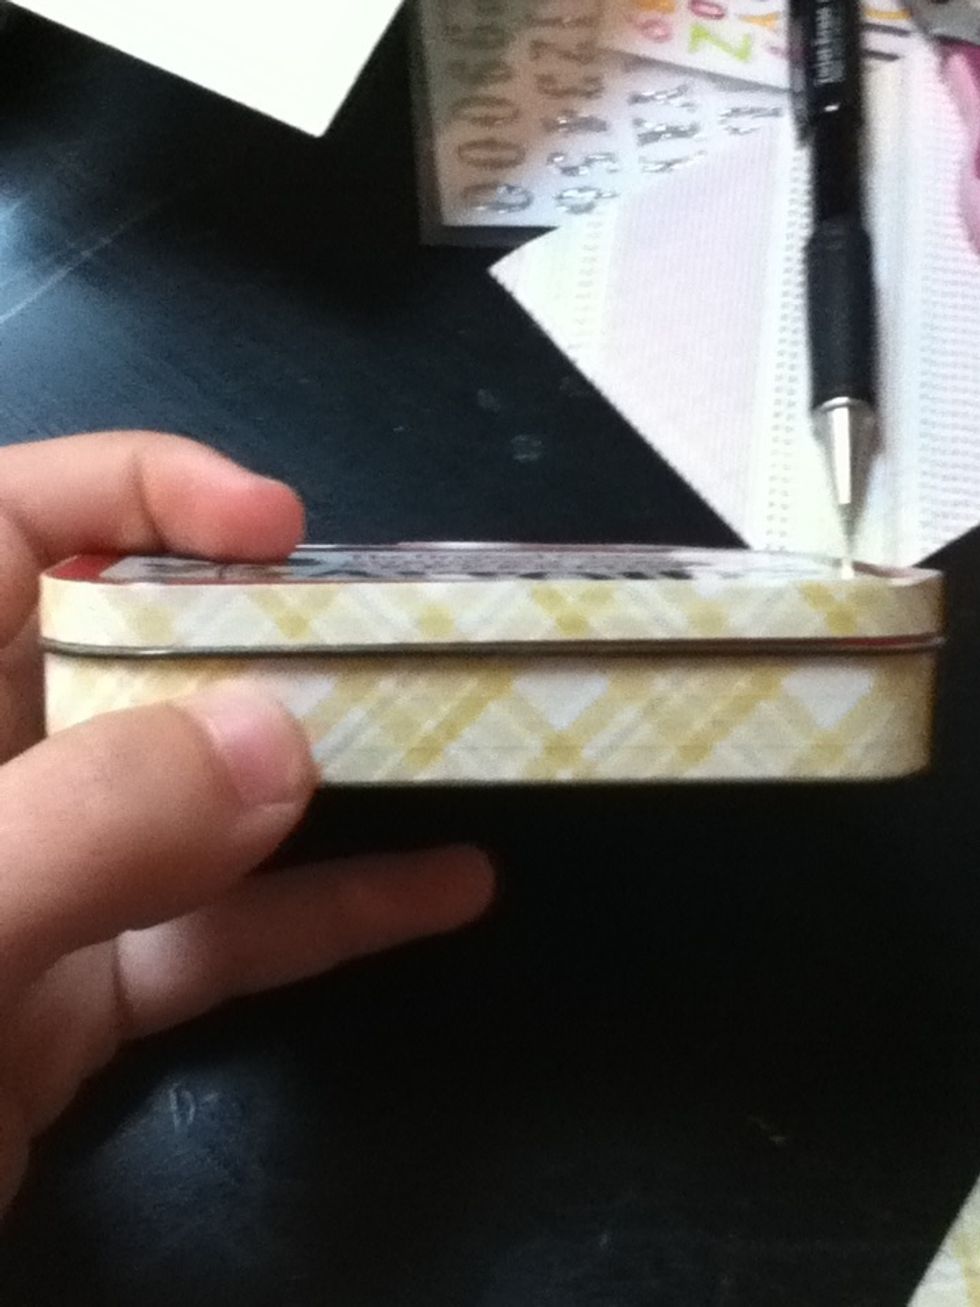
Now wrap your strip around the lid of your tin to see if it is long enough to wrap all the way around. If not, cut another strip to supplement it.
Put a thin layer of glue or double sided tape on the rim(for me the red part).
Wrap your strip around, starting at the back. If you have two strips, you will need to overlap at some point so that the rim is completely covered. Glue down any excess paper you may have.
With the lid closed, measure the height shown.
Cut out a strip to march the measurement.
Using the same technique as before, glue the strip as shown.
Now open the lid, and take the measurement shown.
Cut a strip for that measurement.
Now loosely fit the strip inside the bottom of your tin. If it is too tall, trim it down slightly.
Glue your strip to the wall of your tin.
Put a thin layer of glue or double sided tape on the tap of your box.

Glue down the piece of paper that you labeled "top".
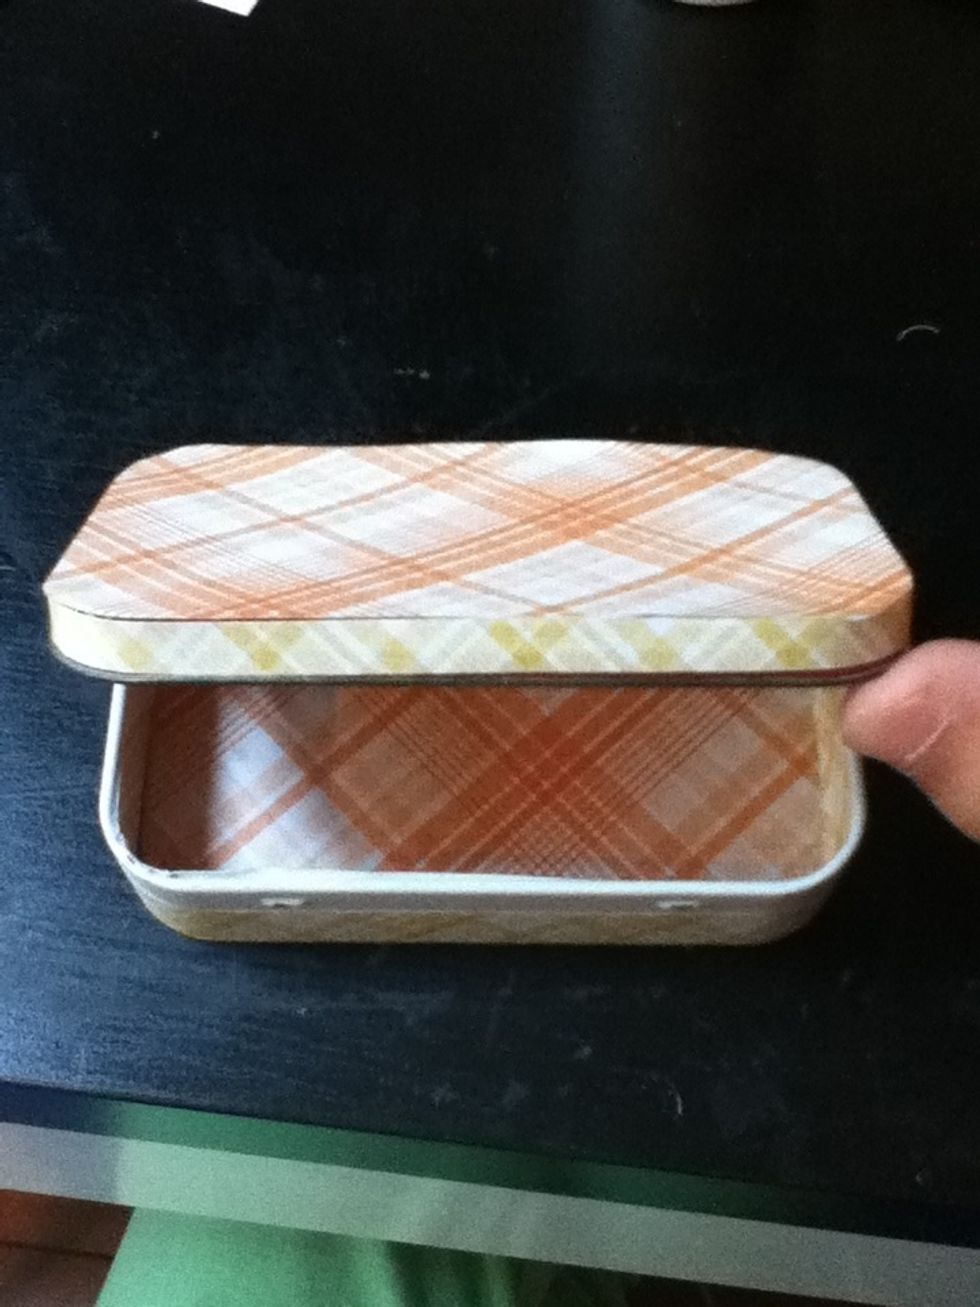
Your finished box!