The Conversation (0)
Sign Up
These are the colors I'm using (in that order too)
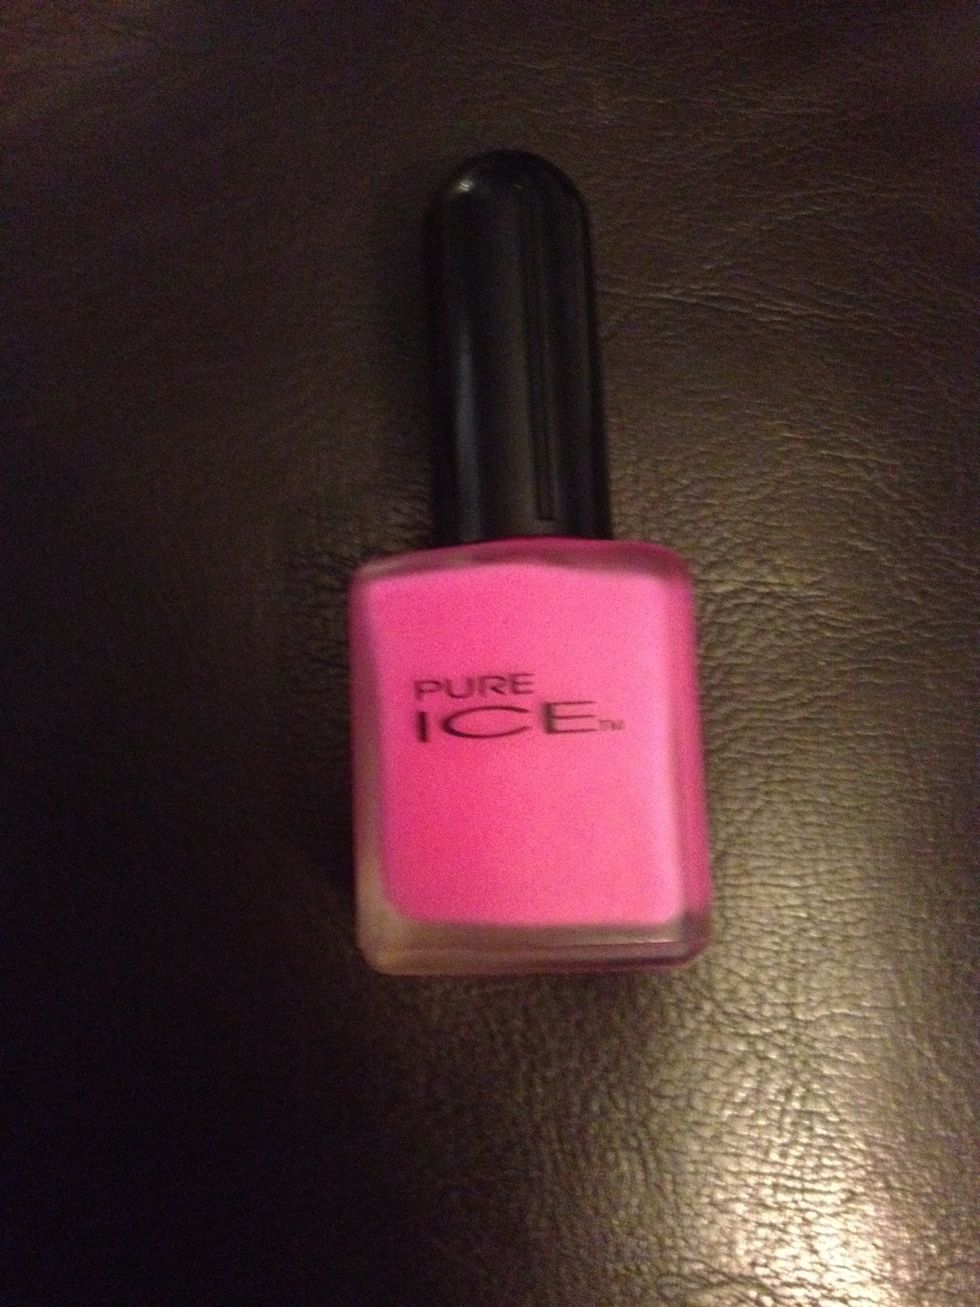

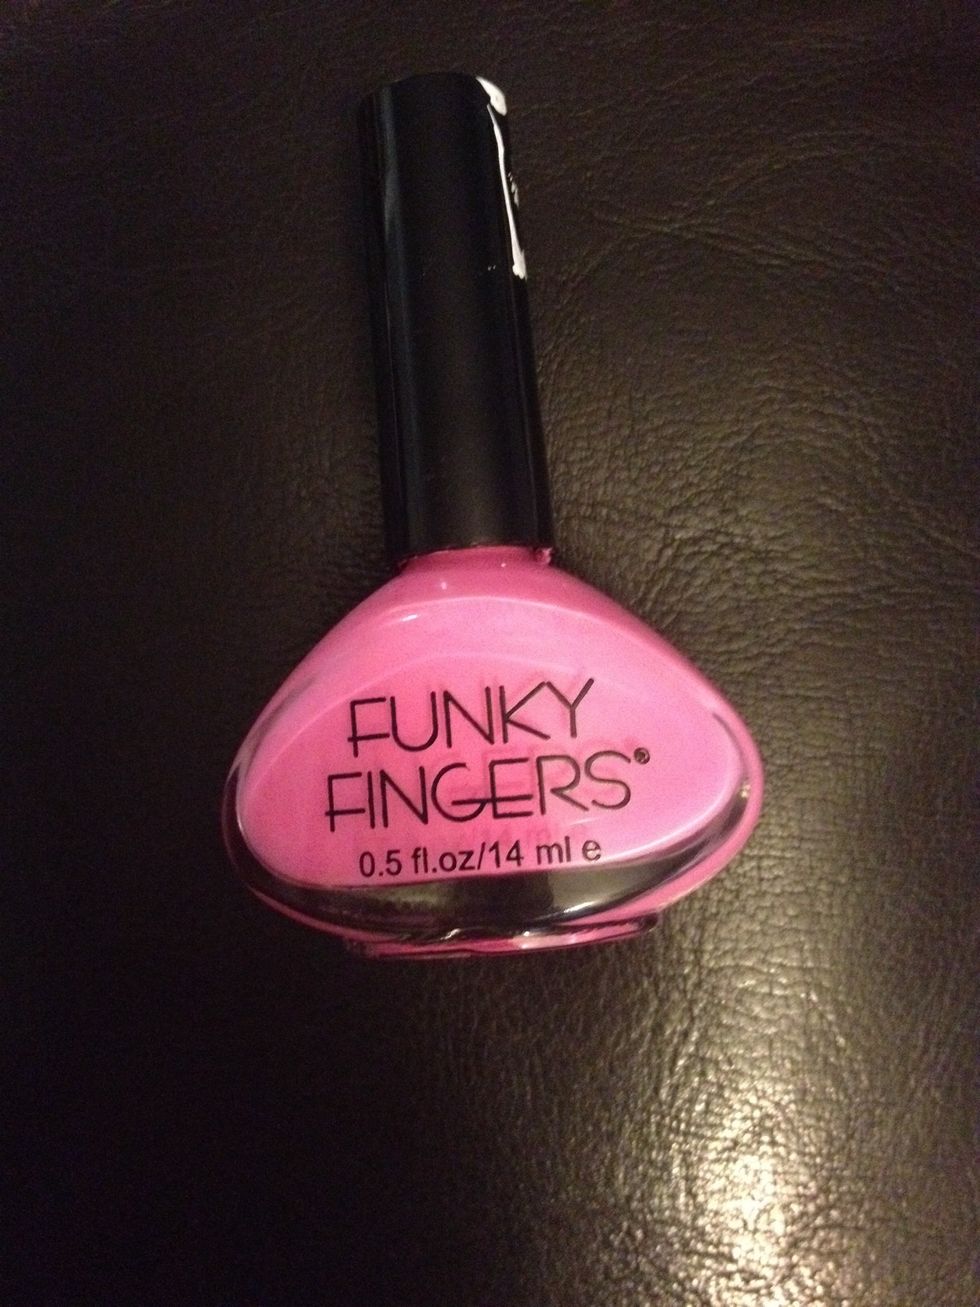
Basically you want to get a dark color a medium normal color and then a bright color. To make it look vibrant and unique.
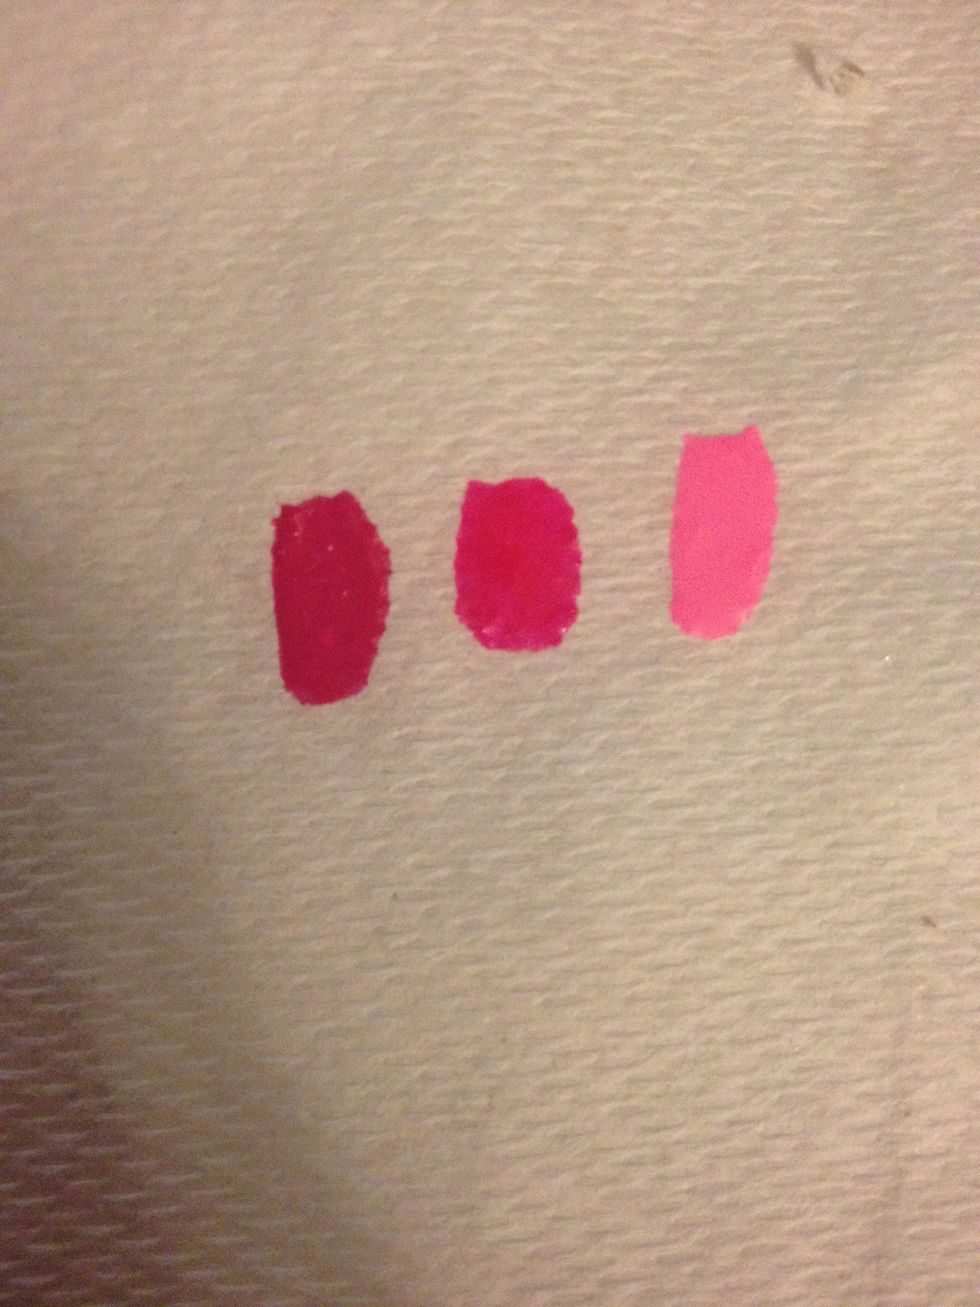
This is the color order on paper so you can see how it will look
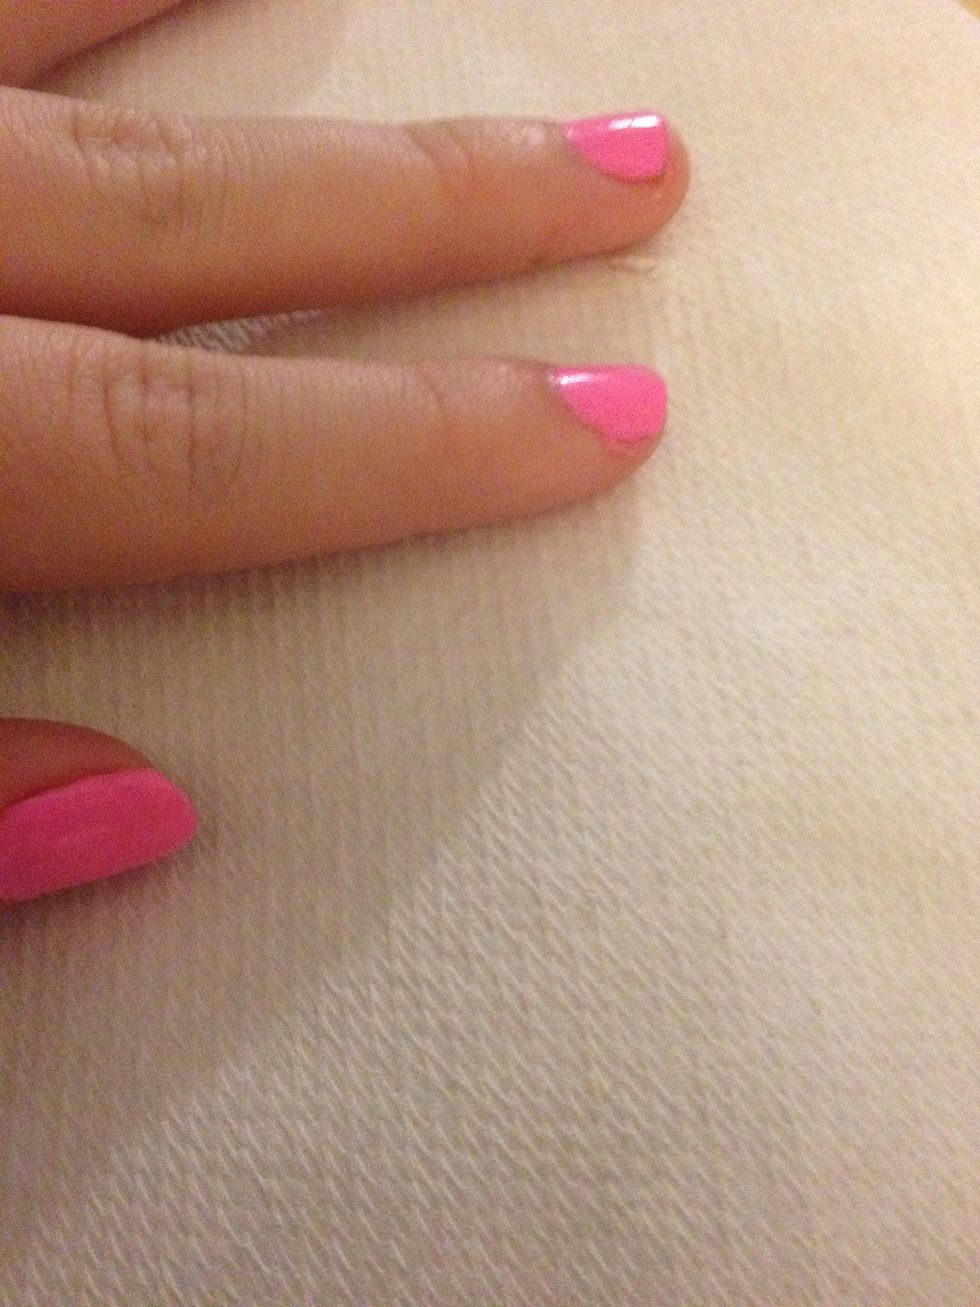
Color all your nails (except your ring finger) the lightest color your using for a more vibrant and (I think) more happy look. ^_^
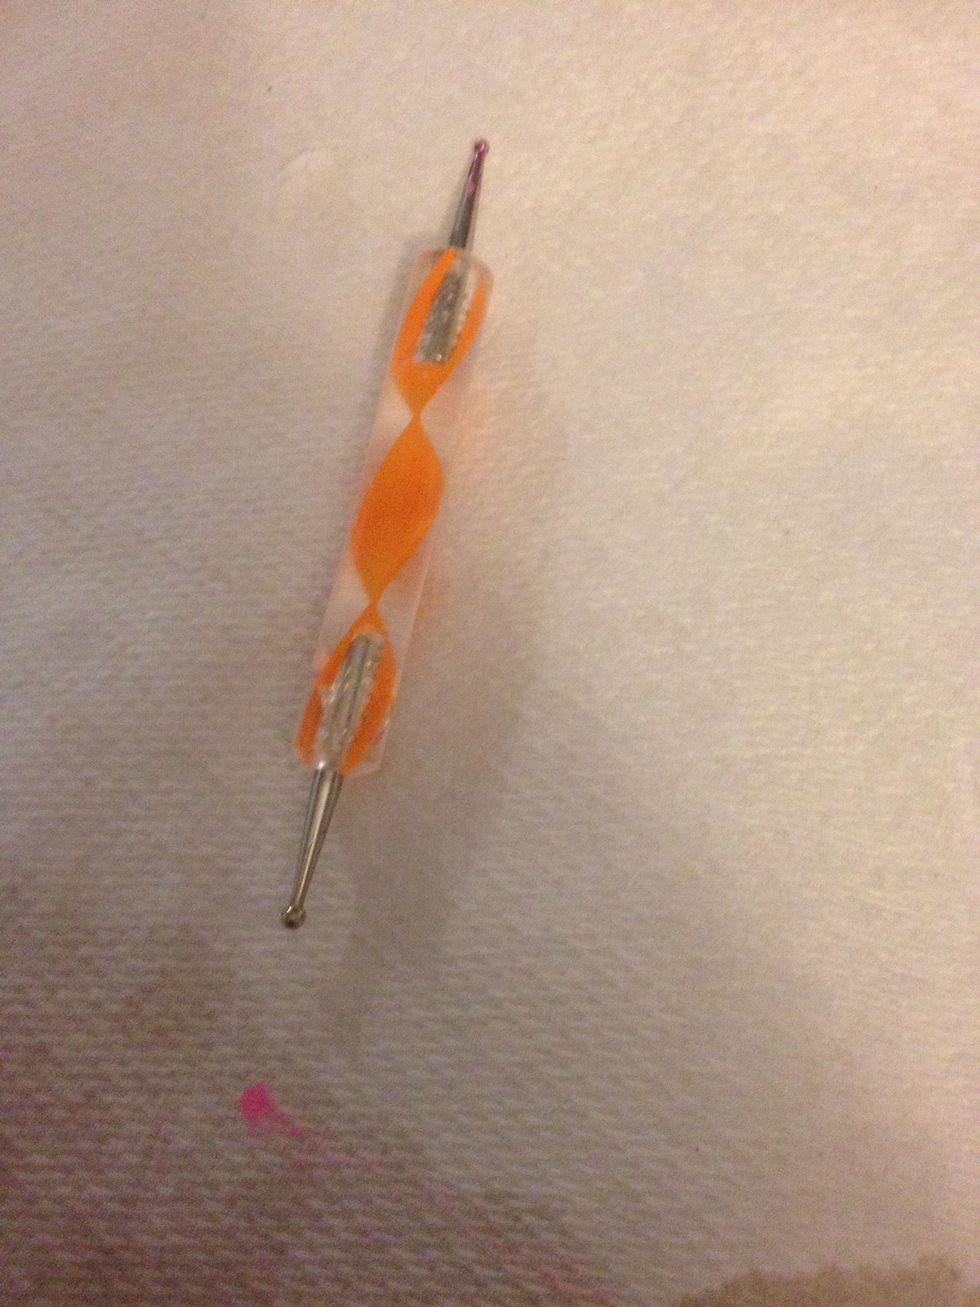
Grab your dotting tool. (I think you can use a toothpick..a toothpick never worked for me so I just got a tool, but maybe you will have more luck)
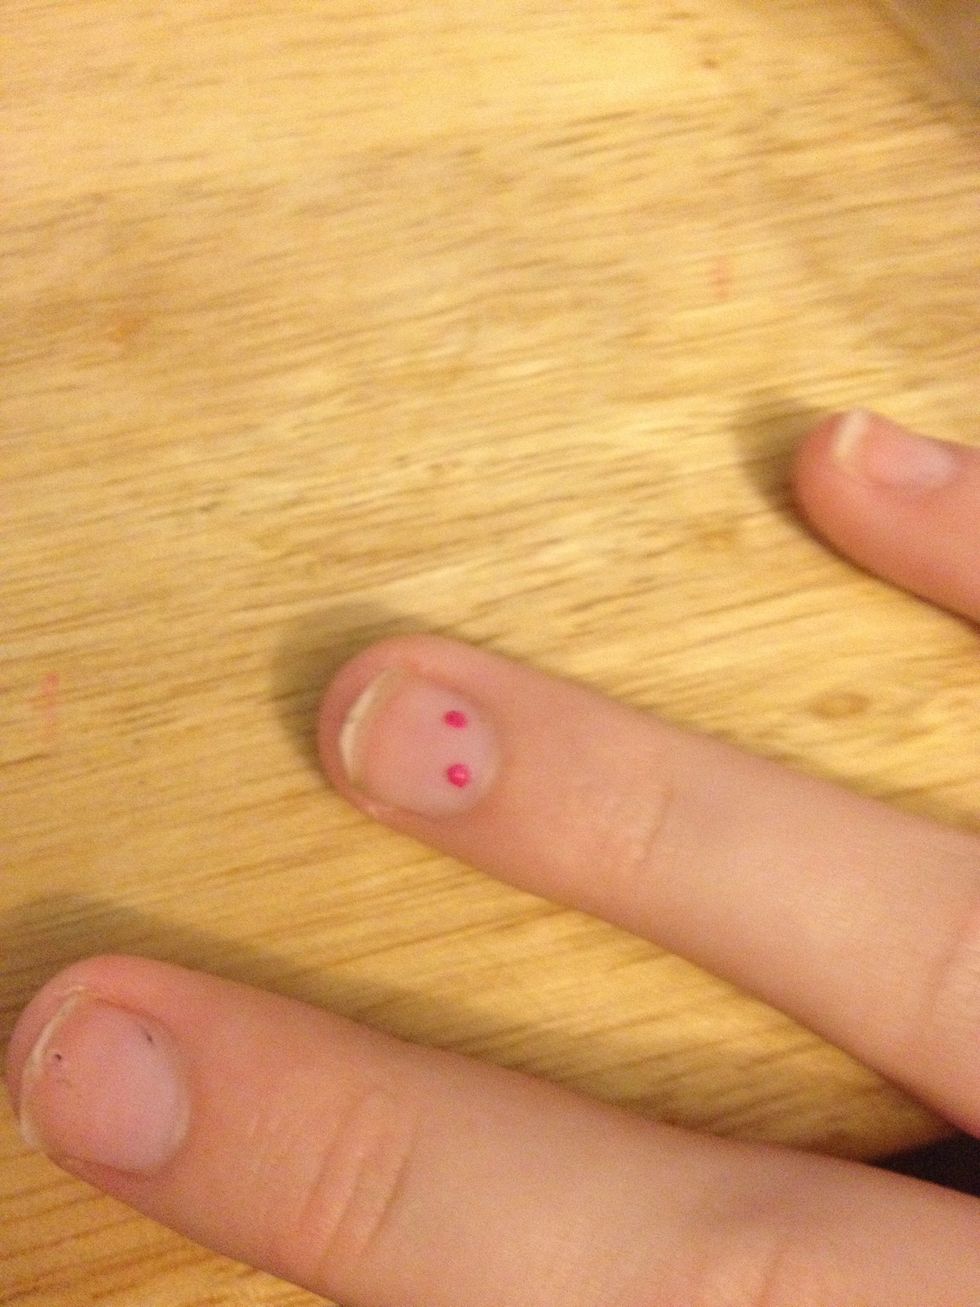
Paint the dotter with your nail polish and put two dots at the top of your nail in a diagonal formation.
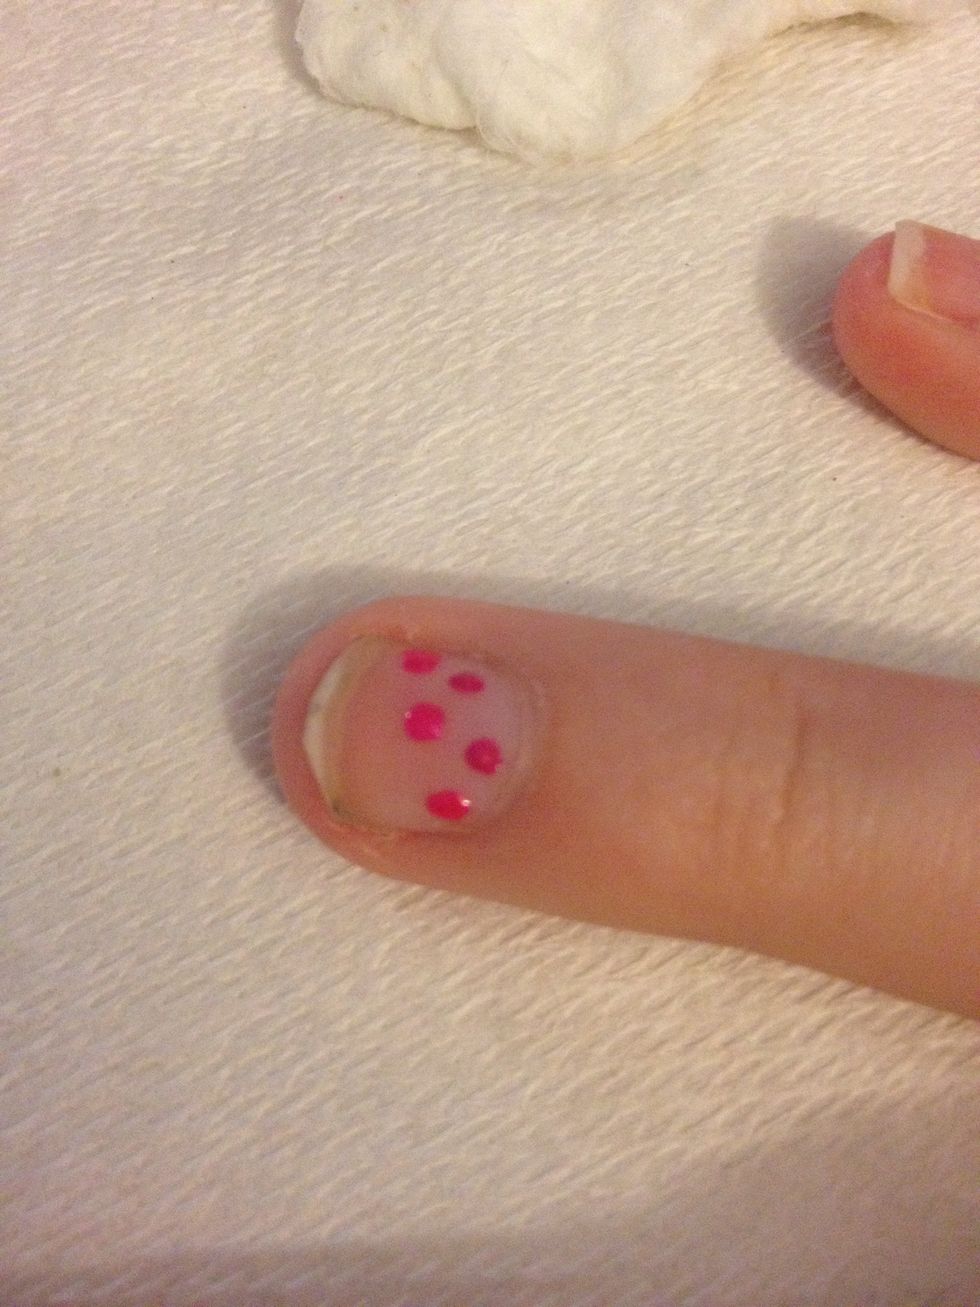
Now add three dots spread out of your next color (the middle color) below your two dots
Finally put your last lightest color (4 dots for me) below your last three dots.
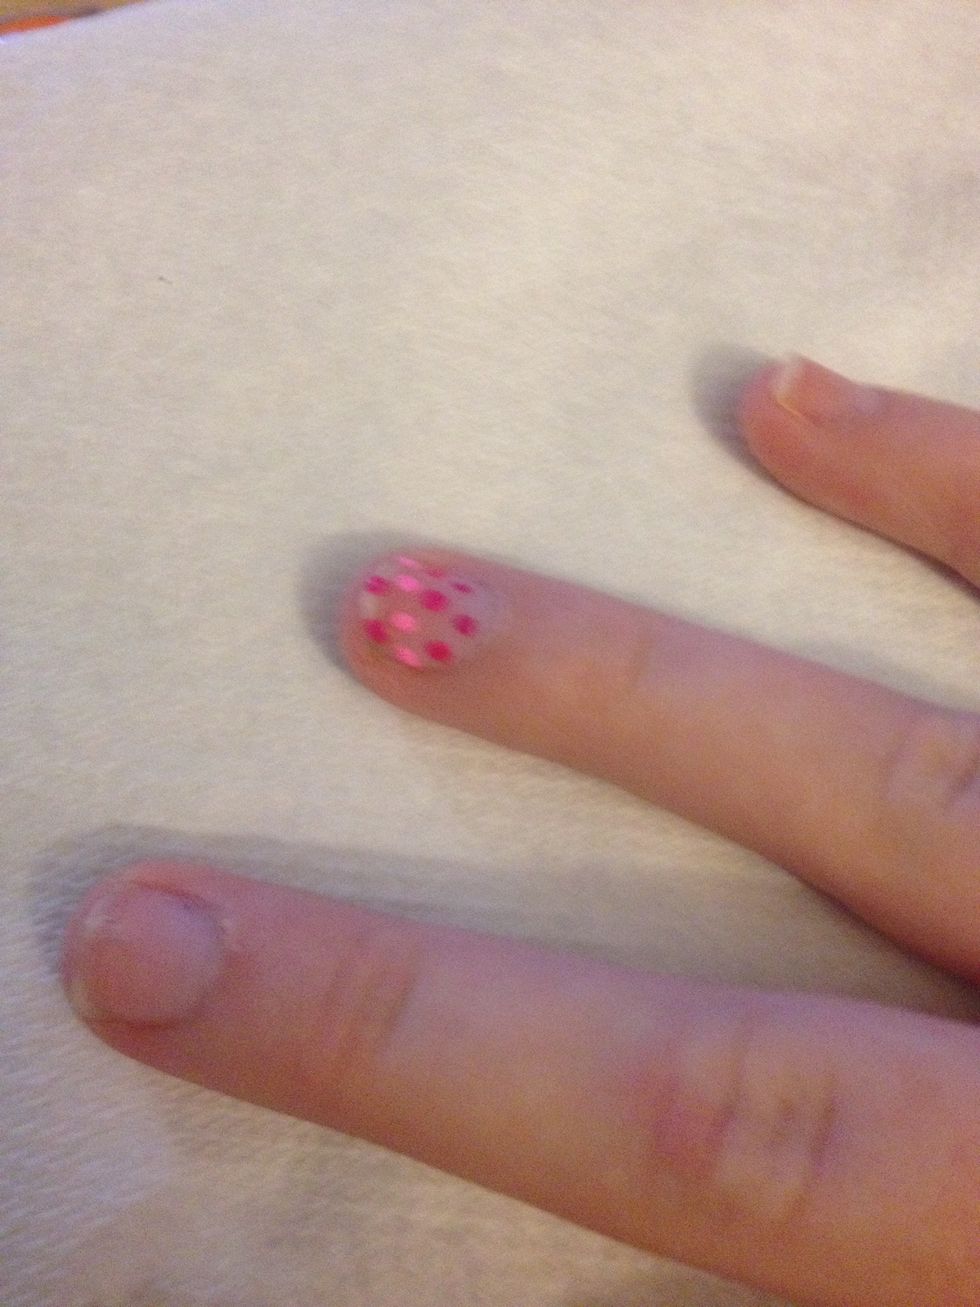
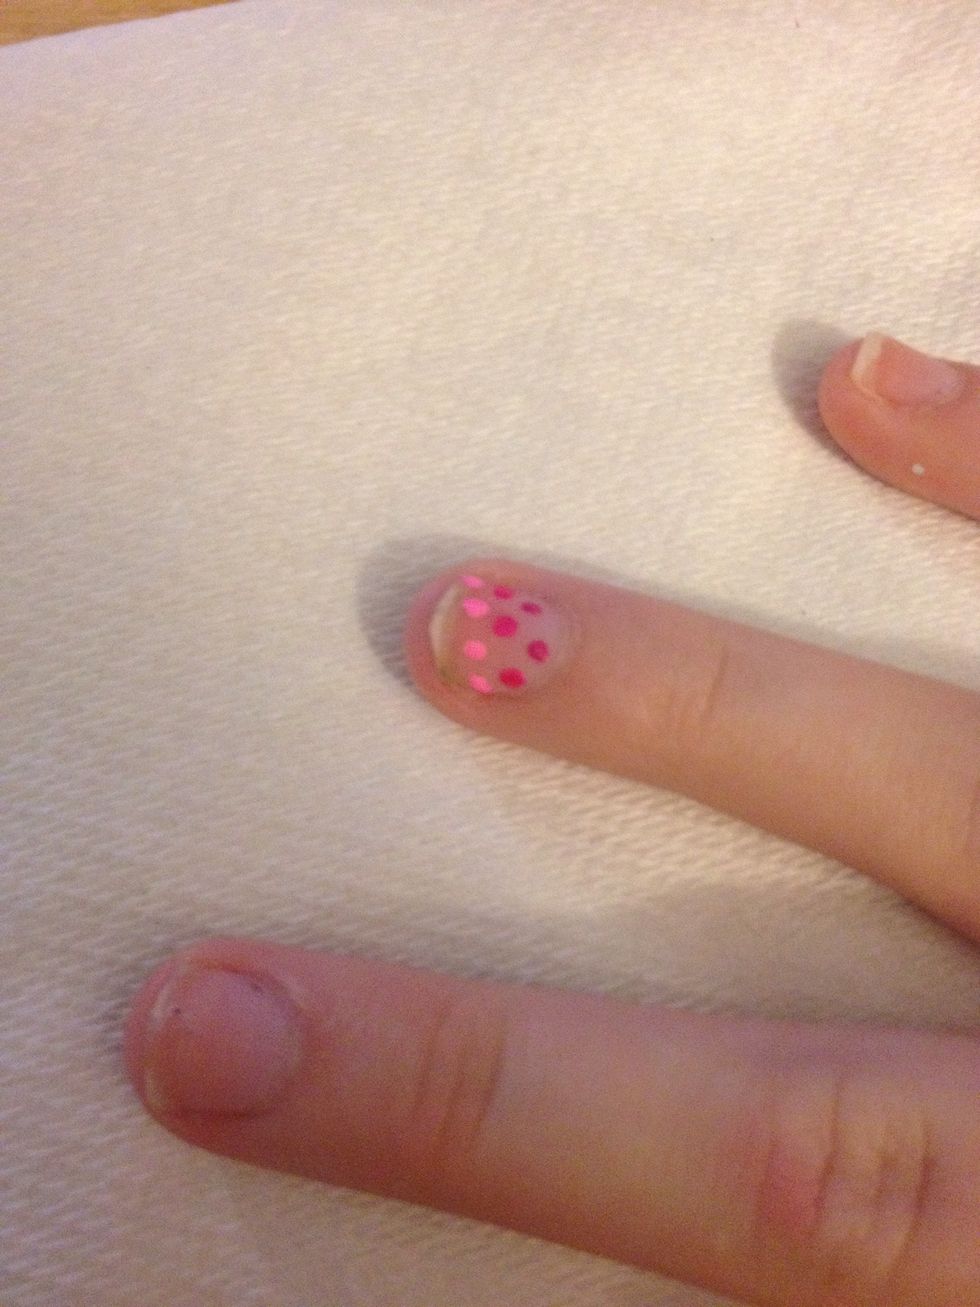
If you still have room under your lightest color just add two more dots of your medium color. (Like I did)
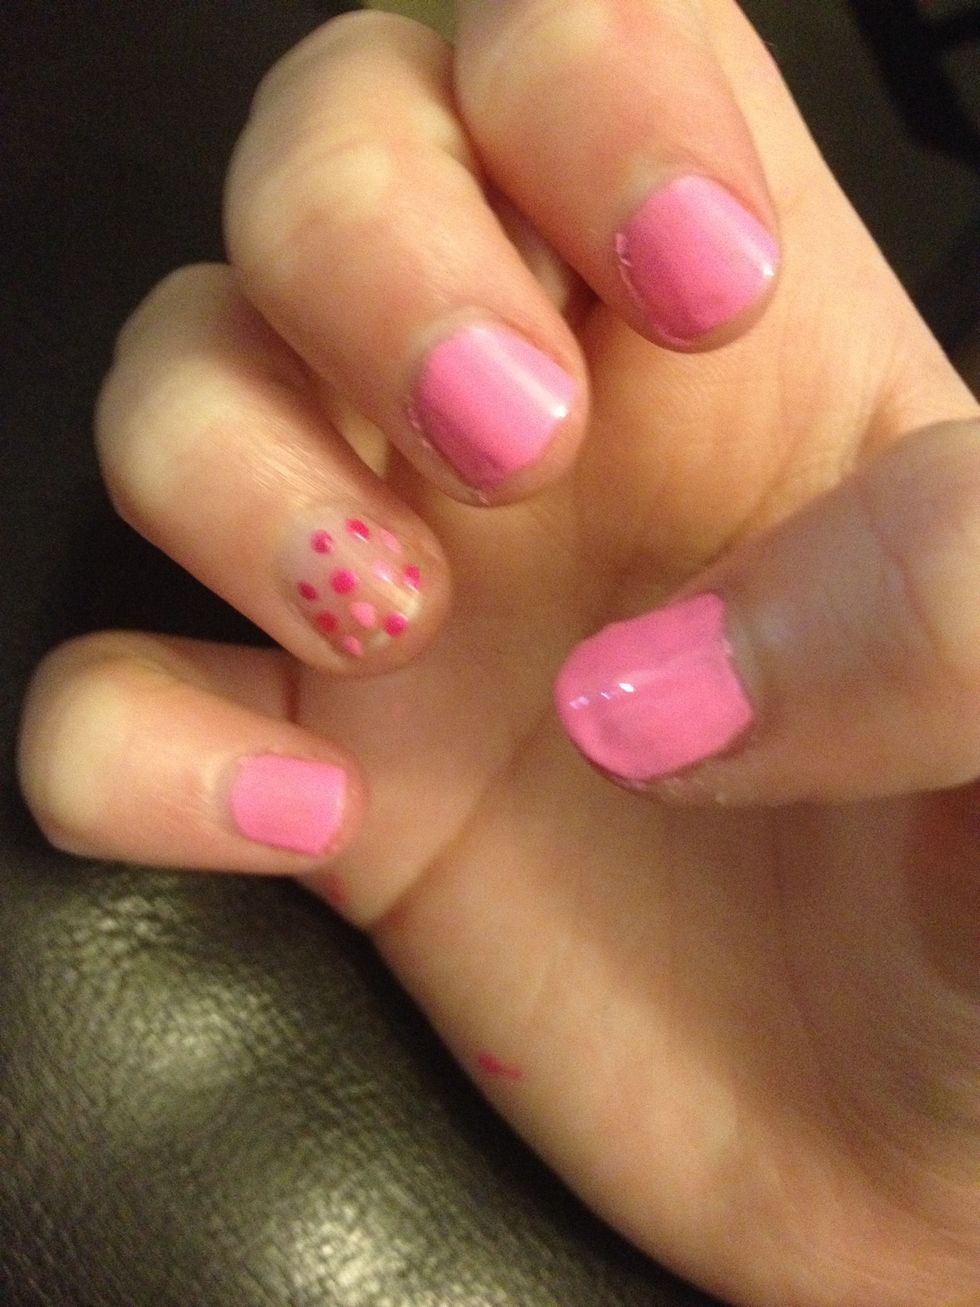
Then, there you go! All done. :)
I really hope you enjoyed this guide and thought this design was cute. I know I'm happy with it :) please like and follow me ^.^