The Conversation (0)
Sign Up

Supplies: a nail clipper
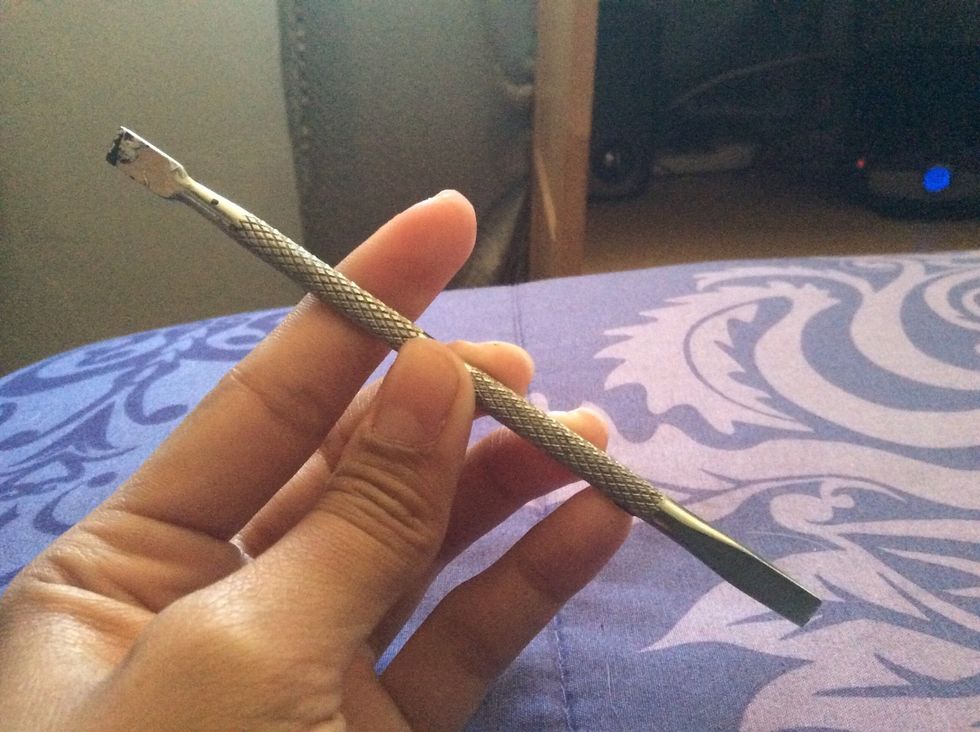
A push back tool
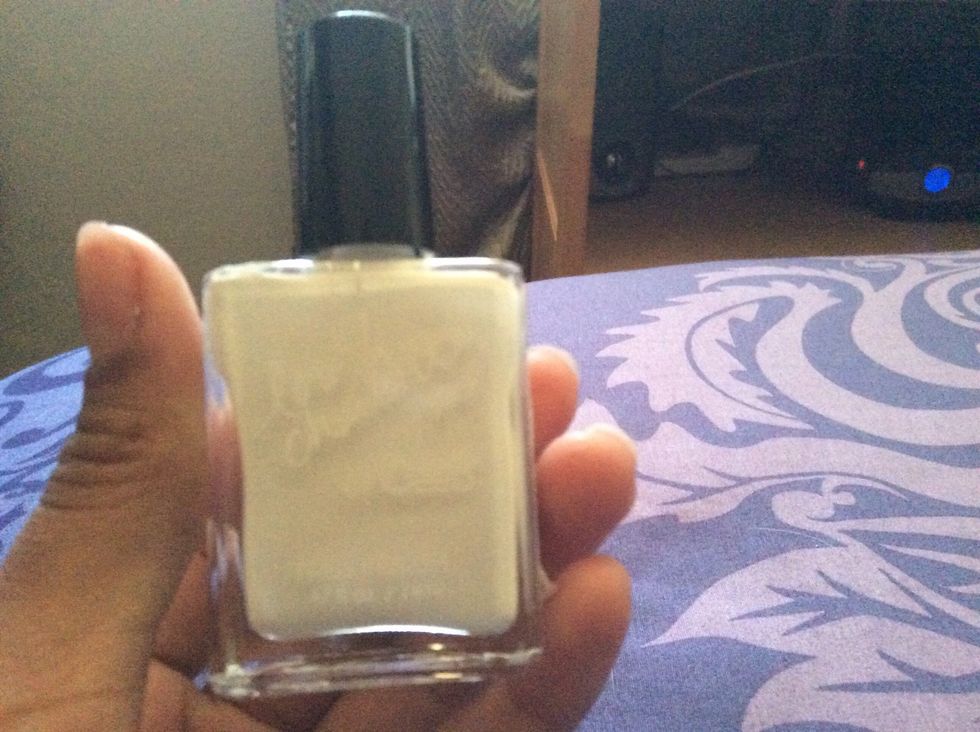
White nail polish
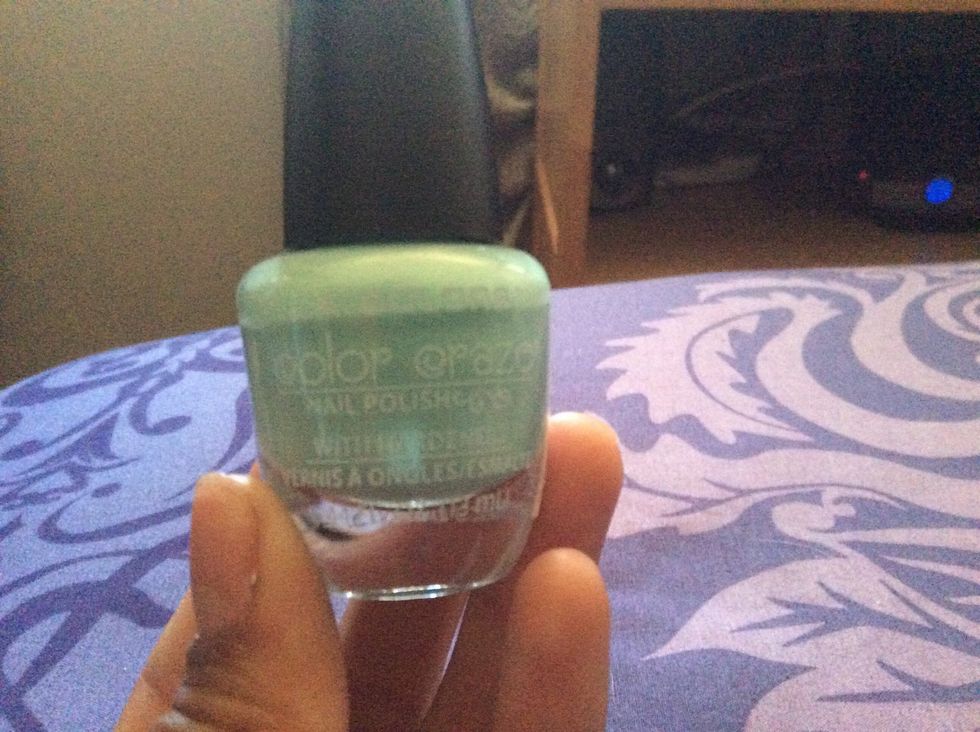
Mint nail polish
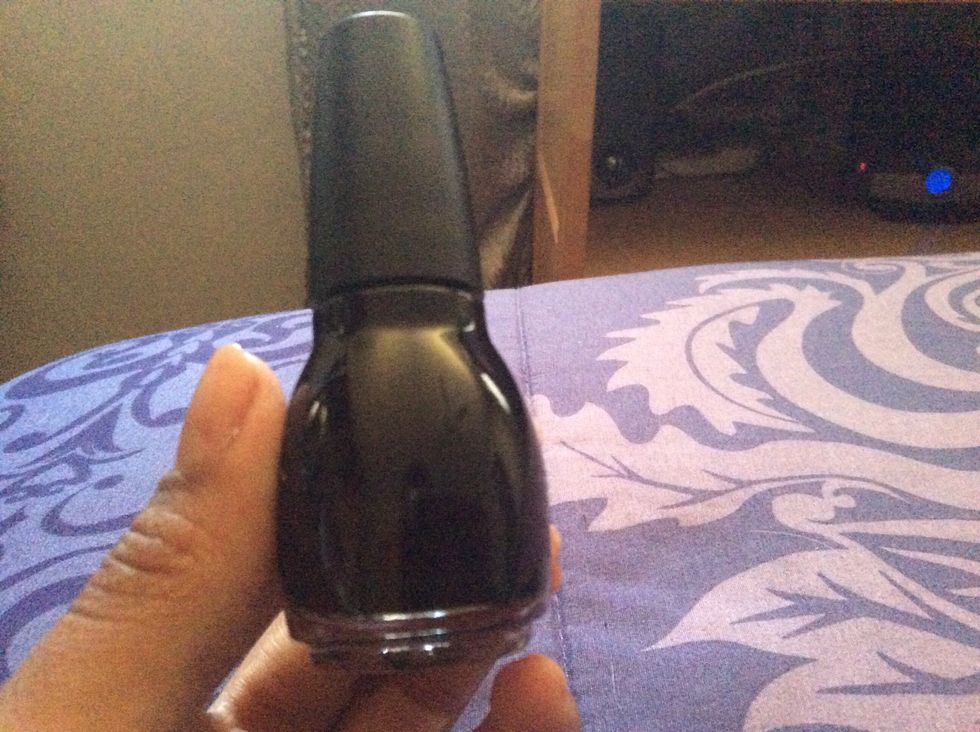
Black polish
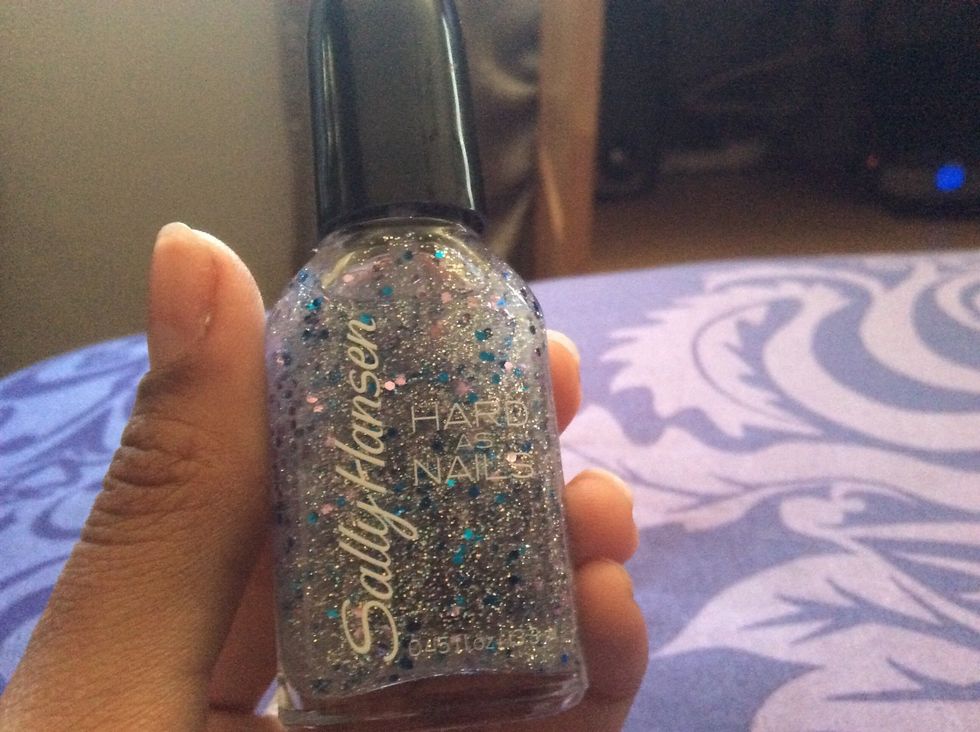
Any glittery nail polish
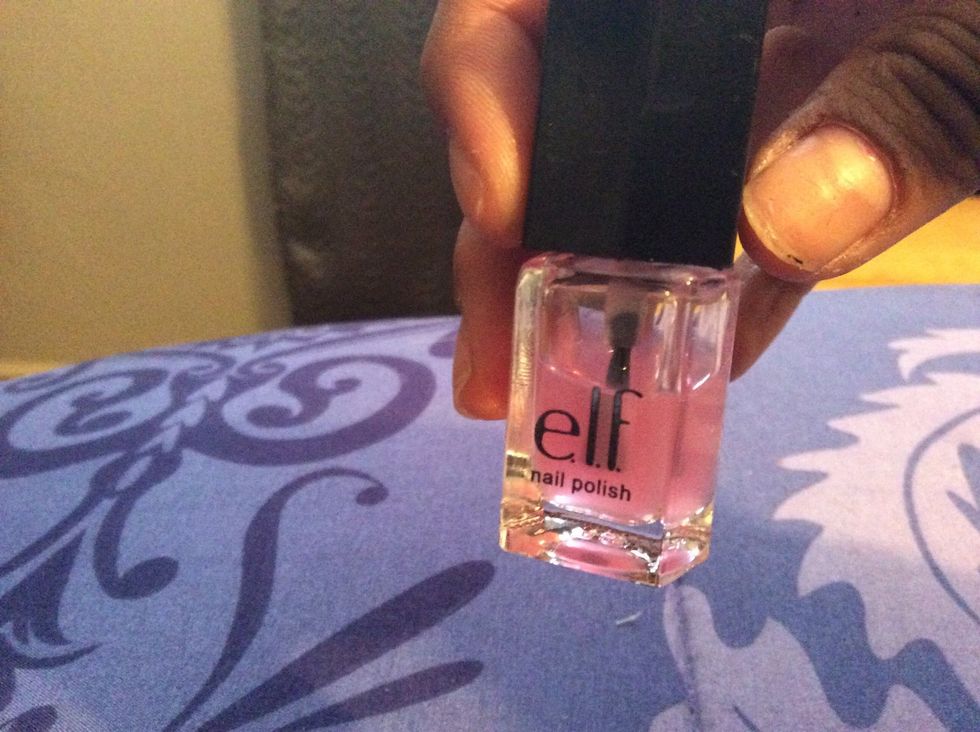
Matte or regular top coat
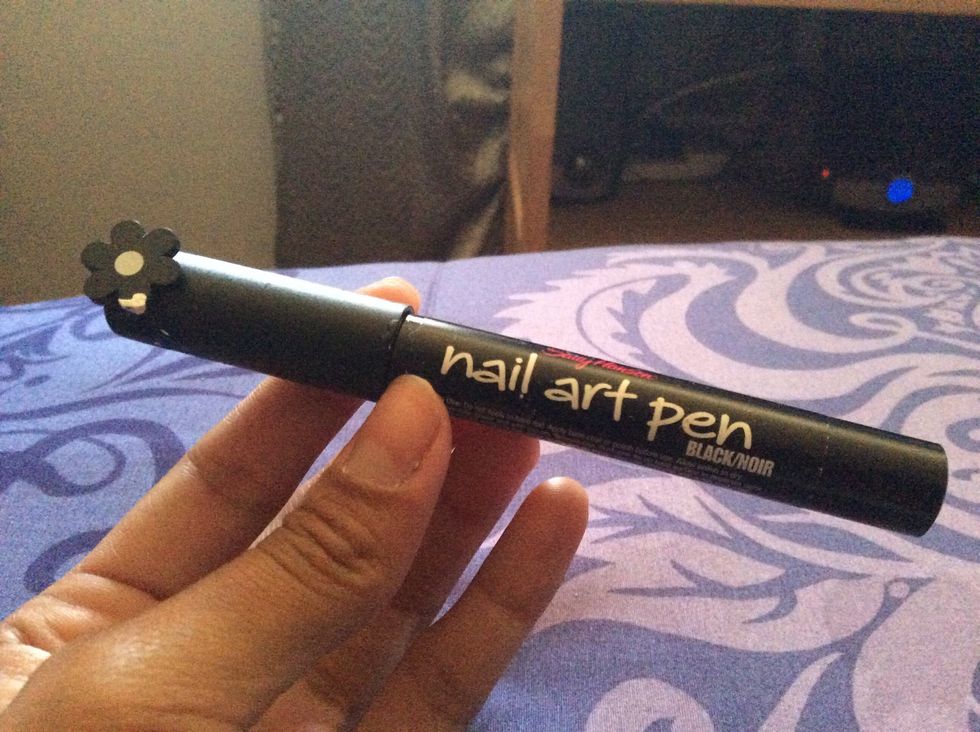
A black nail art pen
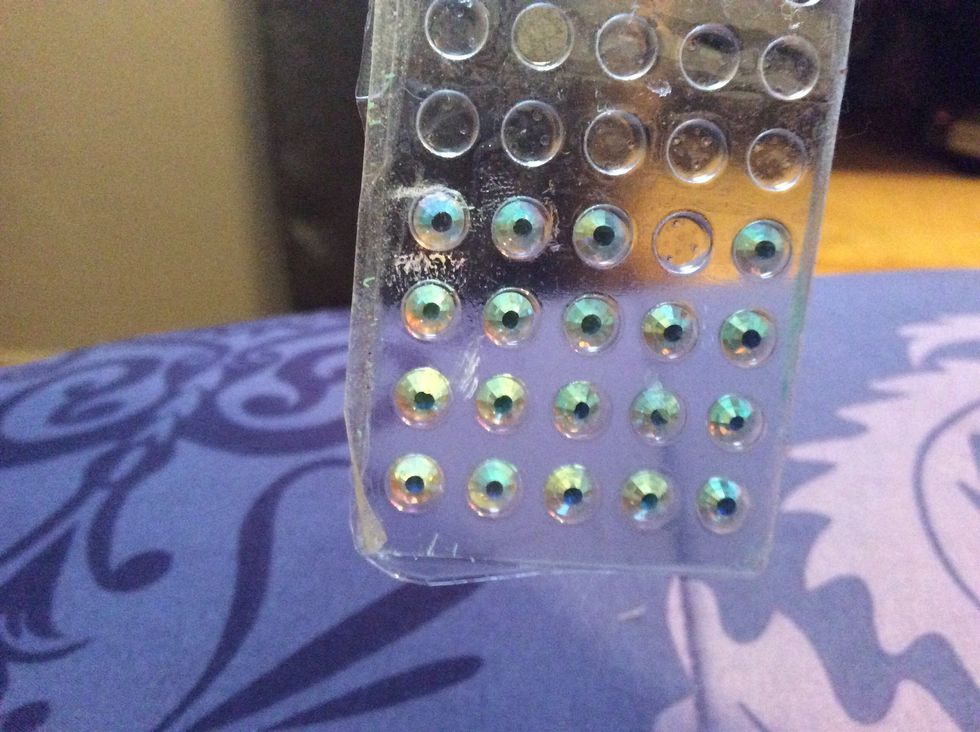
Crystals of your choice

Nail glue

Blow dryer

Only paint the pinkie,middle finger and thumb with mint polish
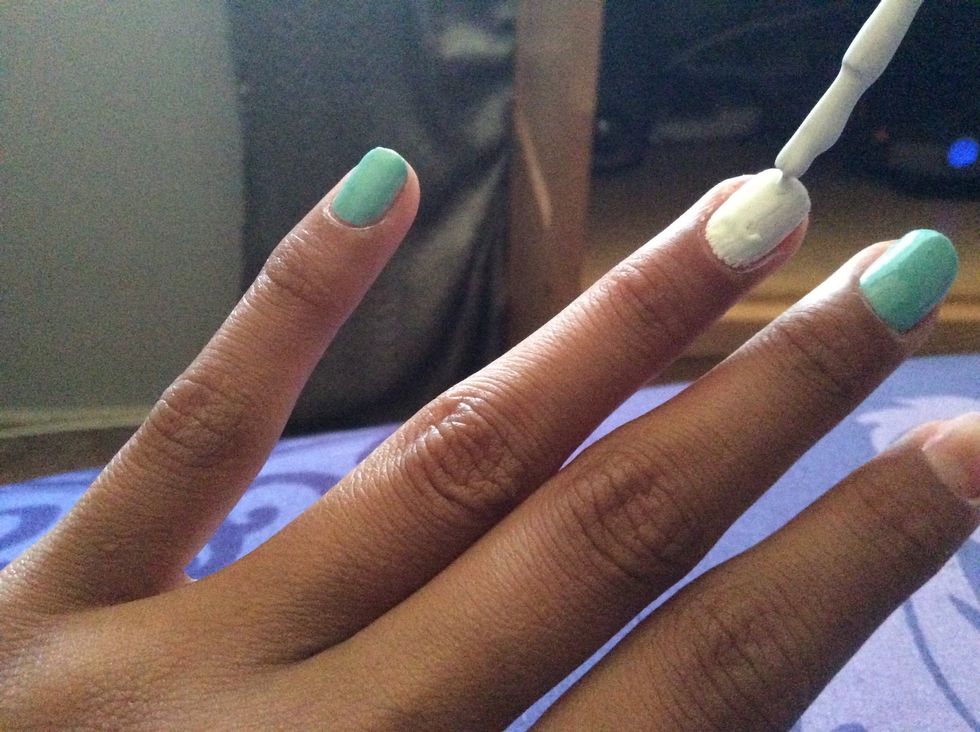
Paint the ring finger white
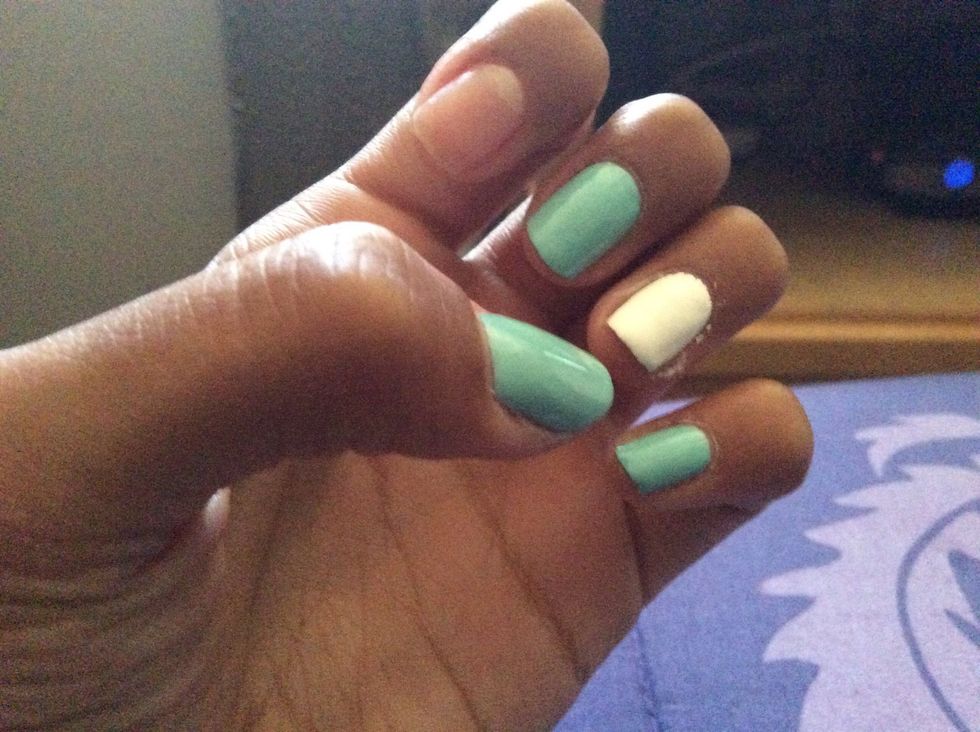
You should have this when done
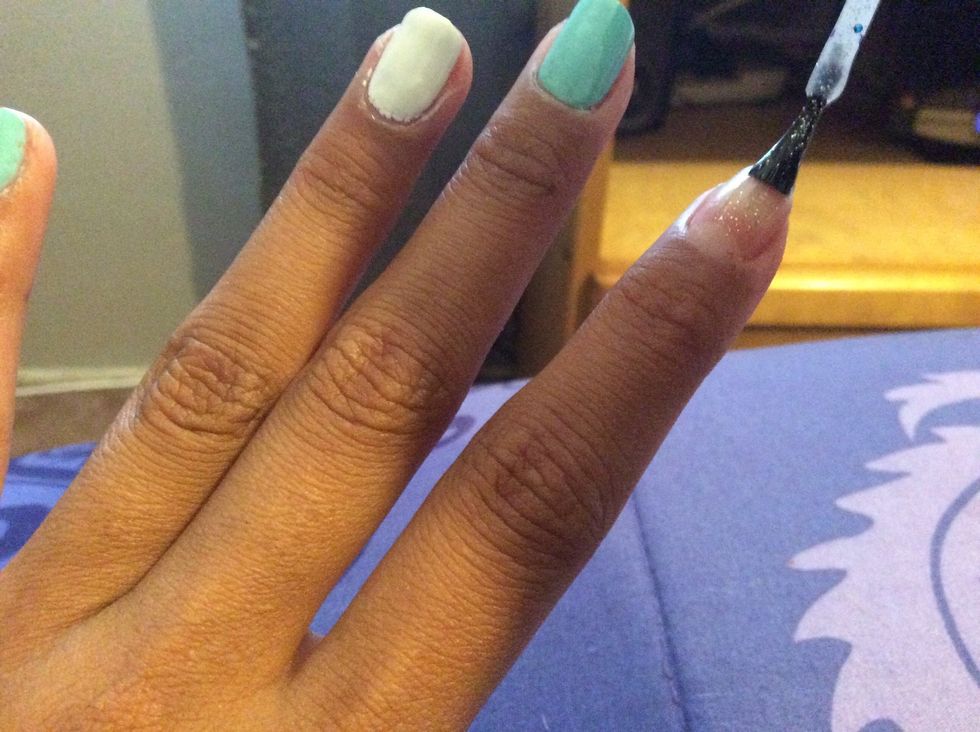
Now paint the pointer finger with the glitter polish
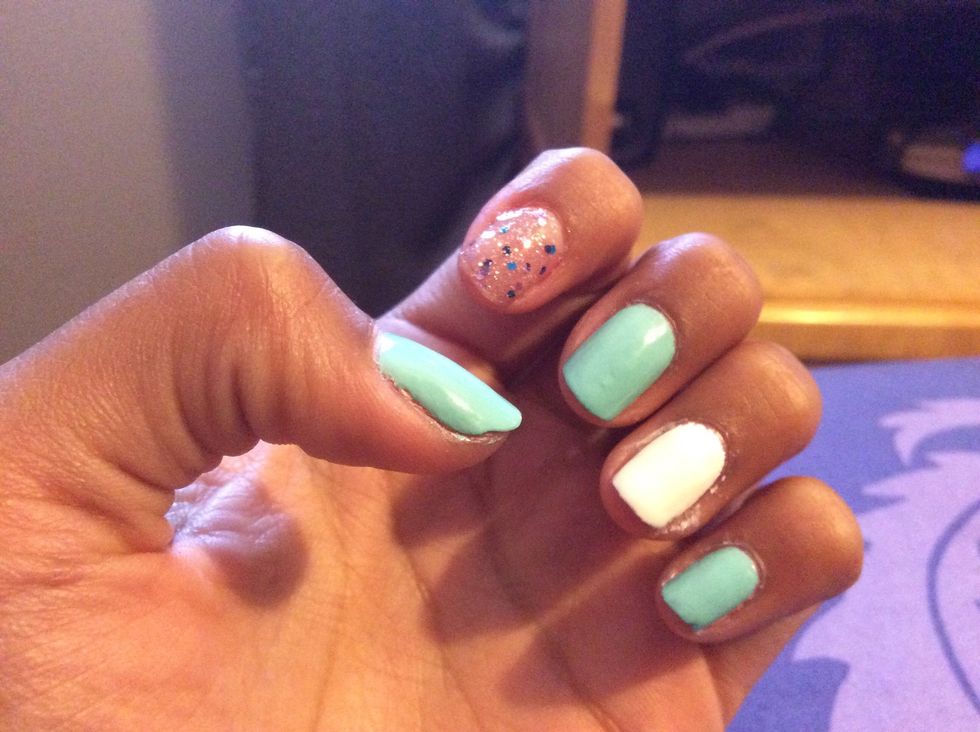
You should have this
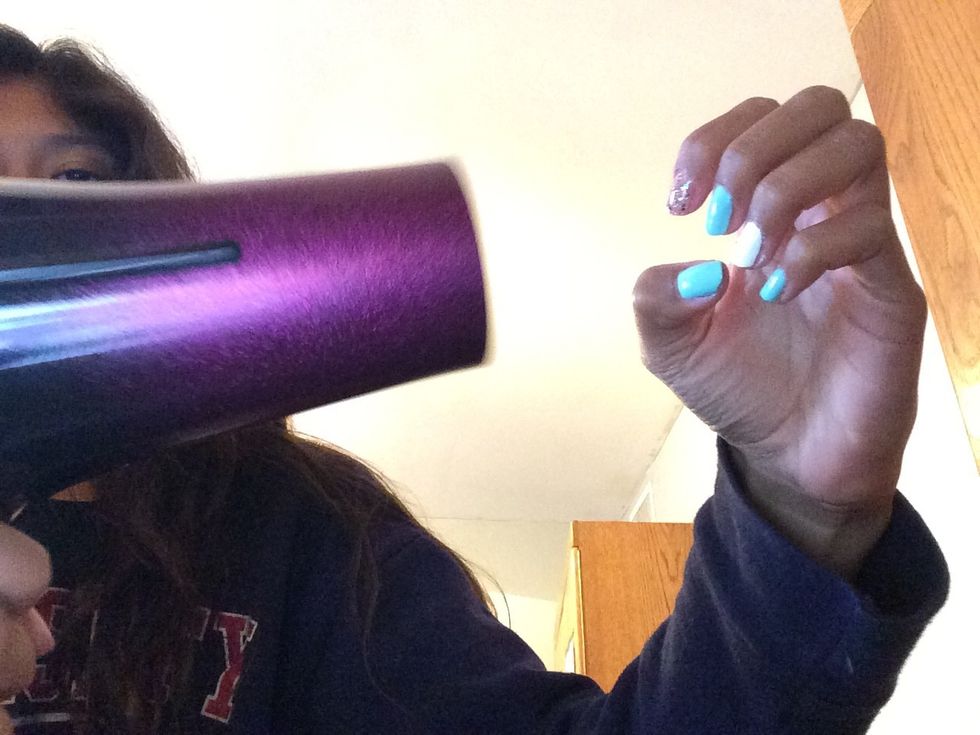
To speed up drying process use a dryer and set it the the low setting. And push the cold button. This will prevent air bubbles
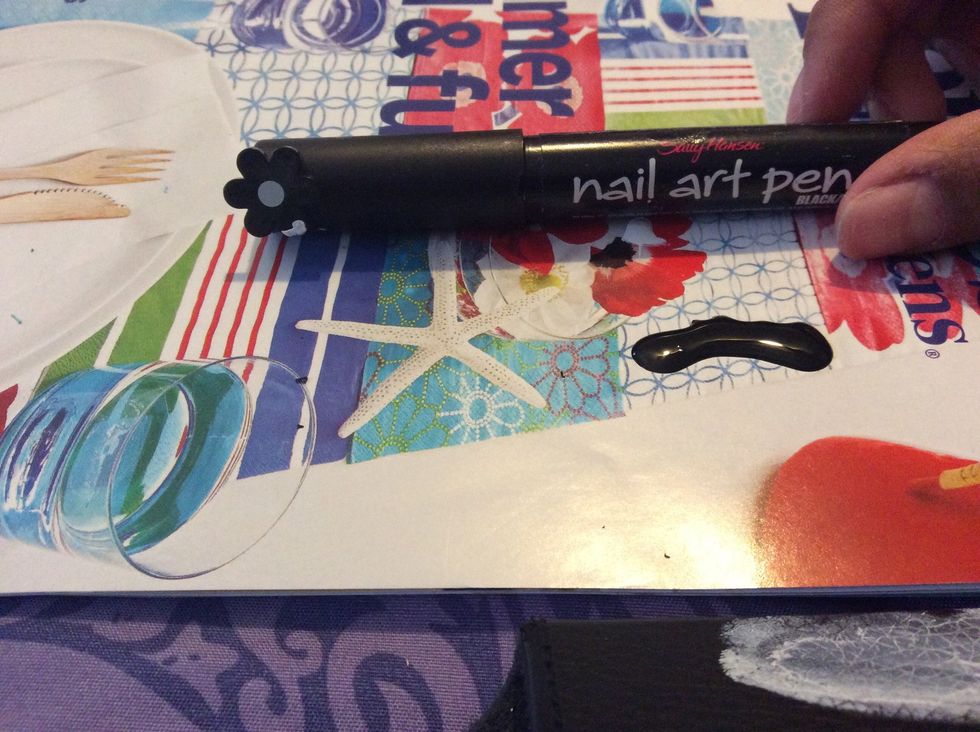
Now taking the nail art pen and black polish. Spill some black polish out in order to use the pen
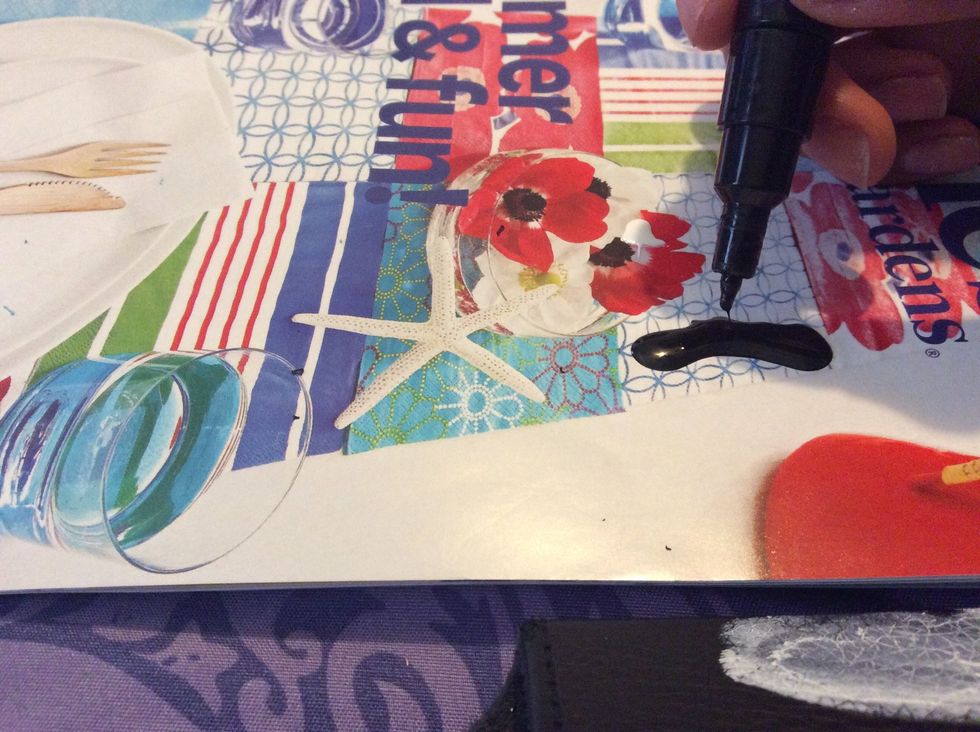
Dip pen in polish
Begin drawing either chevron lines or squiggles on the white painted fingers.
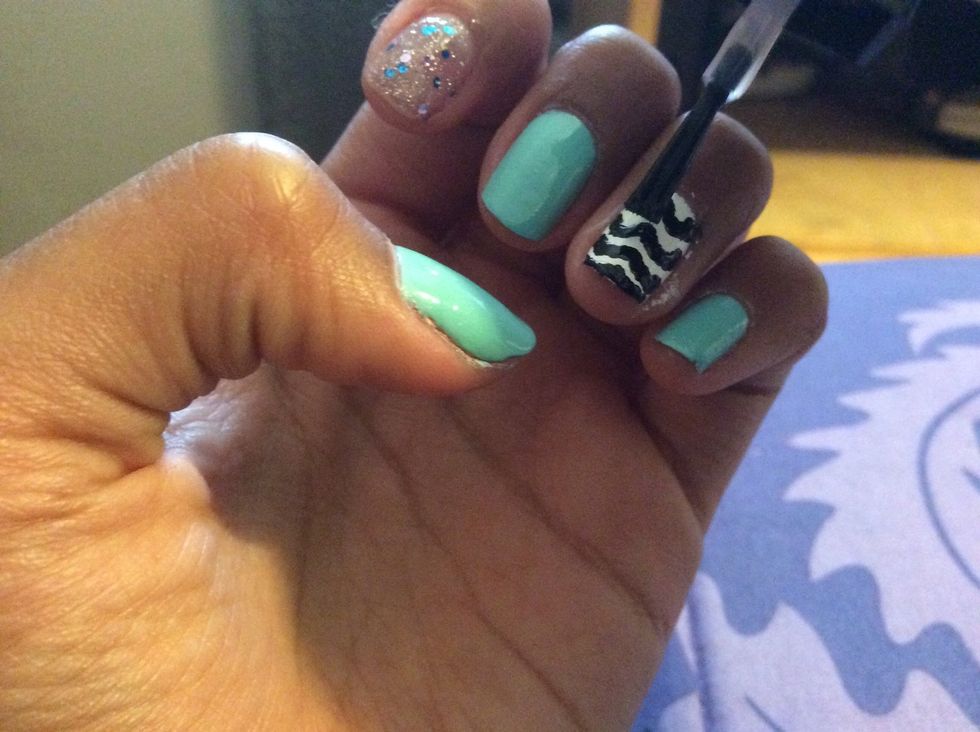
After that add Mattel top coat it's ok if the polish spreads that's what we want
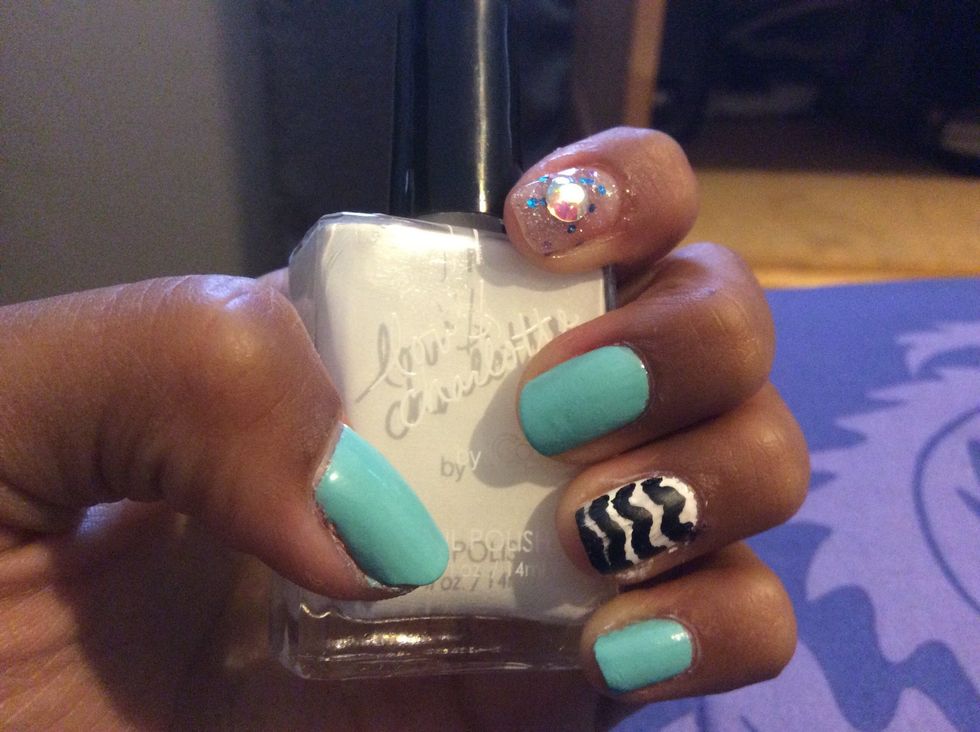
Add the crystal and glue on top of the glitter painted nail and your done! Enjoy your cute painted nails!!