The Conversation (0)
Sign Up
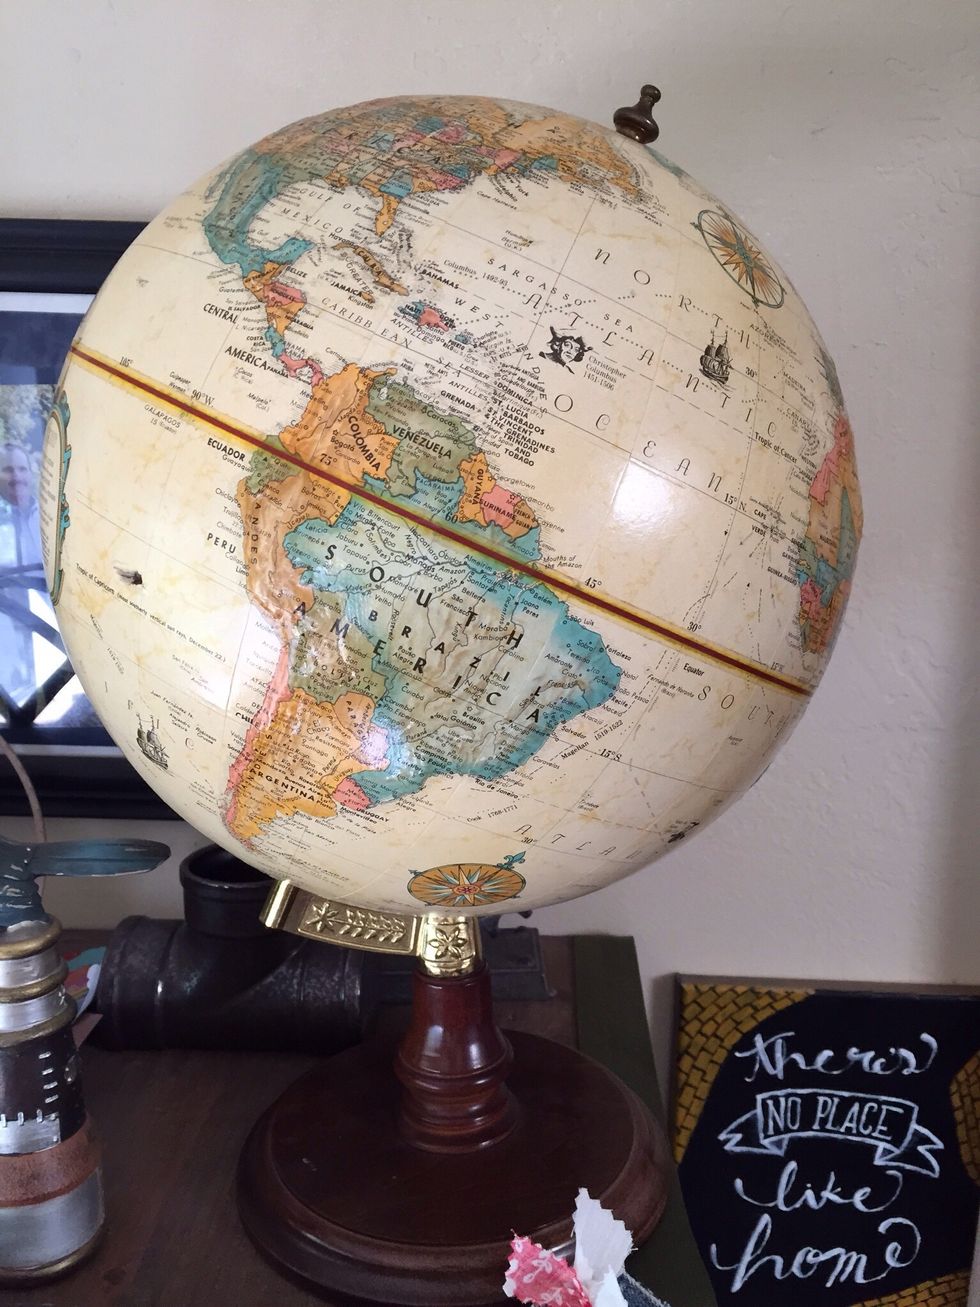
Found this beauty at a local thrift shop for $10.00!!

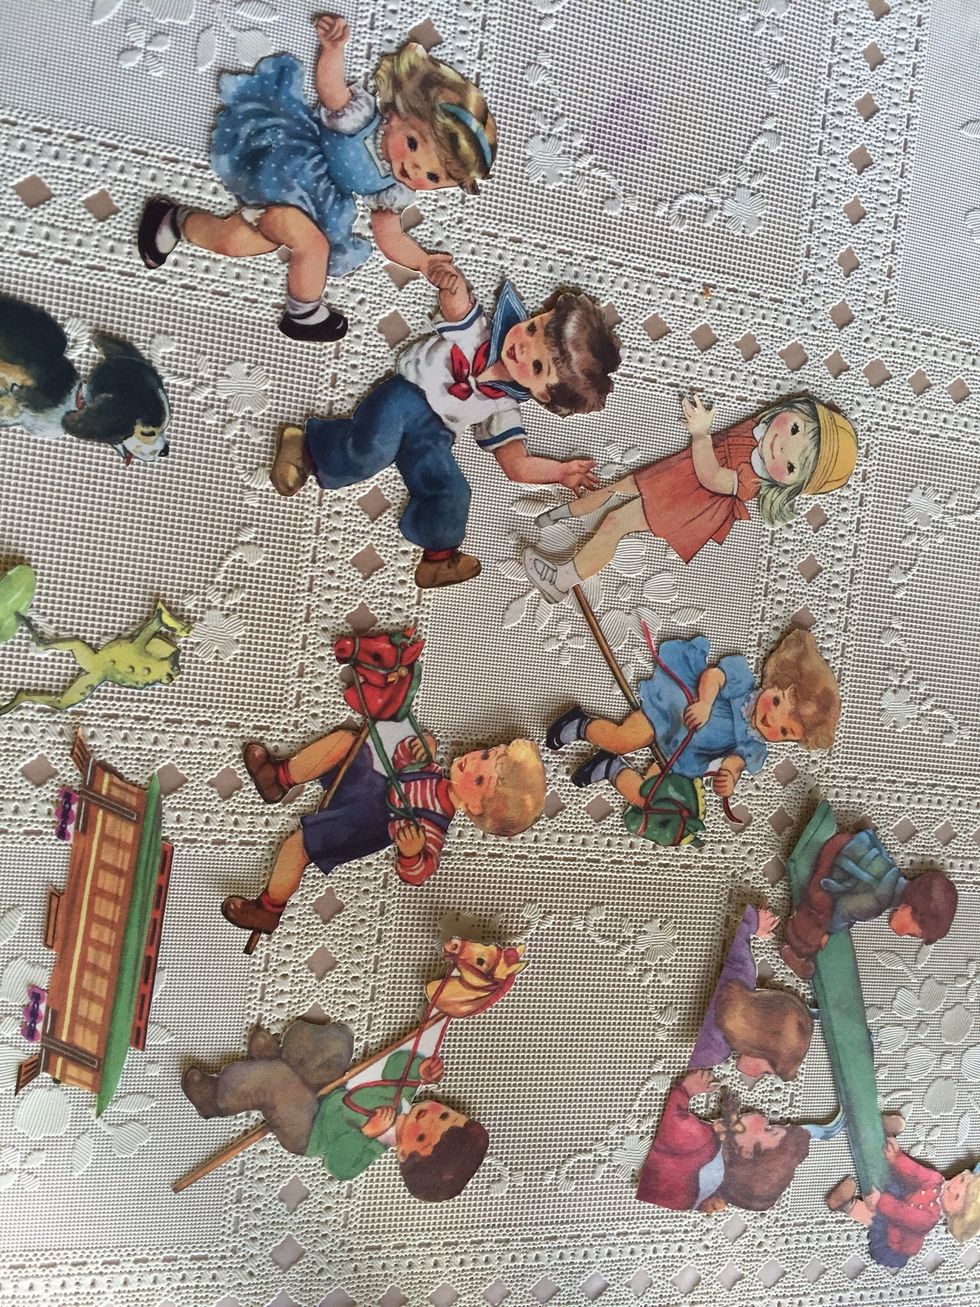
Gather supplies. I also found these children's story books at the thrift store.

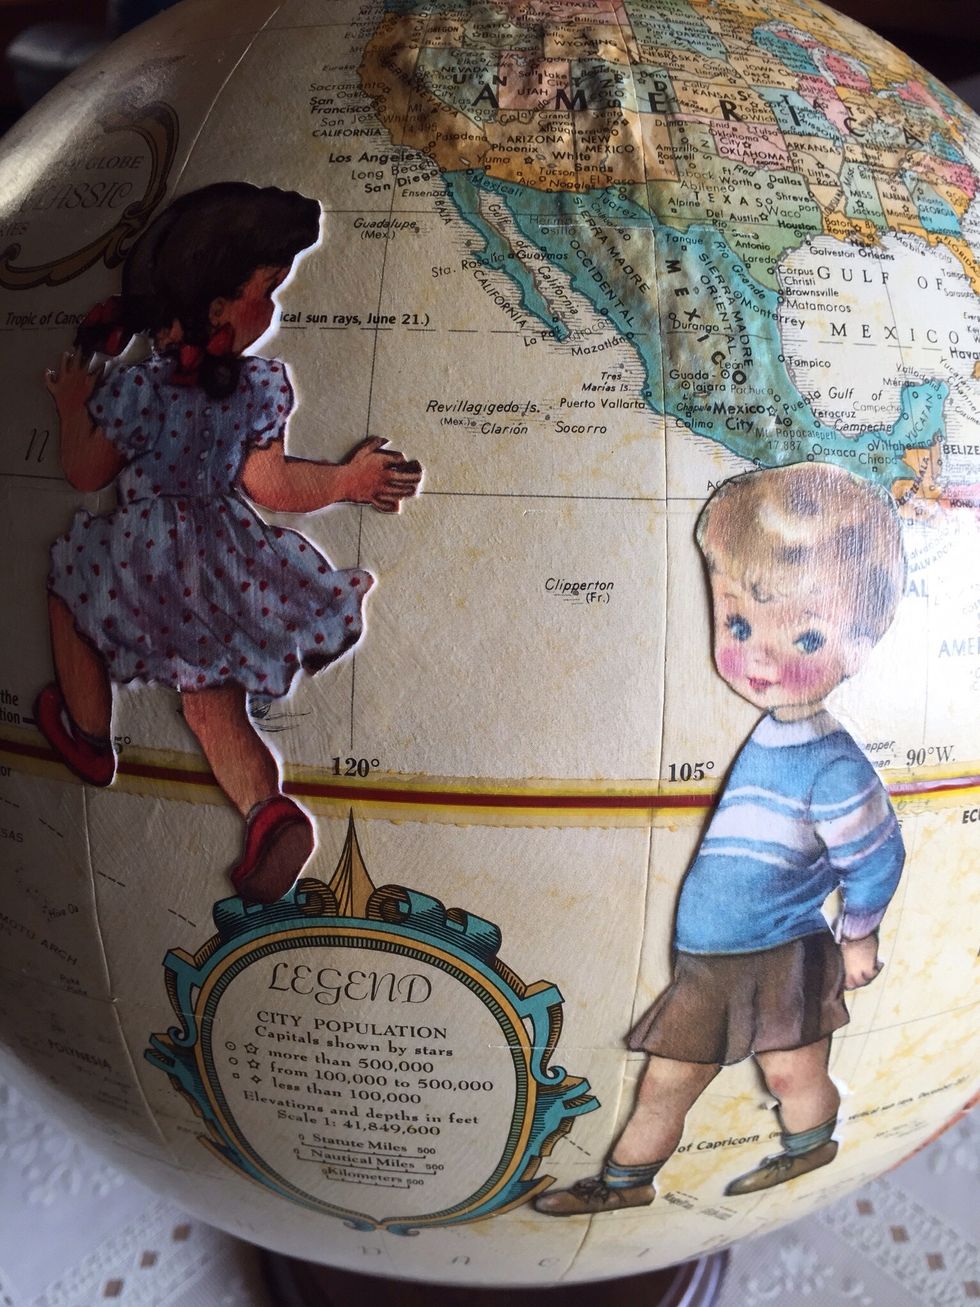
Cut out pictures.
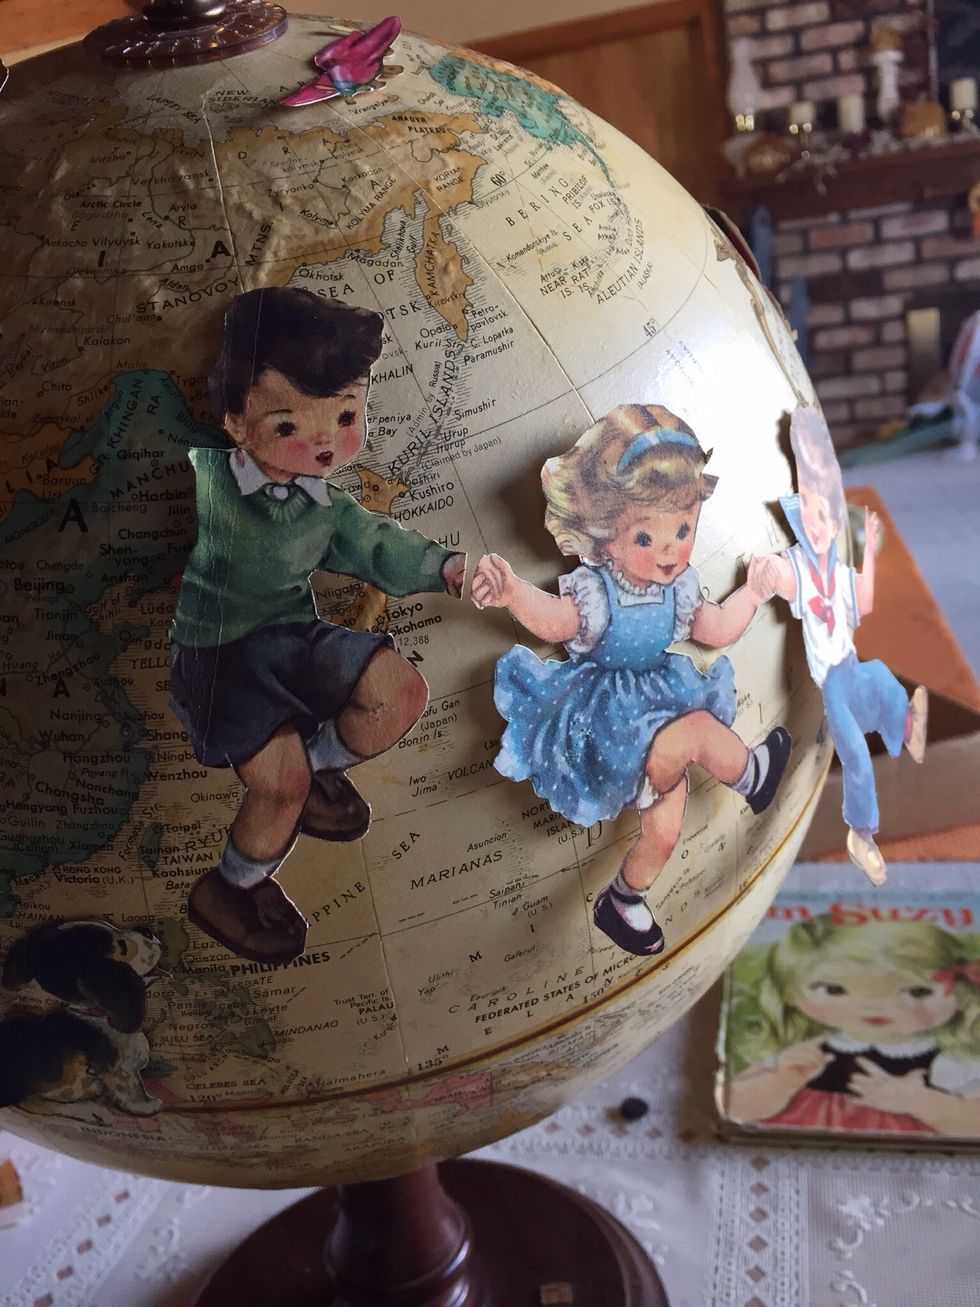
I used double sided tape to place pictures around globe to see where they looked best.
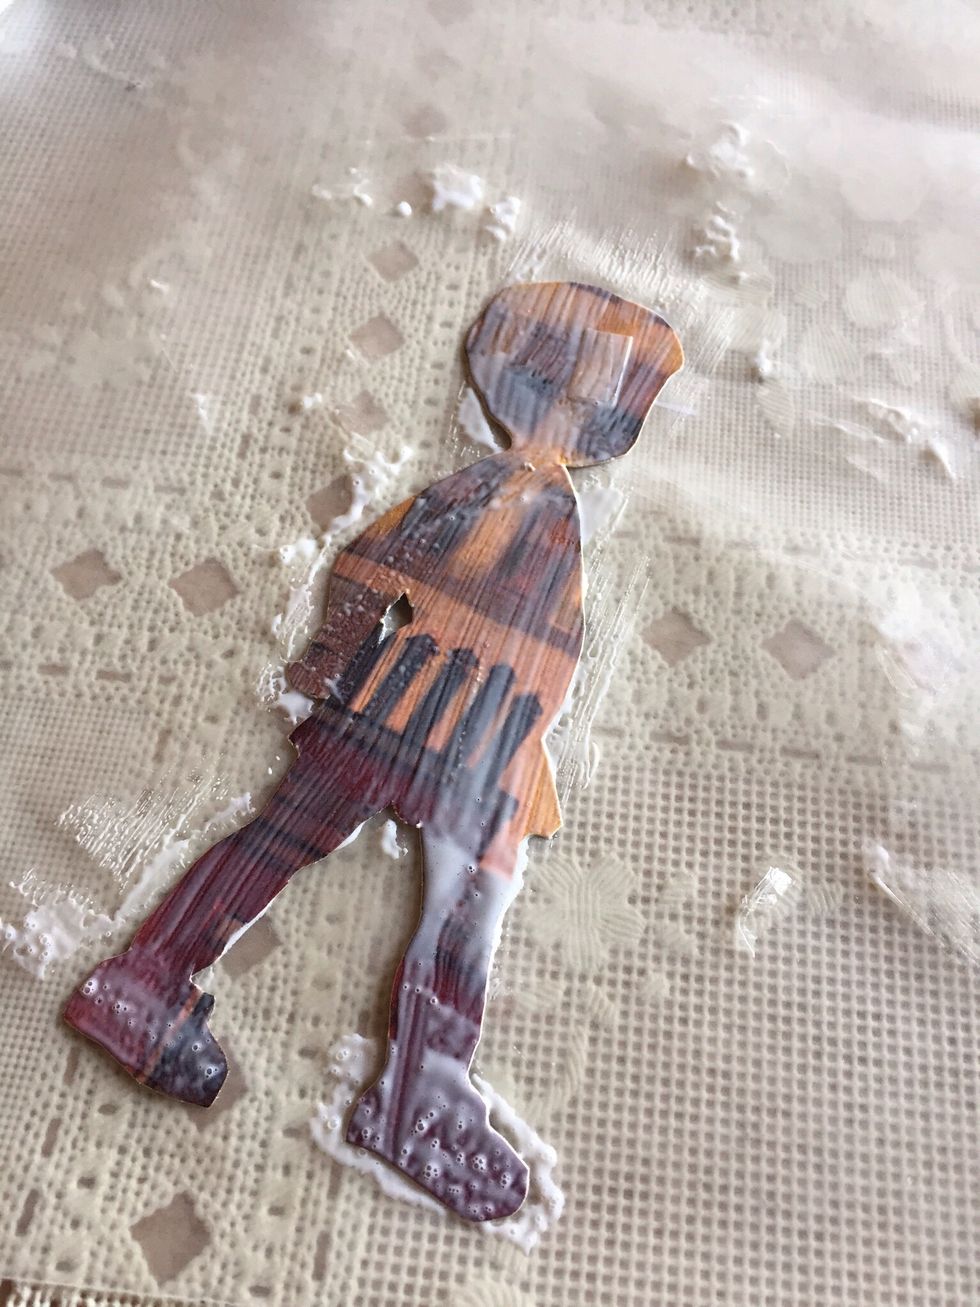
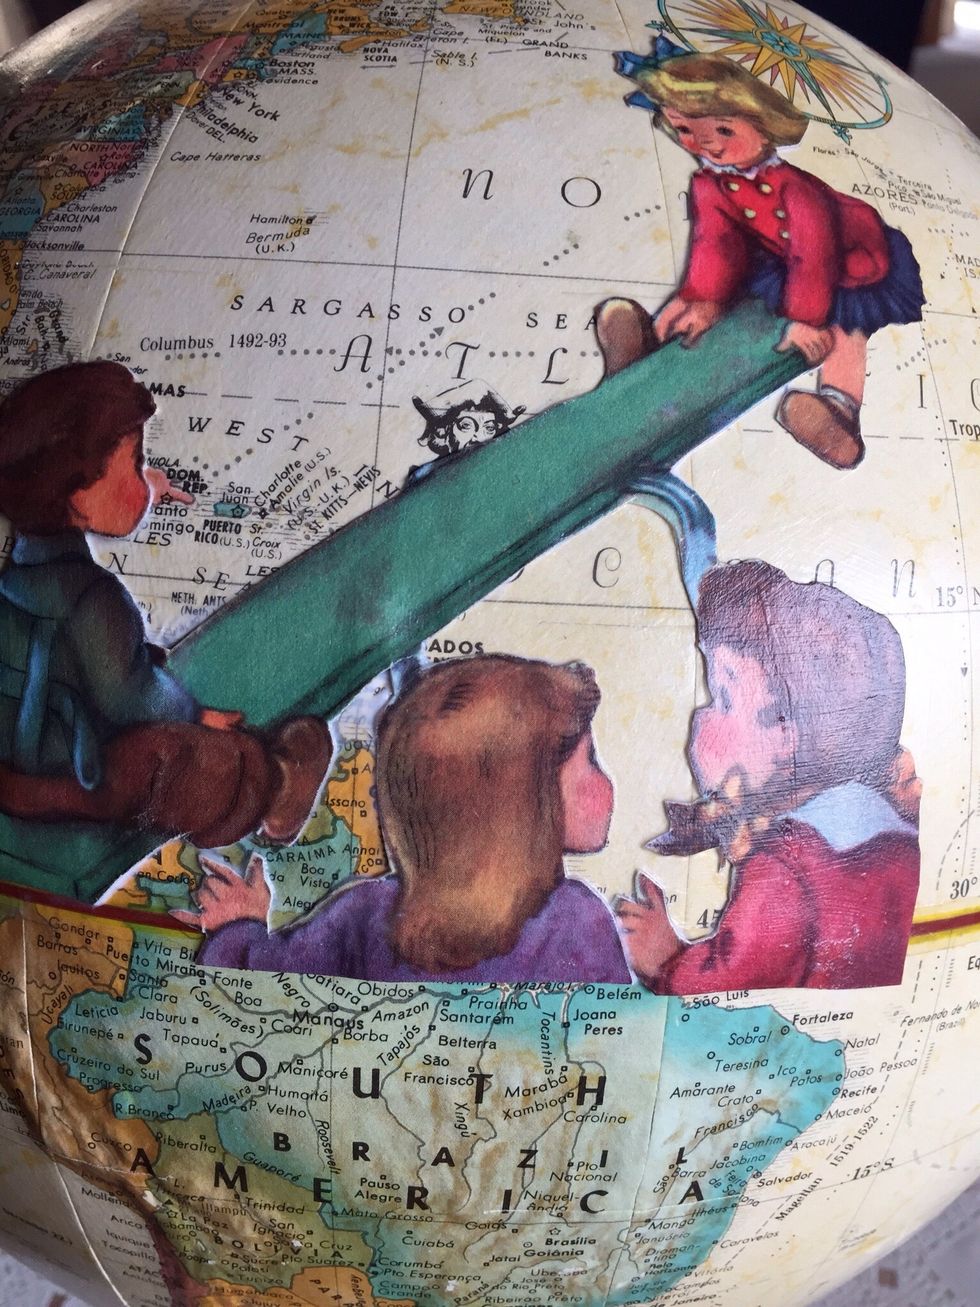
After deciding where you want to put pictures on globe, working on waxed paper, spread Modge Podge on back of picture....
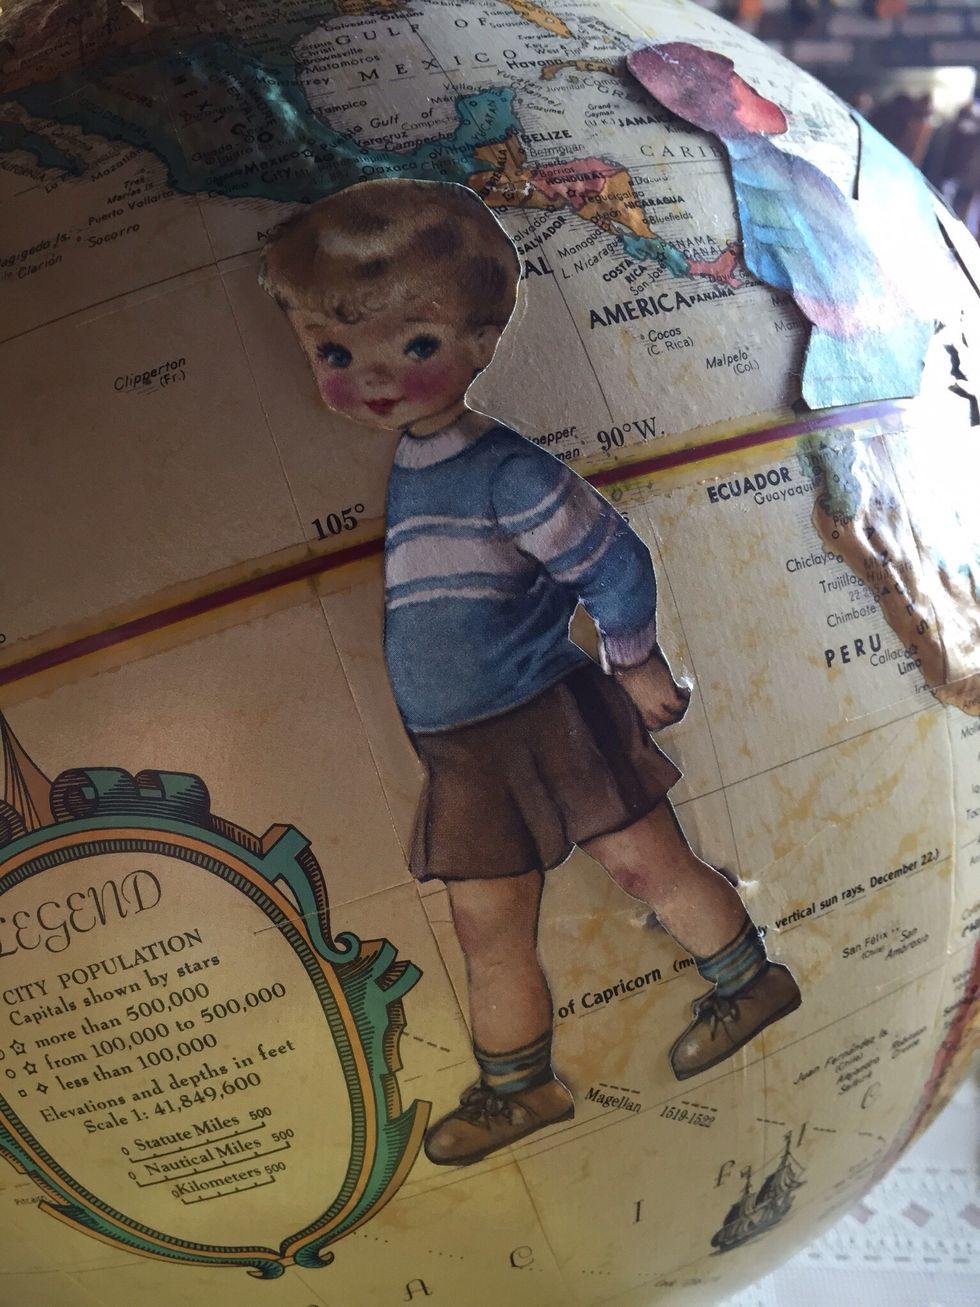
And press down onto chosen spot on globe. Let dry a bit, pressing down on edges to get a good seal.
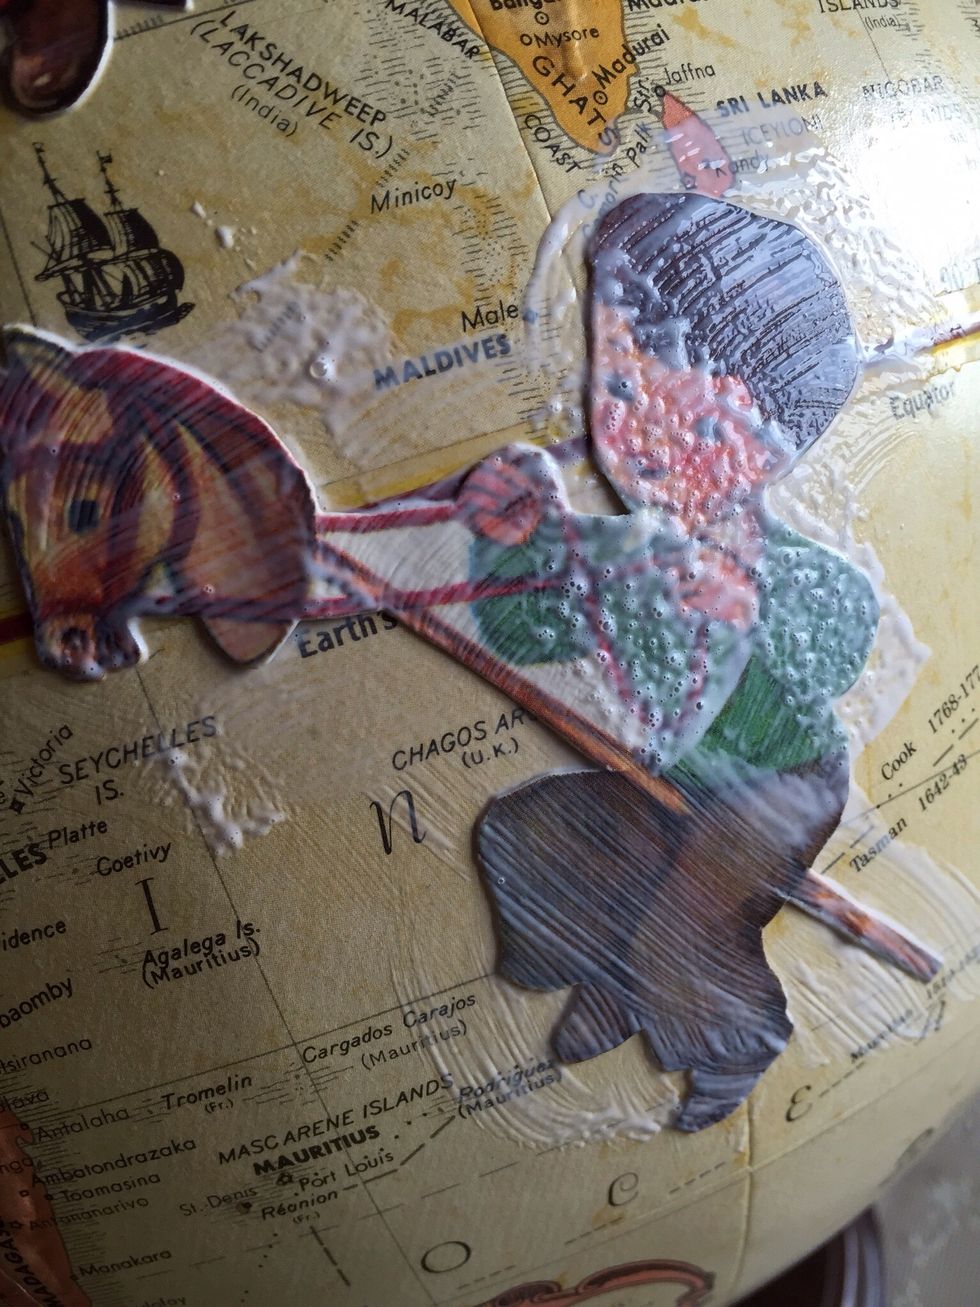
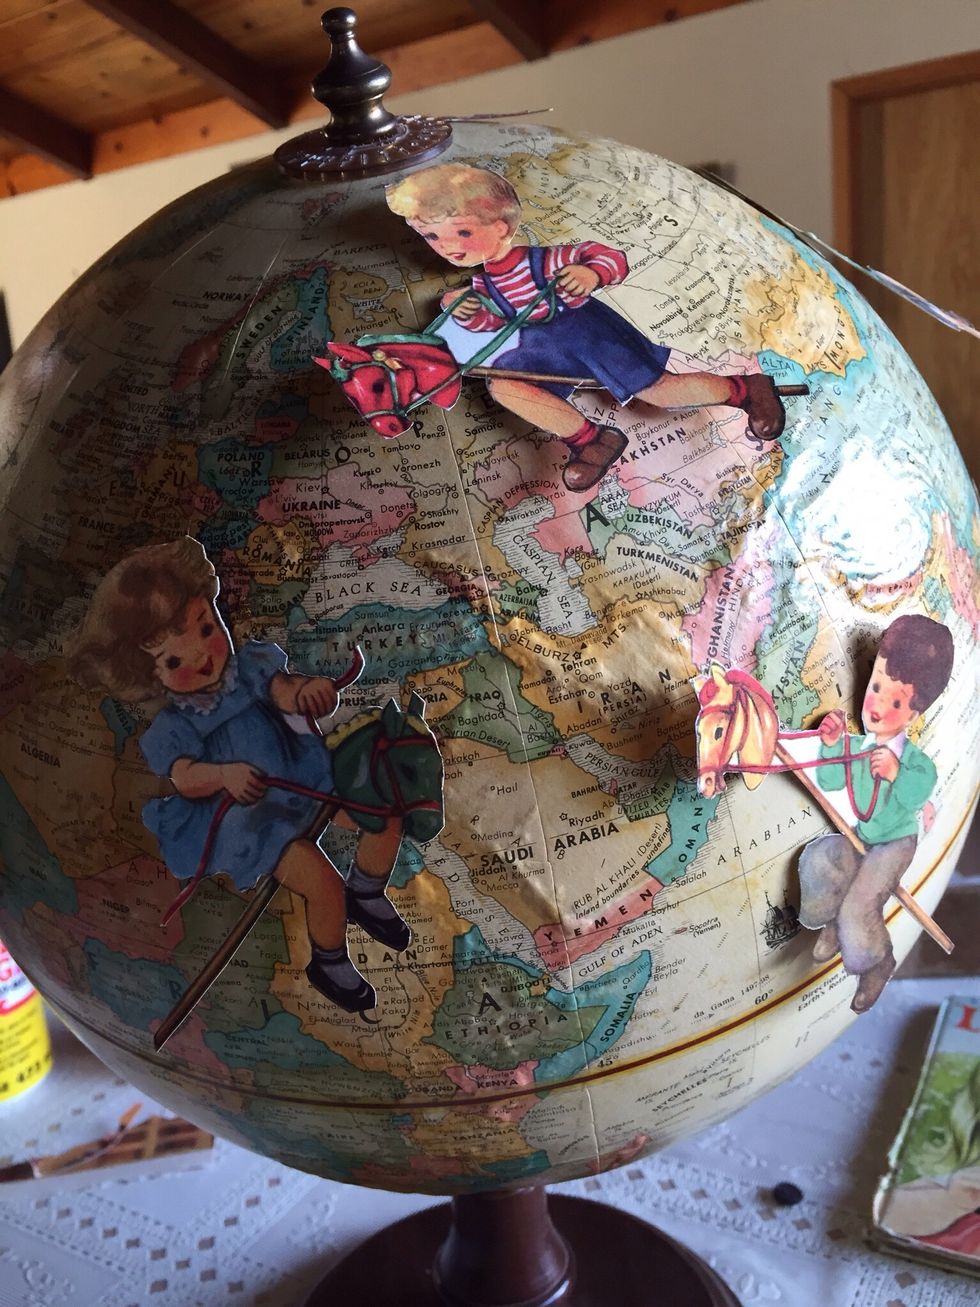
After picture is sealed on globe, spread Modge Podge over top of picture. Let dry and repeat with a second layer of Modge Podge.
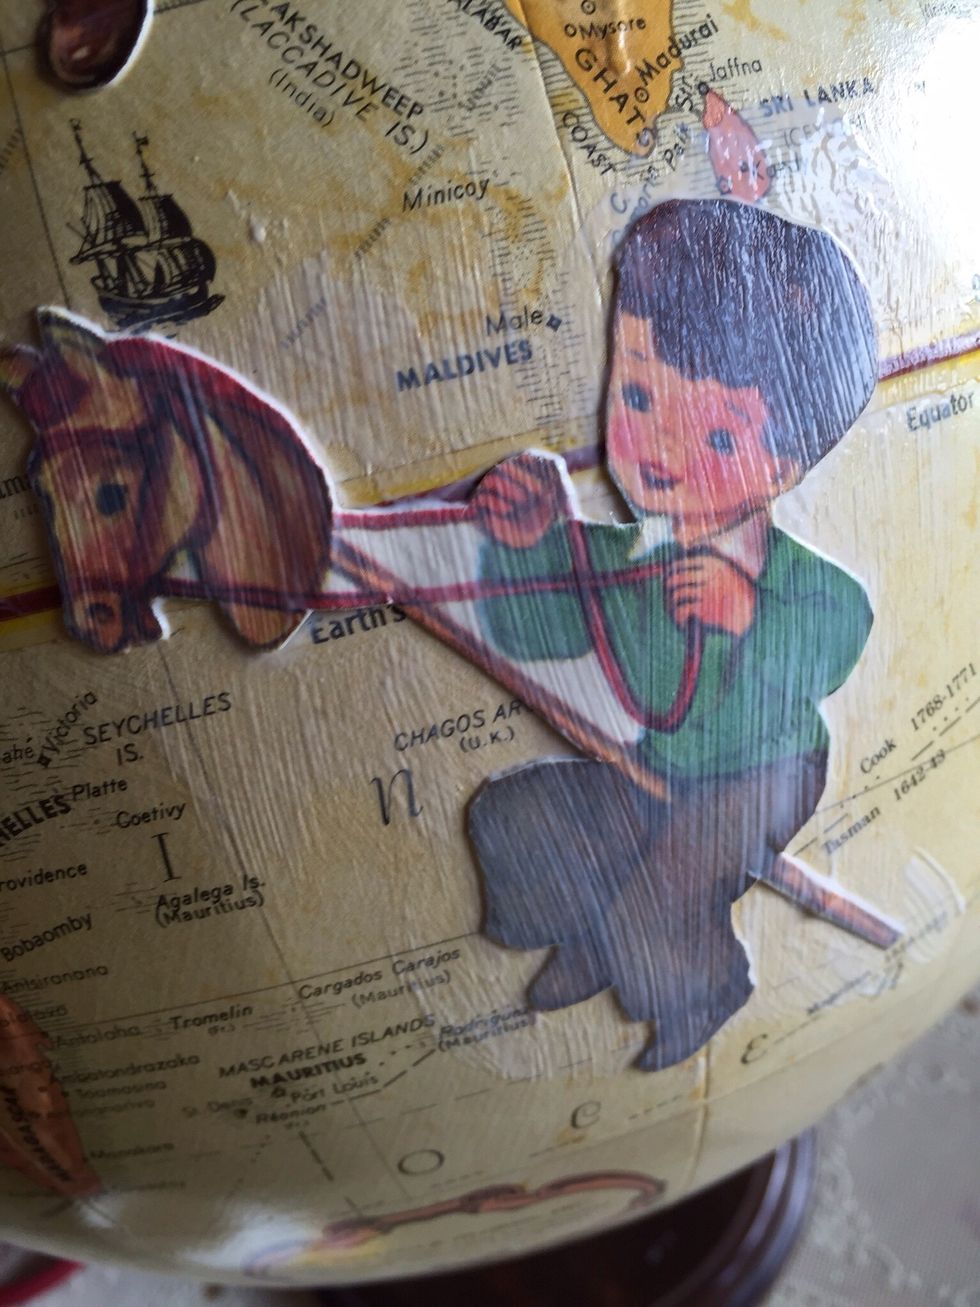
Smooth out Modge Podge.
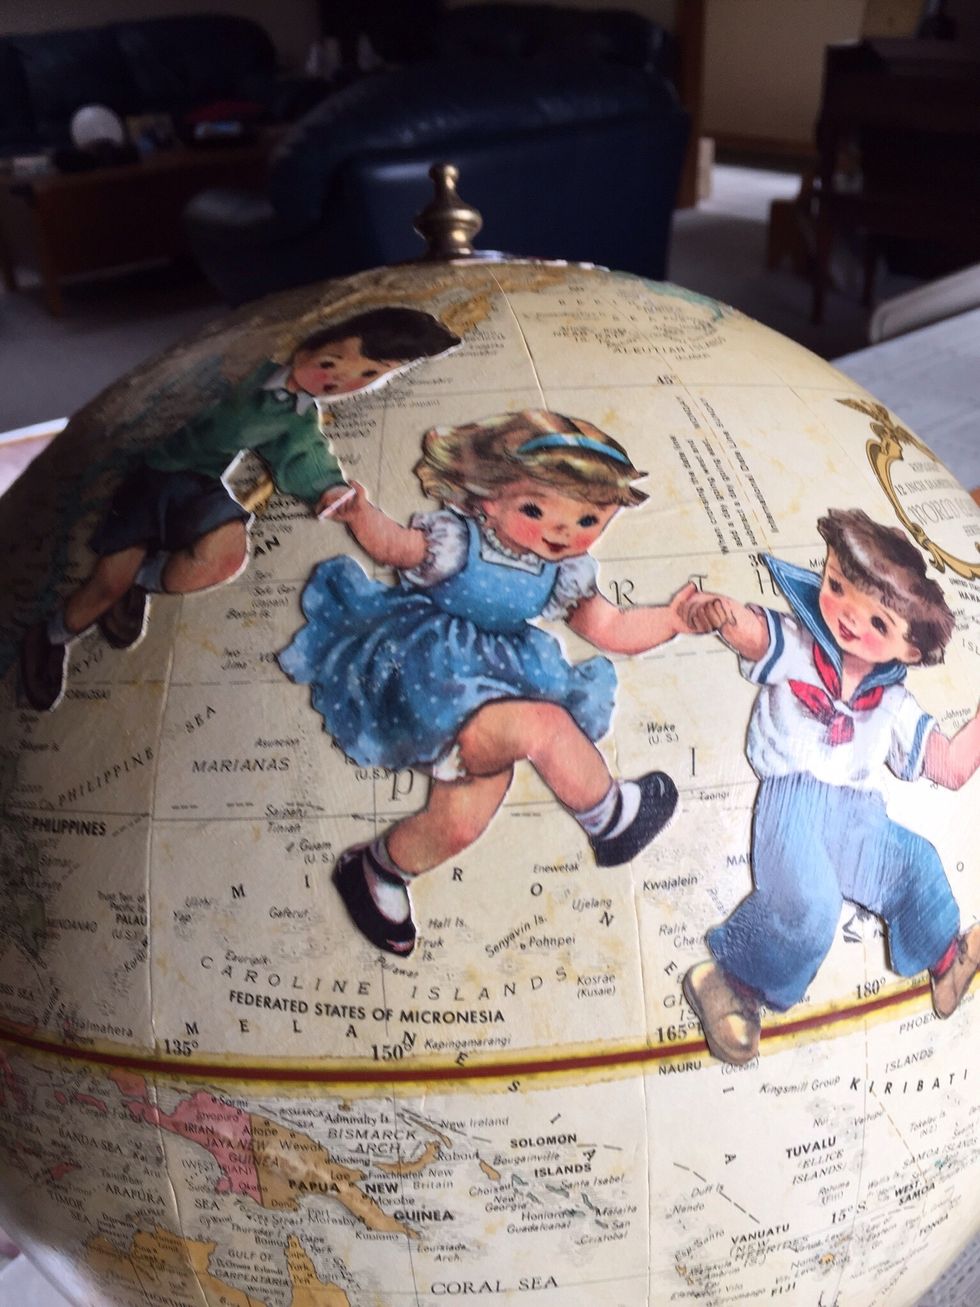
Love these pictures from a story book written in 1946. Such a fun project. I will keep an eye out for more globes to customize...how about with pictures from 'Where the Wild Things Are?!'