The Conversation (0)
Sign Up
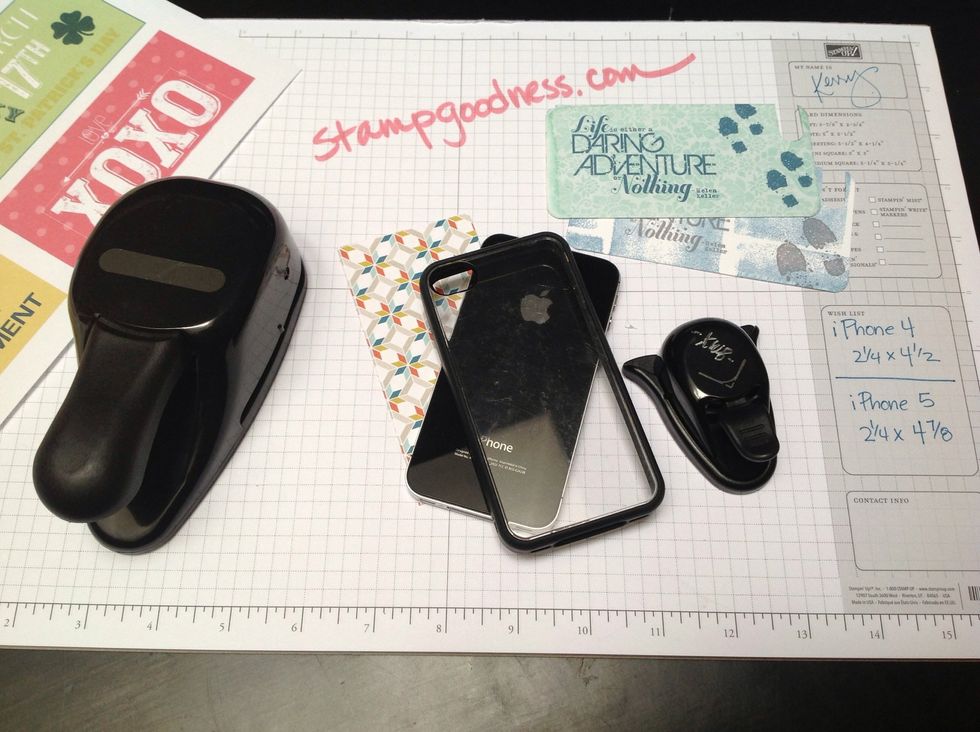
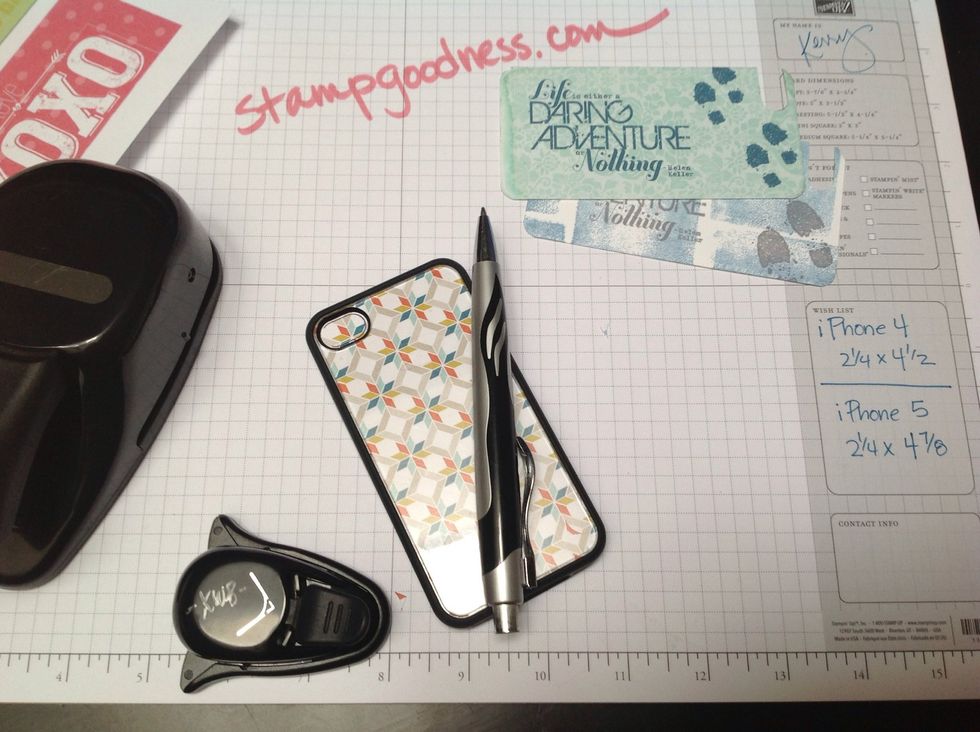
Assemble your supplies, including your iPhone. Cut your paper to size -- for my iPhone4 that means 2-1/4 x 4-1/2"; based on the specs for the iPhone 5, I believe you need 2-1/4 x 4-7/8".
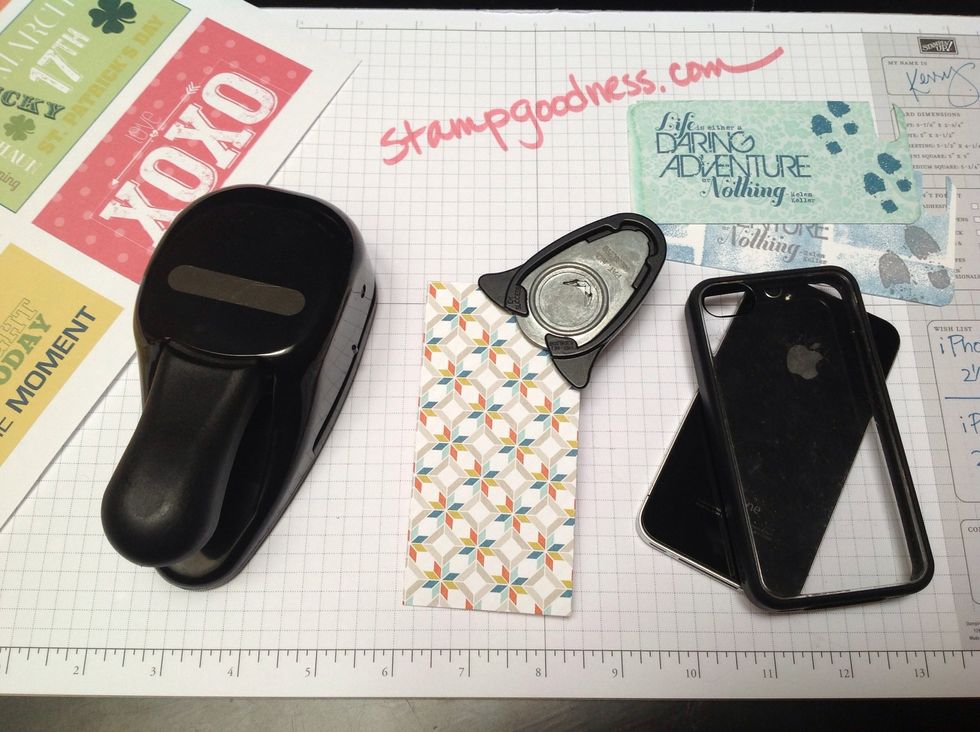
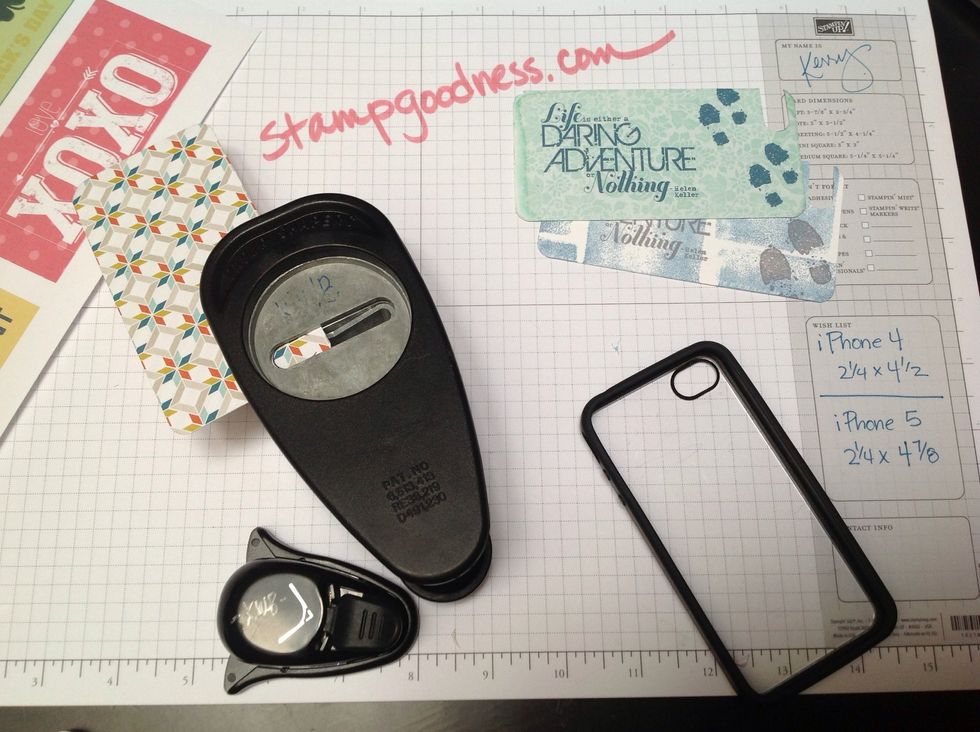
Use the corner rounder punch to round all corners on the paper.
Notice the rounded corners...in a pinch you could use scissors, but the punch makes it really easy to do this!
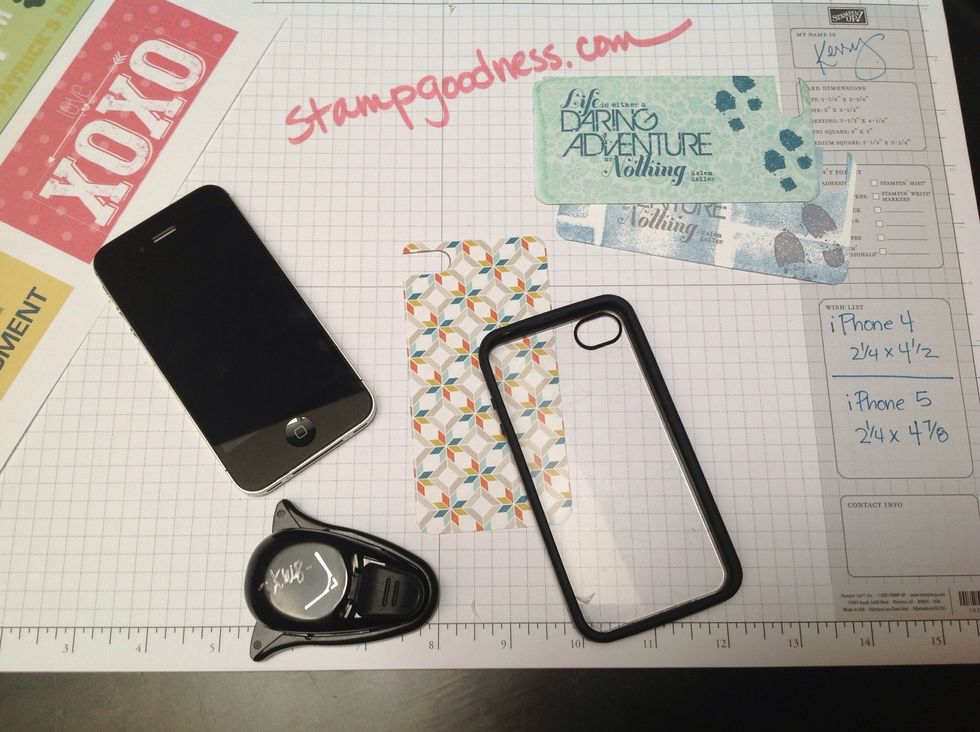
Put the paper into the clear backed case and then insert phone...notice my paper has a pattern on both sides...be sure the pattern you want to see is facing out.
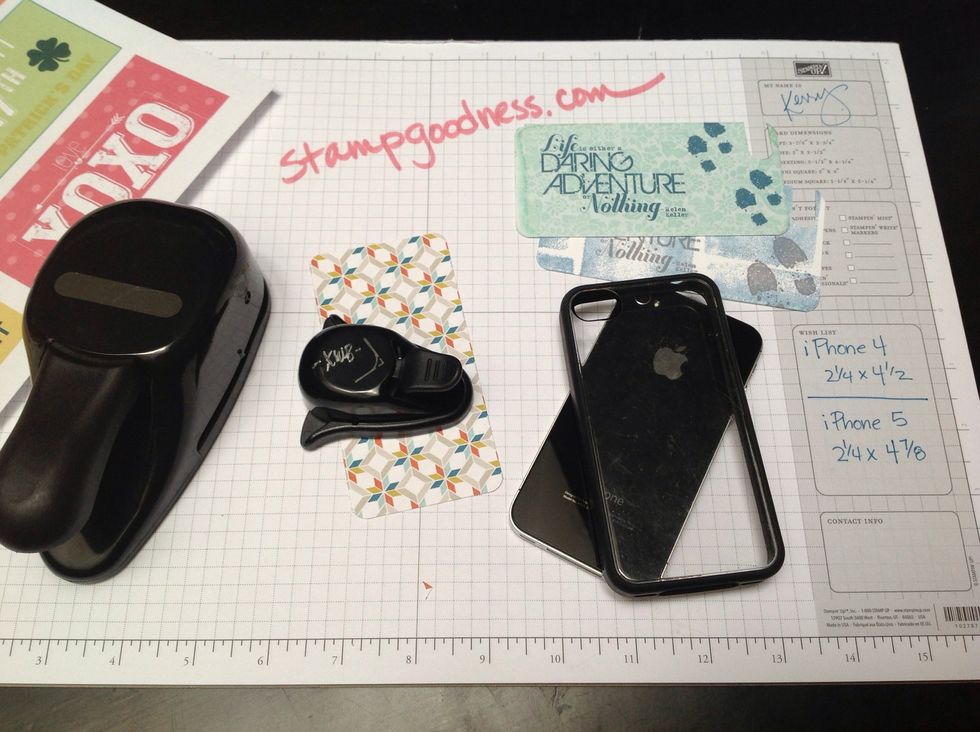
Use a pen to draw the outline of the camera & flash opening.
Use the Word Window punch to cut out this opening. Again, in a punch, you could use scissors, however the punch makes it easy. If you are concerned about your pen line showing, use a pencil instead.
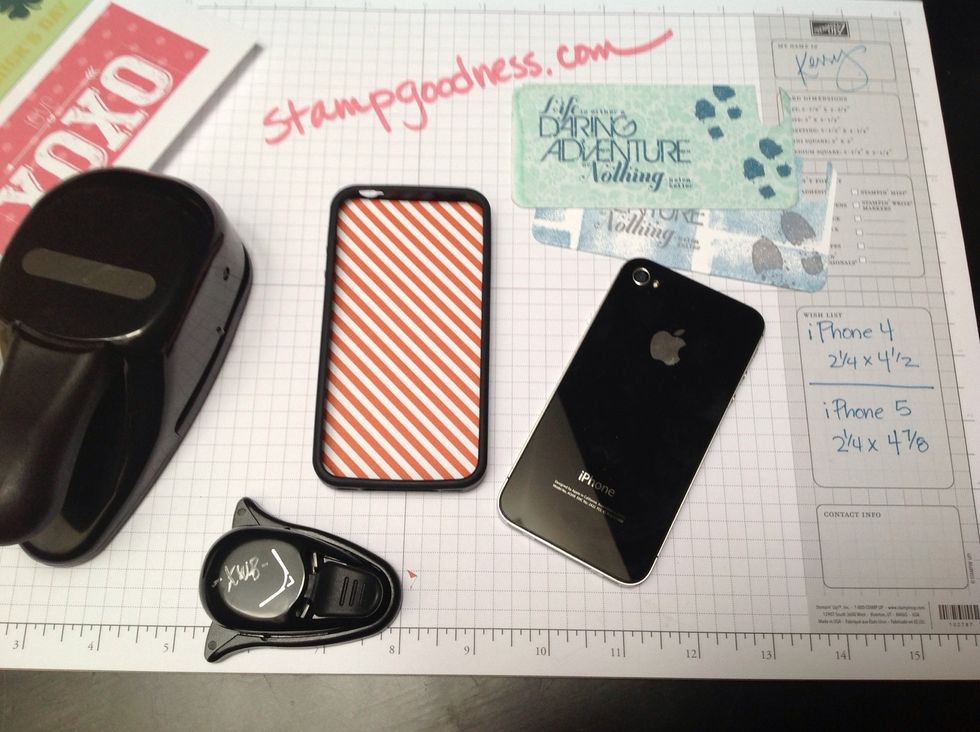
Notice the opening cut out...now this is ready to insert and the case and use! Change out as often as you would like!
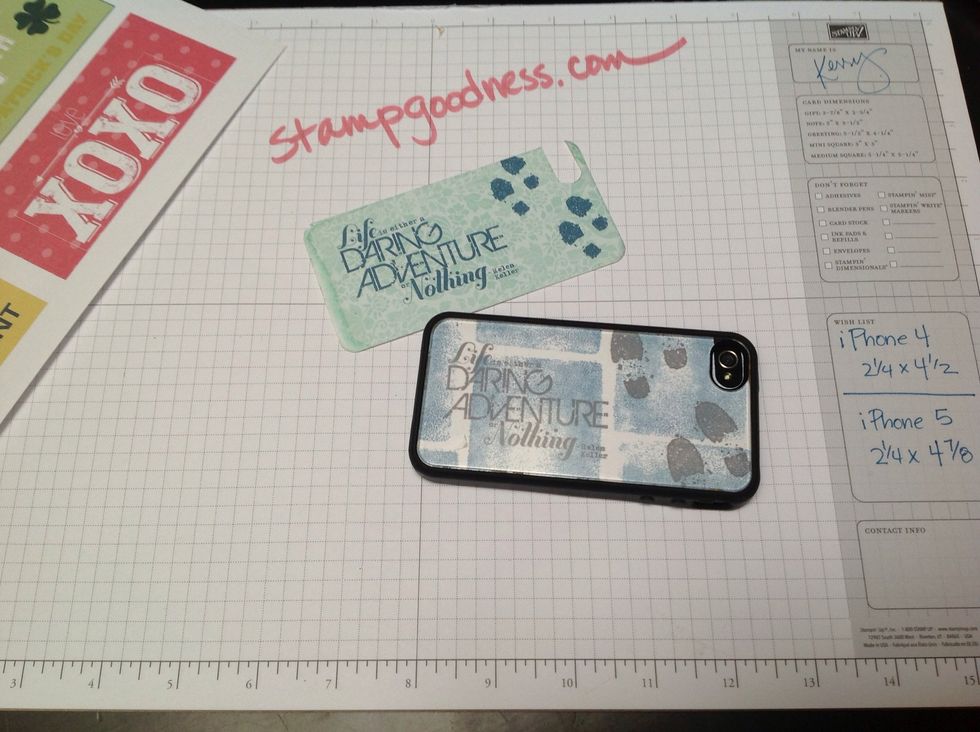
The design in the case is one that I stamped with clear mount rubber stamps and clear mount blocks. The design outside the case was created using My Digital Studio/mds2 (digital design software).
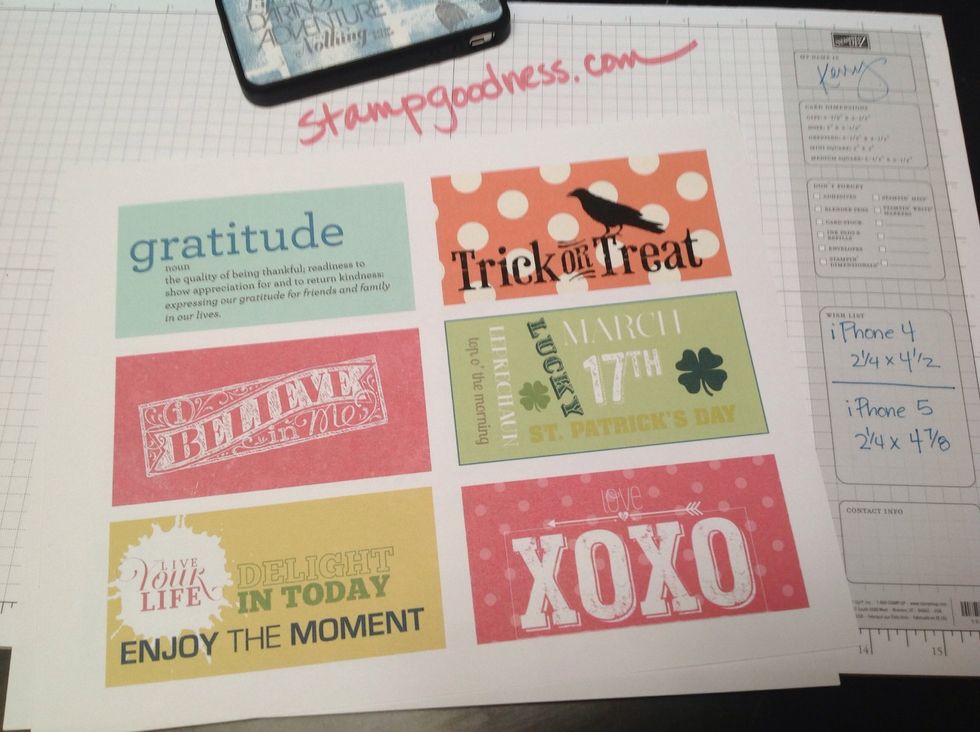
Here is a whole sheet of images I created using My Digital Studio/mds2.
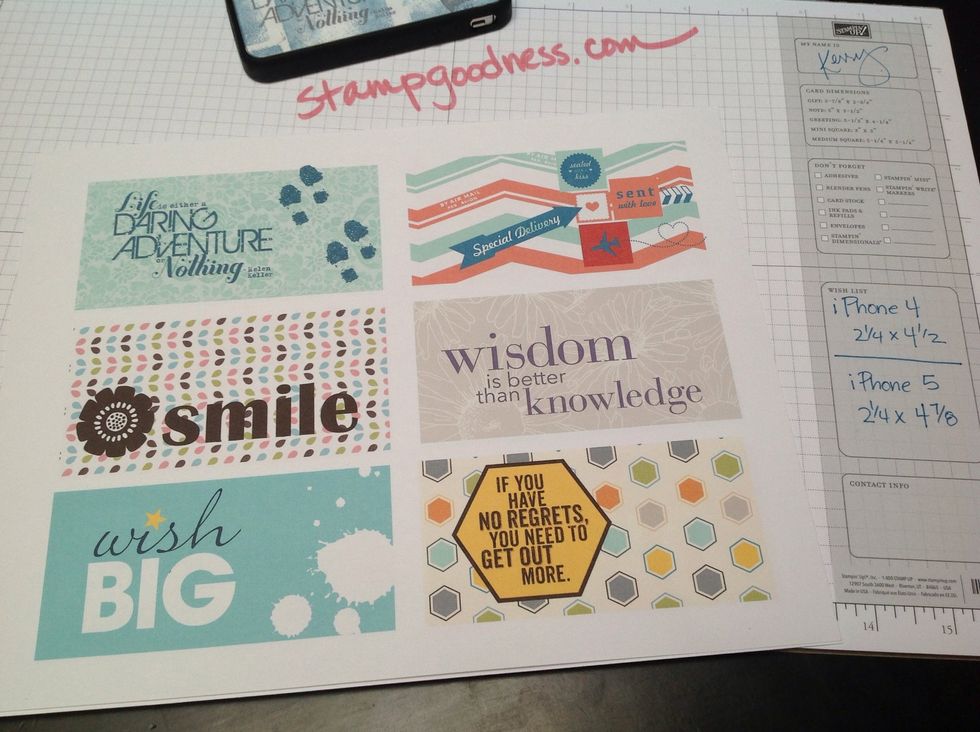
Even more digital designs! So easy to change these out as often as you like!
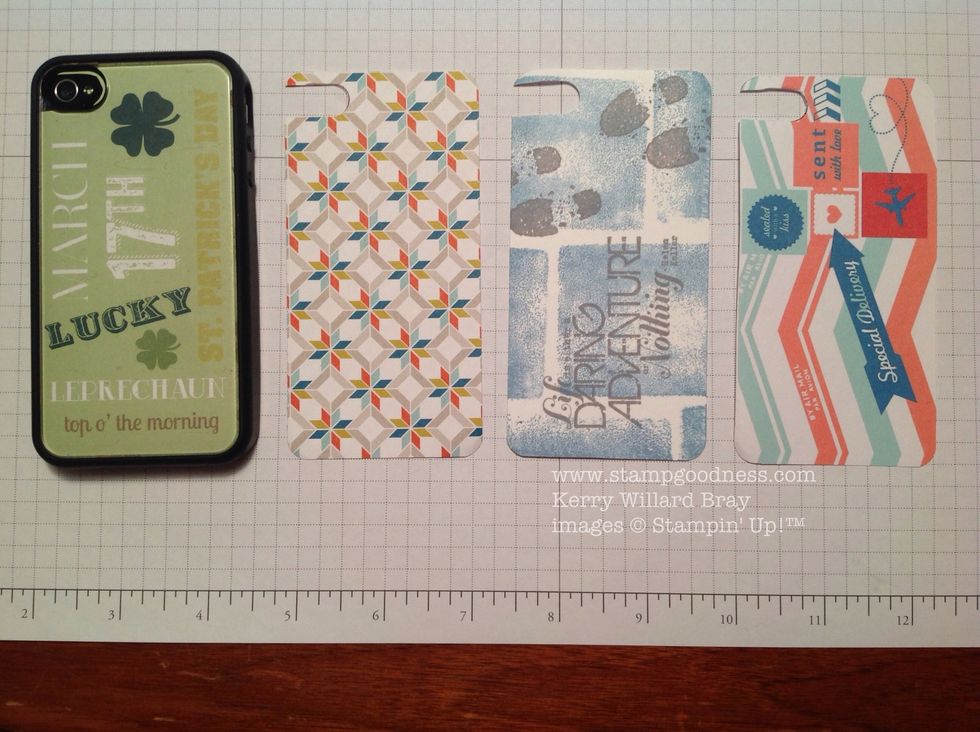
Here is a side by side view at a few designs -- 1. Digitally designed, 2. Designer Series Paper, 3. Hand stamped on card stock, 4. Digitally Designed.
Every thing I used (other than the case and iPhone) is available from Stampin' Up!
Visit my blog www.stampgoodness.com for lots of paper crafting ideas! I am independent Stampin' Up! demonstrator.