The Conversation (0)
Sign Up

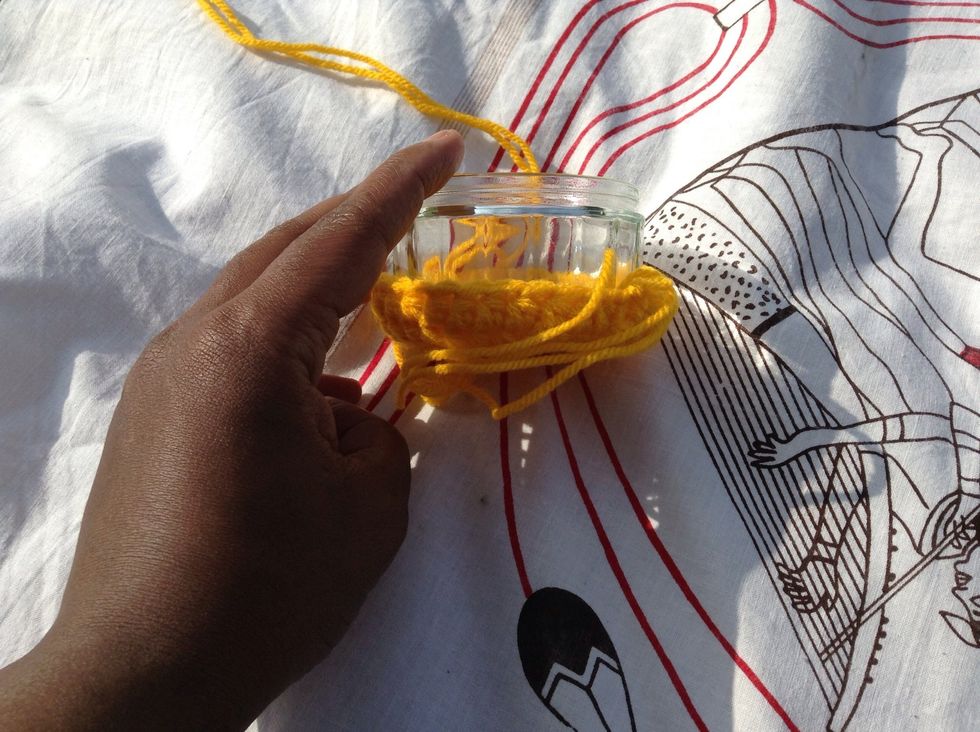
Gather whatever scrap yarn you have. If you only have a thin DK weight you can double it like I did. Use your fave crochet hook and any size jar. Mine used to be full of yogurt and cheesecake. Mmmm...
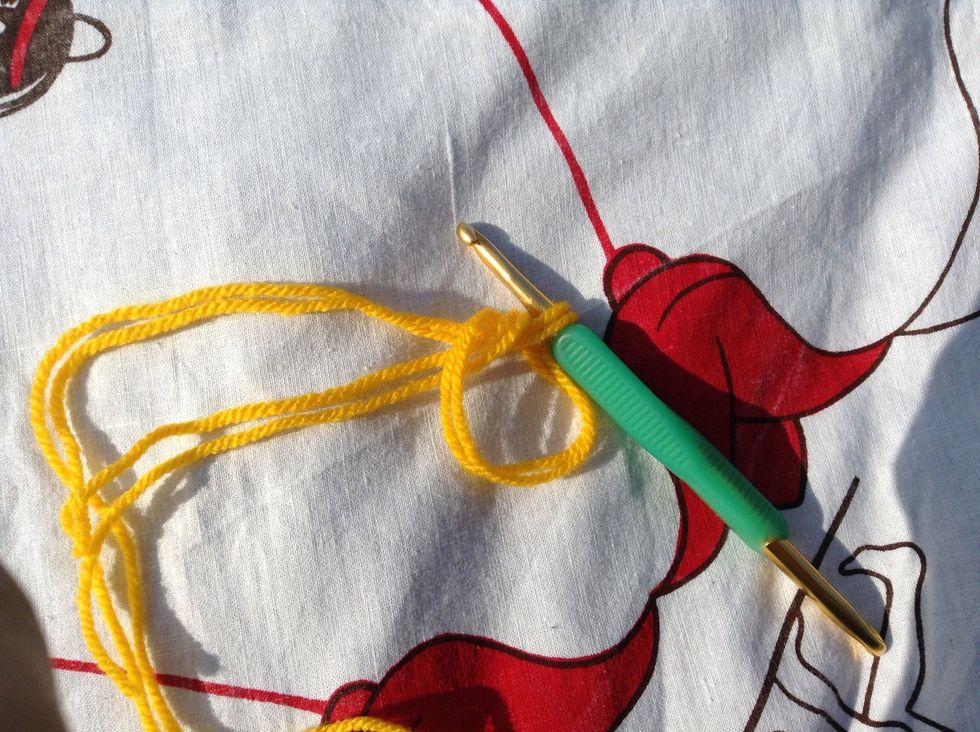
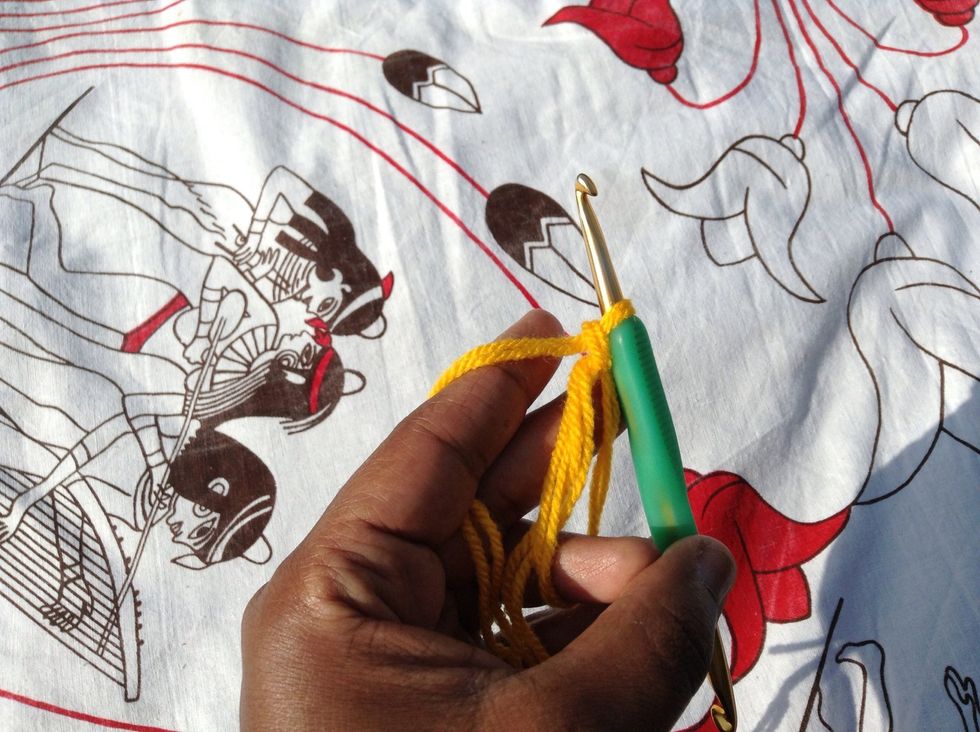
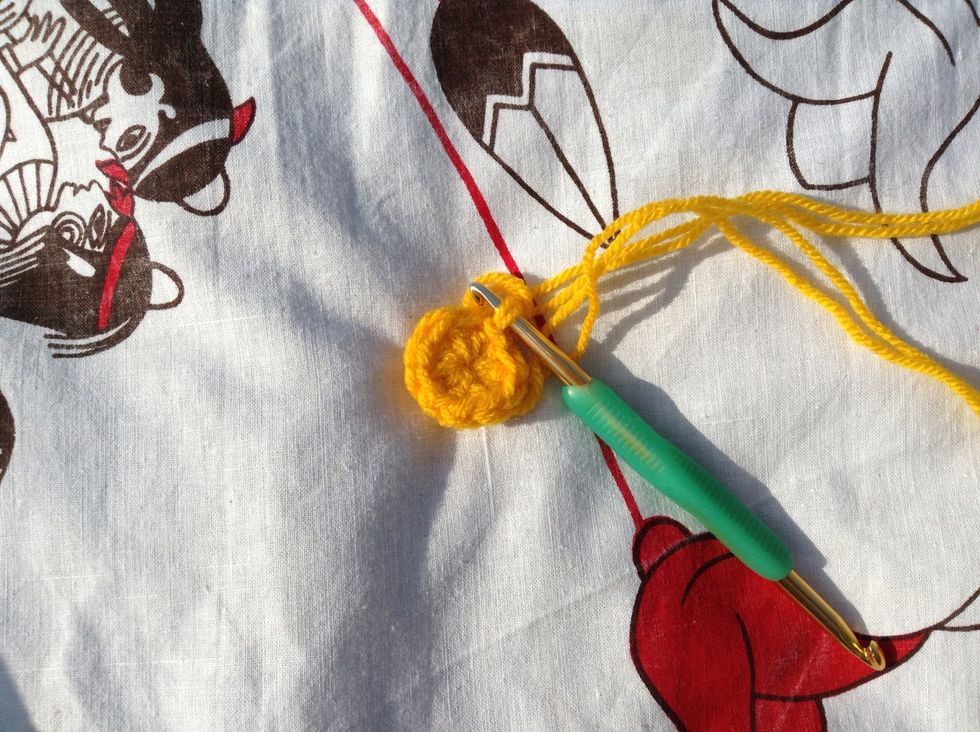
Form an adjustable loop. If you don't know how, I've already added a guide for it.
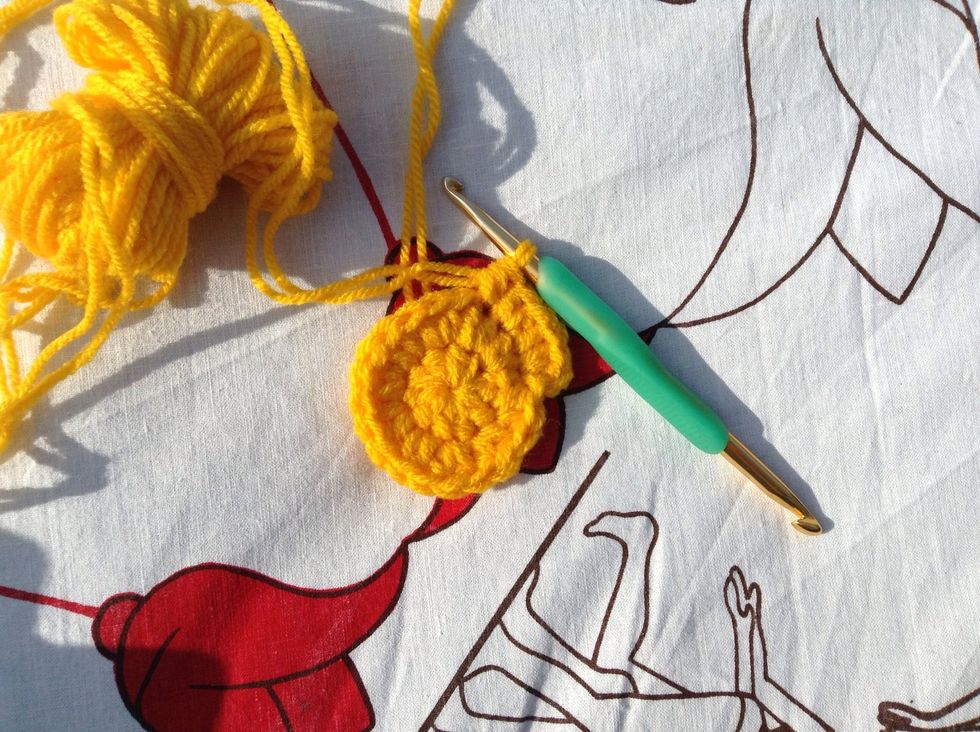
Row 1 - Chain 1,
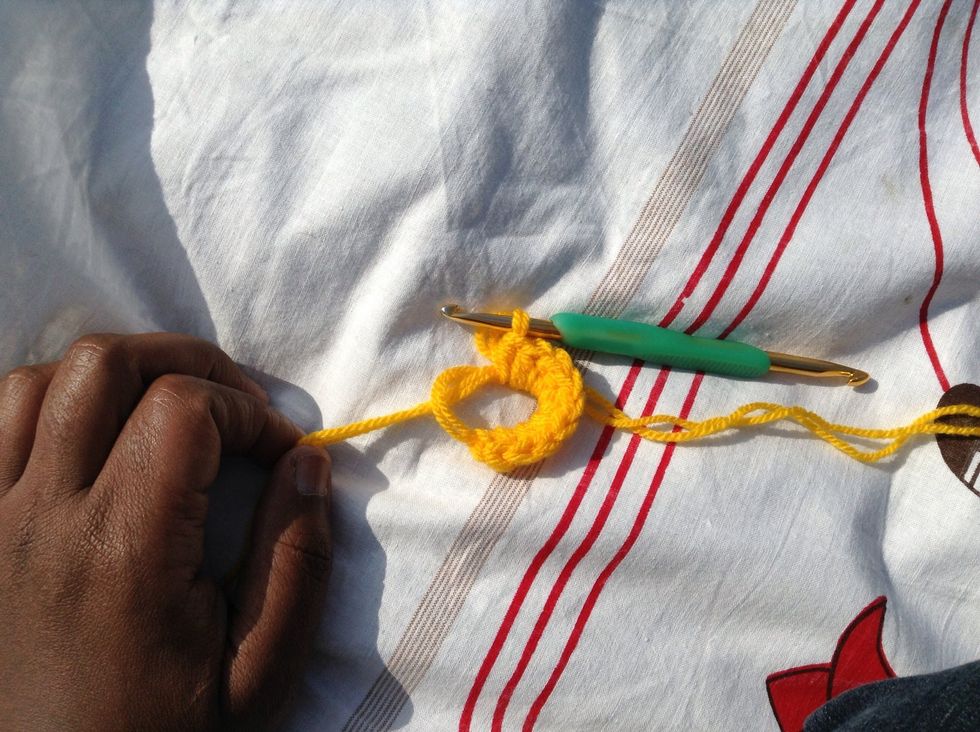
10 hdc in the ring. Pull the tail end of the yarn at the center of the circle to cinch the circle closed.
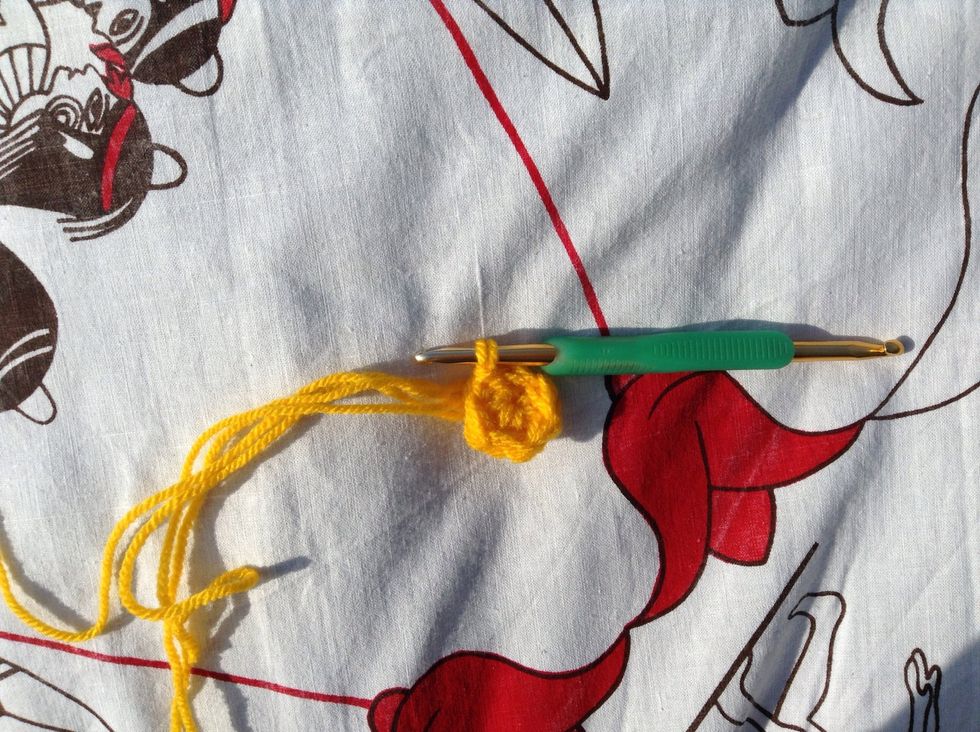
Join with sl st to top of 1st hdc.
Row 2 - Chain 1,
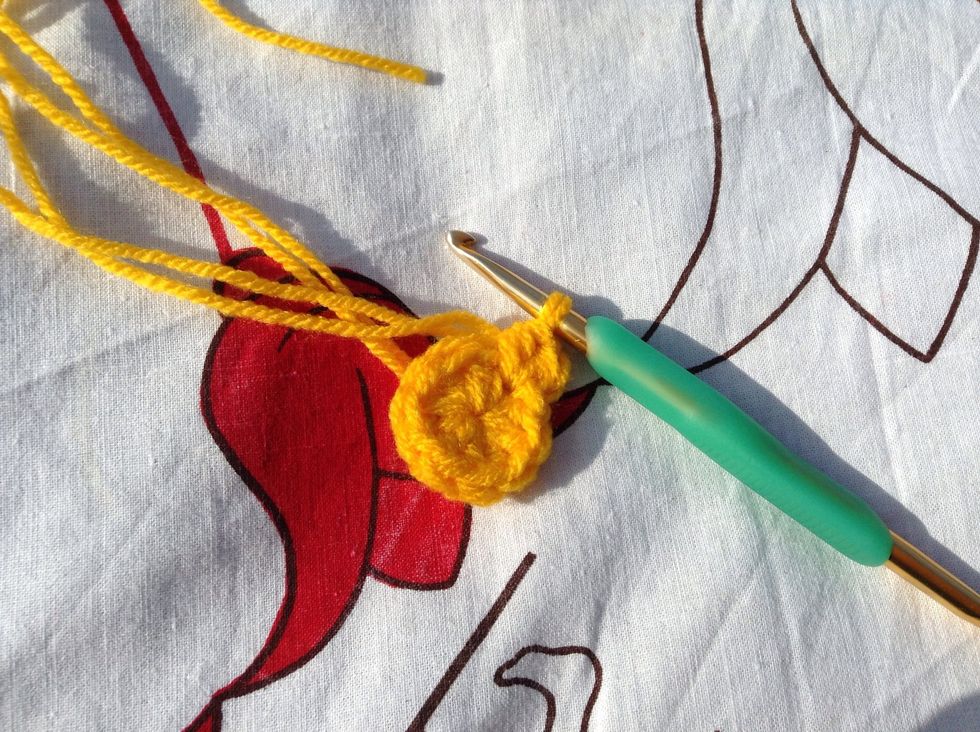
2 hdc in same st and in each st to the end.

There should be 20 st in total.
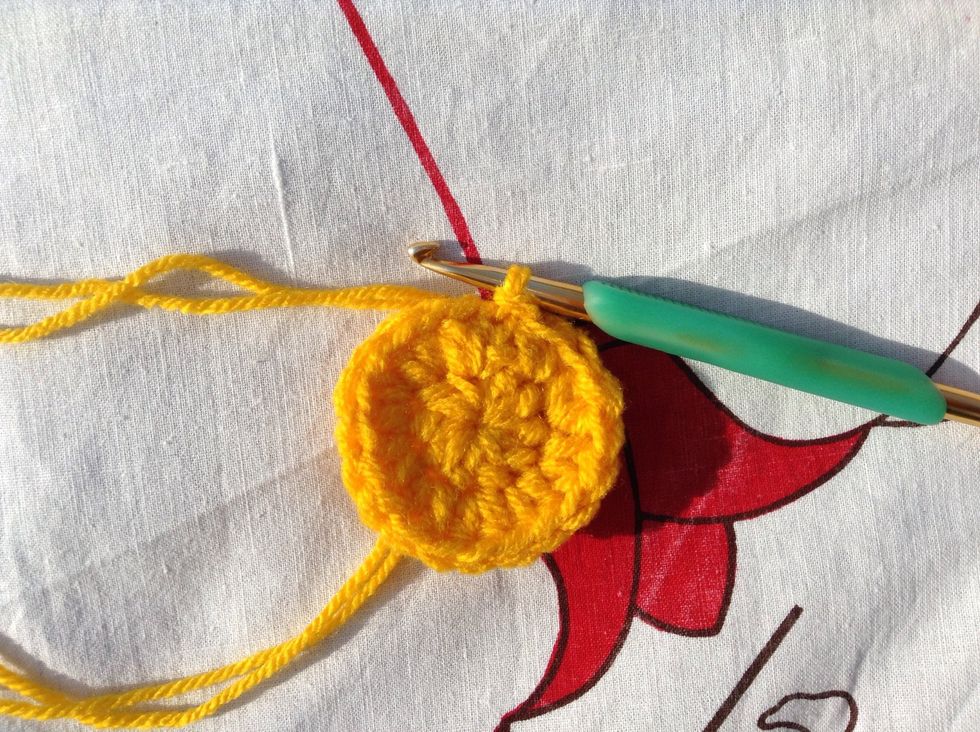
Join with a sl st to the 1st hdc.
Now you can begin row 3. Chain 1,
2 hdc in same st, 1 hdc in next st, *2 hdc in next st, 1 hdc in next st*, repeat ** directions to the end.
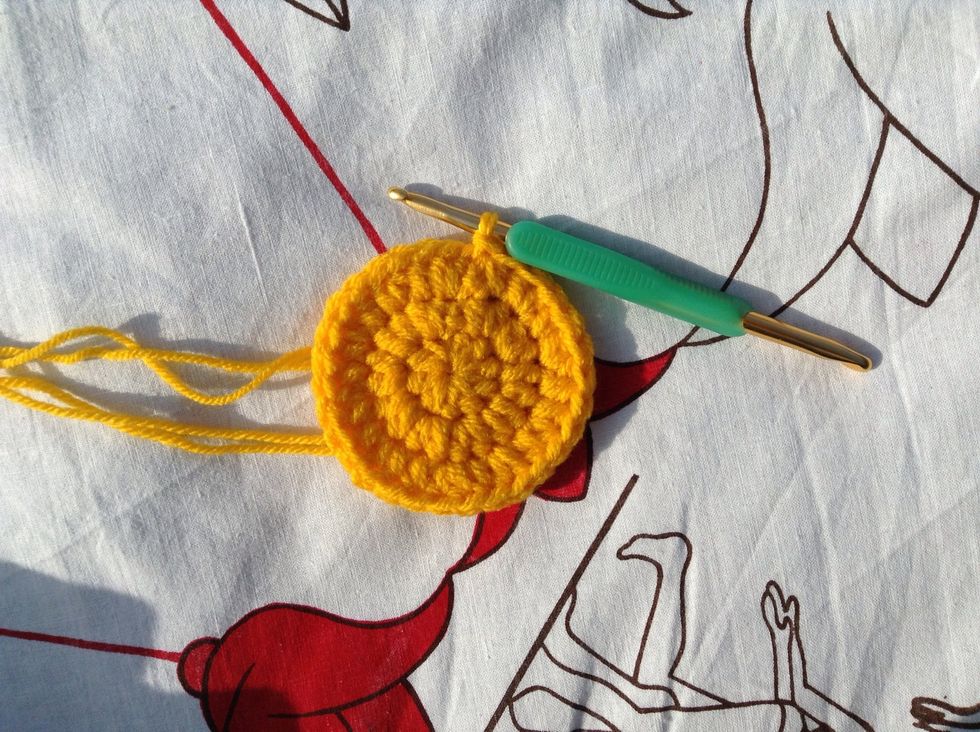
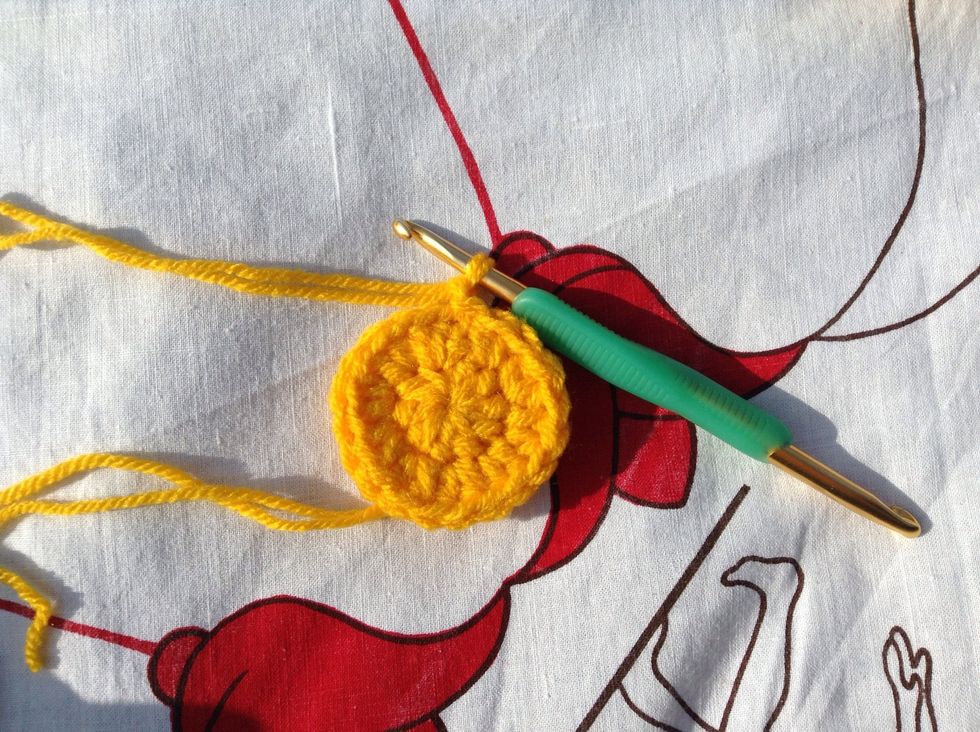
Should have 30 st. Join with sl st to 1st hdc. Now see if the circle is big enough. If it fits inside jar with no spaces, it'll give a good snug fit when done. If too big you can omit that 3rd row.
If too small u can increase. Repeat last row but add more st between increases. Row 4 - 2 hdc in next st, 1 hdc in each of next 2 st. Row 5 - 2 hdc in next st, 1 hdc in each of next 3 st, and so on.
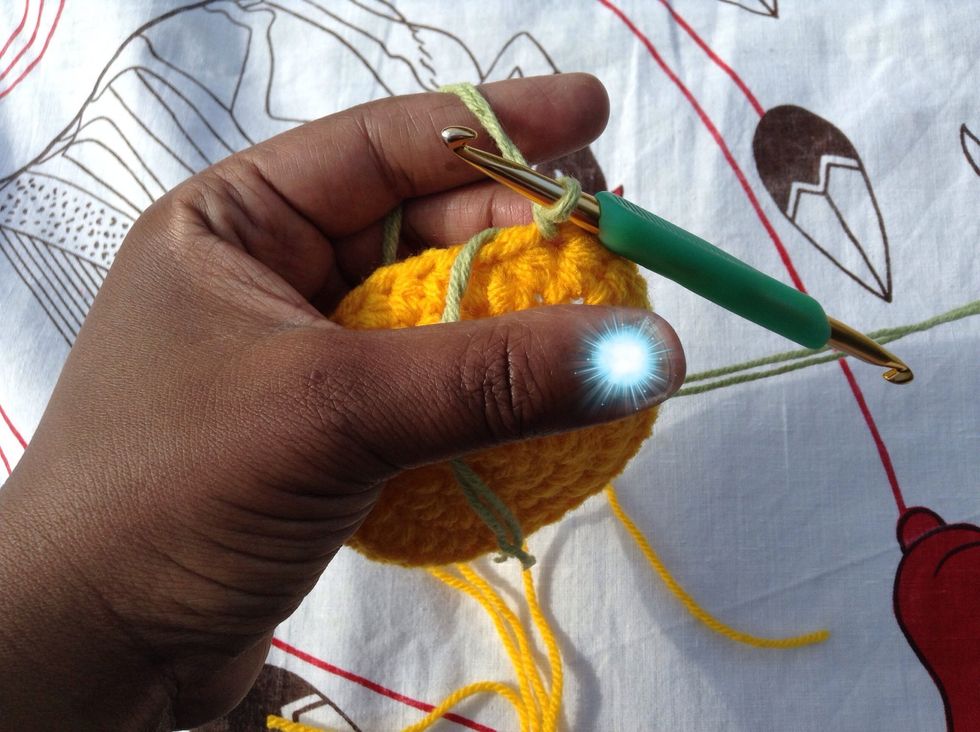
Row 4 is worked into the top loop of the stitches. Chain 1, 1 hdc in top loop of same st, 1 hdc in top loop of next st and in each st around.
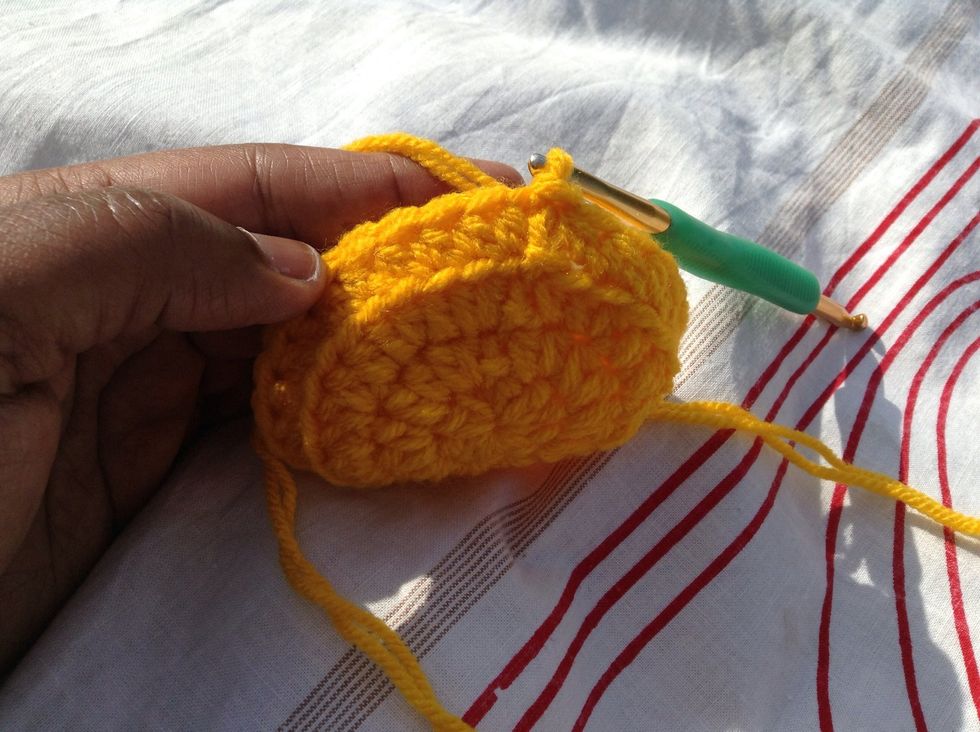
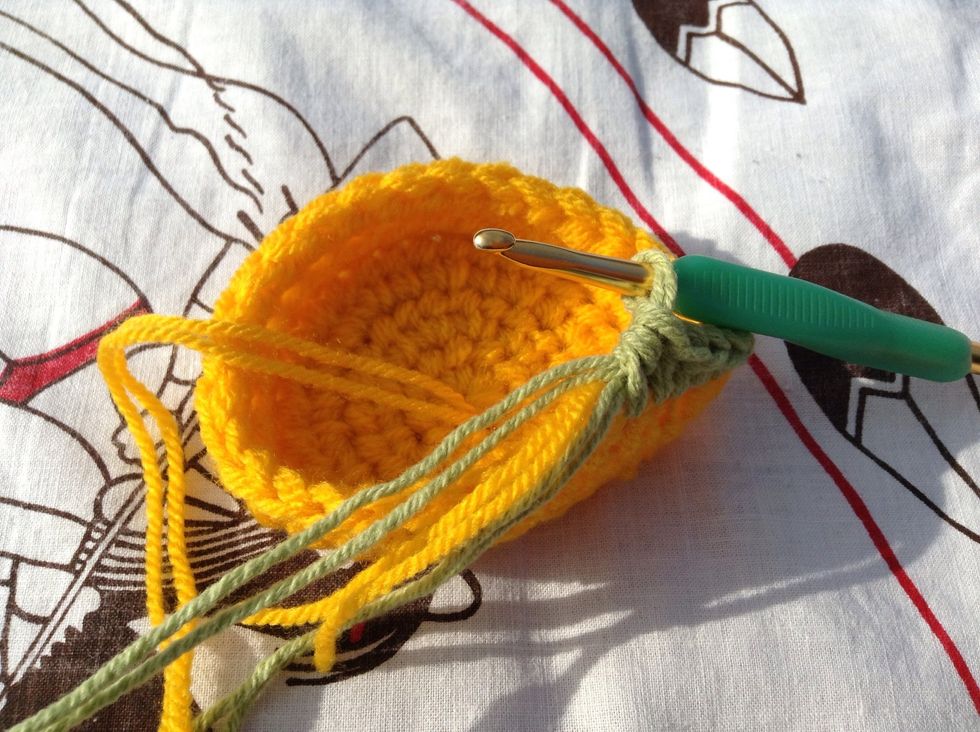
Join with sl st to top (both loops) of 1st hdc. This row formed the sides of the jar cozy as you can see.
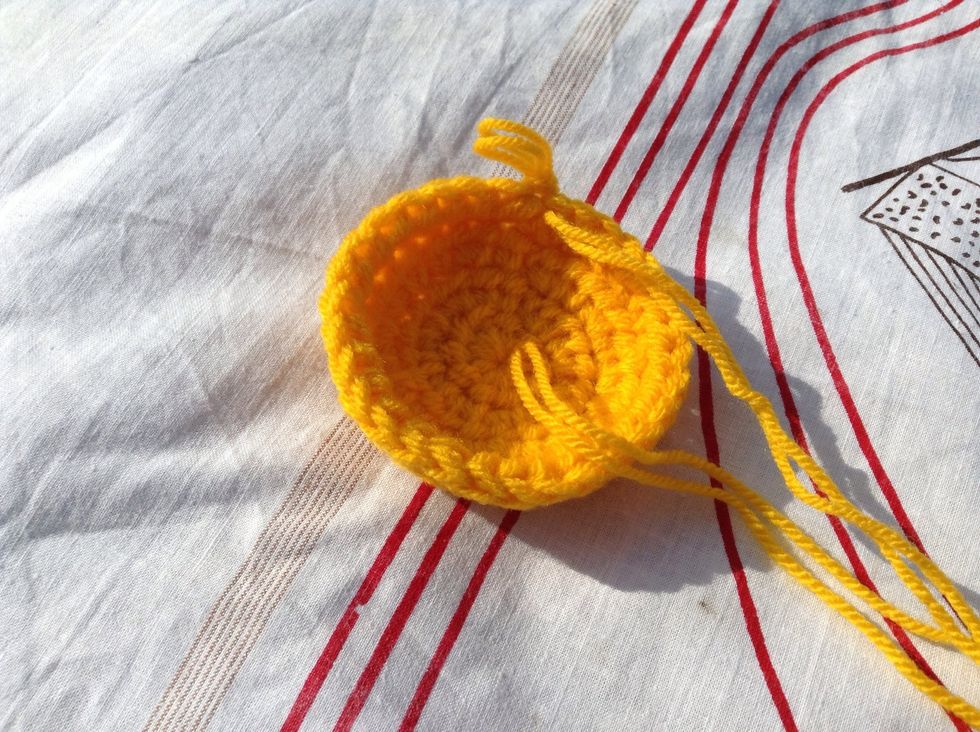
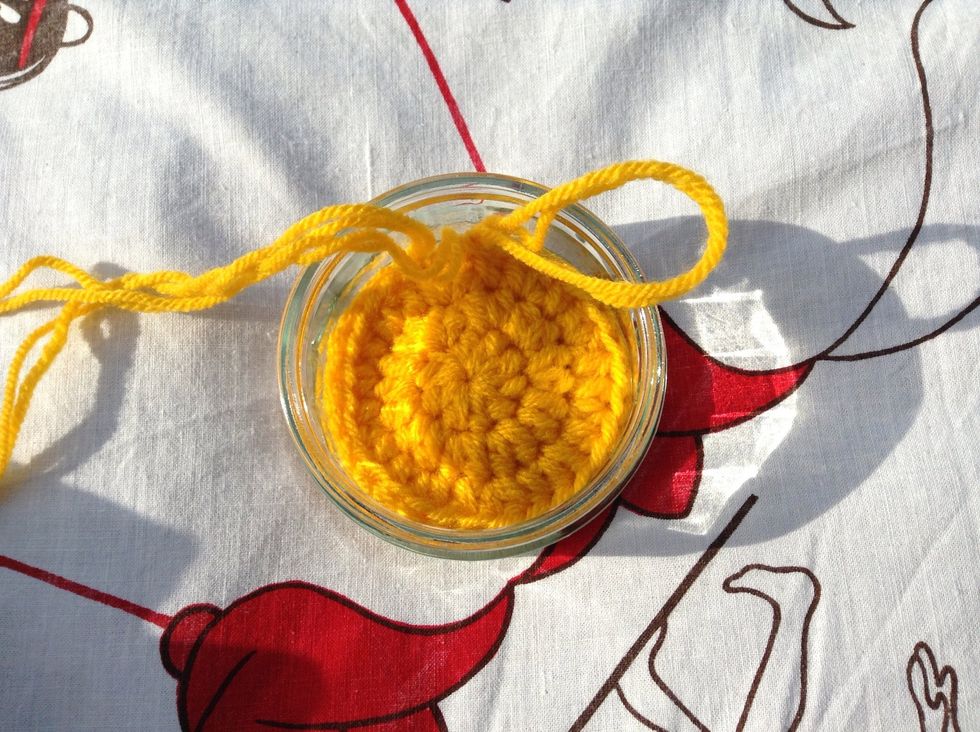
It should have a bowl shape now. Continue working on the right side, the beginning yarn tail should be on the inside (wrong side). You can weave it in now or wait til the end.
Row 5 - Chain 1, 1 hdc in same st and in each st to the end.
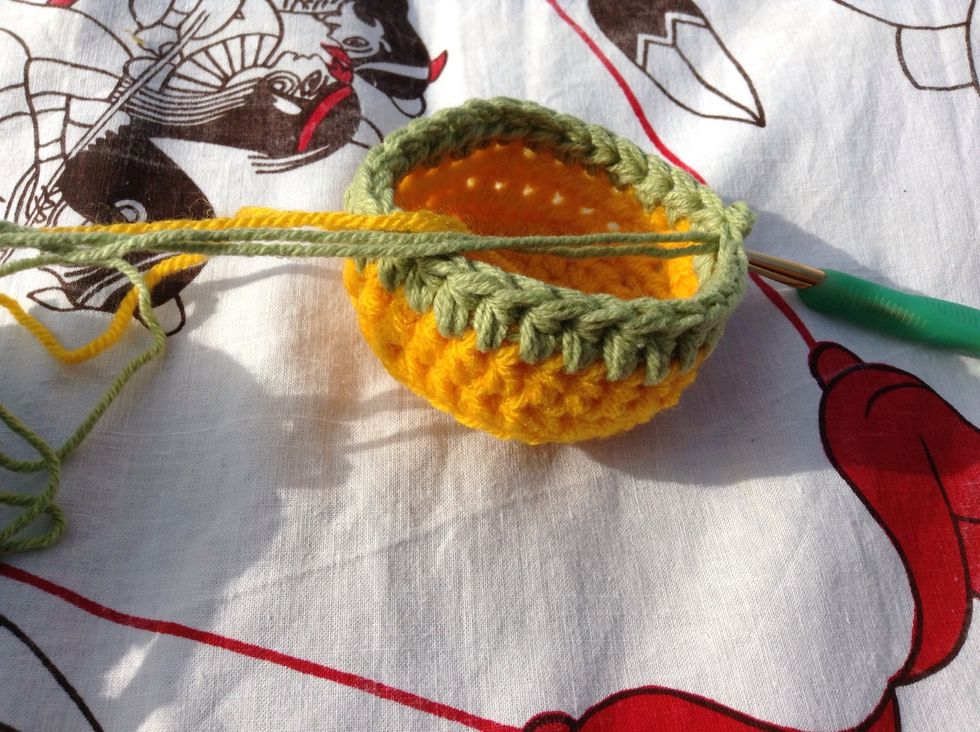
This is what it should look like now.
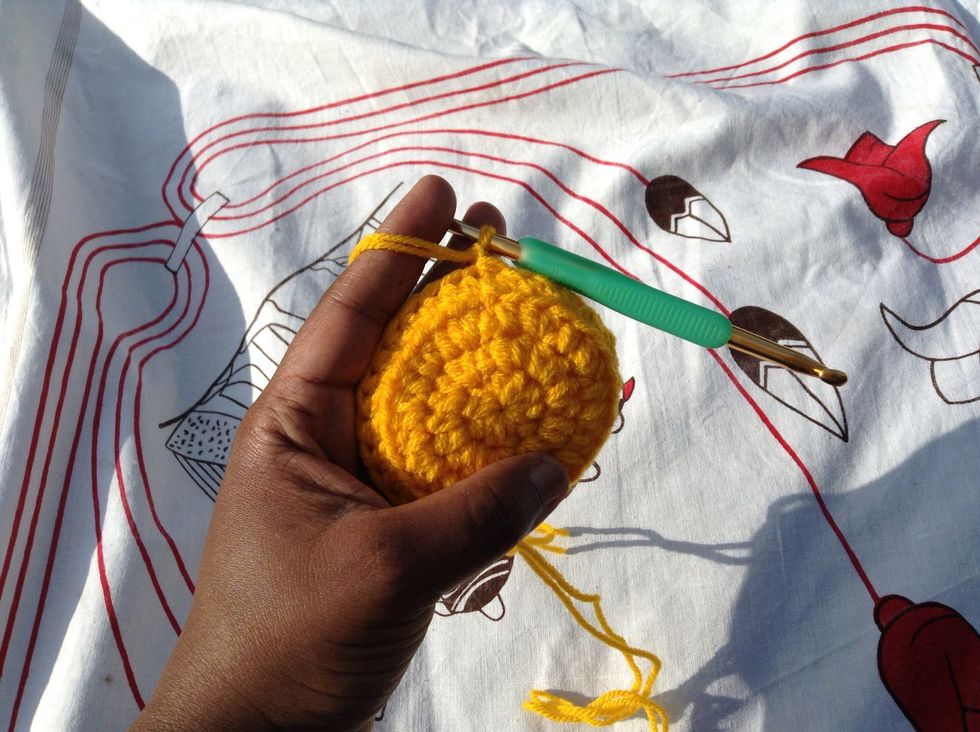
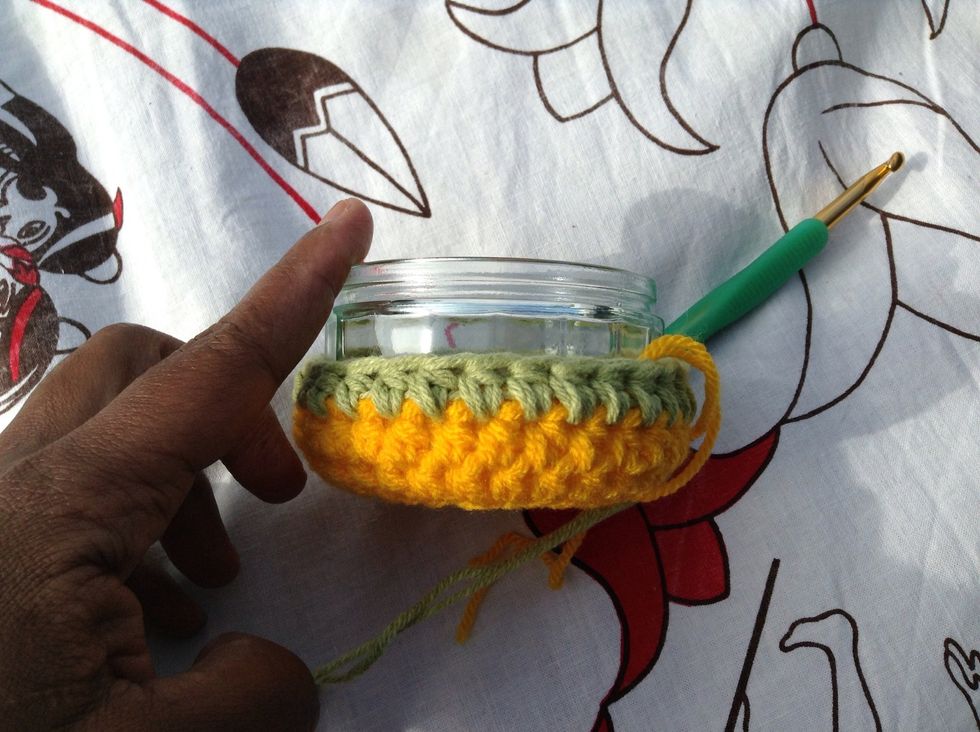
Check height of cozy with your jar after each row.
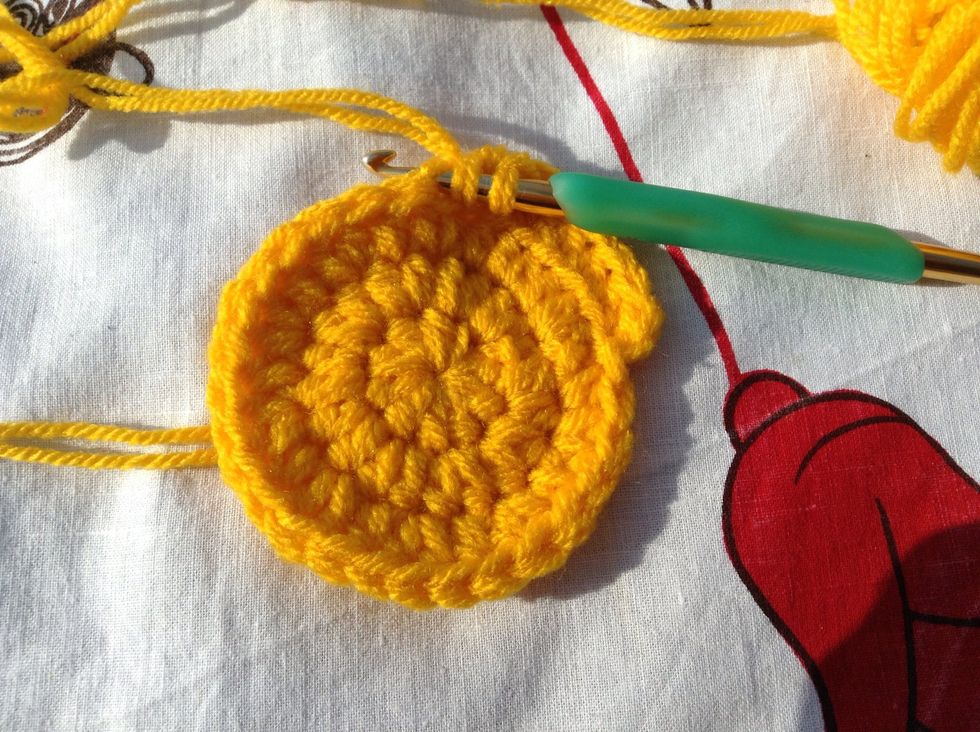
You can fasten off the old yarn and weave in the ends, or you can do a striped version. Change the colour and join the new colour with a sl st. I chose stripes.
Row 6 - Chain 1, 1 hdc in same st and in each st to the end. You can work over the yarn tail from the previous row if you don't want to be bothered with weaving in the ends later.
Join with sl st to 1st hdc. First stripe added!
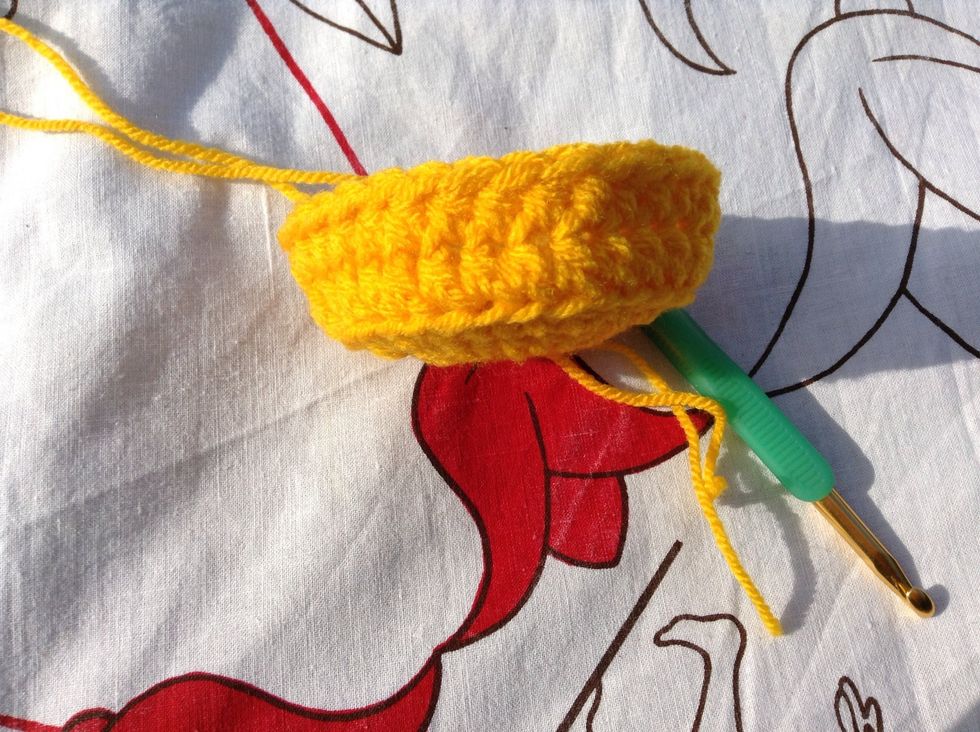
Check the height again. Not quite there yet!
Continue with your previous colour or do a colour change here. Fasten off previous colour and join new colour with a sl st.
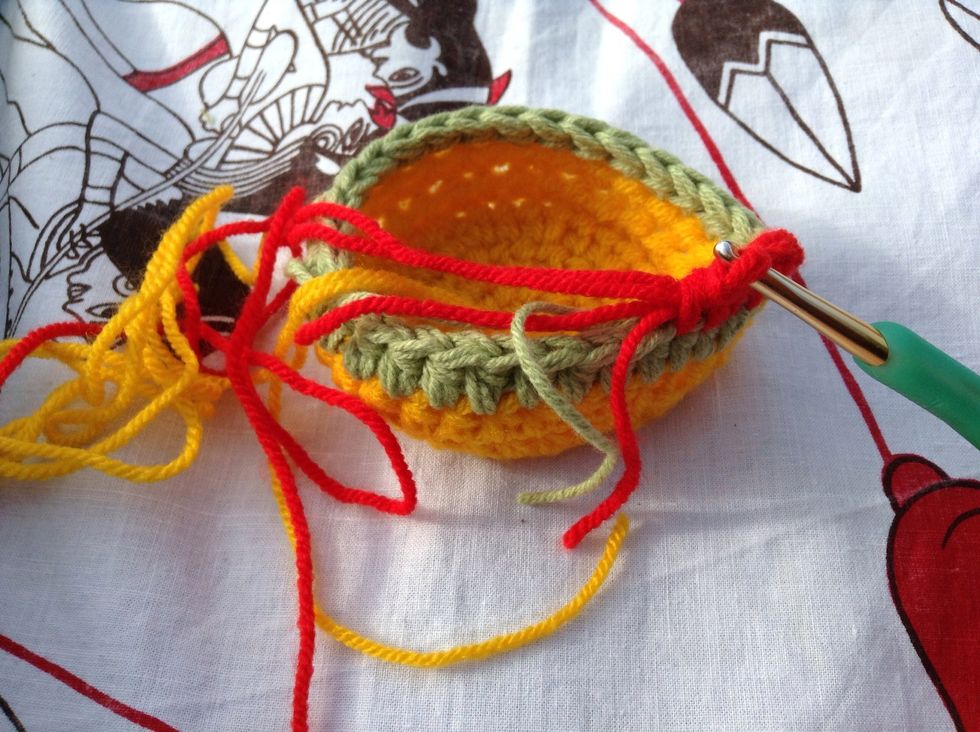
Row 6 - Chain 1, 1 hdc in same st and in each st to the end. You can again crochet over the yarn tails to makes things easier for you. I sure did. 😉
Join with sl st to top of 1st hdc. Row completed!
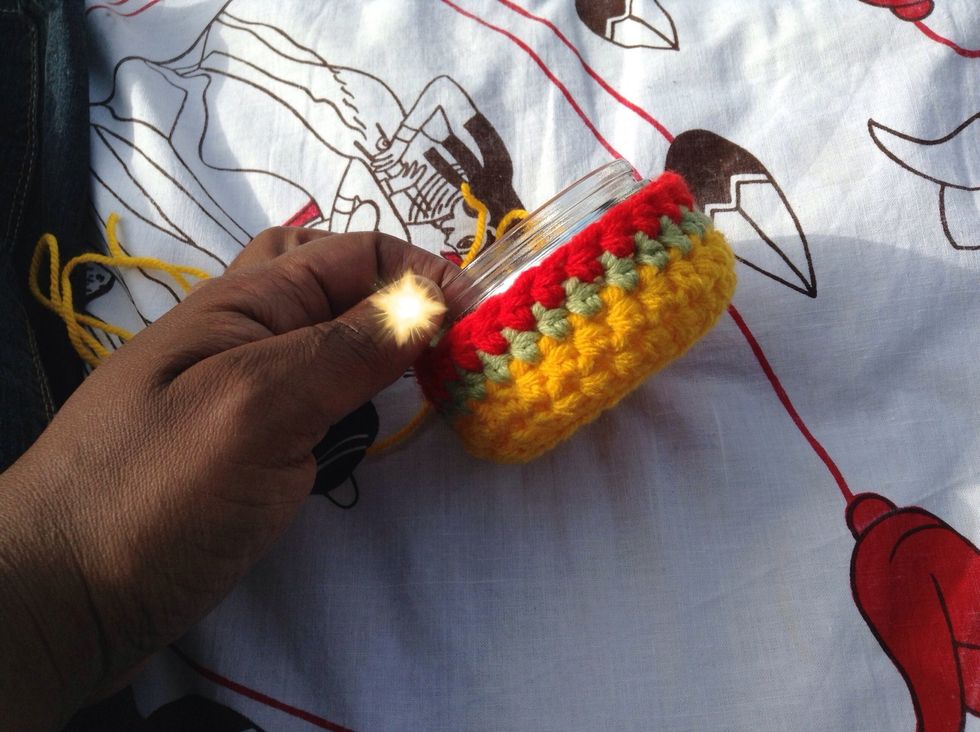
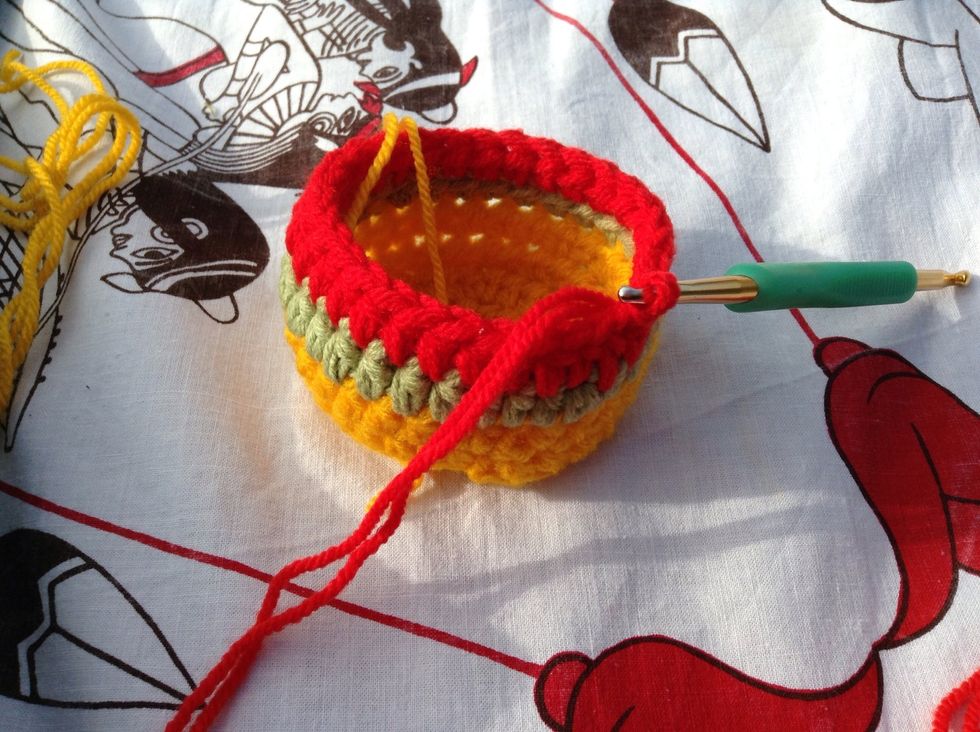
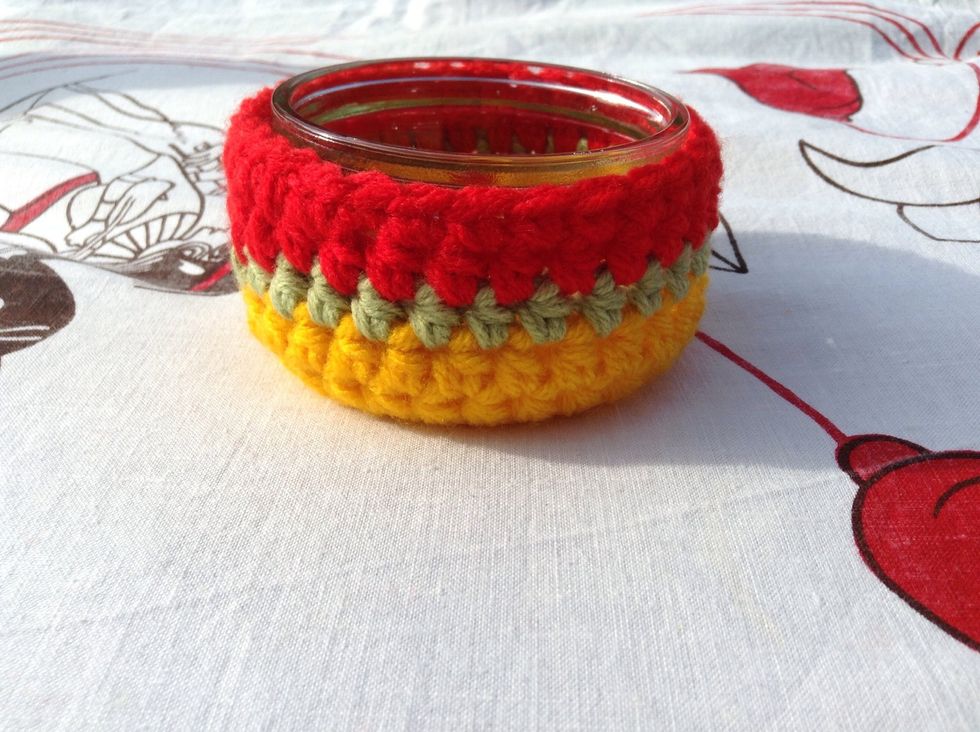
Check the height again. This is good enough, you don't want it too high up. If you have a taller jar than mine, just keep repeating last row until it's this far from the edge. Now for the edging row.
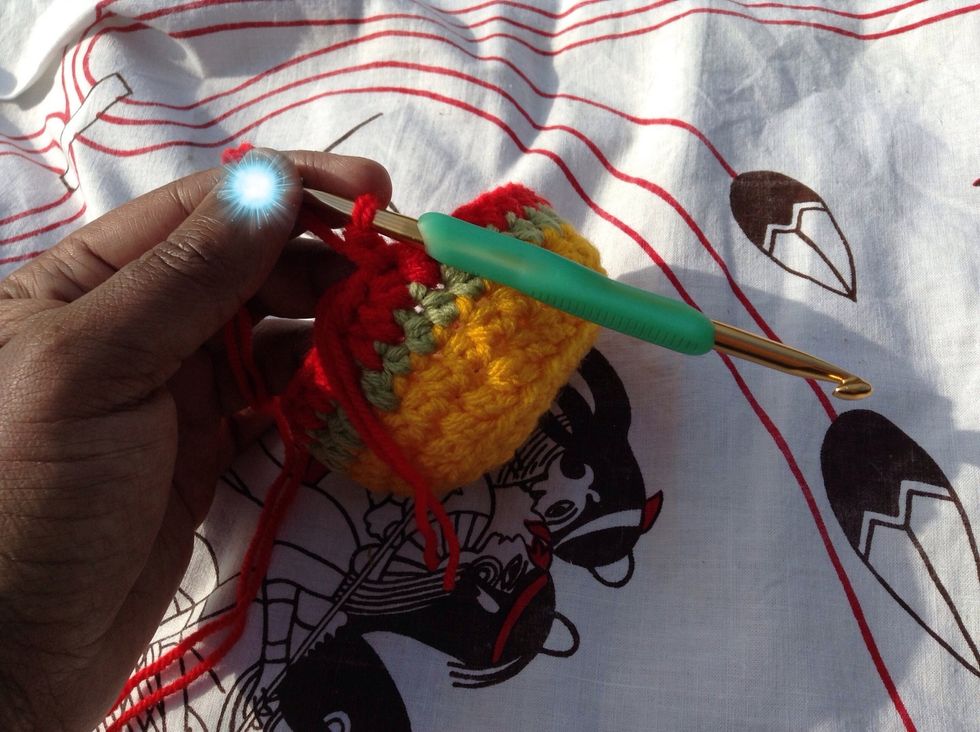
Row 7 - Ch 1, 1 sc in same st and in each st to the end.
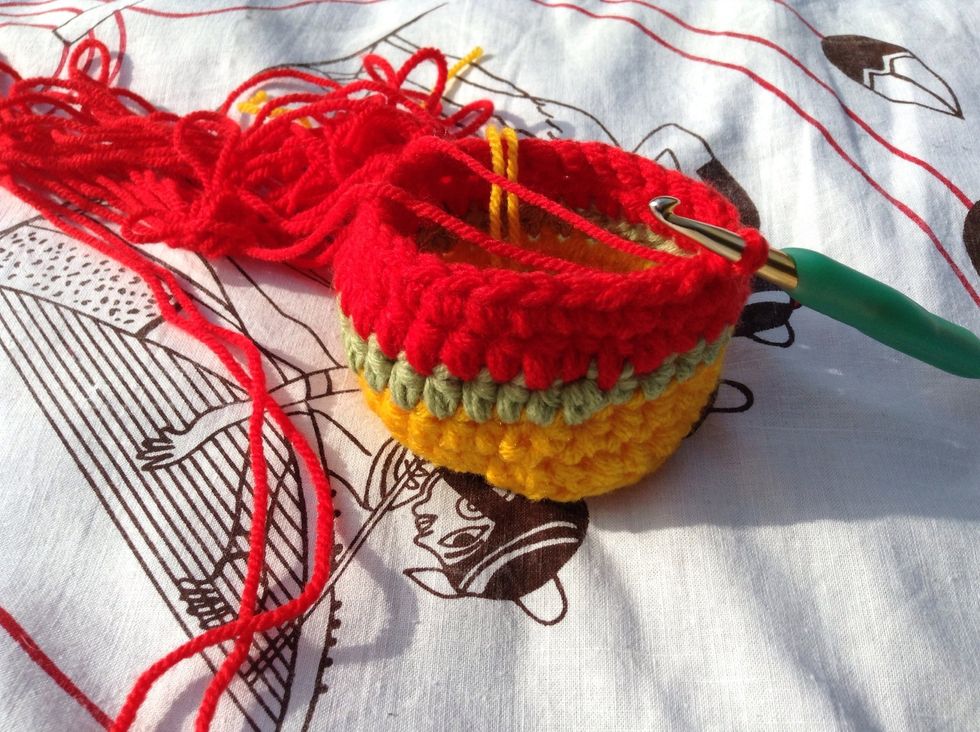
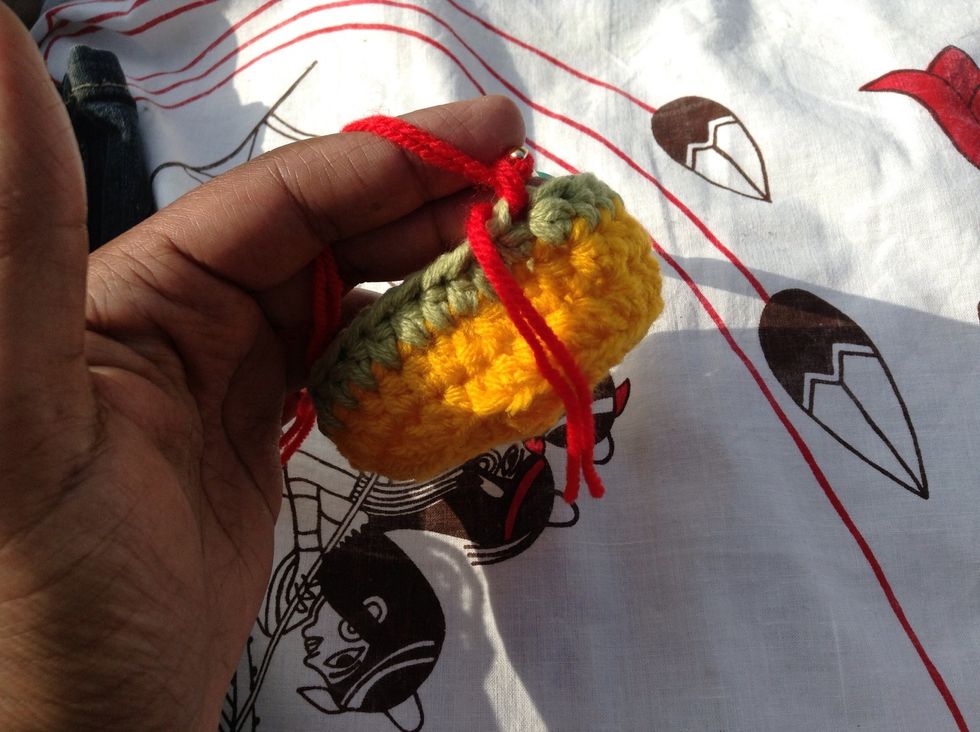
Join with a sl st to top of 1st sc. All done!
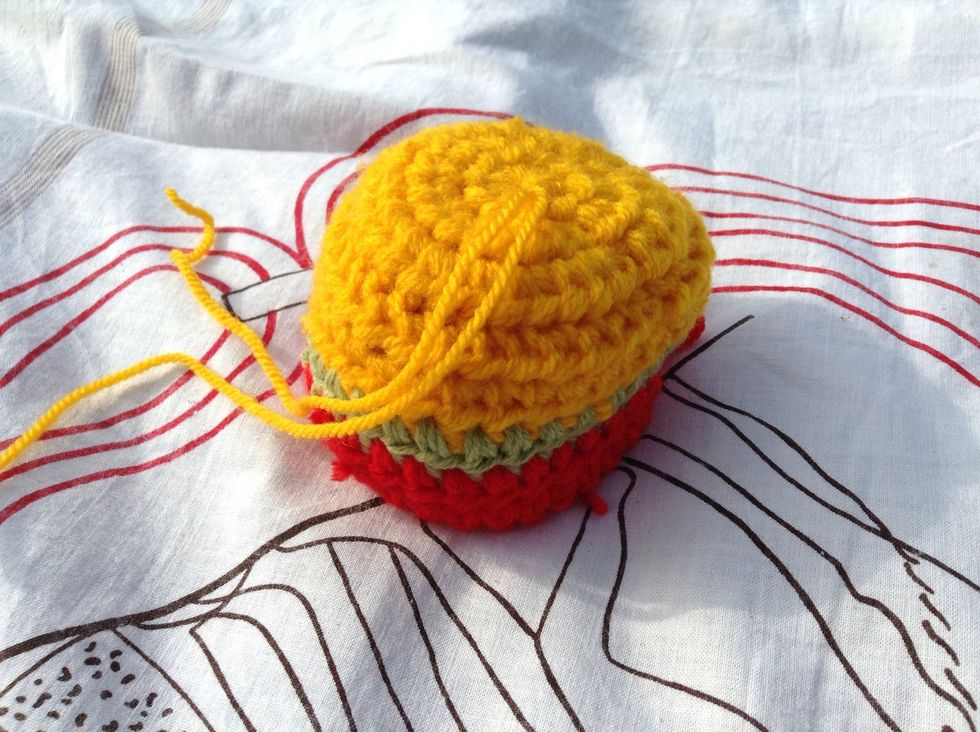
Now you can weave in the ends if you haven't already.
Your jar cozy is complete!
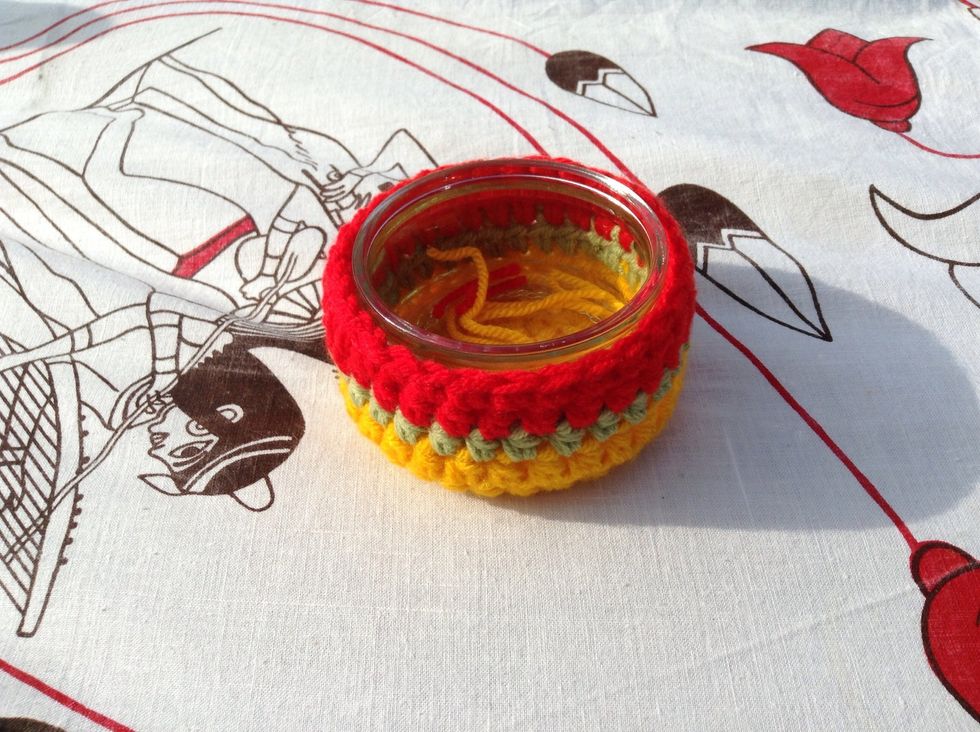
Now you can go crazy and fill it with whatever you can fit in it. I added a few yarn scraps for this photo op. 😊
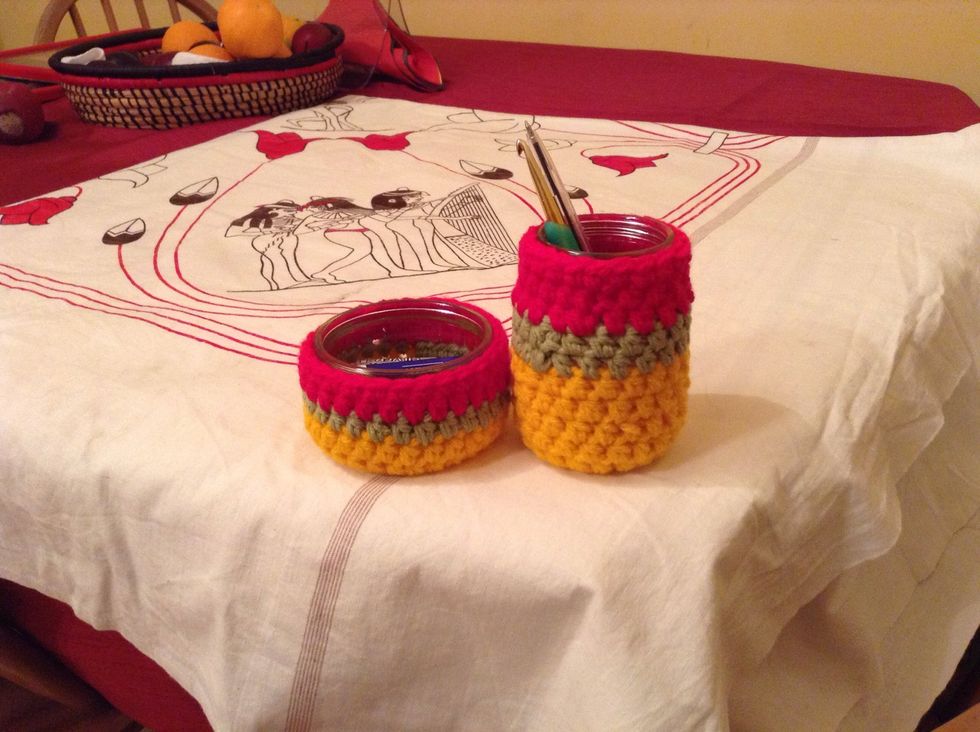
Following this pattern I made a set. I suggest you buy lots of jarred food from now on. I keep buying the cheesecake that was in the smaller jar just so I can make these. No other reason at all. 😉