The Conversation (0)
Sign Up
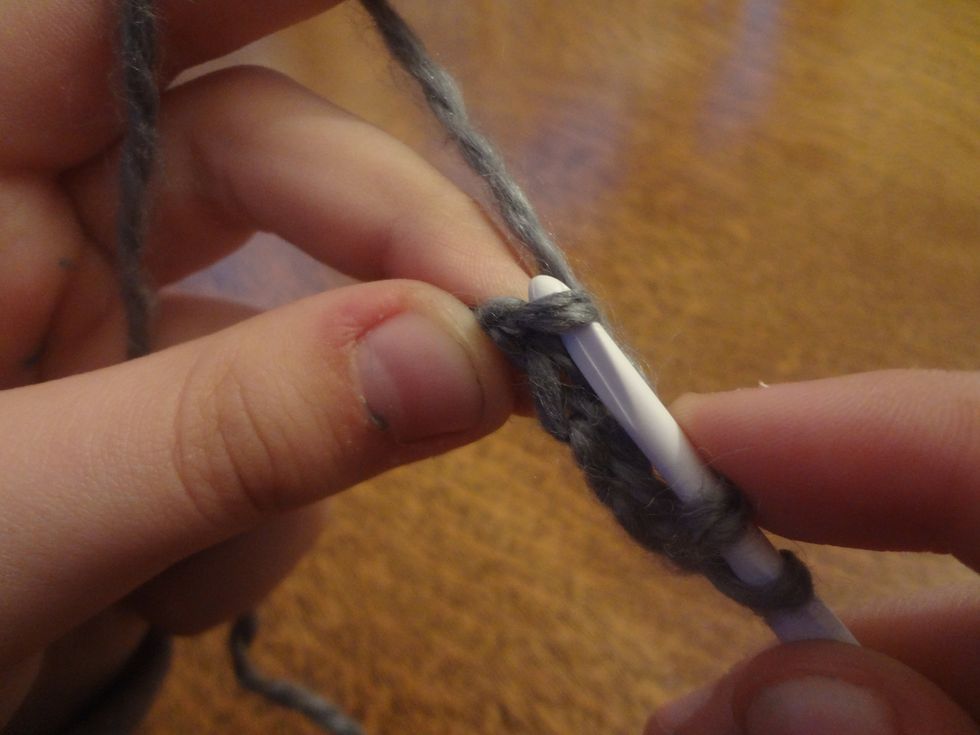
Hi! I'm Erin. Today I am going to teach you how to crochet a hat. First, tie a slip knot and put the needle through...

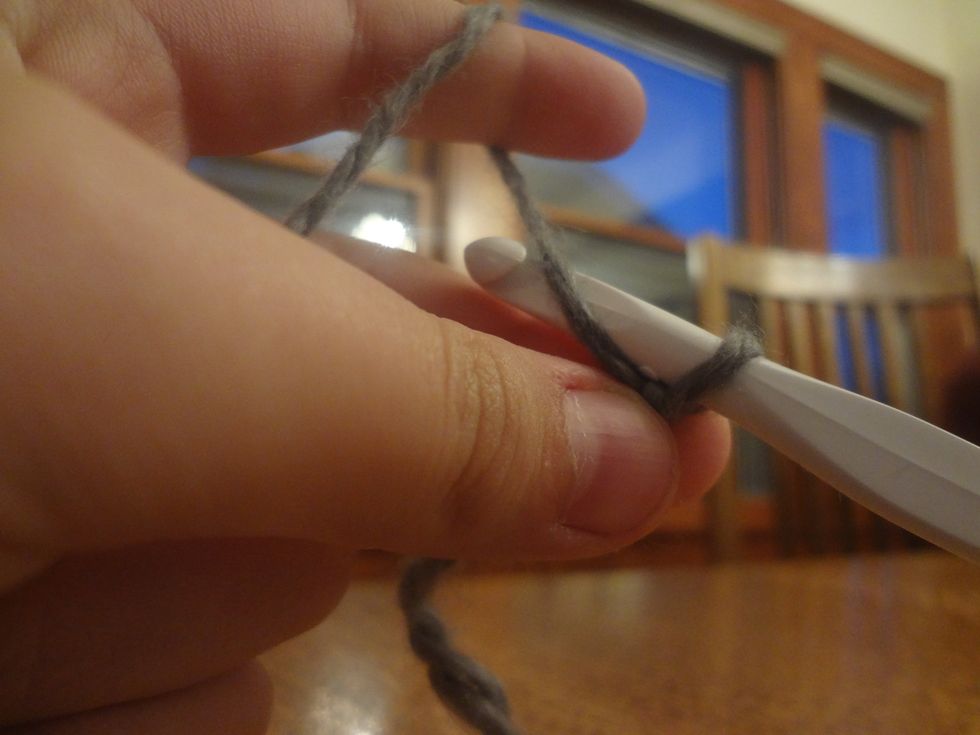
Hold it like this, with your first finger hooked under the long end of the string, and pinch the short end with your thumb and middle finger. Your right hand should hold the needle.
Next, wrap the long end of the string around the needle and pull it through the loop.
Wrap the long end of the yarn around...
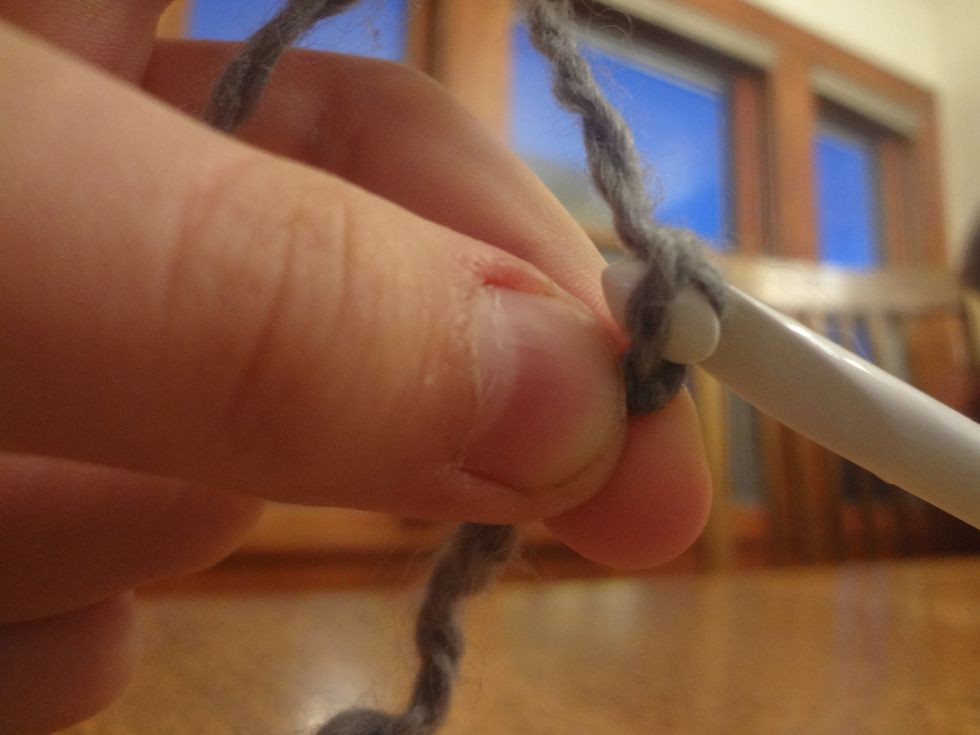
...and pull it through!
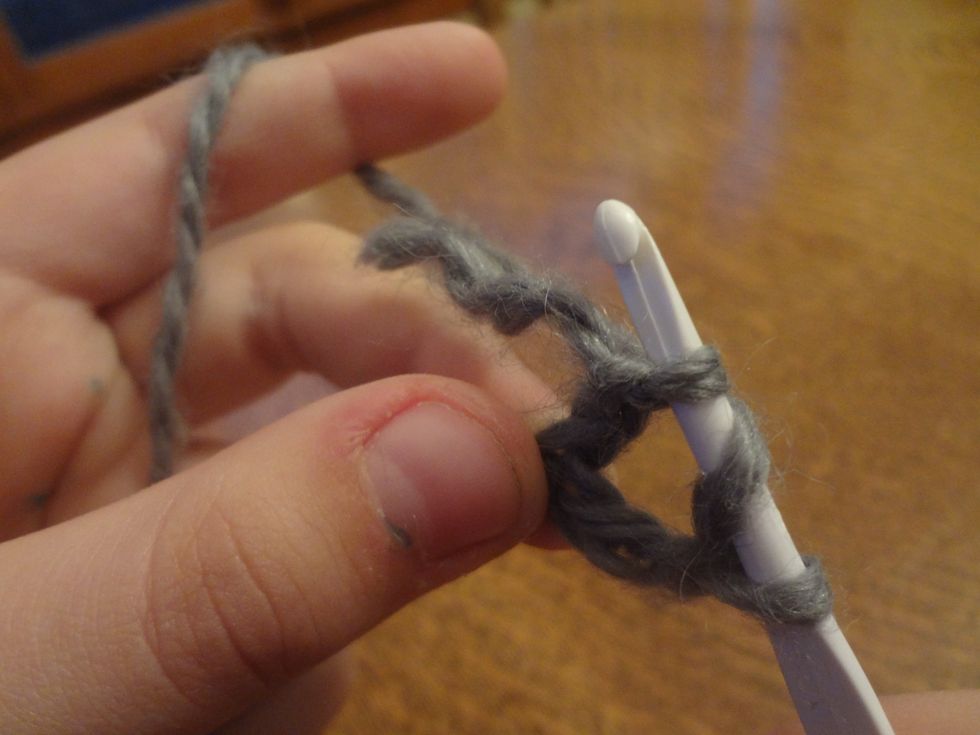
We'll call what you just made "one stitch". Repeat steps 4 and 5 until you have a chain about four or five stitches long. It should look like this:
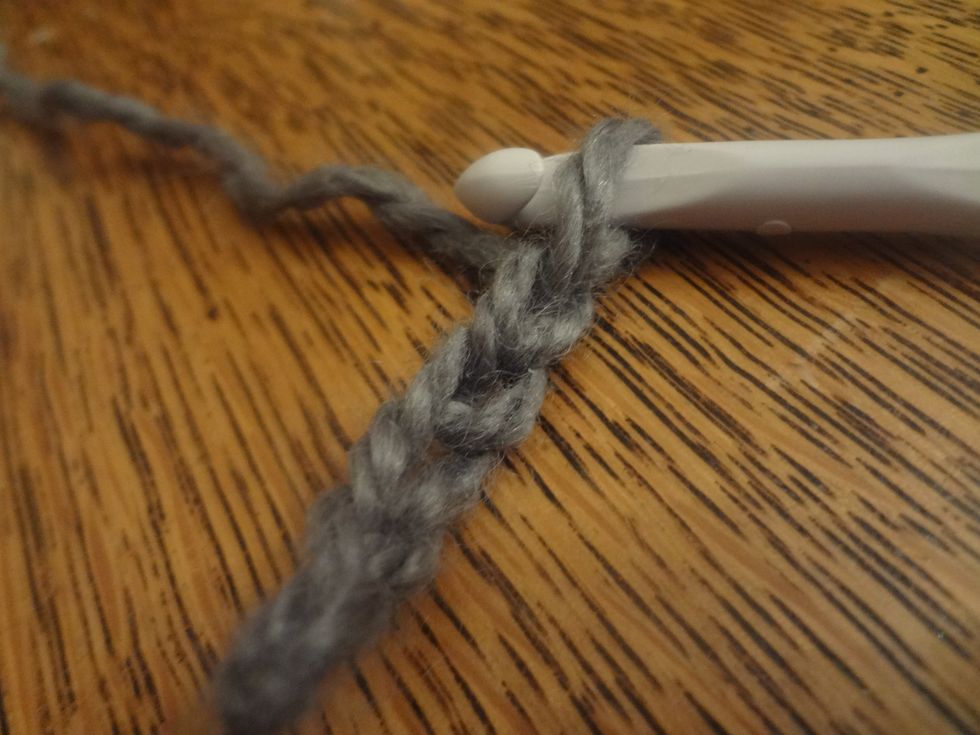
I made five stitches in my chain, just because I think it looks a little better.
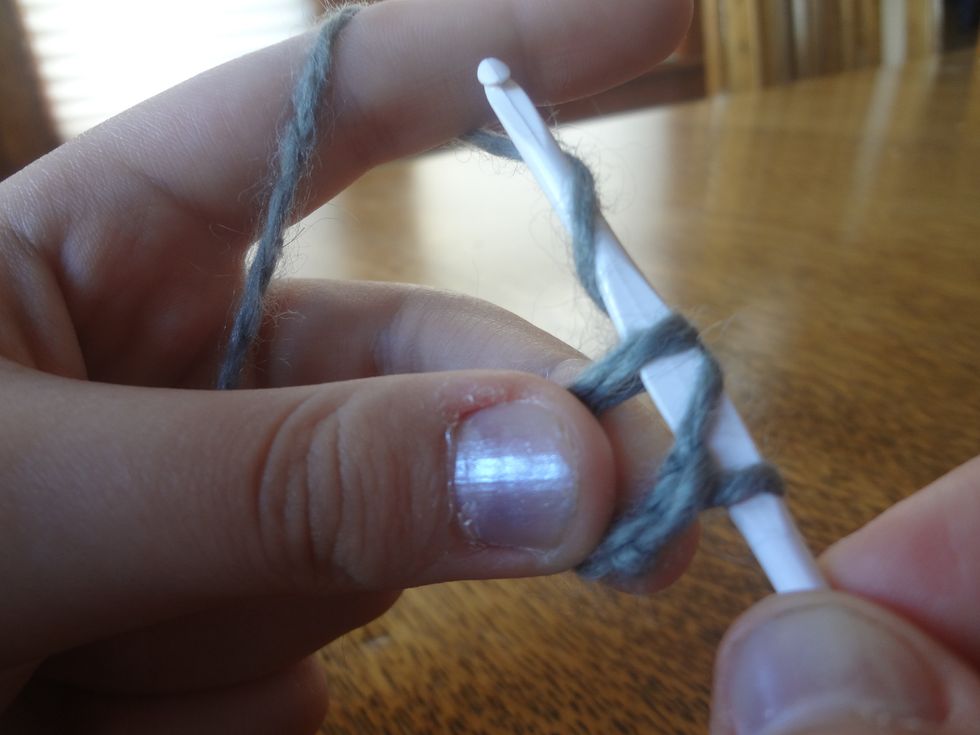
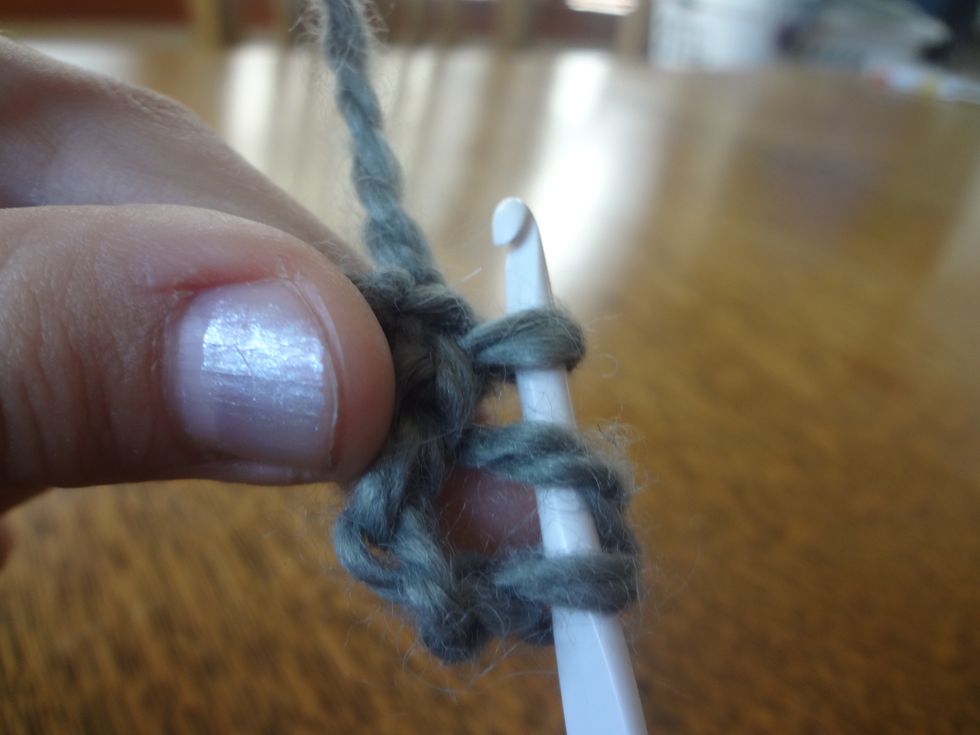
Next, wrap the long end of the string around the needle again, and slip it through the first stitch you made. That should look something like this...
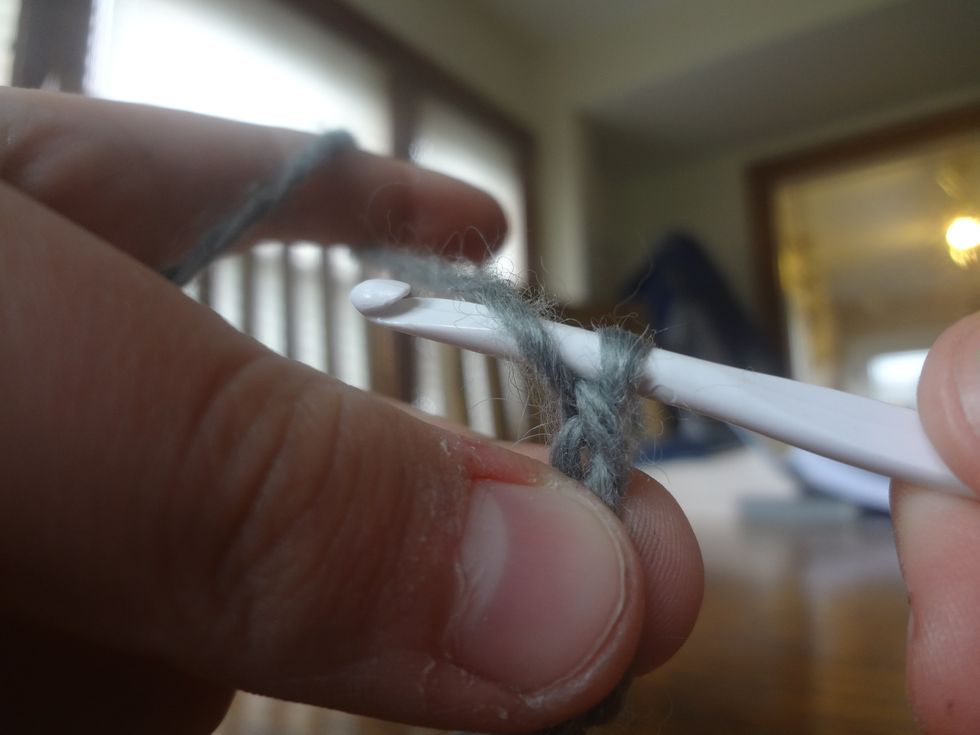
Wrap the string around the needle,
And push it through the first stitch you made.
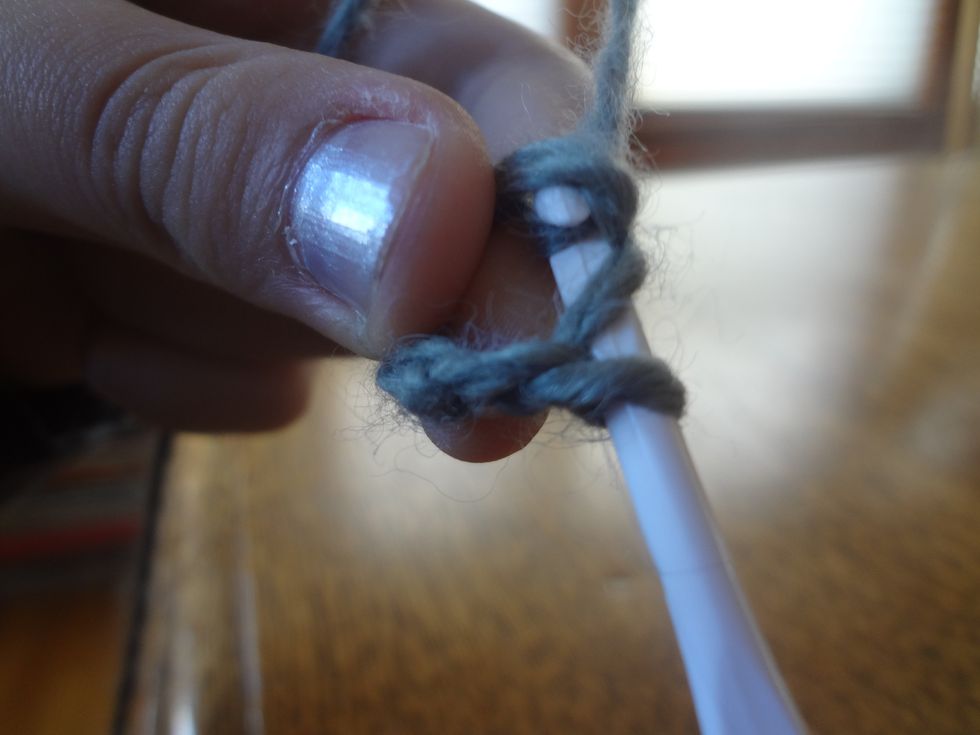
It should look like this once you are finished. There should be 3 stitches on the needle.
Next, wrap the string around the needle again and pull it through one stitch.
Wrap the yarn around the needle,
And pull the yarn through one stitch.
Again, it should look like this, with THREE stitches on the needle.
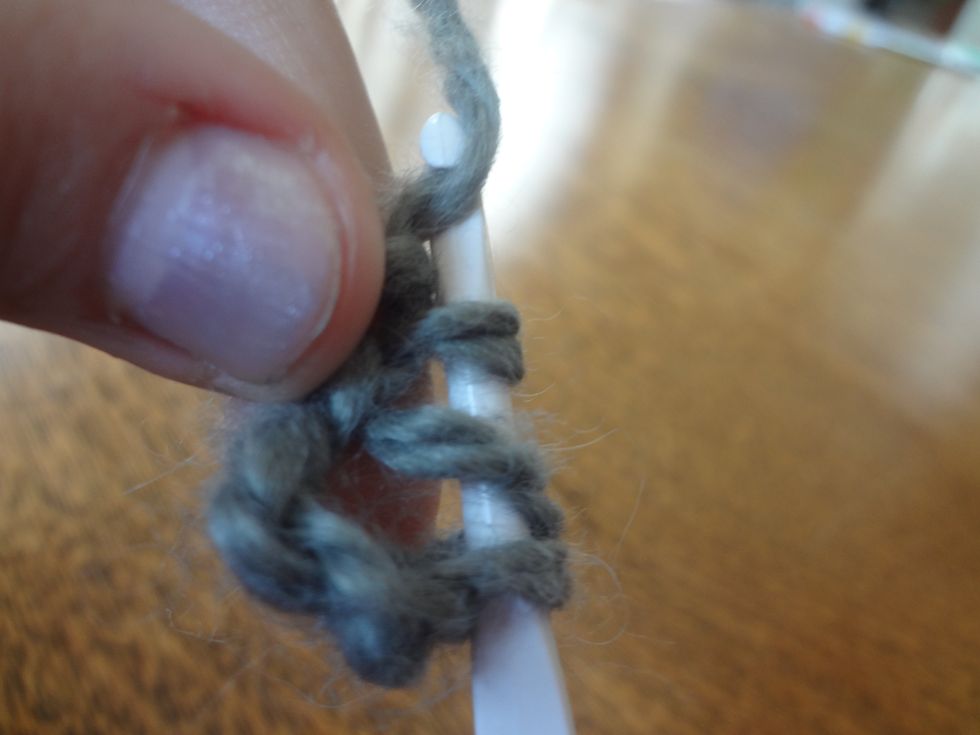
And again, wrap the yarn around the needle...
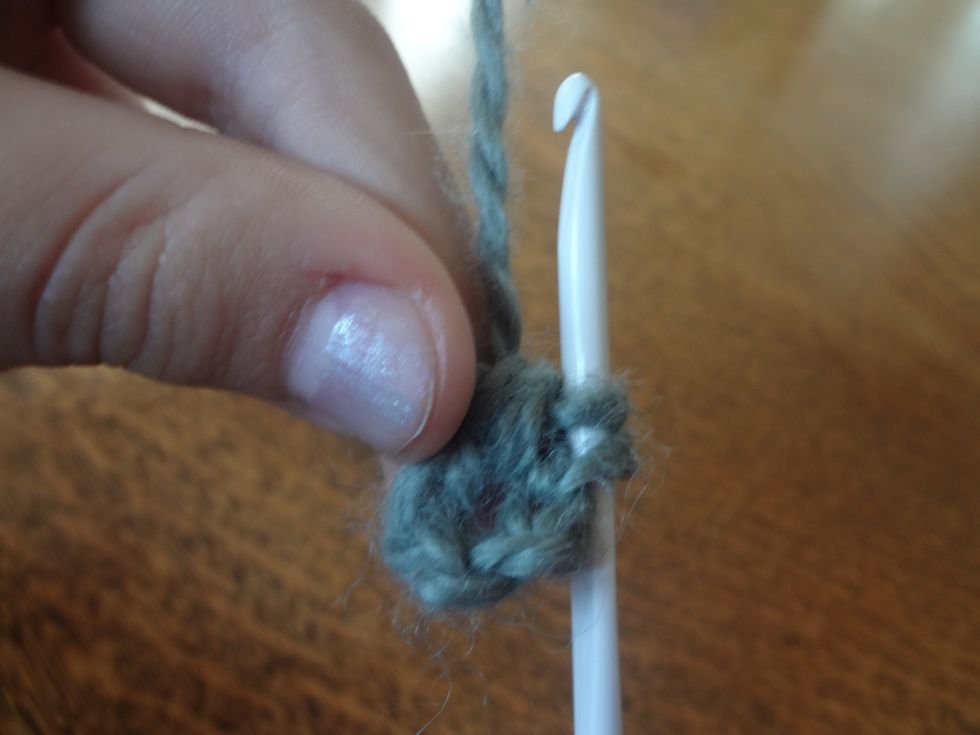
Next, wrap the string around the needle AGAIN, and pull it through the remaining two stitches. Here is what it should look like when you have followed these instructions:
It should look sort of like a doughnut.
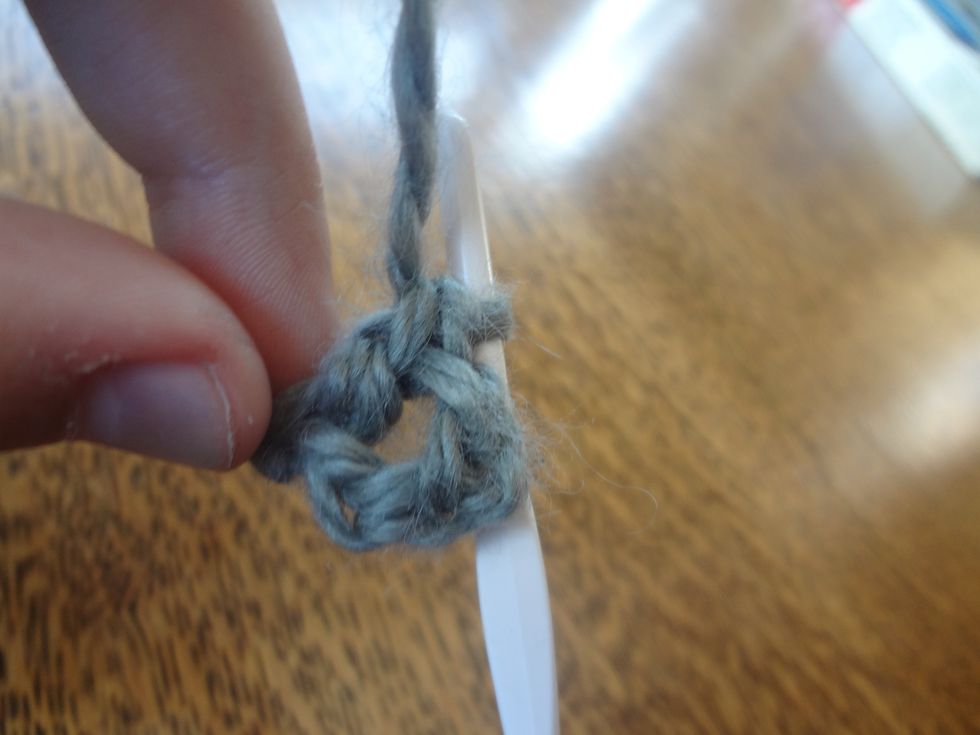
Next, wrap the string around the needle, insert it into the middle of the doughnut and repeat steps 10-20.

For the next step, repeat steps 11-20ish, except put the string through those little v-shaped stitches. Continue this around and around your circle until you have a circle that is much larger.
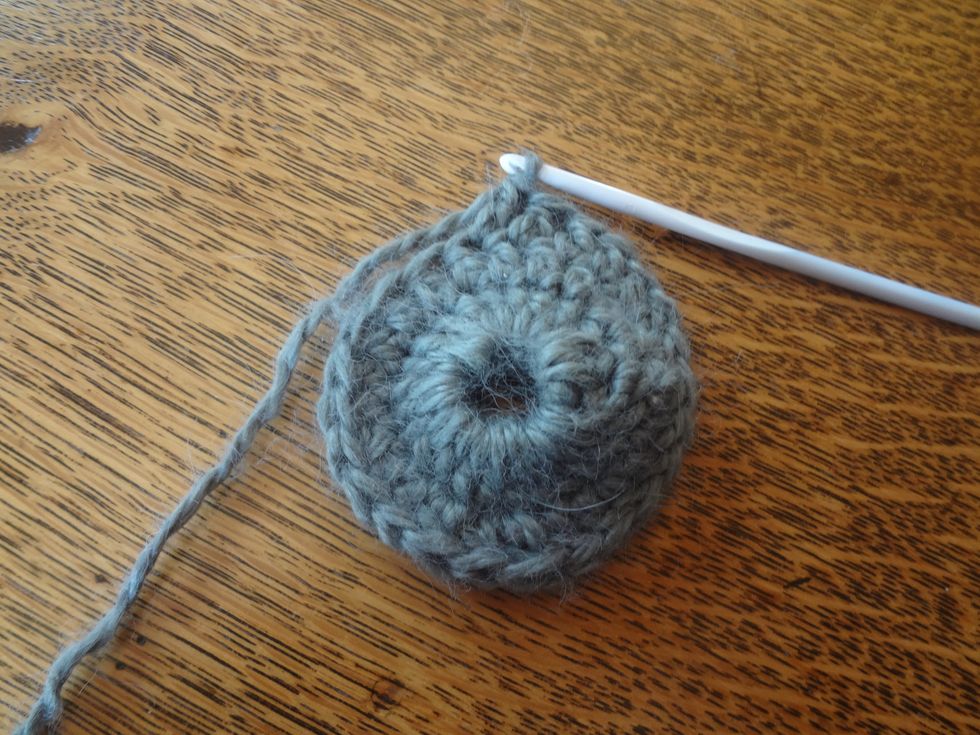
Here is my partially completed, potential hat / potholder.
Thanks for listening!