The Conversation (0)
Sign Up
This guide was a featured guide by SNAPGUIDE! Thanks!!
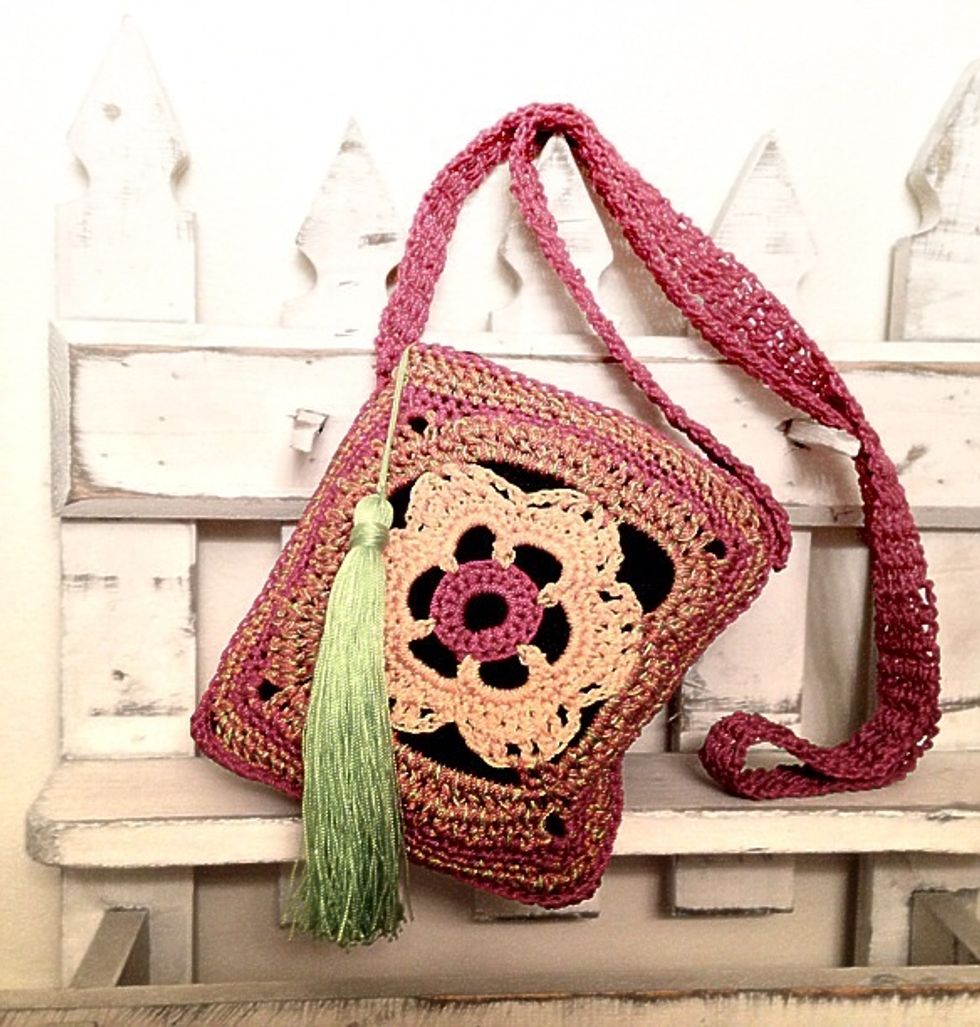
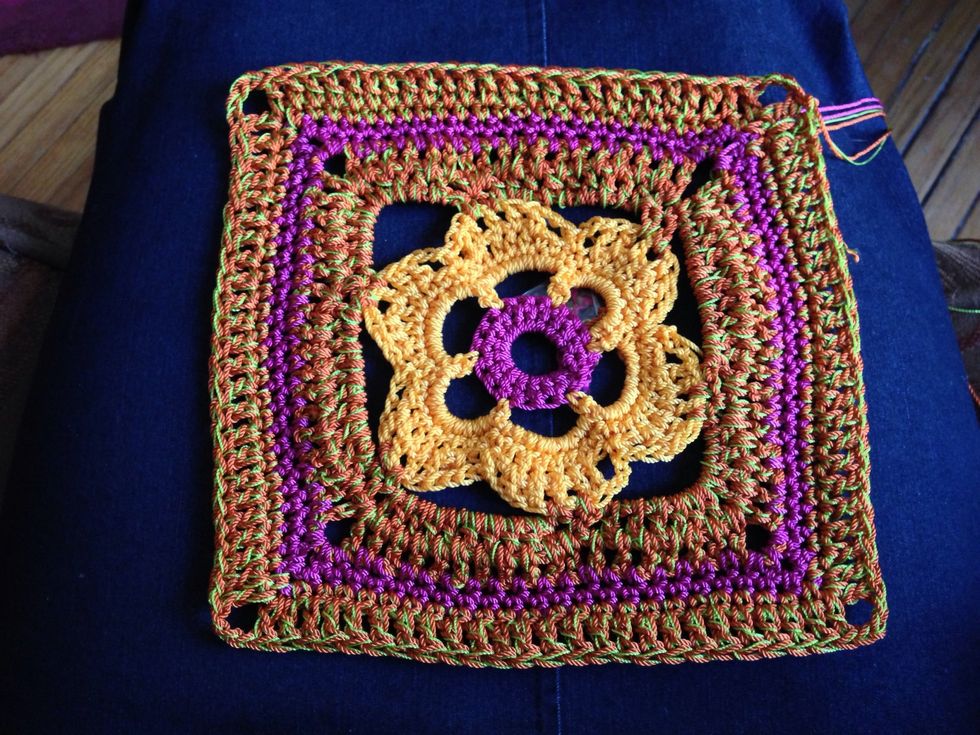
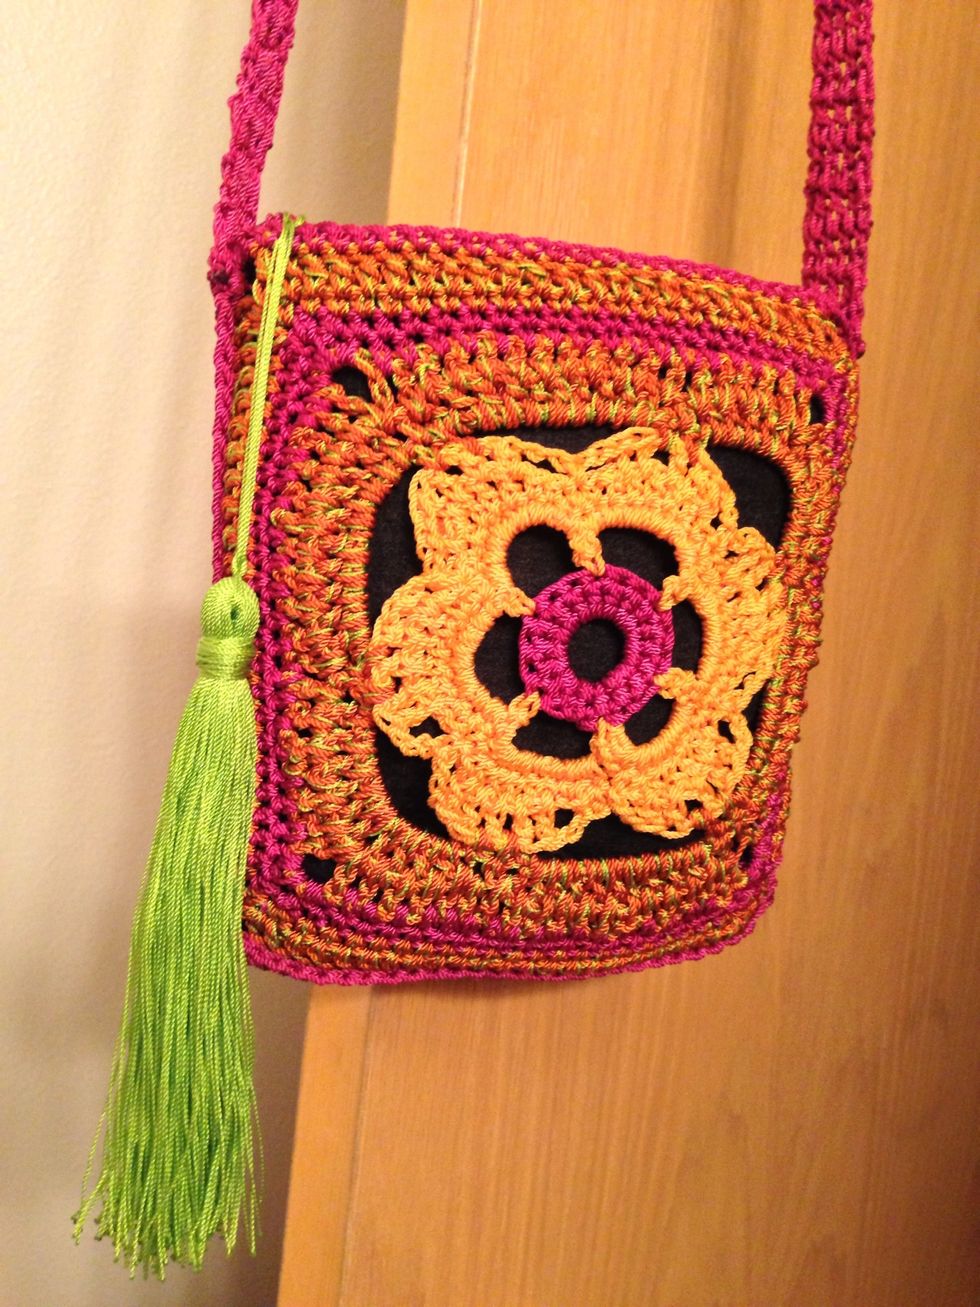
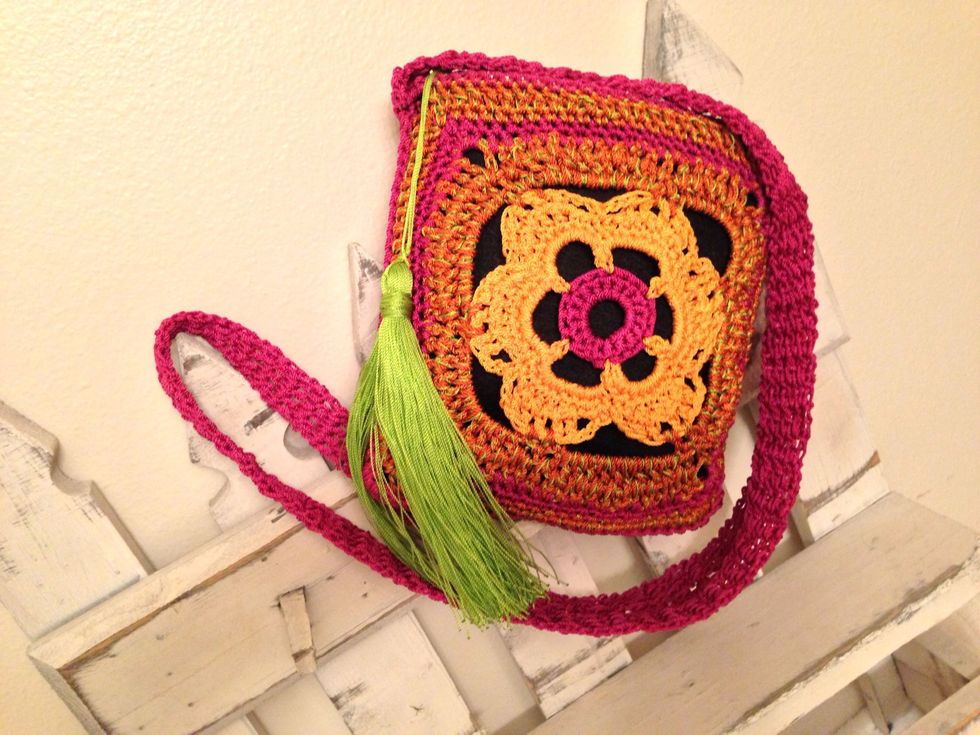
Happy Bag! Flower Power Purse
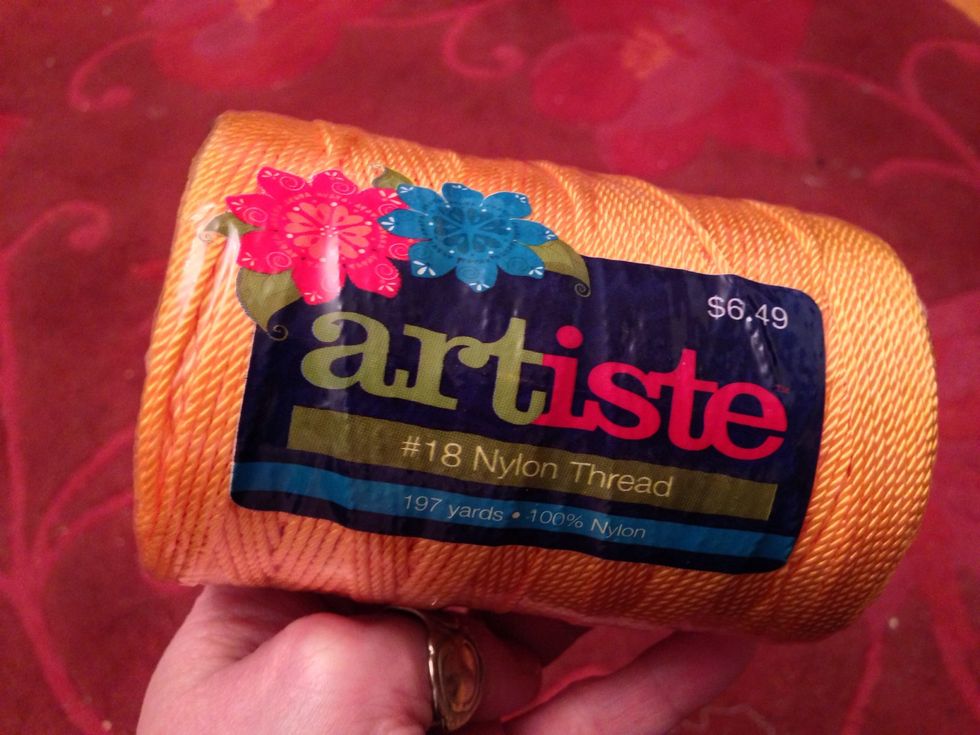
Use 3 colors of Artiste #18 nylon thread and 1 color #2.
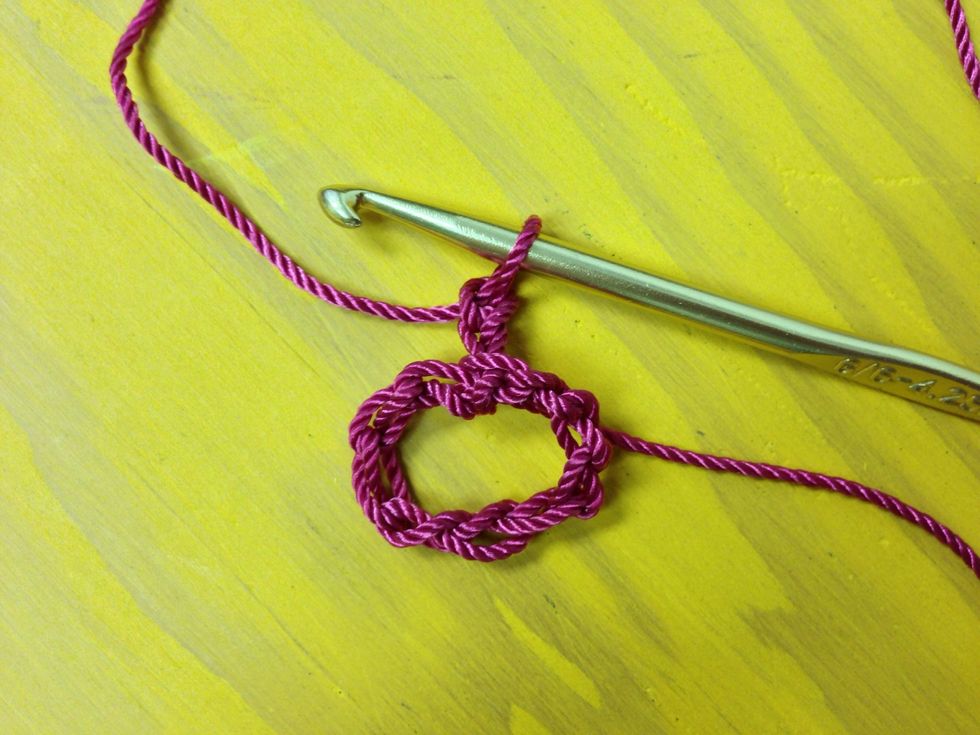
With a G/6-4.25mm crochet hook and #18 nylon thread, chain 9, join, chain 2.

Single crochet 17 times. Join, chain 2.

Single crochet once into each single crochet (17 times).

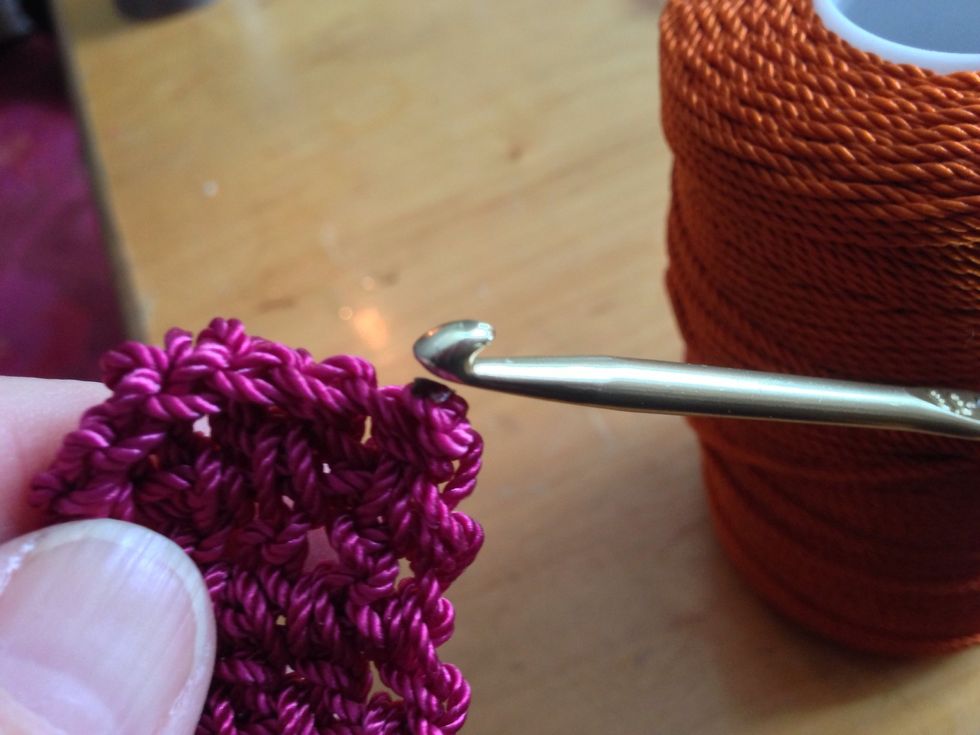
Join. Change color.

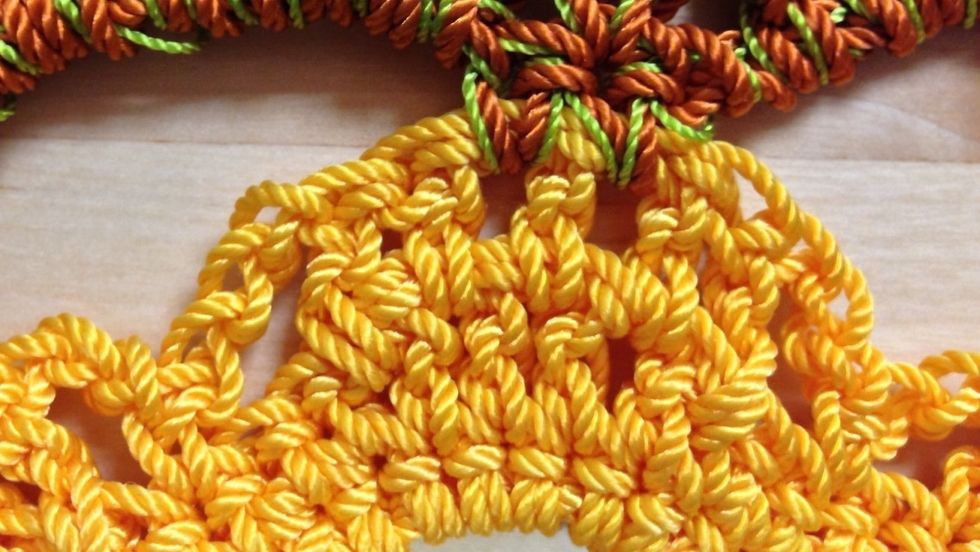
Chain 9 stitches from the last single crochet stitch. Jump over 2 single crochet stitches, then hook the chain in the 3rd single crochet stitch to form a petal. Continue making 5 more petals.
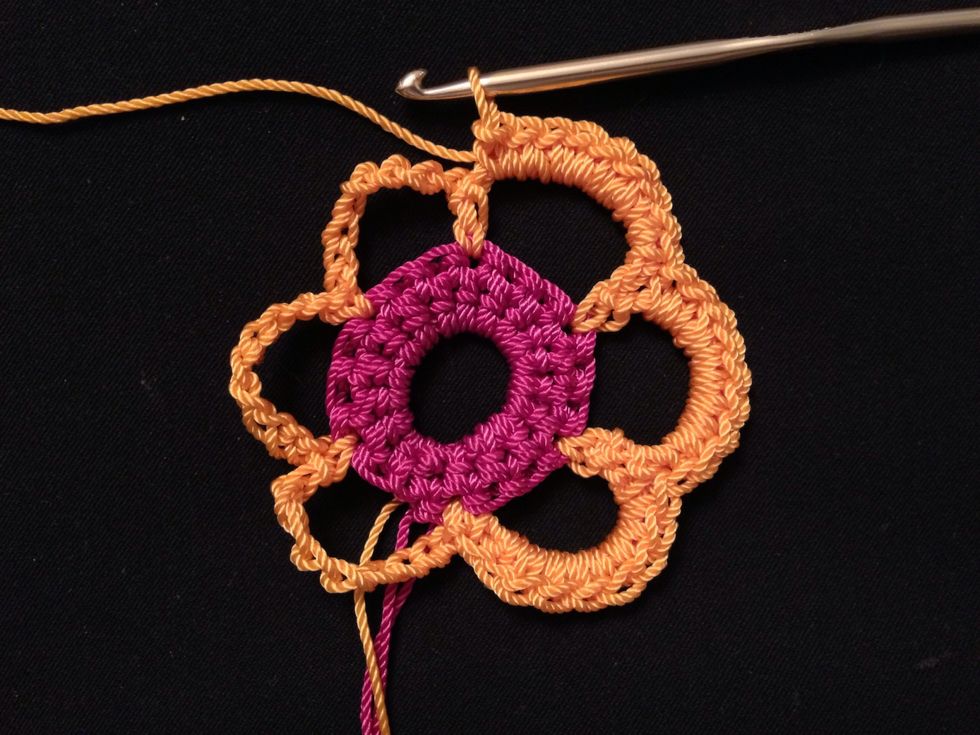
Single crochet 9 times into each petal.
Just leap over from one petal to the next.
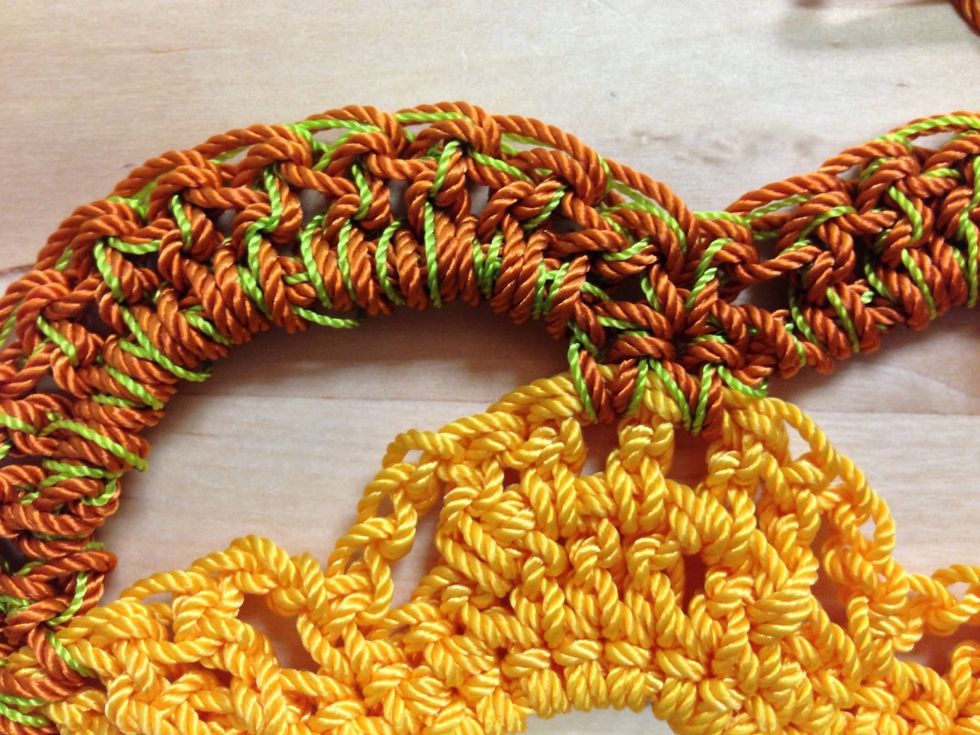
Skip one single crochet stitch. Single crochet into the next 2, double crochet into the next 4, single crochet into 2. Repeat on each petal.
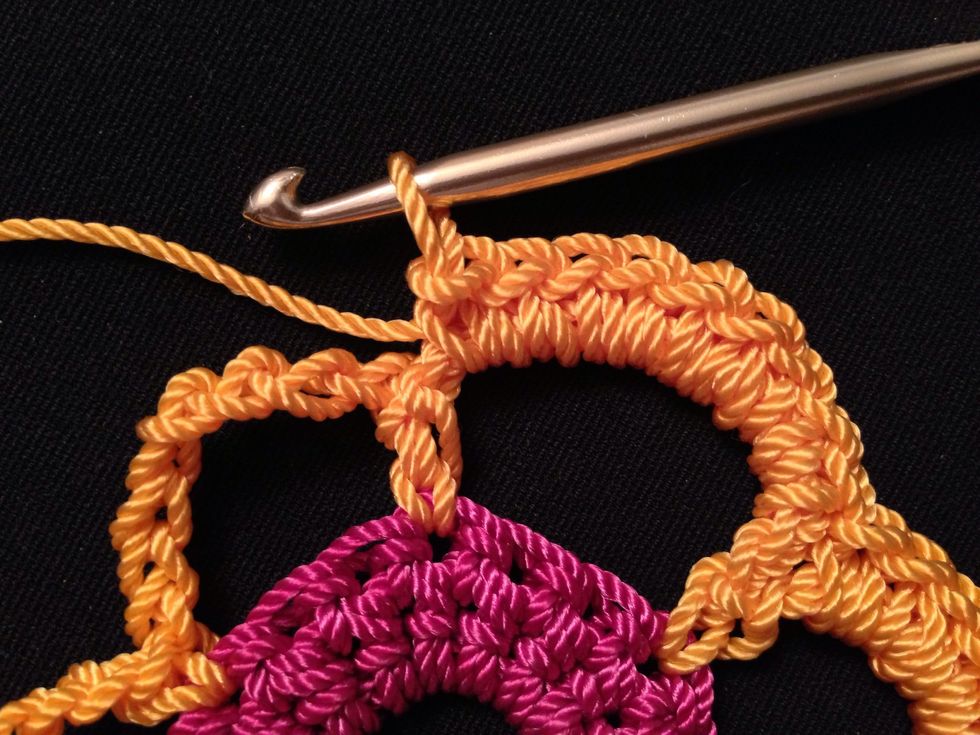
Omit this step for a flat bag. Chain 3. Make 1 double crochet into 5 spaces across the top of petal. Chain 3, then single crochet at the base of the next petal. Repeat for each petal.
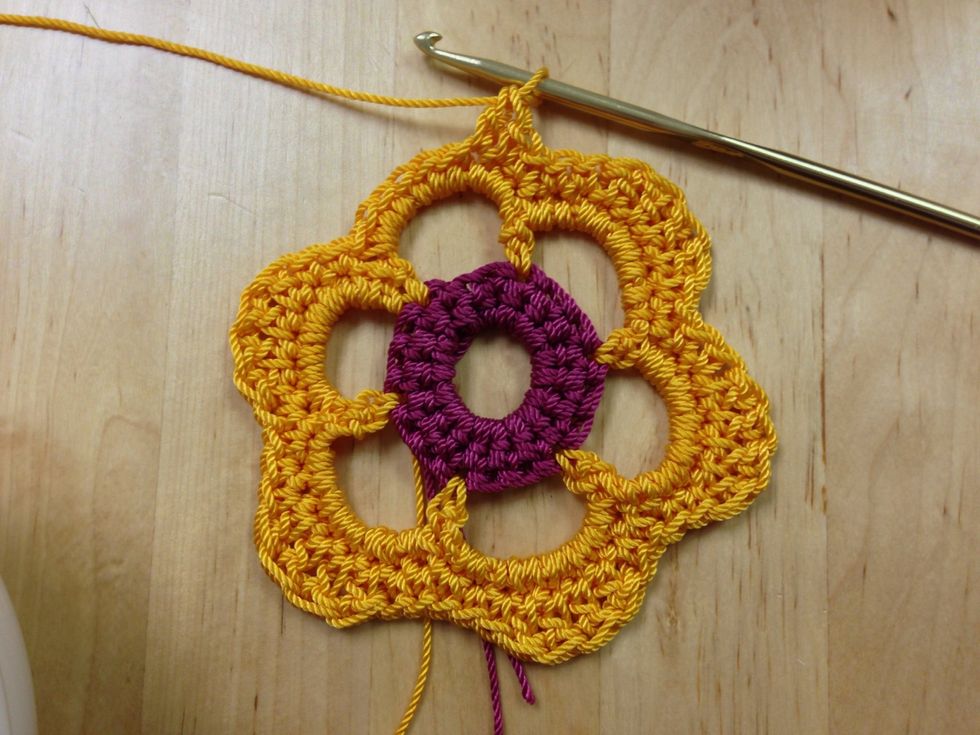
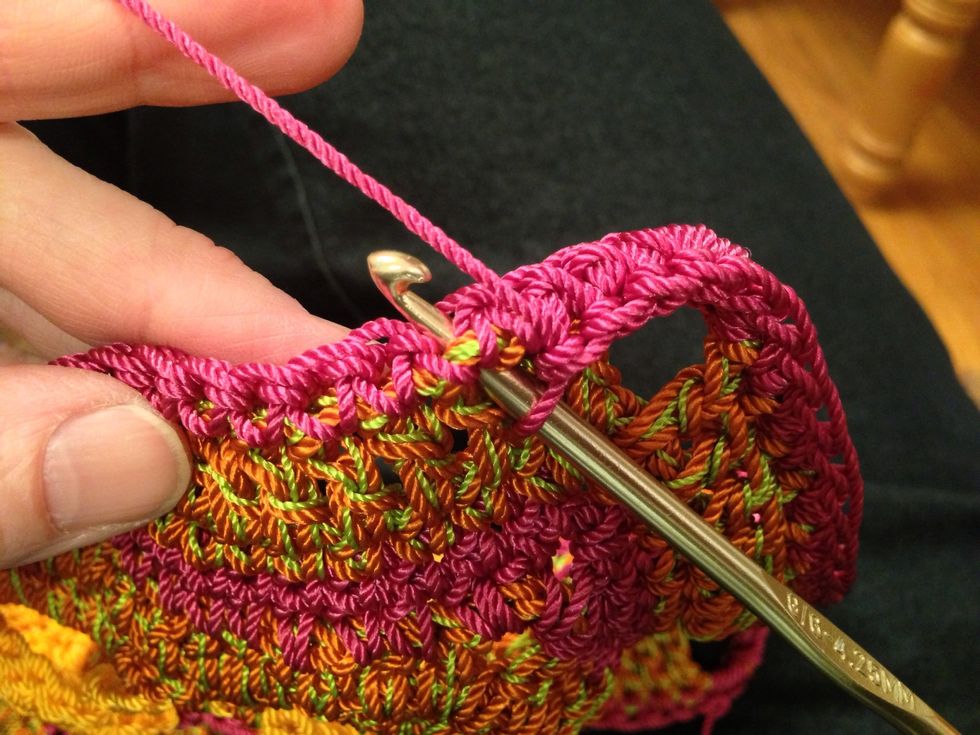
With new color (I used 1 strand of #18 and 1 strand of #2). Single crochet into 2 stitches on a petal's outer edge. Chain 10. Repeat on each petal. Join.
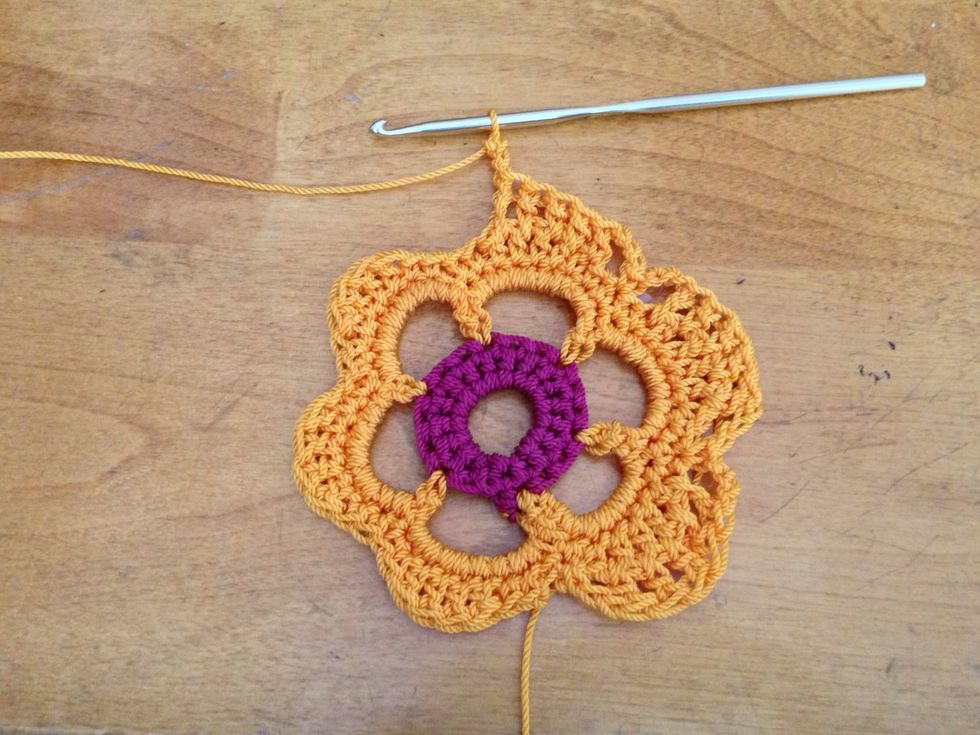
Chain 3. Double crochet into chain loop 9 times. Double crochet between 2 petal tip stitches. Repeat 5 times. Join.
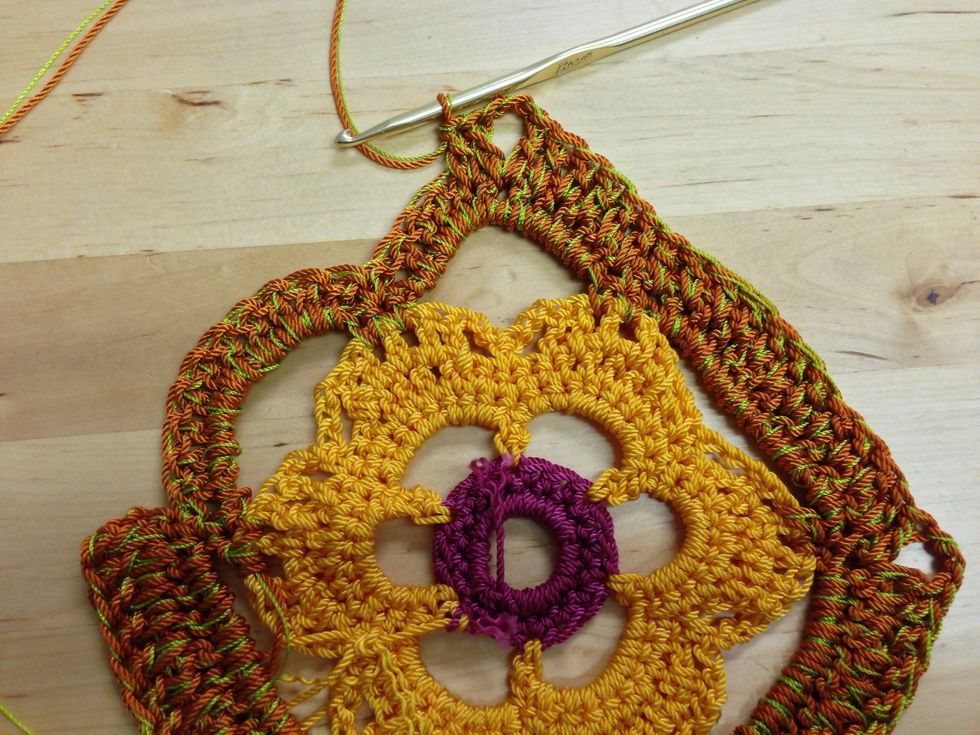
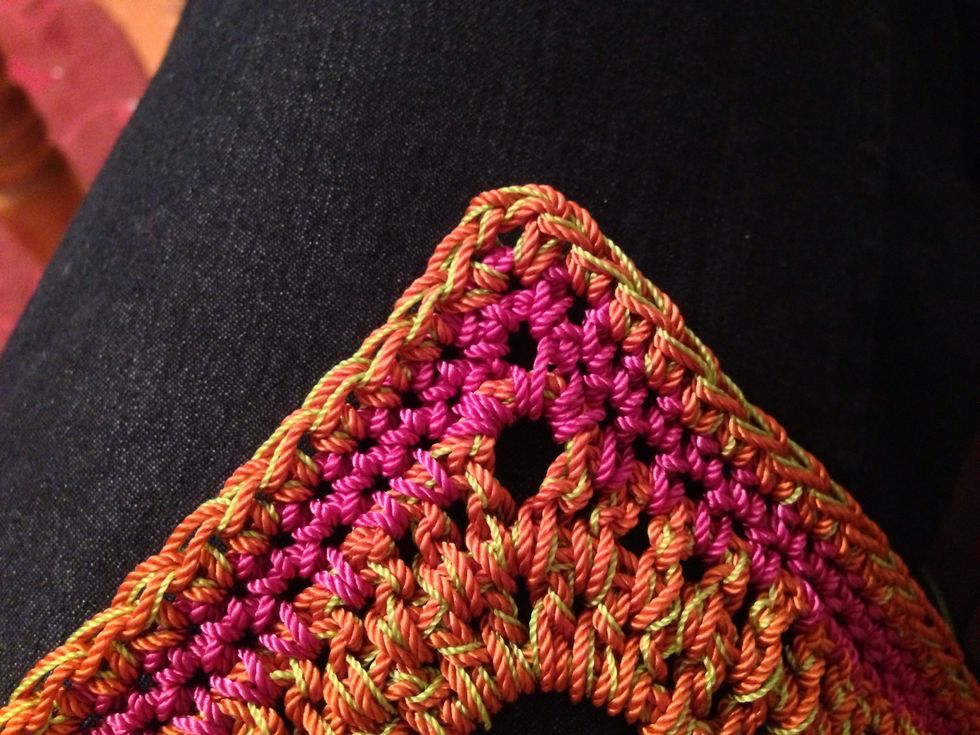
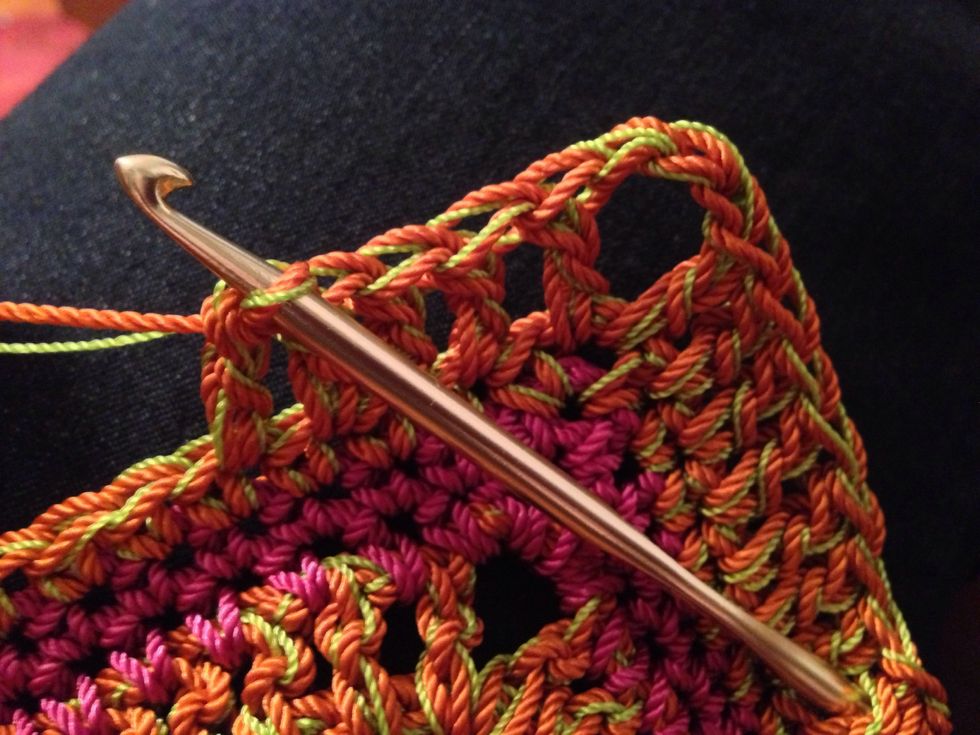
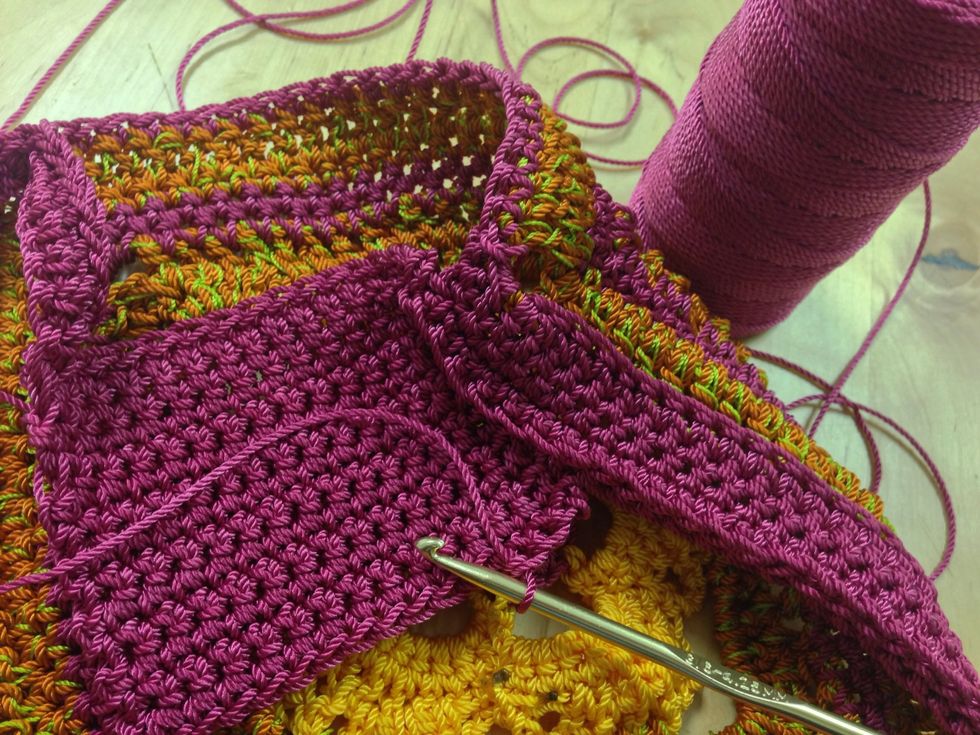
Forming corners. Chain 3. DC2, SC9, DC3, Chain 3 to form corner. Repeat 3 times. Join. Next round Chain 3. DC3, C3, DC4 into corner. DC2, SC11, DC2. Repeat 3 times.
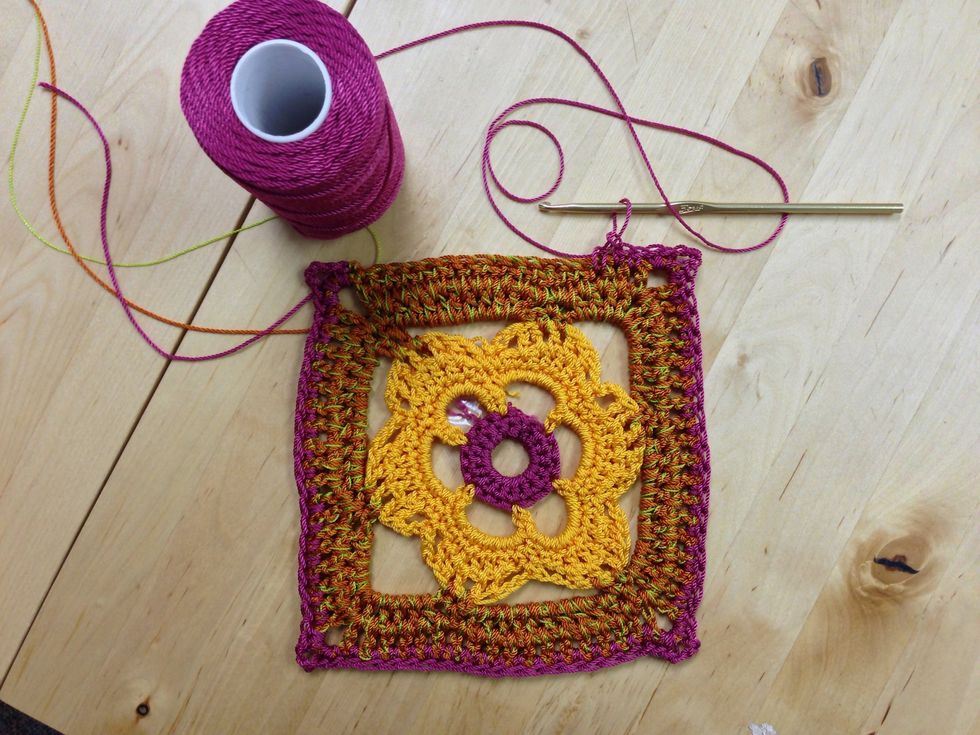
Change color. Single crochet once around with 2 single crochets, 3 chain stitches, and 2 single crochets, in each corner.
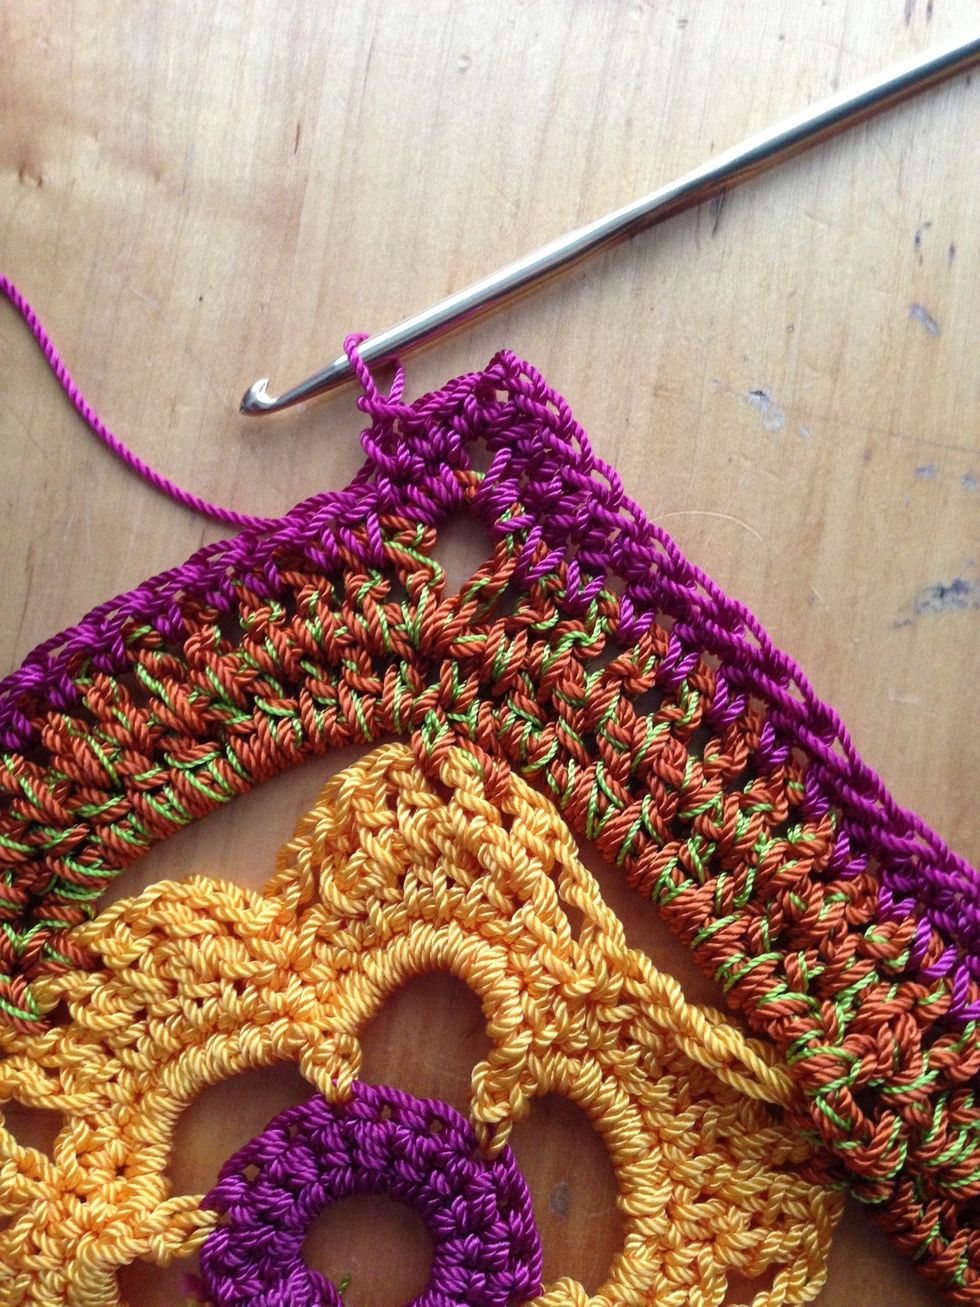
Single crochet around again, with 1 single crochet, 2 chain stitches, and one more single crochet, in each corner. Repeat row twice for a wider stripe. Change color.
Single crochet around again, with 1 single crochet, 2 chain stitches, and one more single crochet, in each corner.
To increase purse size repeat these 2 rows: SC row, corners: SC2, C3, SC2. DC row, corners: DC1, C3, DC1.
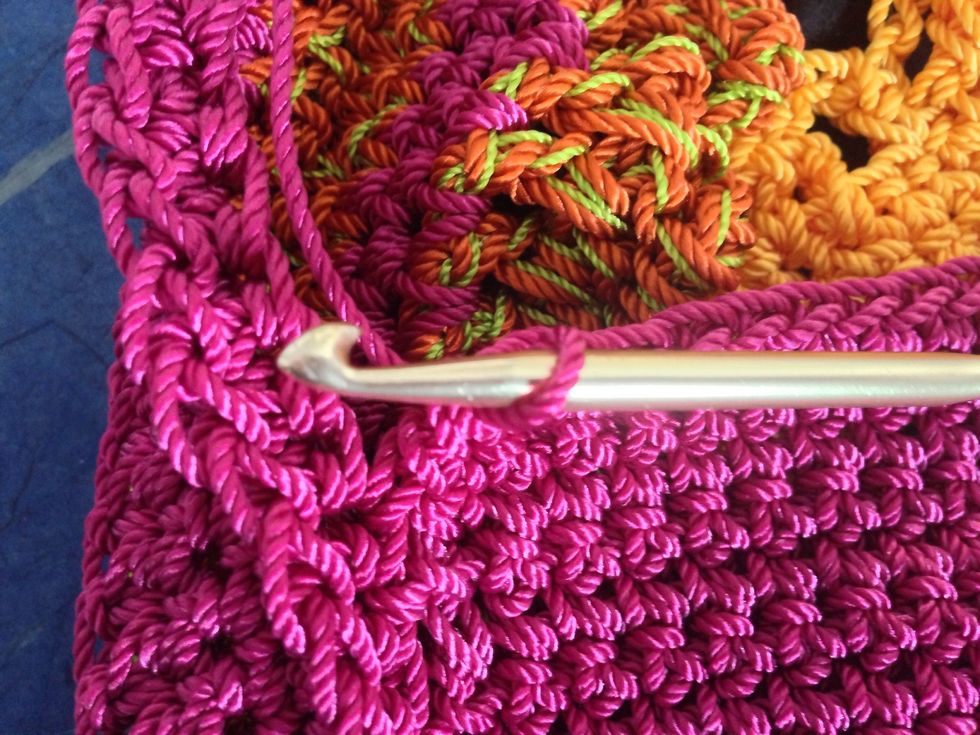
Begin in a corner. Using the main color, SC all the way around.
SC at the base of the previous row 3 quarters of the way around to form a ridge.

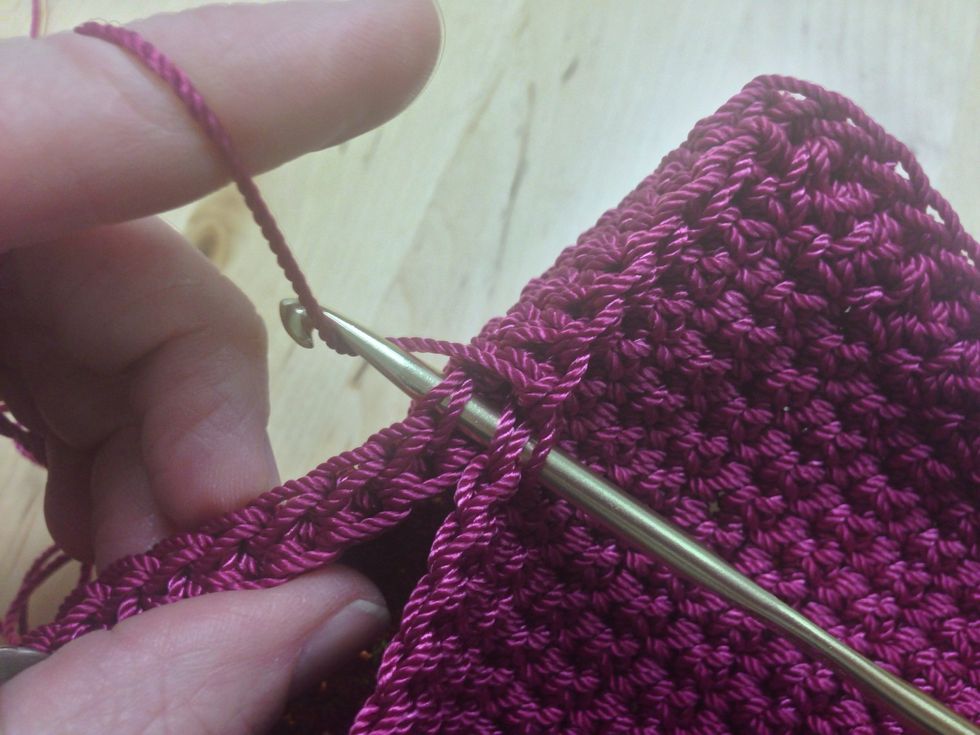
Turn, SC along that ridge row. Repeat 3 times.

Chain across and join beginning of last round.
SC into the row below the rest of the way around the back to form a ridge row. When you get back to the chain stitch SC into each chain. SC rows to fill the back, top to bottom.

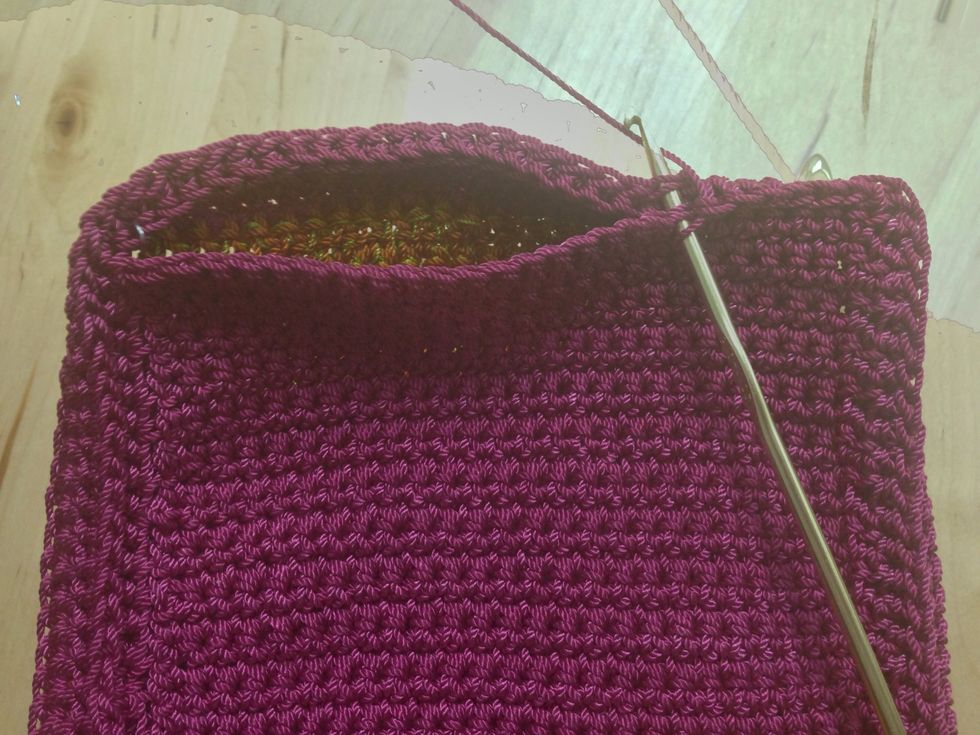
Pick up the sides (letting the ridge row stand away), skipping each third stitch. See close-up next frame.
Work is shown upside down, as it is worked. The hook is ready to pick up the next correct side stitch. Turn and single crochet to other side.
Close the bottom by single crocheting through bottom and lower edge of back.
By turning the ridge to the inside along the bottom you preserve a single ridge around the back face, and stabilize the bottom edge.
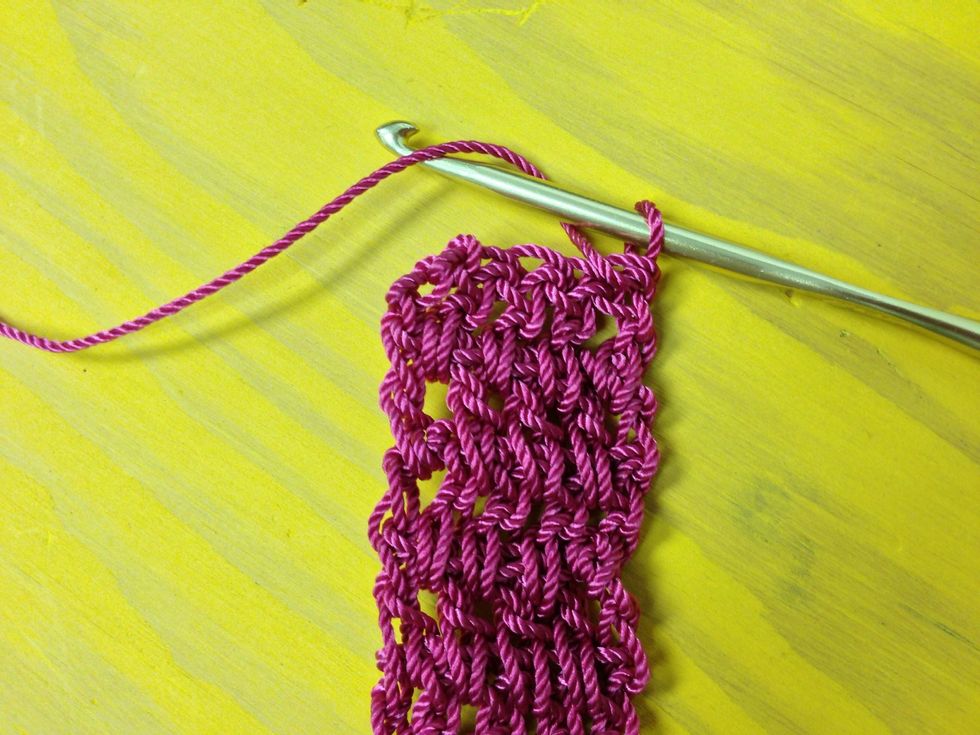
Form the strap with rows of 3 chain stitches followed by 4 double crochets into the spaces below.
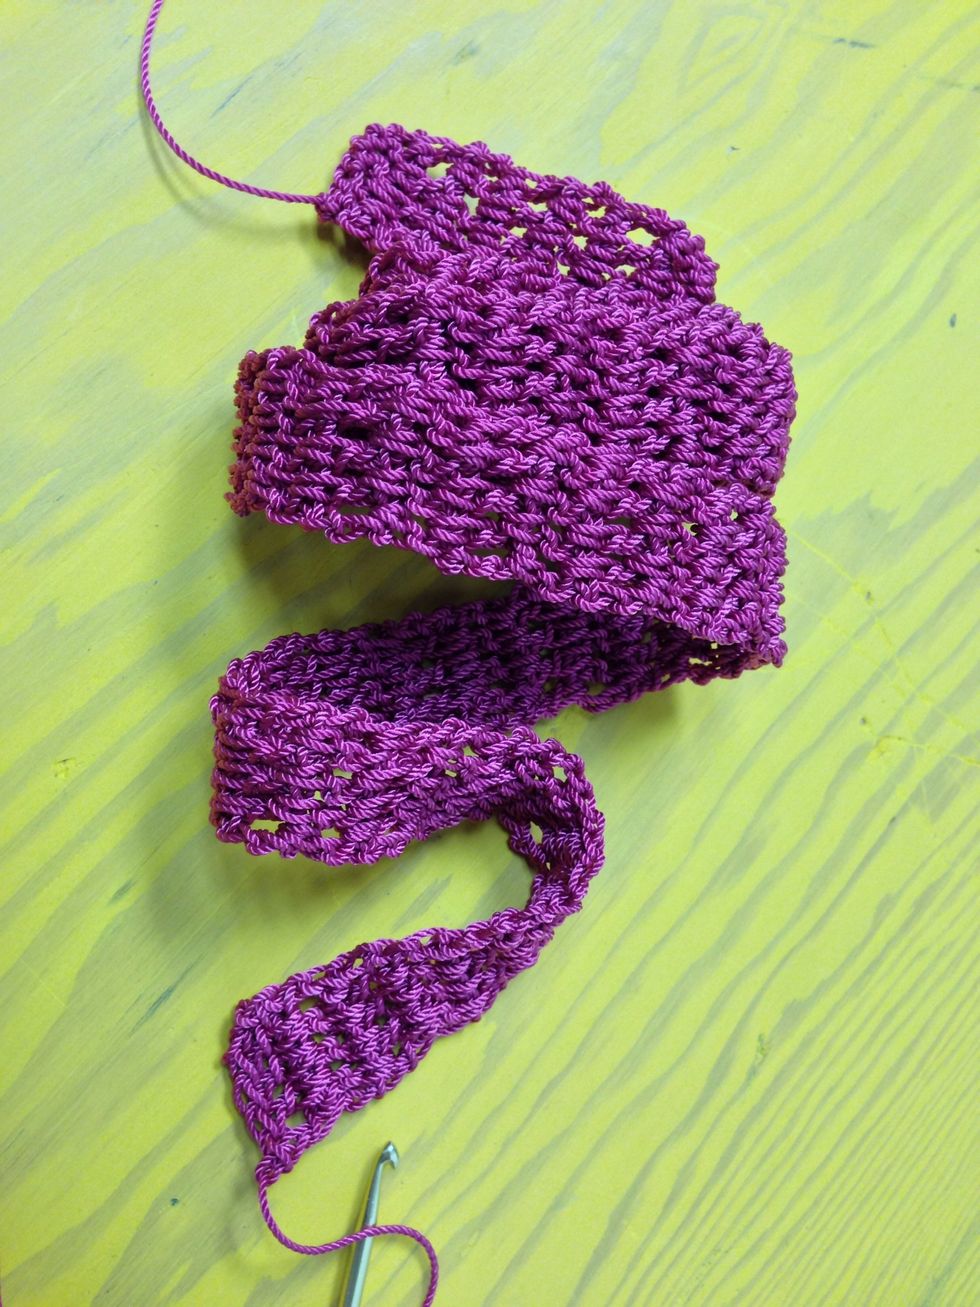
Stretch the strap before measuring. I like the strap 40 inches long to wear cross-body. Stitch it on with a yarn needle to the sides. If you knot it tightly to the inside it can still be adjusted.
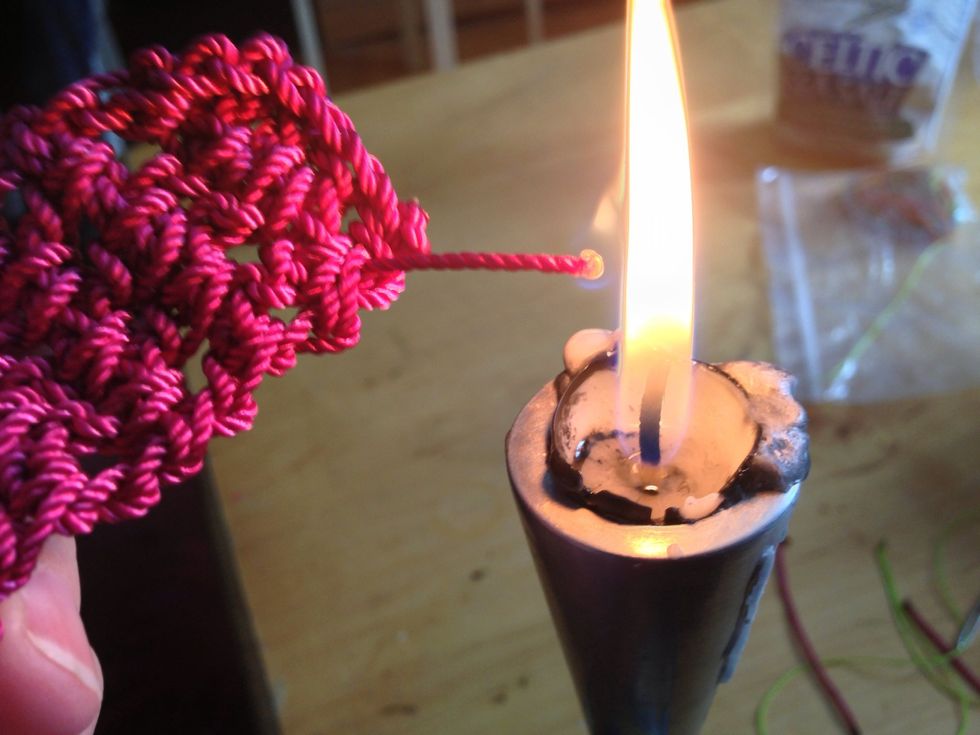
Nylon will melt easily. Searing the ends prevents raveling. CAREFULLY do this to all ends. And...
While the nylon is still warm you can mold it to hold it secure. You can file away any black if it shows, or catches.
Zipper fob. Using a "pop" color, make a nice thick tassle for your zipper pull. The #2 nylon thread works well. Wrap around a book until it is half as thick as you want it.

As tightly as you can, tie the hank at the top. This cord will loop through your zipper.
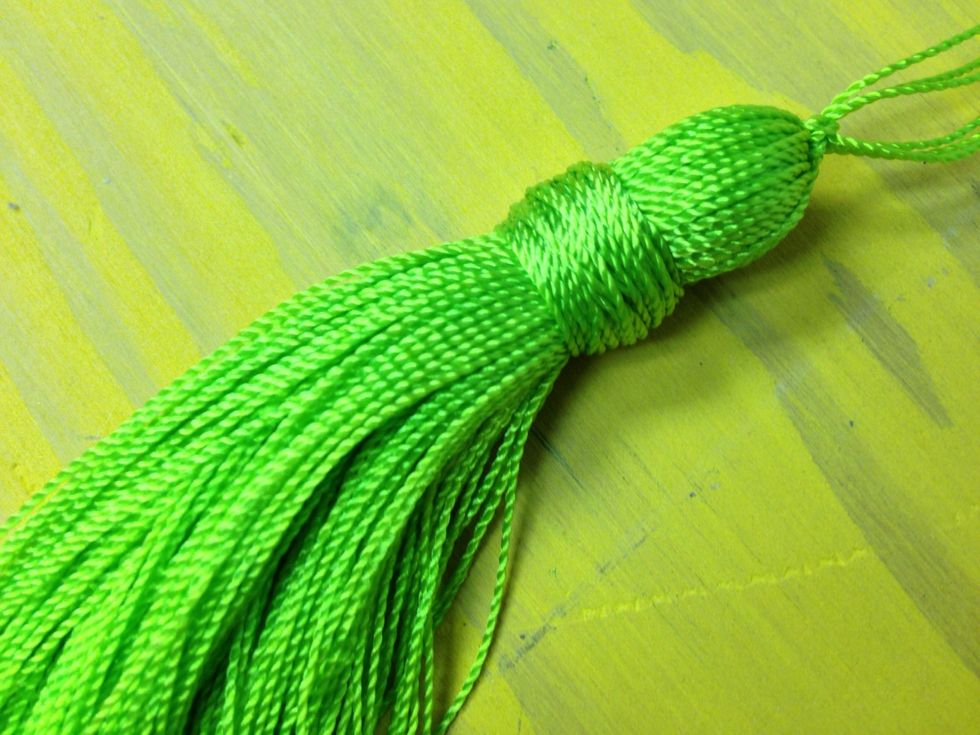
Wrap a smooth and tight collar to hold it together.
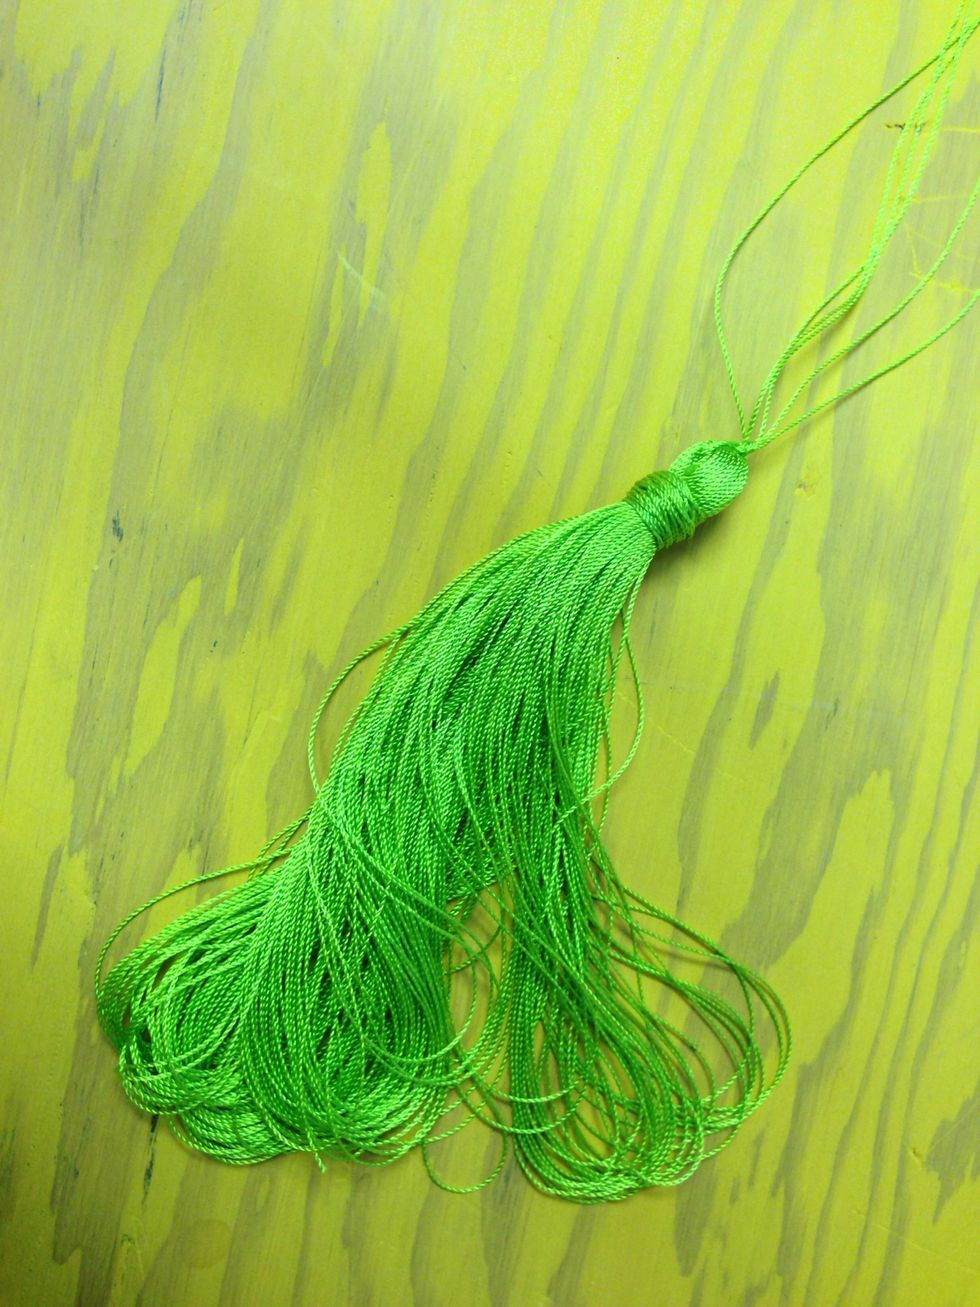
Don't clip and trim the fringe until you are ready to finish the ends.

Individually sear each strand for a long-lasting fresh-trimmed look.
Cut lining material 3" wider than your bag when it is flat, and twice as long as it is high +3".
Sew a zipper to the short ends, allowing the ends to extend beyond the fabric. Sew sides so that the seams show when the zipper is right-side showing. Trim zipper.
Tack into bag with wrong sides together. Attach Tassle fob.
All done!

Bad photo, but here are some previously unreported added features to the back. Granny square pen-keeper/key-clip, and iPhone sleeve.
Thanks for viewing my how-to! There is always more at JoeBobLeigh.com