The Conversation (0)
Sign Up
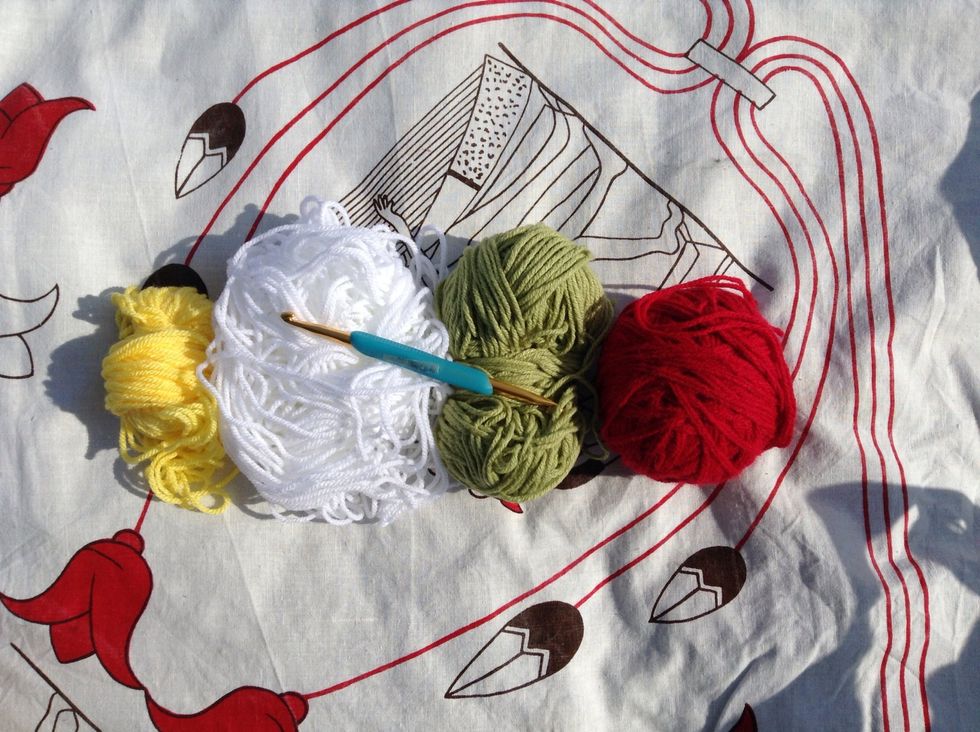
You'll need an H/5mm crochet hook, a yarn needle to weave in the ends, yellow for the center of the flower, white for the petals, green for the leaves, and whatever border colour you'd like.

If you don't have Aran (worsted) weight yarn you can substitute by using two strands of DK weight. (Fingering or sport weight)
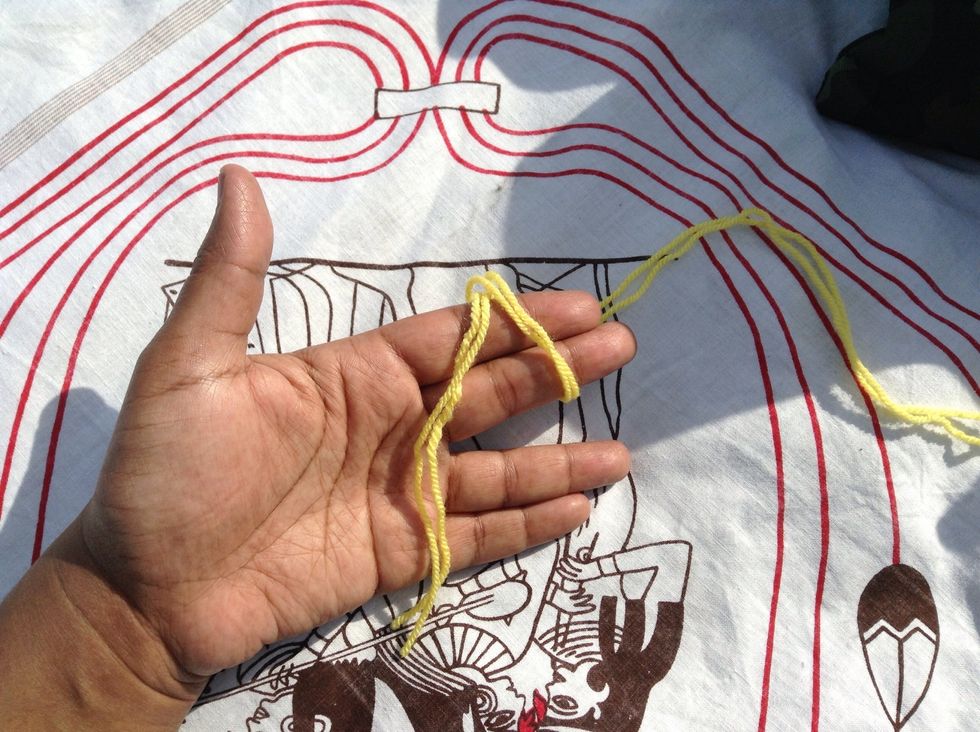
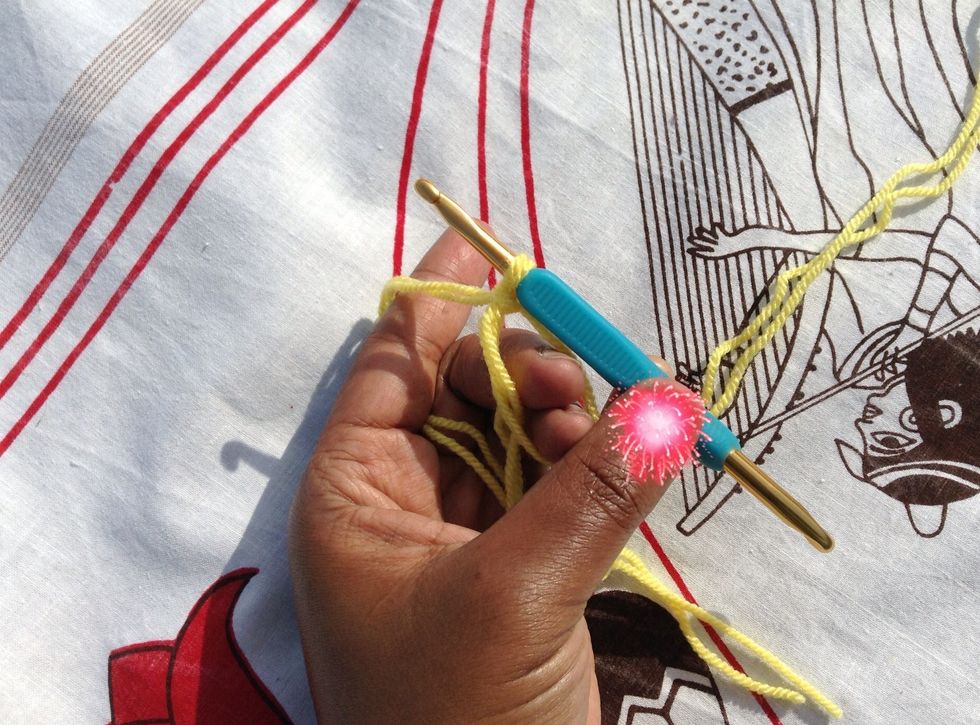
Start by making an adjustable loop. Wrap the yarn once around your two fingers and place the working yarn which falls behind your fingers across the top of the yarn end which falls across your palm.
There should be an x across the top of your fingers. Insert your hook between your two fingers, under the strand of yarn that ends down your palm and pull up a loop from the working strand of yarn.
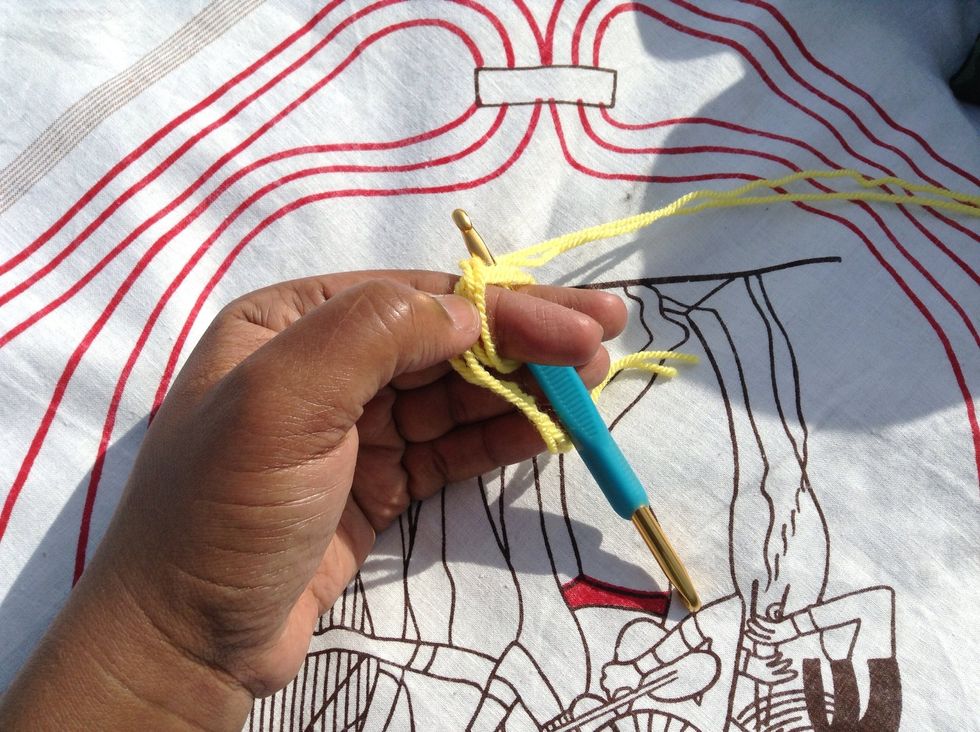
Now you have your loop on the hook. Please excuse my bitten fingernails. It's a habit I'm working on. *sigh*
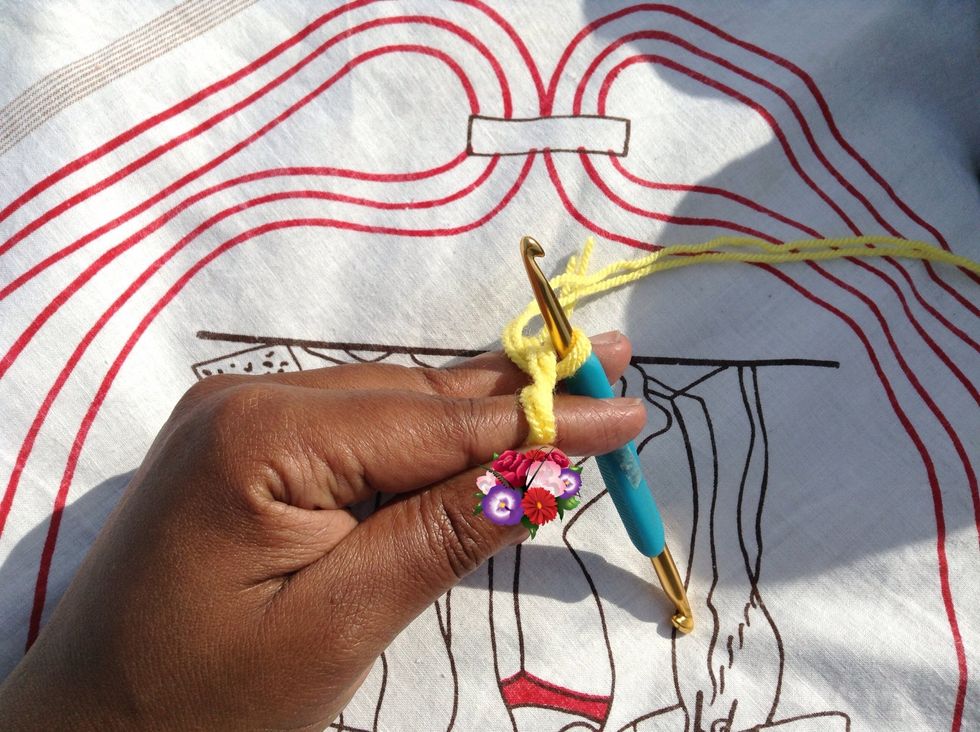
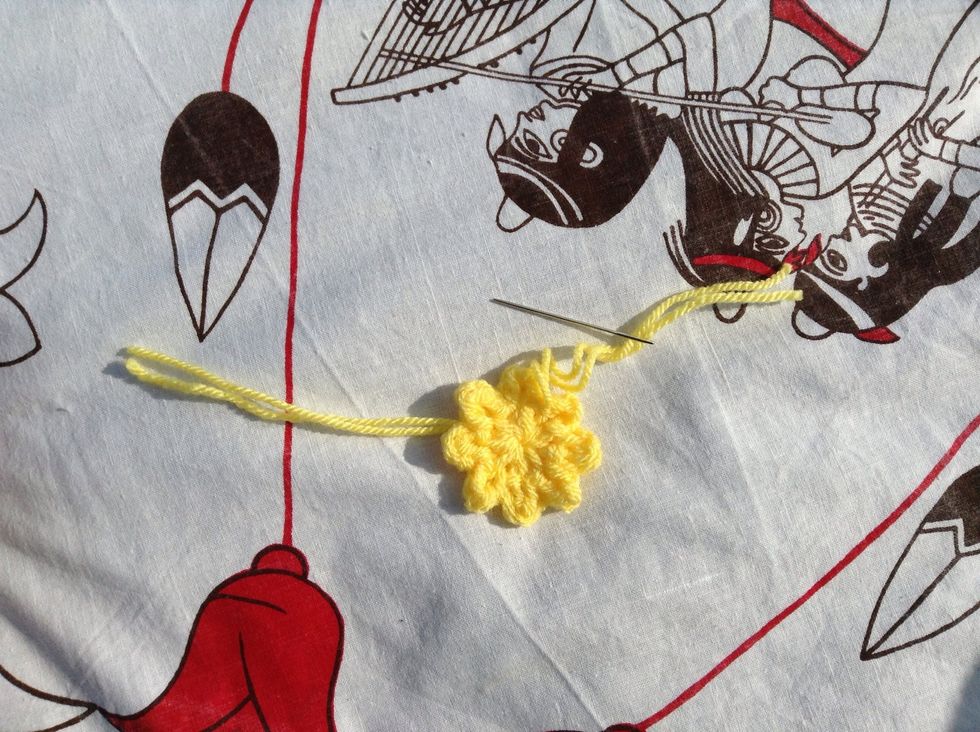
Chain 1,
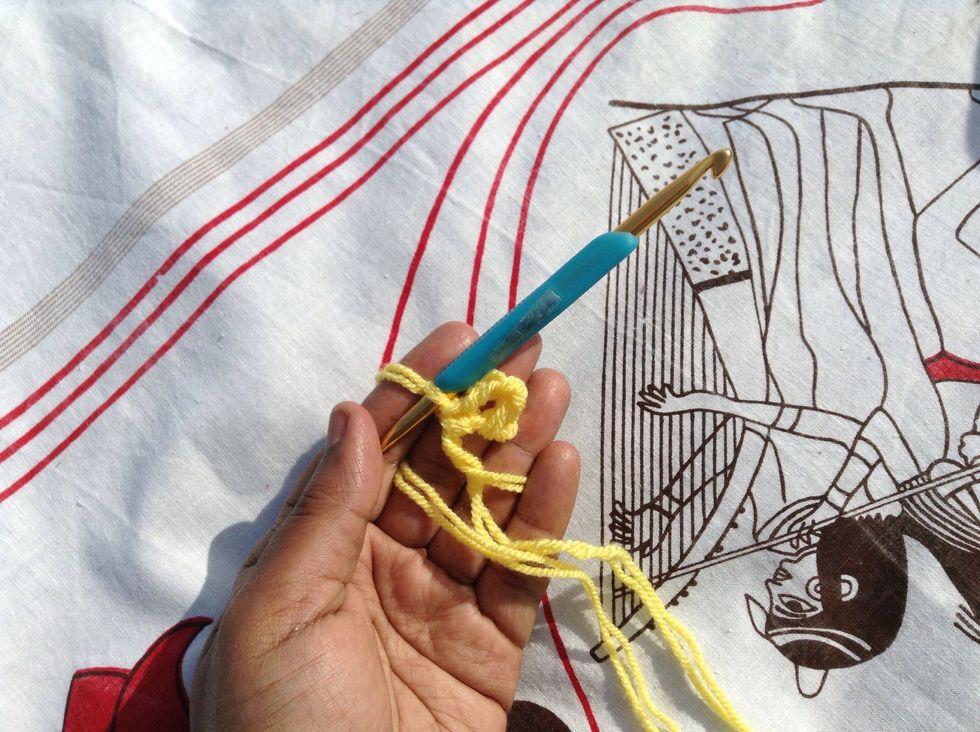
1 sc into the loop, chain 4. Work another *sc into the loop and chain 4*, repeat this step six more times.
There should be 8 loops in total. Sl st to the top of the 1st sc.
Pull the strand of yarn at the back of your work to cinch the hole closed.
Fasten off and weave in the ends with a yarn needle.
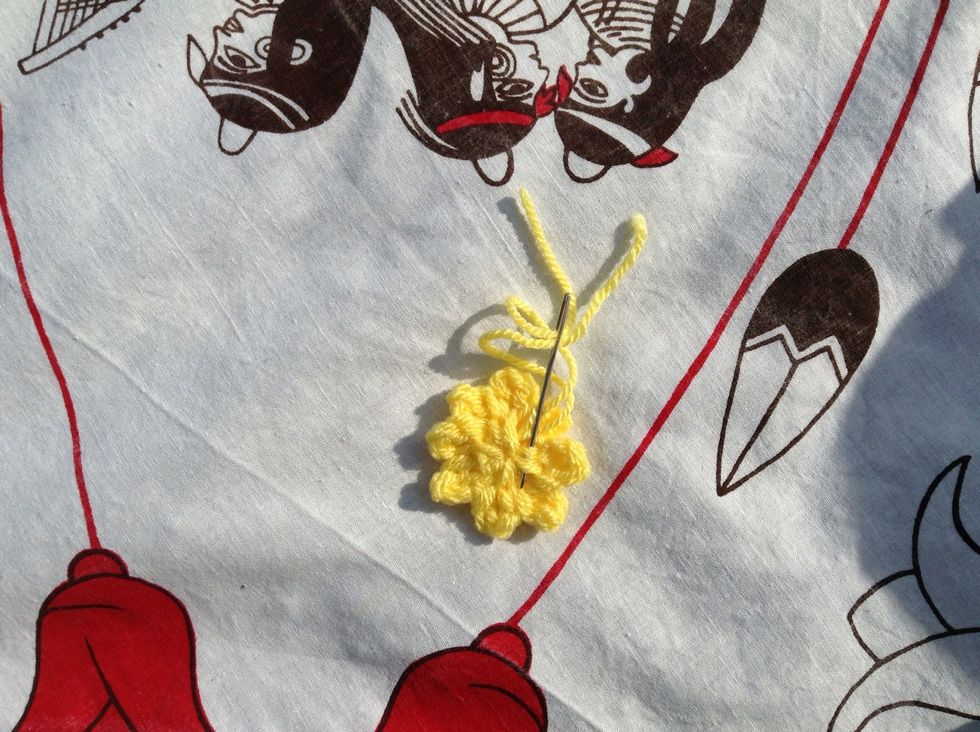
Make sure you weave the ends through the back of your work and in both directions.
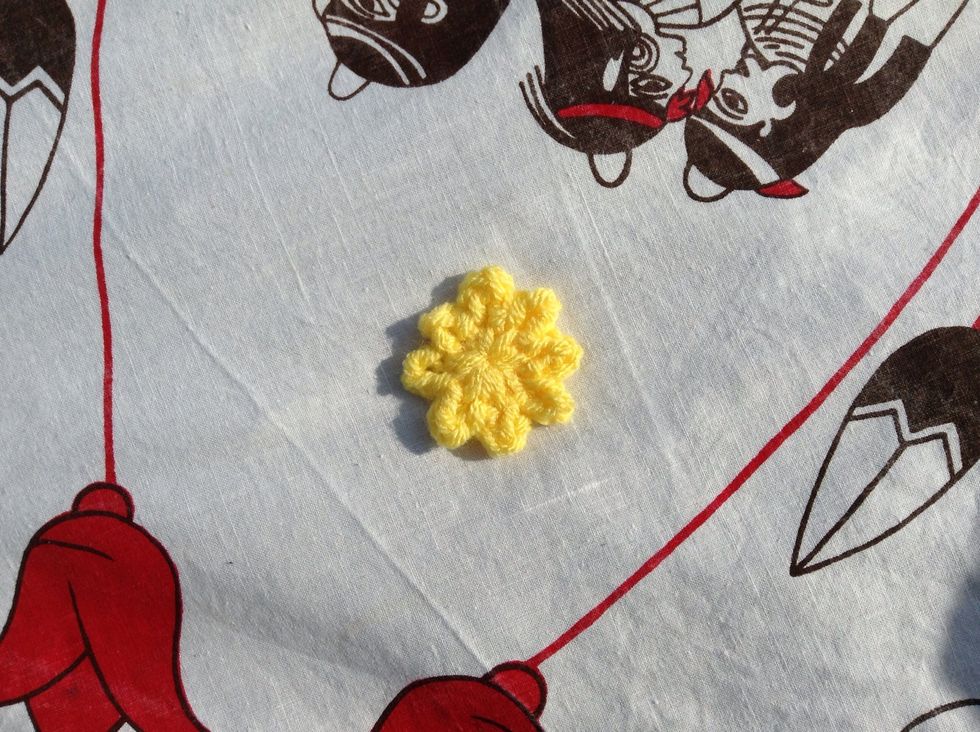
This is the centre of your flower. Now you're ready for the next step.
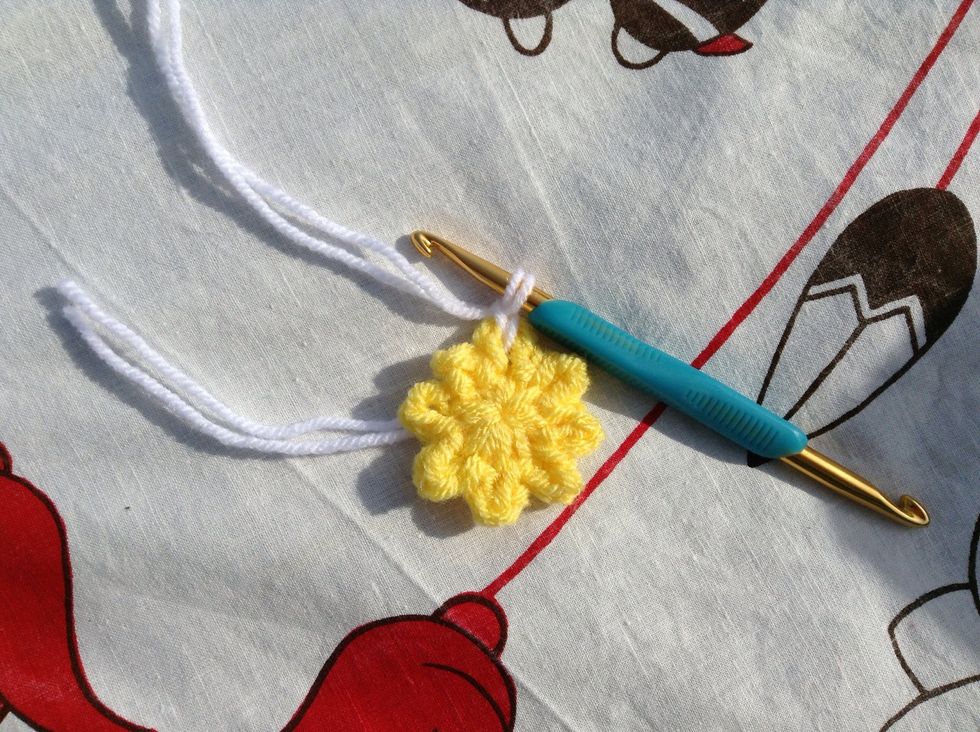
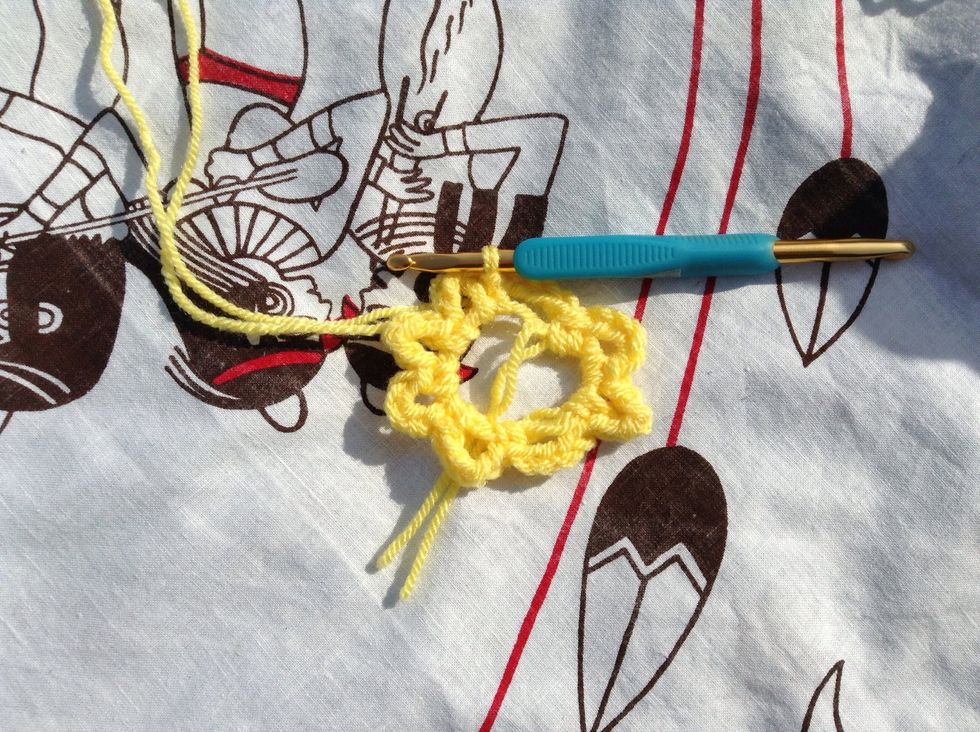
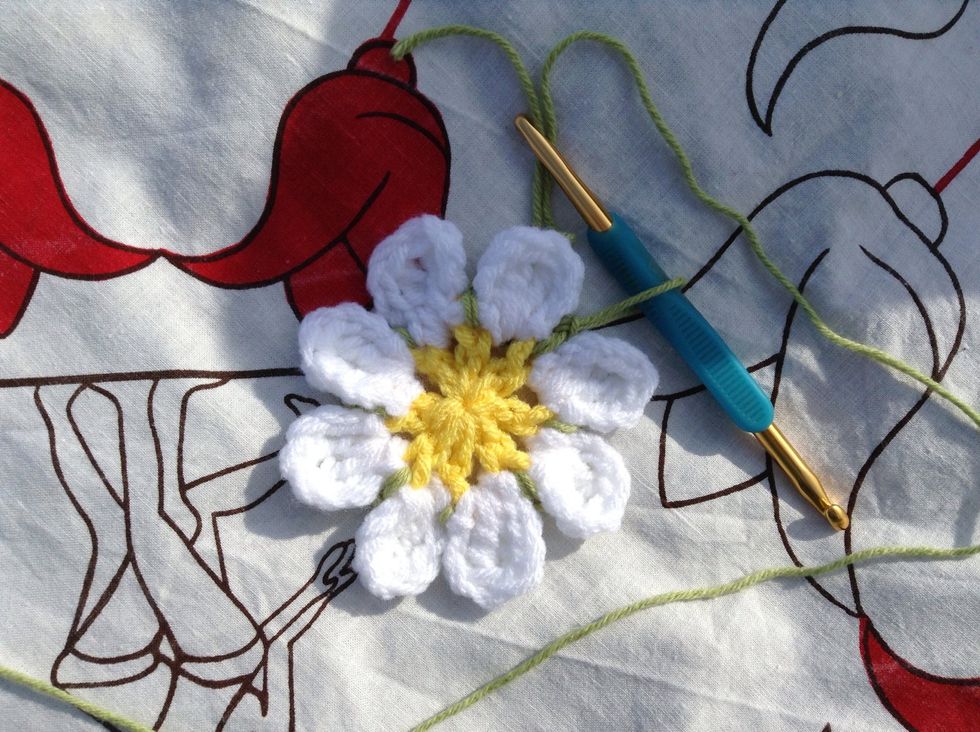
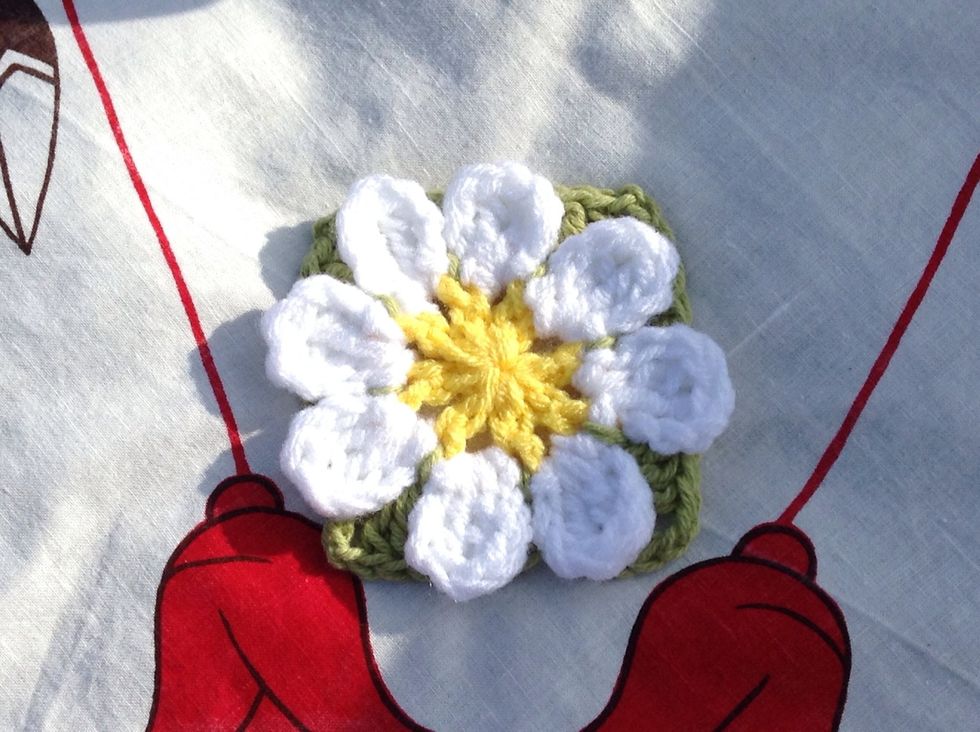
Get the white yarn and join it with a sl st to any of the 8 loops on your flower.
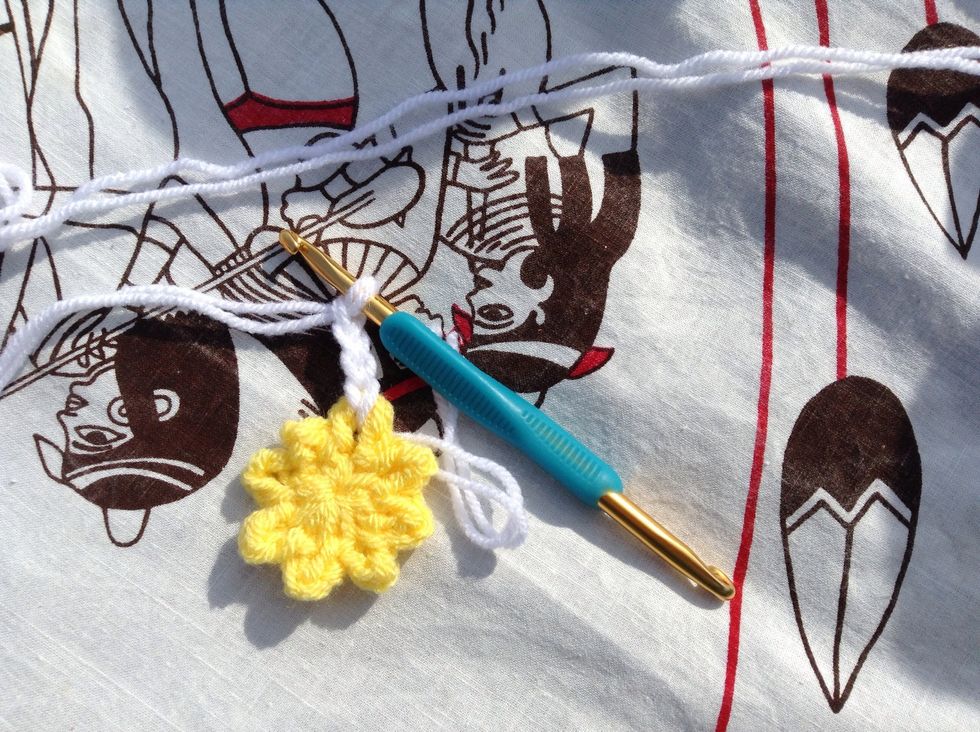
In each loop around the flower, work *1 sl st, ch 3,
2 trebles,
chain 3,
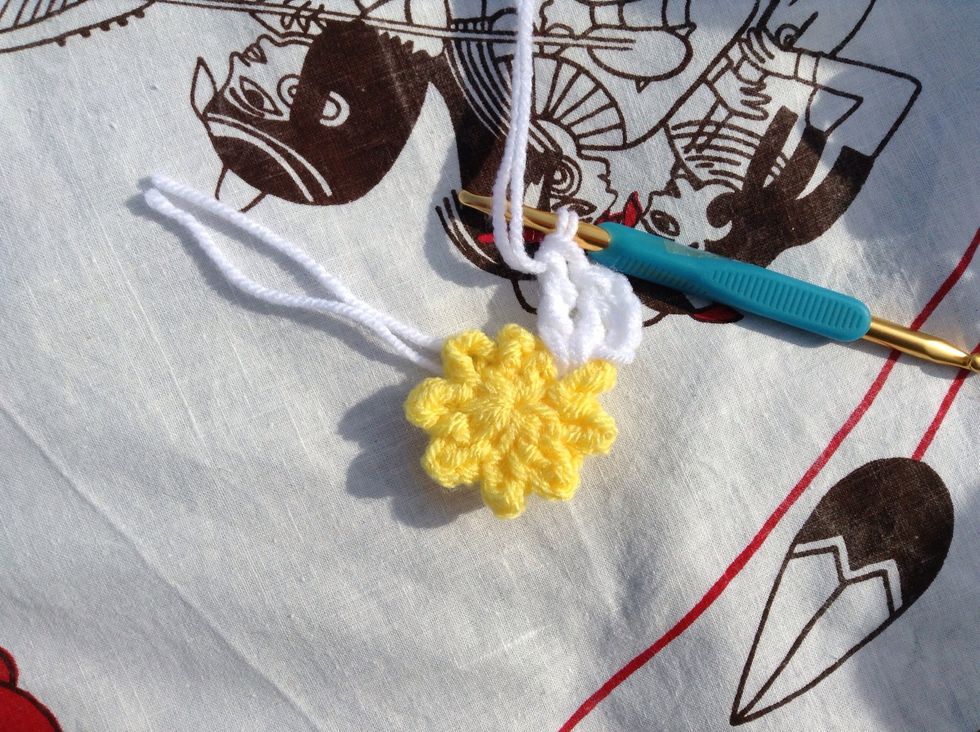
1 sl st, ch 1*. This forms the petals of your flower.
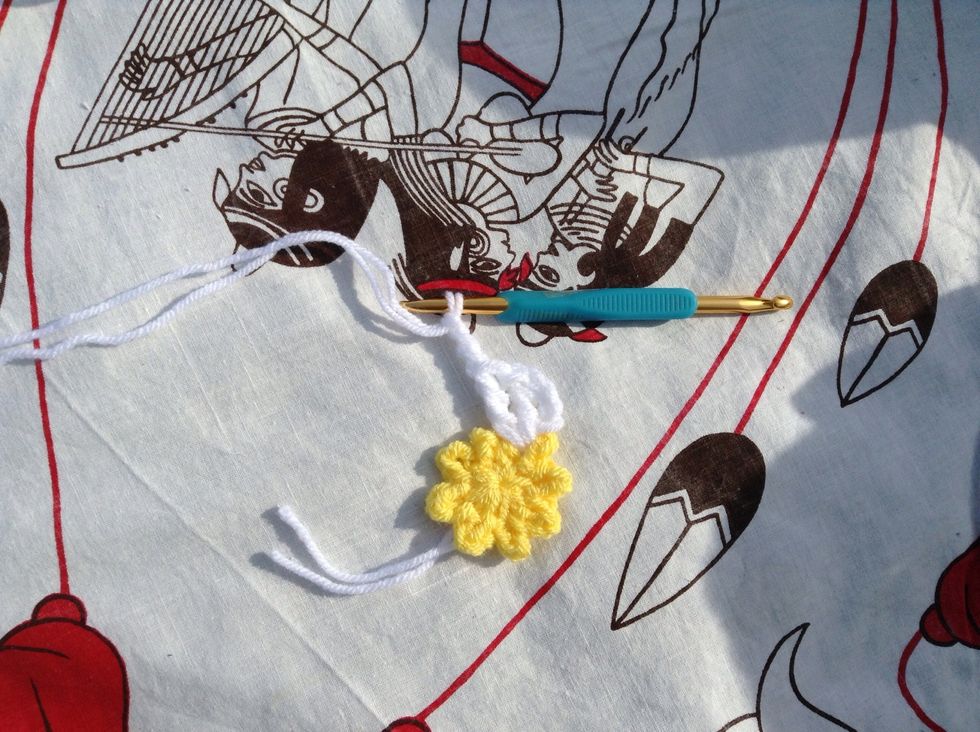
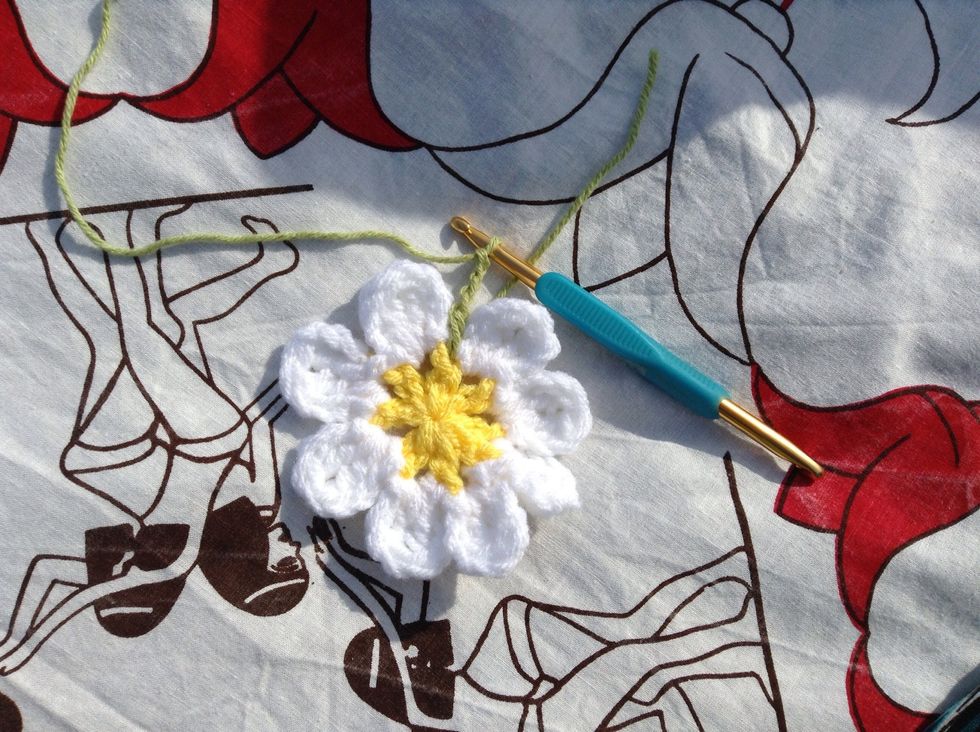
This is what it should look like at the end of this row. Join with a sl st to the 1st sl st.
Fasten off and weave in the ends.
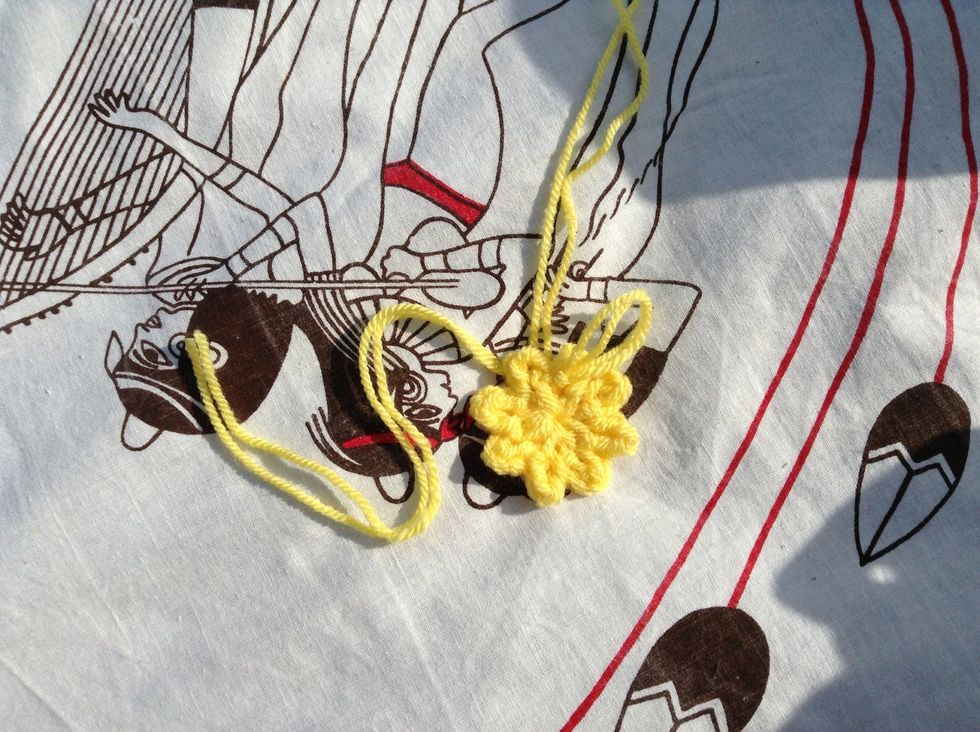
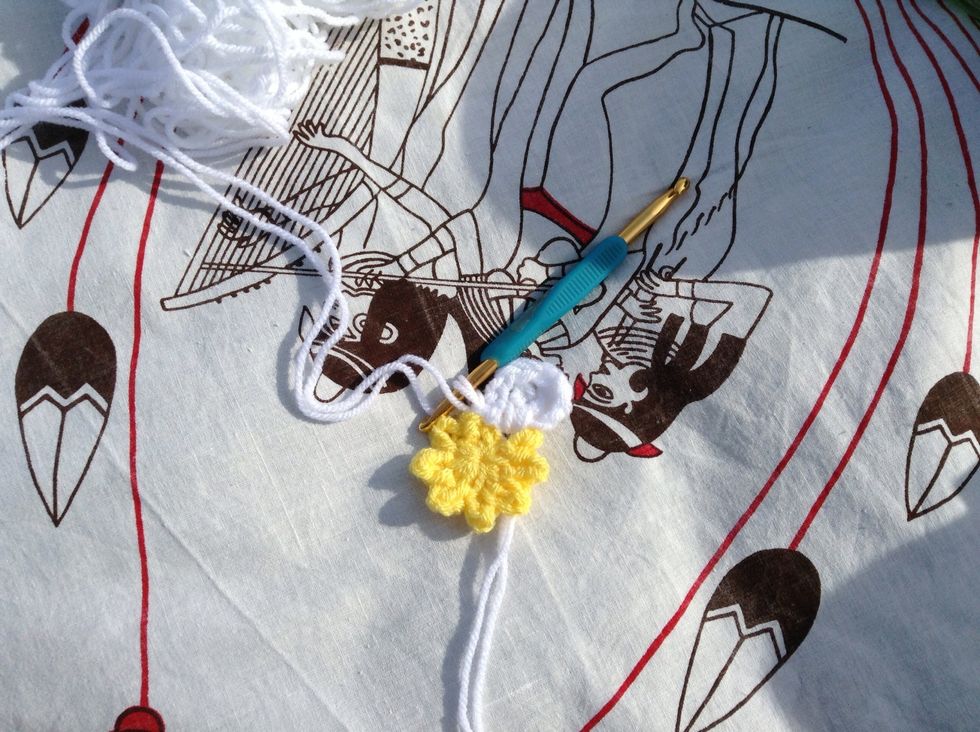
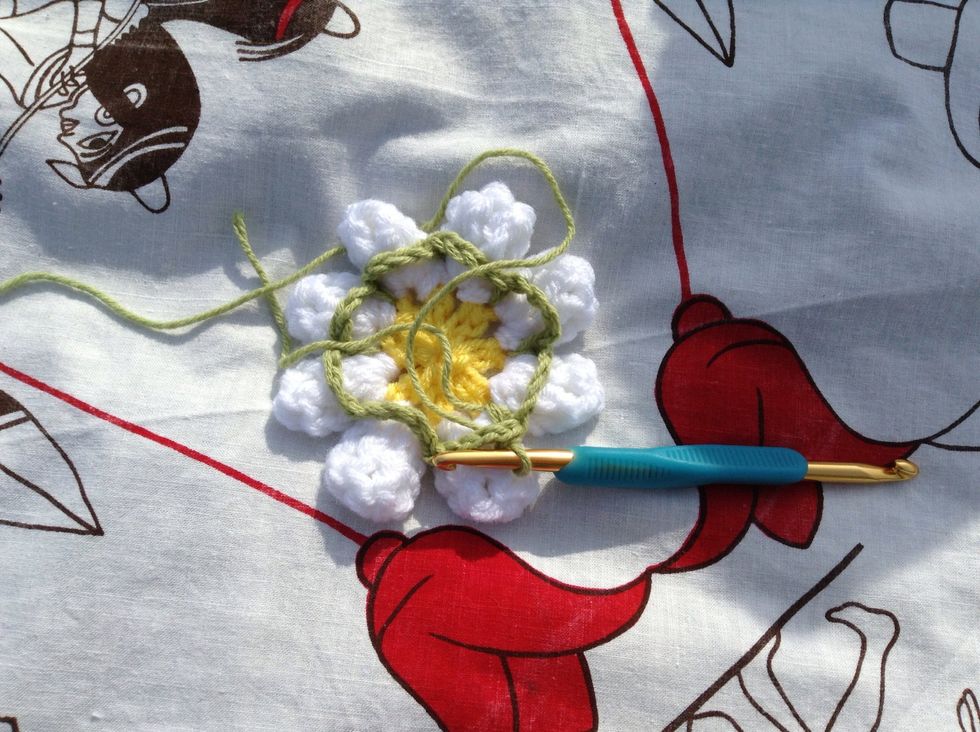
Now the leaves. Join green yarn with a sl st into any of the ch spaces between the petals. Chain 1, 1 sc in same sp, ch 4, *1 sc in next sp, ch 4*, repeat all the way around. Sl st to top of 1st sc.
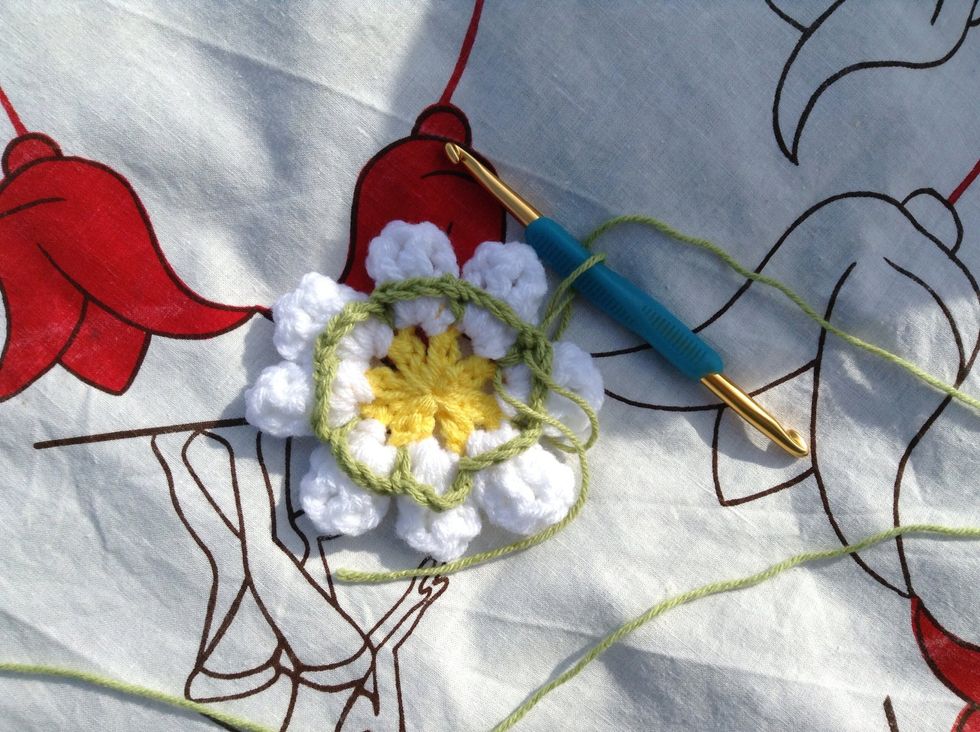
This is what the back should look like once you've gone all the way around.
This next row will be worked into the green st at the back of the flower. Just fold the petals down and out of your way when you're crocheting around it.
Sl st into the next green ch-4 loop.
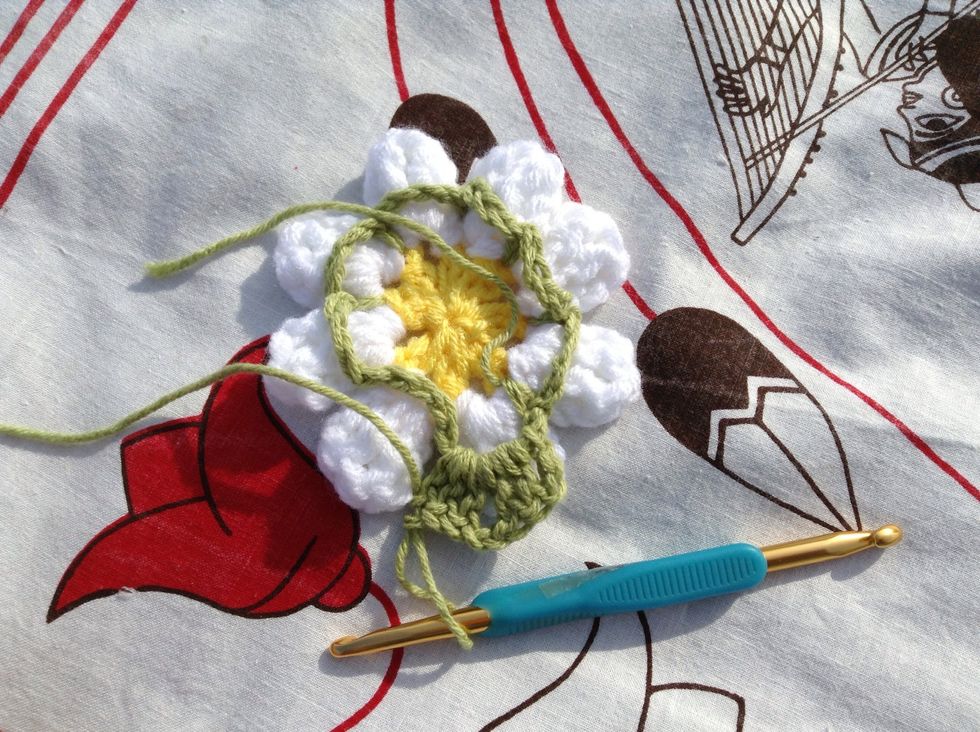
Ch 3, 2 dc, ch 2, 3 dc in the same loop. This is the 1st corner of your square.
Work *3 dc in next loop, then work 3 dc, ch 2, 3 dc in next loop* and repeat this to the end. Join with a sl st to the 3rd ch of the ch-3.
Fasten off and weave in the ends.
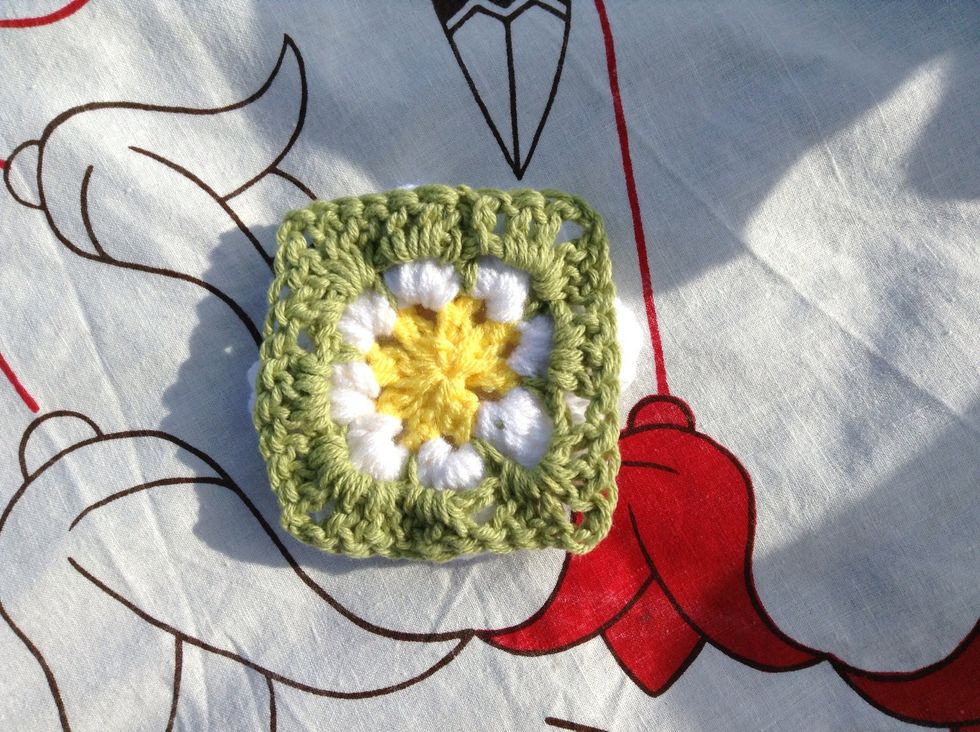
This is what the back should look like.
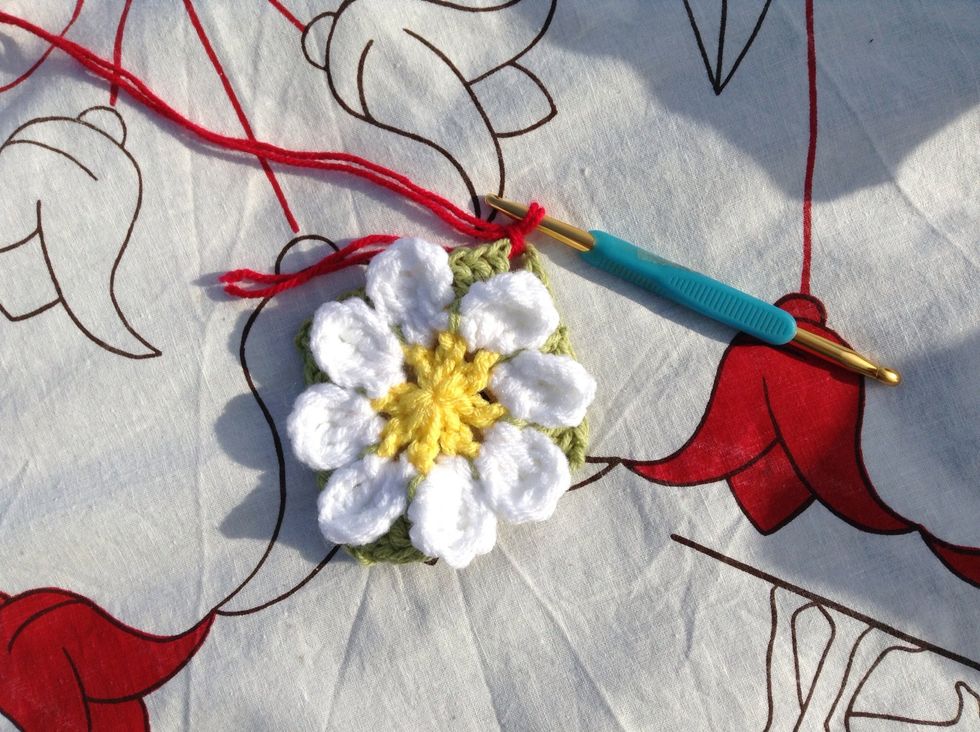
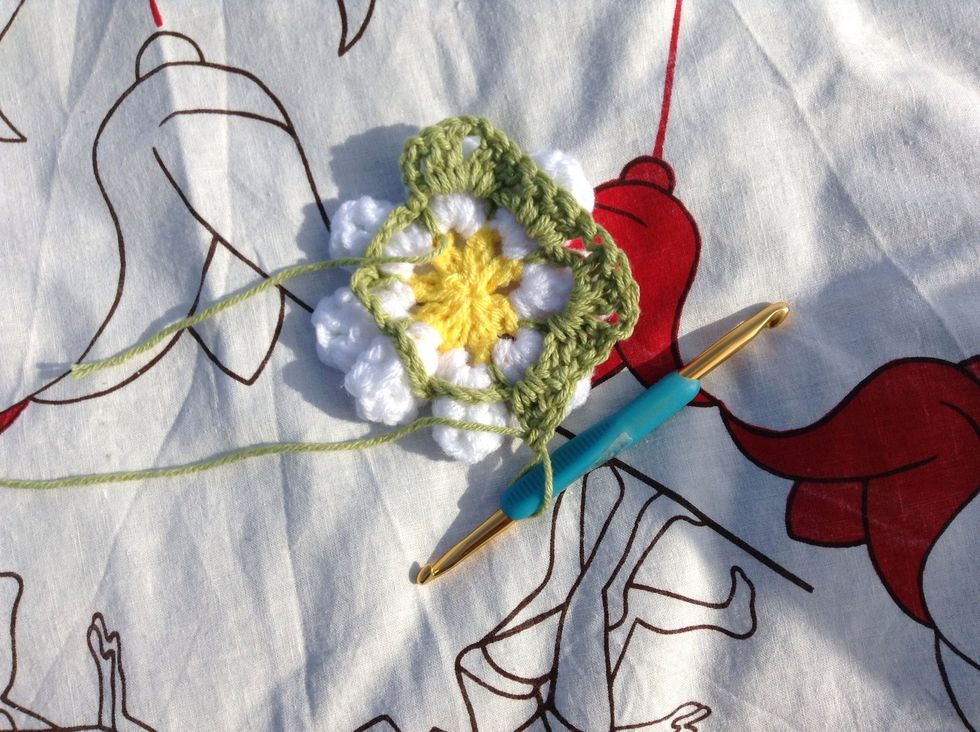
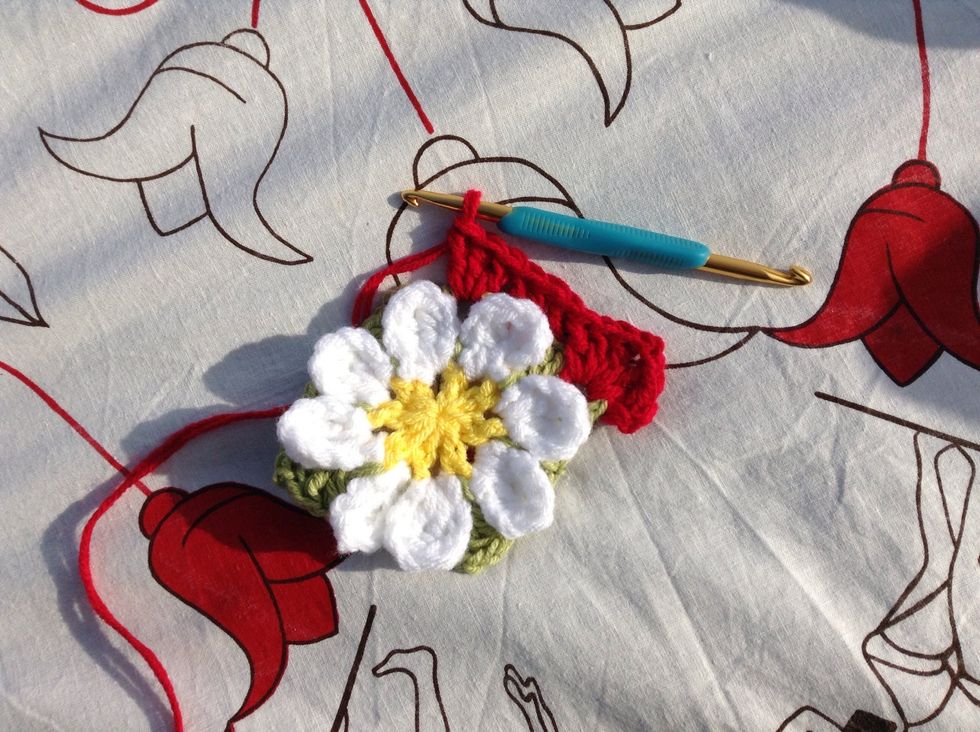
Now for your background colour. I chose red. :-) Join with a sl st to any of the corner spaces in the leaf part of your flower.
Chain 3, 2 dc, ch 2, 3 dc in same sp.
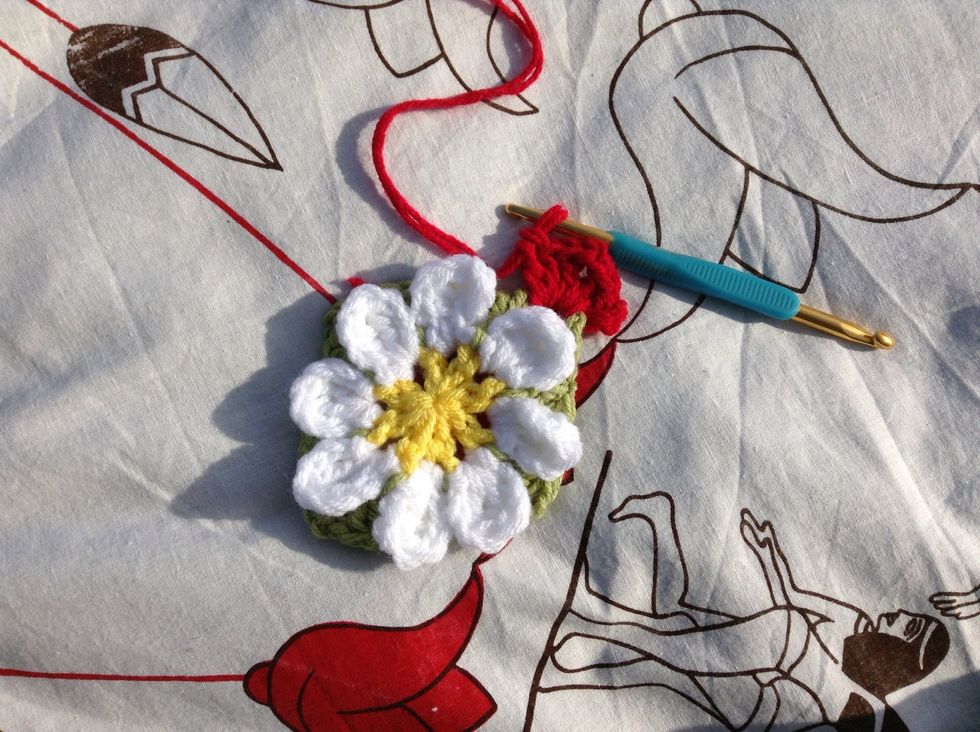
Work 3 dc into each of the next two spaces.
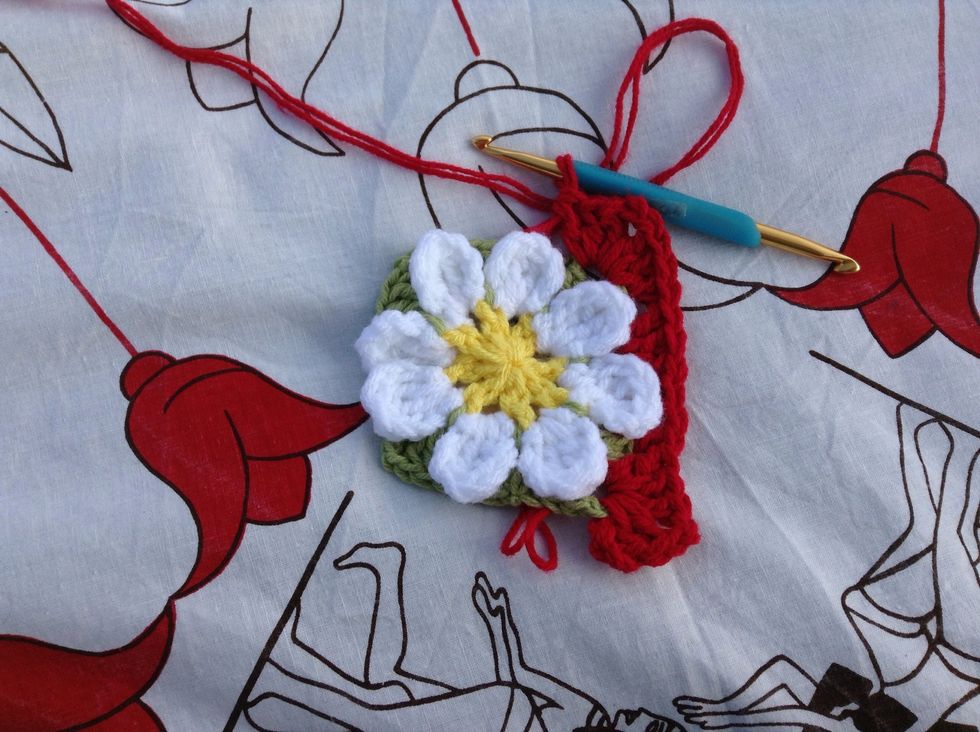
Work 3 dc, ch 2, 3 dc into the next corner space.
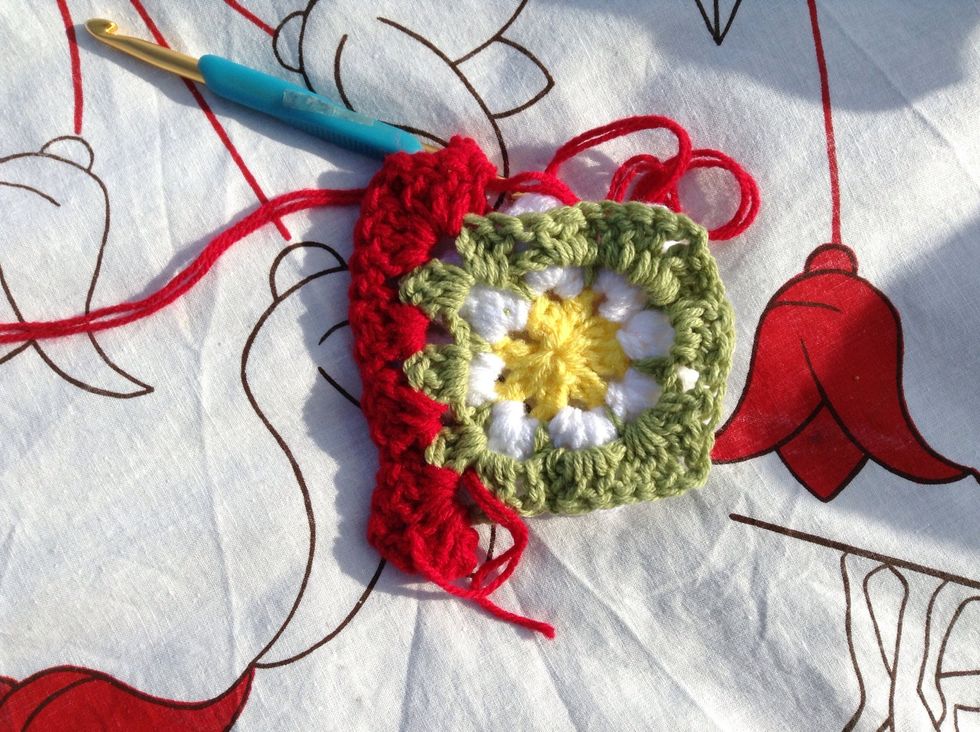
This is the view from the back.
Continue working around in the same manner as step 30 and 31. Join with a sl st to the top of the ch 3.
Sl st to the next corner space.
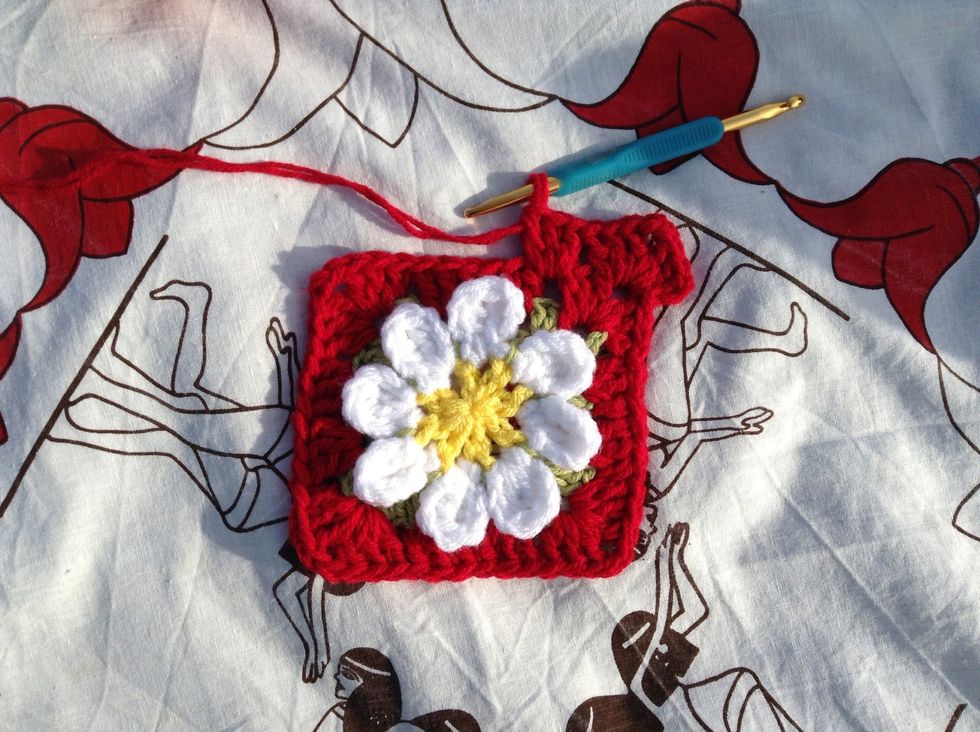
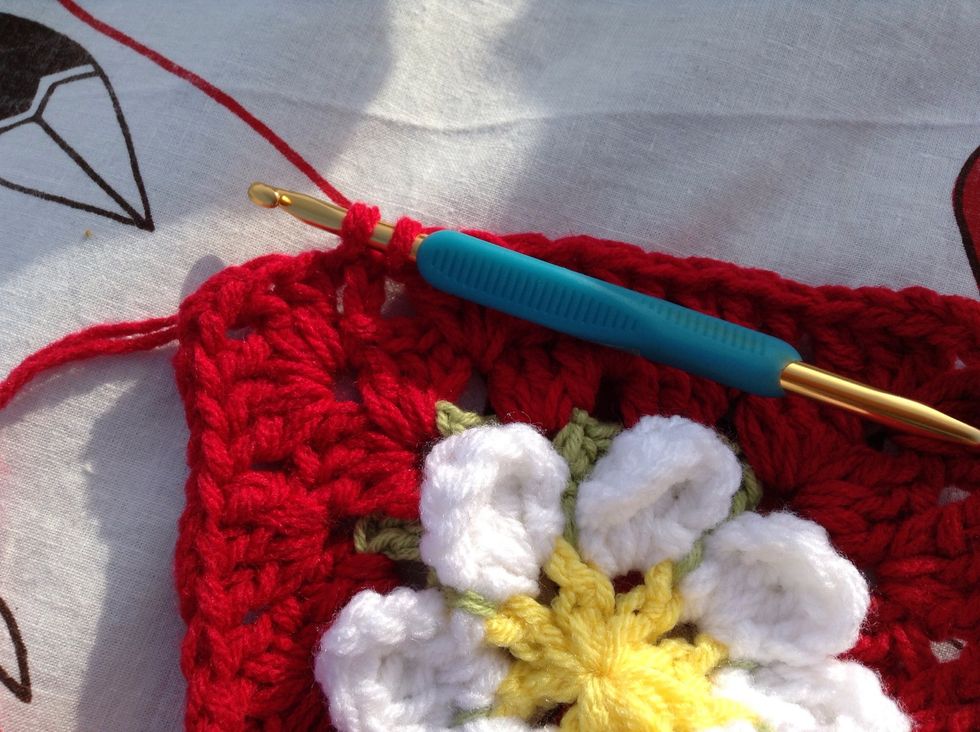
Chain 3, 2 dc, ch 2, 3 dc in same sp, 3 dc in next sp and 3 dc in the following 2 sp.
3 dc, ch 2, 3 dc in next corner space. *3 dc in each of the next 3 sp, 3 dc, ch 2, 3 dc in next corner space*, repeat to the end.
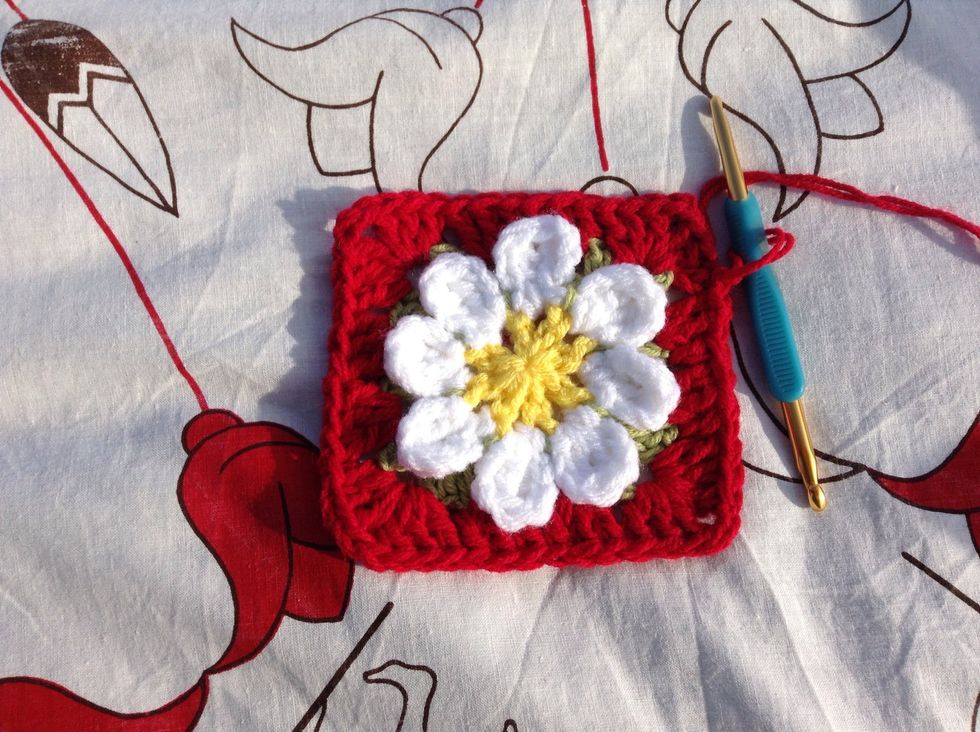
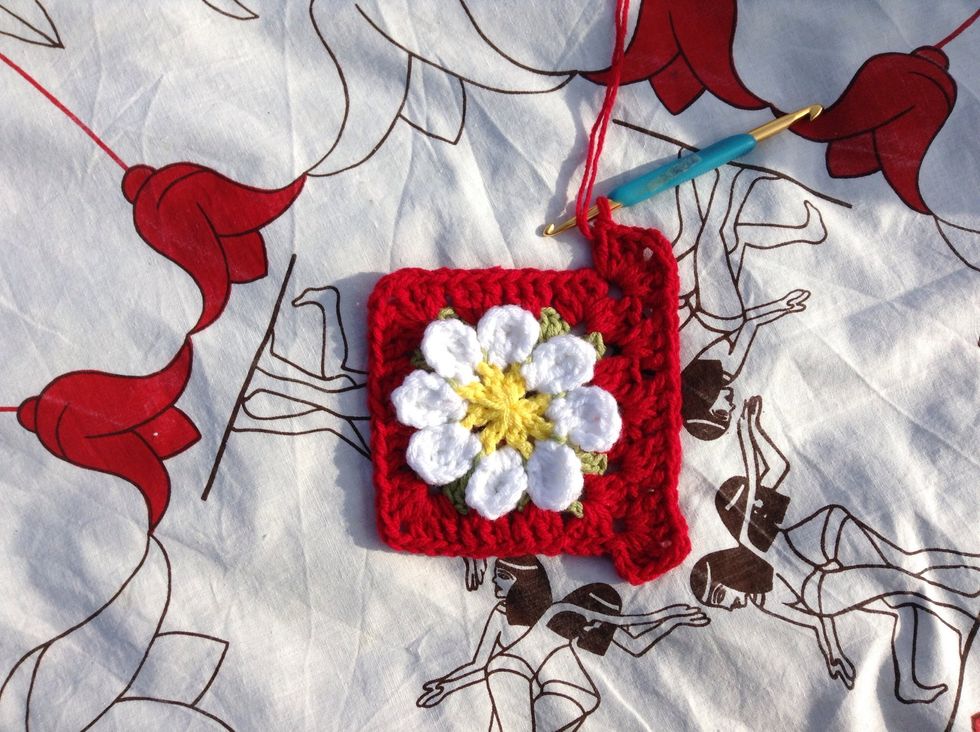
Join with a sl st to the top of the ch 3.
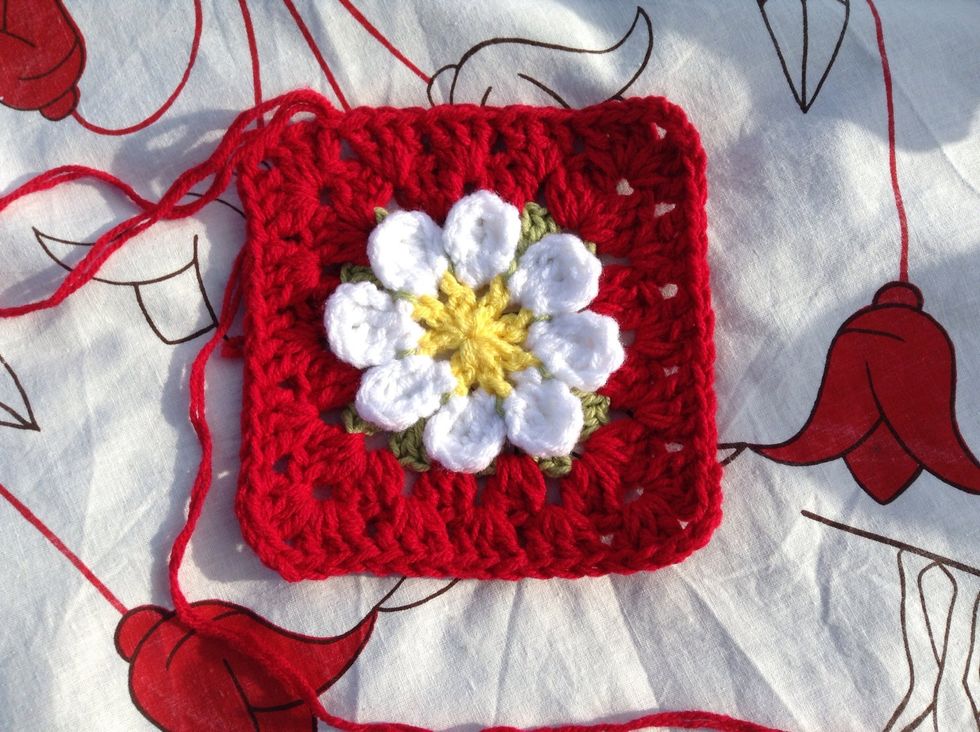
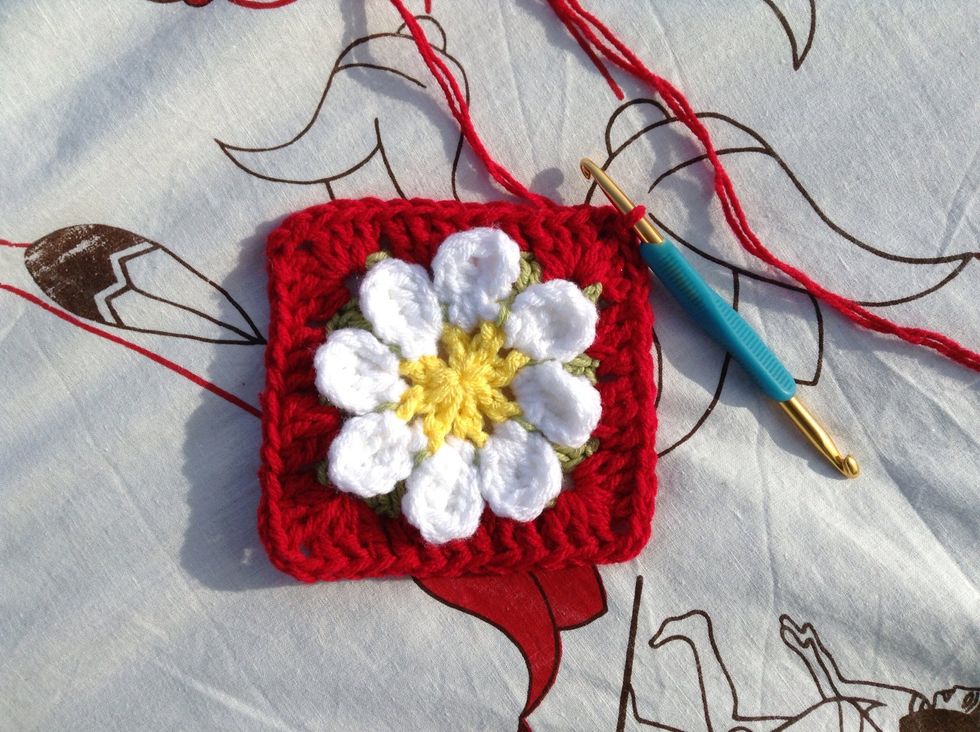
One Daisy Granny Square completed!
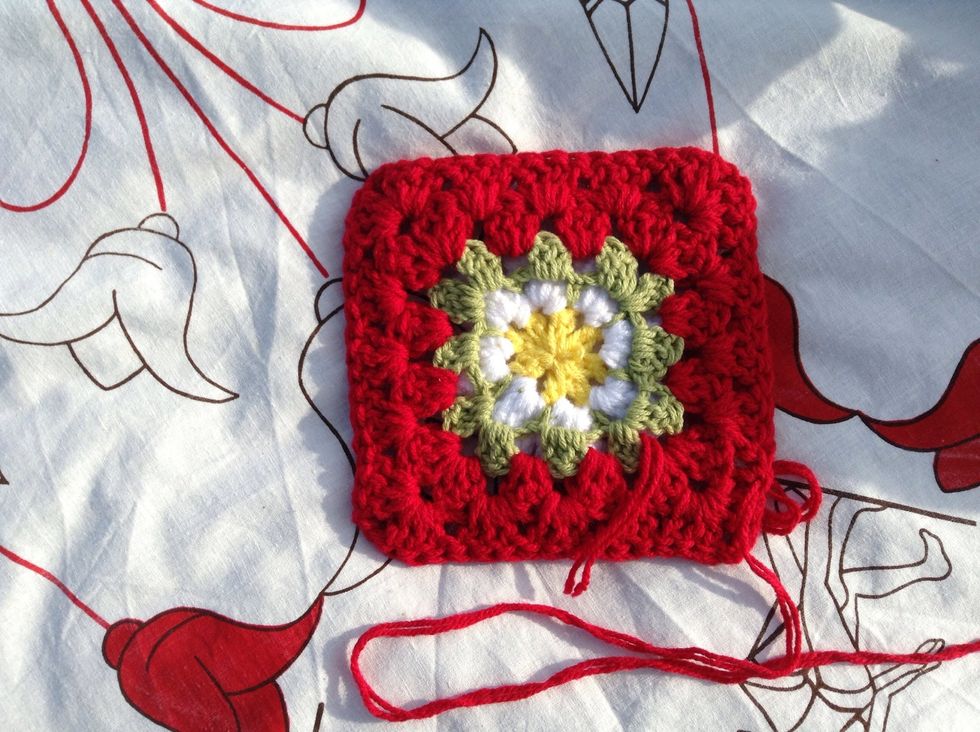
This is the view from the back.
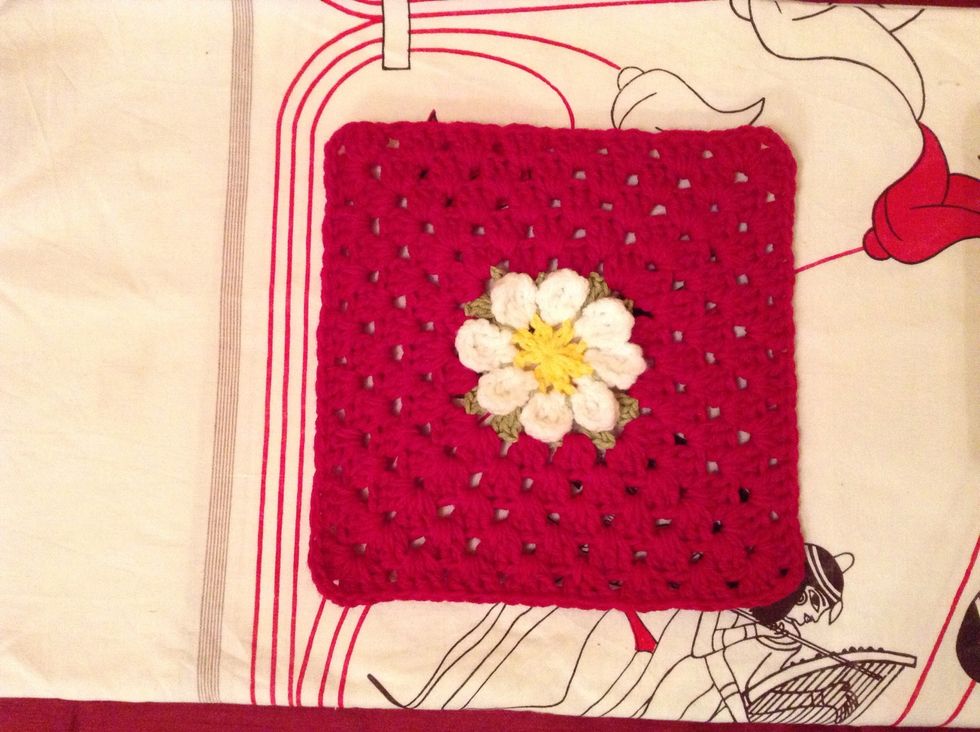
You can fasten off and weave in the ends, or you can continue adding rows for a larger square. You can make a cushion, an afghan or anything else you can think of. Happy crocheting!
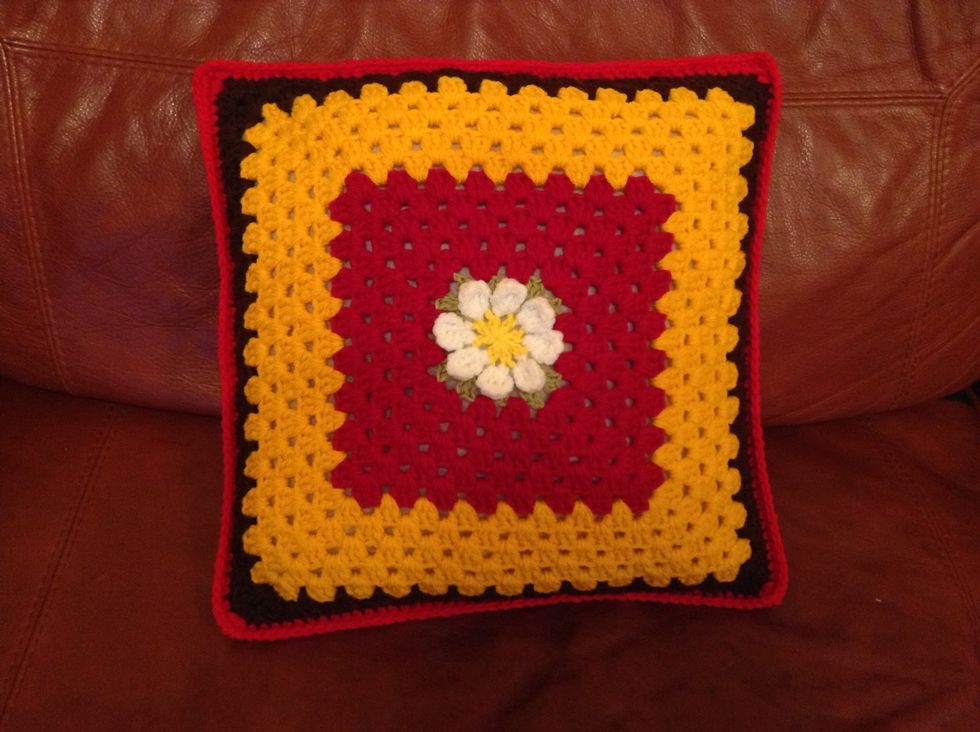
I made a cushion cover from mine. What will you make? 😊