The Conversation (0)
Sign Up
This guide assumes you know how to make the basic crochet stitches. This is not the guide to teach you the complete entry-level basics, sorry!

The basics: yarn and hook. Choose an appropriate hook size for your yarn weight. Worsted weight needs 5mm at least. (this hook is a Chiaogoo bamboo handle- very comfy and ergonomic)
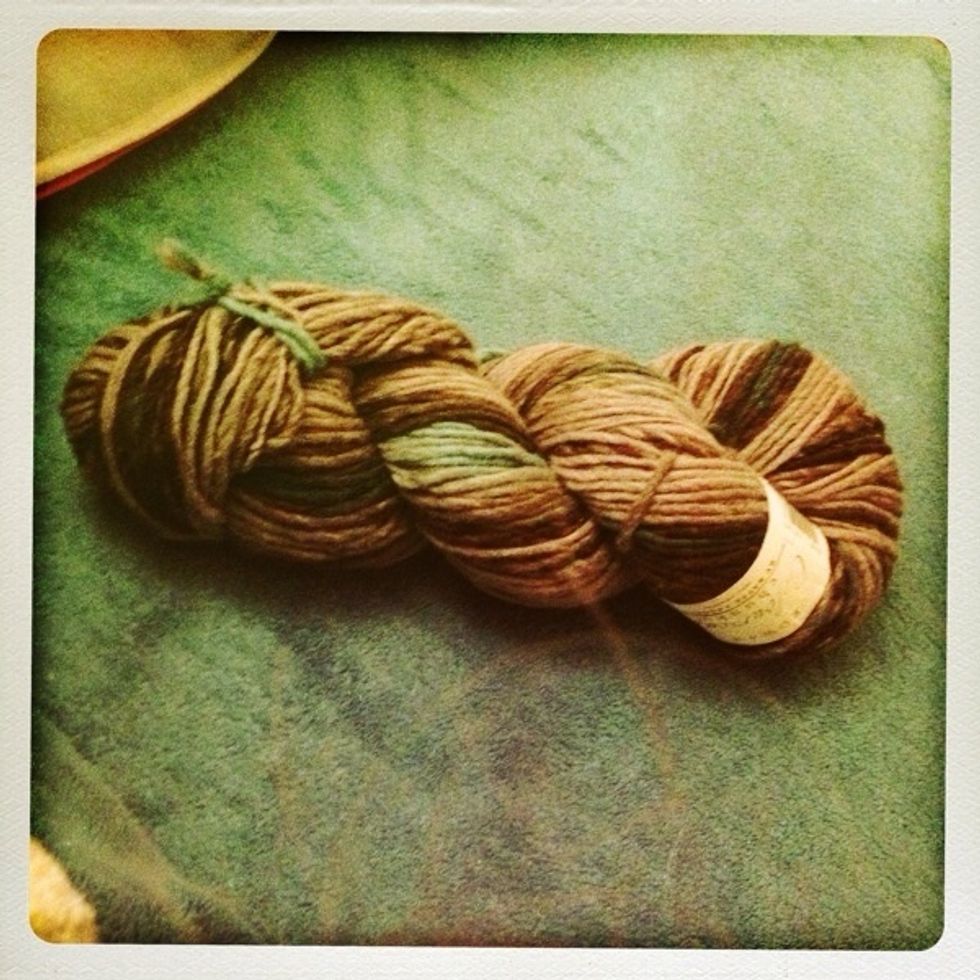
You will probably use between a half and a full hank/ball for this project, depending on yardage and hat size, so it's perfect to use up single balls filling up your stash.
Glossary: UK/US terms; slst/slst, tr/dc, ch/ch. We use treble in place of the US double.
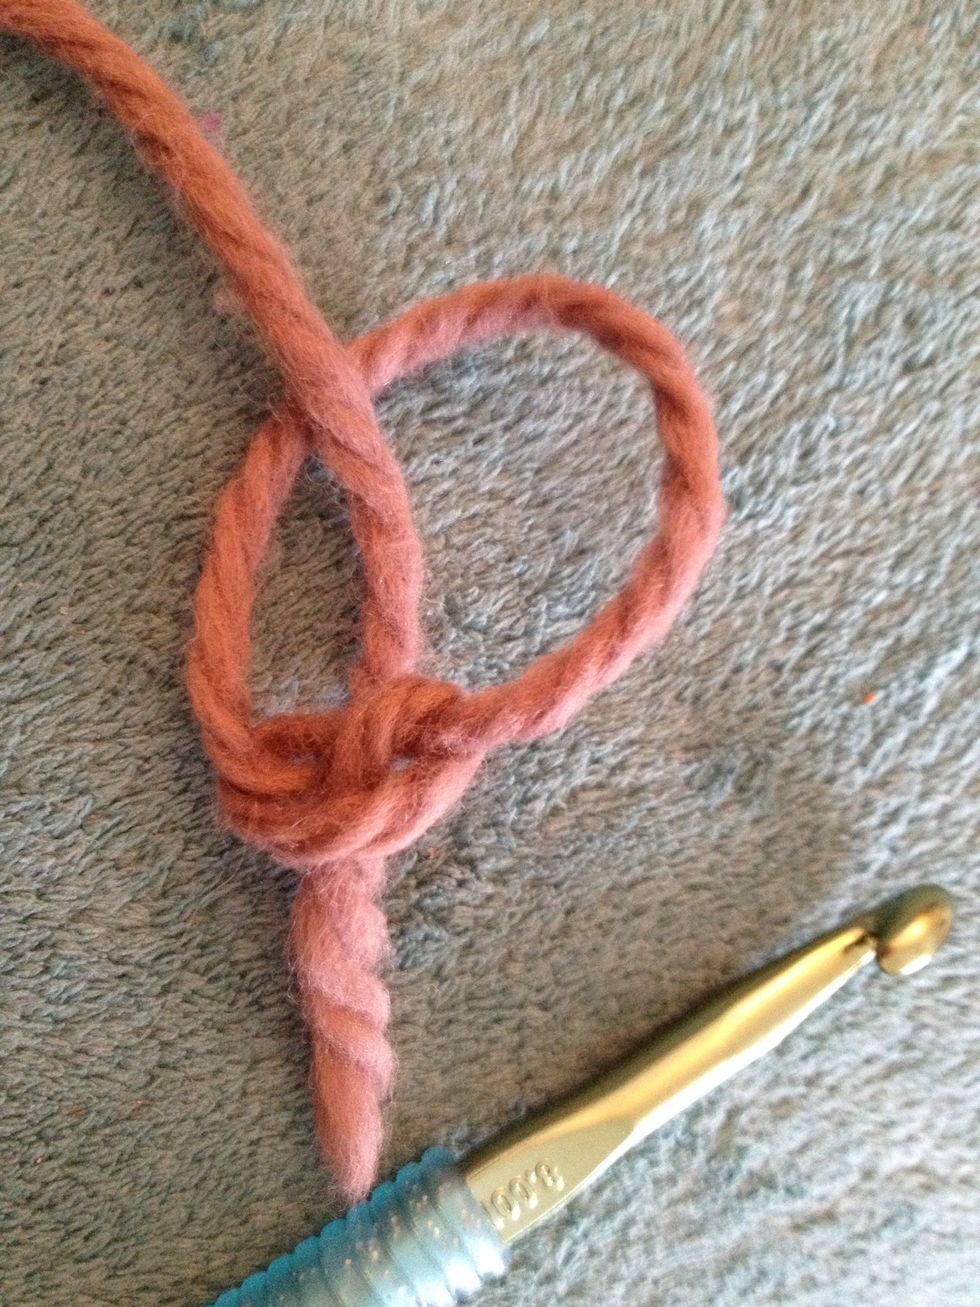
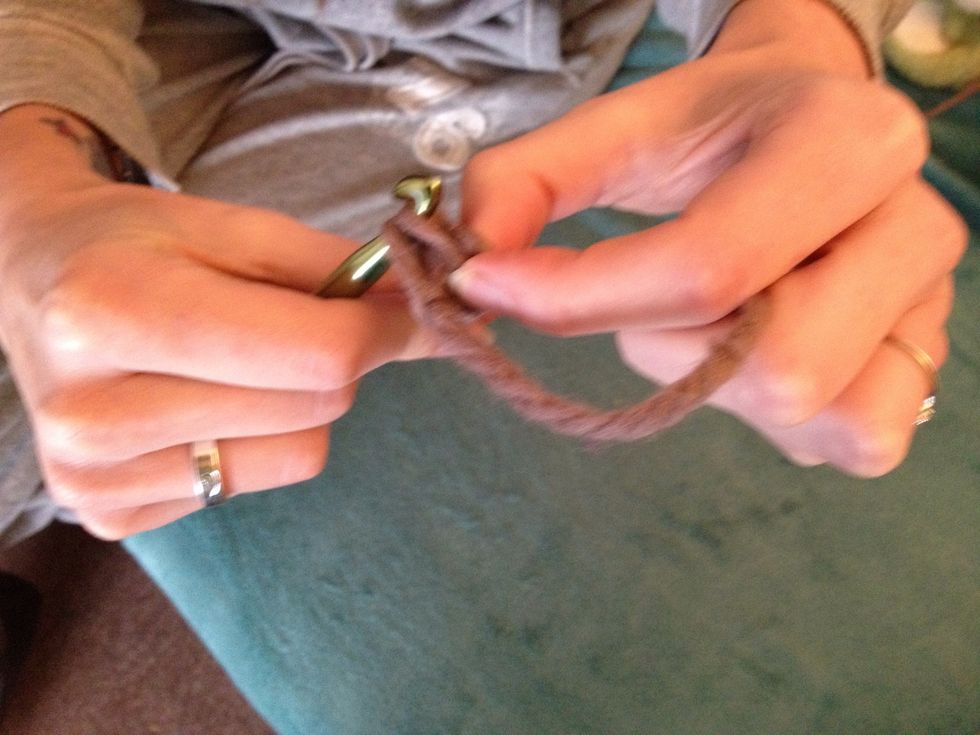
I'm using light yarn so hopefully you can see better! Start out with a slipknot like so.
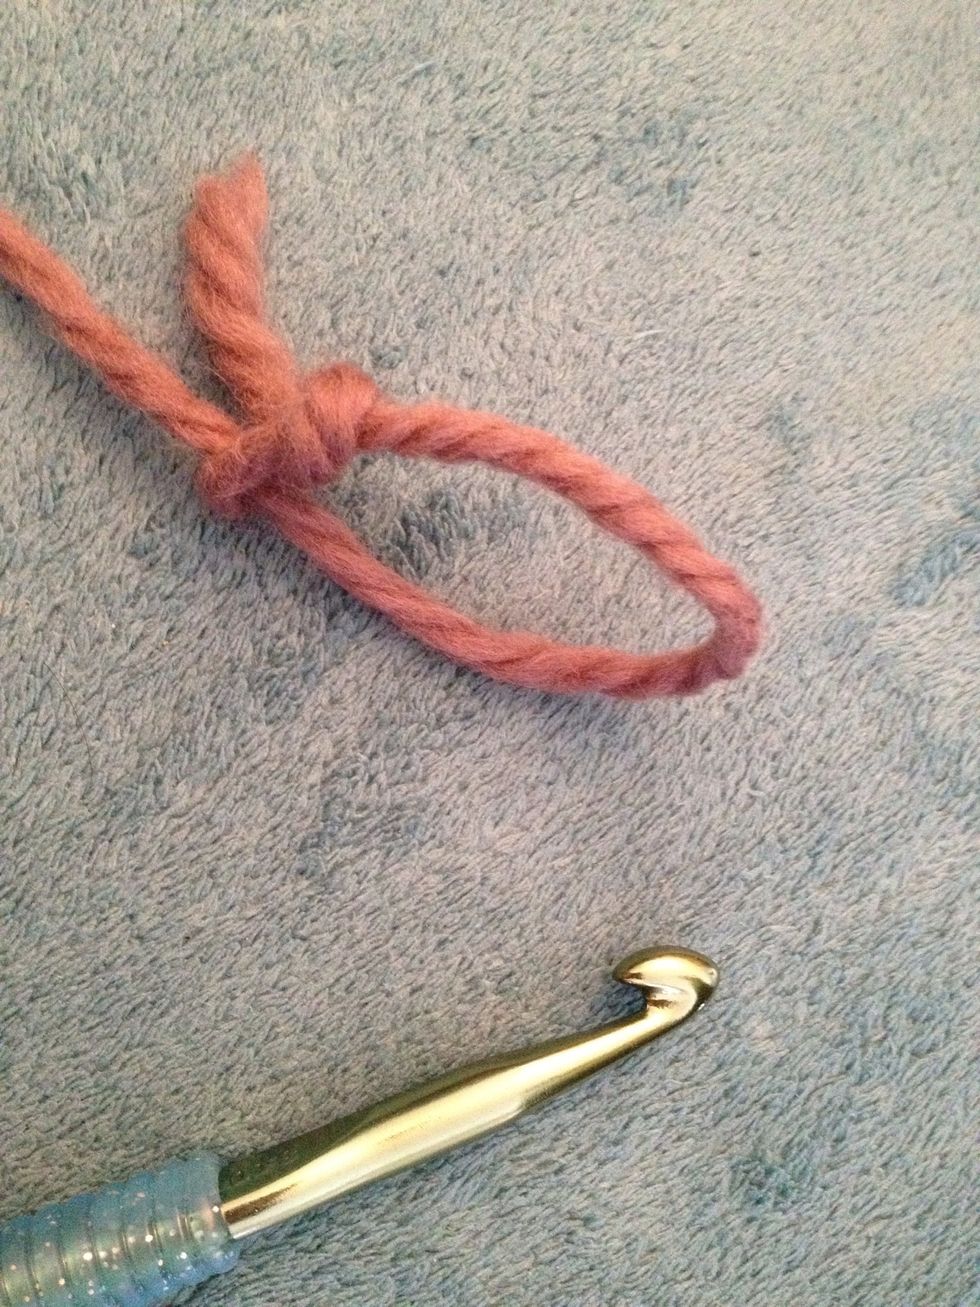
Catch your slipknot on your hook, and we're ready to go!
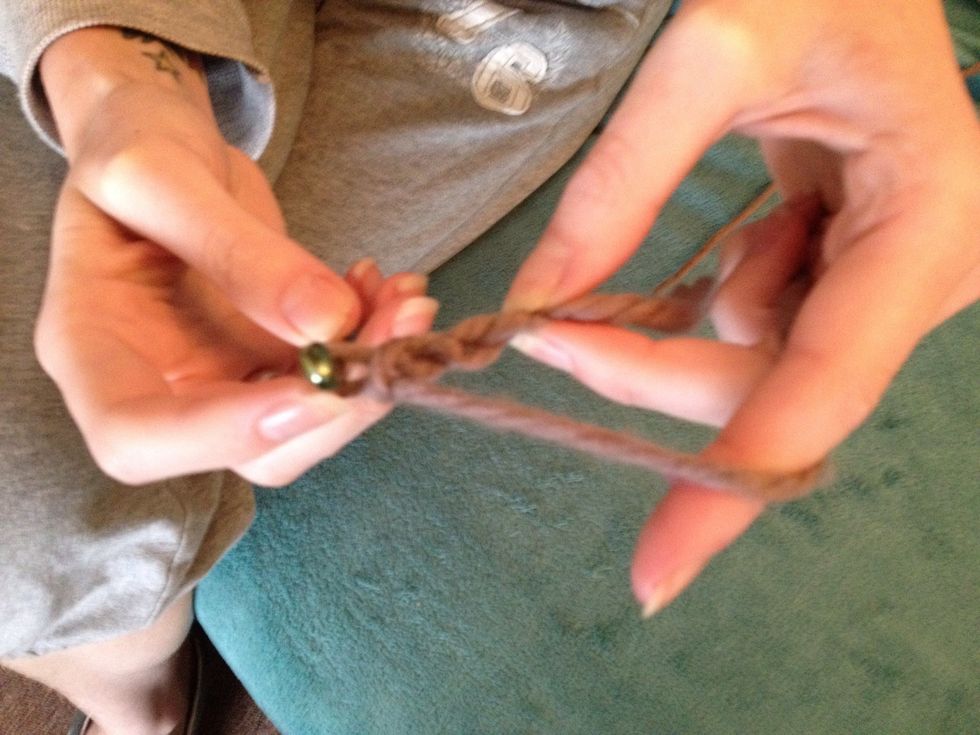
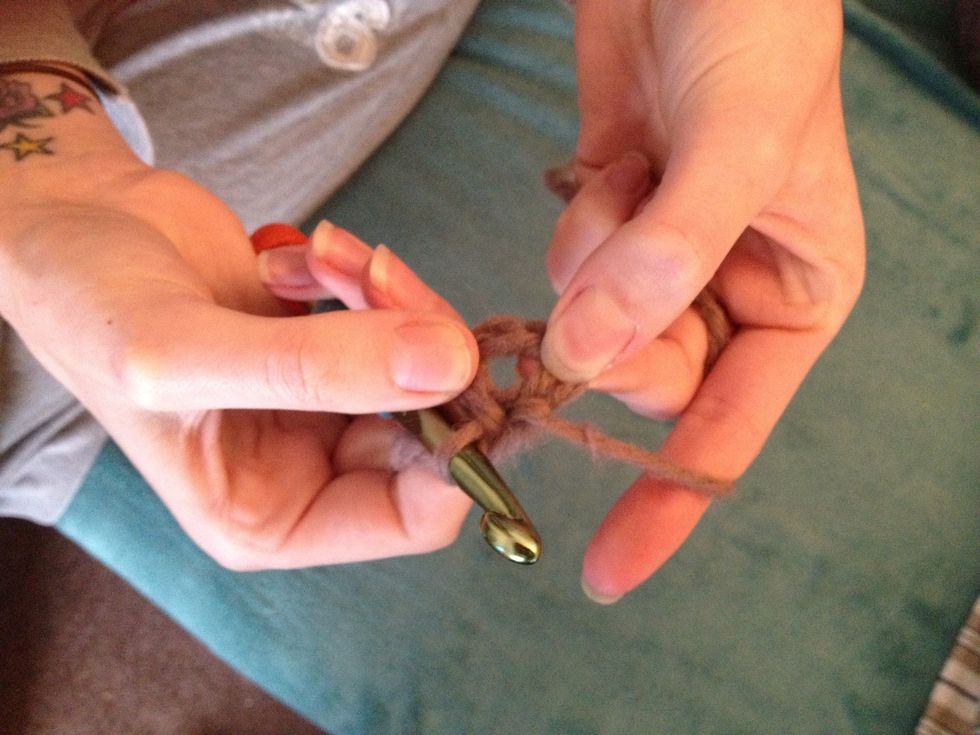
Chain three stitches. (Sorry for the fuzzy pic!)
Join your chain with a slip stitch (slst) in the first stitch to form a ring.
Tadah! The first bit is out of the way. Don't worry about the 'big gap', your next row (round) will fill it up.
![Chain three (this is your first treble [tr] stitch), then make 11 tr in the ring. You should have 12 tr- including the first 3 ch.](https://guides.brit.co/media-library/chain-three-this-is-your-first-treble-tr-stitch-then-make-11-tr-in-the-ring-you-should-have-12-tr-including-the-first-3-c.jpg?id=23942066&width=980)
Chain three (this is your first treble [tr] stitch), then make 11 tr in the ring. You should have 12 tr- including the first 3 ch.
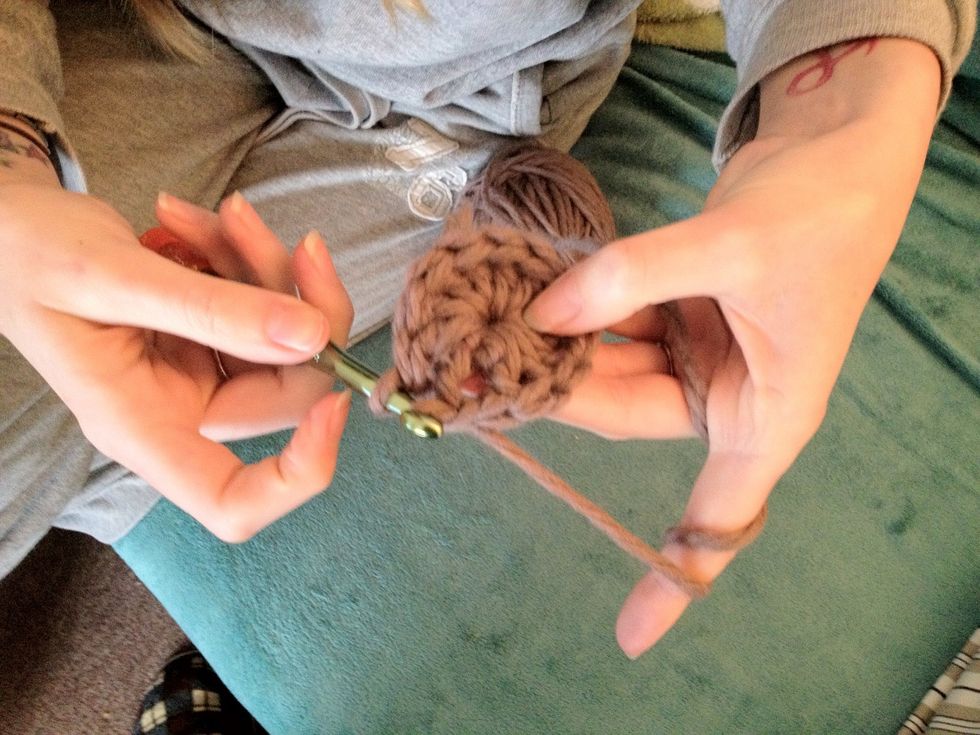
Join with a slst in the third stitch of your beginning chain. This completes the first round of your hat!
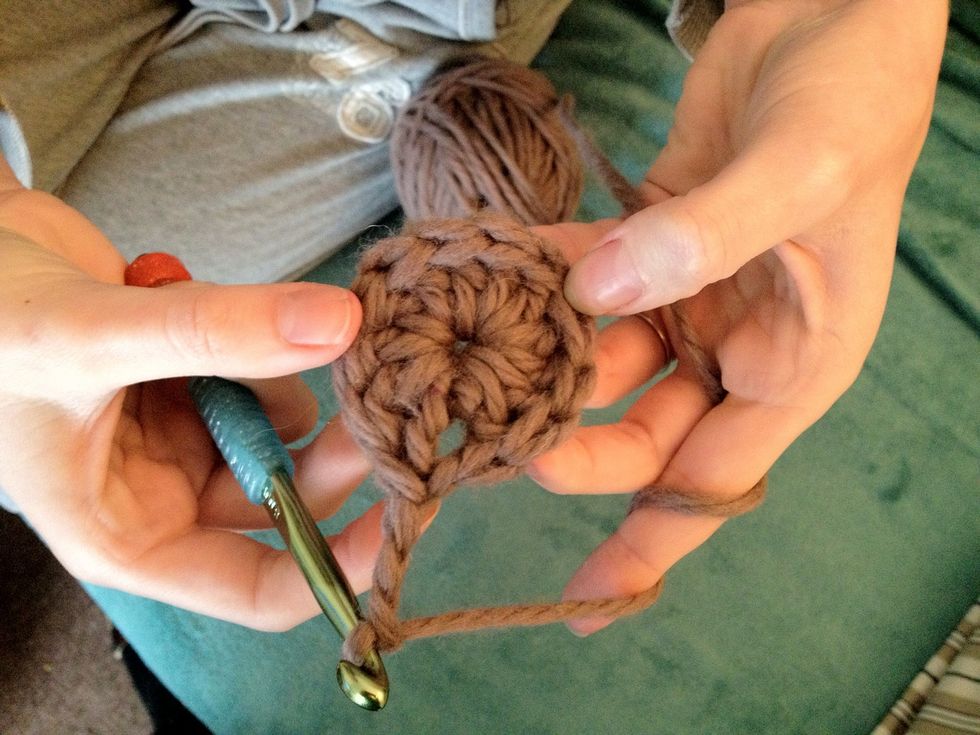
Chain three (your first tr), tr in first tr, then 2 tr in each tr. This should give you 24 tr for row two.
Row two: 24 tr, including the beginning 3 ch. Join with a slst again to make a circle.
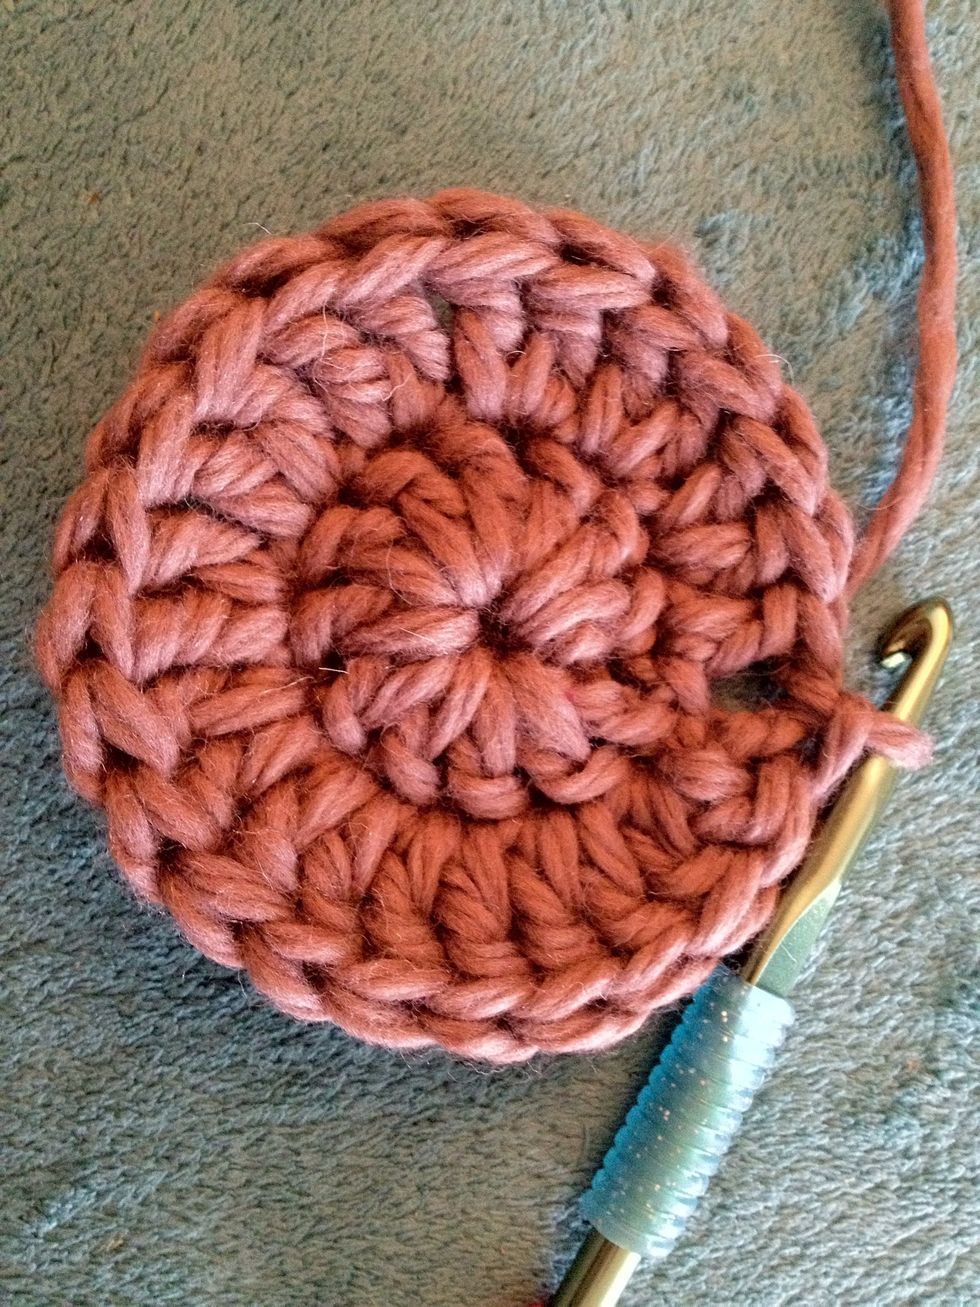
Row three: 3 ch, tr in first tr, *2 tr in next st, tr in next st*, repeat from *to* around the piece. This should leave you with 36 tr. Join with a slst.
Row four: 3ch, tr in first tr, tr, 2 tr, *tr, tr, 2 tr* repeat from *to* until you come to the end. This should give you 48 tr. Join with a slst.
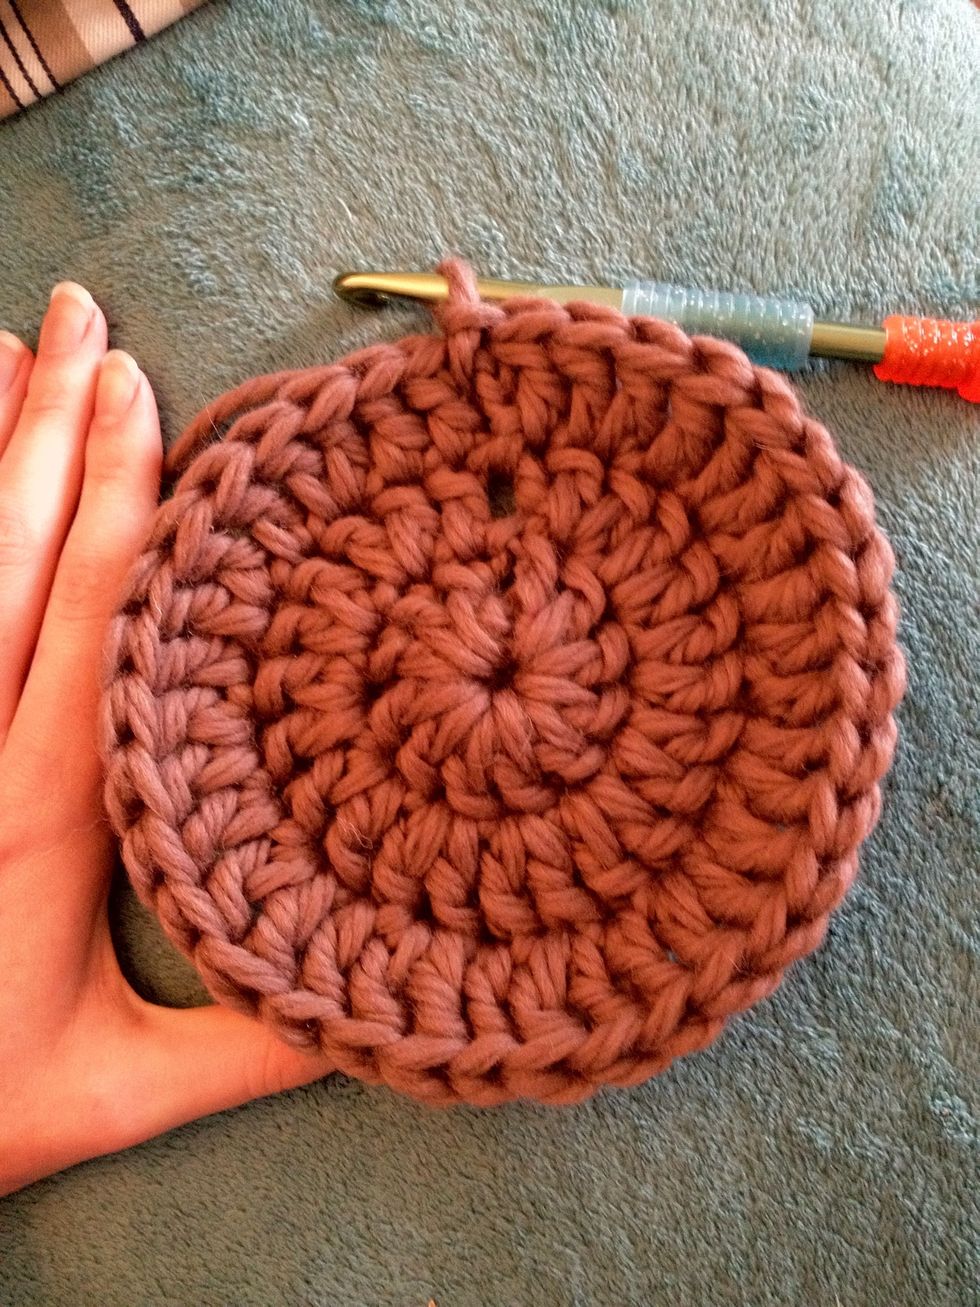
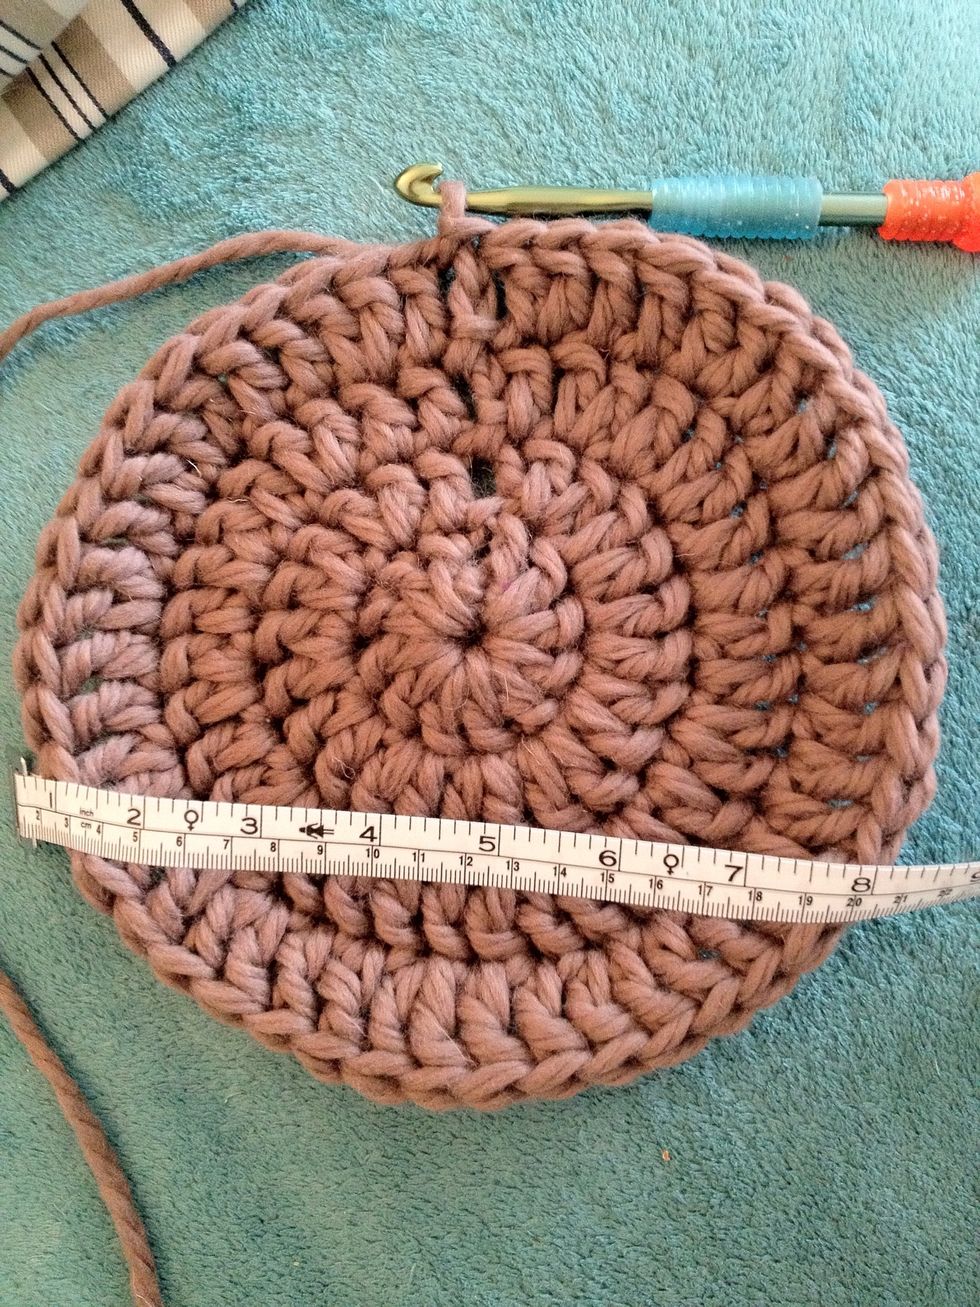
If this is big enough, great! You now need to just complete enough rows as necessary to give you the length you need as follows; ch3, tr in first tr, tr in each st around, join with a slst.
If this is not big enough to fit yet, you need to do some more rows, according to the pattern. Follow row 2, 3 and 4 until it is big enough. Then you can tr in each stitch to provide length.
A rough guide is between 4-8 rows of tr to give you enough length. The more rows, the longer the hat which gives you the 'trendy' beanie that you can wear baggy to the back of your head.
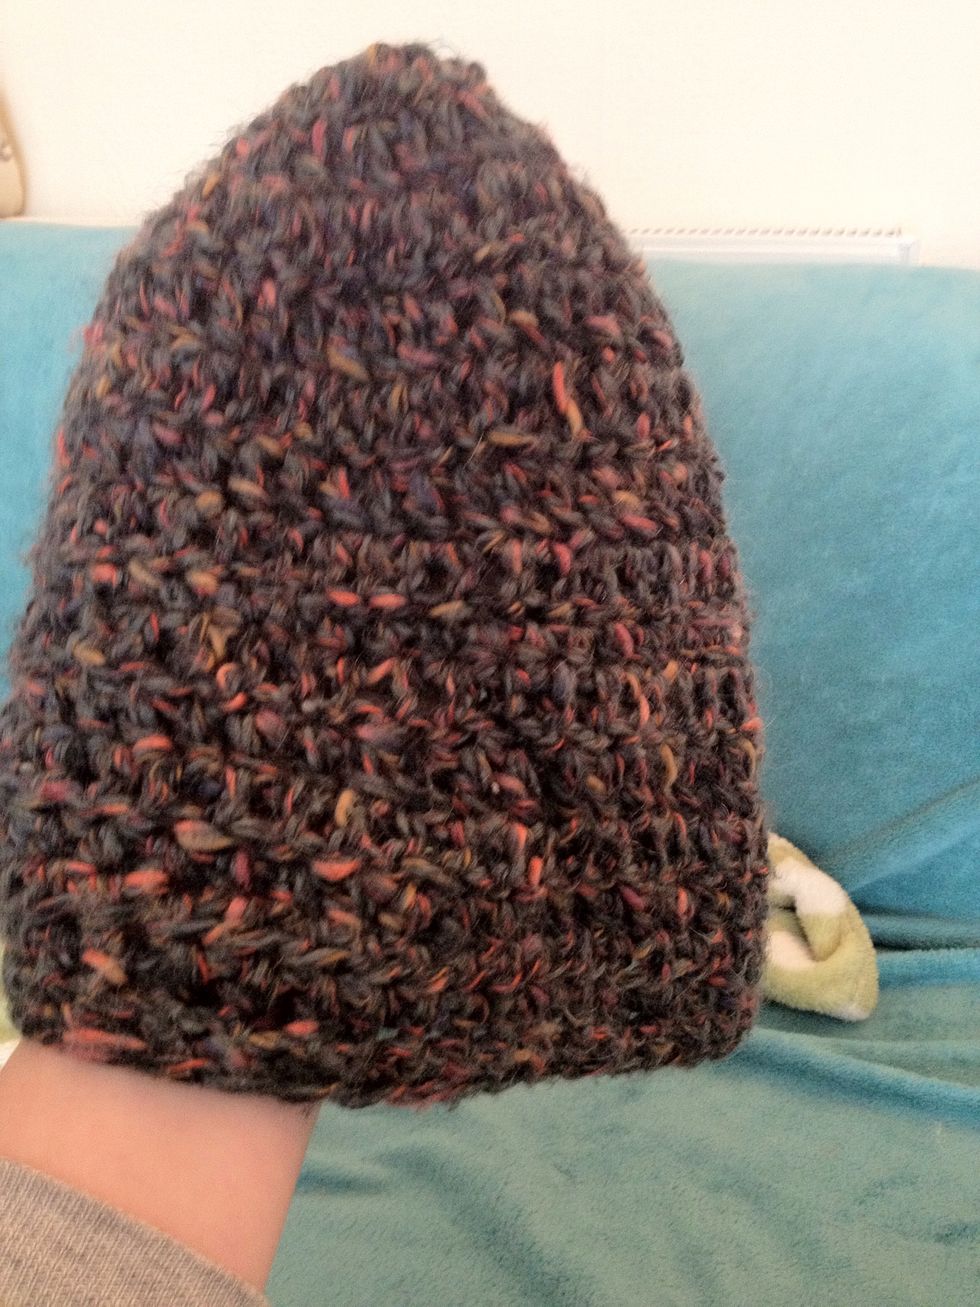
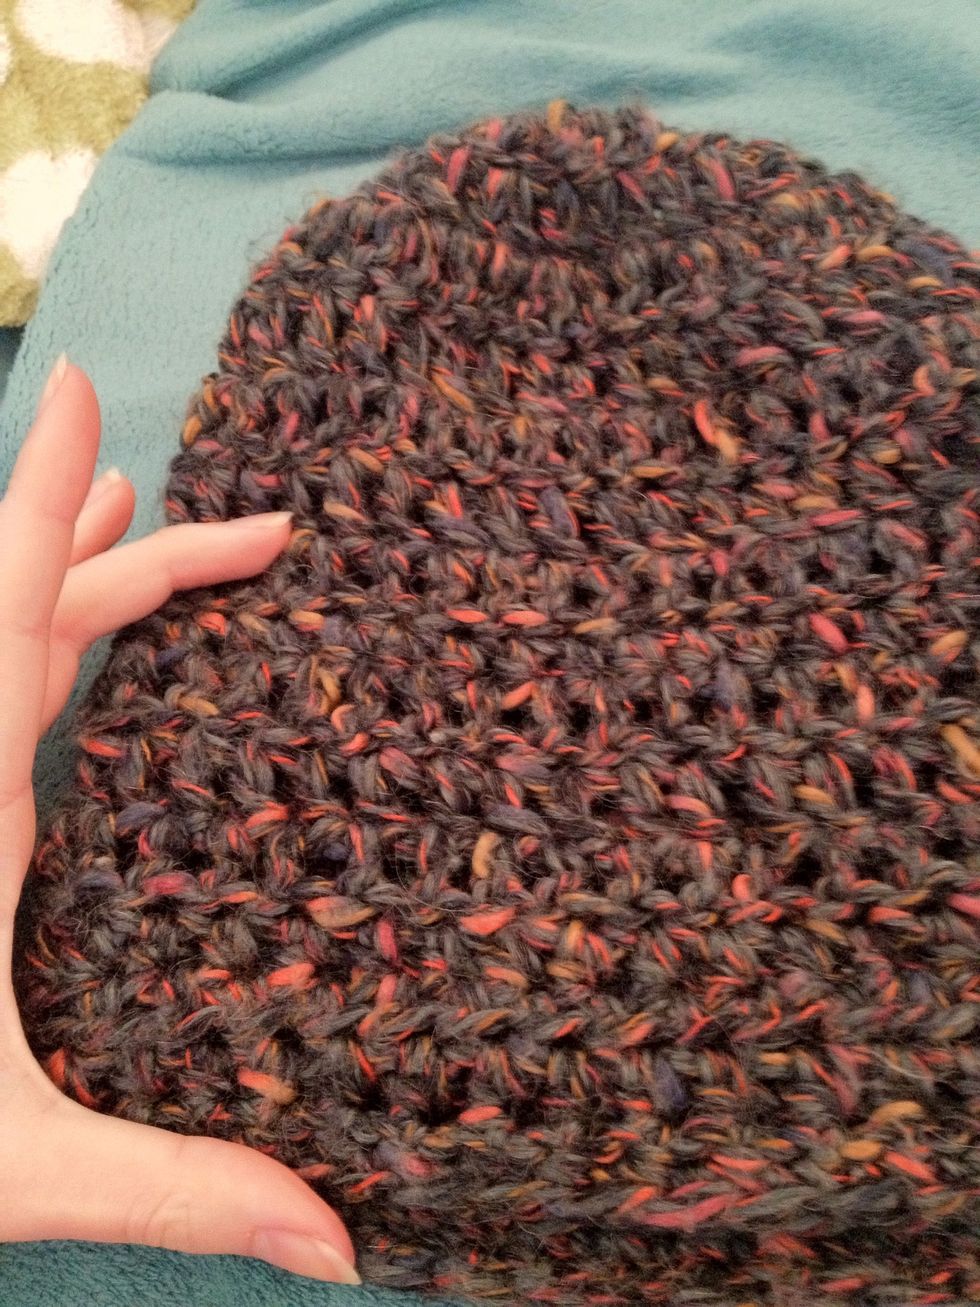
Tadah! Finished hat. To finish, tie off your yarn (how you prefer), cut and weave in your tails. Then you can wear your creation, or embellish it further!
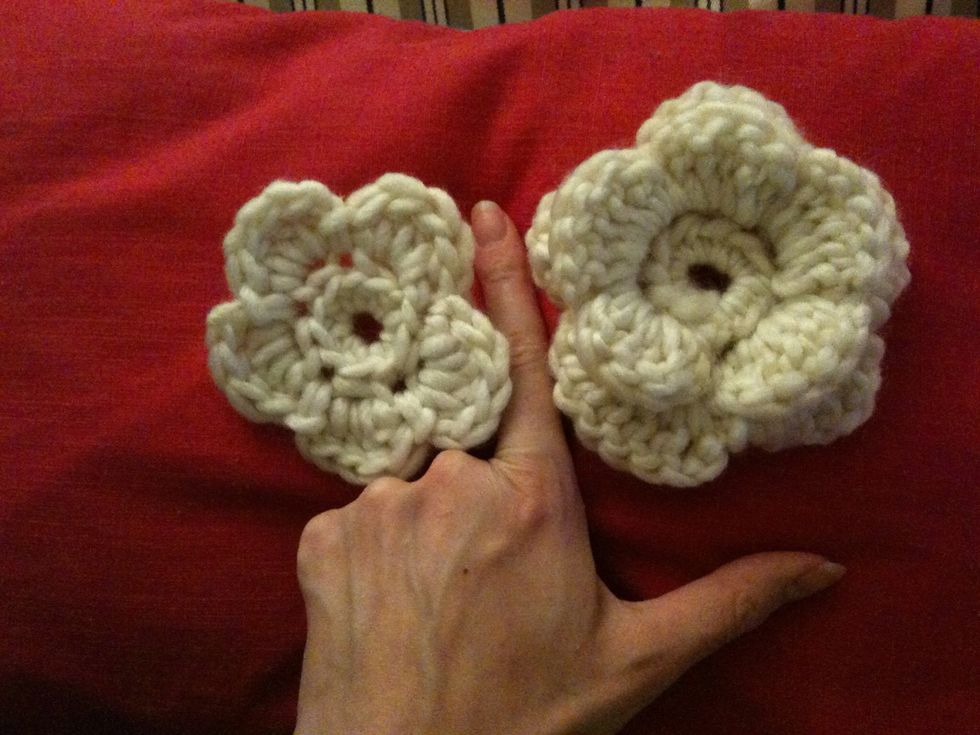
If you want to add embellishment, the most popular is a bobble ('pompon') or flower. These flowers are simple really, and pompons are very straightforward.
I will be writing a flower tutorial (and a pompon one, if anyone would like one, let me know by message)... Any questions, please let me know :)