
The Conversation (0)
Sign Up
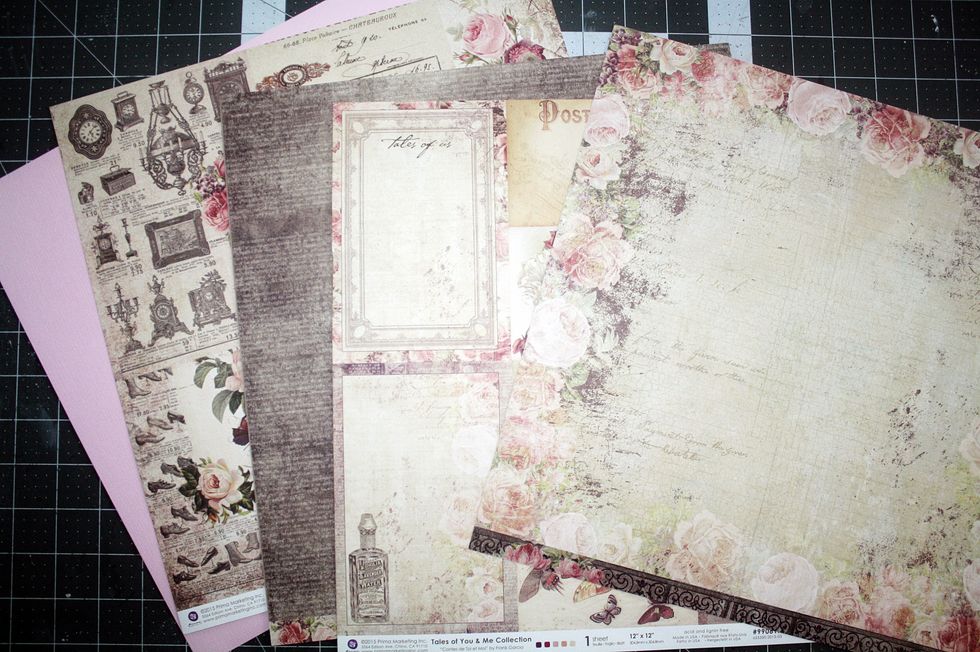
Paper seen here is from the Swirlydoos March 2016 Collection. The paper line is Tales of me and You by Prima. 1.Cardstock 2. Busy paper design 3. darker shade of paper 4. cards 5.main focal paper
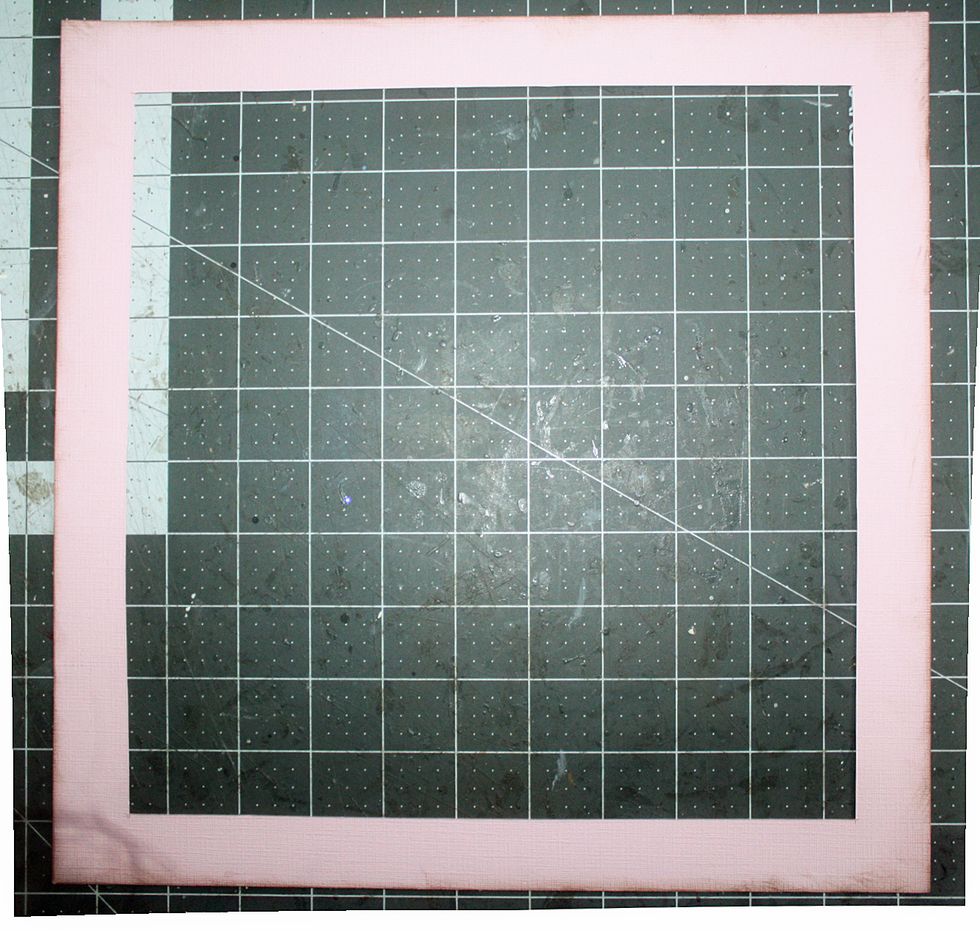
Lightly ink your cardstock and cut out a 11x11 square from center
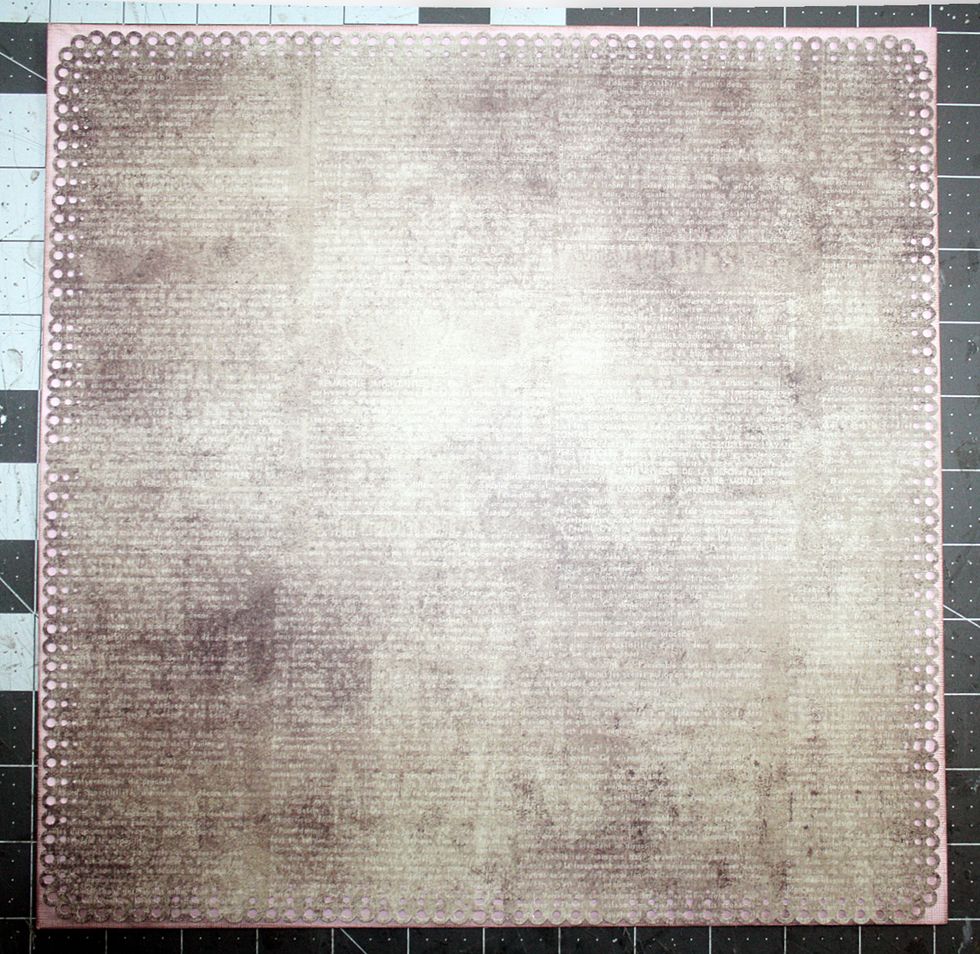
Take your darker shade of paper and punch the edges. Adhere to the cardstock.
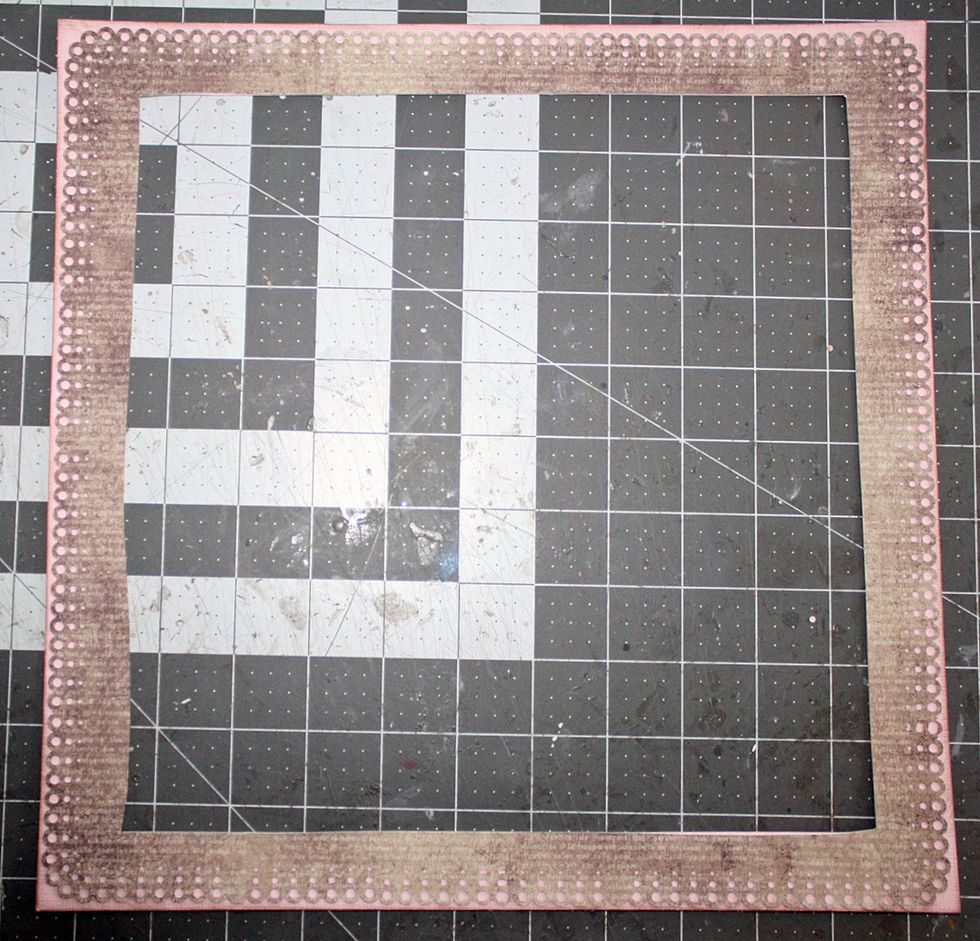
Again, cut out the center. In doing this you can save the center piece for more layering or another project.
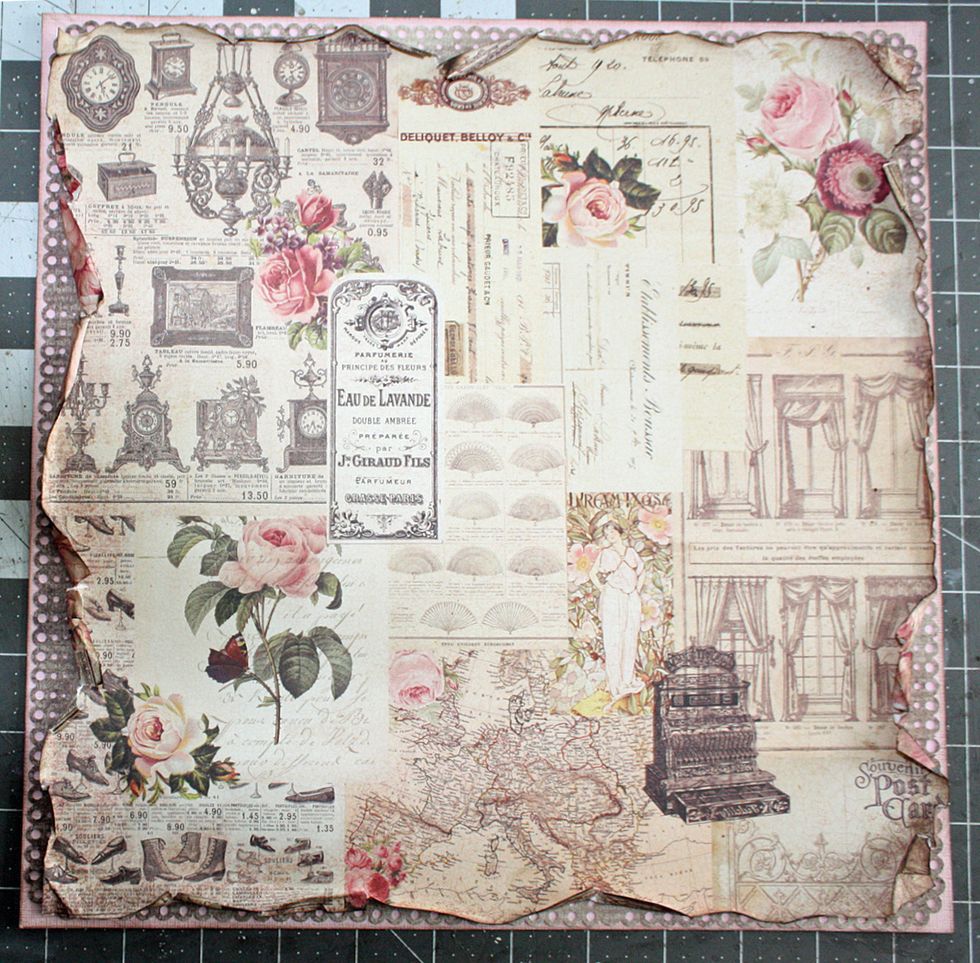
Take your busy piece of paper and heavily distress and ink edges. Layer on top of the other piece. So far you should have 3 layers of paper.
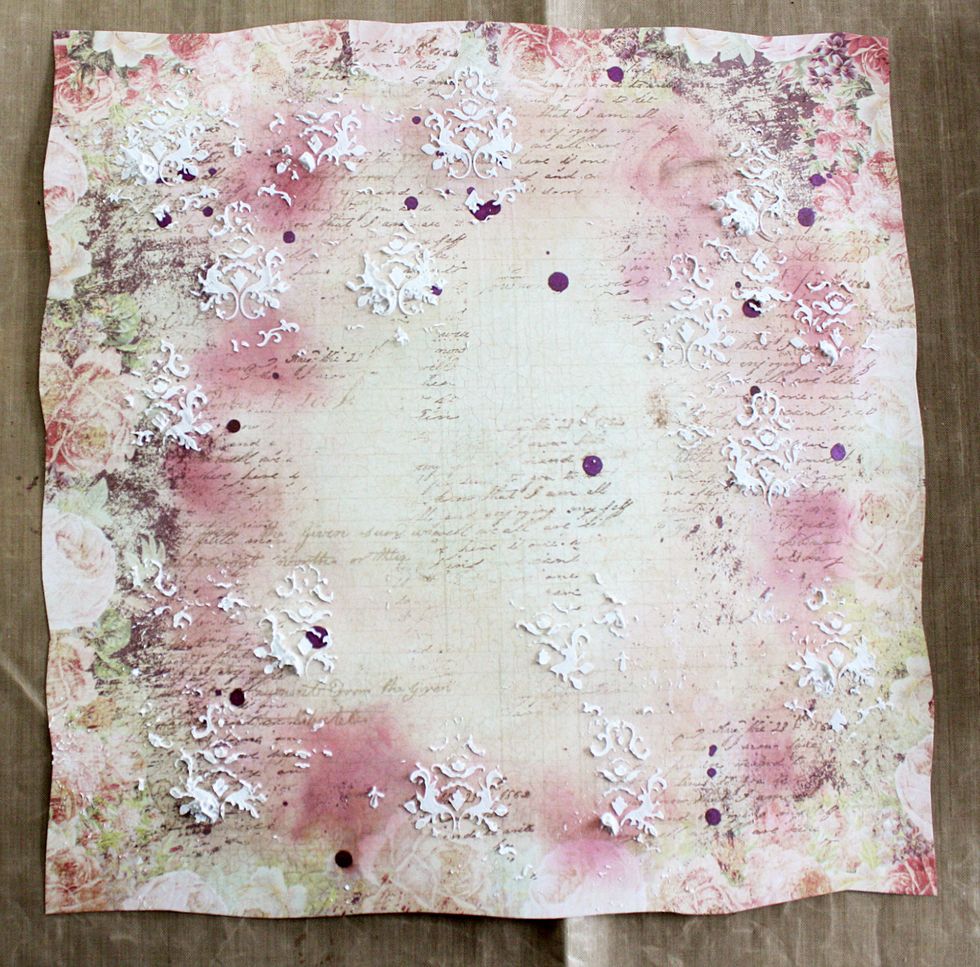
The main focal paper is where you can stamp, ink ,distress and add modeling paste. When choosing this paper you want to have less design and color so technique can be seen.
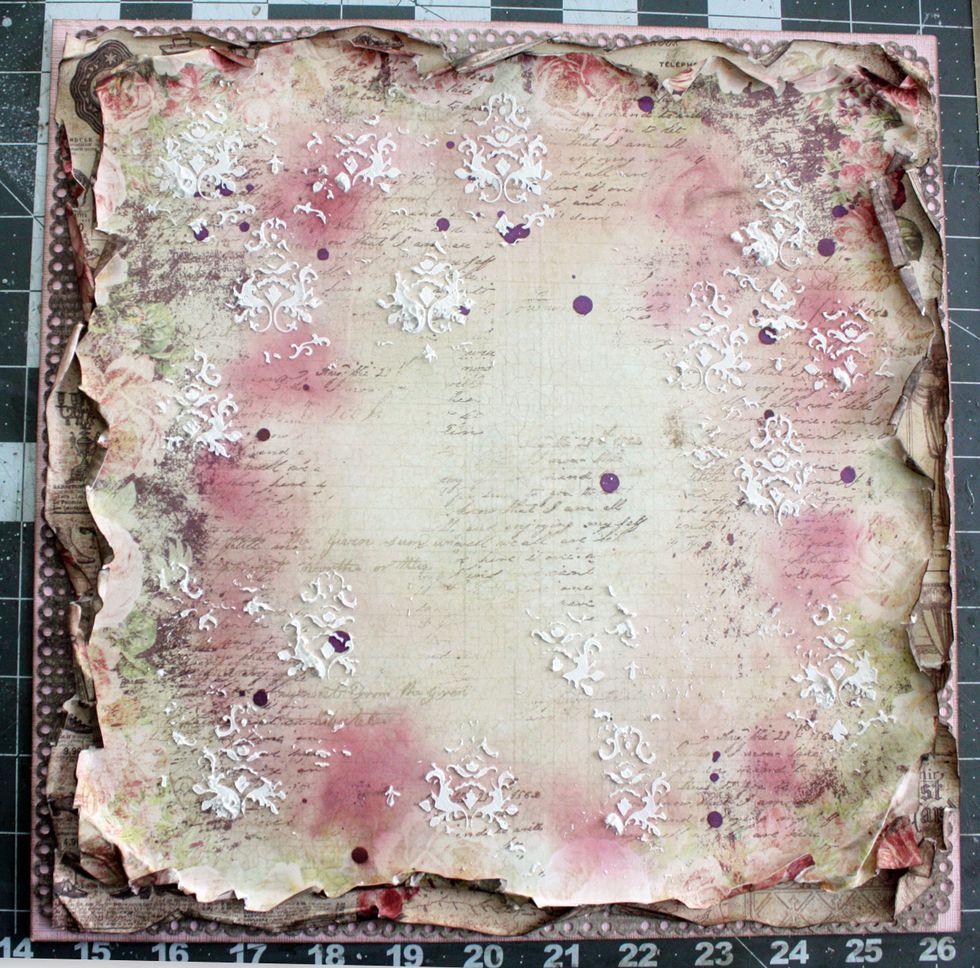
Trim 1/4" or more on each side of the focal paper and heavily distress. Then add to the top of all your layered papers.
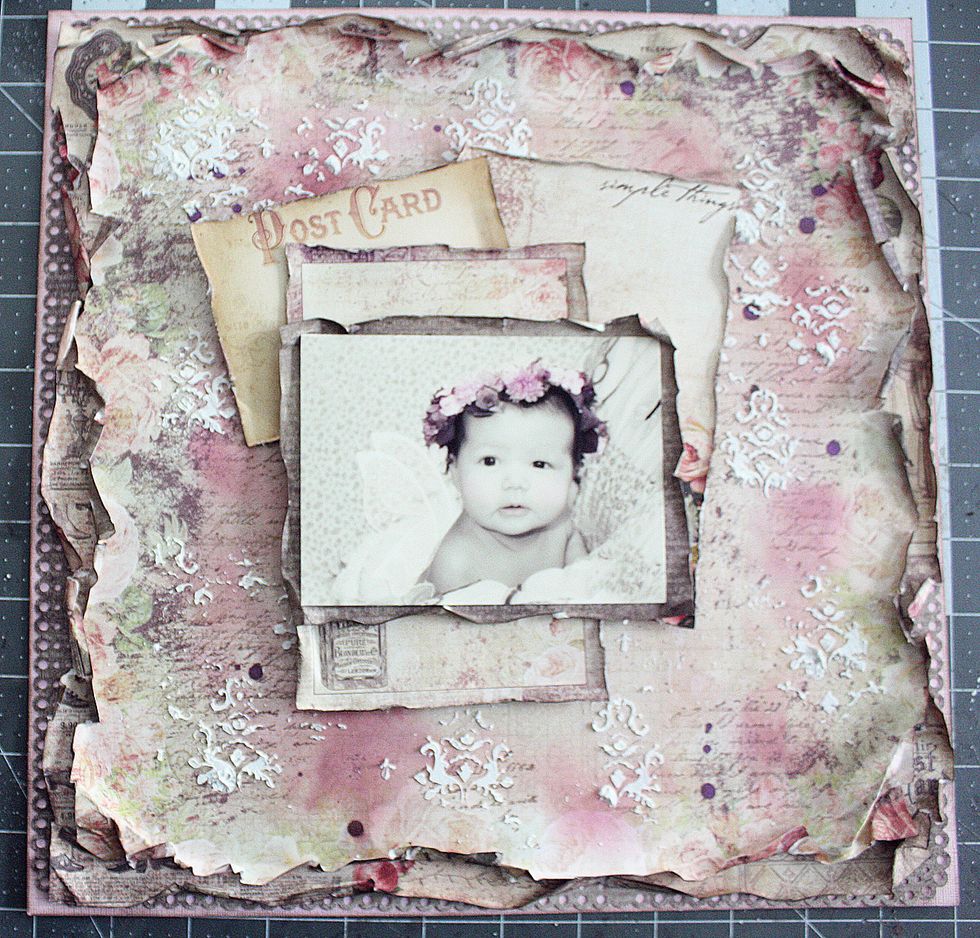
Remember how we cut the center out of the darker paper. I used it for a photo mat for contrast and make the photo pop. Most paper collections come with cards or frames. Cut those out to layer.
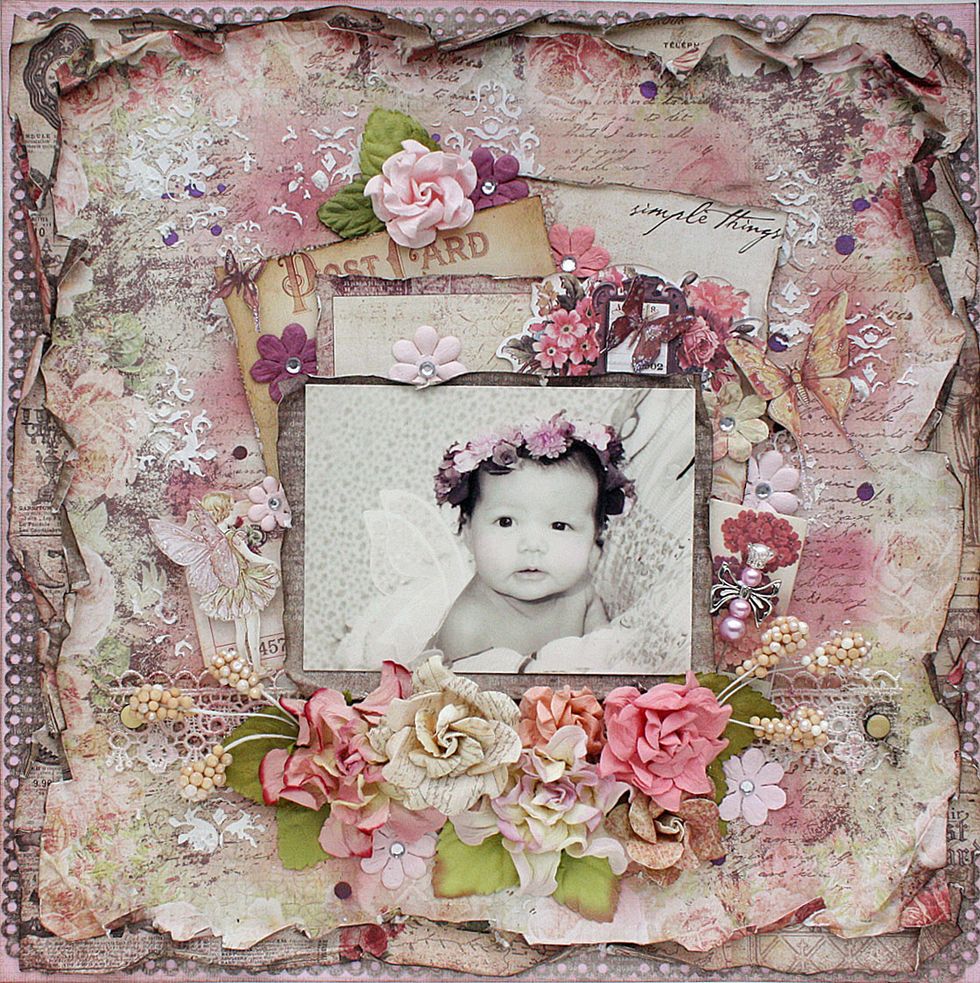
Once you add all your embellishments to all the layers of paper you'll have lots of dimension.