The Conversation (0)
Sign Up
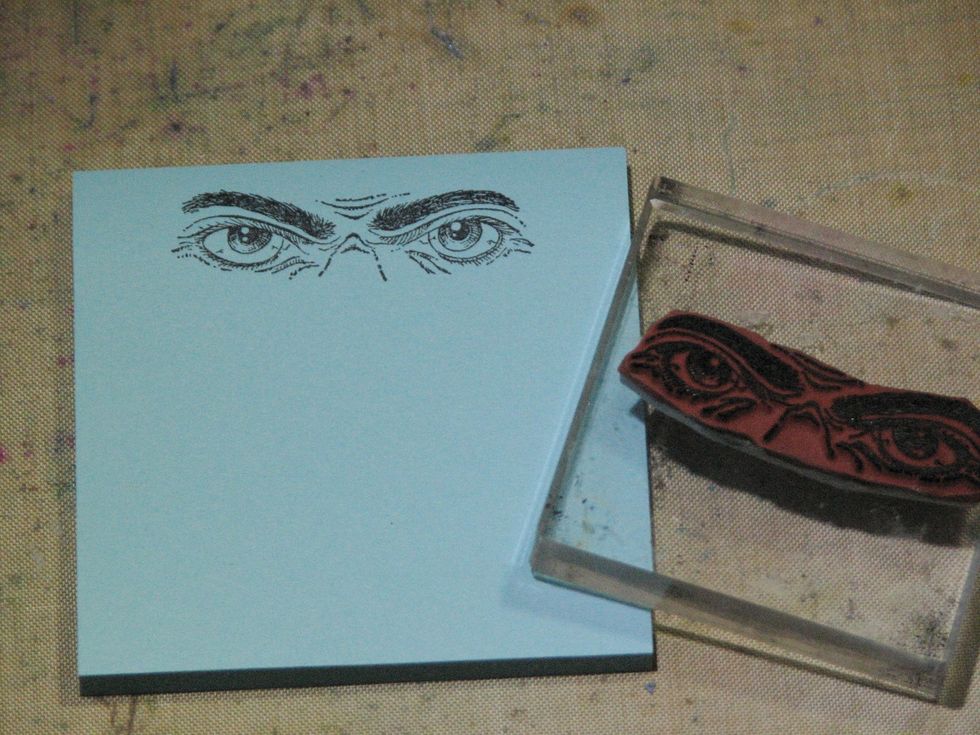
Stamp the spooky eyes on a Post it Note and trim. This will become the mask while we apply the paint and PanPastels.
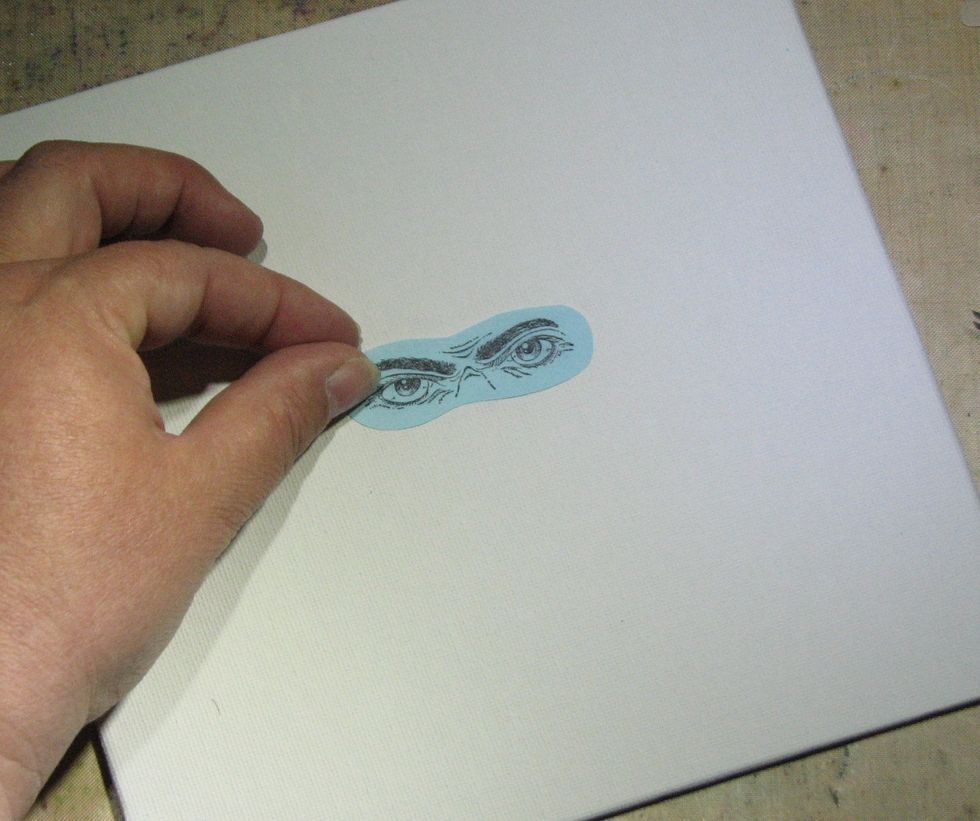
Position the mask where desired. I put mine right in the center of the canvas.
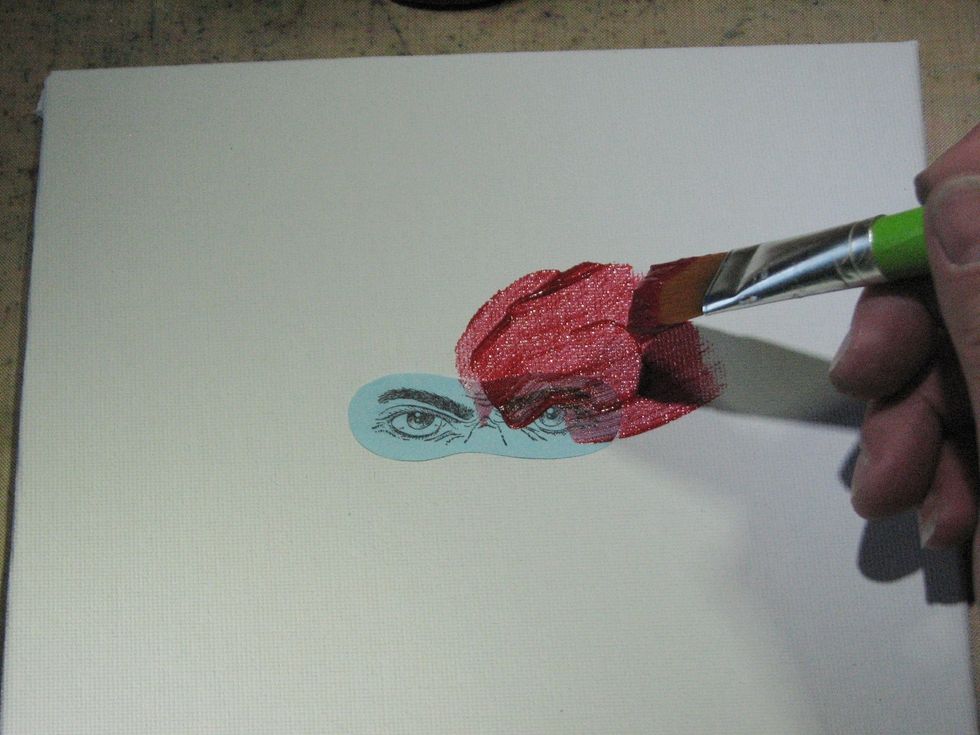
Begin applying the first layer of paint. Since this paint has a translucent quality I started from the eyes and worked towards the edges.
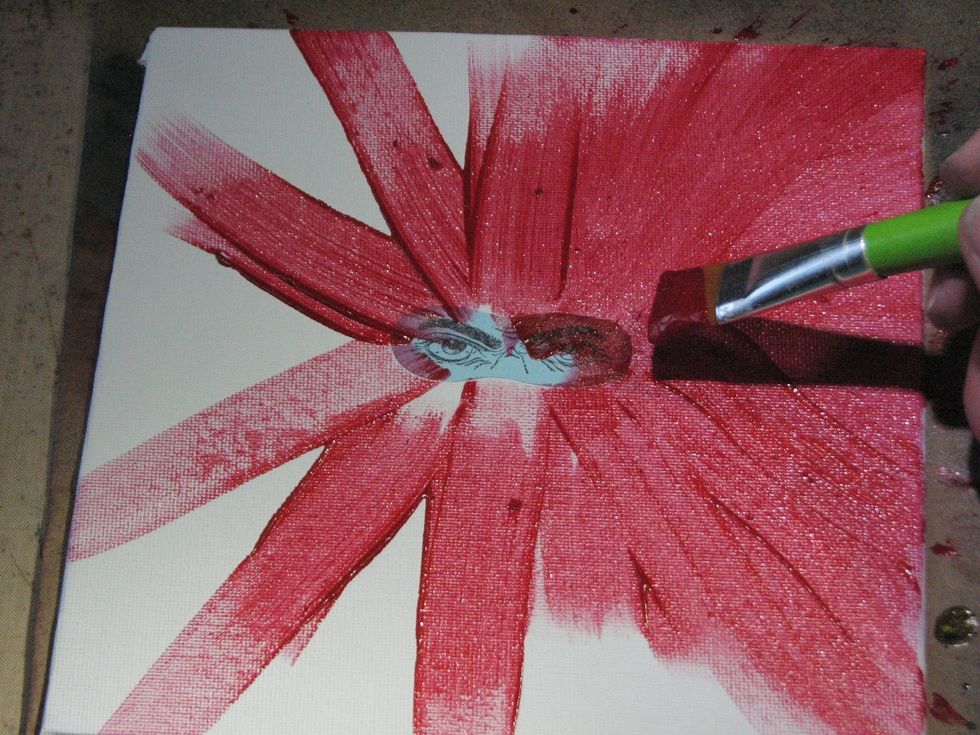
By working the paint from the center outward the brush strokes will radiate from the eyes adding to the spooky effect.
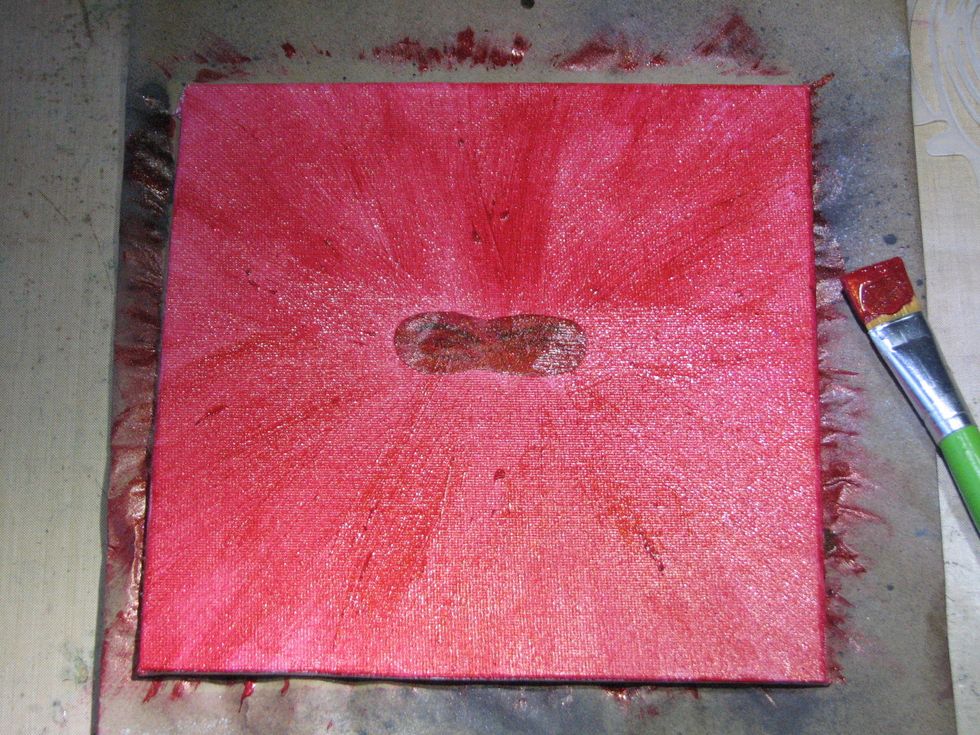
You'll need to let the paint dry completely - depending on how thick your layer is it could take anywhere from a few minutes to an hour or so.
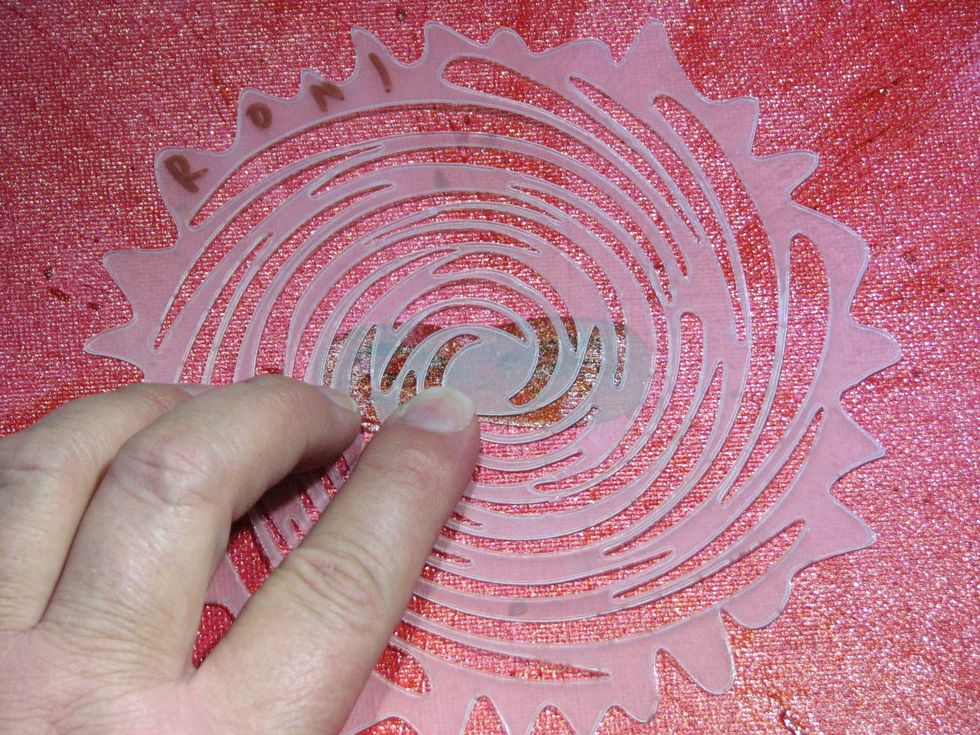
Position the hypnotist swirl over the eyes/mask so it looks like the rays radiate from them.
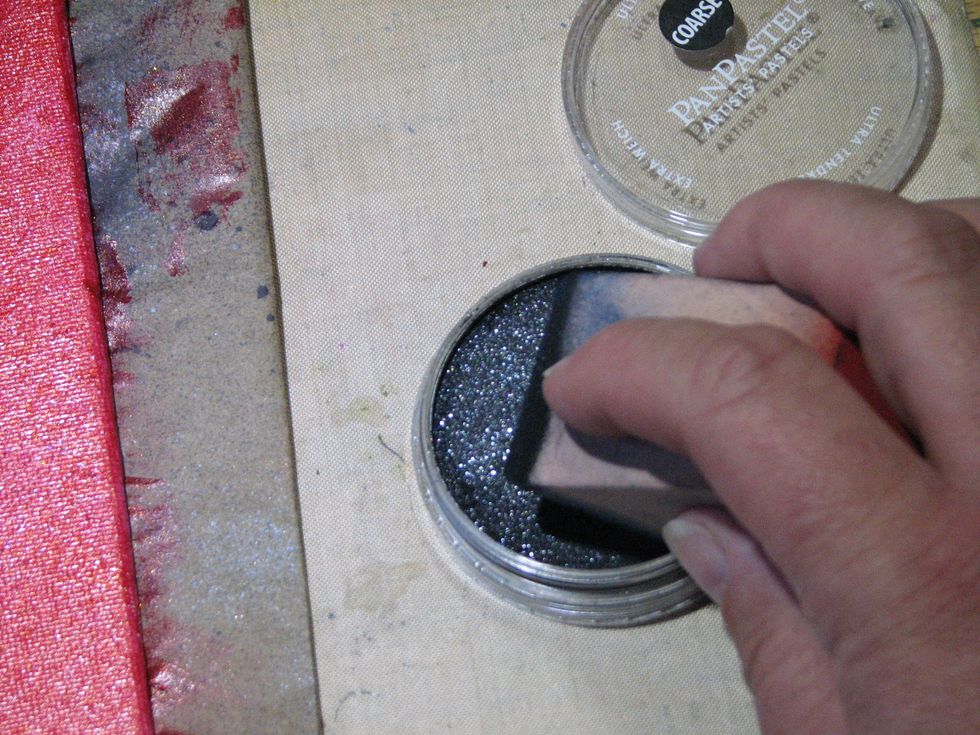
Pick up some of the PanPastels (Coarse Black Sparkle) with the Softt Sponge
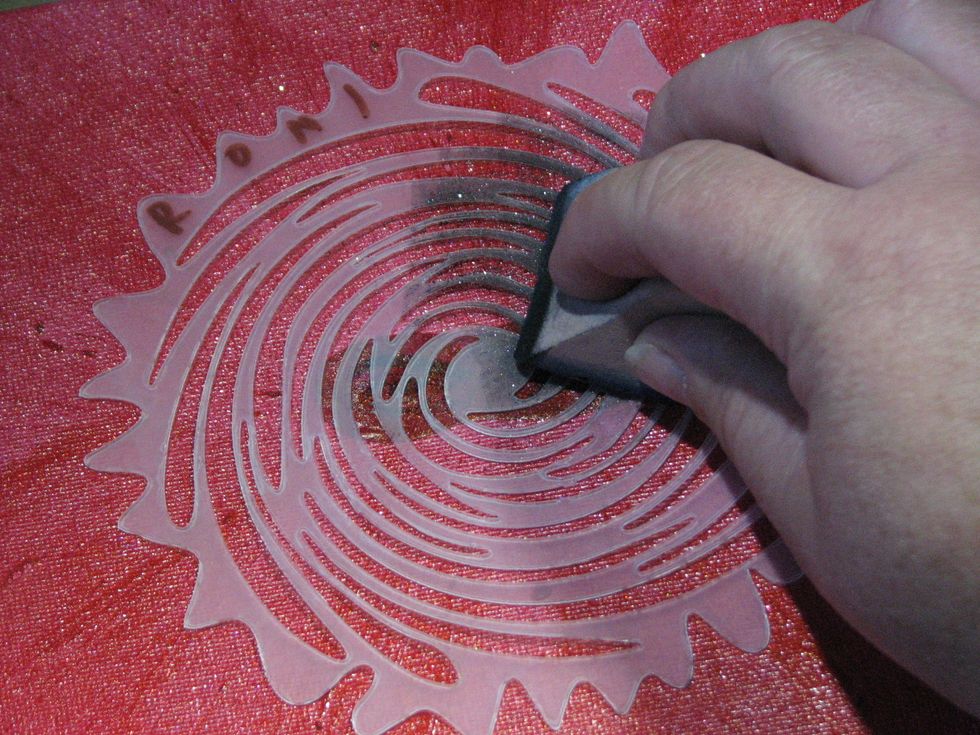
and begin applying it to the canvas over the mask.
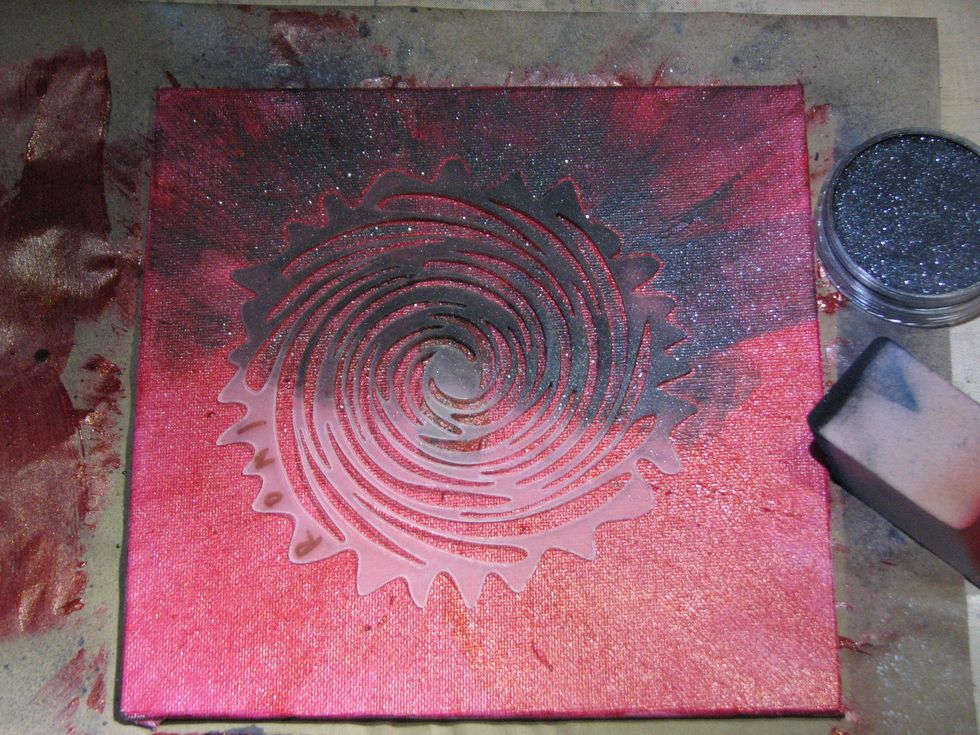
Continue to apply the PanPastels from the center outward so it looks like it is radiating from the eyes as well.
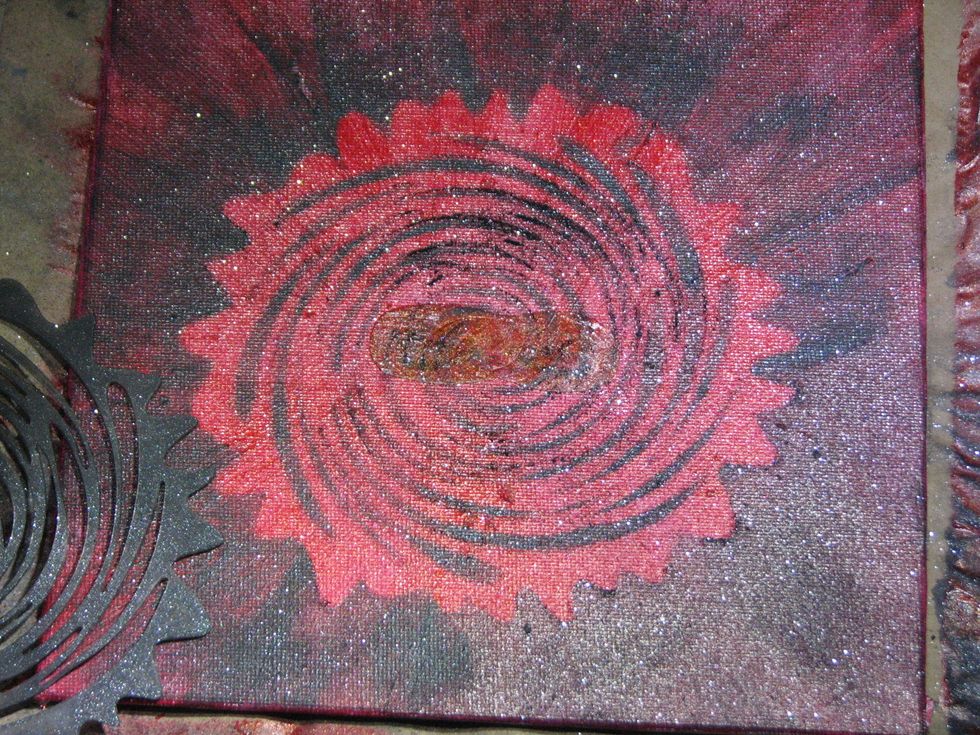
Once you have the entire canvas/stencil covered carefully remove the stencil and mask from the canvas.
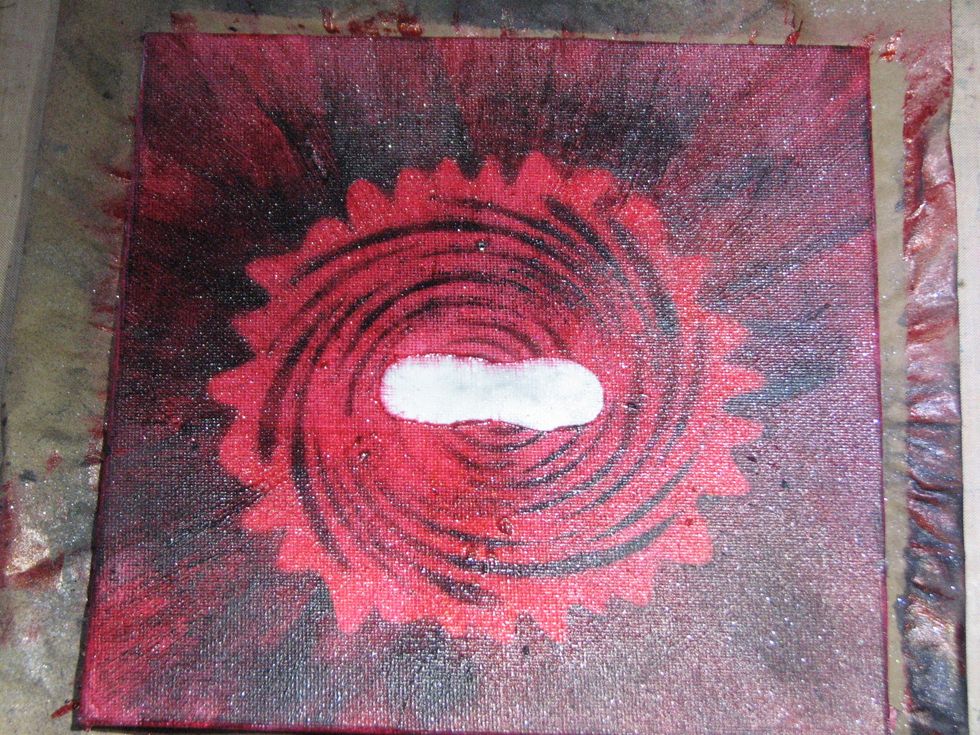
You'll need to spray the canvas with a fixative to set the PanPastel. As you can see some of the paint bled into the area reserved for the eyes...no worries...you'll see why in future steps.
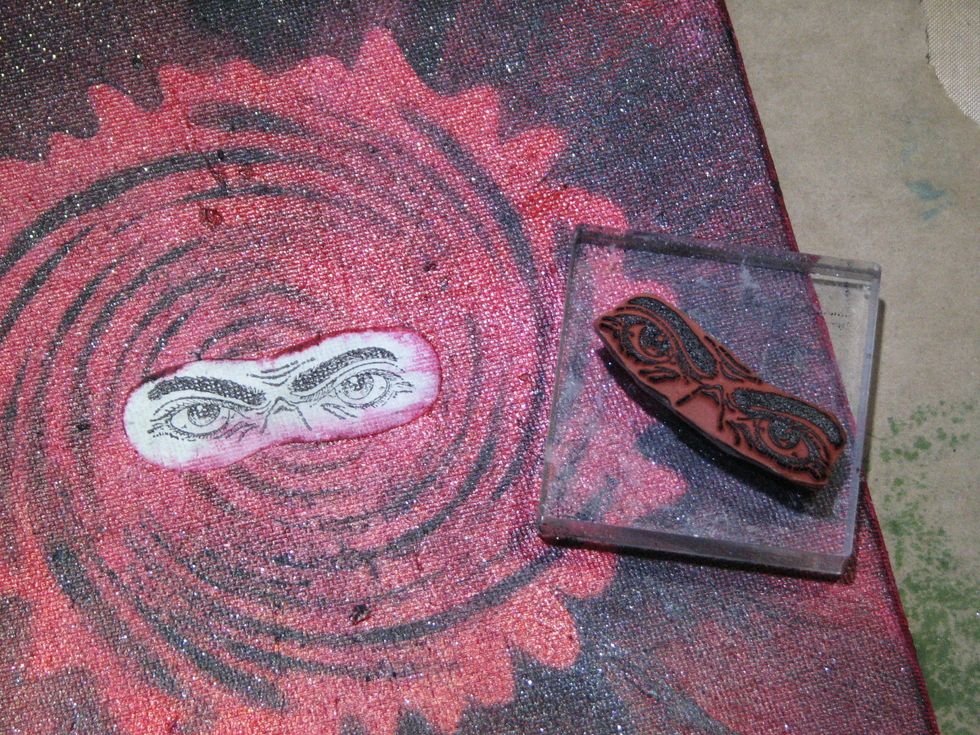
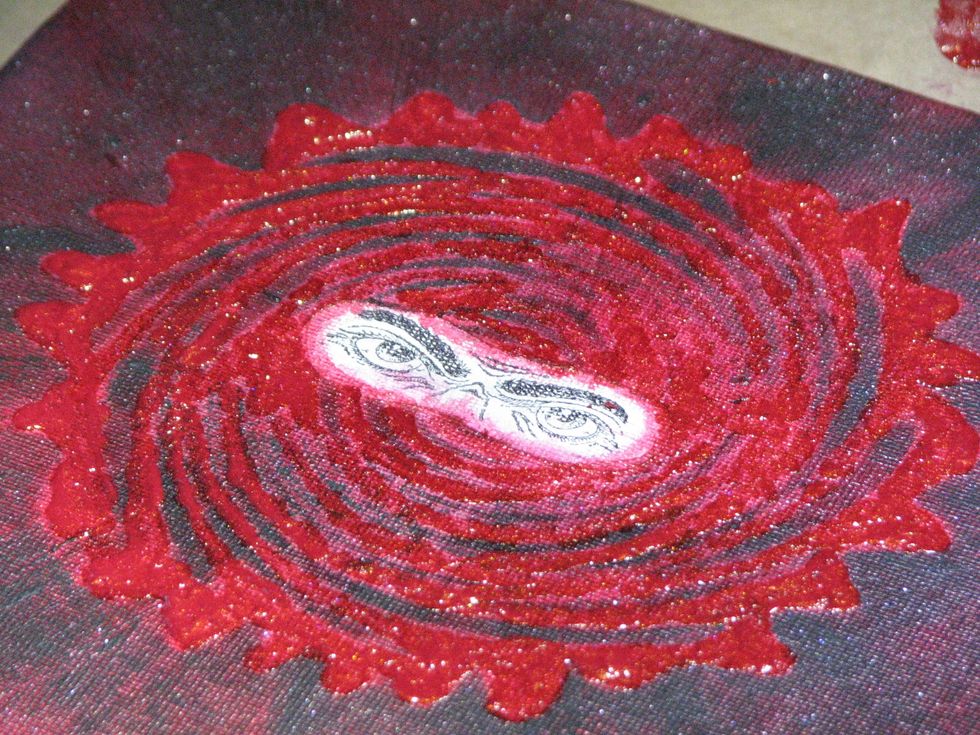
Stamp the eyes in the reserved space using StazOn Ink.
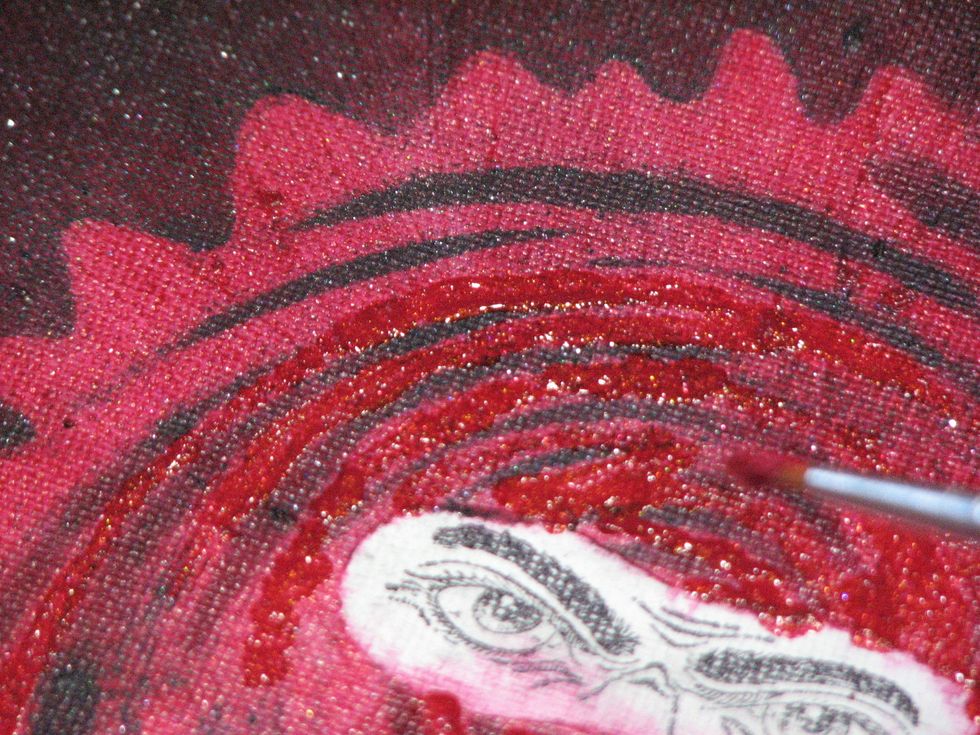
To give the canvas texture and dimension I went back and painted in between the lines of the stenciled design.
You can somewhat see the dimension the paint lends to the canvas in this photo. Let it dry completely before moving to the next step.
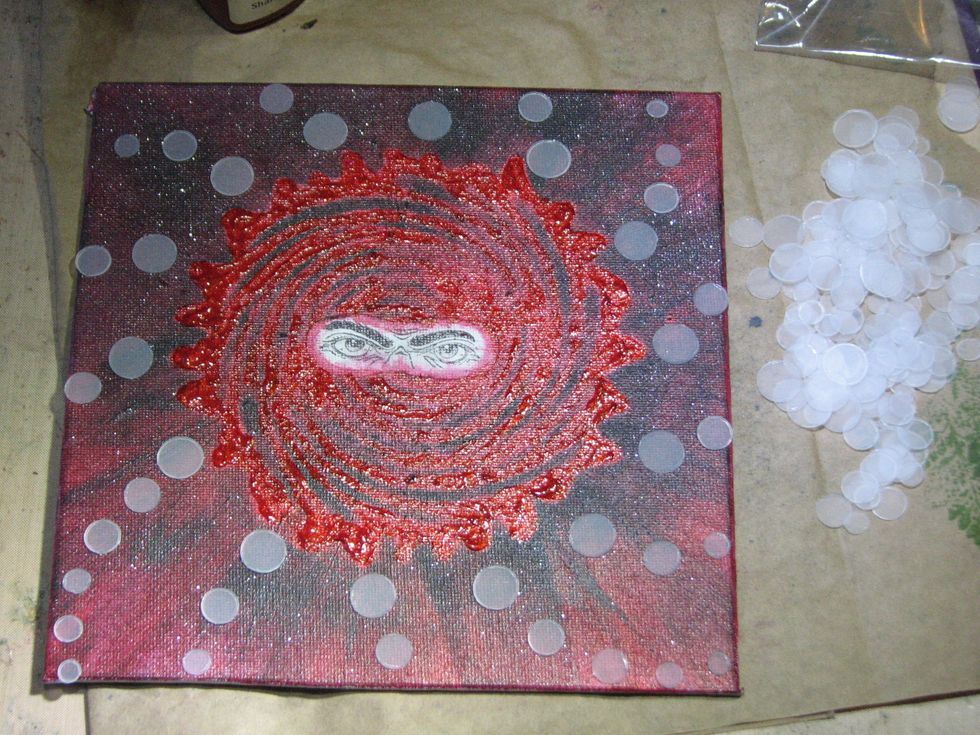
Next you will need to determine the lay-out of the Embedibles... Keeping with the spinning design of the stencil I laid out the dots in curved lines.
Once satisfied with the lay-out I glued each dot down to the canvas using Aleene's Tacky Glue.
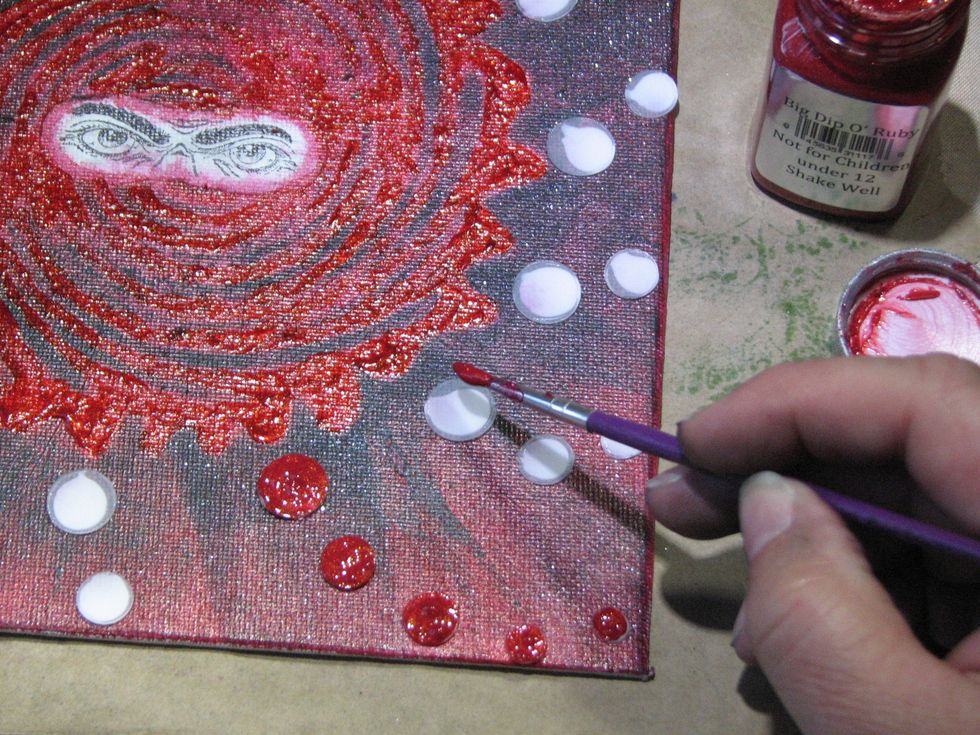
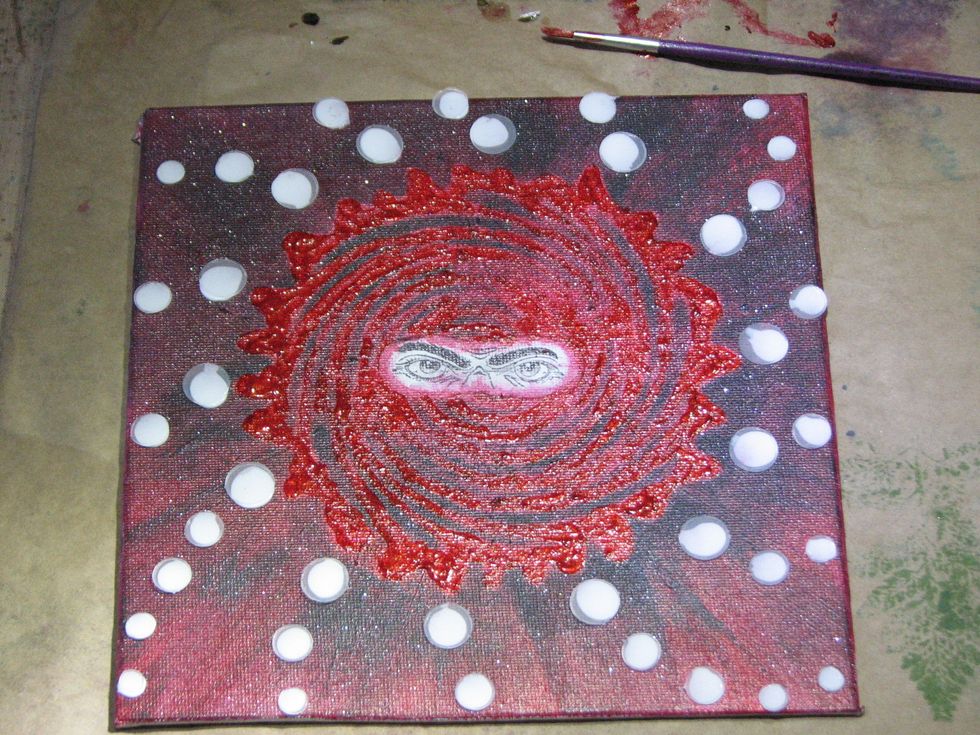
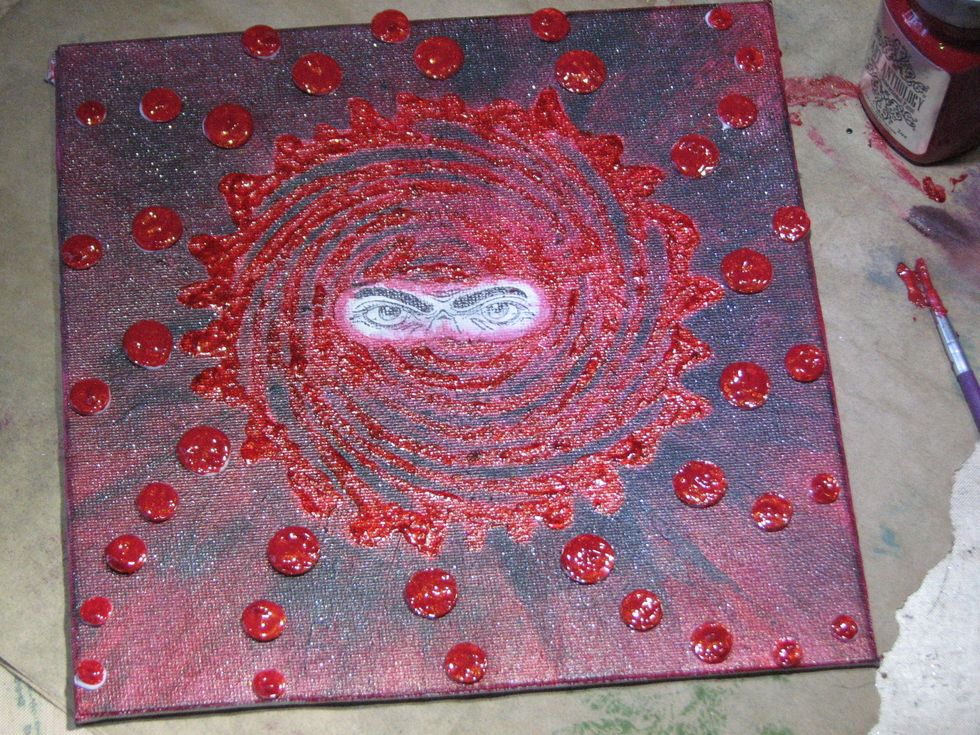
Taking advantage of the nice thick "pudding" texture of the paint I applied a heavy layer on each of the dots. This thicker layer of paint will take longer to dry but it's well worth it.
Once the paint has dried it's time to work on coloring in the eyes. I used a combination of Spectrum Noir Colored Pencils and Sakura's Black Glaze Pen.
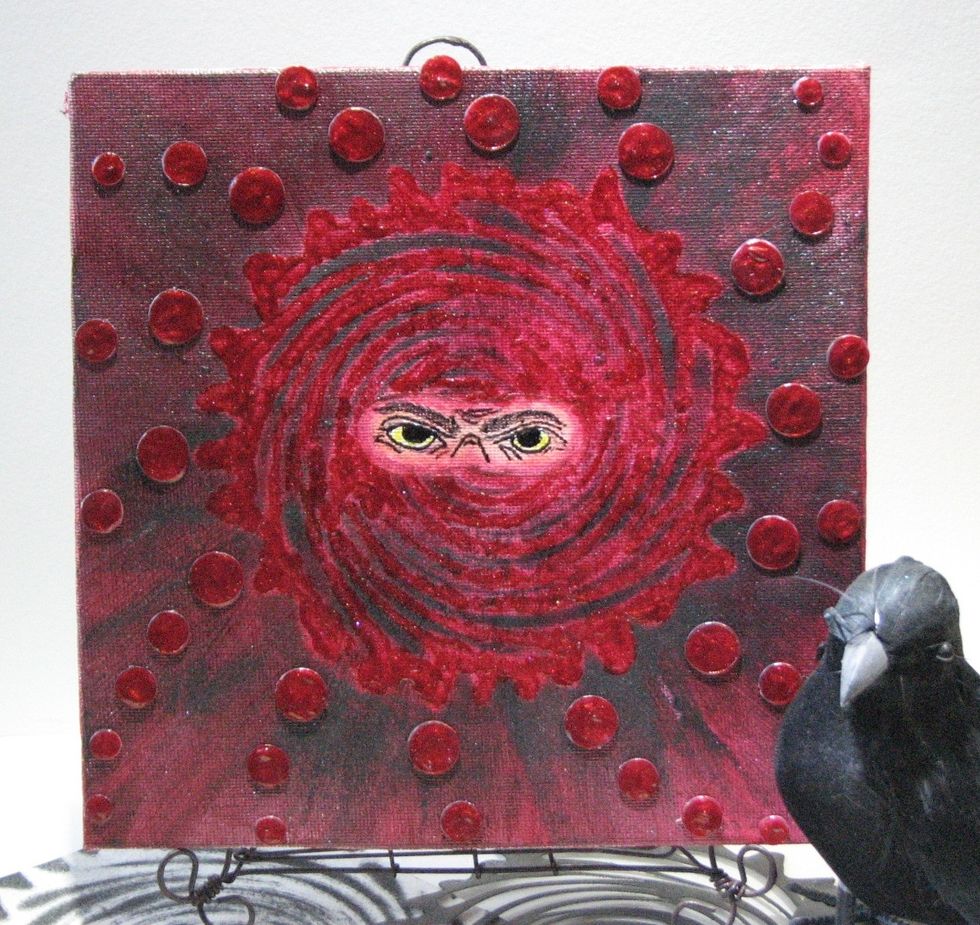
And here's how it turned out.... Don't stare at those eyes for too long or you might fall under his spell.
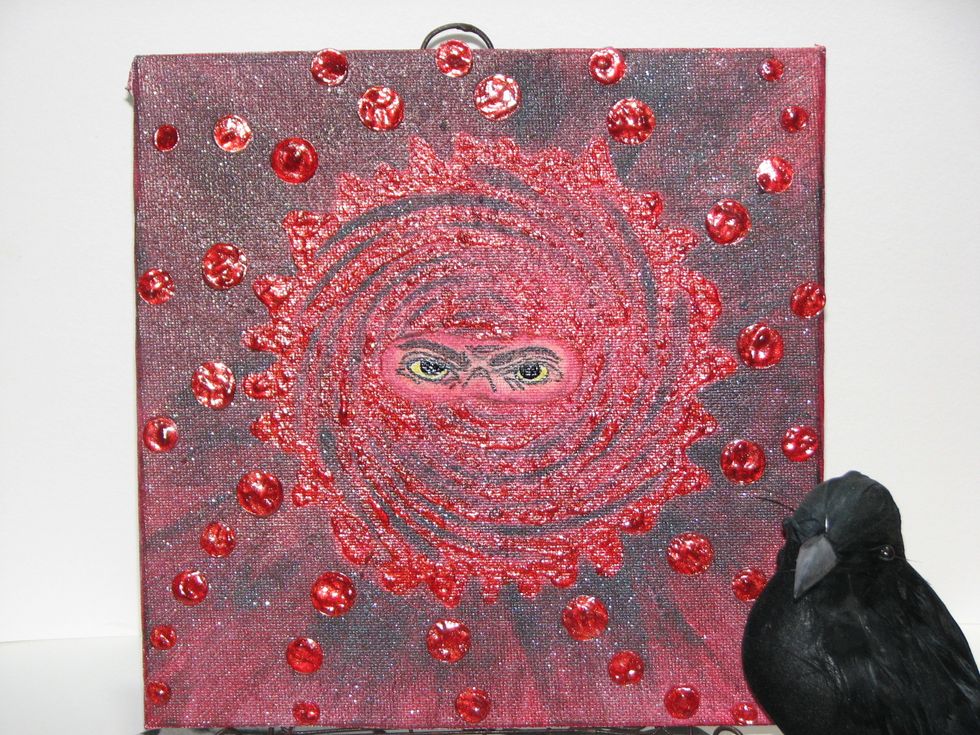
This photo was taken at a different angle to show how dimensional the paint really is!