STEPS
TOOLS
You need to come up with your design and produce it whether it's by hand or computer. I made it on Adobe Illustrator to have better control over the sizes of the stickers.
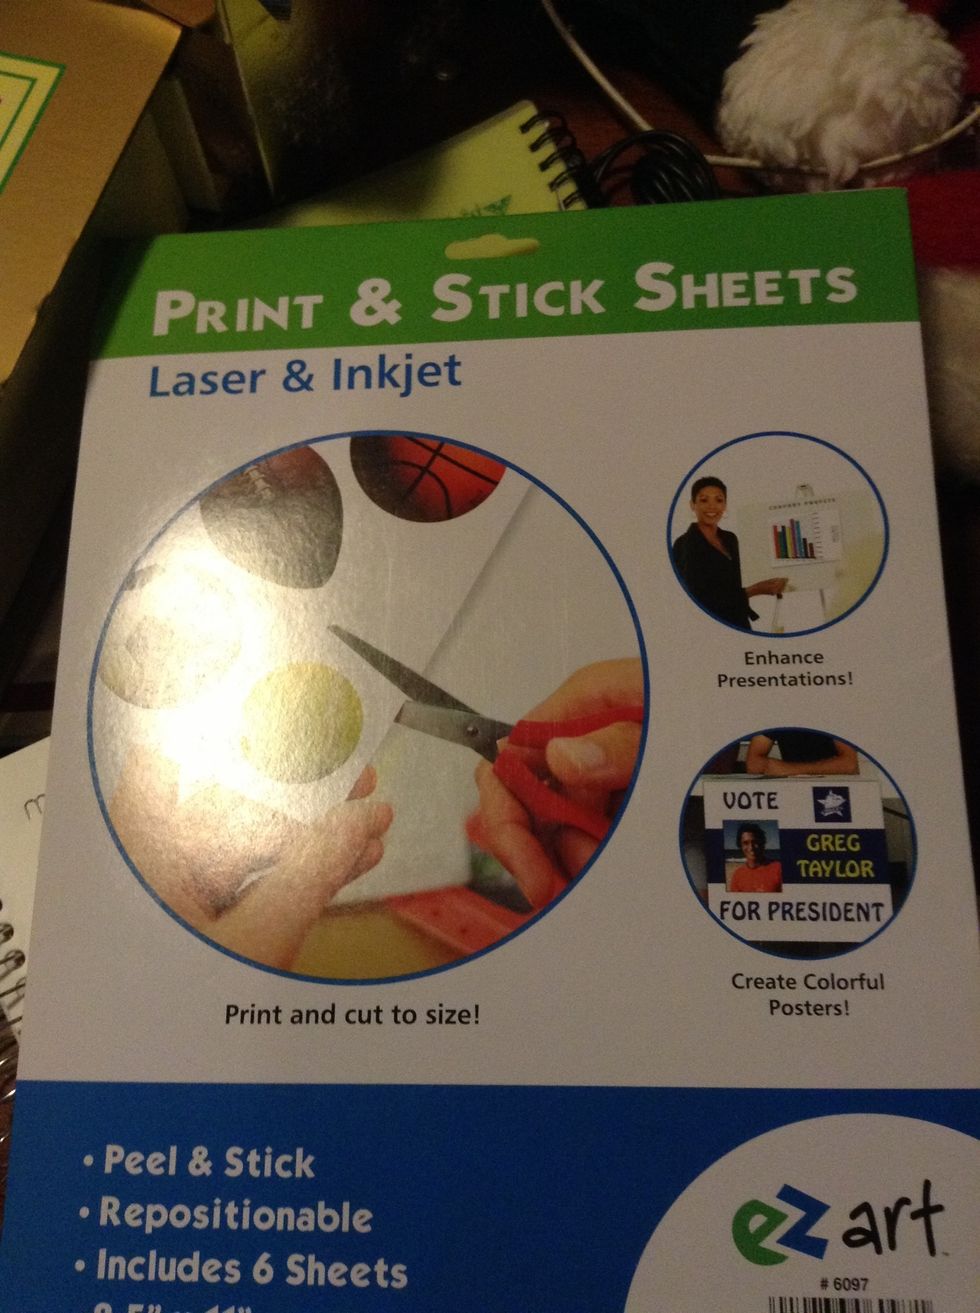
I used this "print & stick" paper. It's cheap and the surface will hold pretty much any type of ink like markers or printer ink.
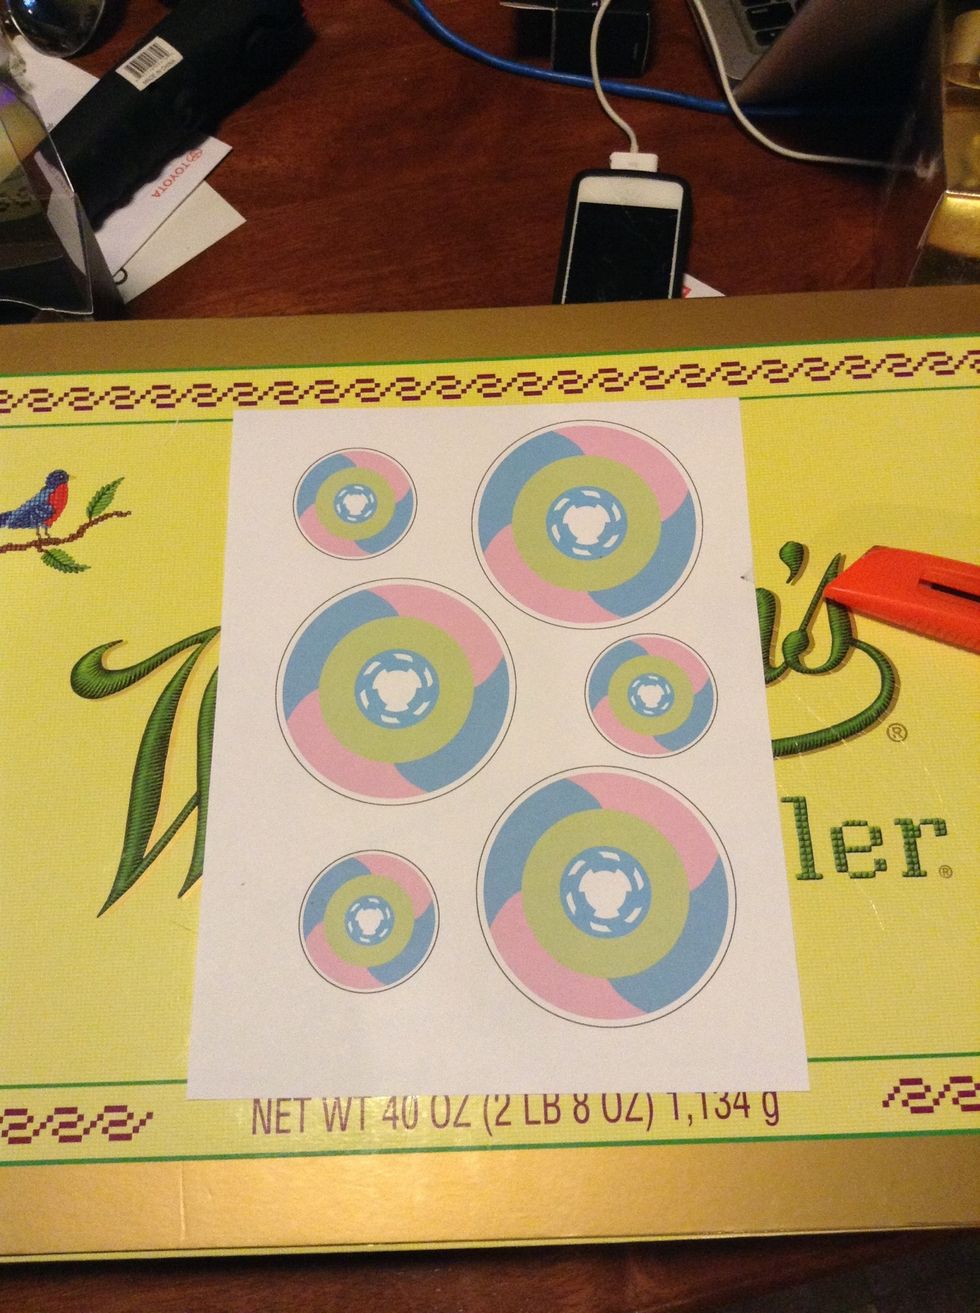
I've printed my sticker design in two different sizes thrice to make the most of the paper. The black outline is meant to help me cut later.
I like to laminate the stickers in order to make them look glossier and more durable. Laminate before cutting.
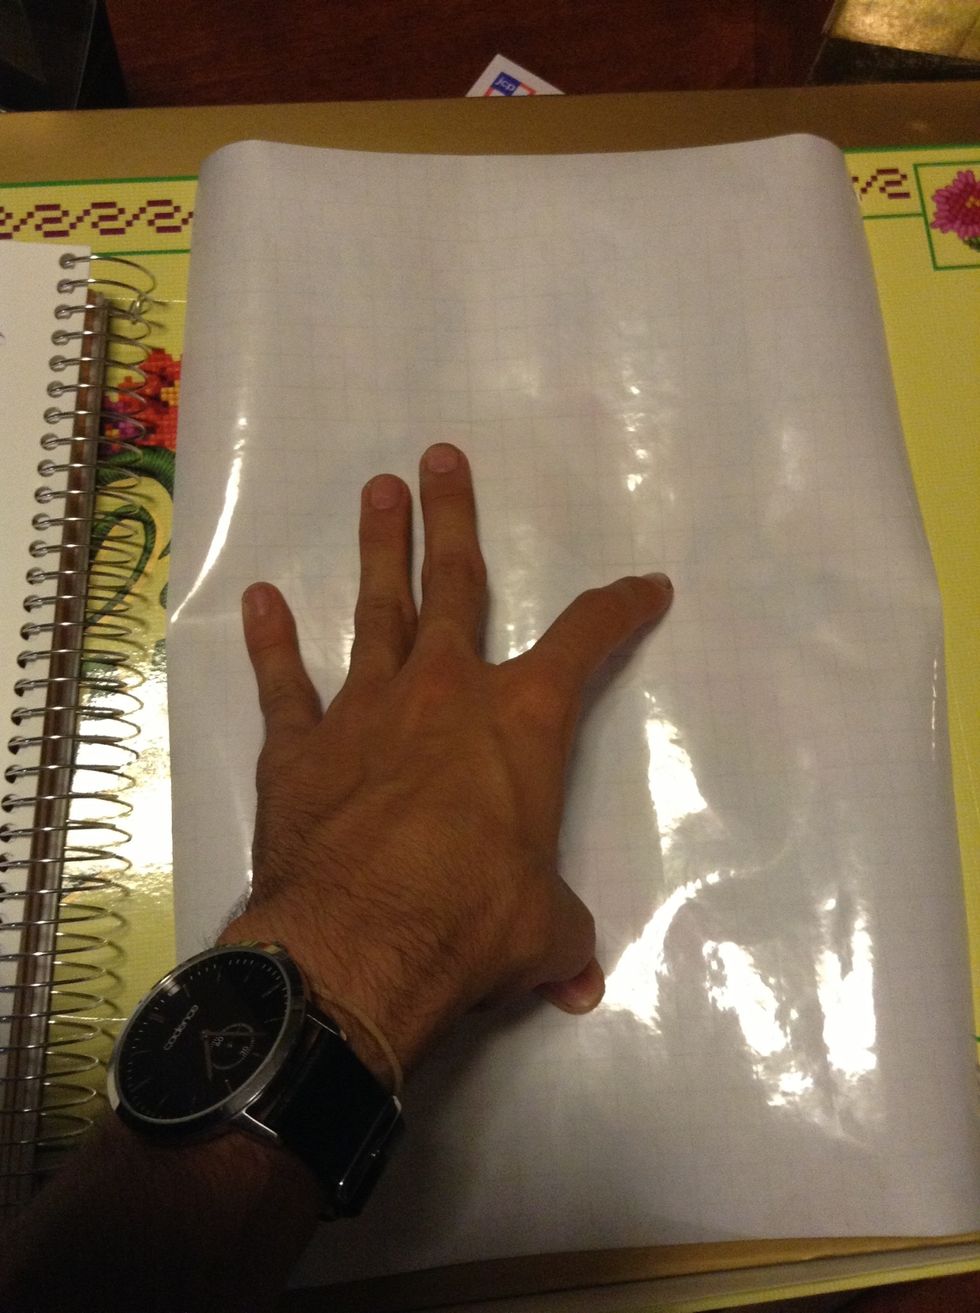
Cut out some laminating paper that exceeds the dimensions of your sticker paper. Limit the excess laminating paper to save up for later use.
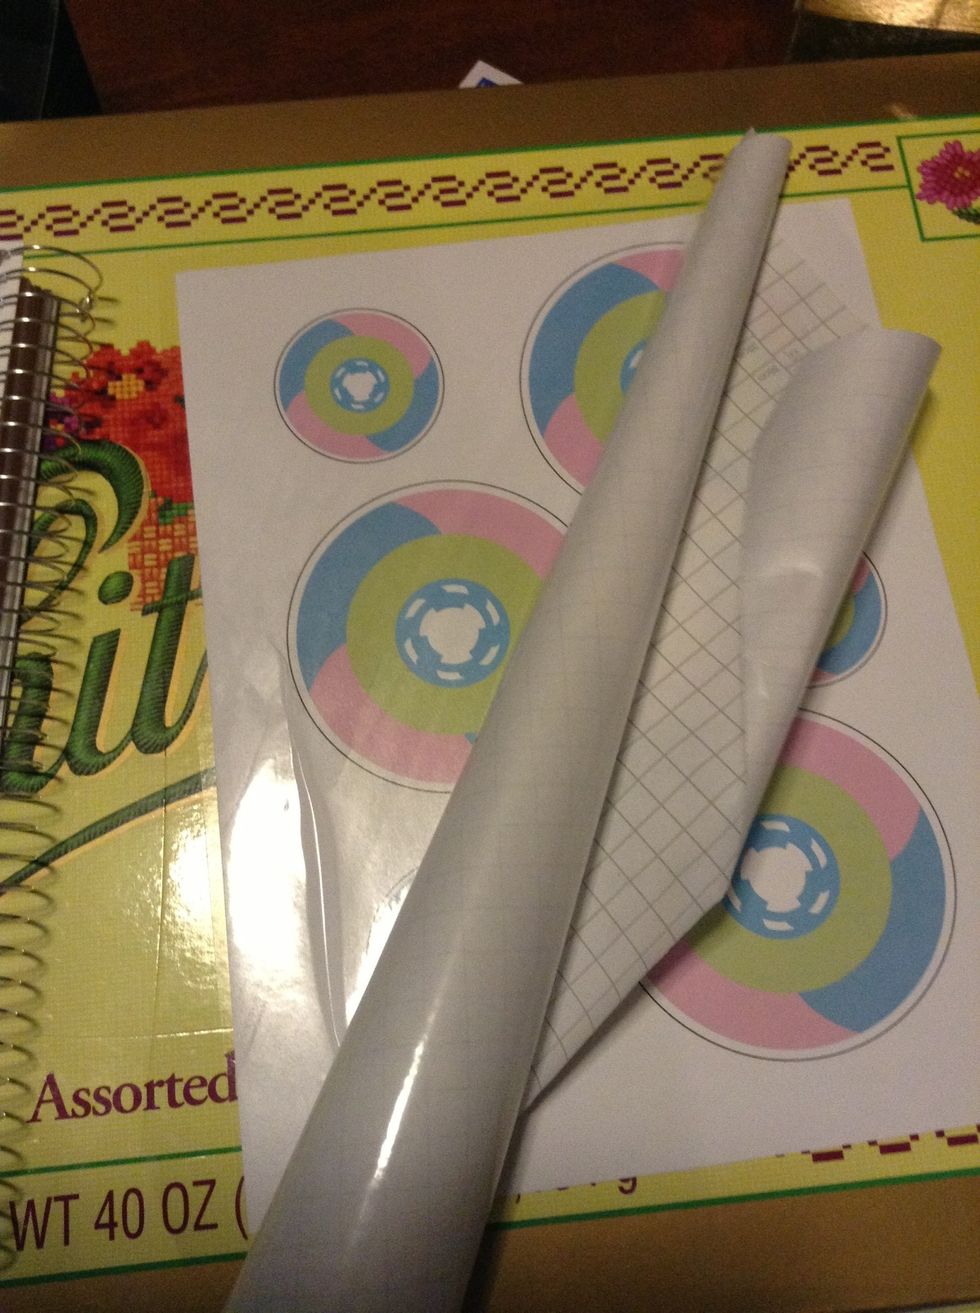
Laminate the sticker paper. Ensure that bubbles don't form over the image. Any bubbles that form in the areas outside of the image don't matter. They'll be removed later.
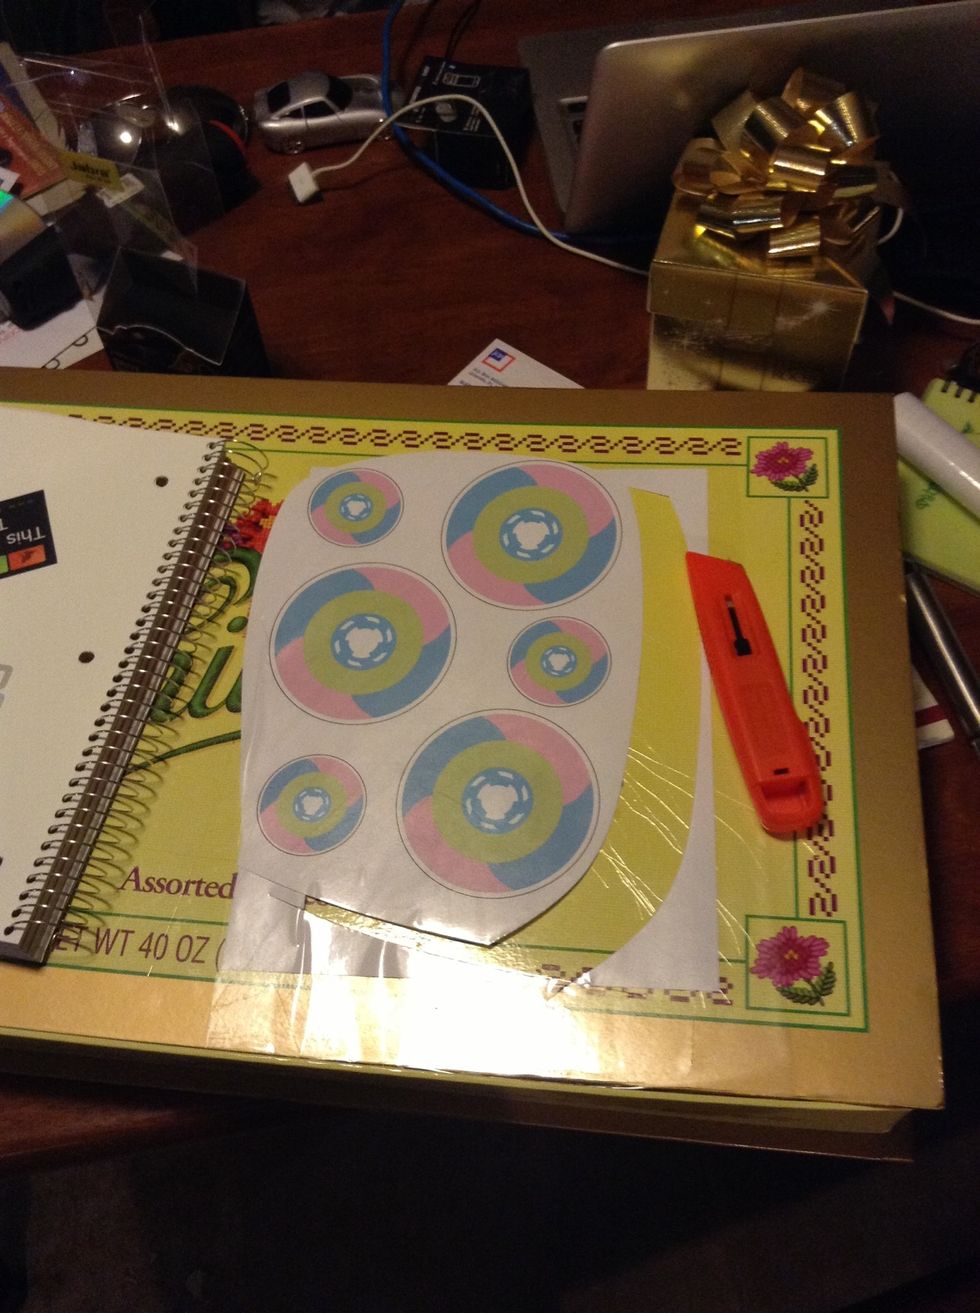
Once you're done laminating the page, use the knife or scissors to start cutting out the excess paper and laminate.
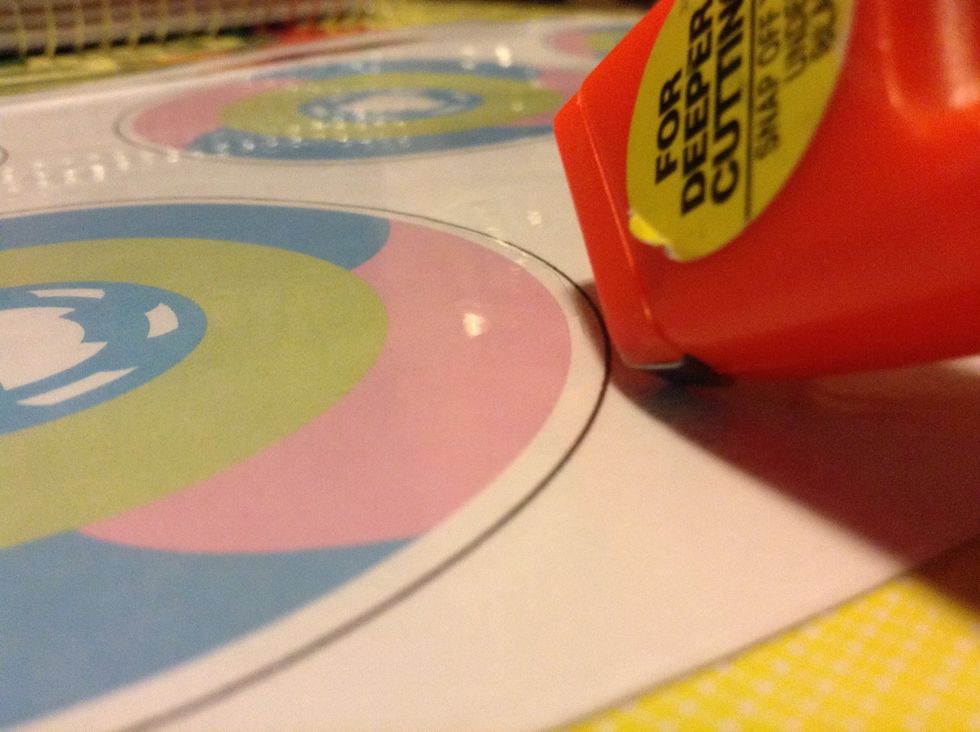
Use the knife or scissors to cut out the stickers. If you used an outline like I did, cut within the outline.
If you're using a knife, be sure to cut over some old cardboard or a cutting surface to prevent any damage to your furniture and the blade.
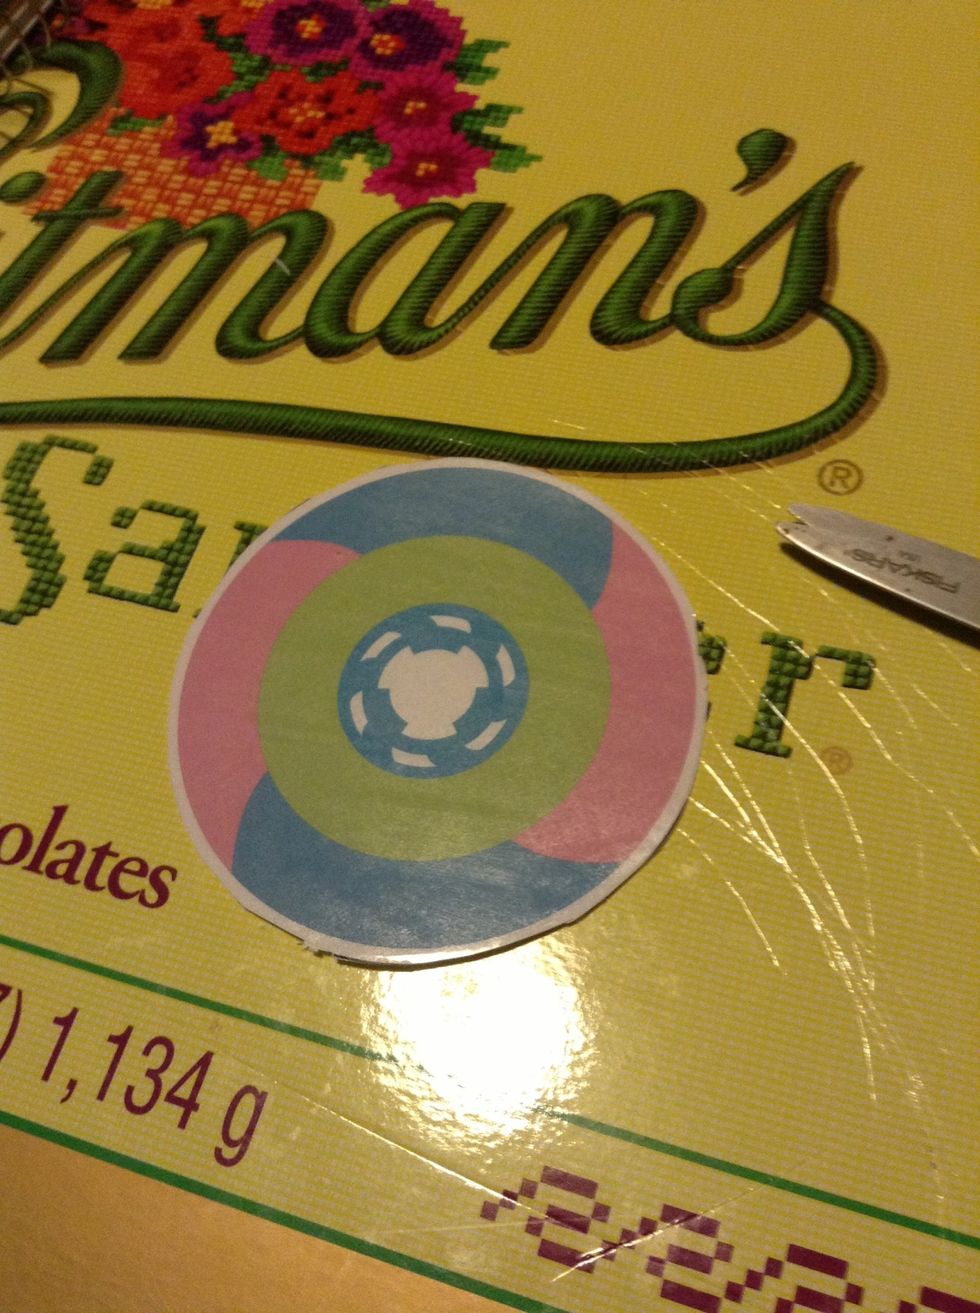
Use the knife and scissors to clean up the edges on your stickers.
- 1.0 Sheet of sticker paper (Print & Stick)
- 1.0 Exacto knife or scissors
- 1.0 Cutting surface (recommended)
- 1.0 Roll of clear, laminating paper
The Conversation (0)
Sign Up