The Conversation (0)
Sign Up
If you are not born with the green thumb (like me) yet love plants, this guide will (hopefully) inspire you to create your first succulent garden.

Find a nursery recommended by garden people and one that specializes in the plants and garden you'd like to nurture. For this guide we're focusing on succulents. I love Lone Pine Gardens.
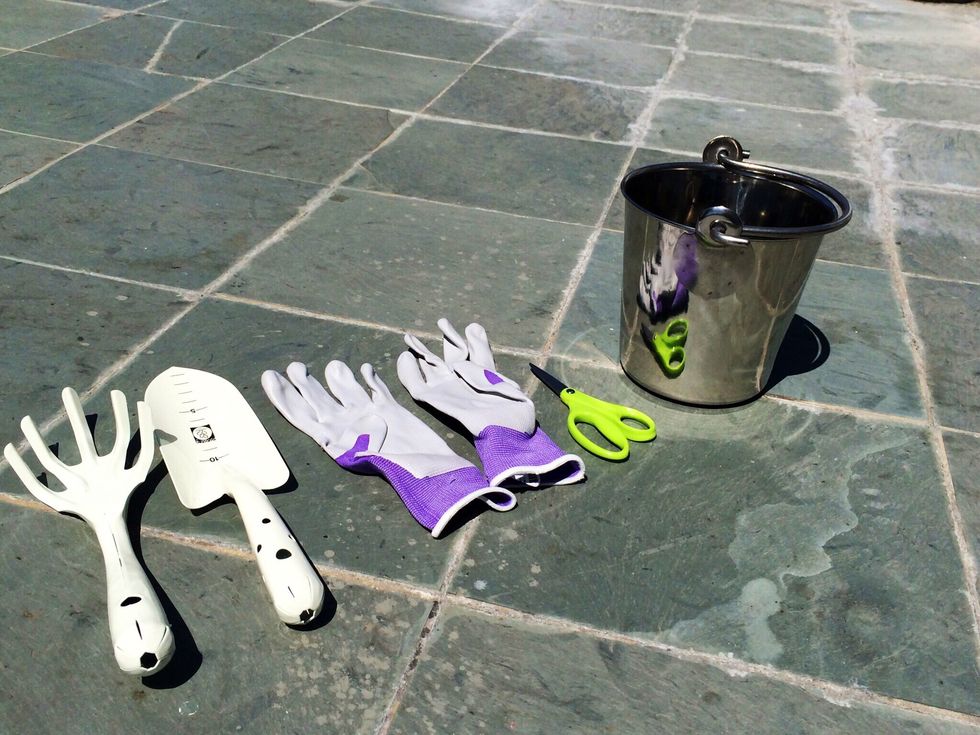
Prepare your planting tools. I like using a small shovel when re-potting plants. Gloves help protect your hands, a small bucket is handy for watering and small garden scissors.
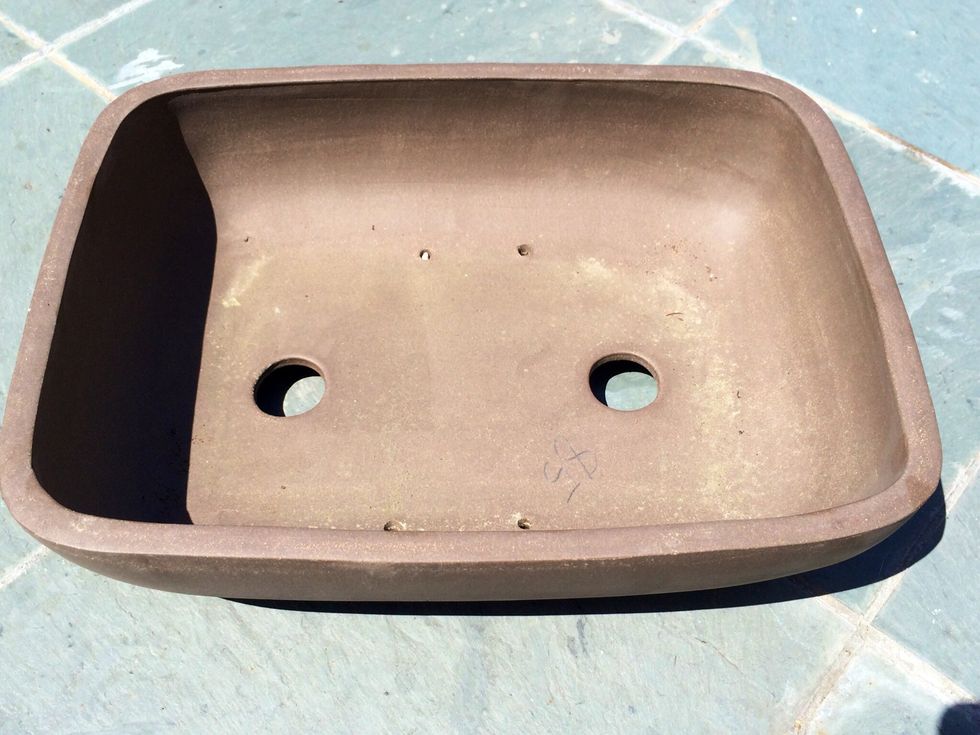
Knowing where I'd like the garden to go after my creation process helped me decide on the size of pot and selection of plants. When selecting your pot make sure it has water holes for drainage.
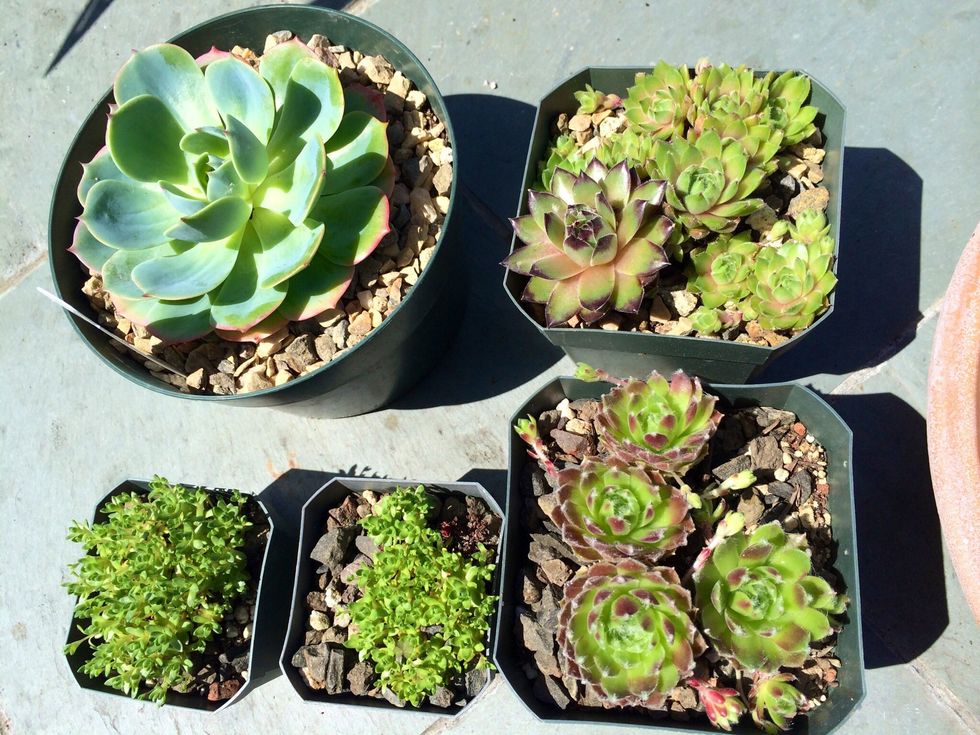
Decide on the type and size of succulents for your mini garden. You can have as many as you want -- gardening is very subjective (like art). You the creator can do whatever you want!

Prep your soil. Before leaving the nursery ask if you can purchase a few bags of potting organic soil. It means preparation time is as simple as opening that bag!
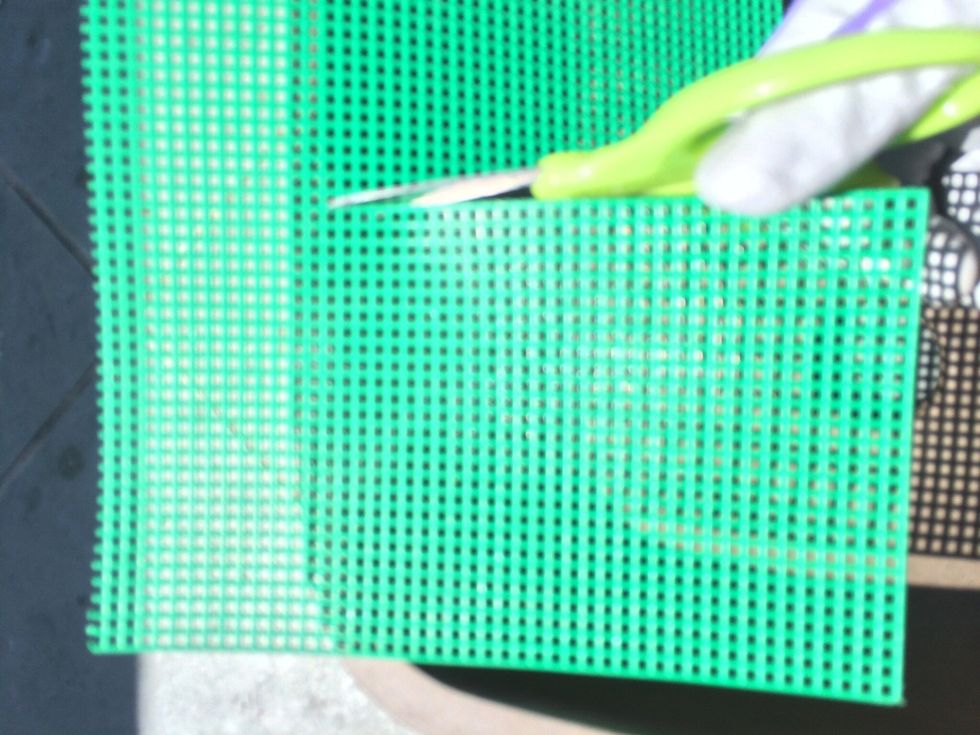
You may choose to wear a pair of gloves or not. Start by cutting your bonsai mesh in a square large enough to cover the pot hole (with half of an inch extra).

Repeat on pot hole 2. The bonsai mesh helps maintain the quality of your soil. It also means you won't slowly lose all that organic soil each time you water your garden.
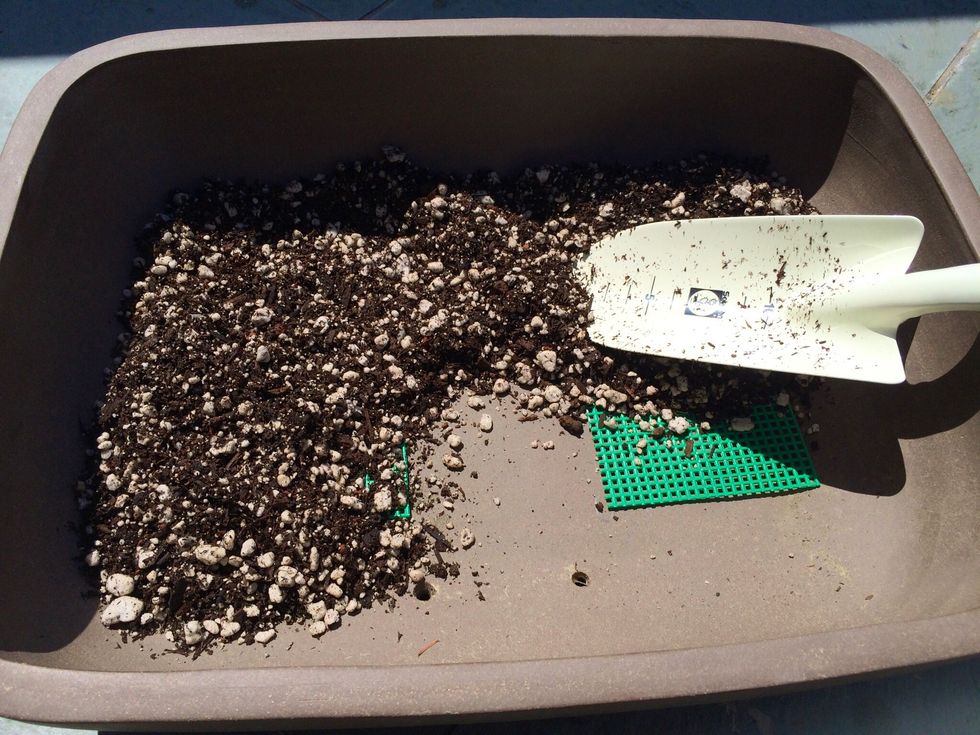
Take your shovel and start adding organic soil to your pot, spreading it out evenly until you reach the mid-point mark.
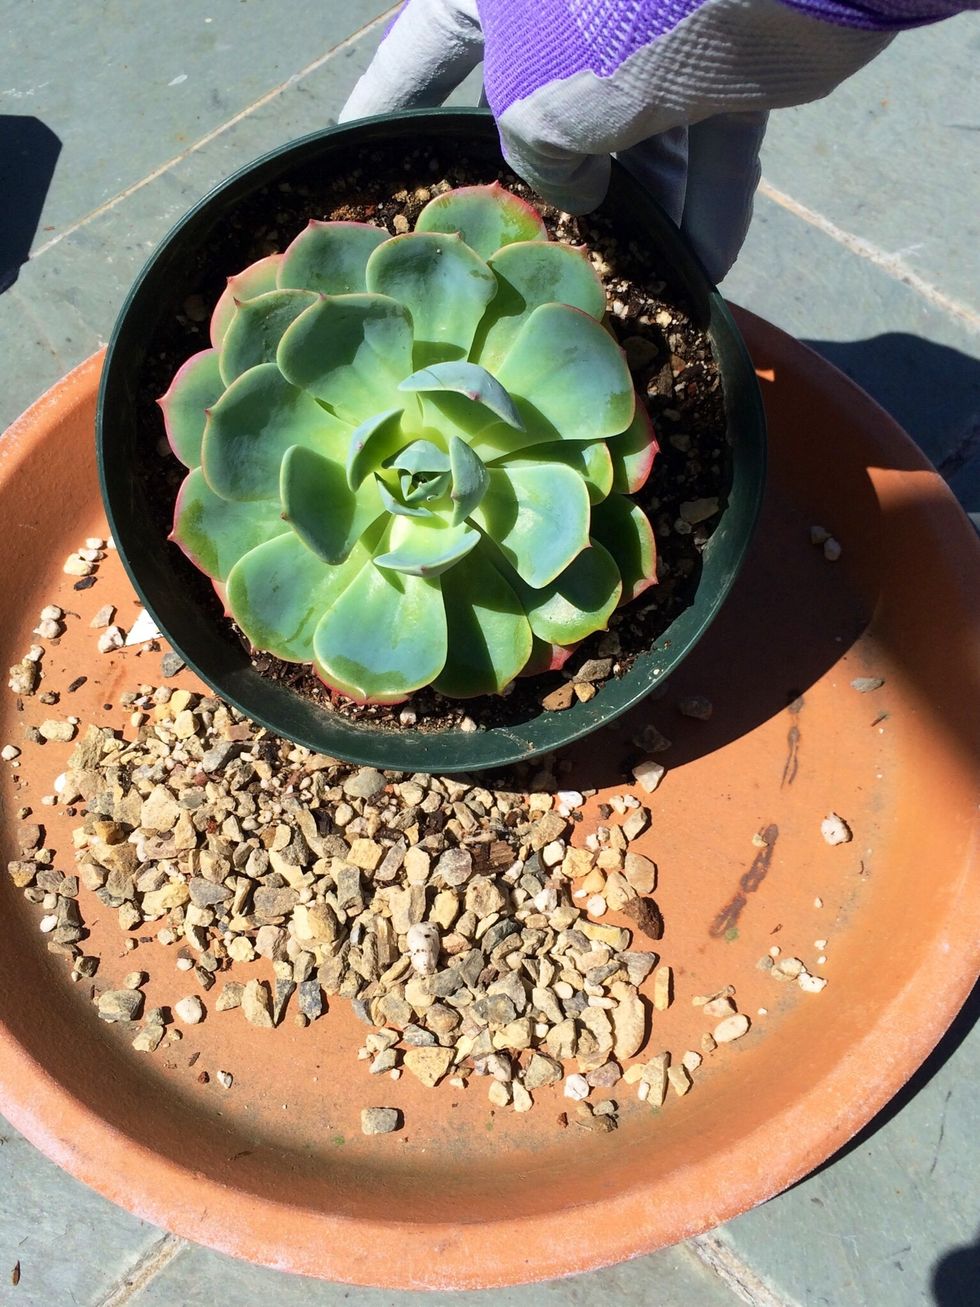
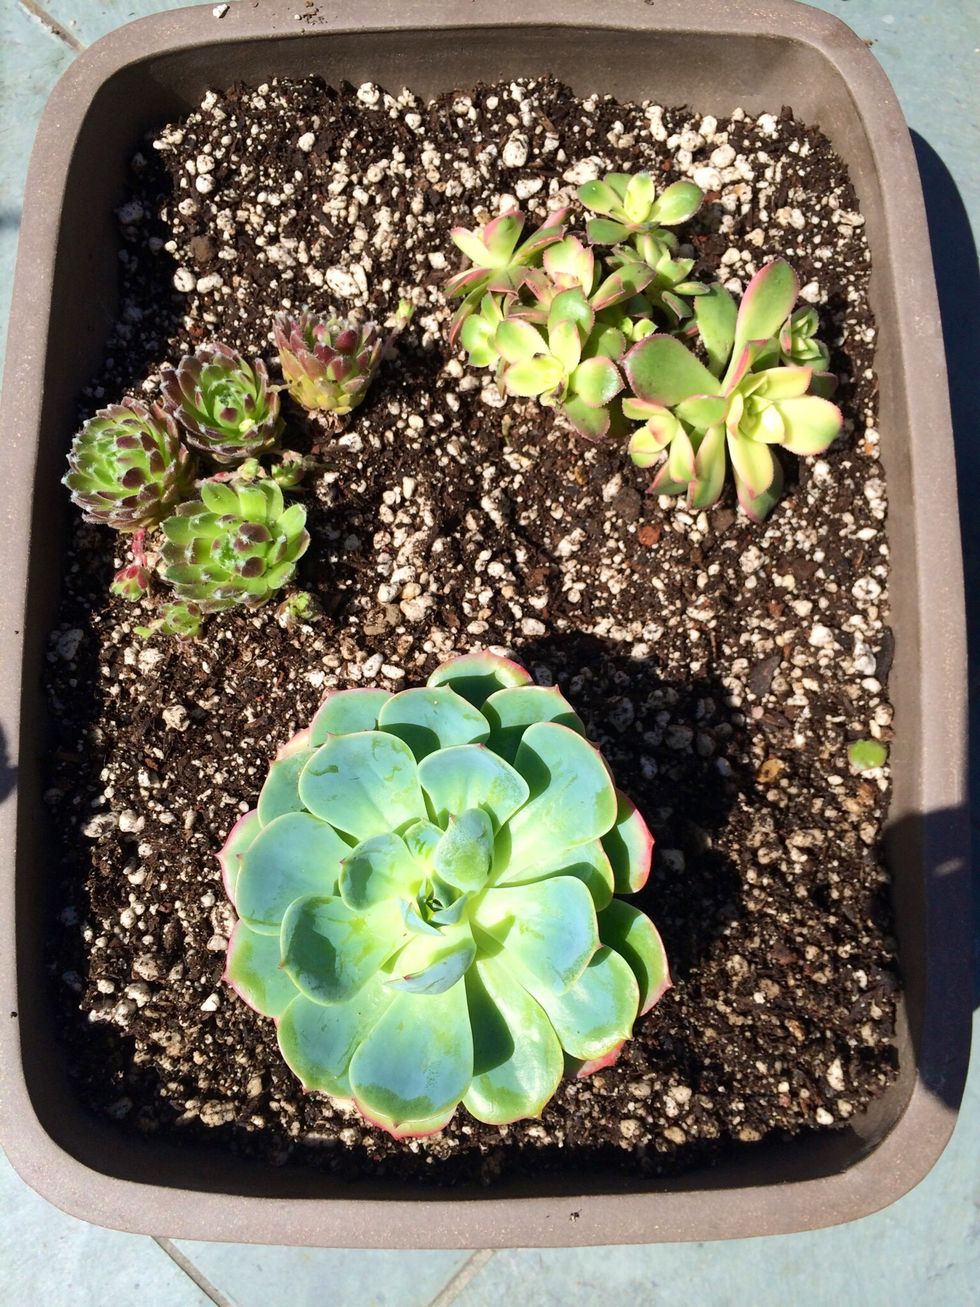
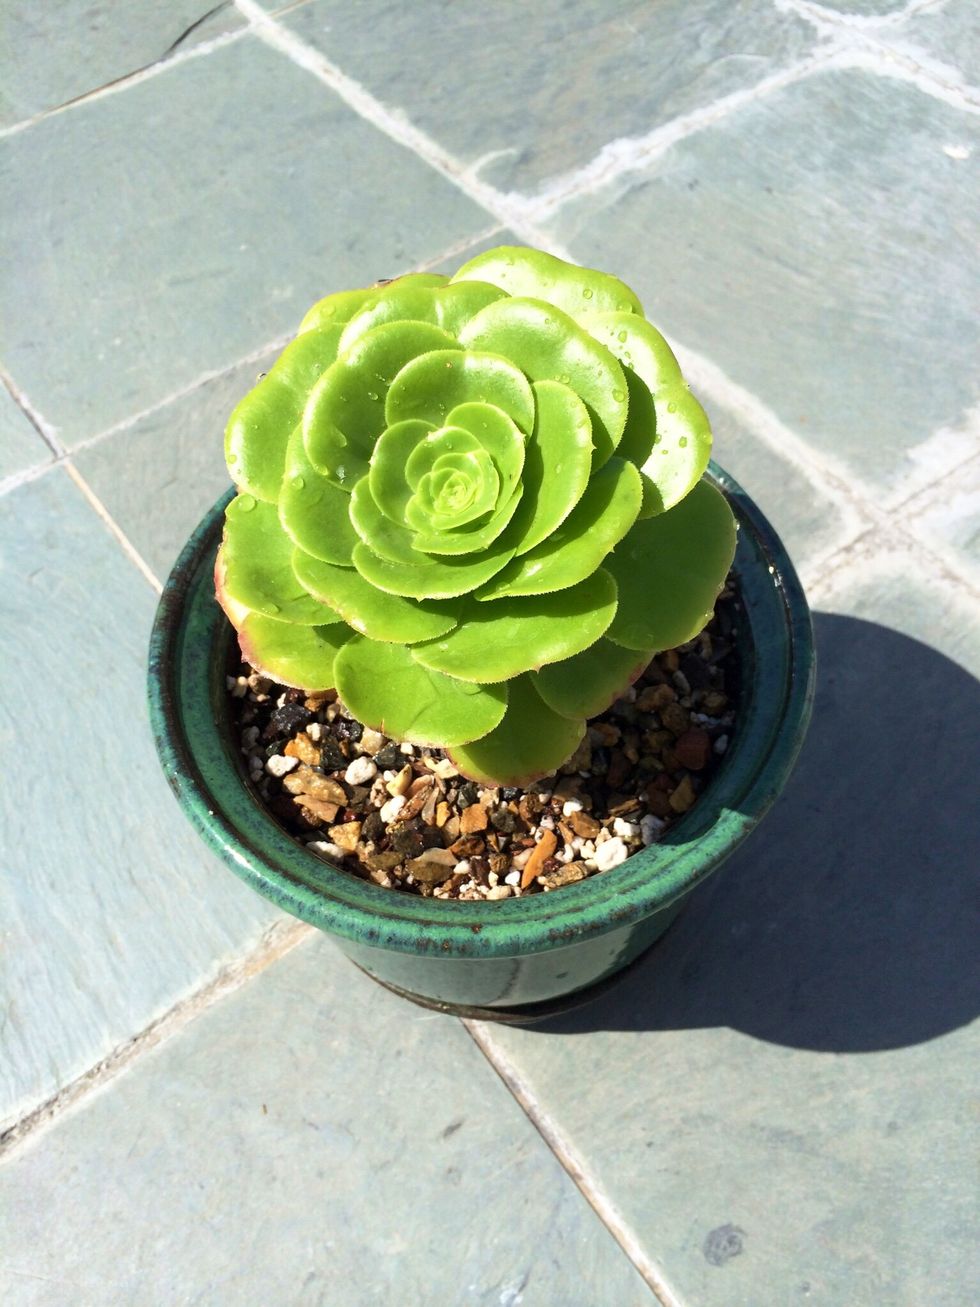
Prepare to re-pot your succulents. I chose the biggest plant to "anchor" the rest of my garden layout. Before taking the plant out of its starter pot remove the decorative rocks. Set the rocks aside!
Use the shovel to take the plant out gently by first scaling the edges of the soil (nearest to pot). Hold the plant gently on top then shovel from the deepest depth of the soil.
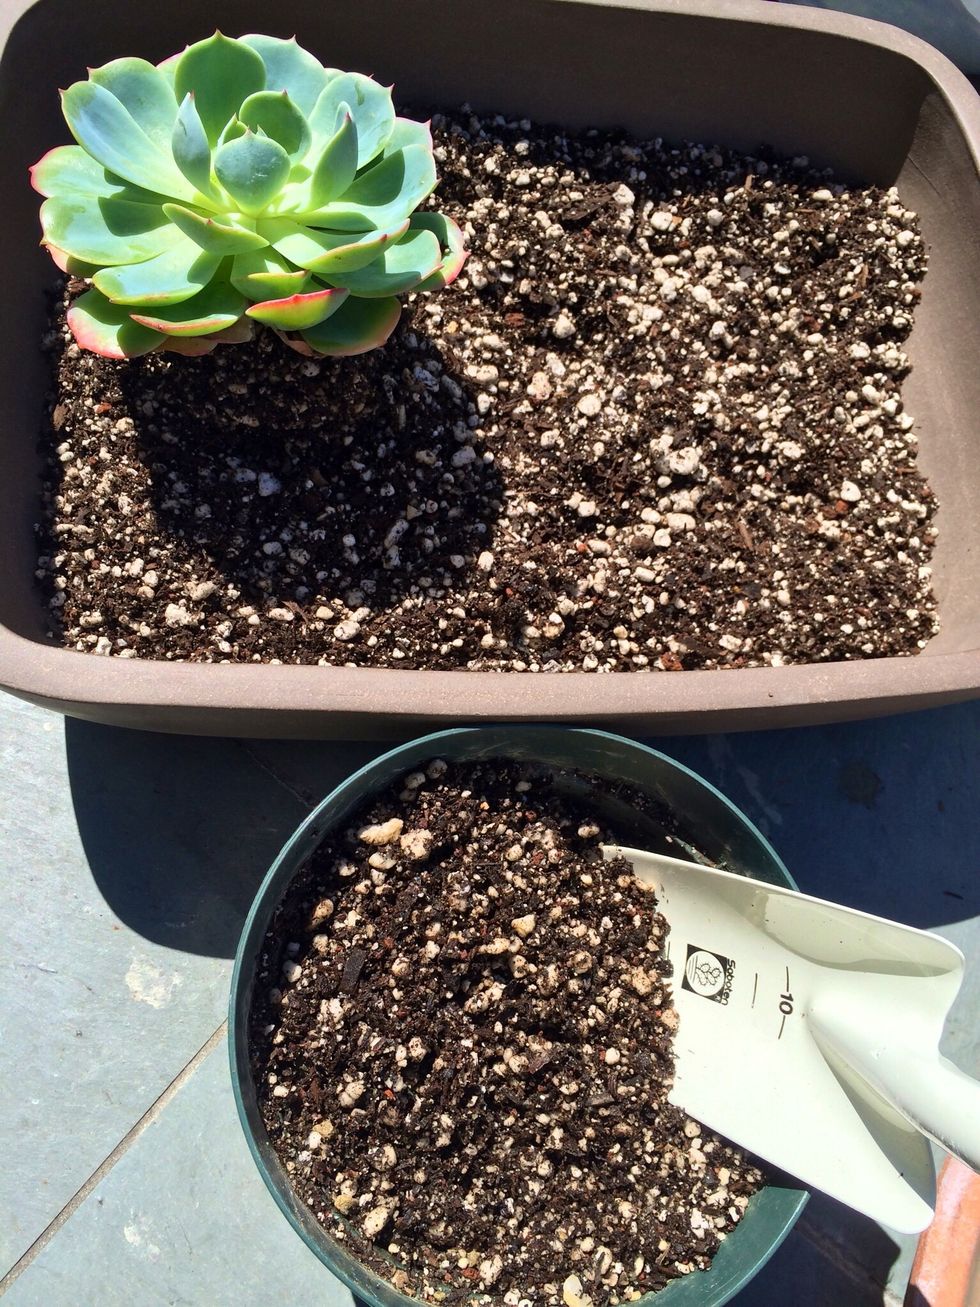
Add the soil from the starter pot to your repotted plant. This means soil is not wasted.
Repeat steps 10-12 until your garden is complete.
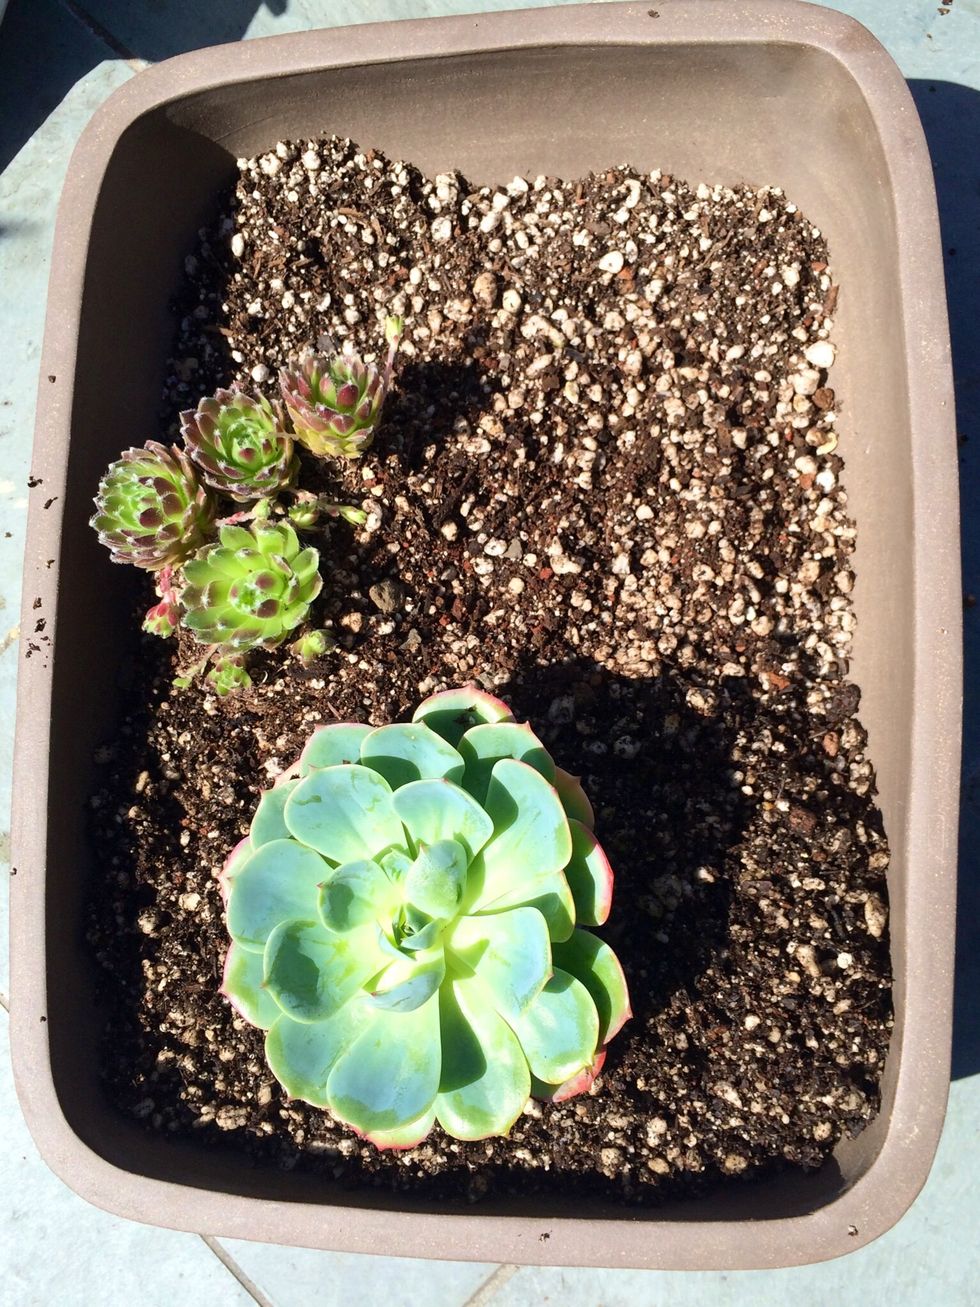
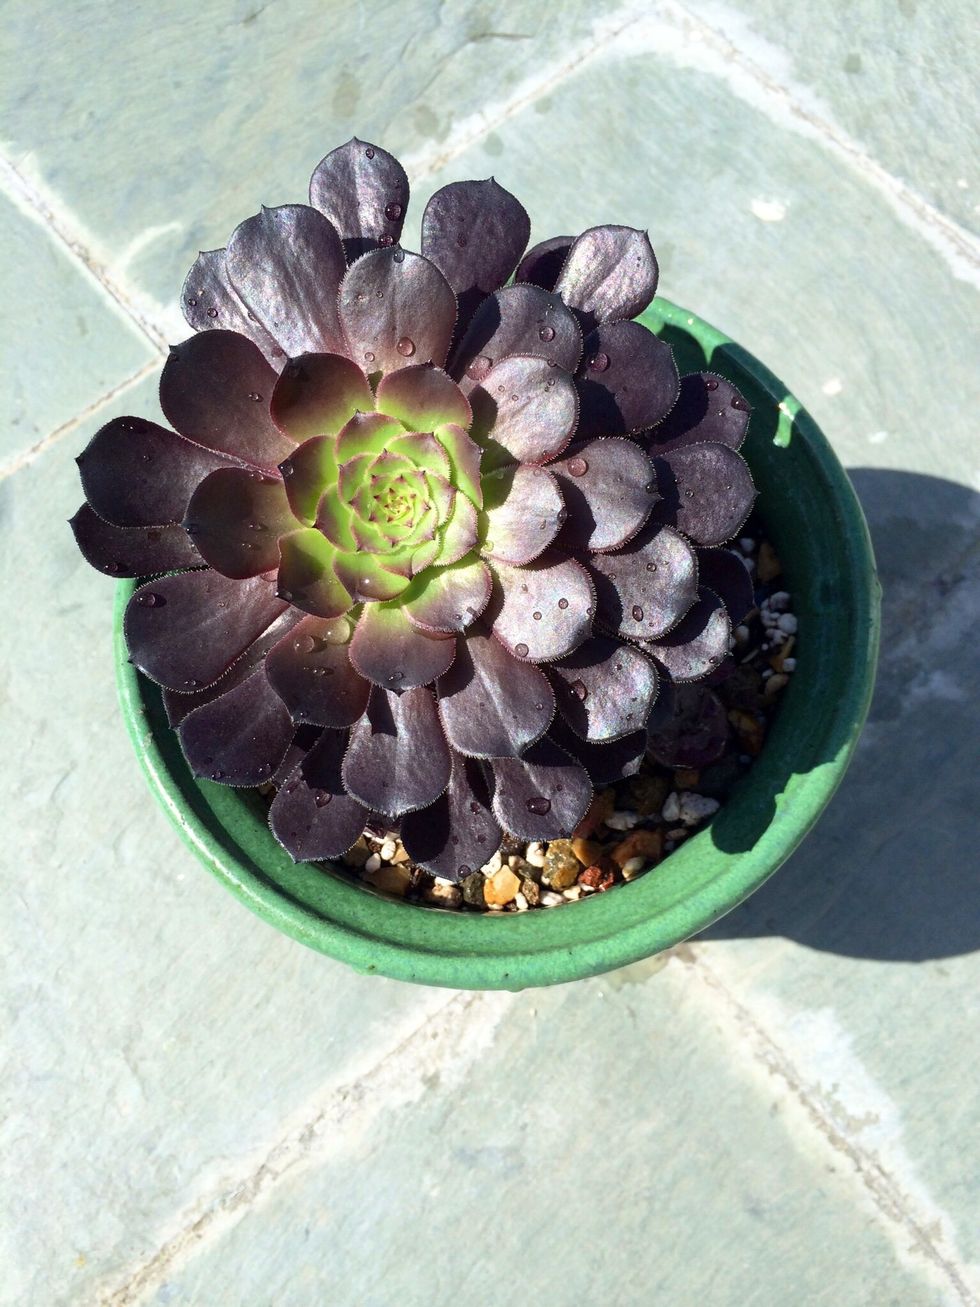
Plant #3!

Now that all your succulents are repotted we can add a little more soil. Make sure it is evened out throughout the garden.
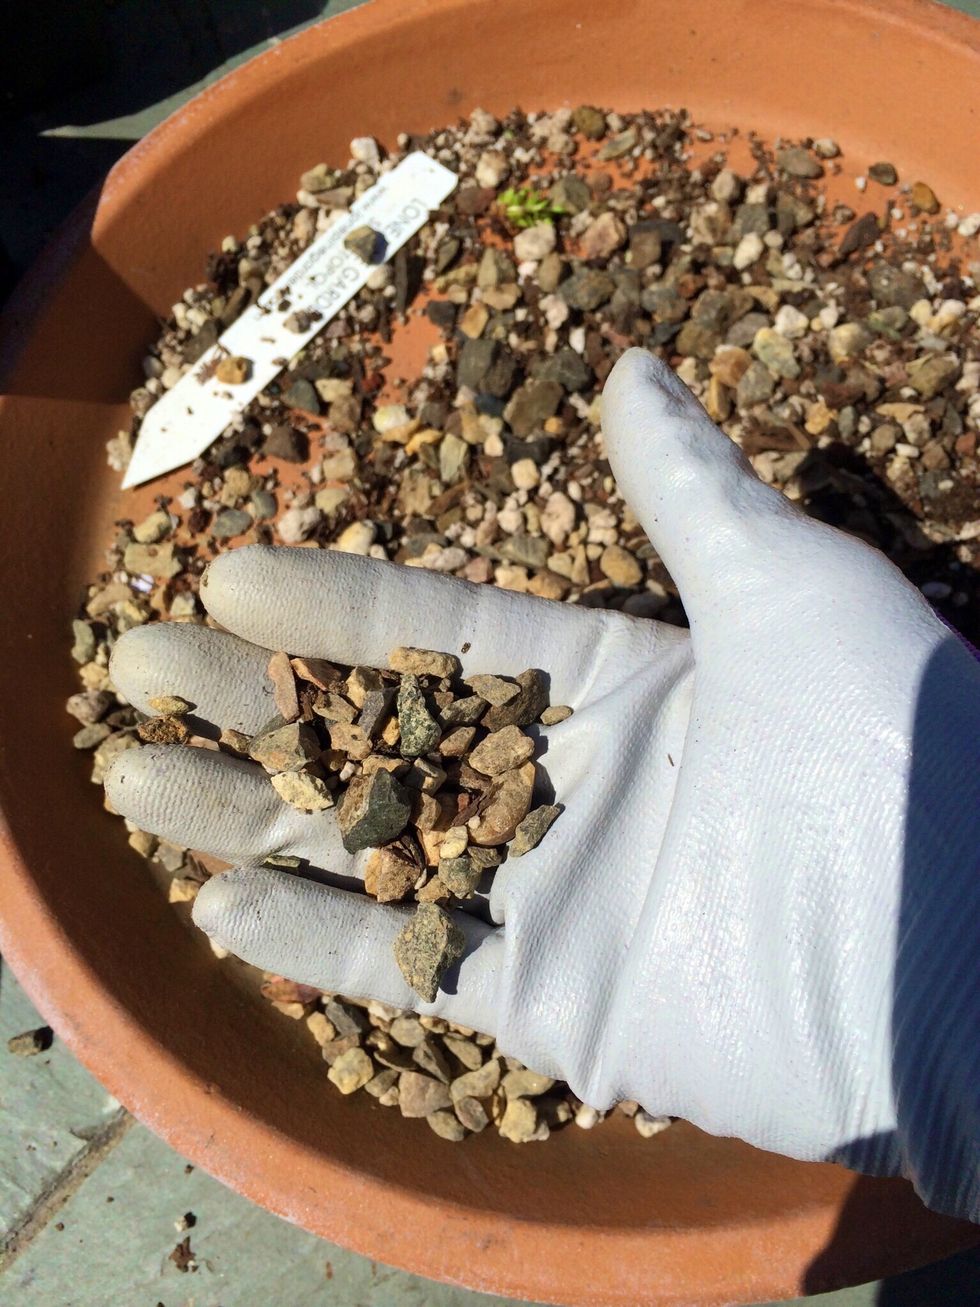
Remember the decorative rocks from Step 10? You can use the same rocks (I did). If you prefer you may add different ones too.
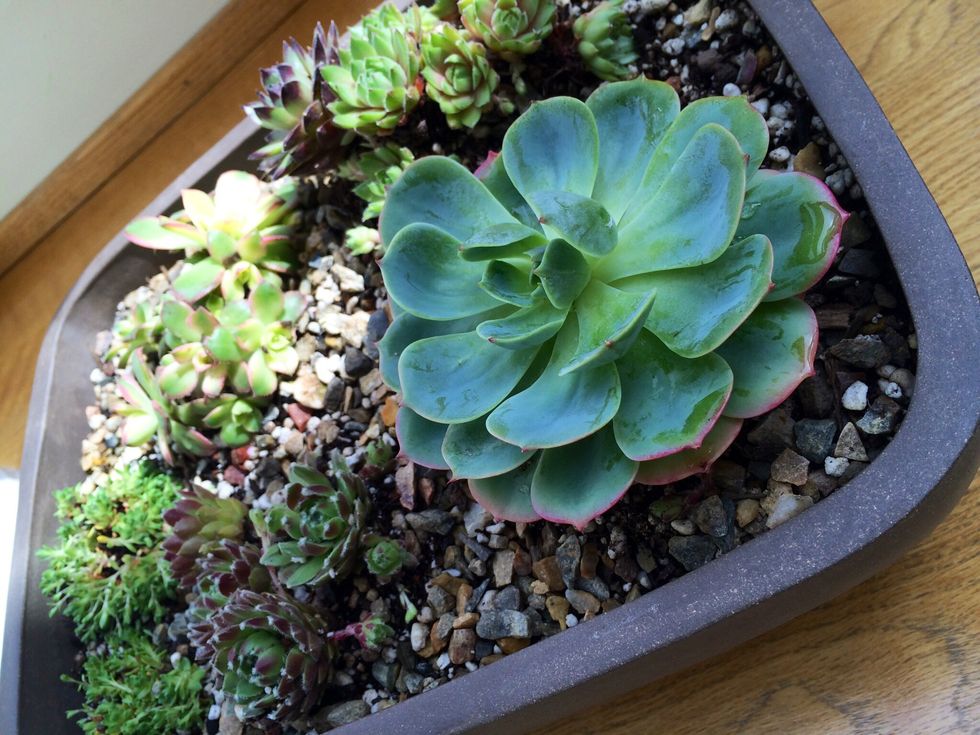
After setting the decorative rocks lightly water your new garden and set aside for a few minutes. Voila!
Here's a full photo.

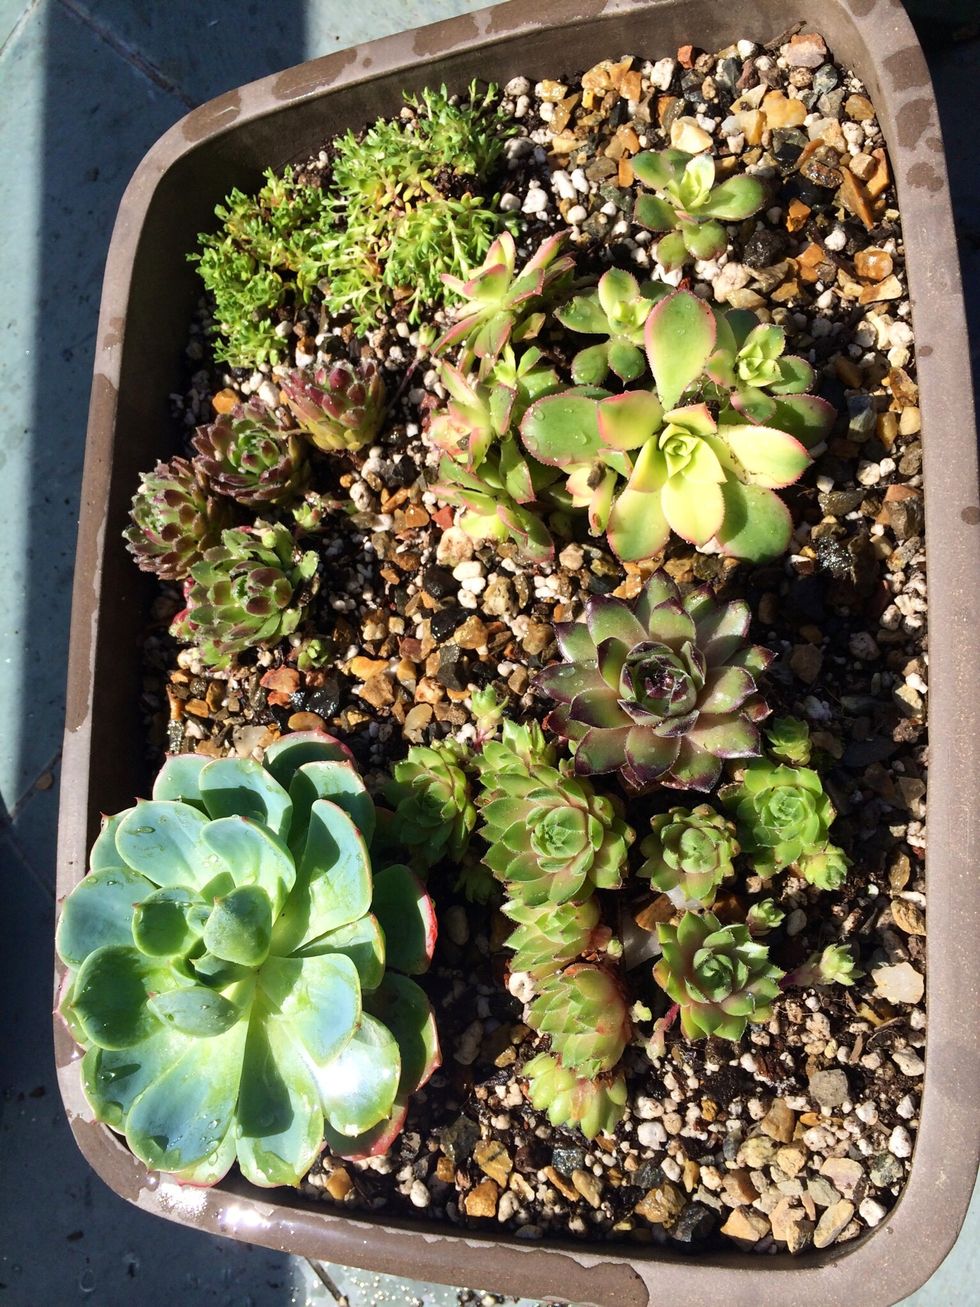
After the first one...I could not stop! Simply repeat the steps.
Can't wait for this one to grow bigger!
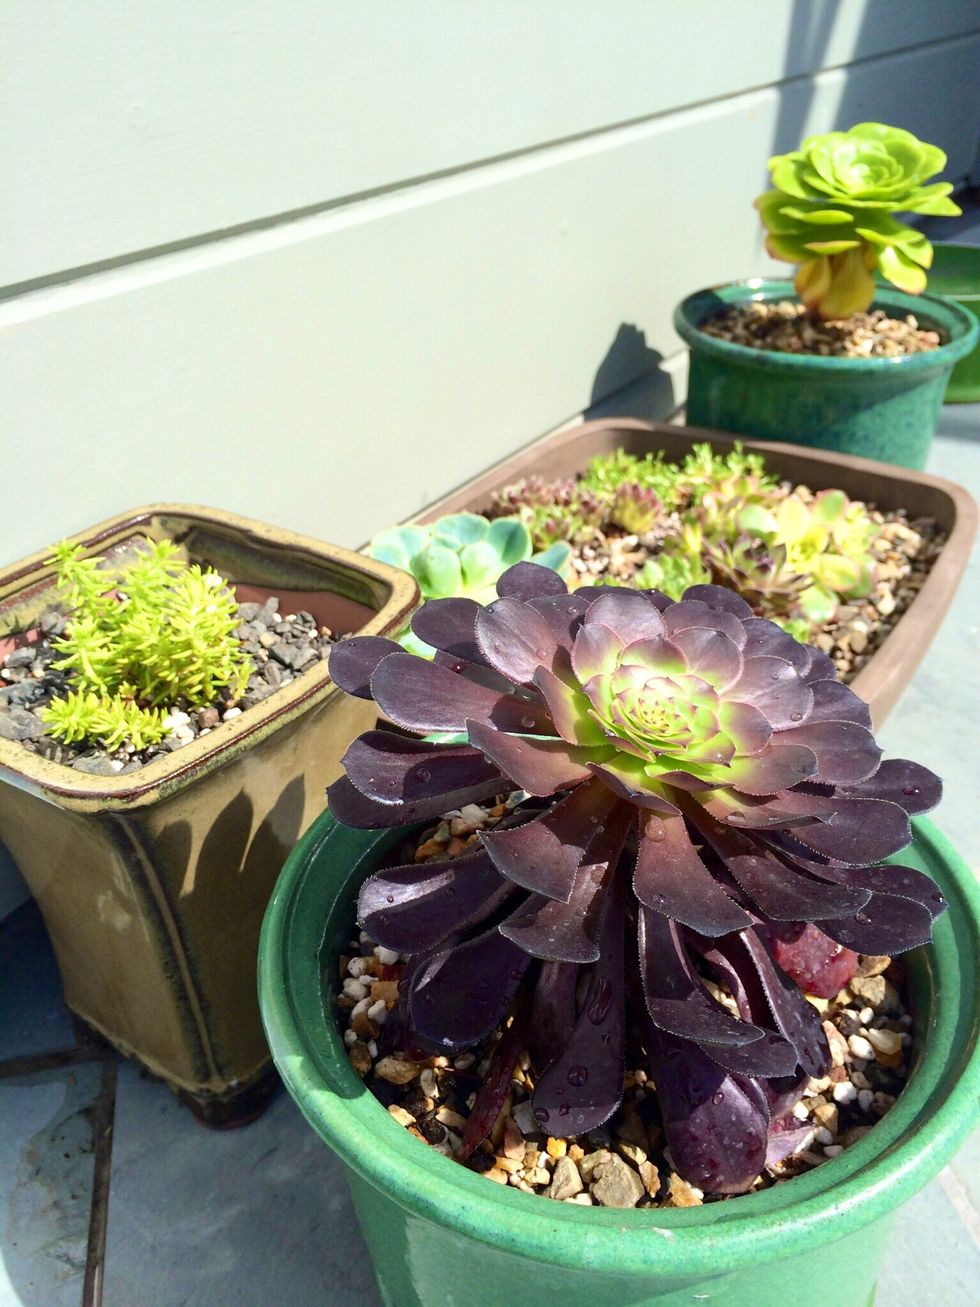
All of these beauties in less than an hour and a cost of $250 including tools and materials.