The Conversation (0)
Sign Up
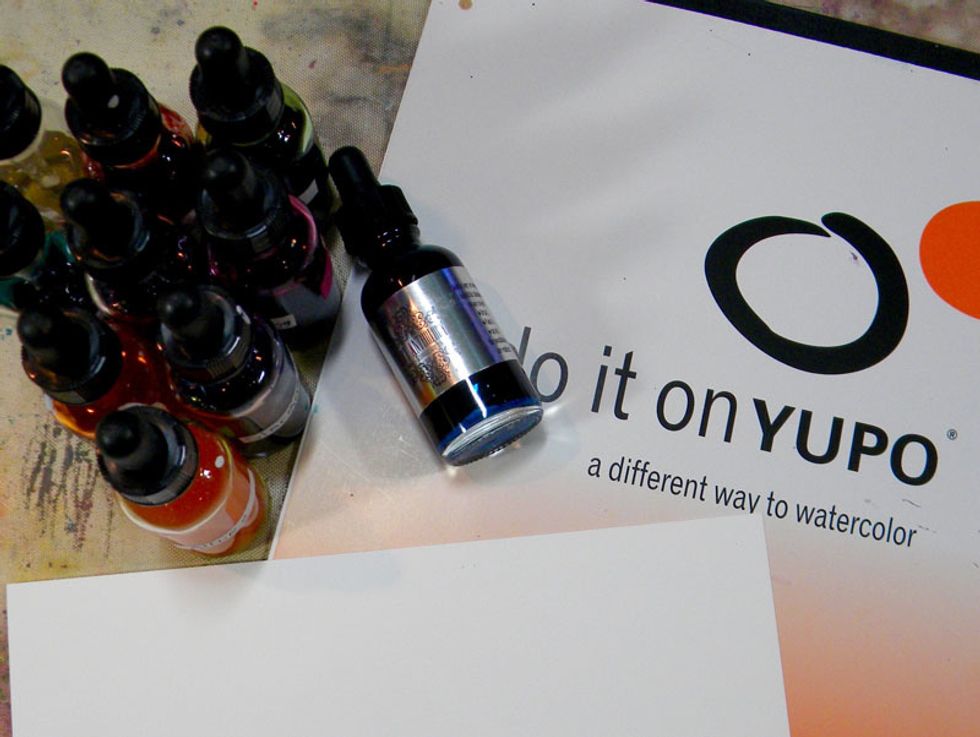
Yupo comes in a number of sizes. I had a small pad and a few pieces that I had cut up for another project. I started, not quite knowing what I was making, but with an open mind and ready to play.
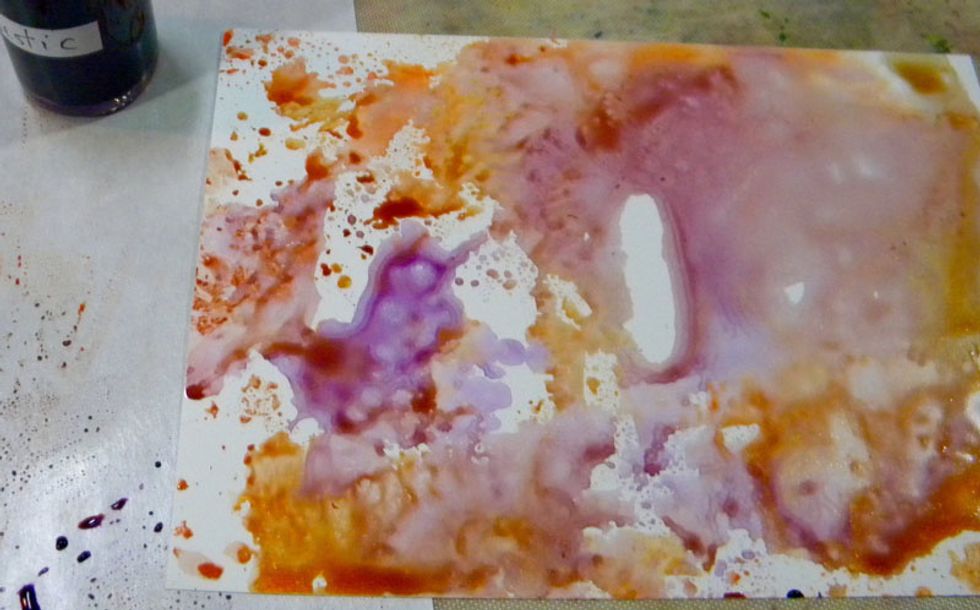
Minx Shimmering Inks come with a dropper. I started by dropping 6 or 7 drops of red Indulgence onto the Yupo paper. The inks will stain your hands so you may want to wear gloves.
Drop alcohol onto the Minx and watch as the Ink spreads. Since the paper is non-porous the inks are free to move around without absorbing into the paper.
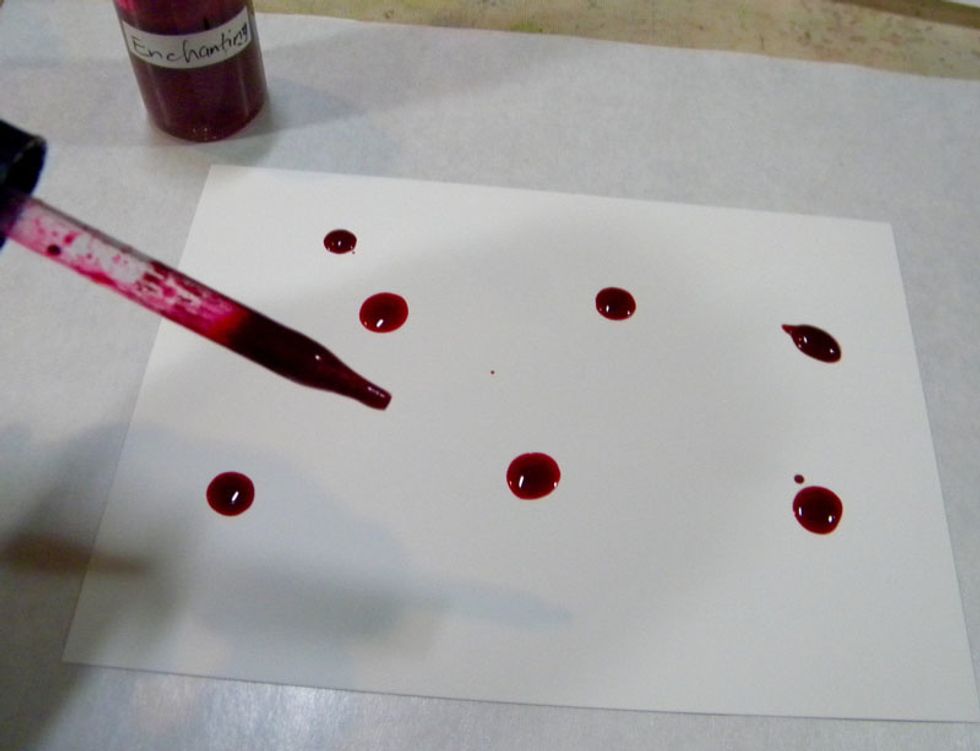
Place a few drops of pink (Enchanting) onto the paper and blow through a straw onto the inks. It's best to start with fewer drops of ink because it's easier to control the flow.
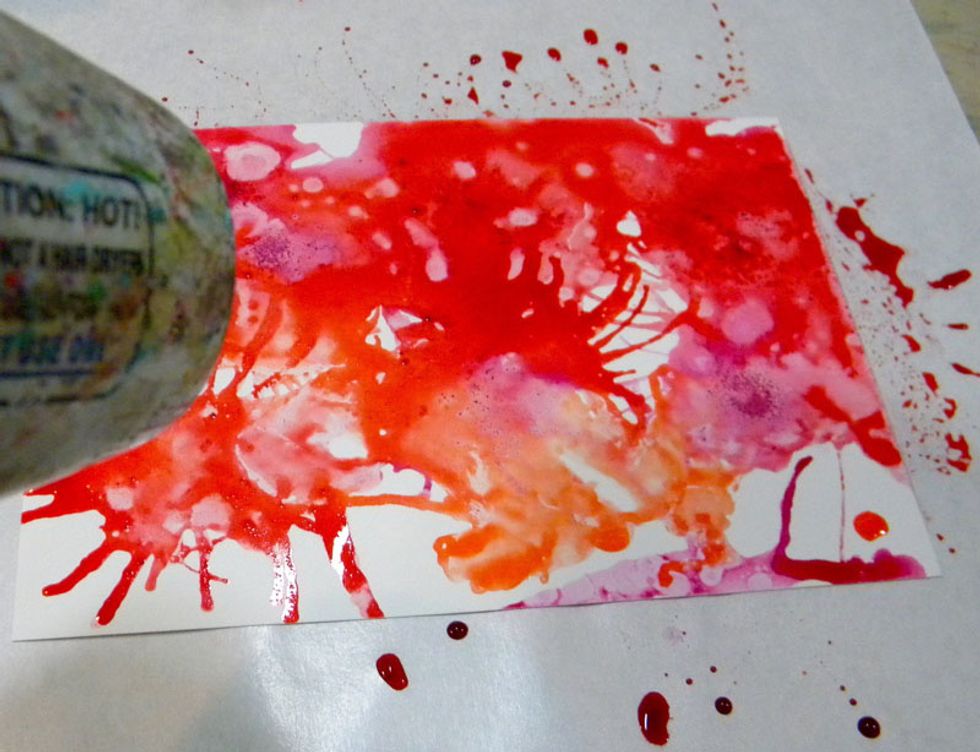
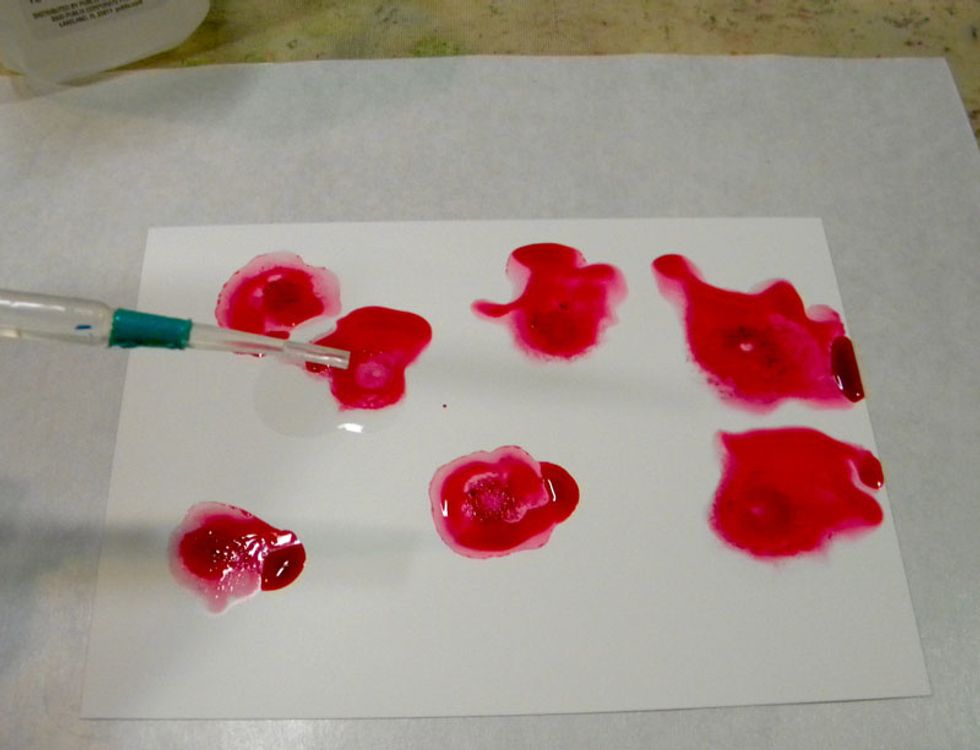
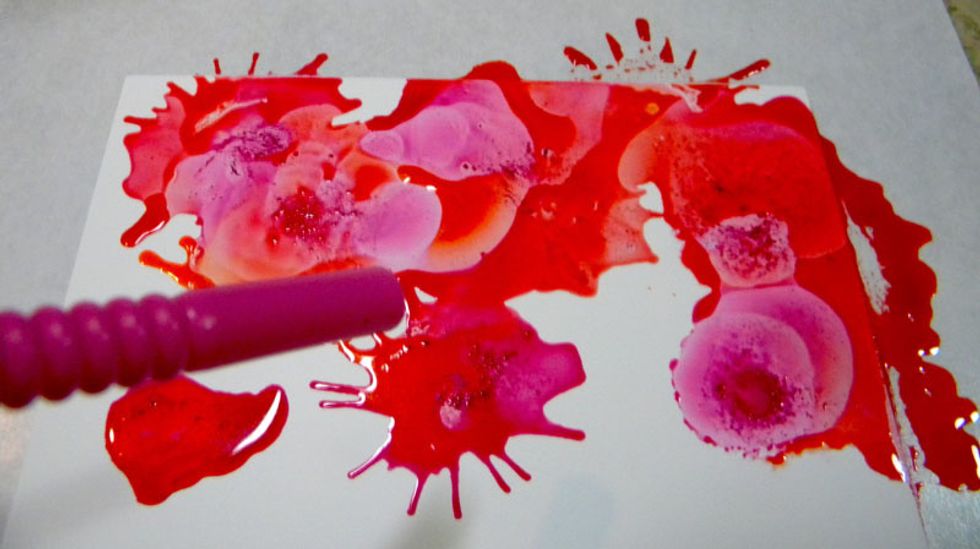
Adding a small amount of orange, or Radiance, I continued to blow with the straw until I liked the pattern. Use a heat tool to set the pattern in place. It can take a long time to dry!
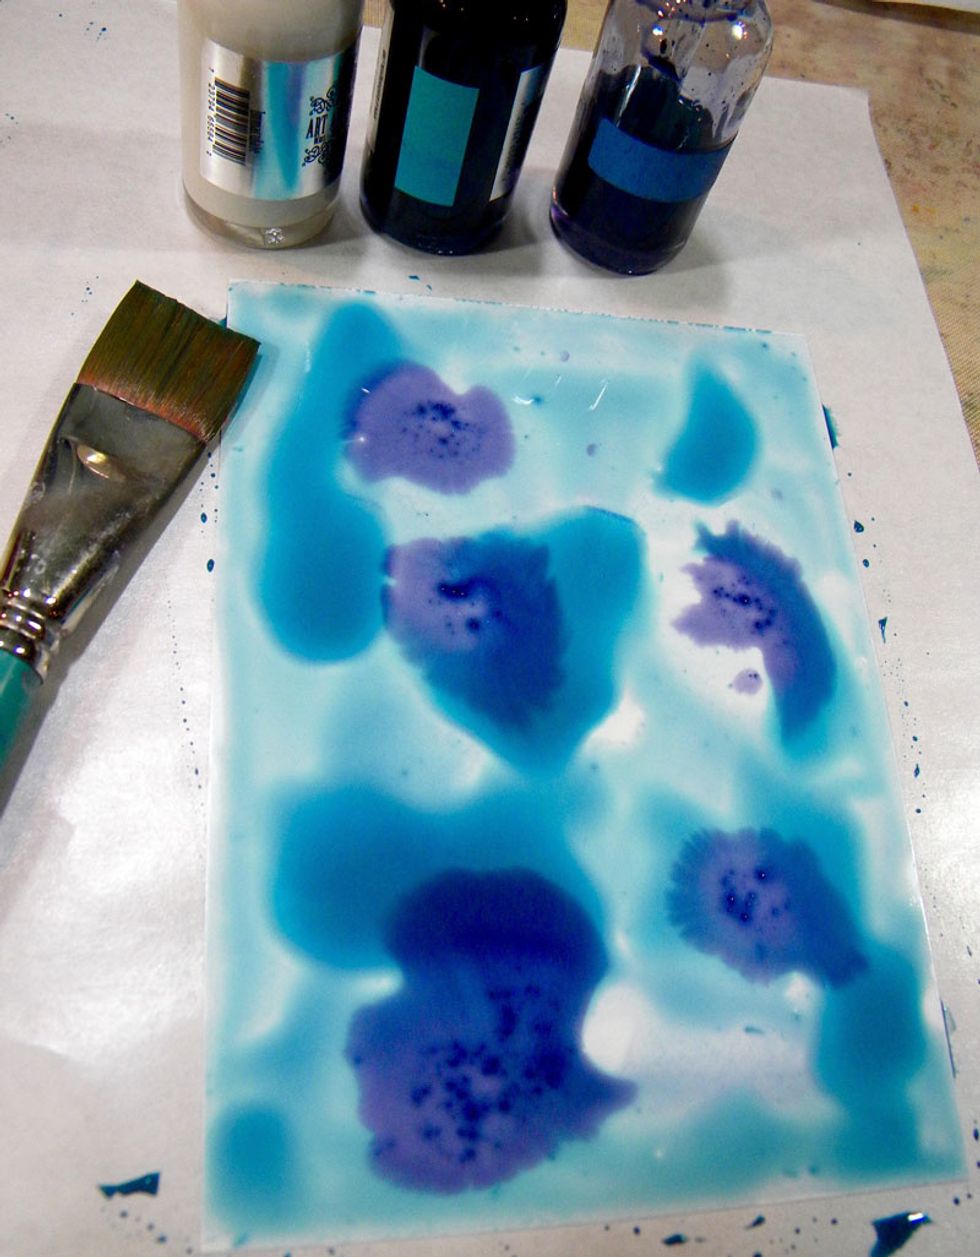
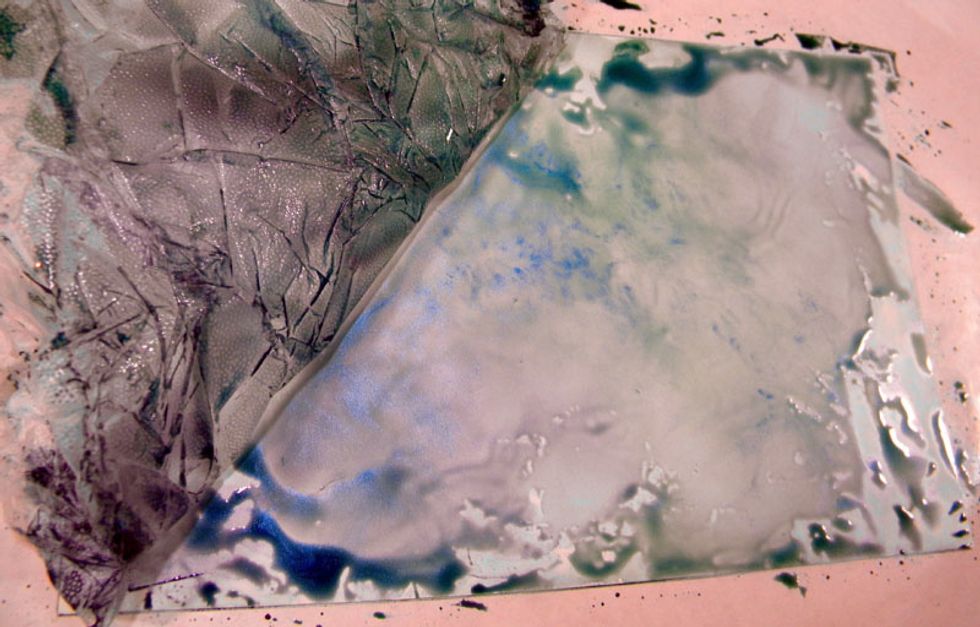
To avoid making muddy colors, I kept warm and cool colors separate. Drop Panache (turquoise) and Stargazer (blue) Minx onto Yupo. Tilt the paper so the colors mix a bit.
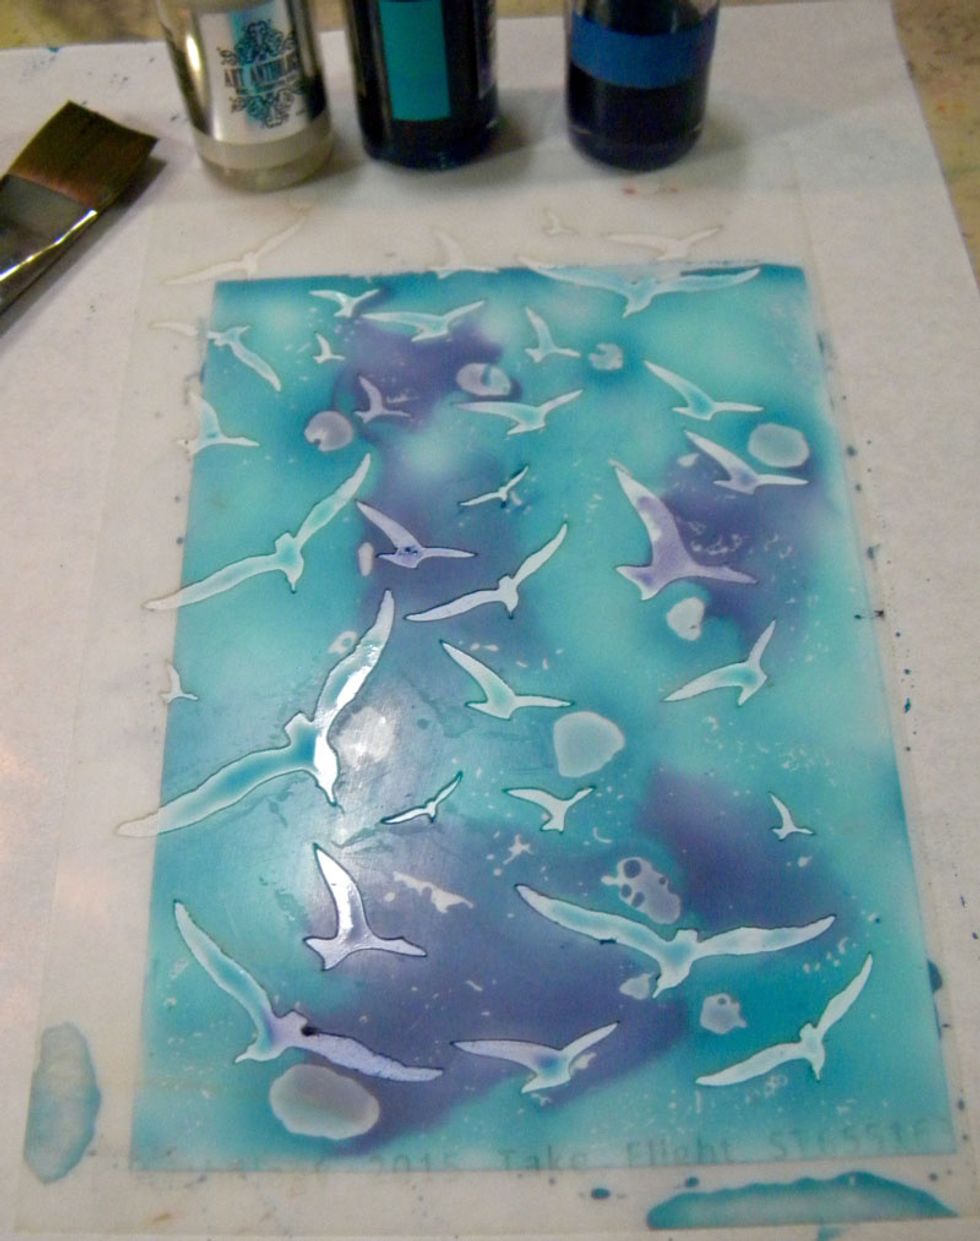
Place the Take Flight stencil over the Minx and let this sit overnight.
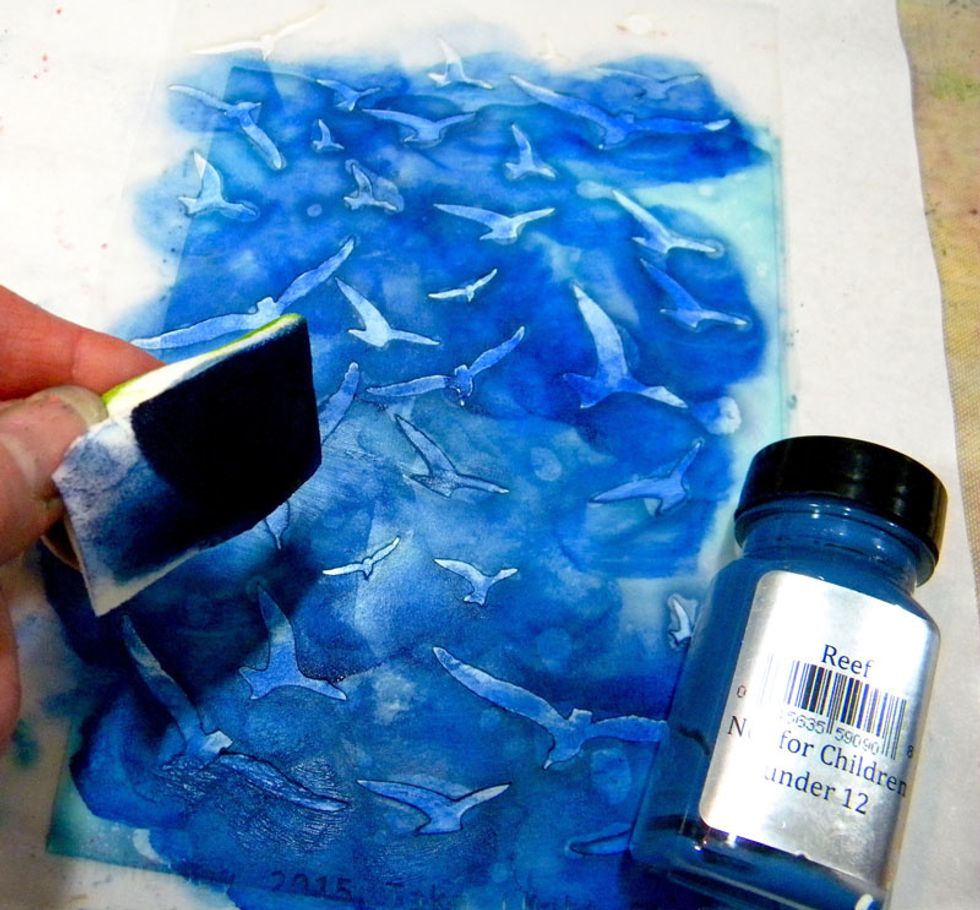
The next day I peeked underneath and it was still a bit wet. Sponge Reef Velvet through the stencil.
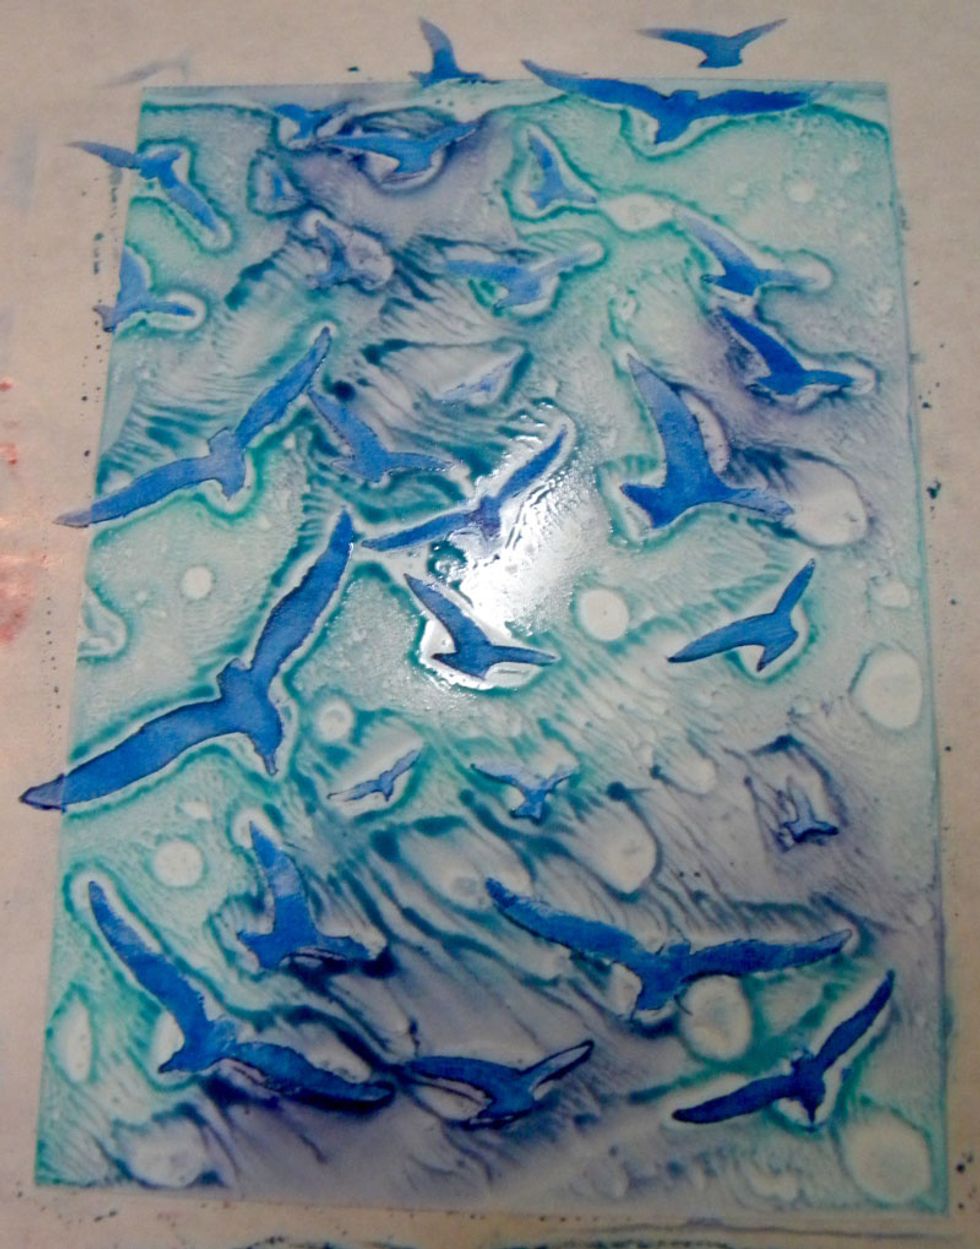
Remove the stencil and use a heat tool to dry the Minx. I learned that they will reconstitute with water, so they need to be sealed. More on that later.

For the next technique, I dropped Allure (yellow), Decadent (brown), and Radiance (orange) onto freezer paper (or a craft mat, but mine is so dirty!) Drip alcohol onto the colors.
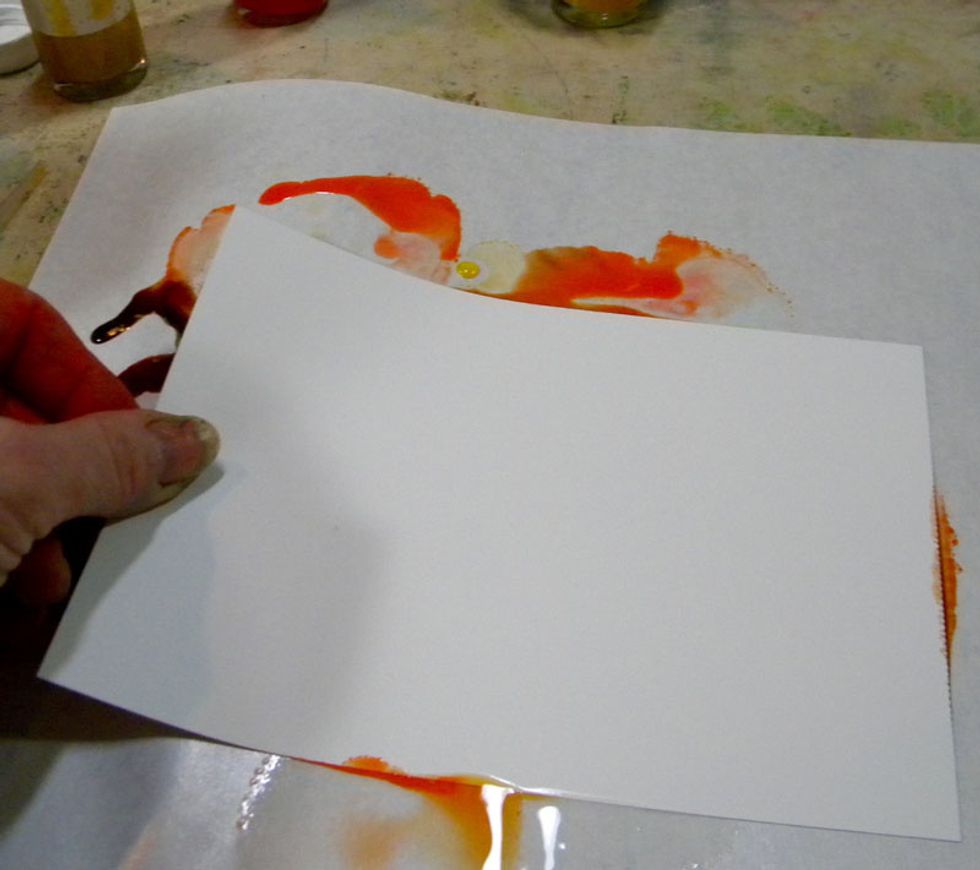
Swipe the paper through the inks.
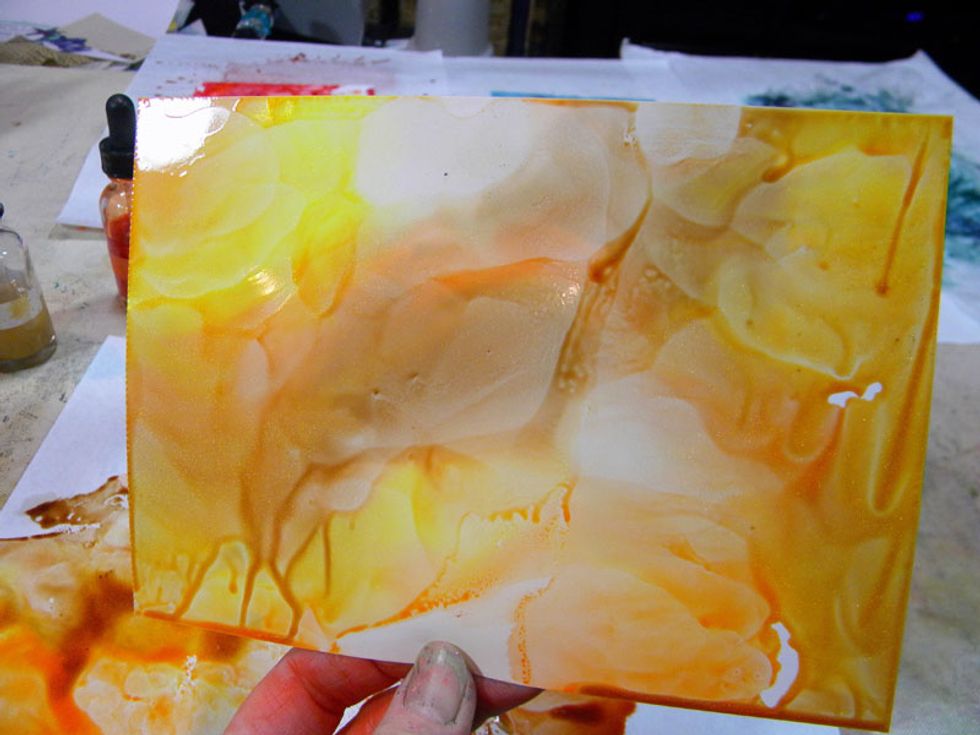
Here is how one swipe came out.
This is the second swipe. Dry the inks in between swipes for the best results.
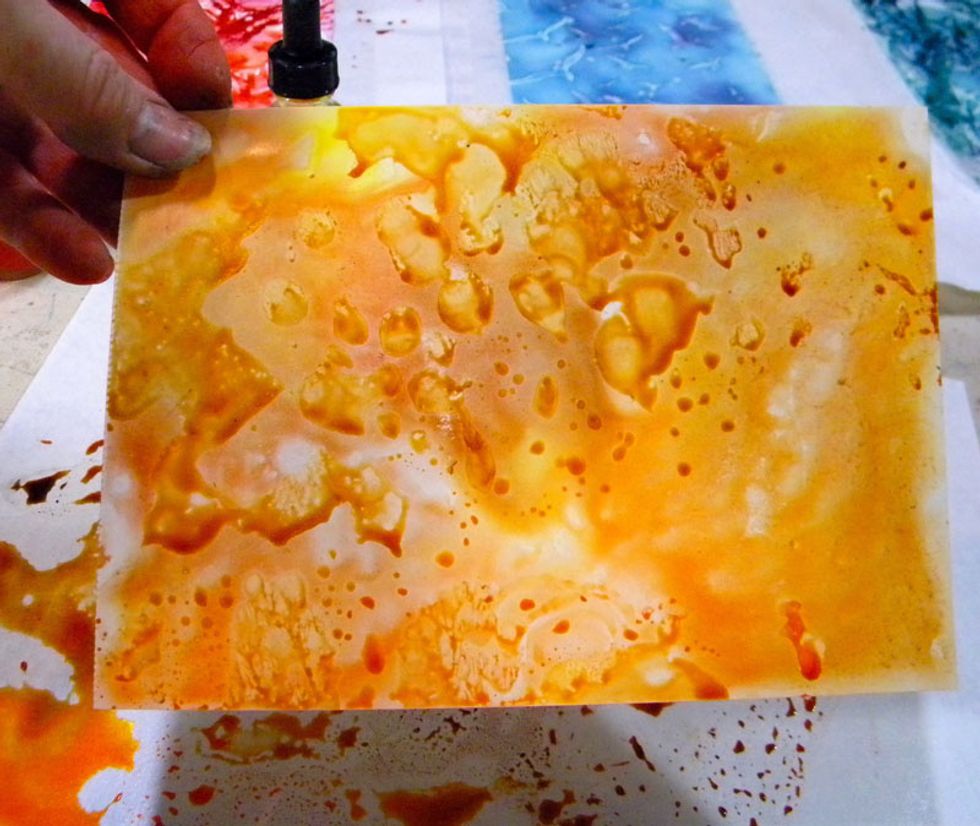
Add another color, Majestic (purple) to what is left on the mat and swipe on a new piece of Yupo. This technique creates really interesting effects.
Epic Fail! I crumpled up Saran wrap and placed it on top of the inks to create a unique pattern. When I checked it the next day, it hadn't dried a bit and the colors were mixed together.
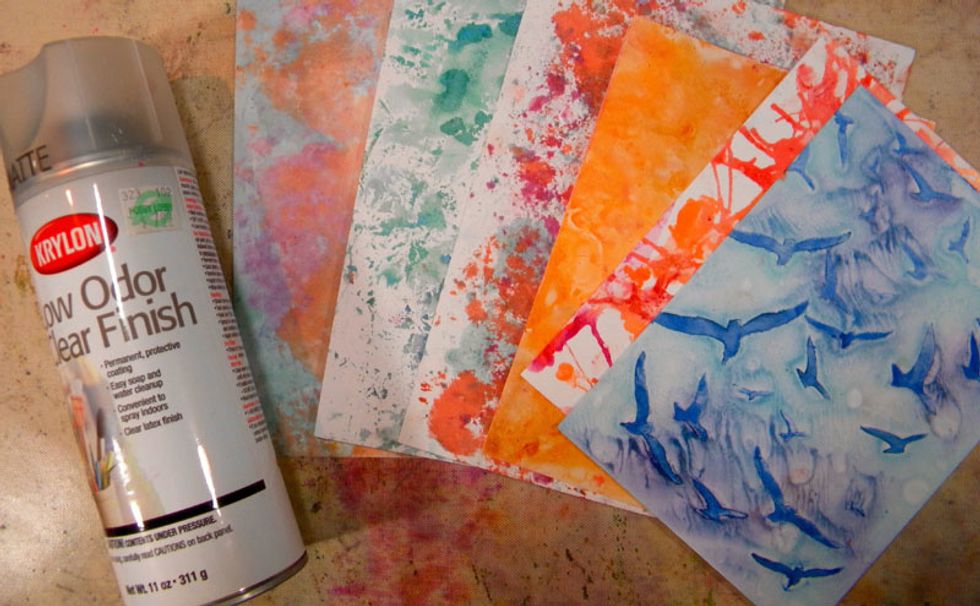
Since the Inks are not permanent on Yupo's non-porous surface, I sprayed several coats of Krylon Crystal Clear fixative before adding any other media. Let the coats of fixative dry in between.
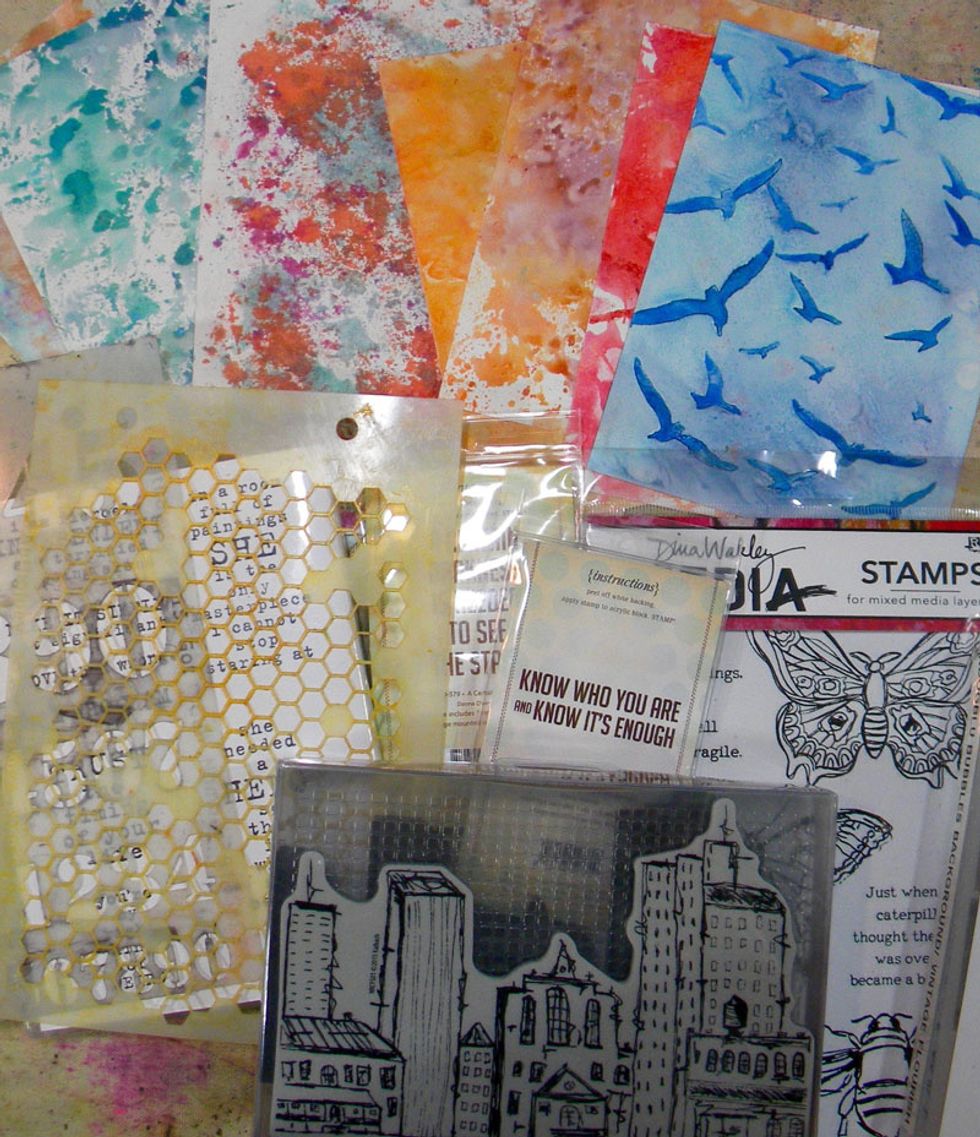
Use stamps and archival ink pads, stencils, and Art Anthology mediums to embellish each card. I kept them simple because I wanted the shimmery inks to be the star.
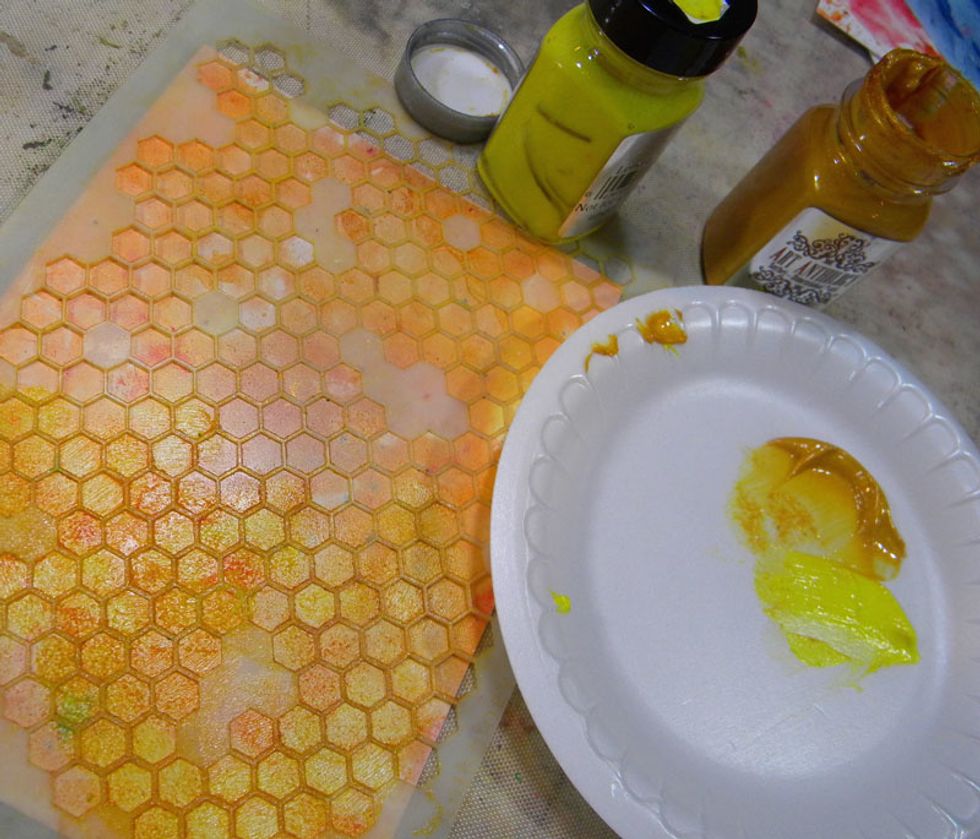
On several of the cards, I used Art Anthology stencils with Velvets, which have a matte finish, and Sorbets, which have a shimmery finish.

I got a bit carried away with the Amber Gemstones on this card!

I had to use my new Dina Wakely stamp set! Stamping with permanent ink, paint the bee and butterflies with Sorbets, which are more transparent. Gold Digger is a great color for wings.

I also painted over the words with watered down colors and cut the phrases apart. Fussy cut the images and attach them to the cards with foam squares.
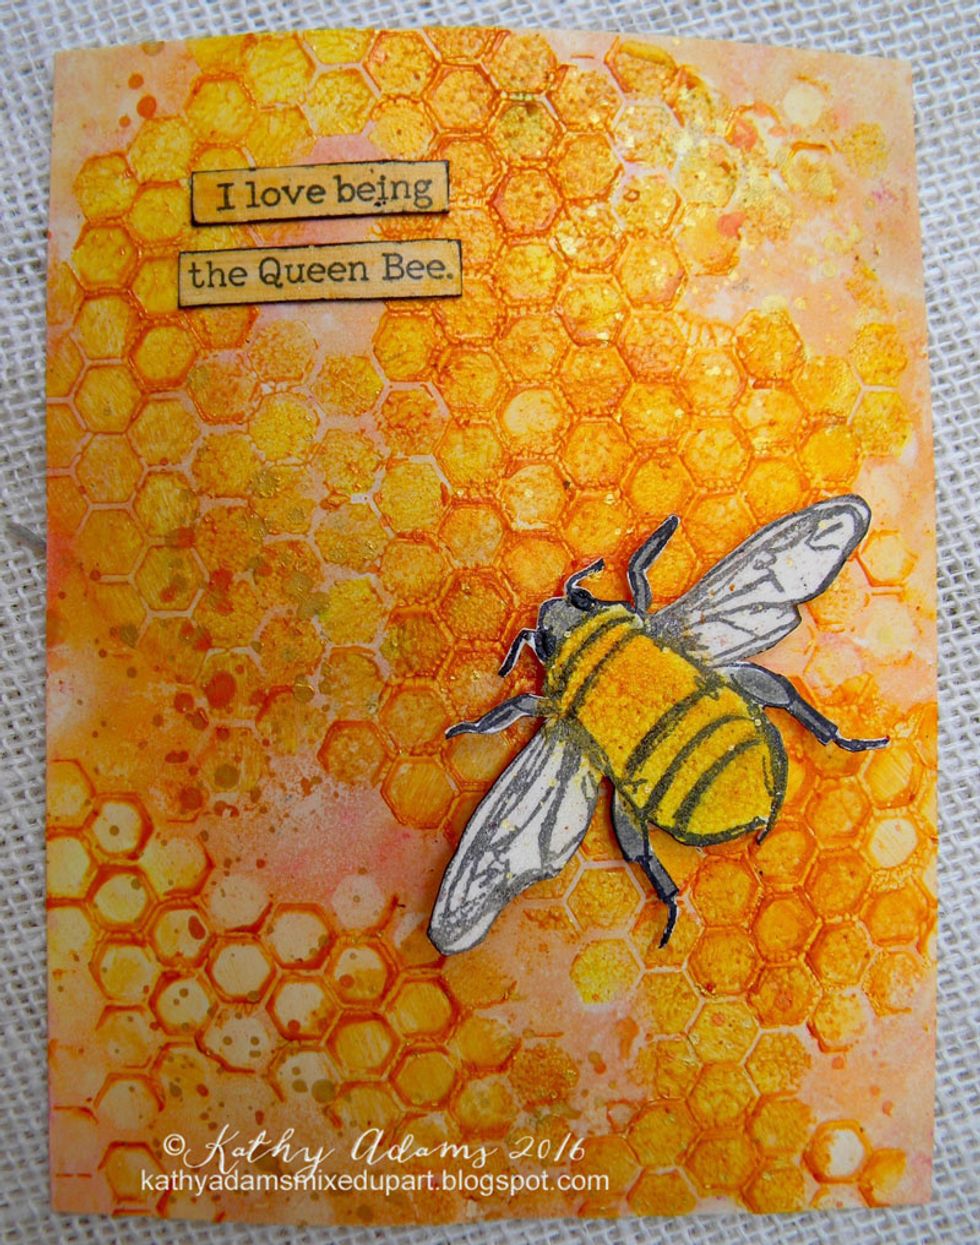
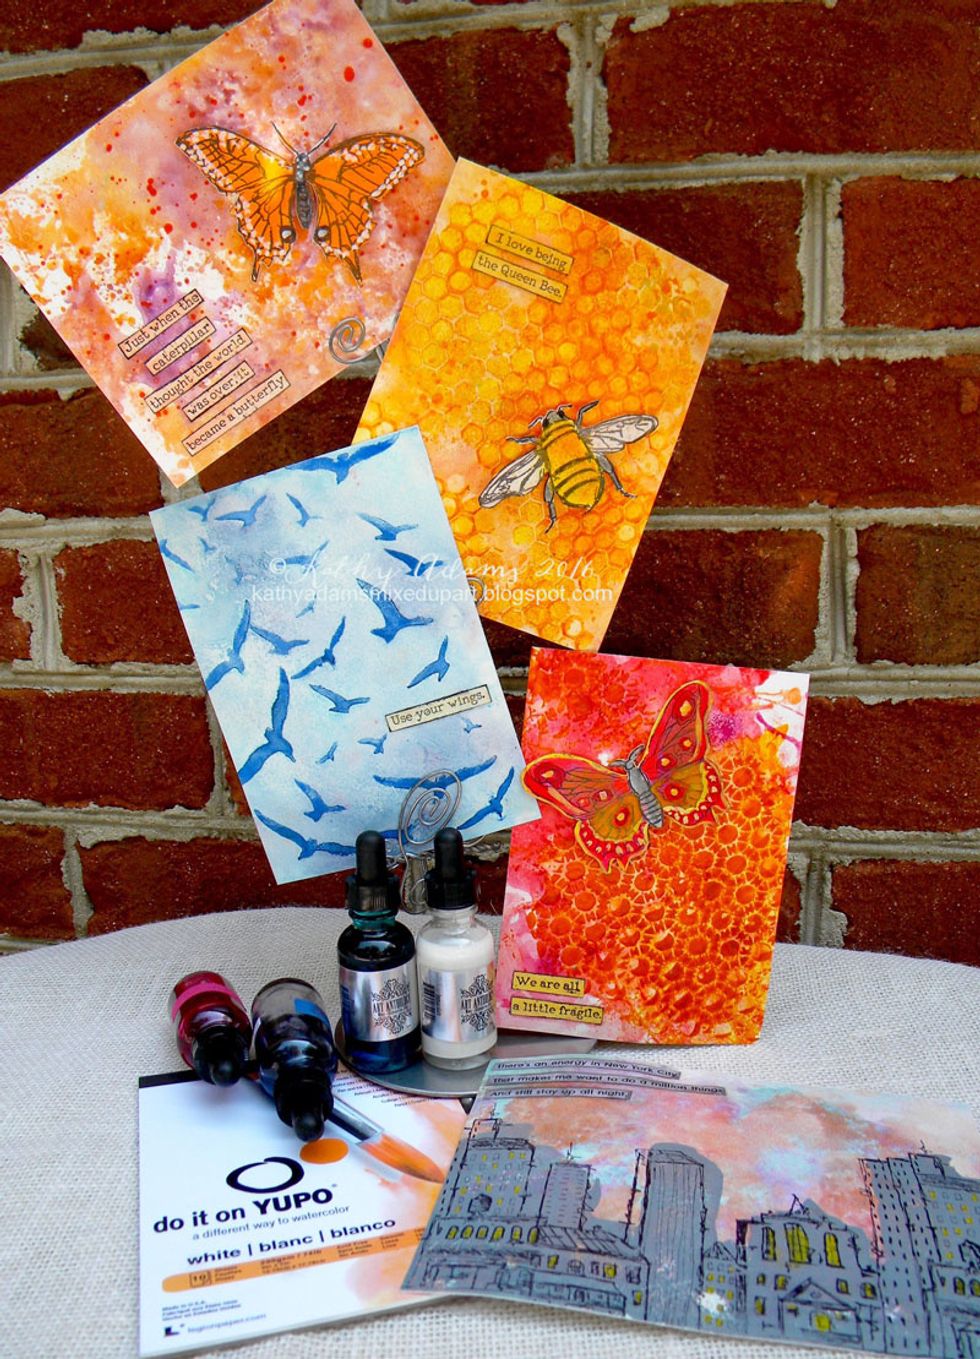
Here are the completed cards.

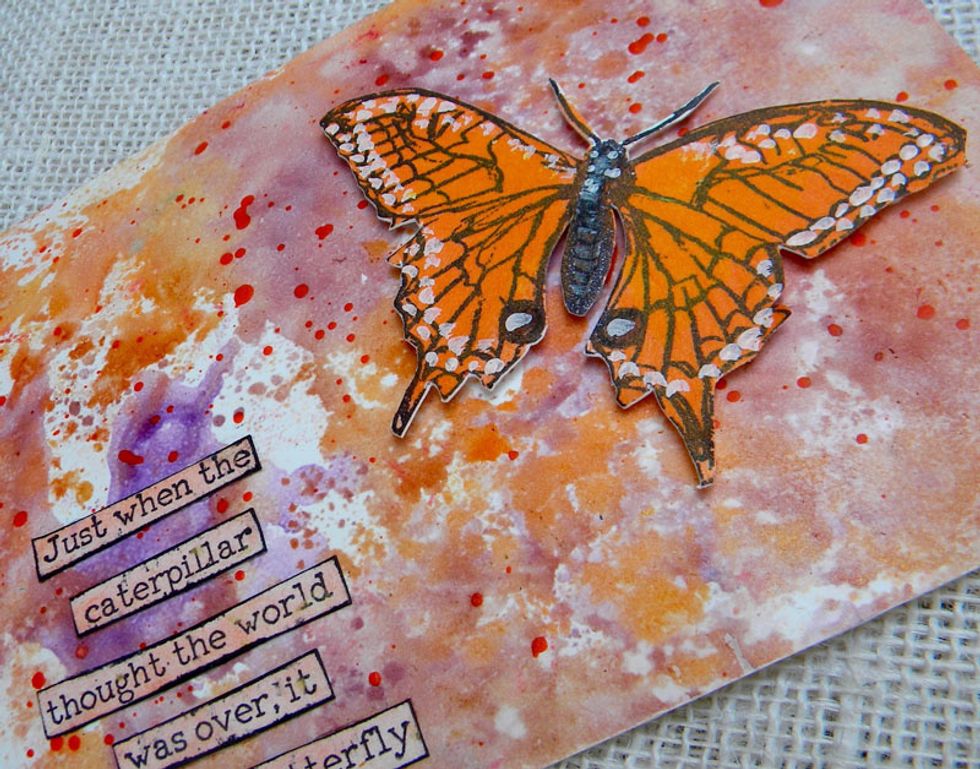
As a final step, splatter bright colors mixed diluted with water to add even more interest.


For this card, I used Natalie Kalbach Urban Scribble stamp set which includes a rubber stamp as well as a foam, two-sided stamp. It's a great set for layering.
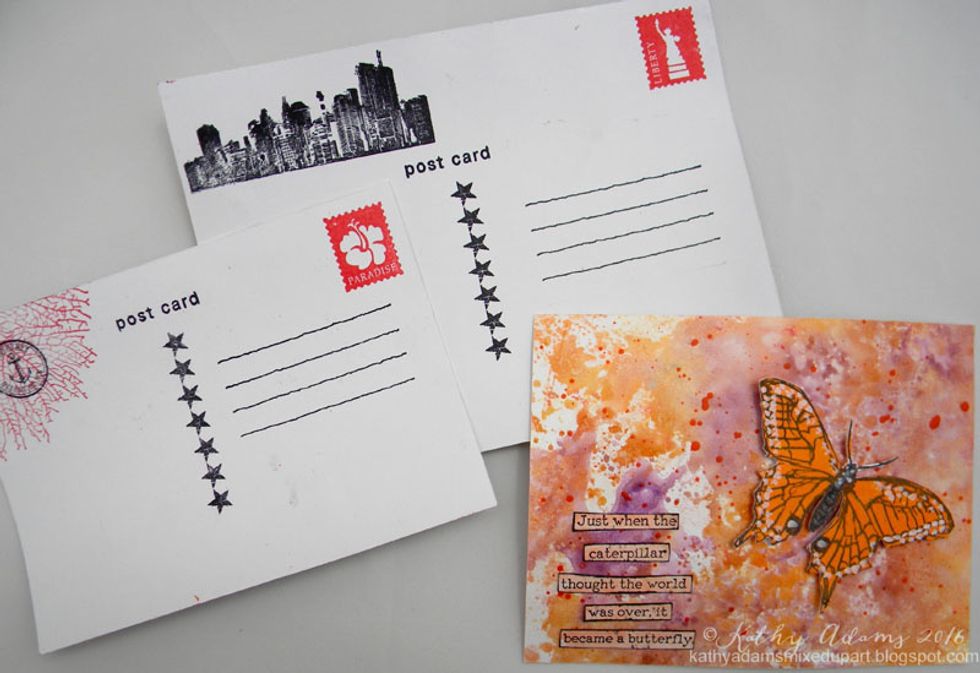
I decided to make them into art postcards (if there isn't such a thing, I am making it up right now!) mounting them on white card stock and stamping them on the back.
Buy Art Anthology mediums at: http://www.artanthology.net/ Share your creations on our Facebook page: https://www.facebook.com/groups/741057632686564/

Visit Kathy's blog at: http://kathyadamsmixedupart.blogspot.com/ See Kathy's art work on Pinterest: https://www.pinterest.com/katluvsdogs/my-art/