The Conversation (0)
Sign Up
Streamline album production by matting all photos onto black cardstock before you begin. Then cut all pages to size. You will need 22 squares of 5.25" patterned paper to cover standard pages.
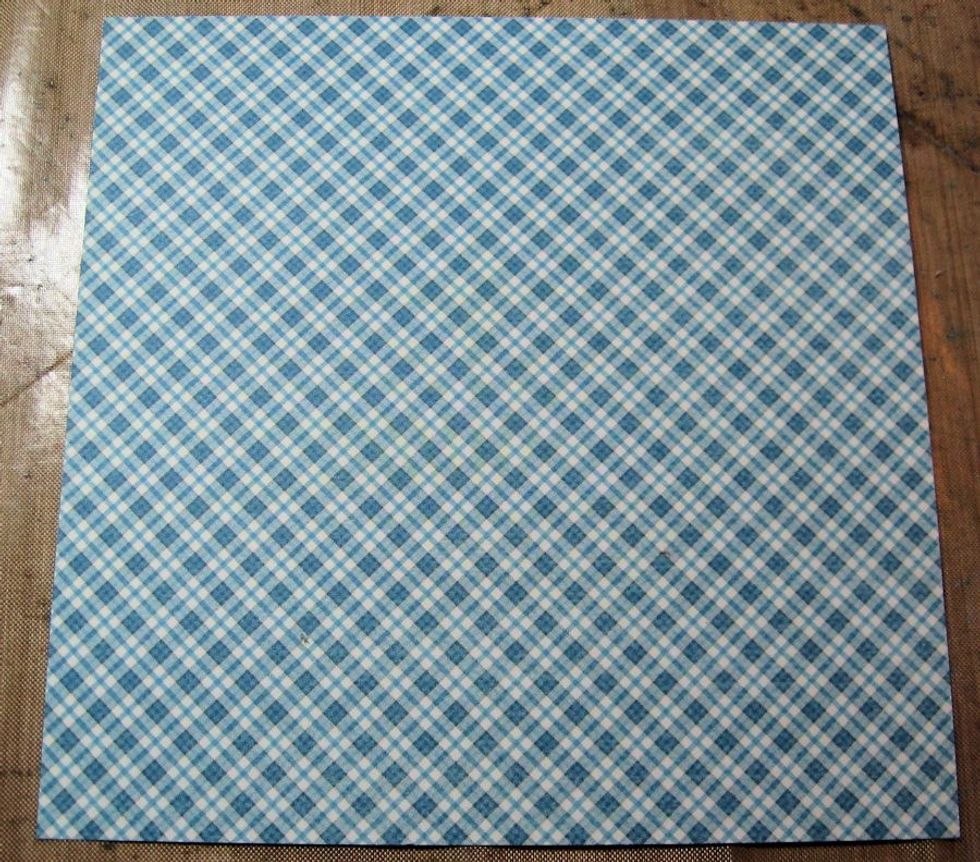
Make the covers: Cut TWO 6" squares for front & back cover. TWO 5 7/8" rectangles of patterned paper for inside covers. I worked with blue& yellow palette. Ink all edges with Vintage Photo Ink.
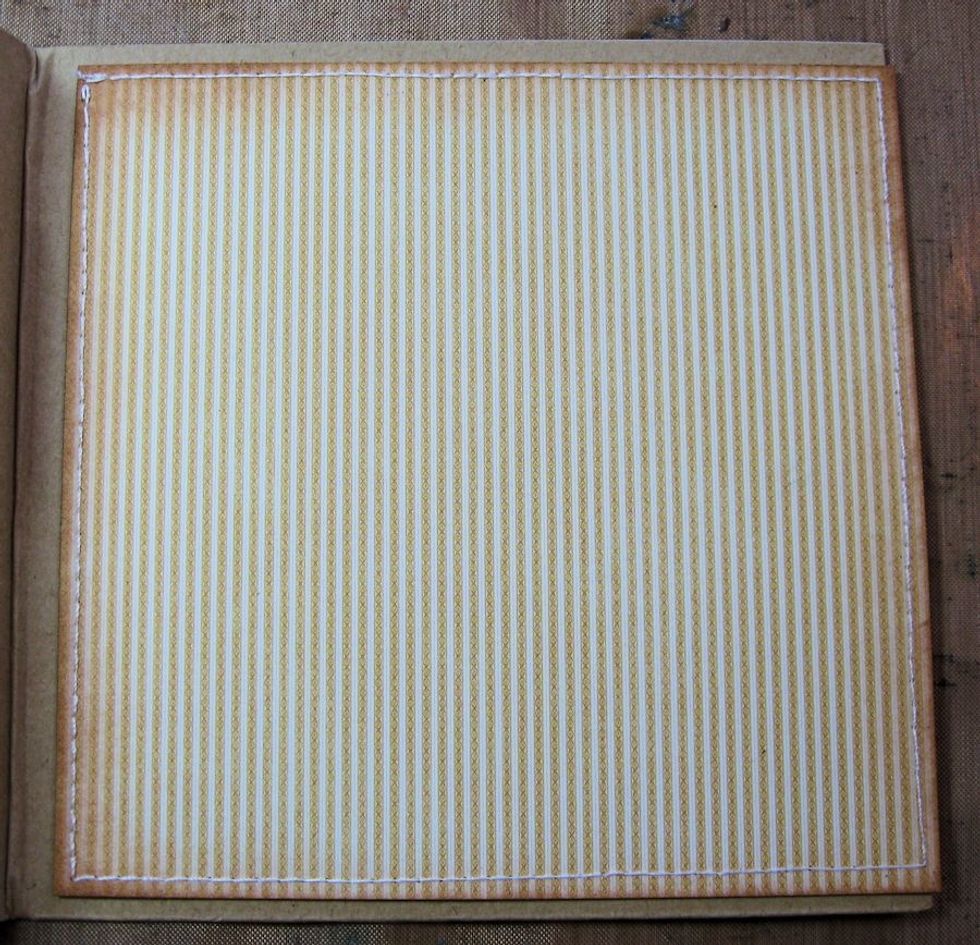
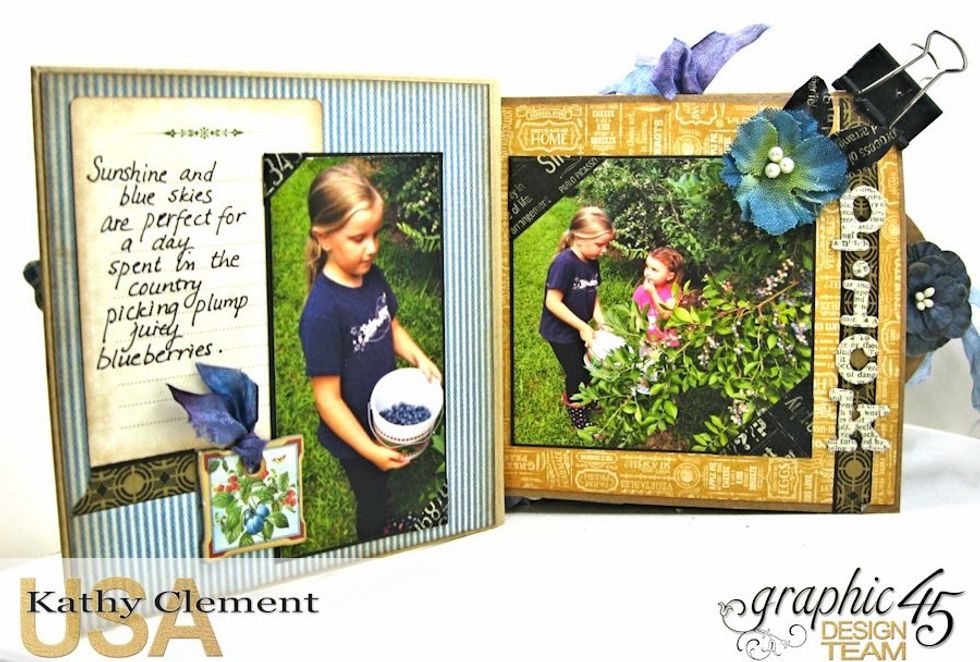
Cut a 5.75" square of yellow stripes from 6x6" prints and patterns. If desired, machine stitch around the edges with ivory thread. Do not glue cover onto album until all inner pages are complete!
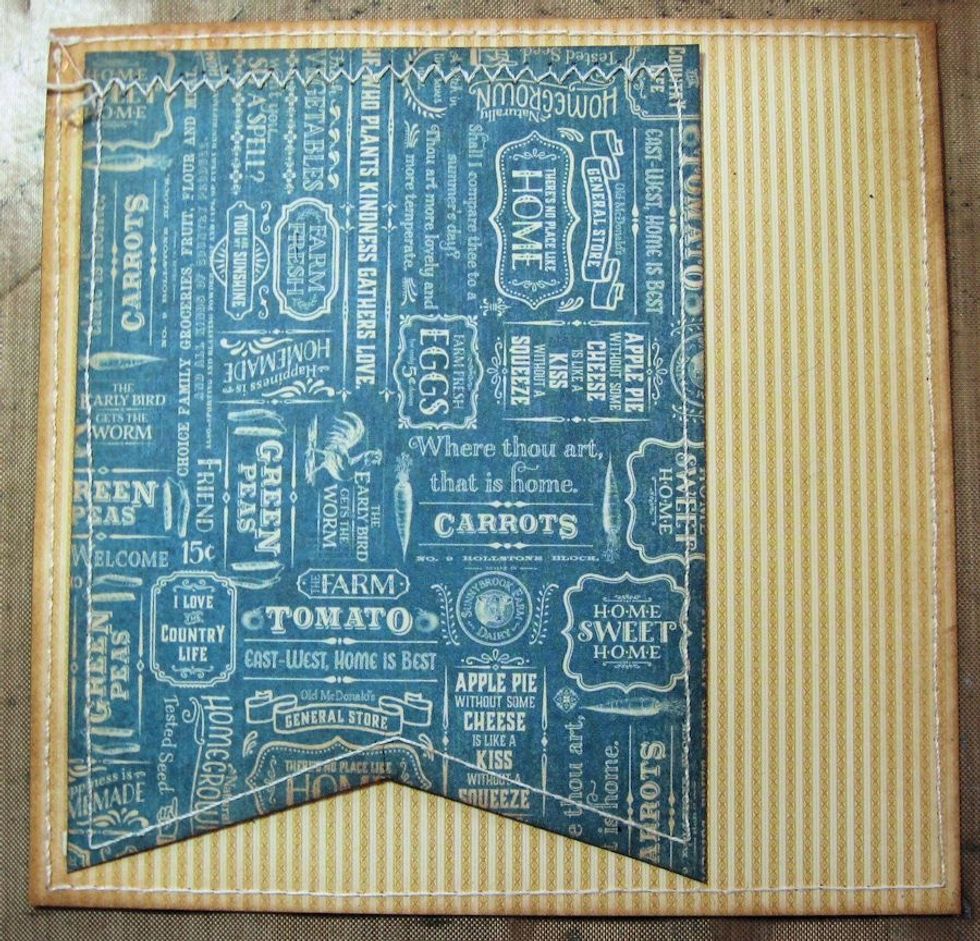
Cut 4" x 4.75" banner flag from blue patterned paper. Stitch, if desired and glue onto yellow striped paper.
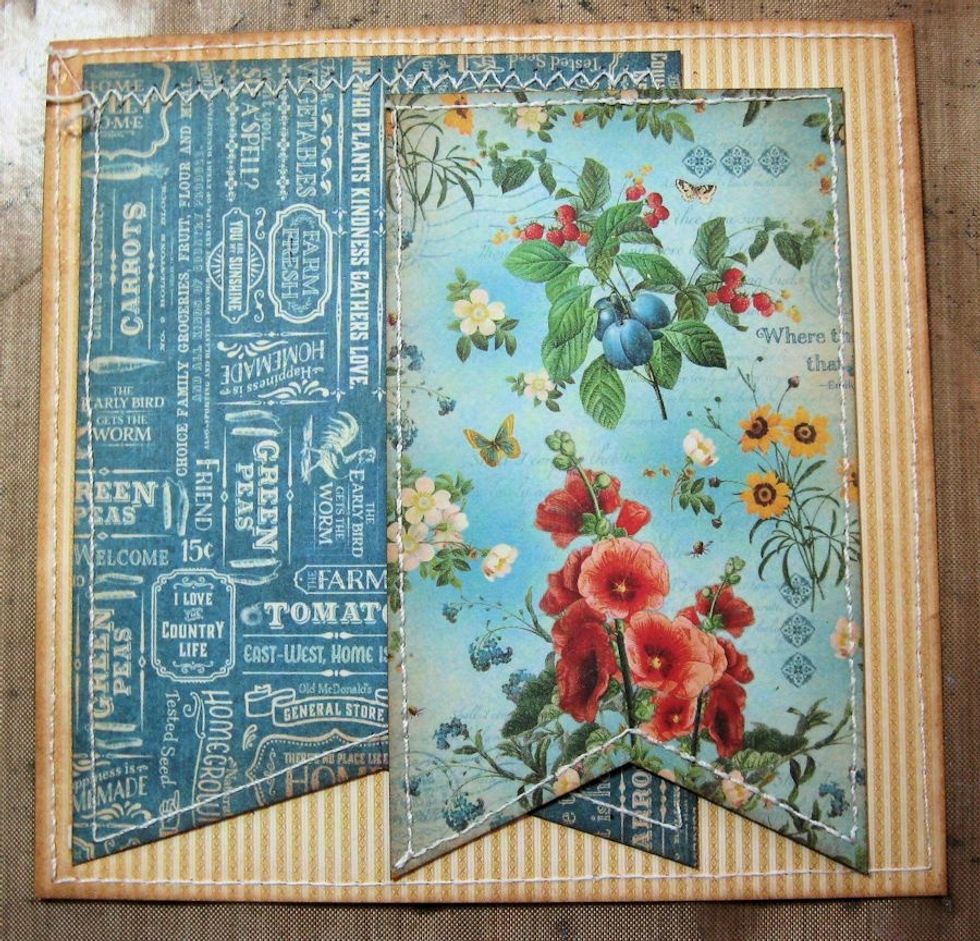
Cut 3" x 4.75" banner flag from patterned paper. stitch if desired and glue in place as shown.
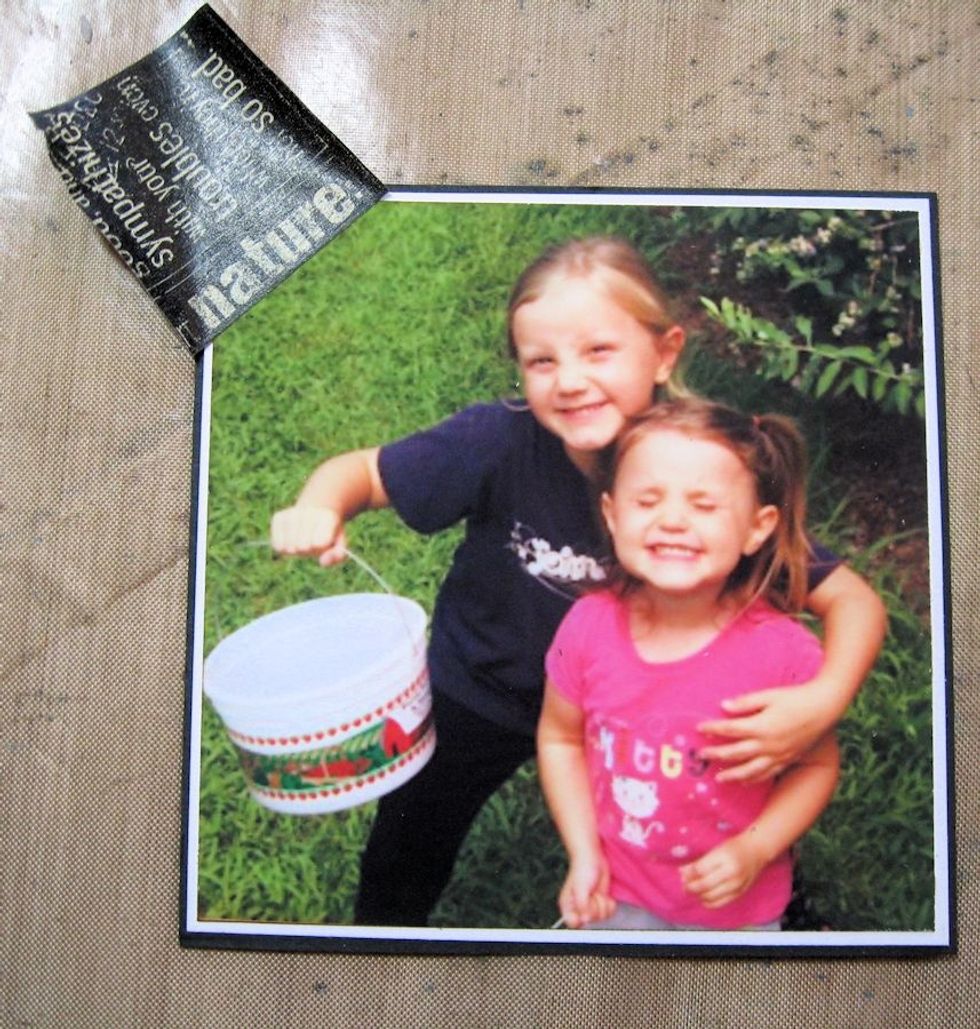
Use washi tape to add custom photo corners. Here's how:
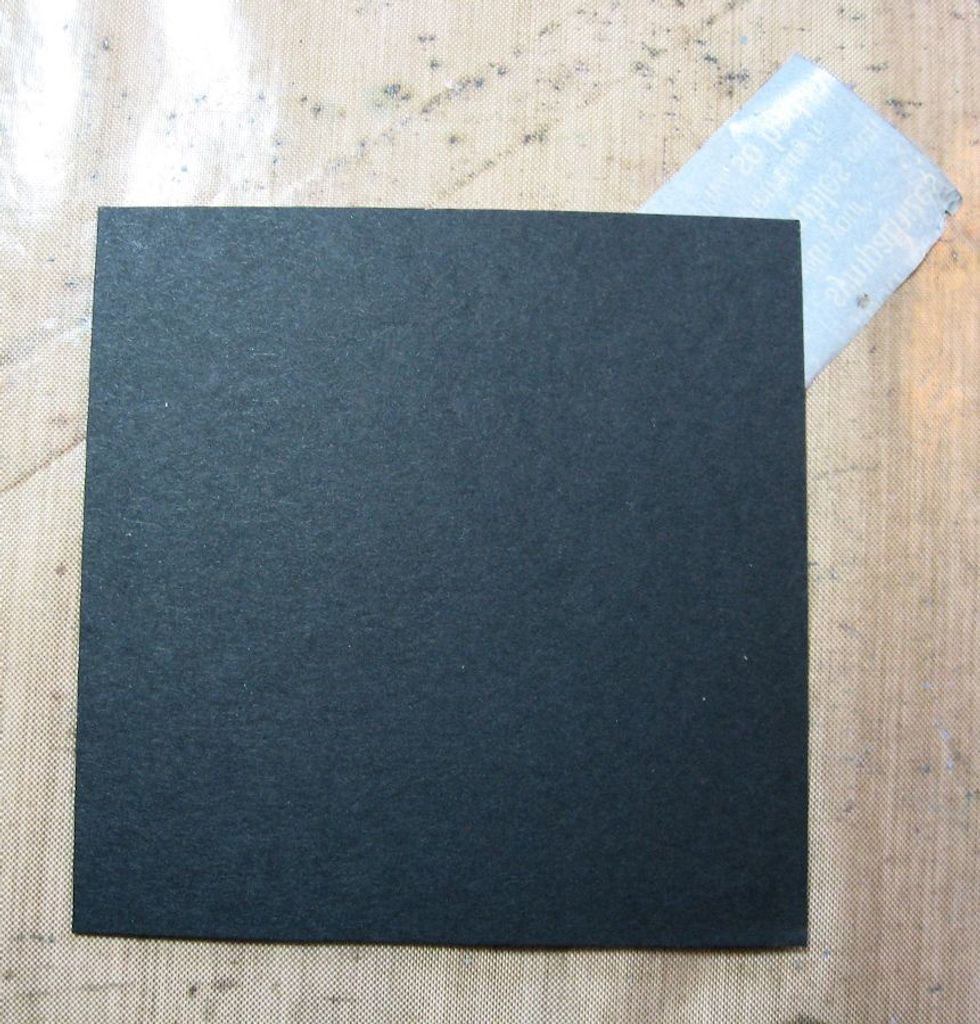
Center photo mat corner onto the back side of the washi tape as seen here. Make sure edges are centered and even. Cut tape.
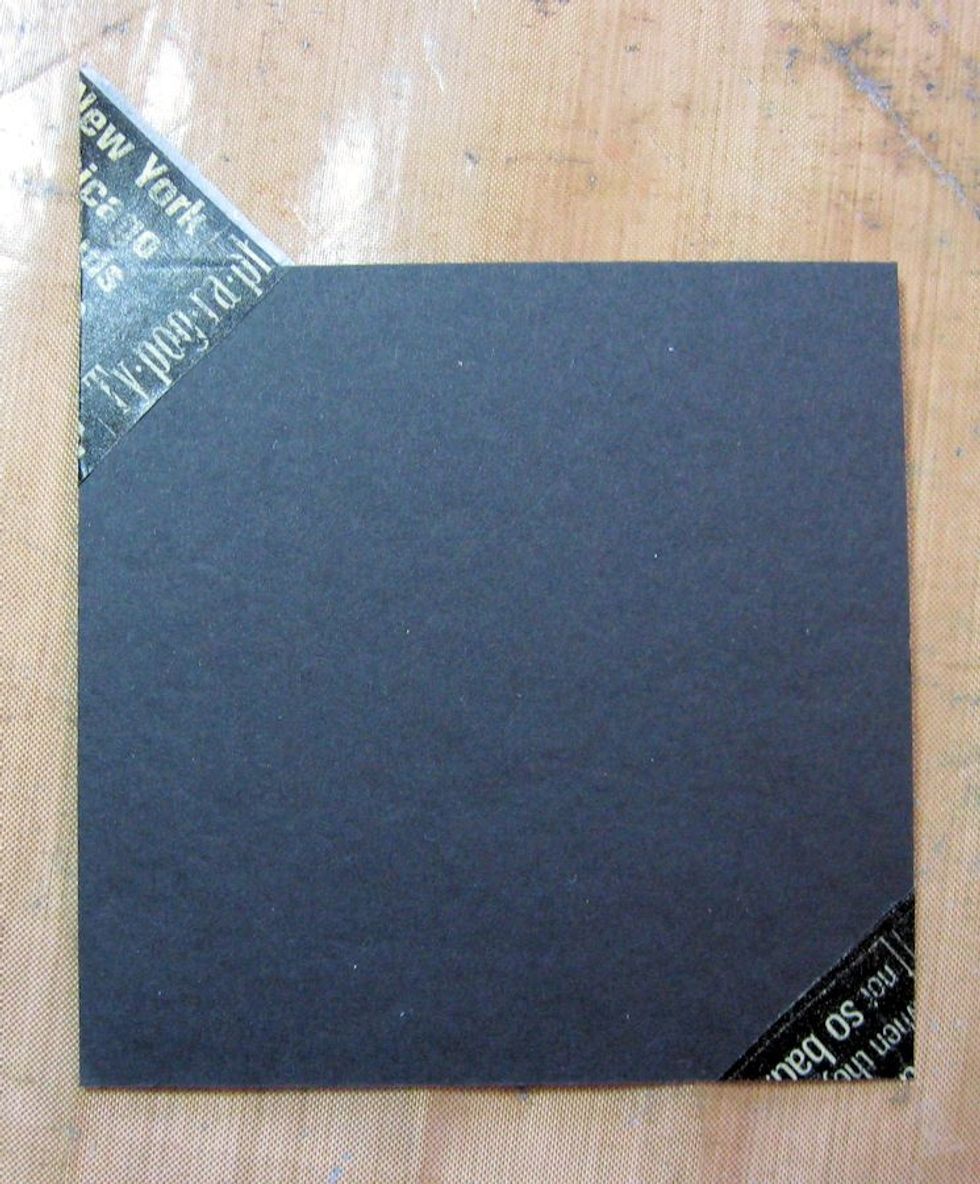
Fold tape over the corner as seen here, or trim with scissors. I like folding as it adds a little more dimension to the matted photo.
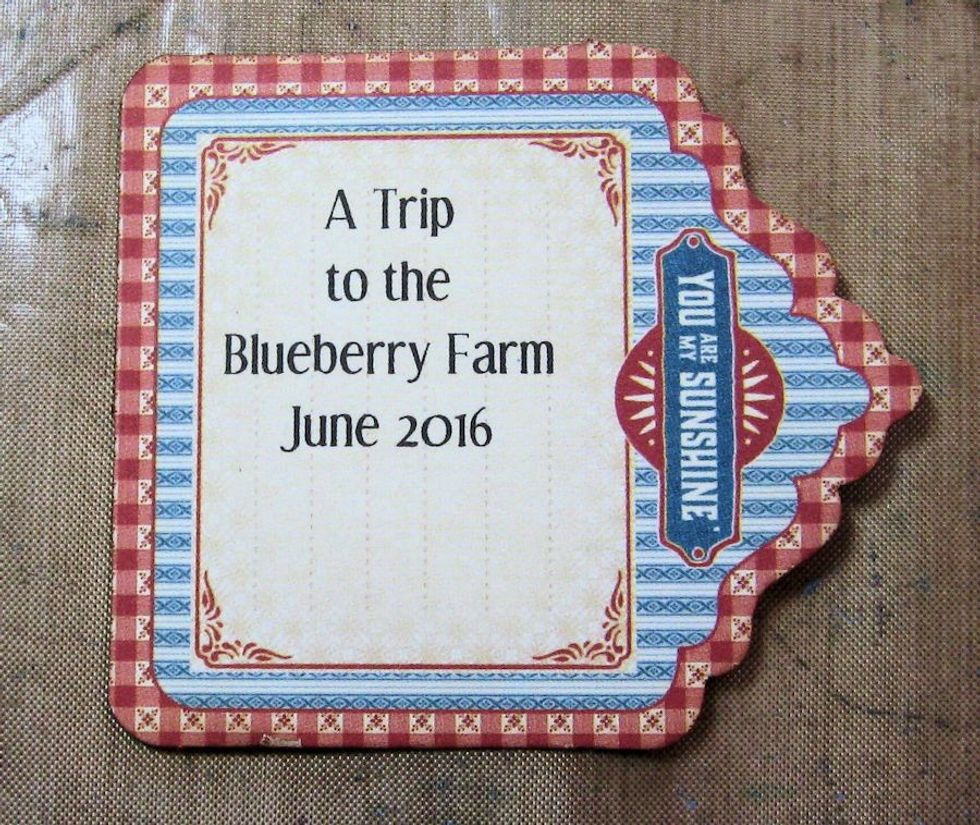
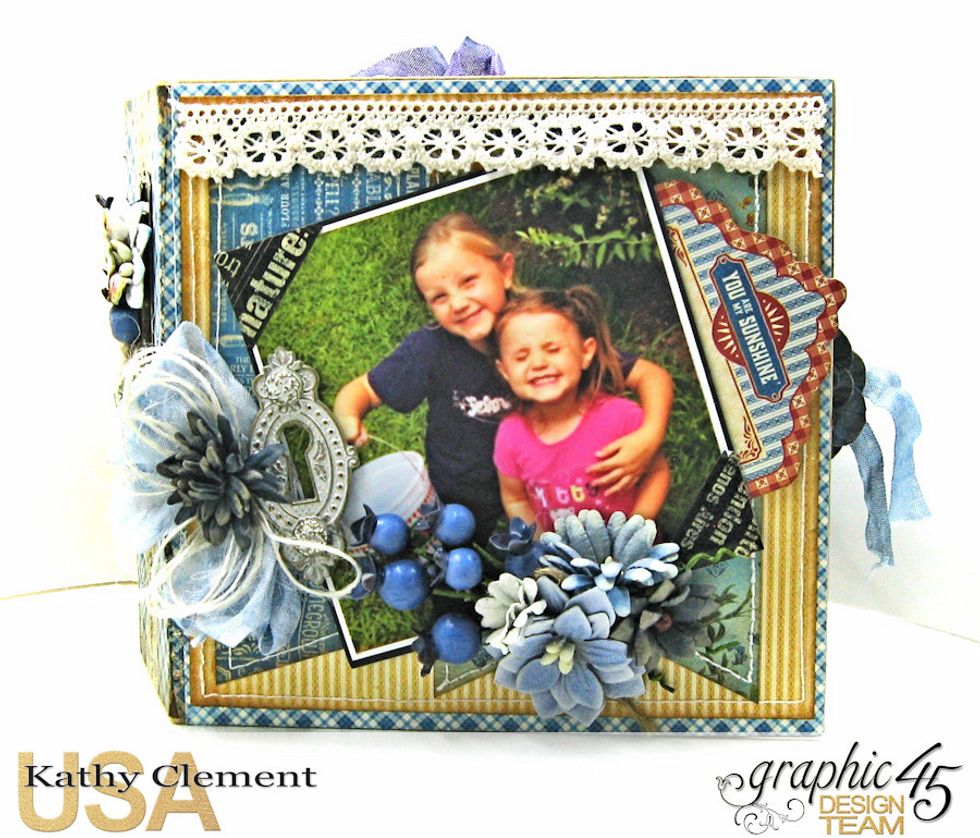
Write or computer journal album title onto a tag from Tags and Pockets.
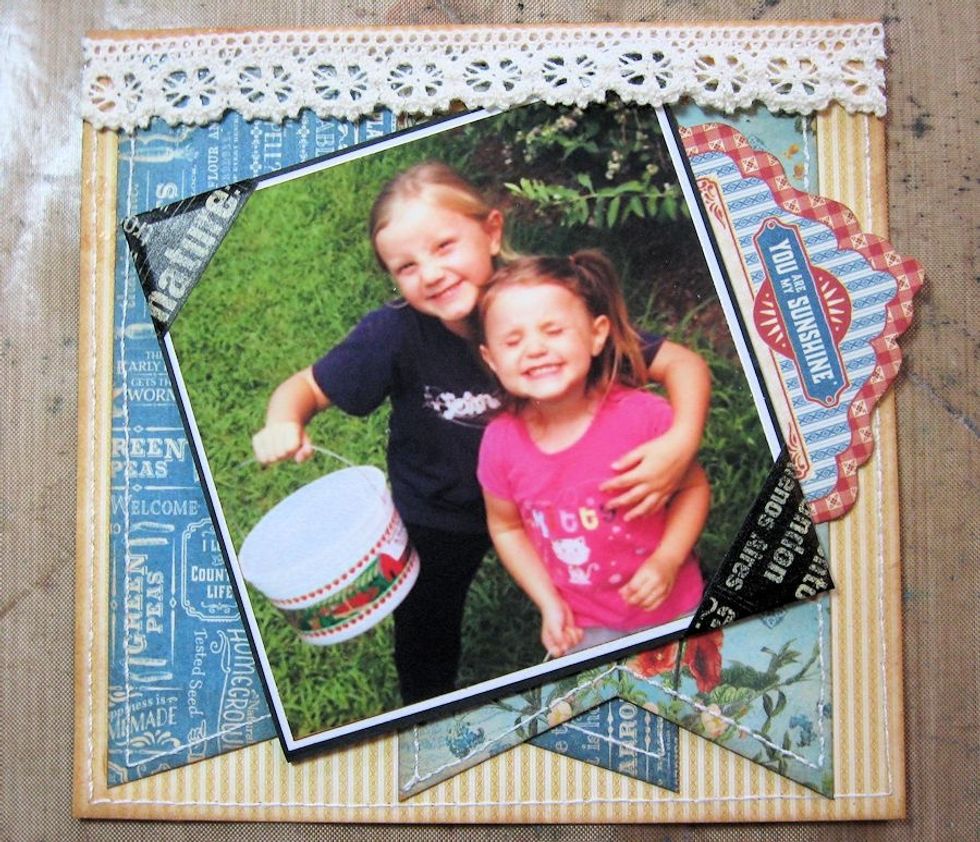
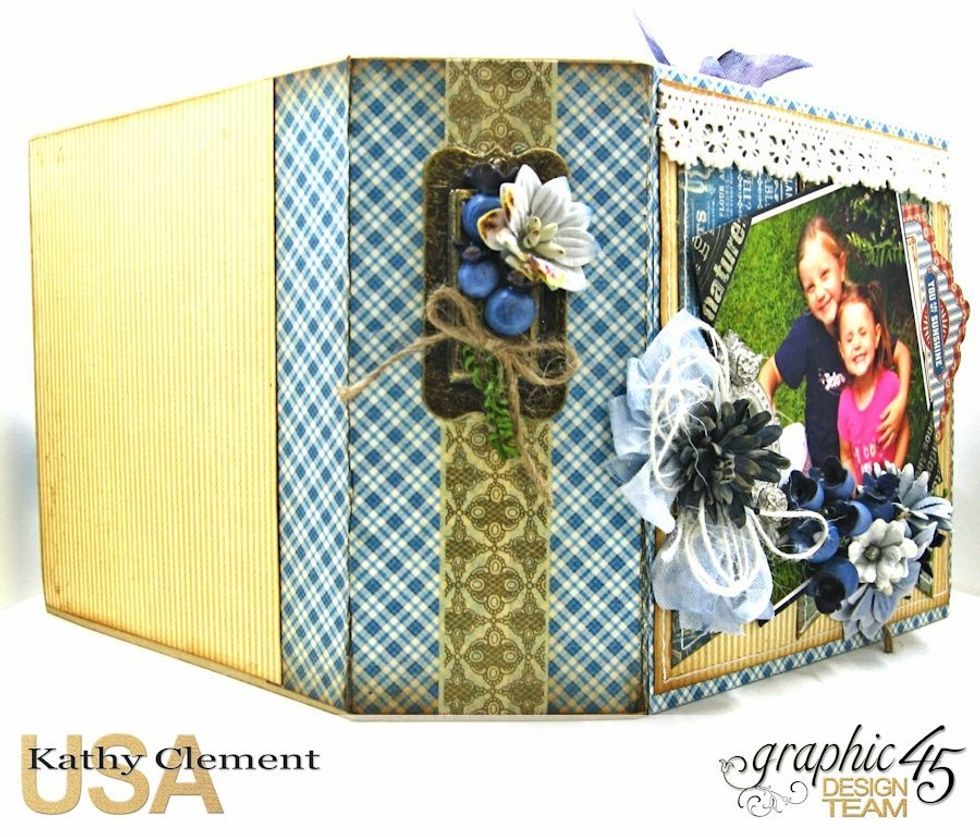
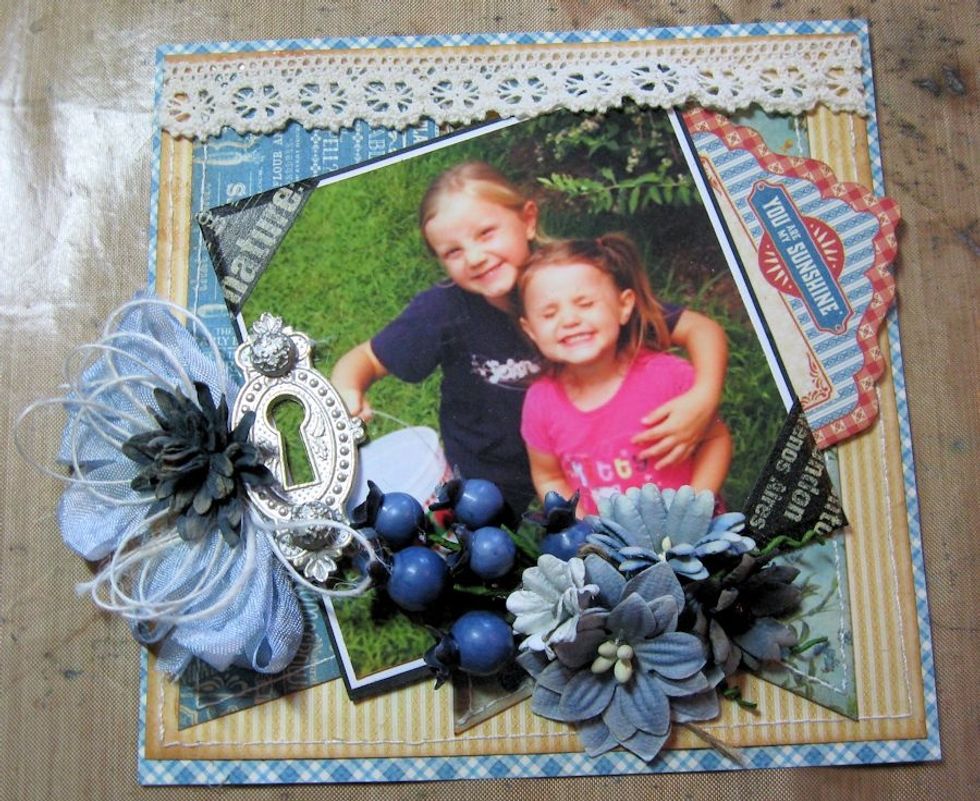
Add strip of crochet lace to top edge. Mount prepared photo with foam dimensionals and slip journal tag behind photo.
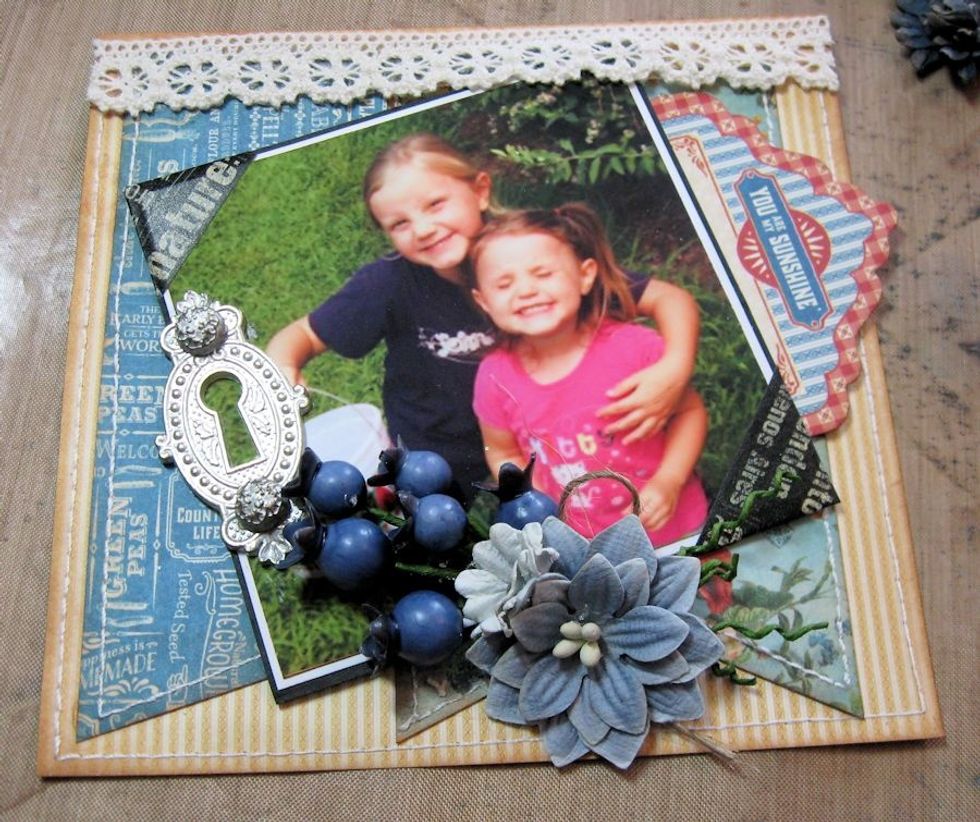
Add Ornate Keyhole with brads on left hand side of photo, as seen here. Then use hot glue to add blueberry picks, followed by flowers.
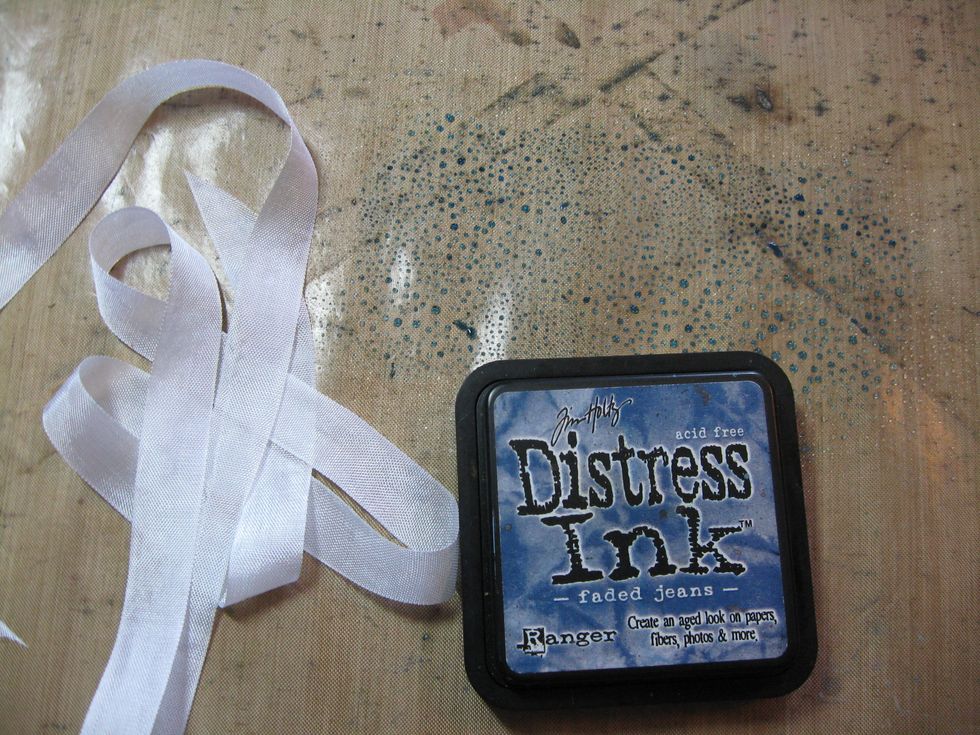
Cut a two yard length of white seam binding. Smoosh Distress ink onto non-stick craft sheet and spritz with water. Drag the ribbon through the puddle of ink, moving it around to pick up all the ink.
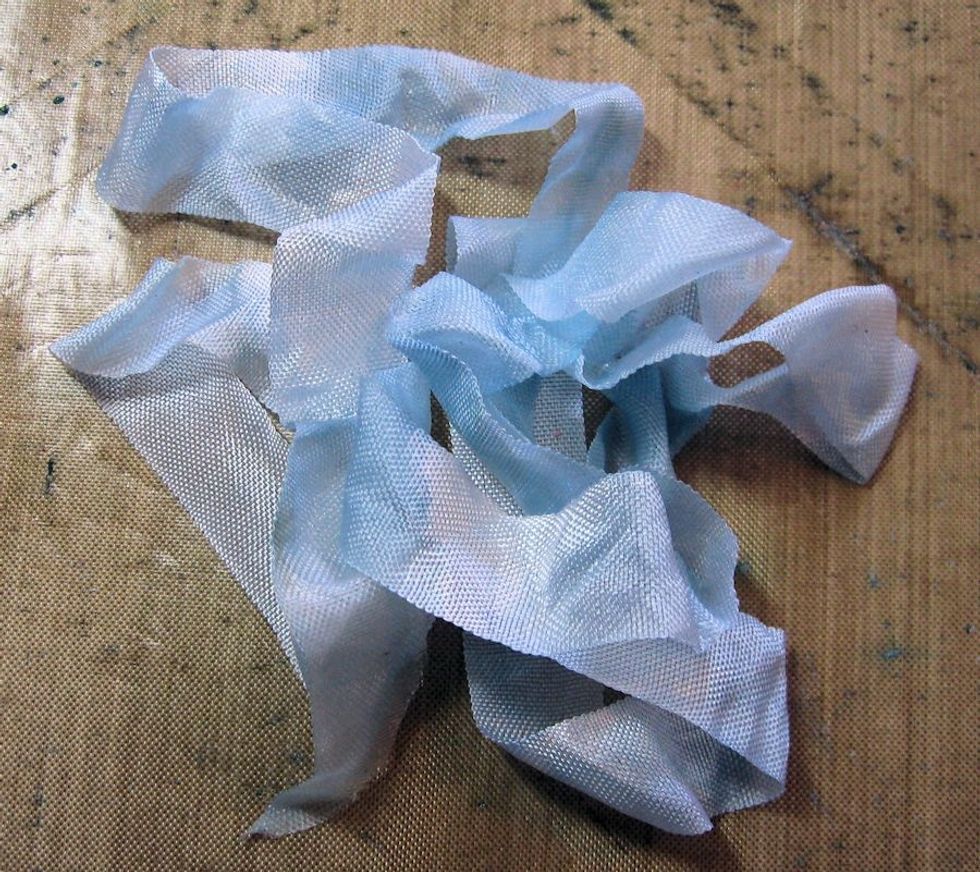
Scrunch the ribbon to move the ink all through the fibers. Gently dry with heat gun. Tie into a multi loop bow. I use a Zutter Bow it All tool to tie all my bows.

Place a dab of hot glue beneath the ornate keyhole. Use the tips of your scissors to poke the ribbon into the hot glue. Top with Ivory Burlap String Bow and a flower.
Glue to the prepared sheet of 6x6" blue paper. Set aside and add to the mini album cover as the final step.

Spine: Cut 2 3" x 5 7/8" pieces of paper. Slip edge beneath metal label tag. Crease edges. Glue in place. Cover gap in center with washi tape, trim with kraft knife. Glue back cover. Embellish.
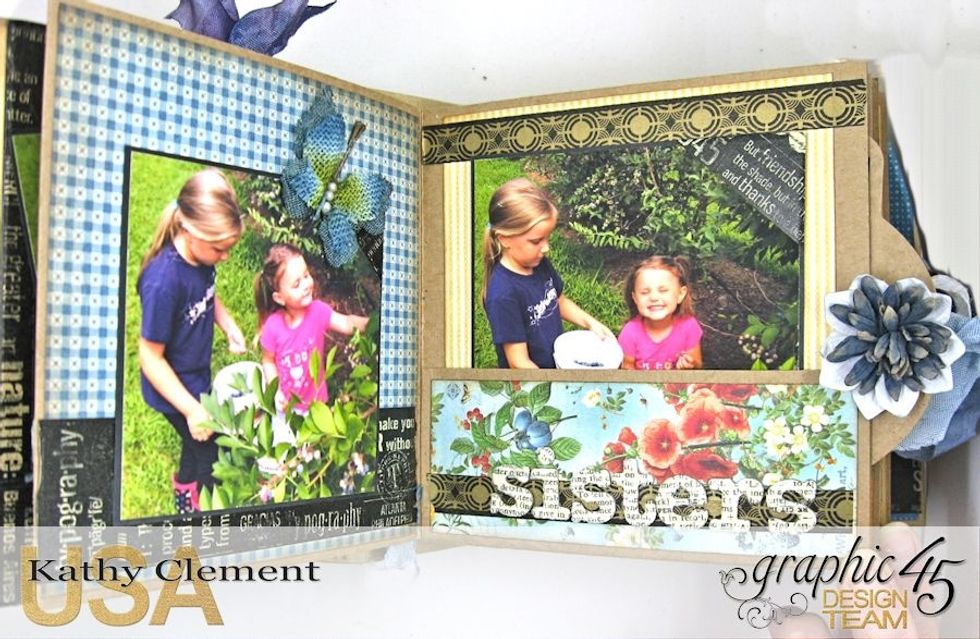
Glue prepared 5.25" papers onto standard pages. Cut papers for pocket pages: Cut 12 4.75" wide x 4" tall panels to line pockets. Cut 12 5.25"x 2" panels for pocket flaps. Use washi tape as borders.
Embellish with a few flowers, journal tags and chipboard charms. Keep it simple. Think Instagram. Washi tape borders are a quick way to add style and anchor a page.

Keep alpha letters straight by lining up on washi tape borders. . Build the album assembly line style. Mat all photos. Cut all pages. Glue pages in place. Add washi tape &photos. It will go quickly!
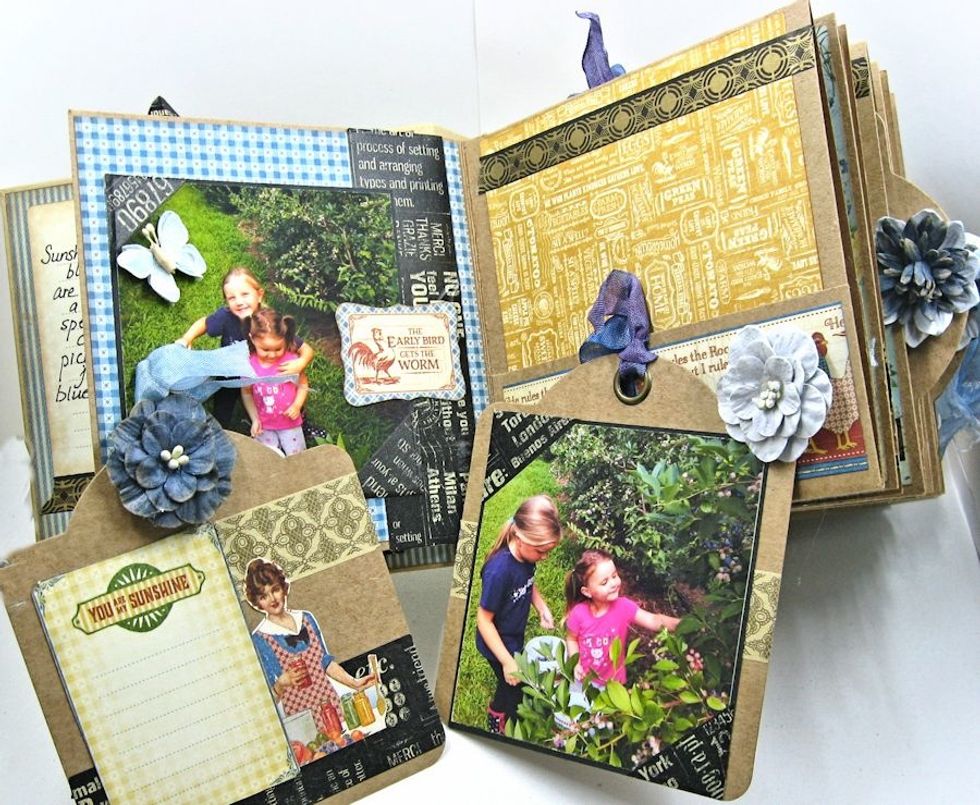
Use ephemera cards as journaling spots or to add extra recipes to the album.
Thanks for stopping by today! I hope I shared some helpful tips with you. I'd love to hear from you in the comment section below. Enjoy making your own Graphic 45 Staples Square Tag Album!