The Conversation (0)
Sign Up
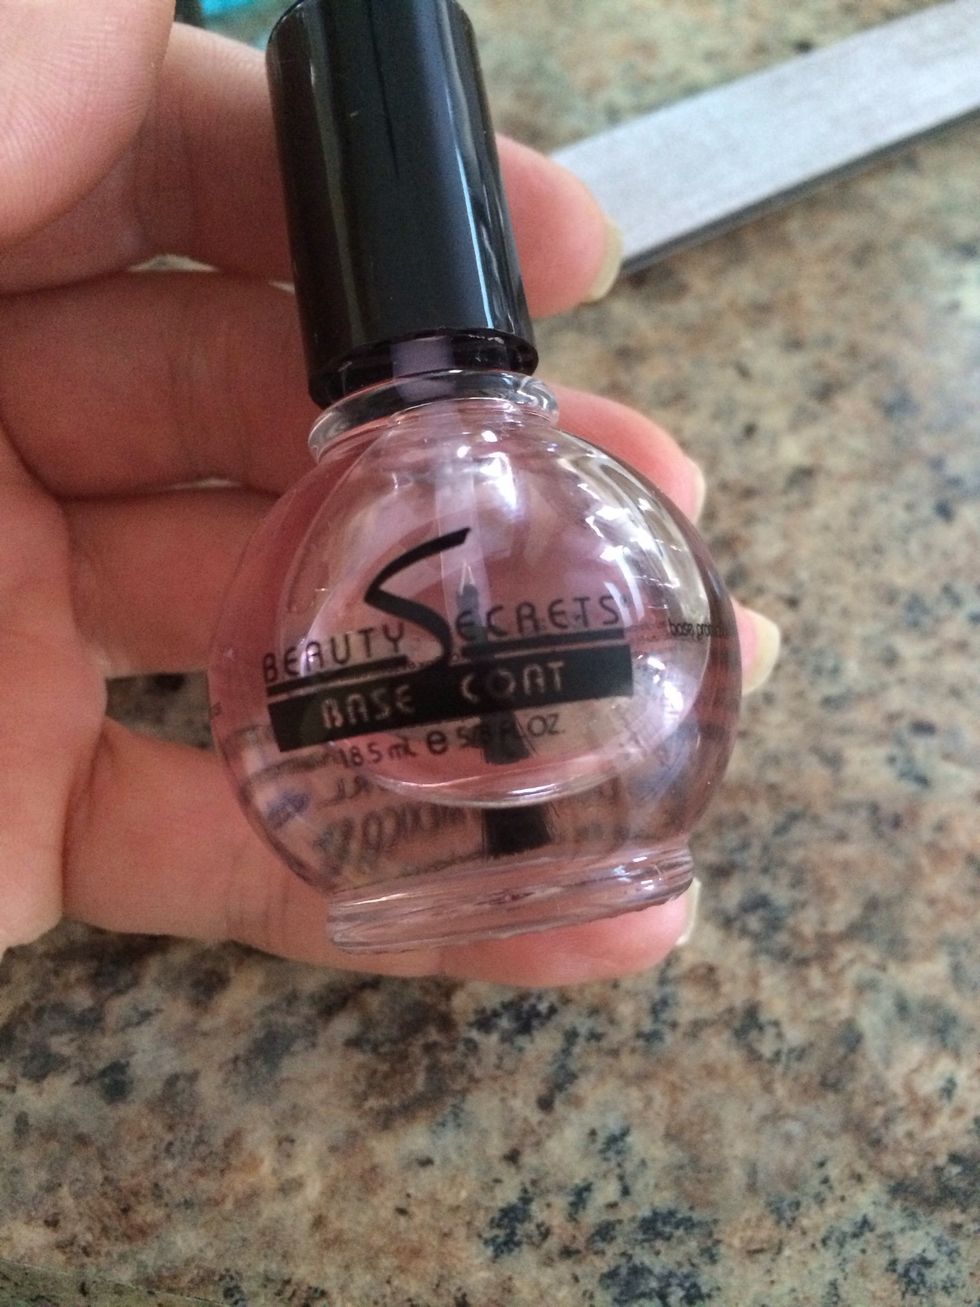
My favorite base coat.
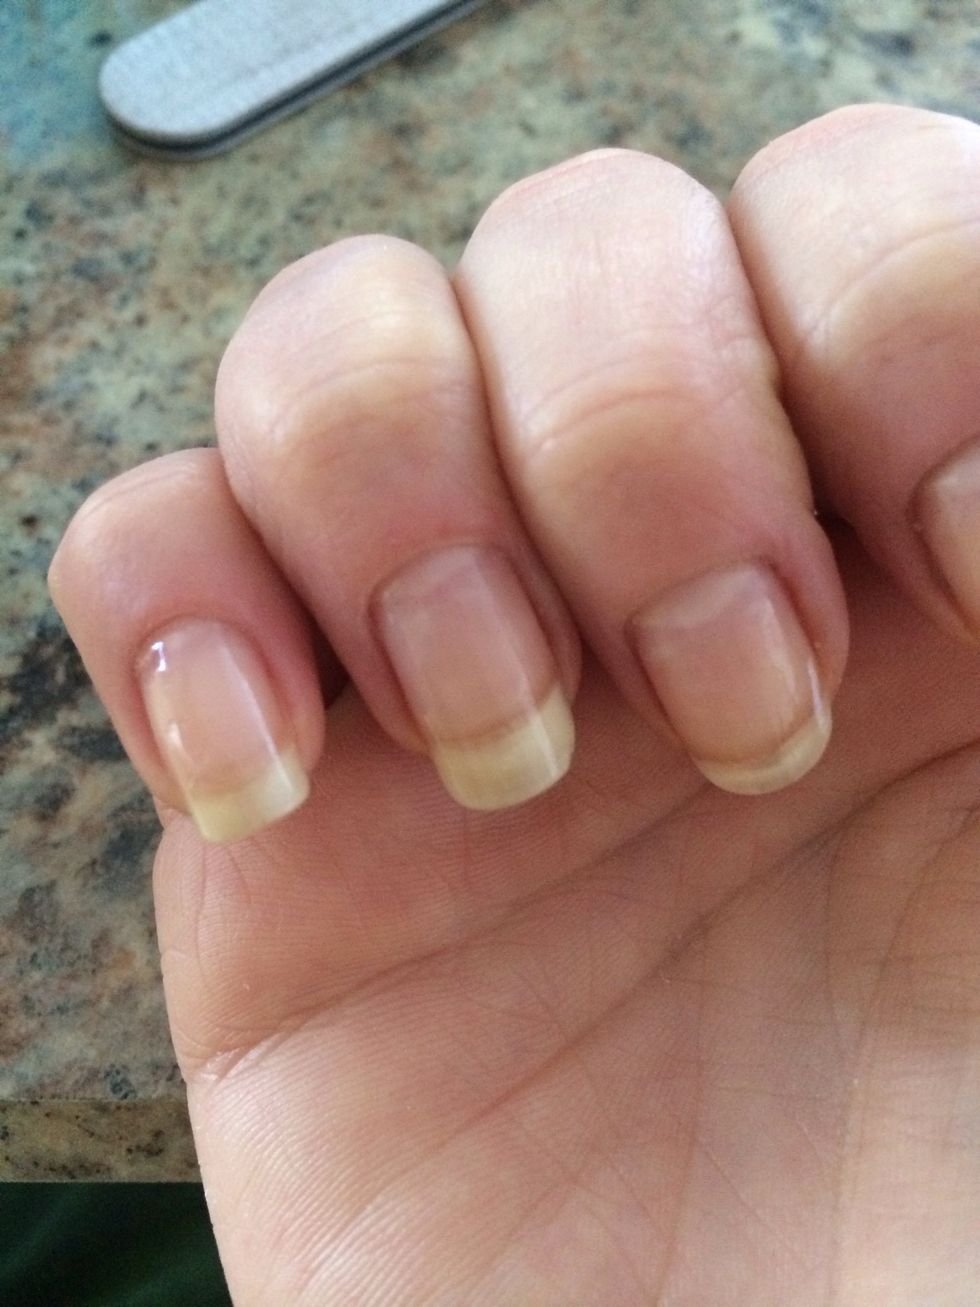
Start with clean nails and apply a base coat.
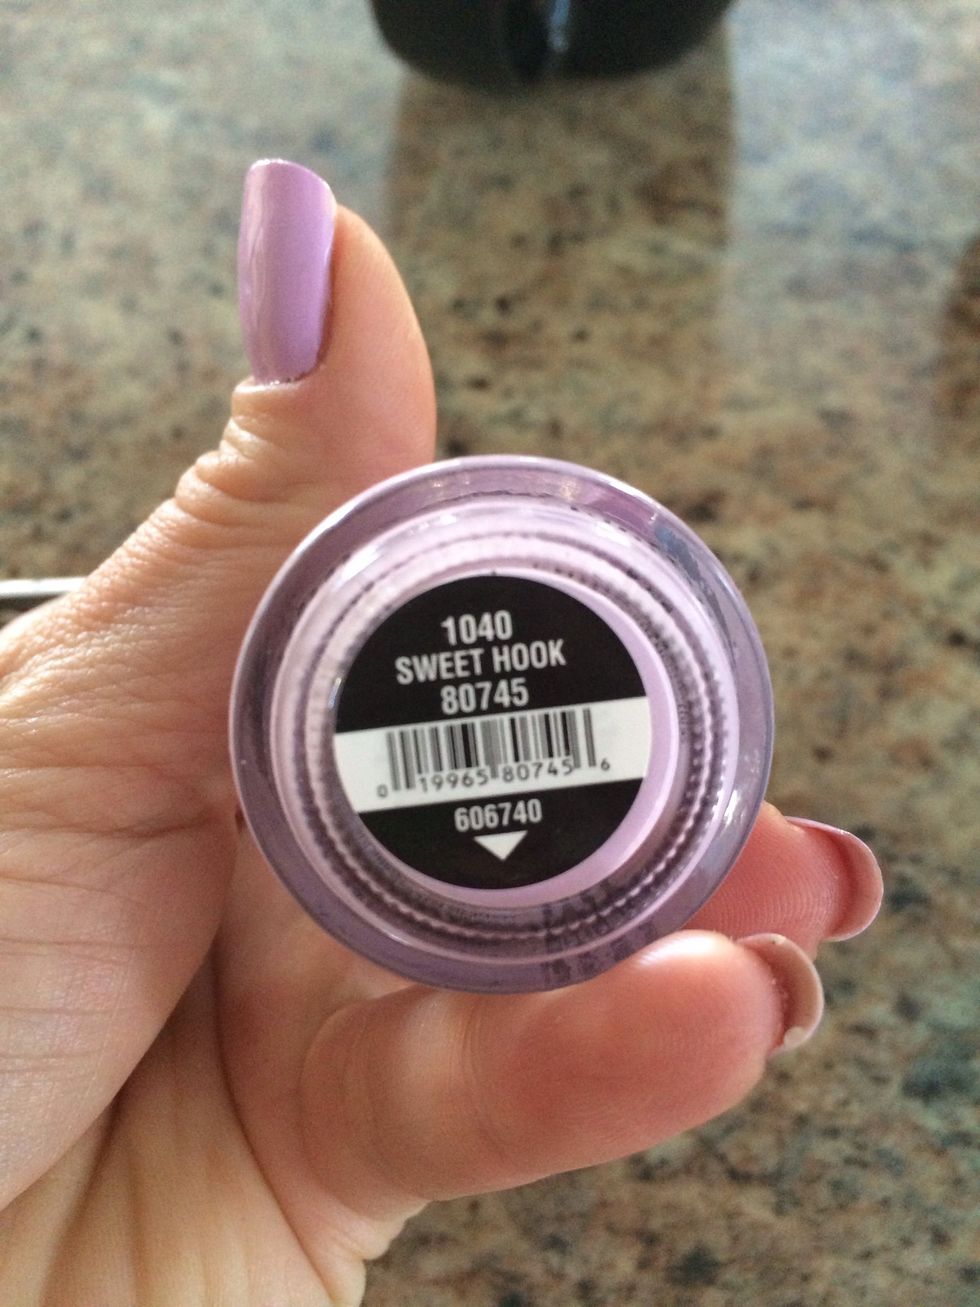
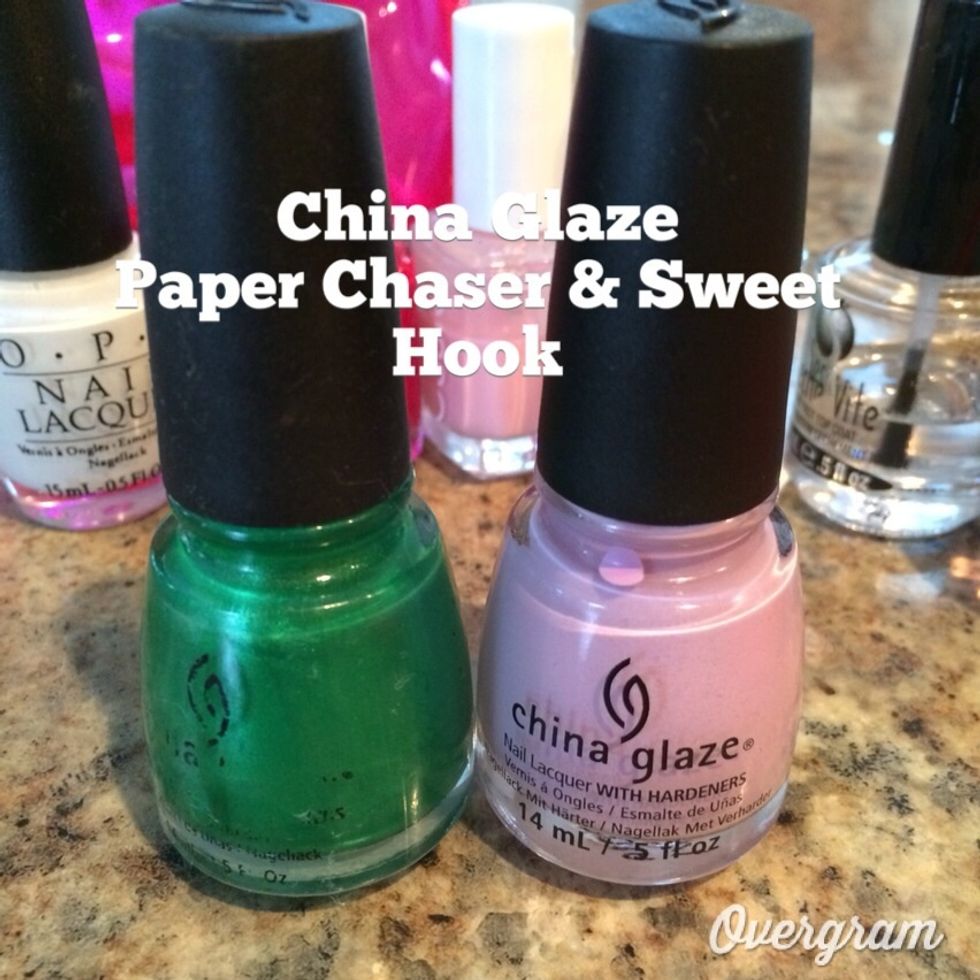
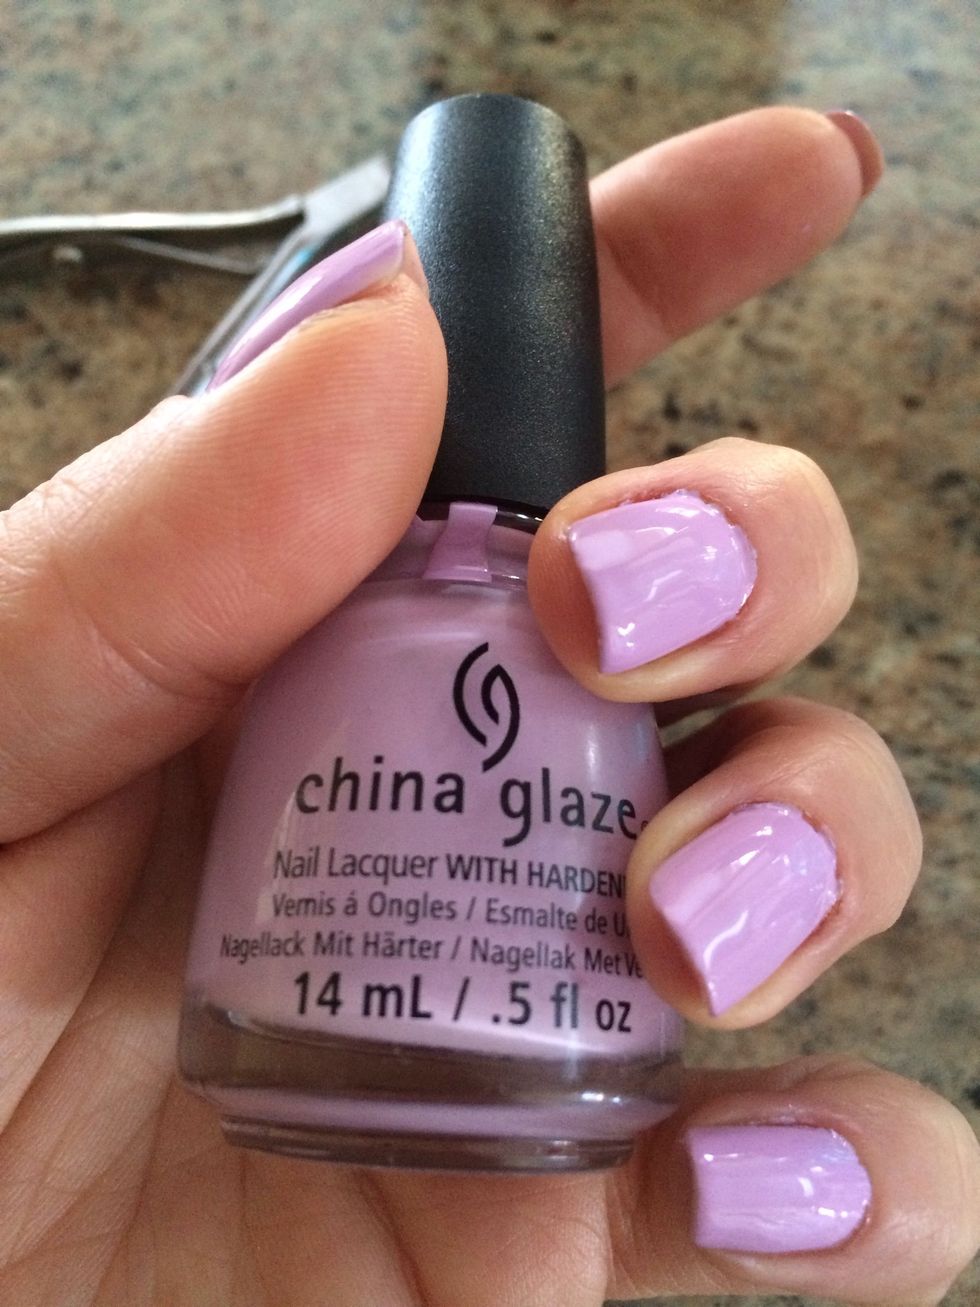
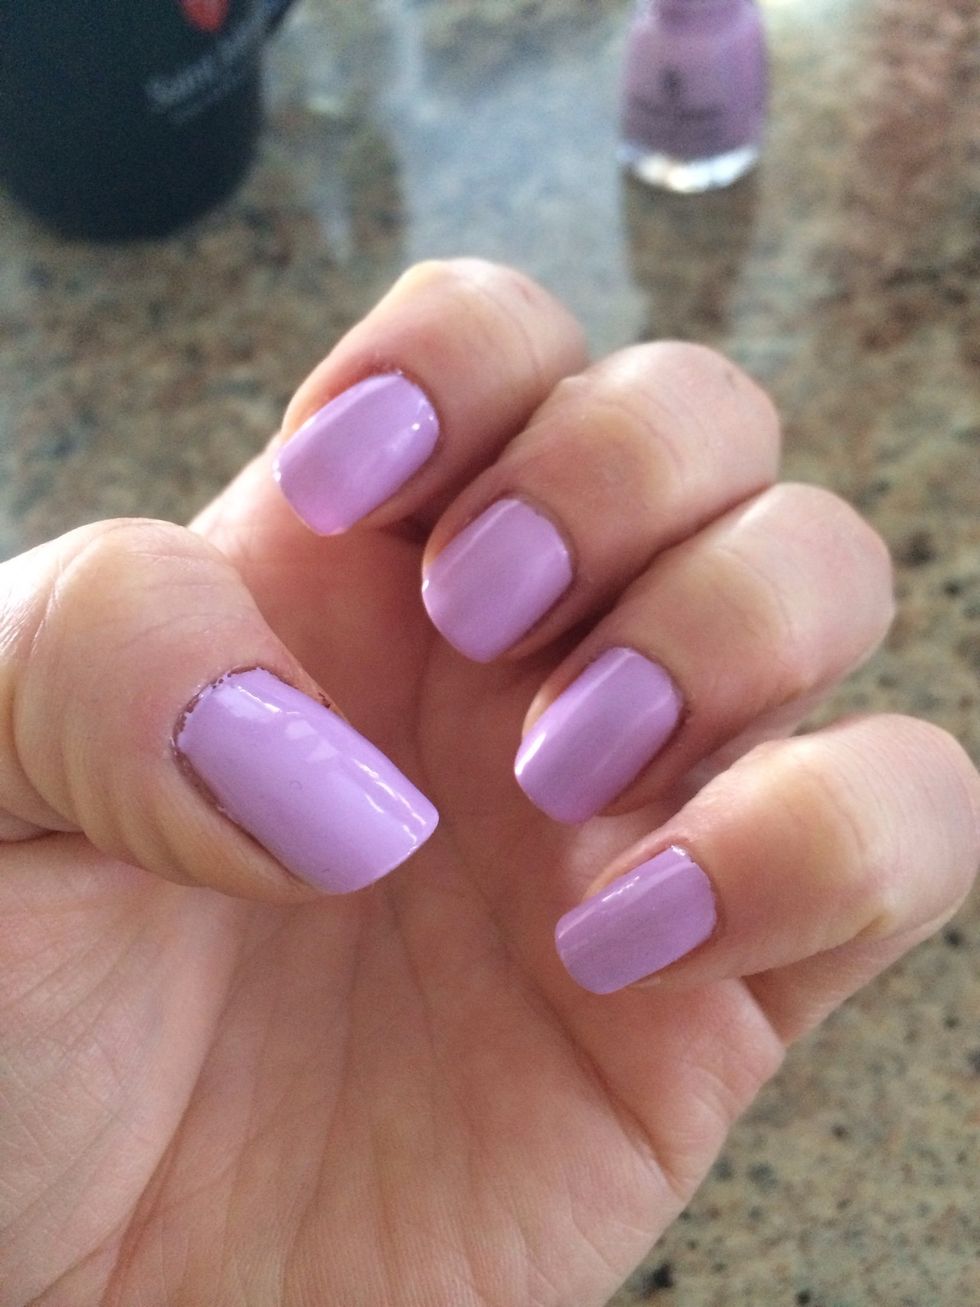
Apply a lighter pastel color. I'm using China Glaze Sweet Hook. I apply 2 coats although this polish is opaque enough for just 1.
Don't worry about cleaning up cuticles at this point.
Let these dry for a good hour. I find applying designs on tacky bases makes it much more difficult. You can apply a clear top coat at this point if you want to protect your polish while drying.
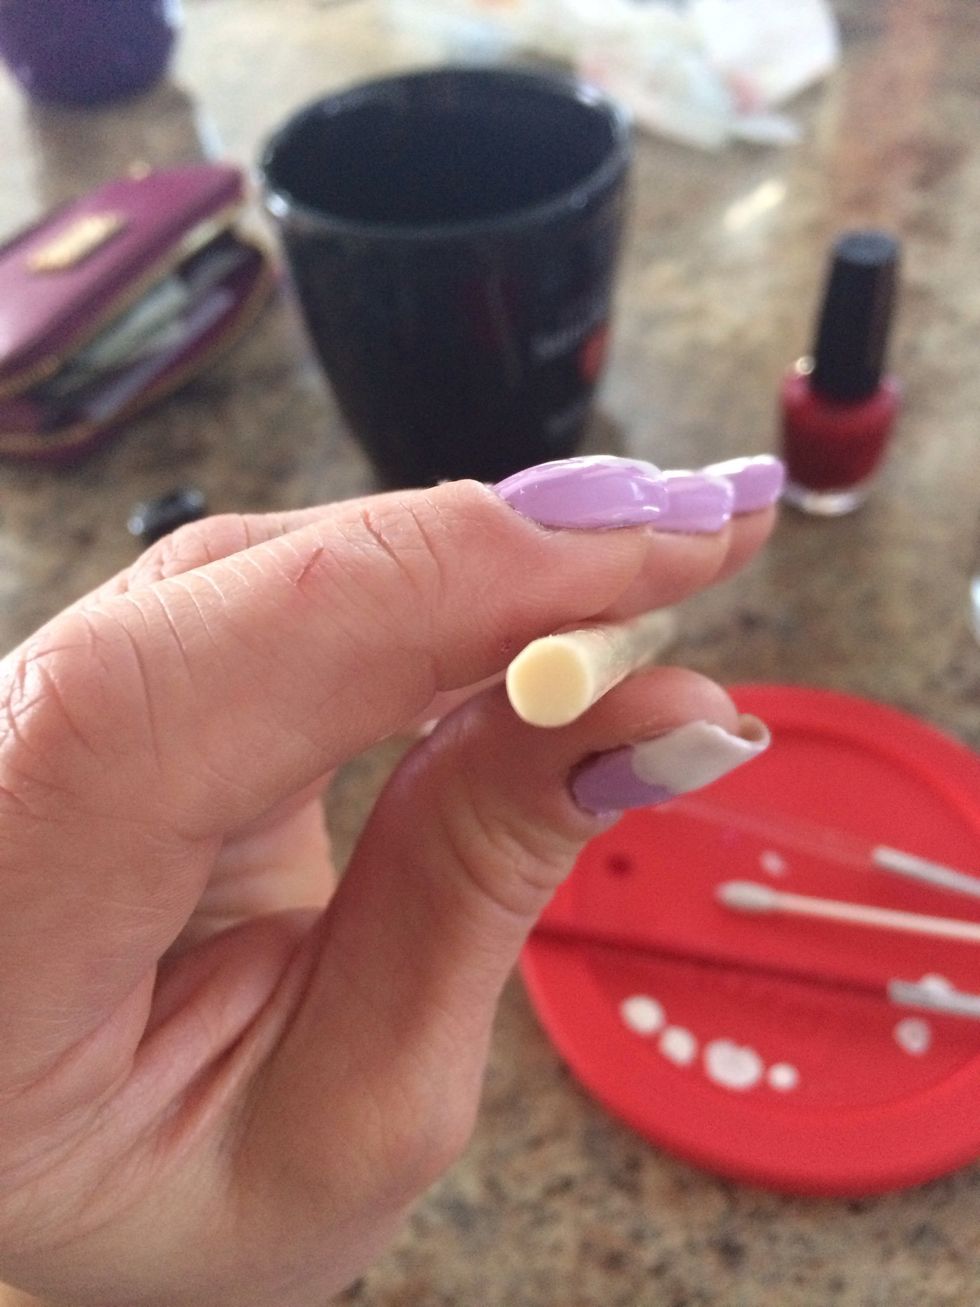
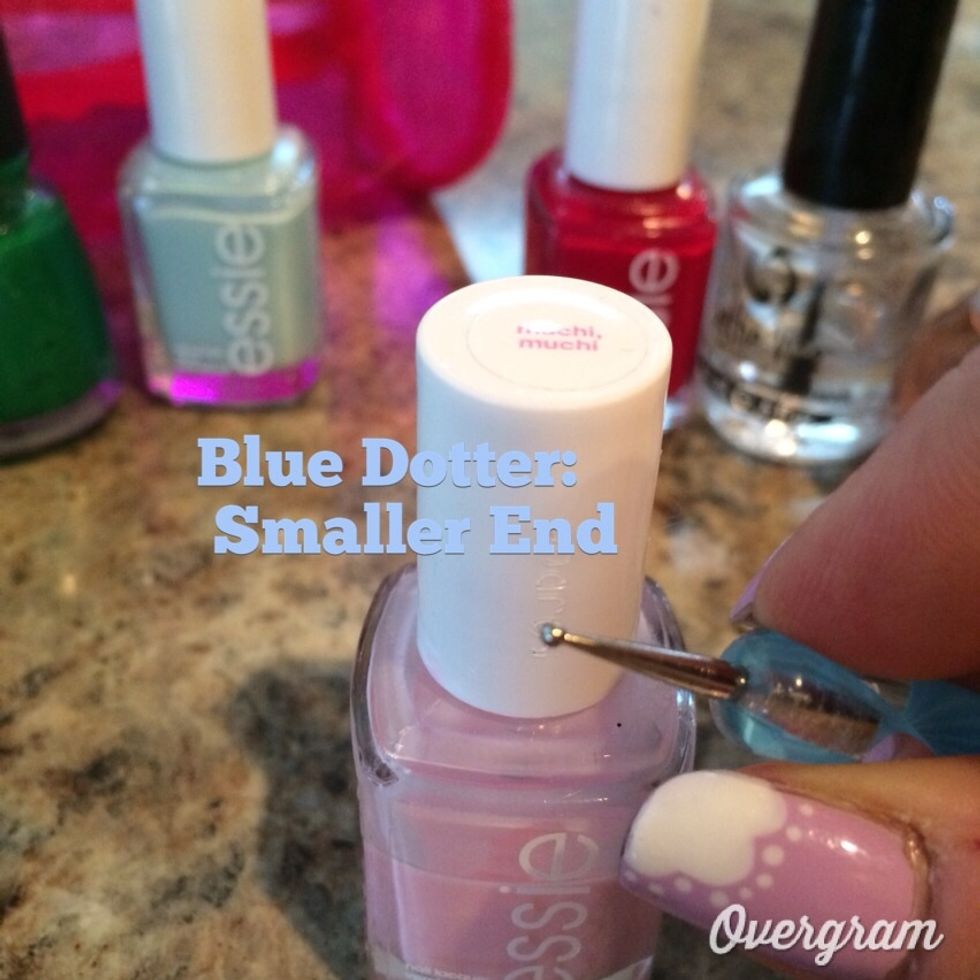
Use a pen cap or fat end of a chopstick for the cloud bubbles. This is a pretty big chopstick measuring around 5mm in diameter.
Dip the chopstick in your white polish and dot the first bubble in the middle, adding the two on either side so they are touching. Fill in the remaining portion using the the bottle's brush.
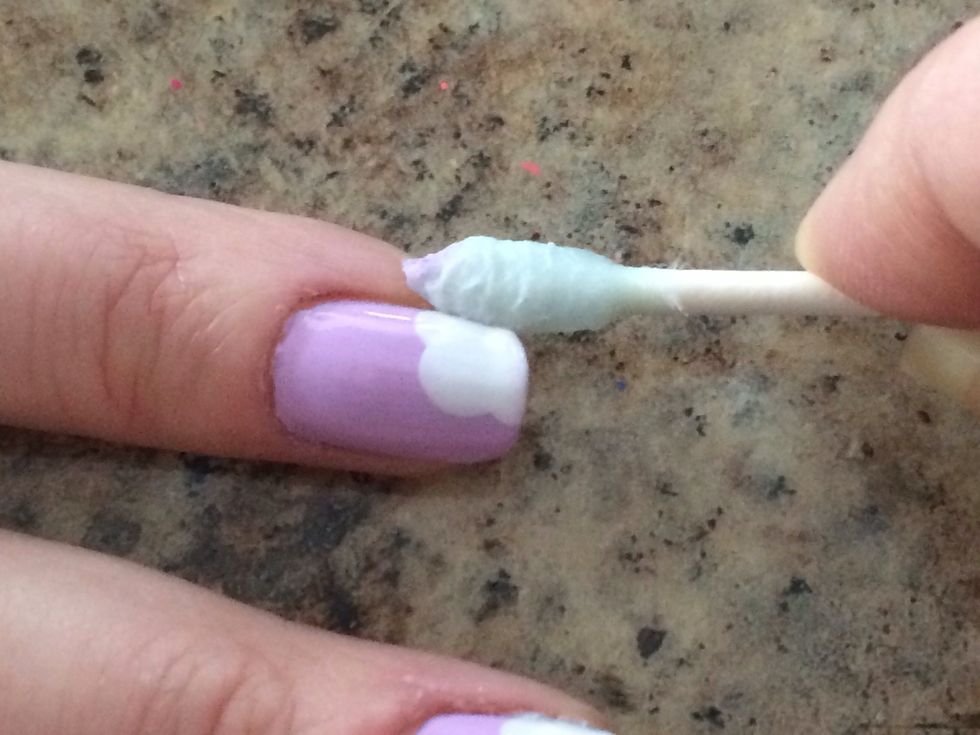
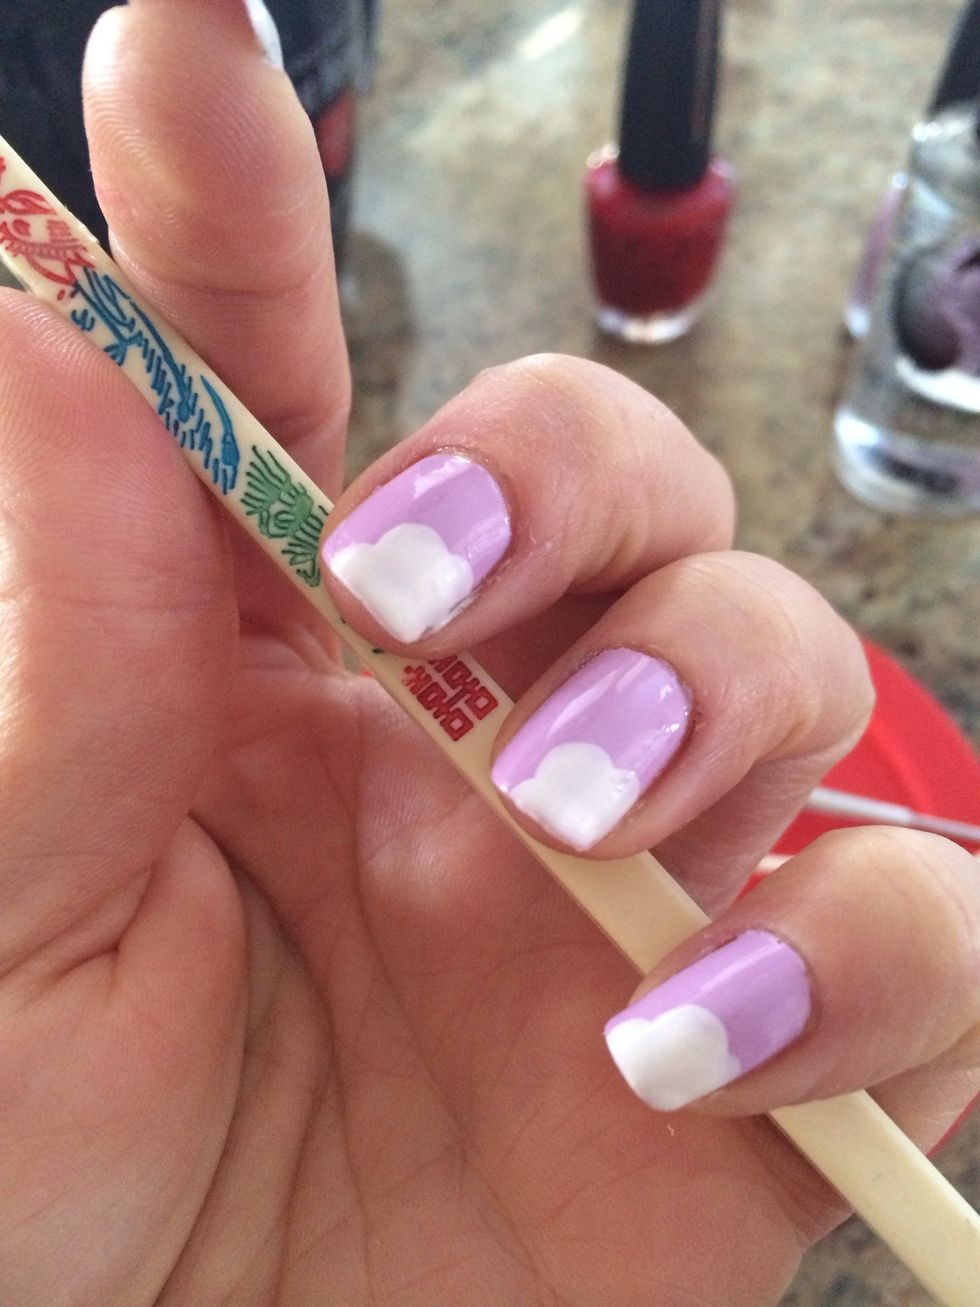
Don't worry about minor variants in color. The clear polish top coat will even this out. You can now use a q-tip dipped in polish remover to clean up the edges.
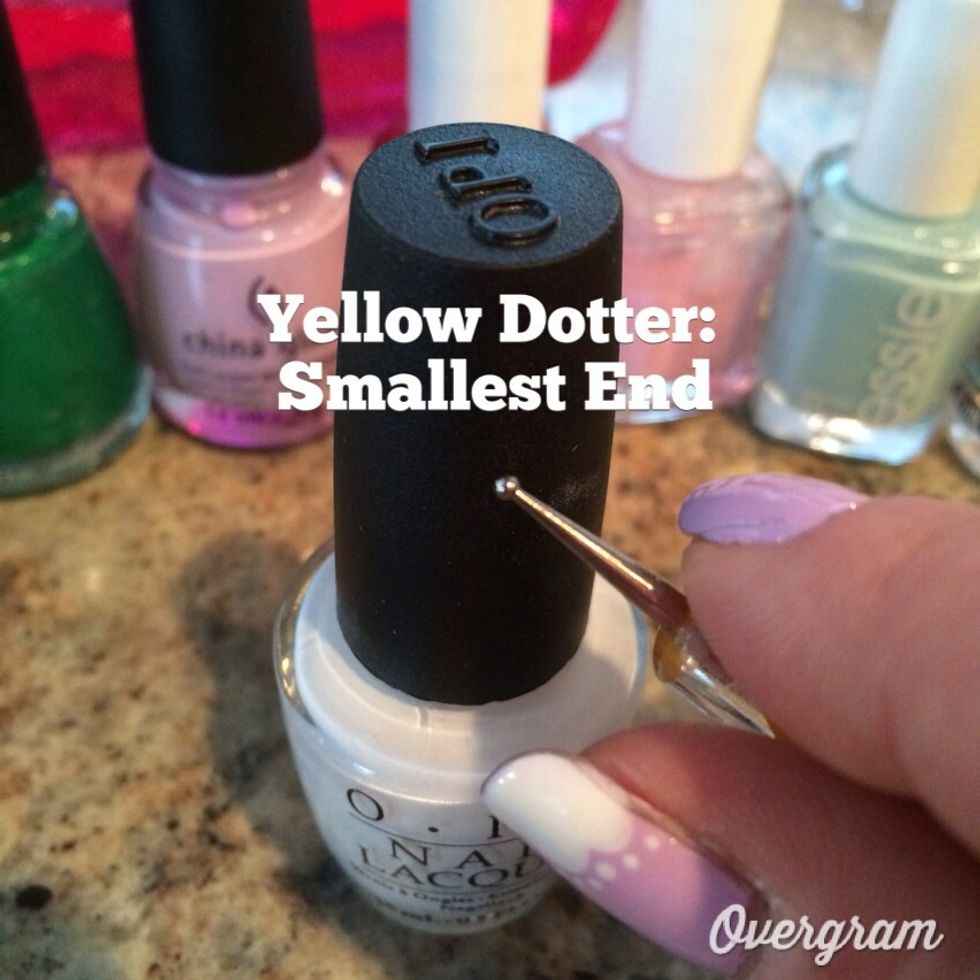
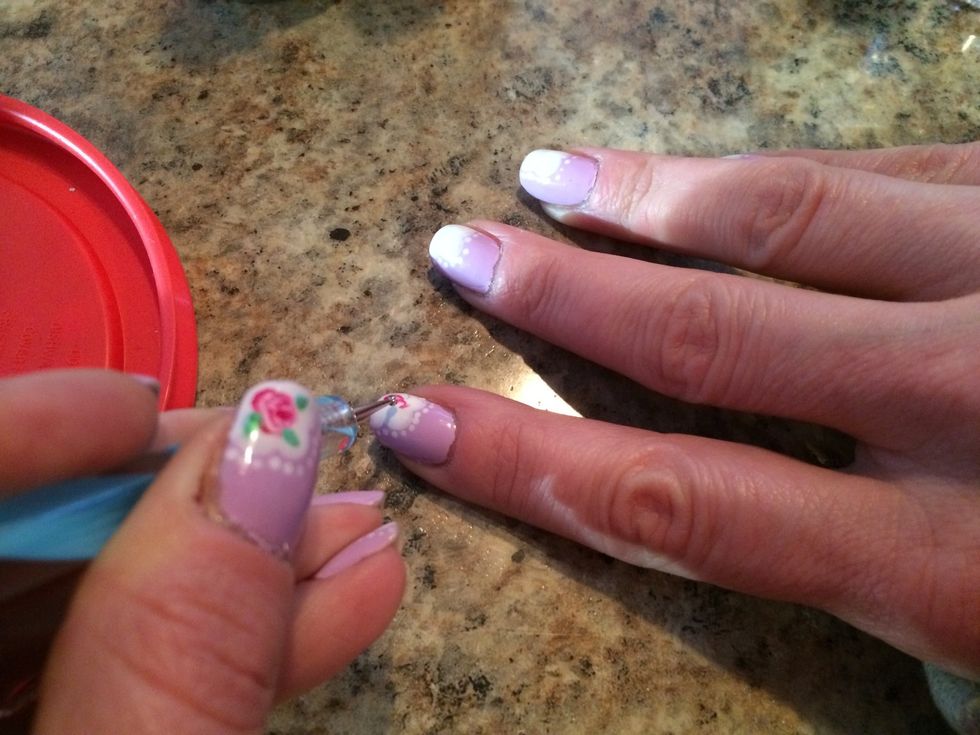
Use the smallest dotting tool you have or a toothpick, apply dots (about 10) around the cloud's edges. I apply the middle dots first and work outward.
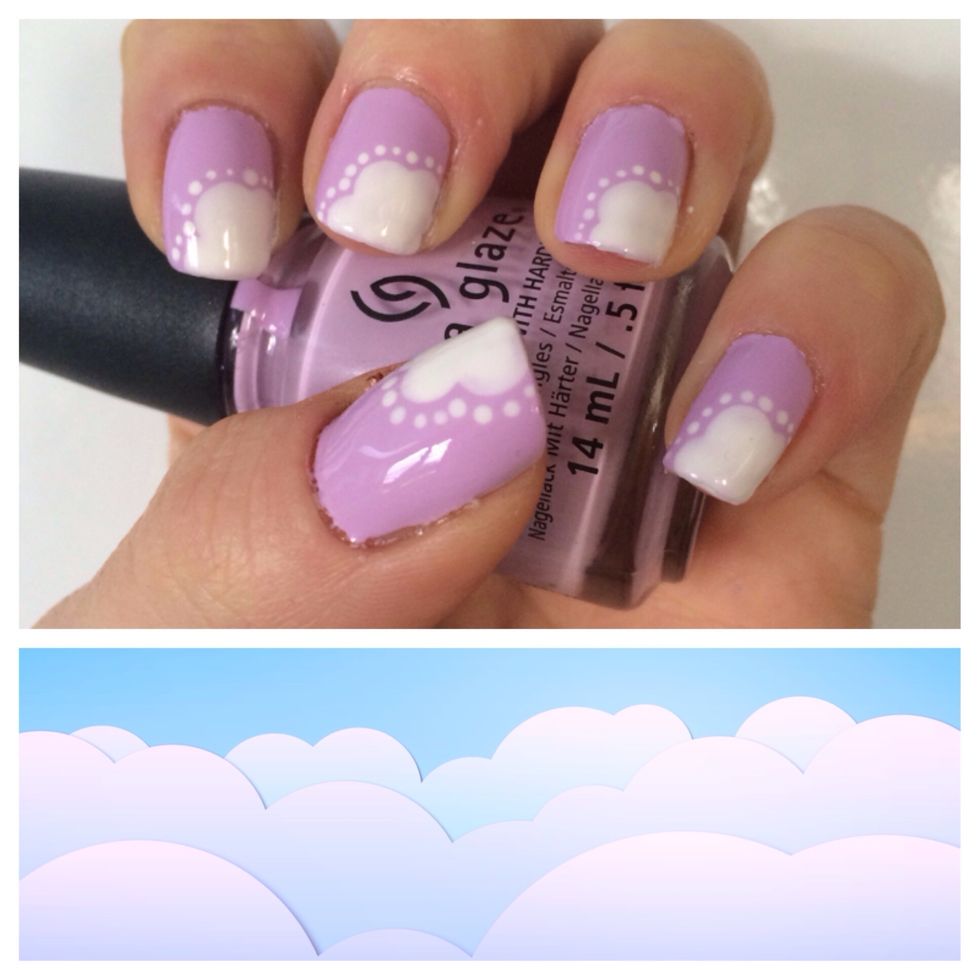
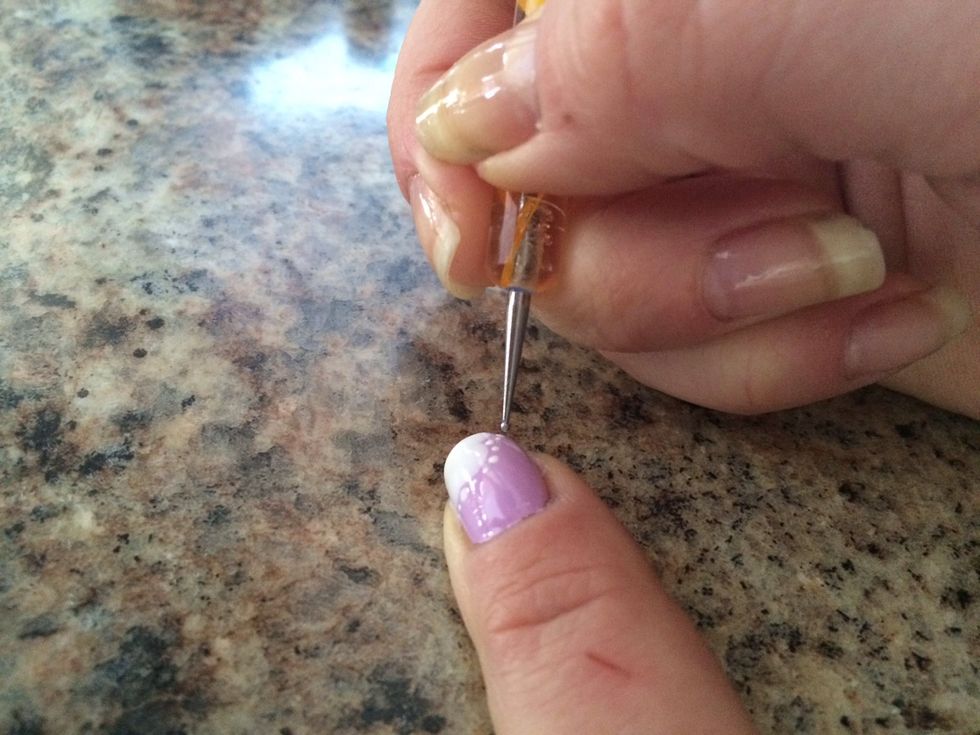
Seal your design with a clear top coat. You can change it up and add swirls or flowers to the white clouds. Additionally, the accent nail would look pretty darn cute with blue glitter in the cloud. ☁️
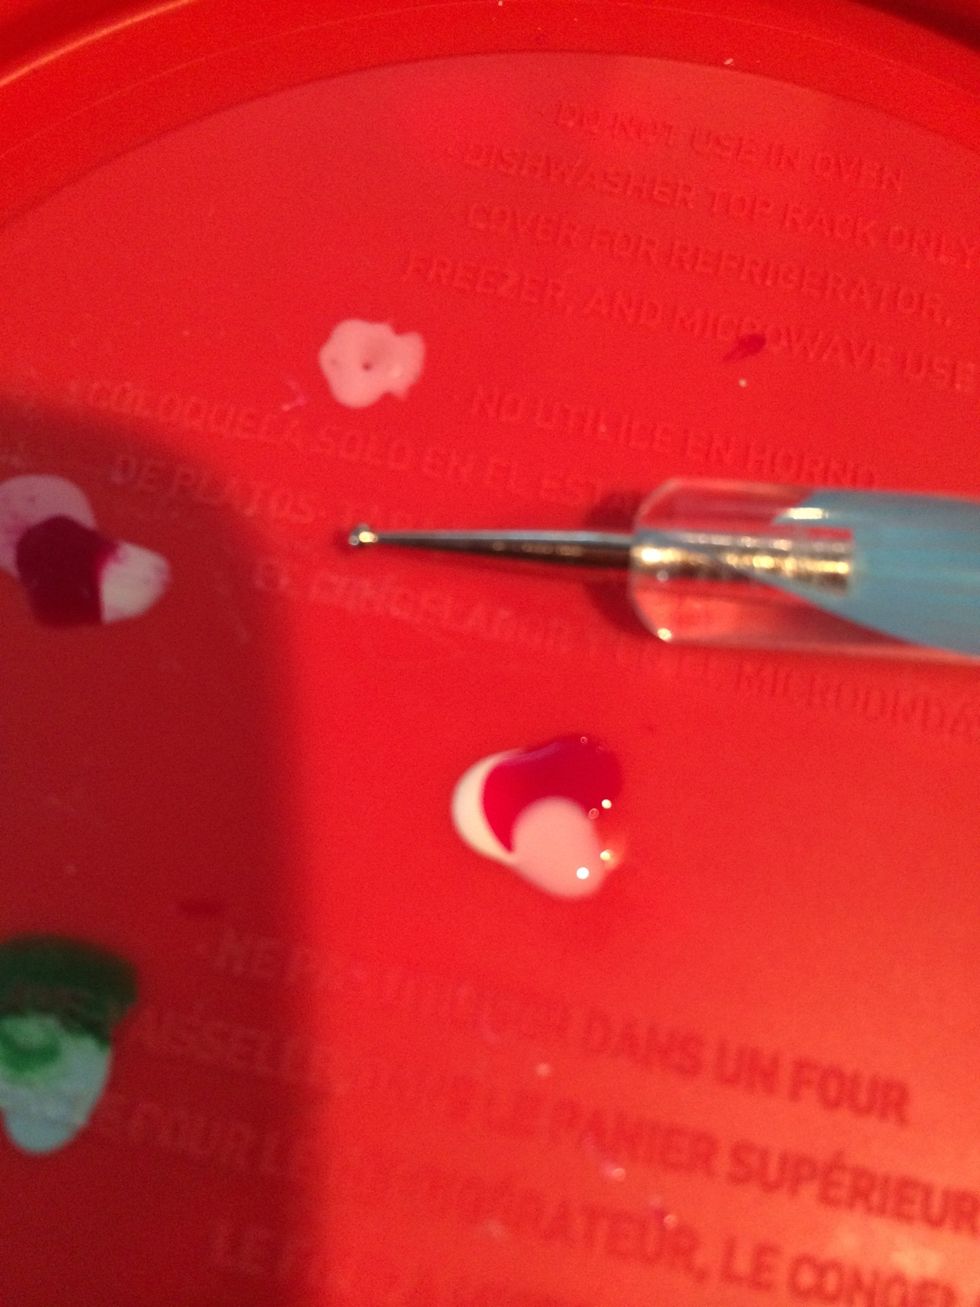
To make the flowers: add a droplet of your red, pink & white next to each other (on a tray or Tupperware cover) so all three colors touch in one spot.
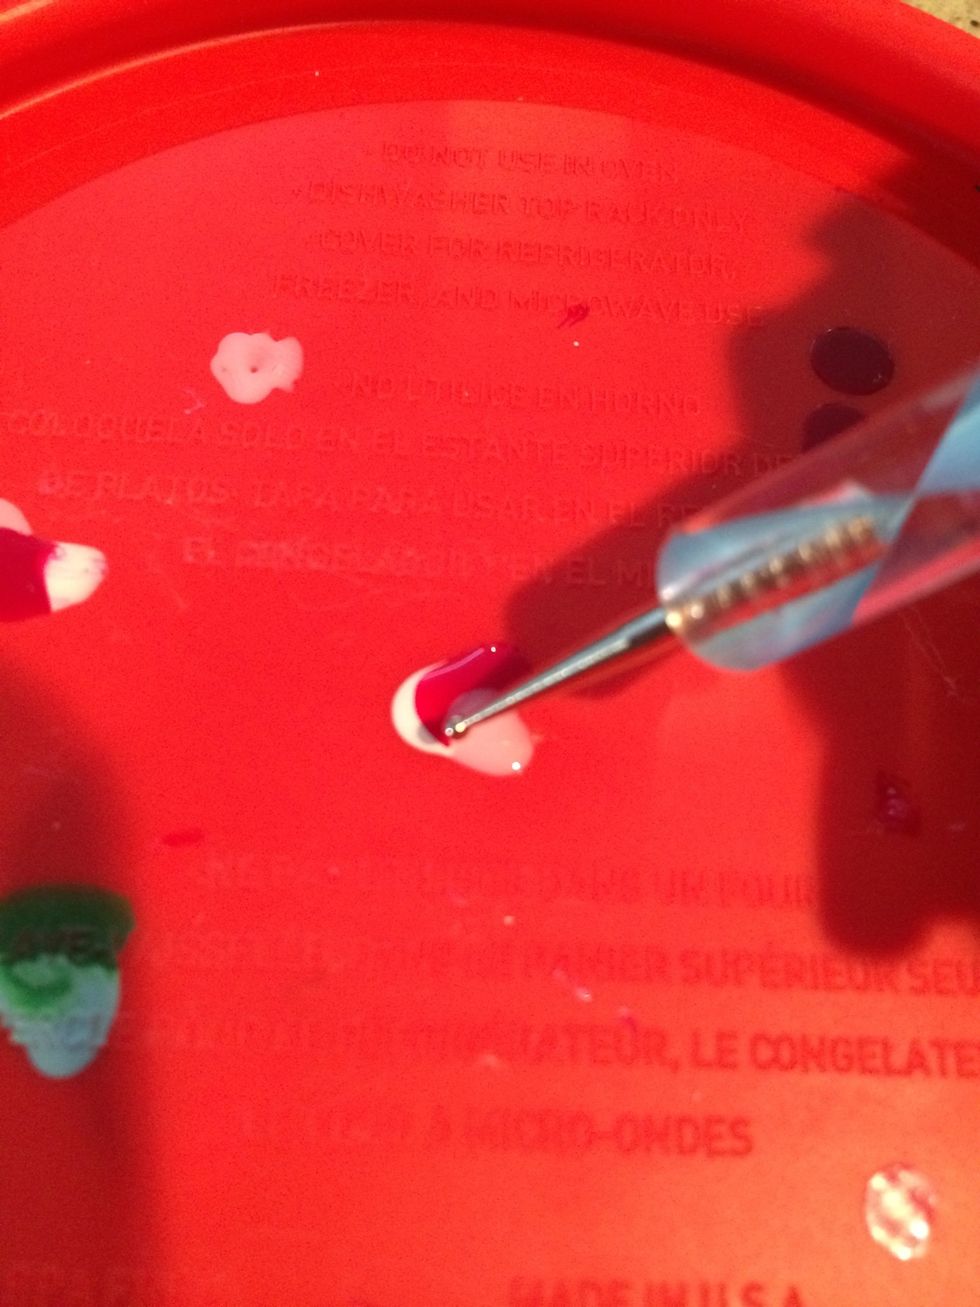
Carefully dip your dotting tool in the center where all colors meet. The goal here is to get a little of each color. This is tricky; not gonna lie. But you can always re-dip if needed.
Make c-shape motions or swirls, re-dipping after each swirl. You have to move quickly so your trio of colors doesn't dry.
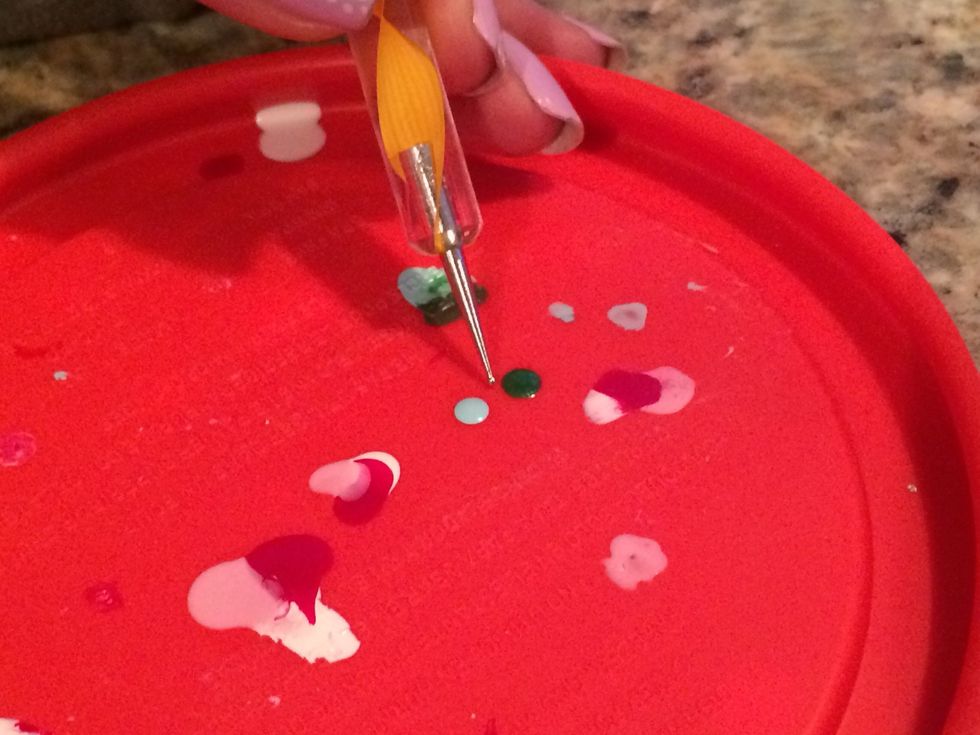
To make the leaves, dot a light green and true green on tray. They do not need to be touching this time.
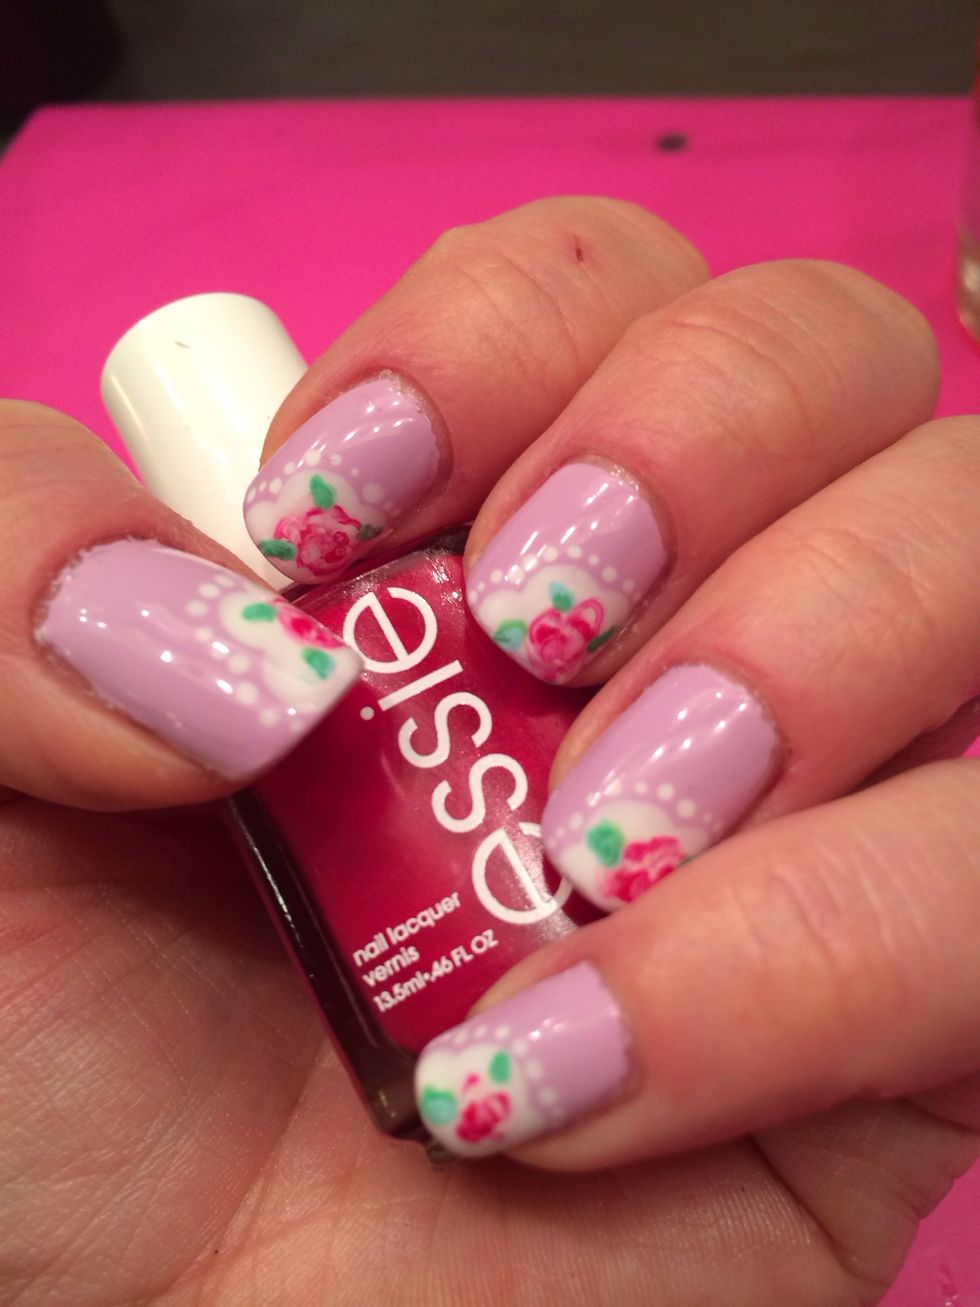
Here's the finished design. Of course seal it all in with a top ear coat. I am right handed, and this is my left hand. Demo shows you my right.
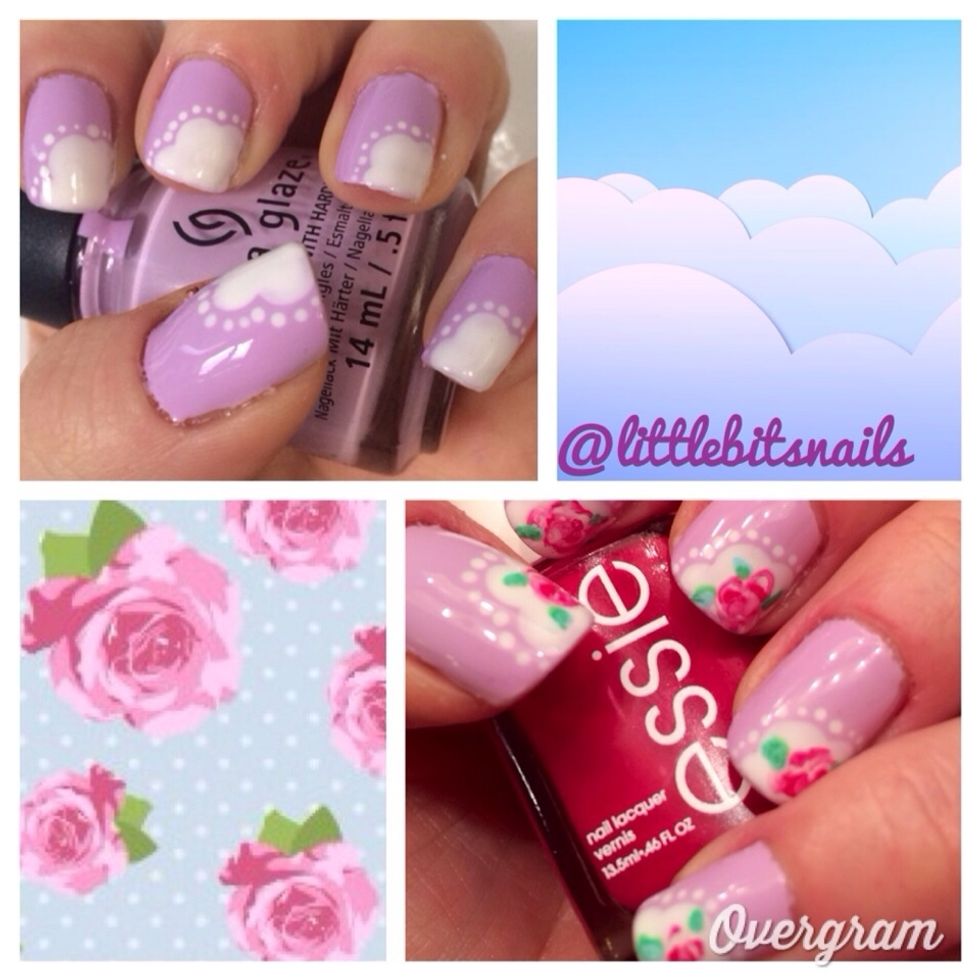
I can't decide which I like better, but both are feminine and demure. Good design for spring time. 🌹 Find me on Instagram @littlebitsnails.