The Conversation (0)
Sign Up
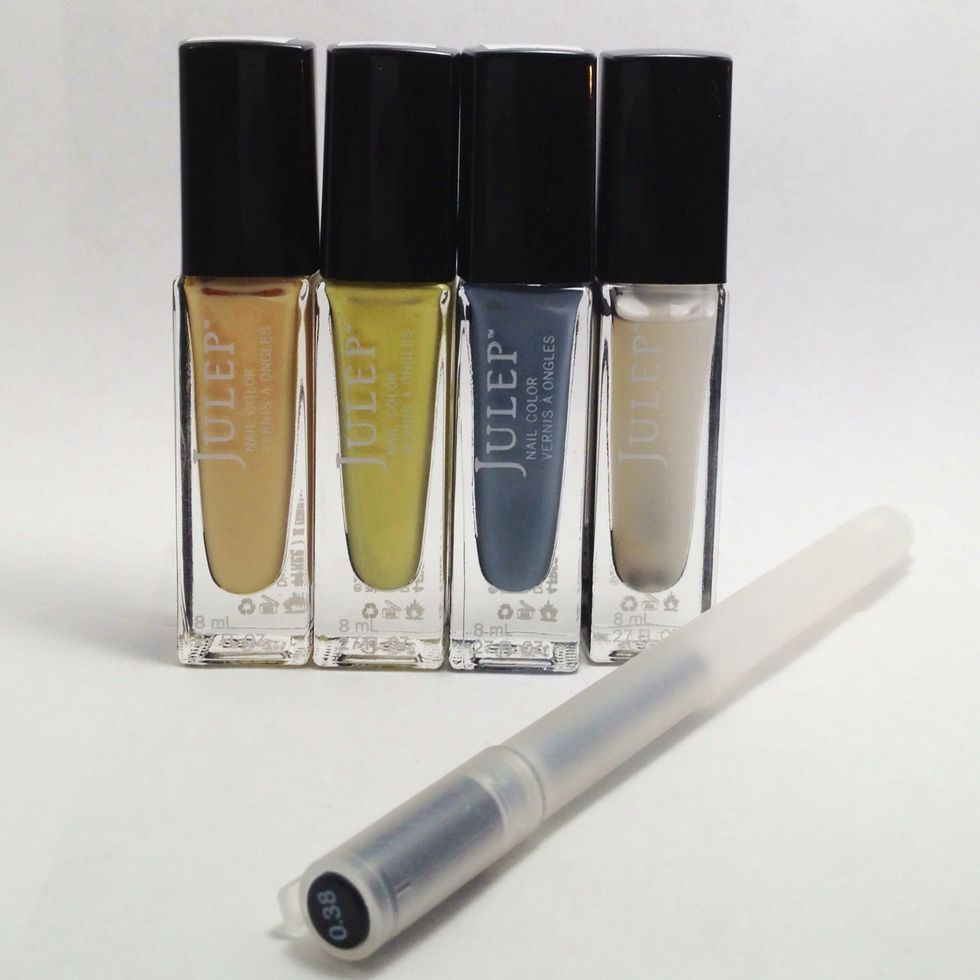
Gather your supplies. If you like to try out Julep polishes, check out the link bit.ly/julep12. Use the code FREEBOX to get free two or three polishes FOR FREE!!

Paint your nails pale blue
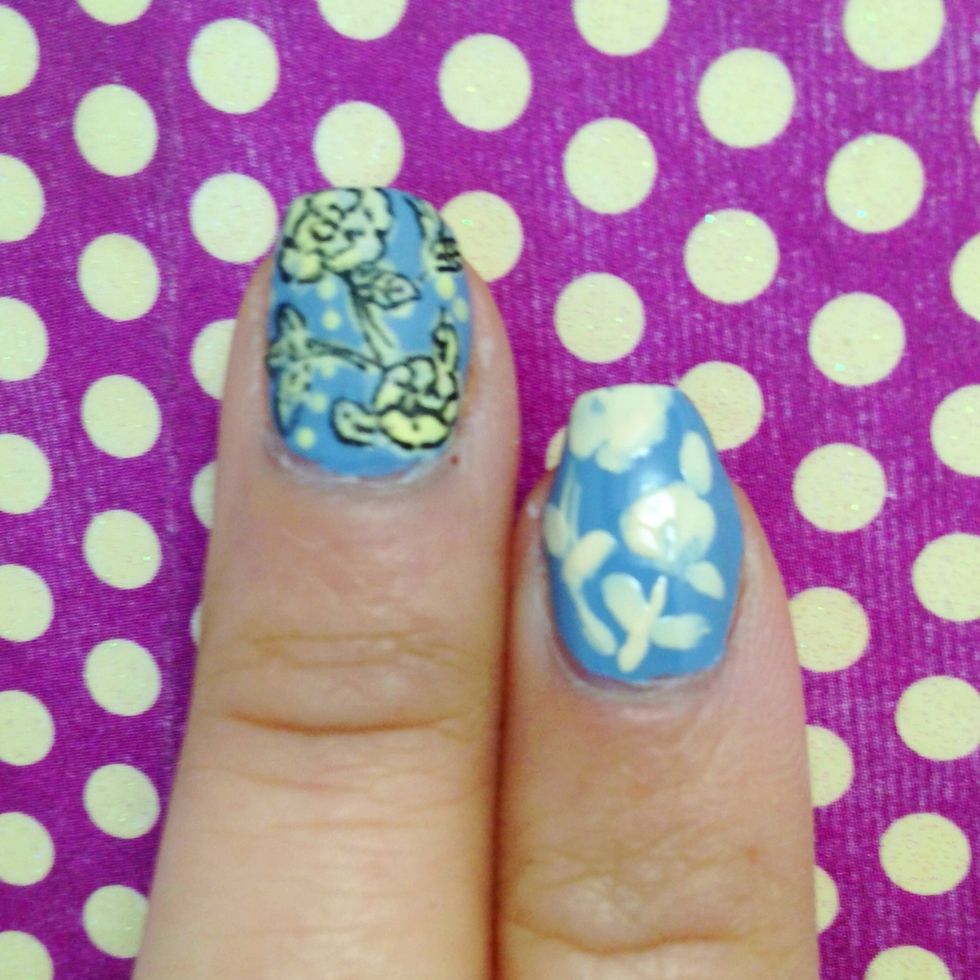
Using a nail art brush, paint the body of the flower in pale yellow

Use a lighter yellow and paint on top of it. This allow the color to pop out more.
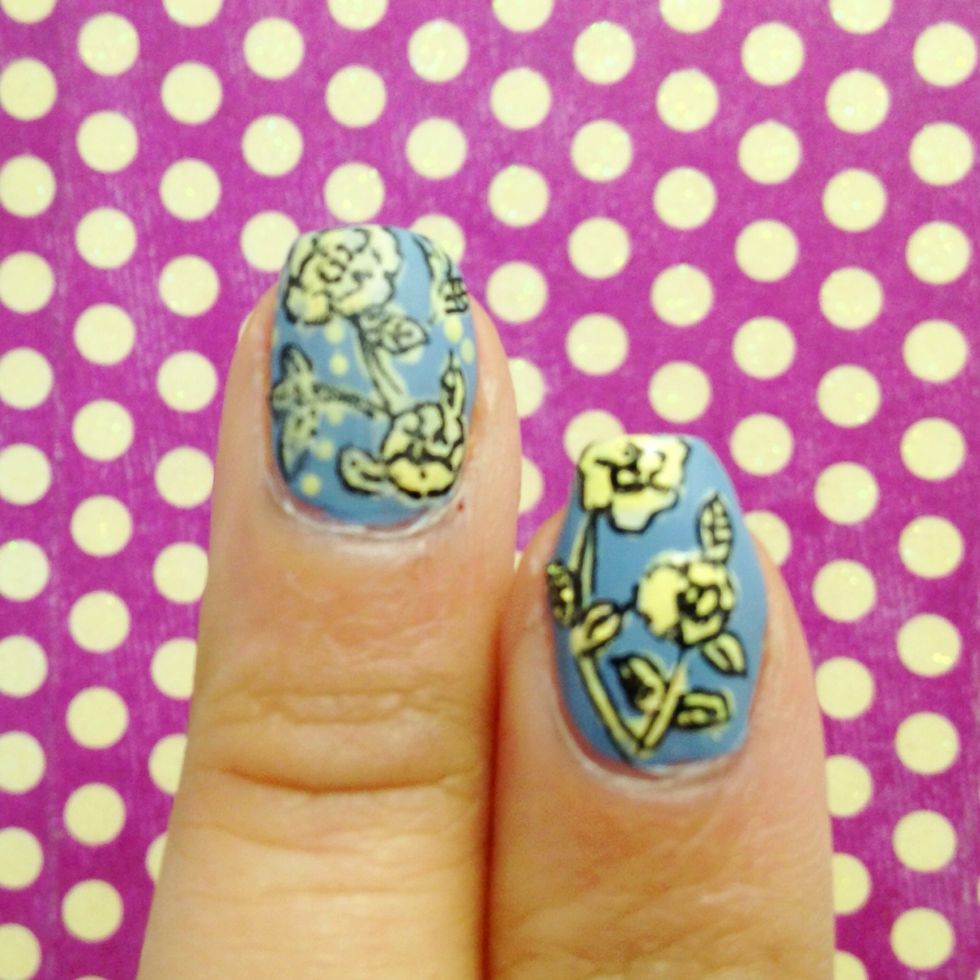
Once your nails have dried completely. Use a black gel pen and create the fine details of the flowers.
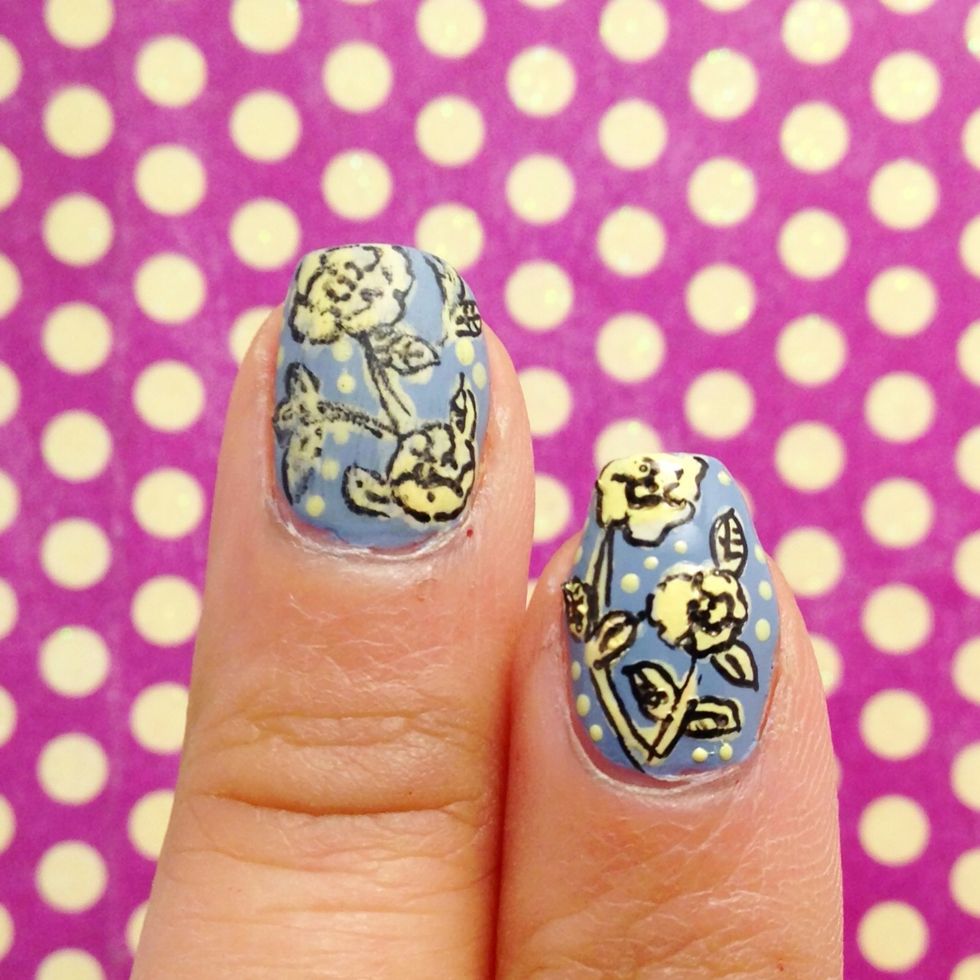
Using a dotter, add in dots in the negative space of the design.
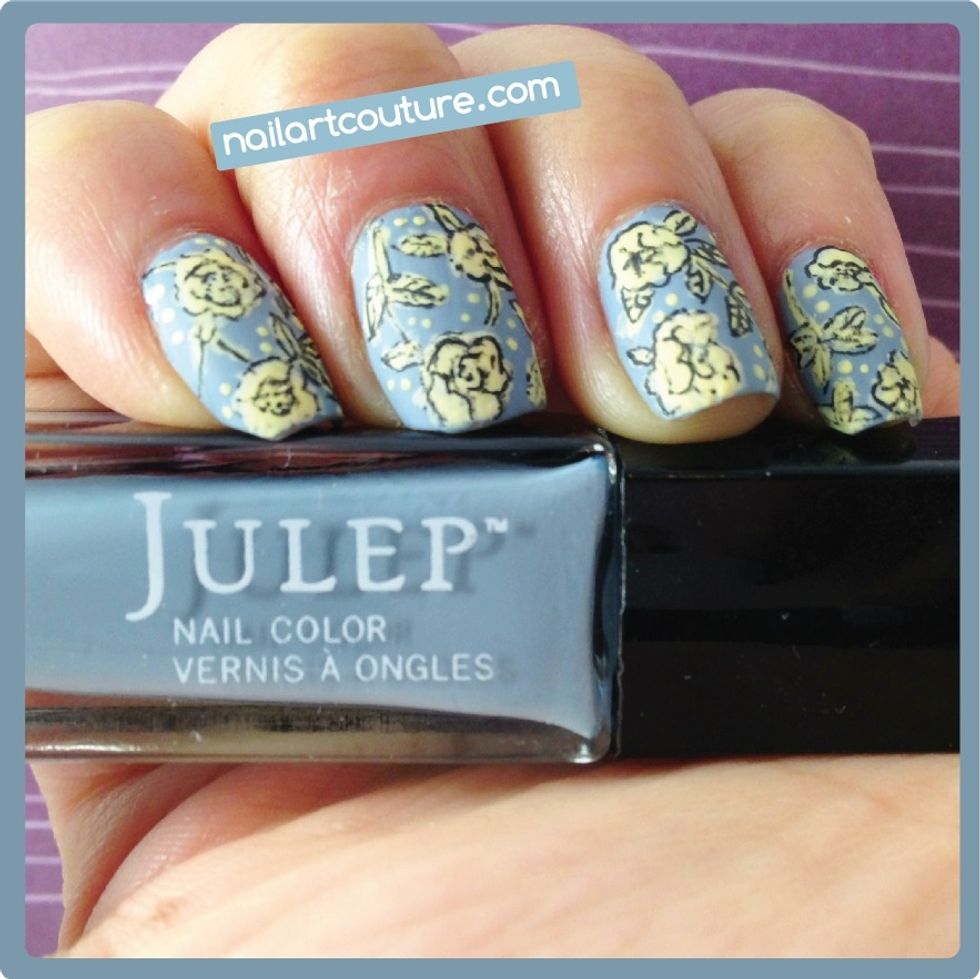
Finish it off with a matte top coat to make the colors more dull. This will represent a vintage design more.
If you like to try out Julep polishes, check out my referral link bit.ly/julep12. Use the code FREEBOX to get free two or three polishes FOR FREE!!
Drop by my blog www.nailartcouture.com for more nail art and tutorials!