The Conversation (0)
Sign Up
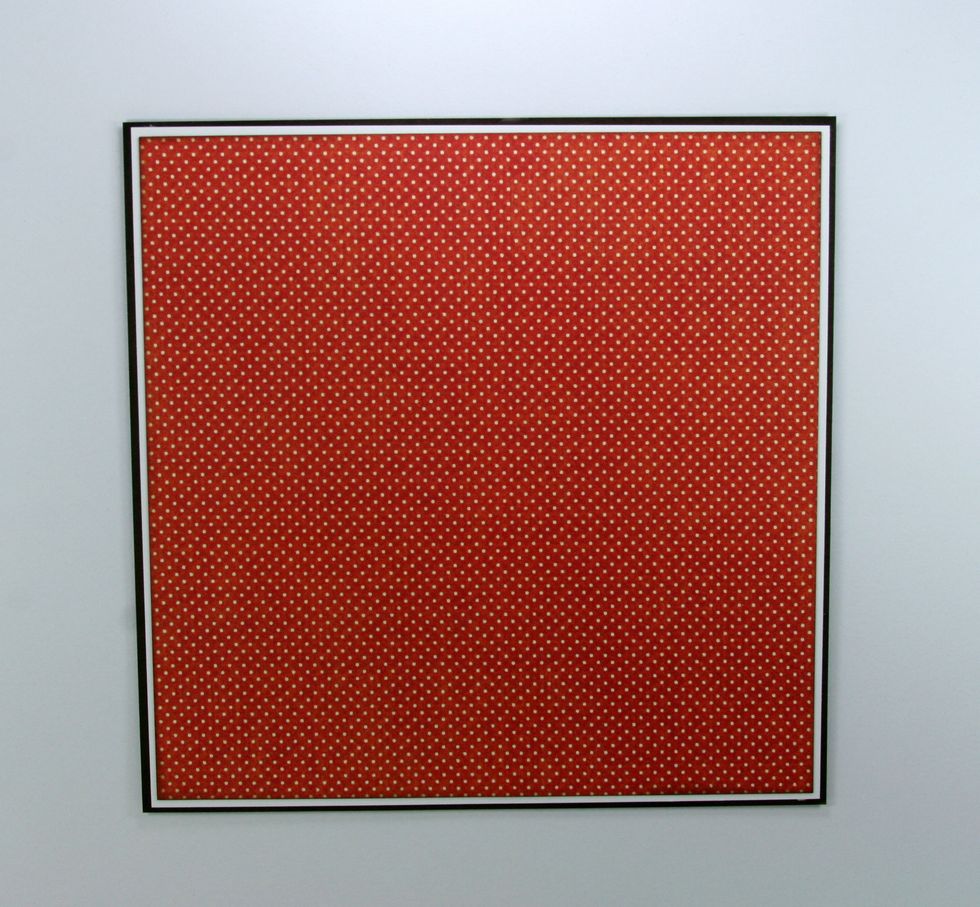
Cut red and white polka dot patterned paper from the 6x6 patterns & Solids paper pad and mat with white and brown cardstock.
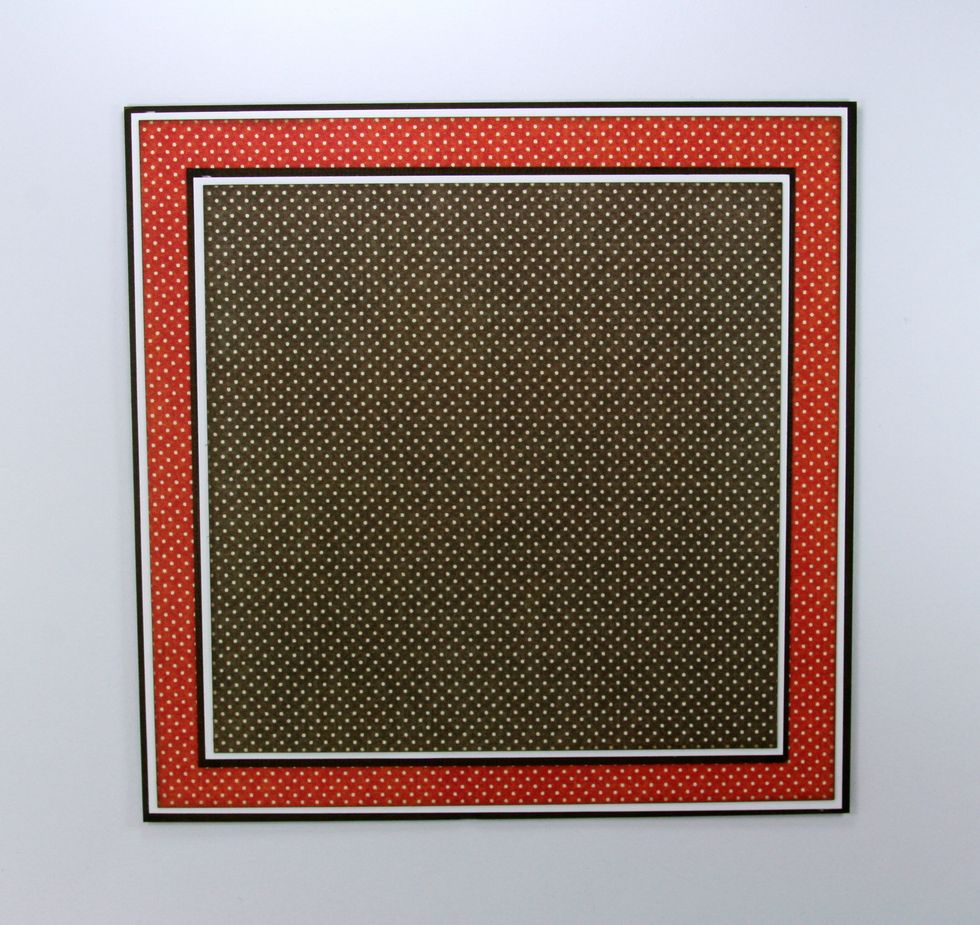
Add next layer of brown and white patterned paper from 6 x6 Patterns & Solids paper pad and mat with white and brown cardstock.
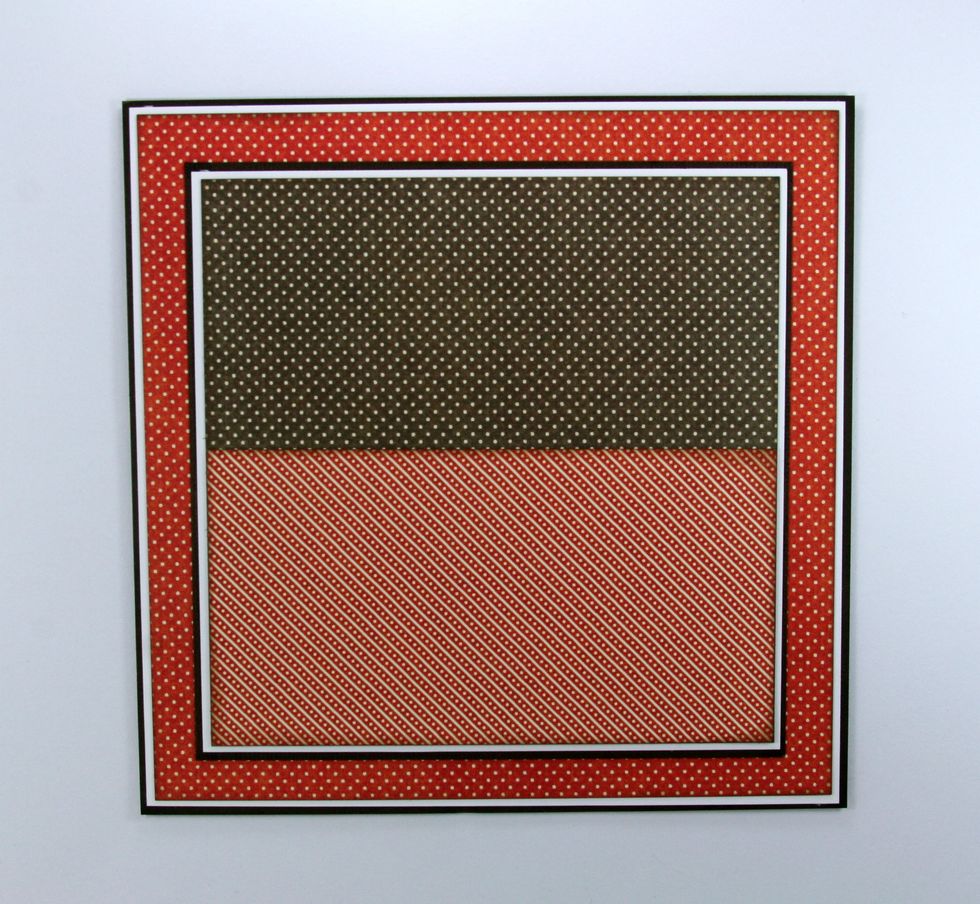
Top off last layer with the diagonal striped patterned paper from the 6 x6 Patterns & Solids paper pad.
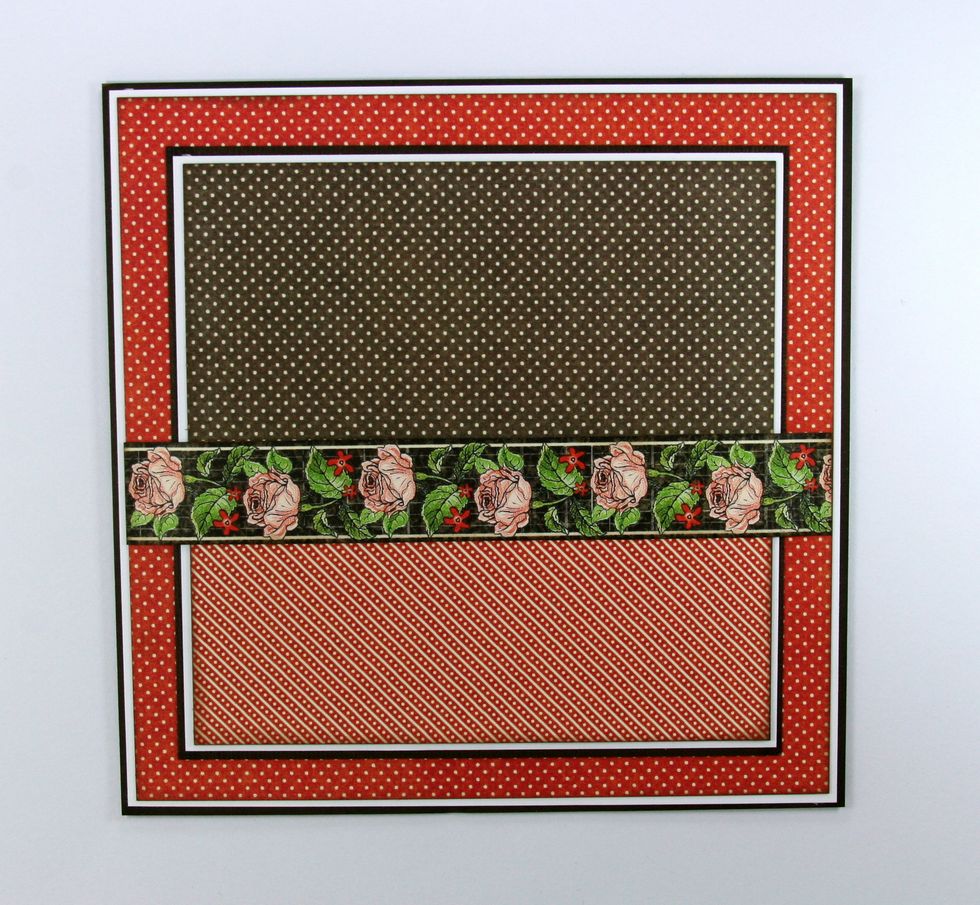
Finish base with the border strip from the February Collective sheet.
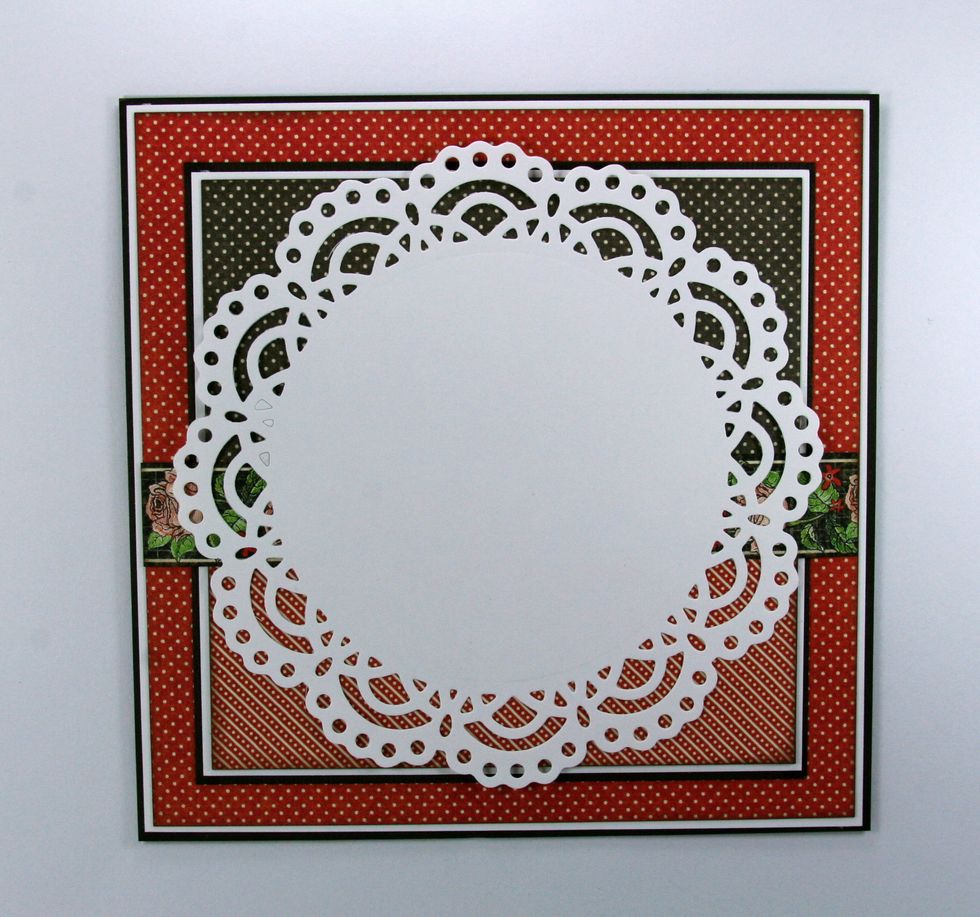
Now add a white doily cut from Crafter's Companion Chantilly Lace Die' sire Die. You could also substitute any large white paper doily.
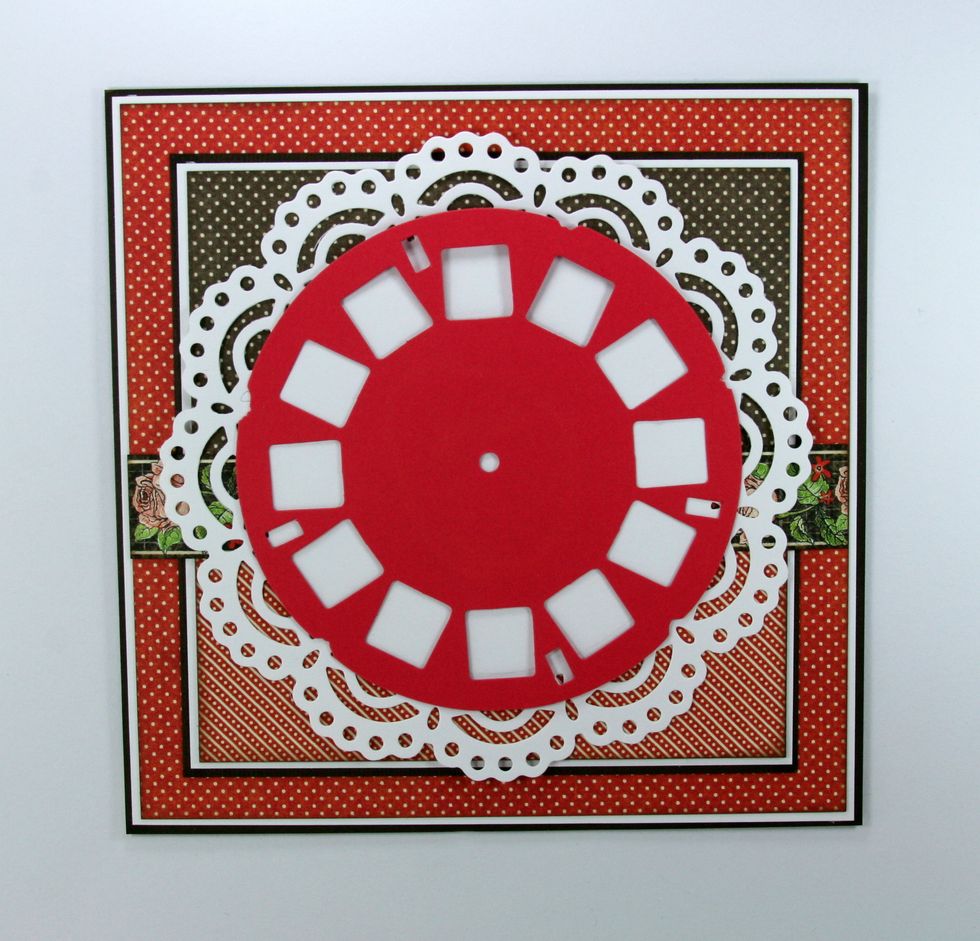
Center and attach another diecut from Tim Holtz.
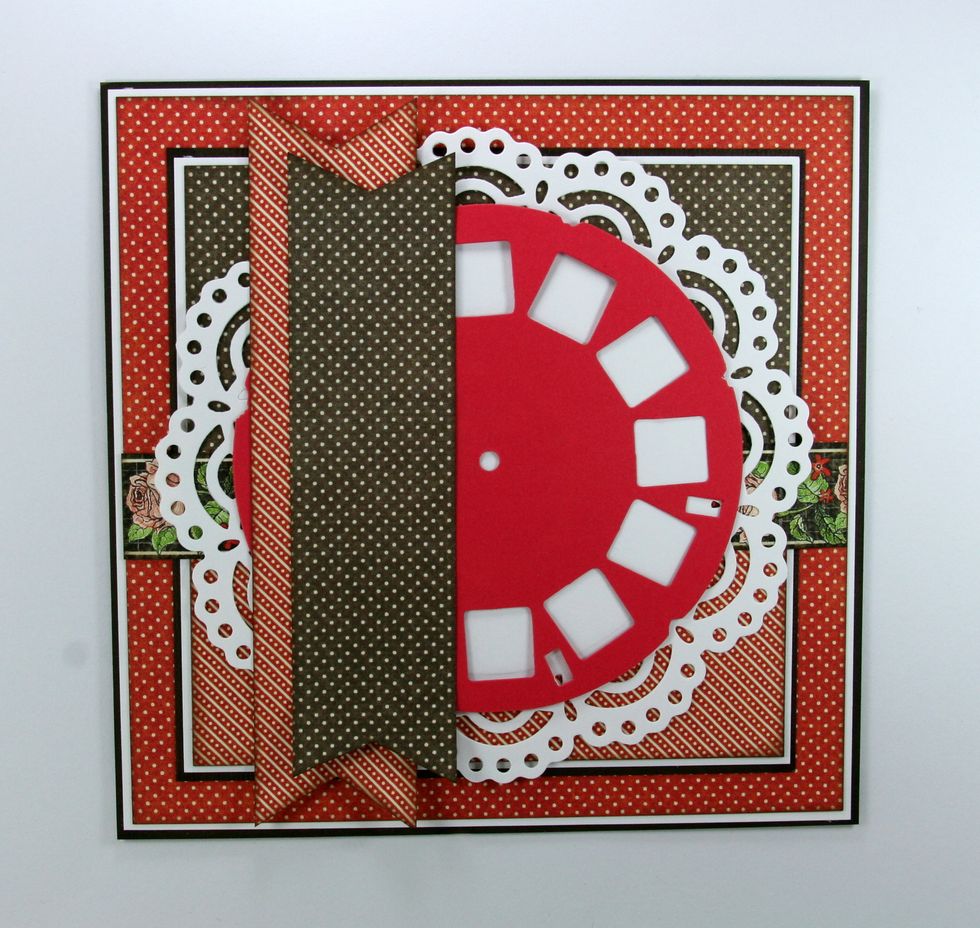
Using the scraps from the patterned papers already used....cut 2 thin strips and snip a dovetail. Attach with the top slightly set off the first.
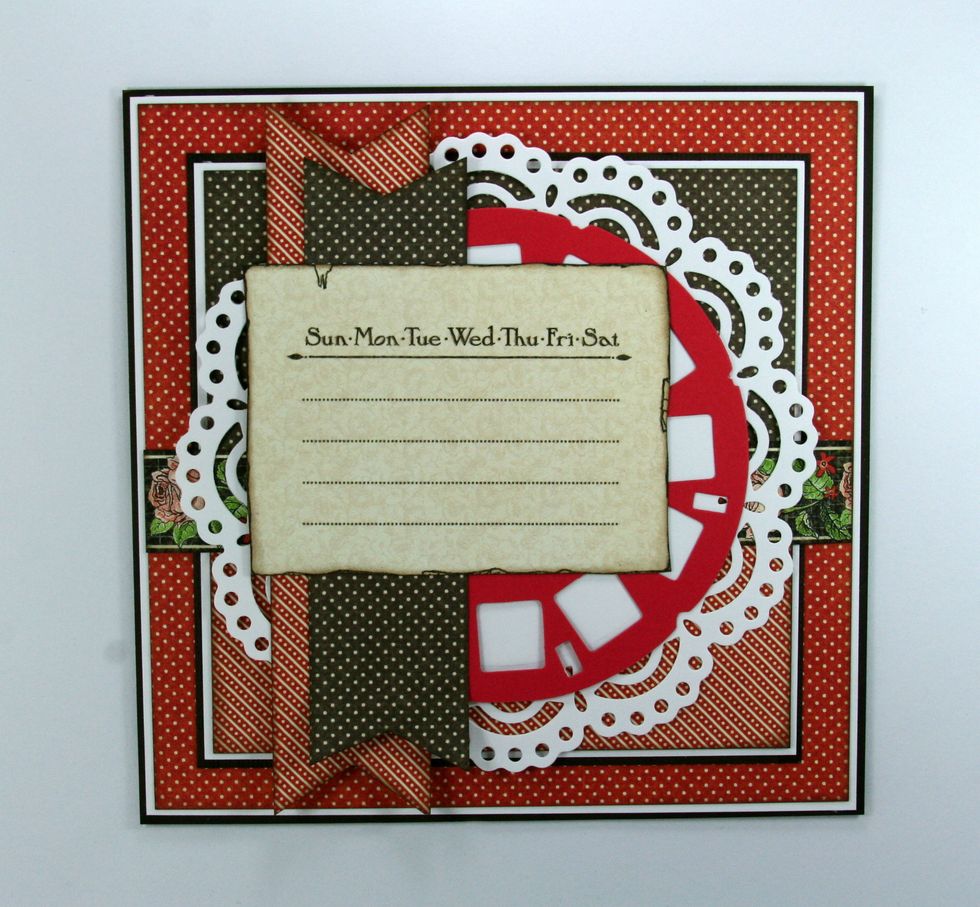
Add the calendar image from February Collective.
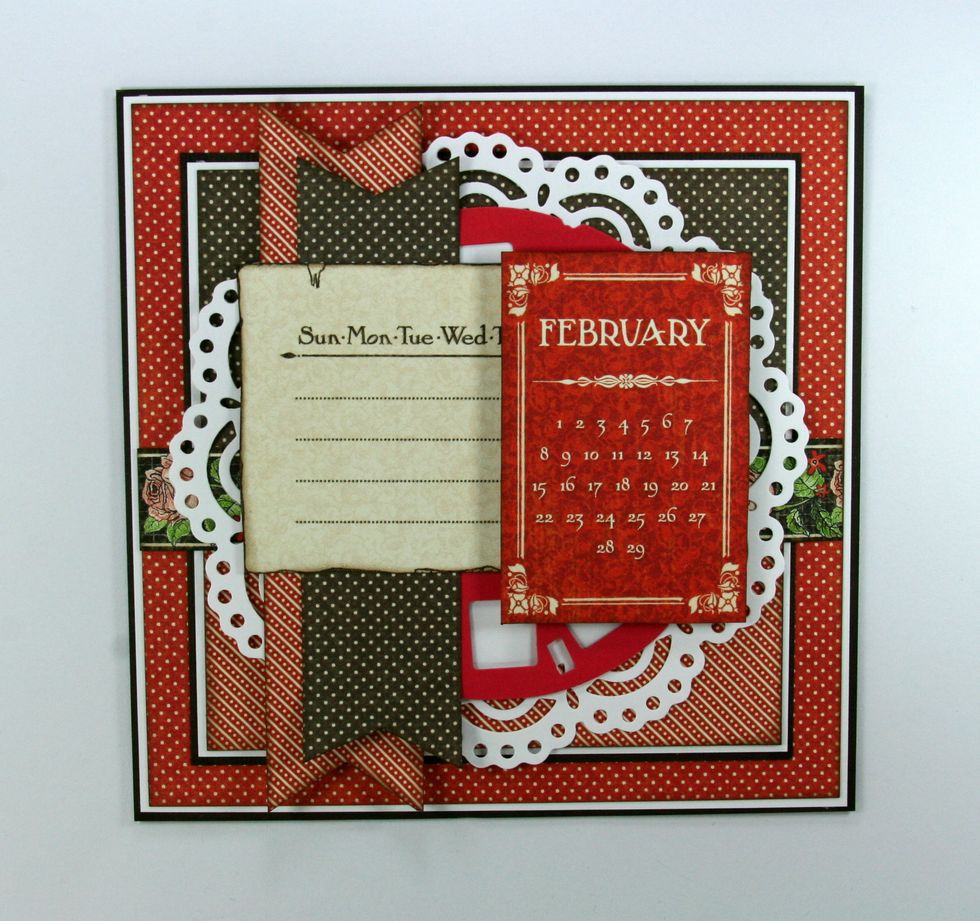
Top off with red February calendar. I used foam spacers for added dimension.
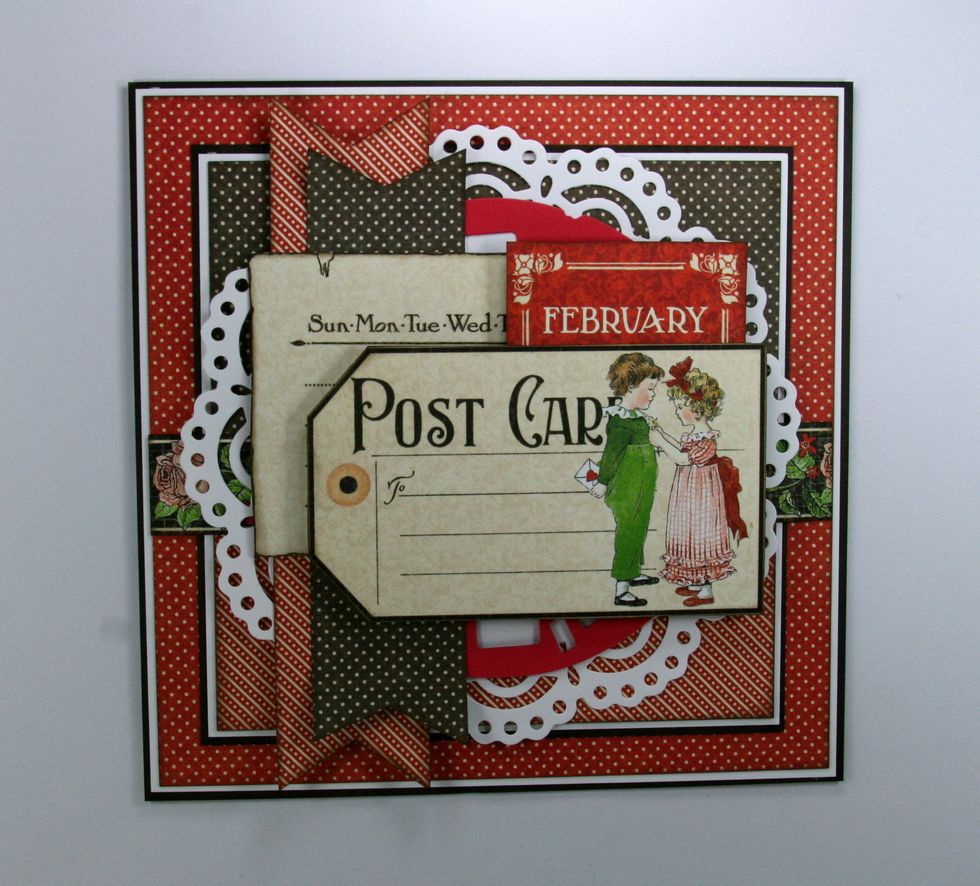
Next attach the postcard image using more foam spacers.
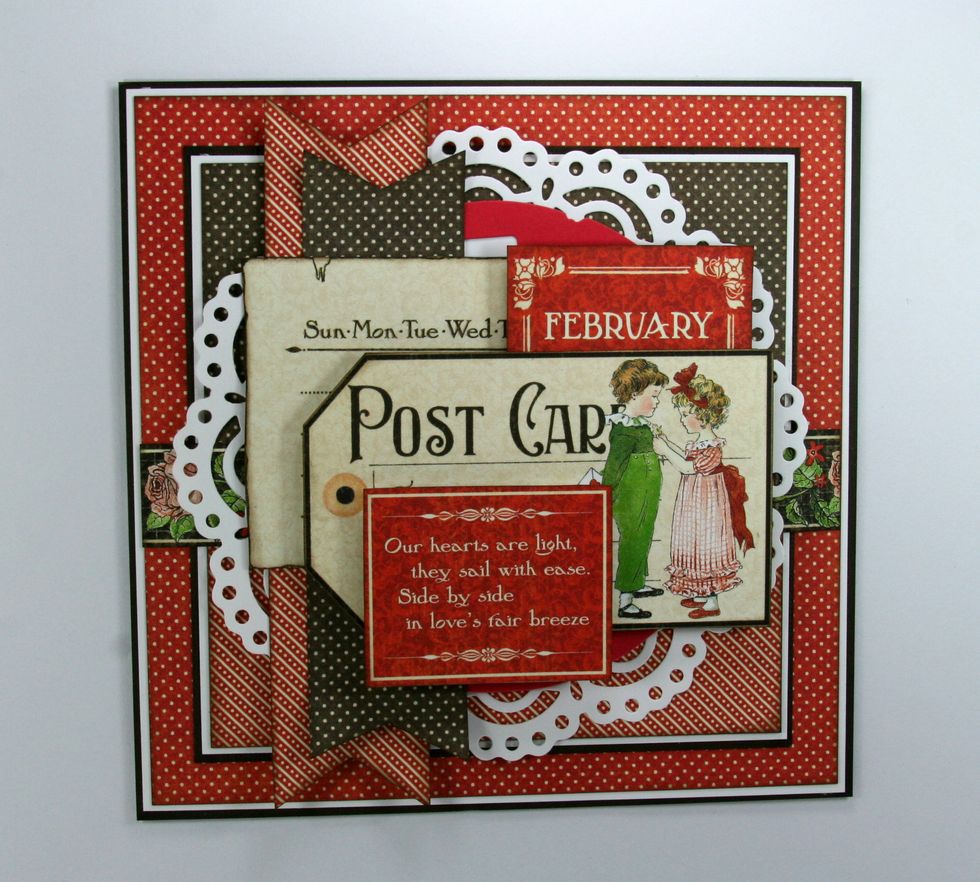
Top off with small sentiment block.
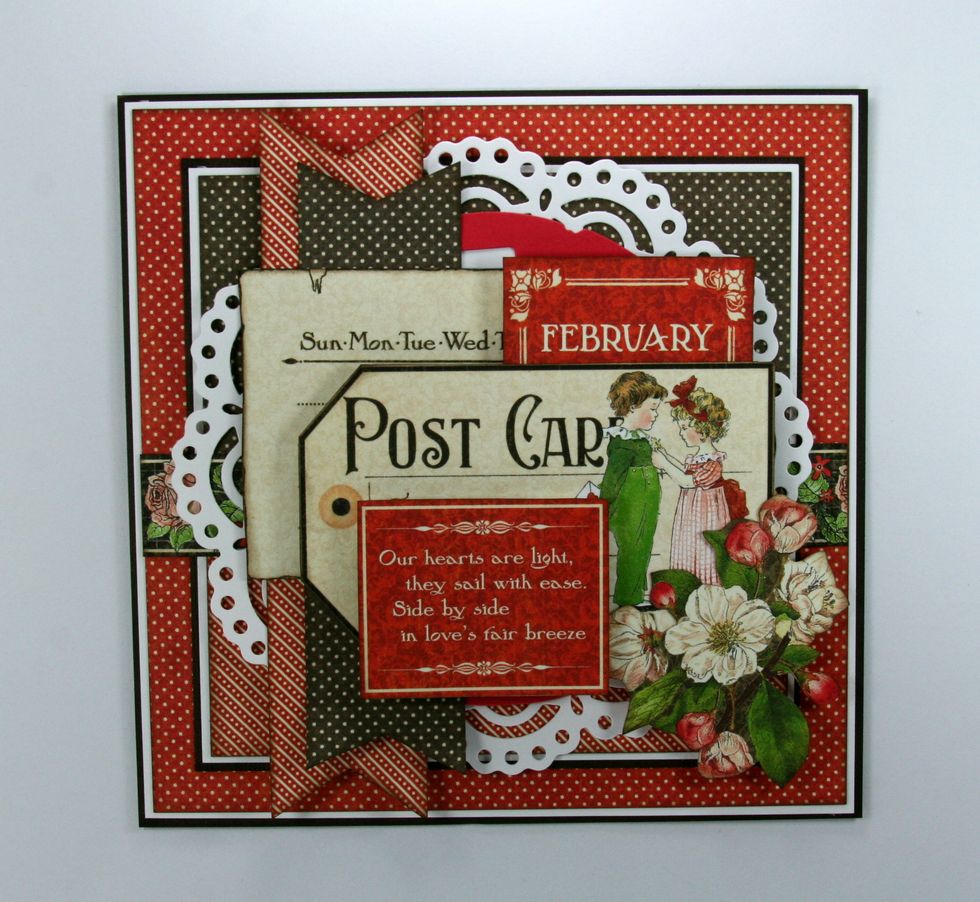
Fussy cut flowers from the February Montage and add to right bottom corner.
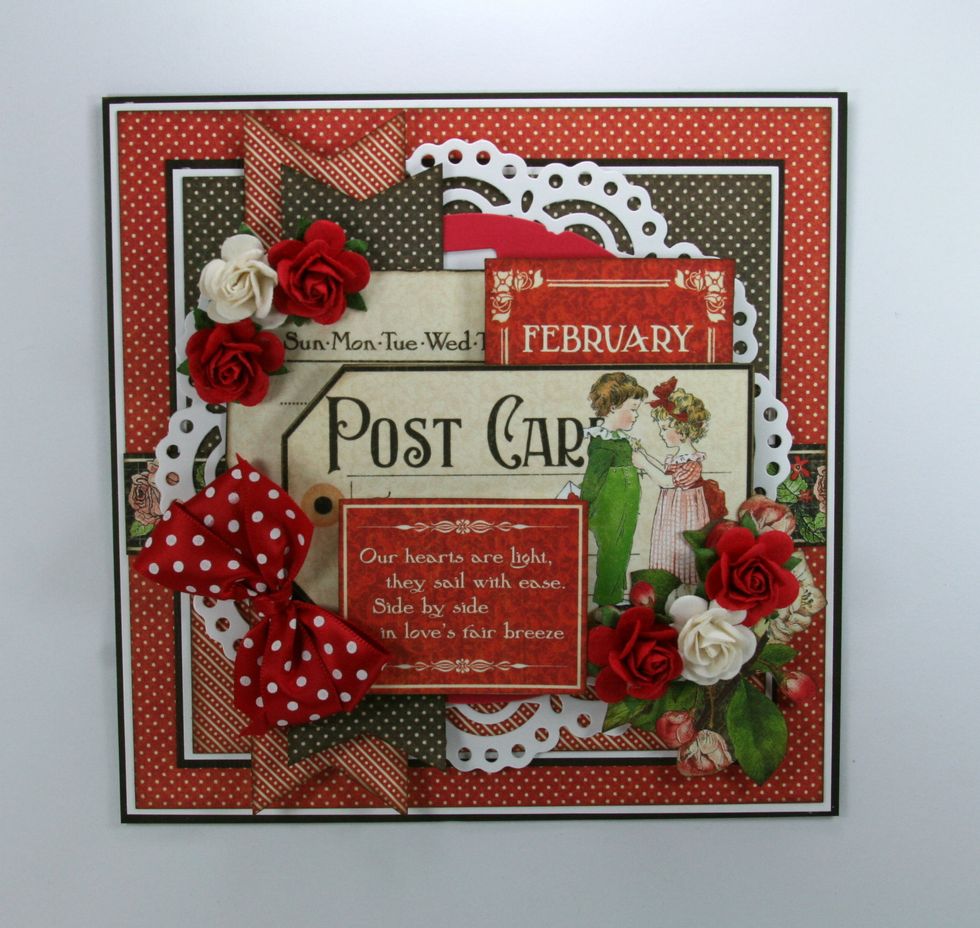
Coordinating roses and polka dot ribbon bow can now be attached.
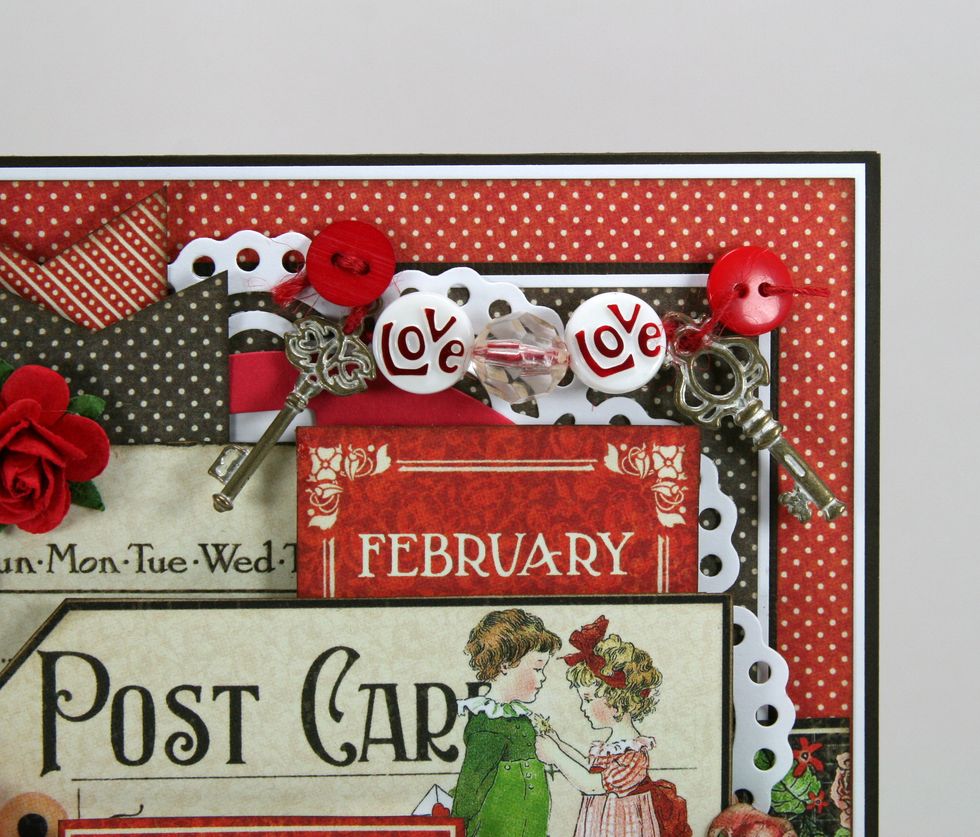
Create a fun and festive banner with Ornate Metal Keys and assorted buttons and bead and red twine. Adhere with hot glue behind the buttons.