The Conversation (0)
Sign Up
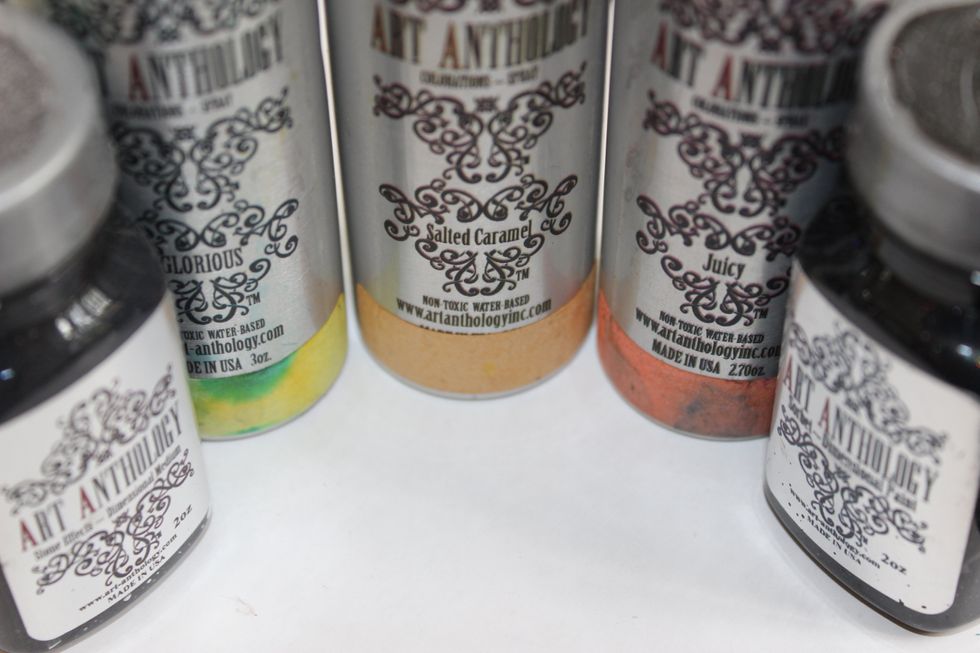
These are the Art Anthology products I used!

for this layout I started with an 11 x 11 pice of 140 lb. watercolor paper and a little Colorations in Glorious.
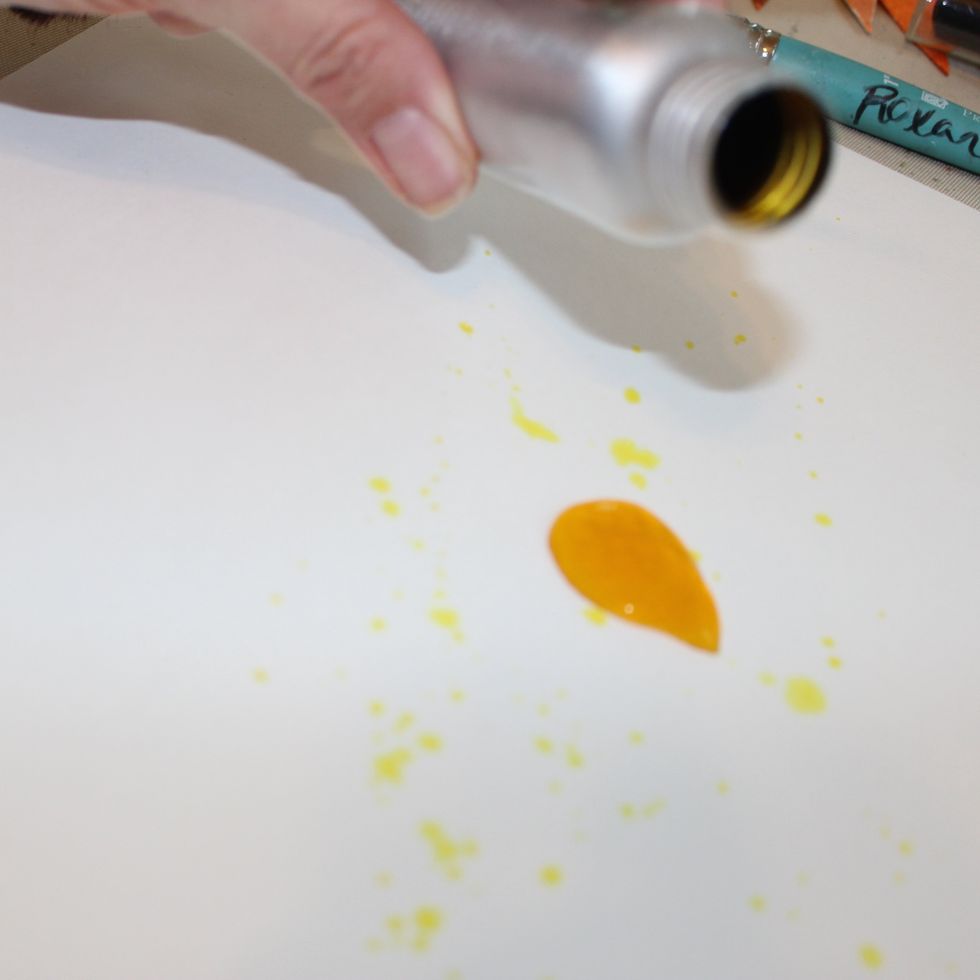
I simply dripped some of the Colorations into the paper.
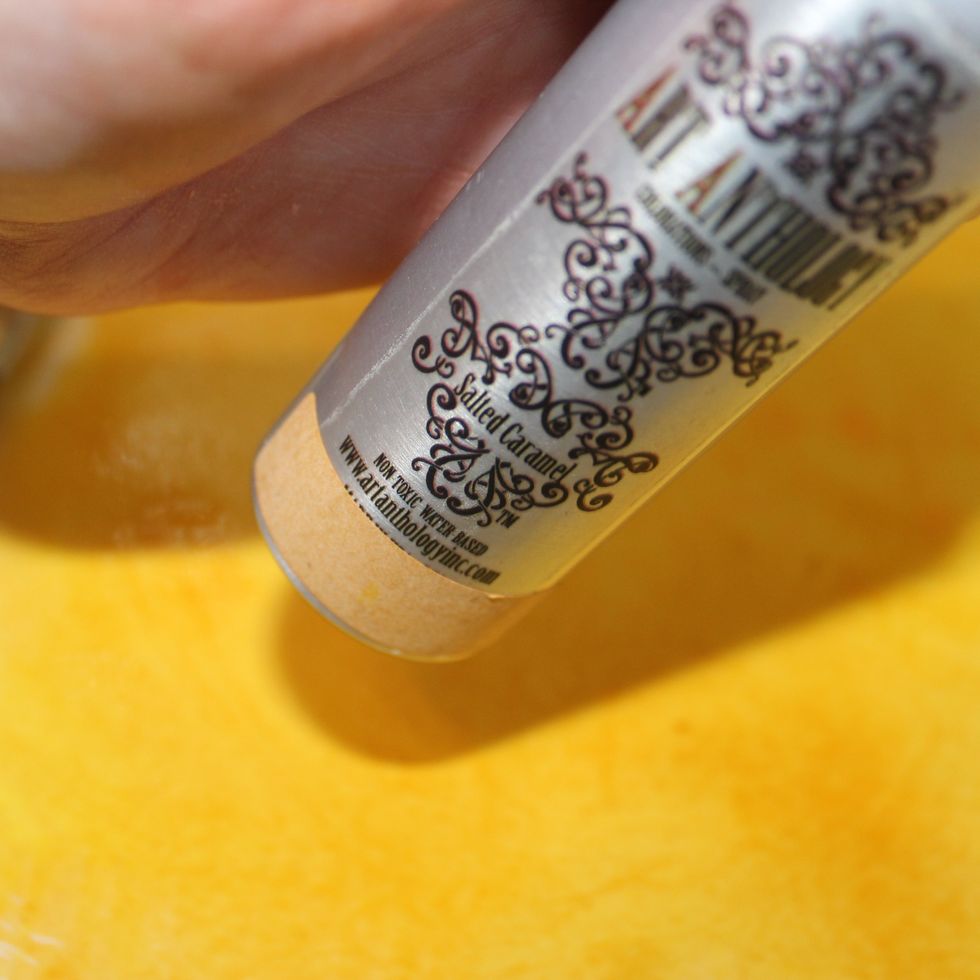
then I added some Salted Caramel Colorations too!
I let both colors blend together by picking the paper and swirling it around.
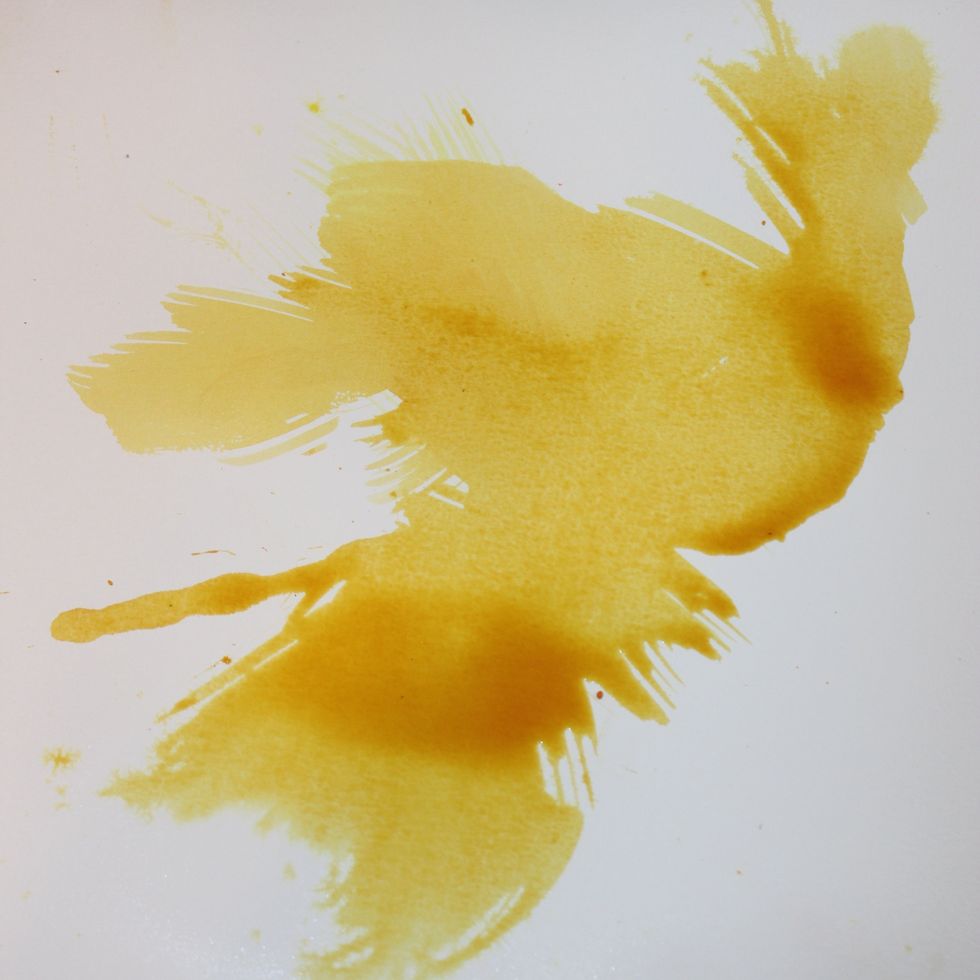
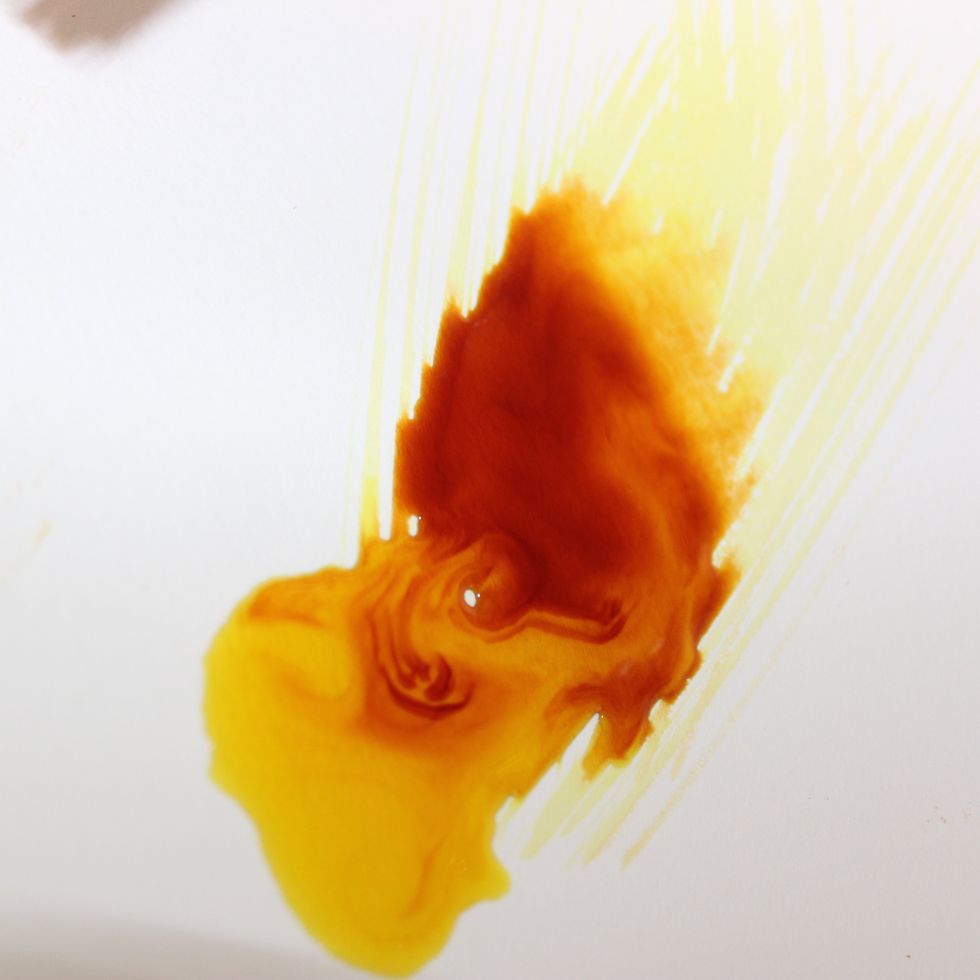
Then I used a heat gun to dry it all up.

When drying the wet Colorations I kinda push the puddled parts of it with the air of the heat gun. So it creates some lines.
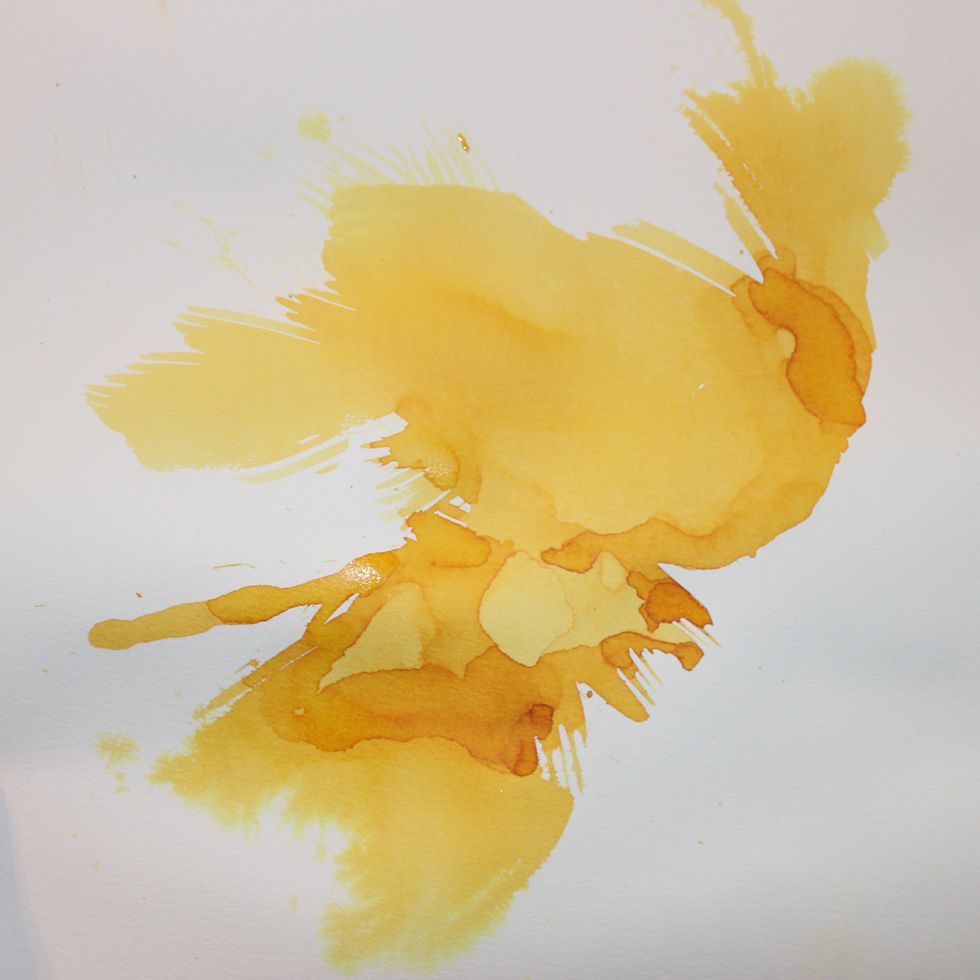
This is what it looks like once it is all dry.
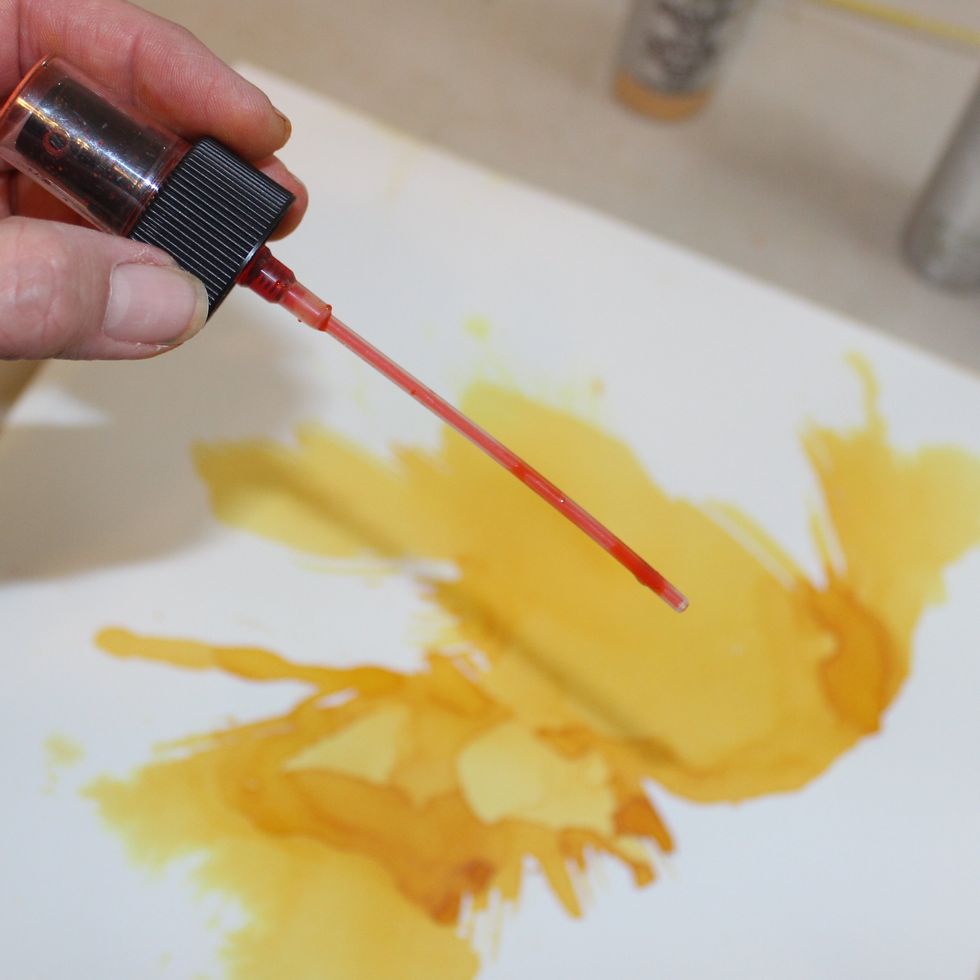
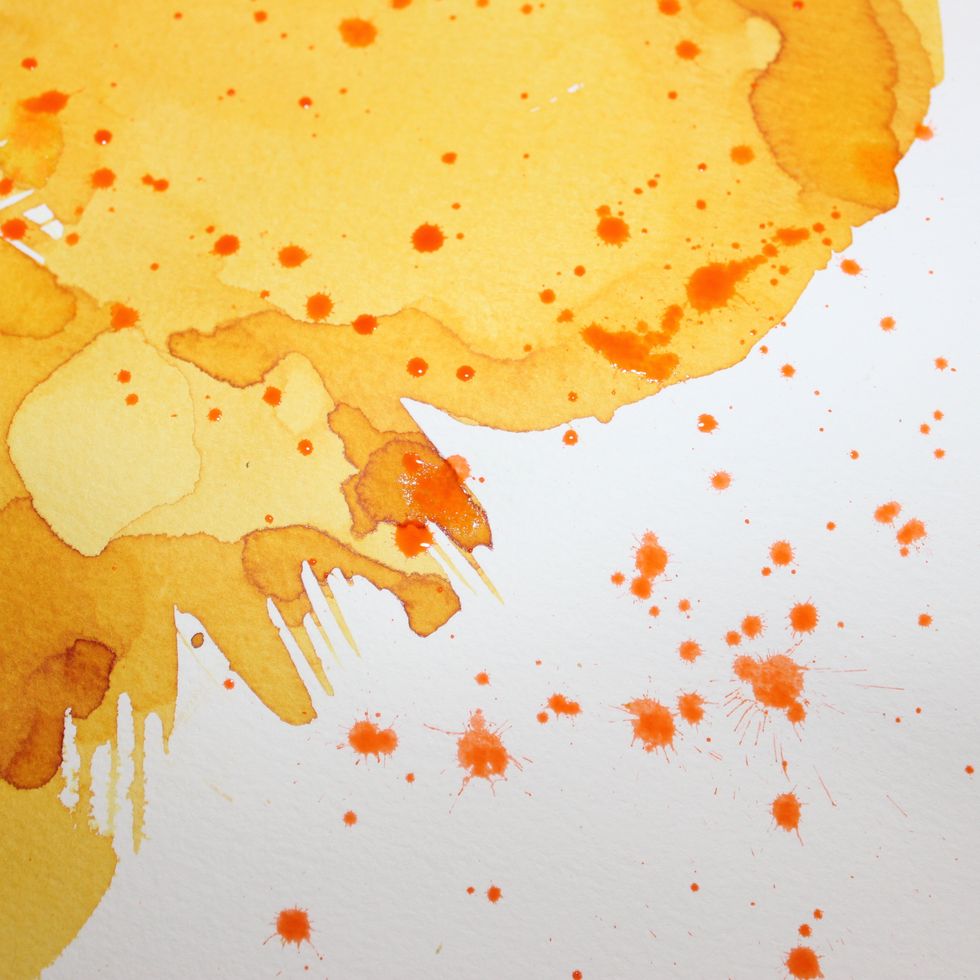
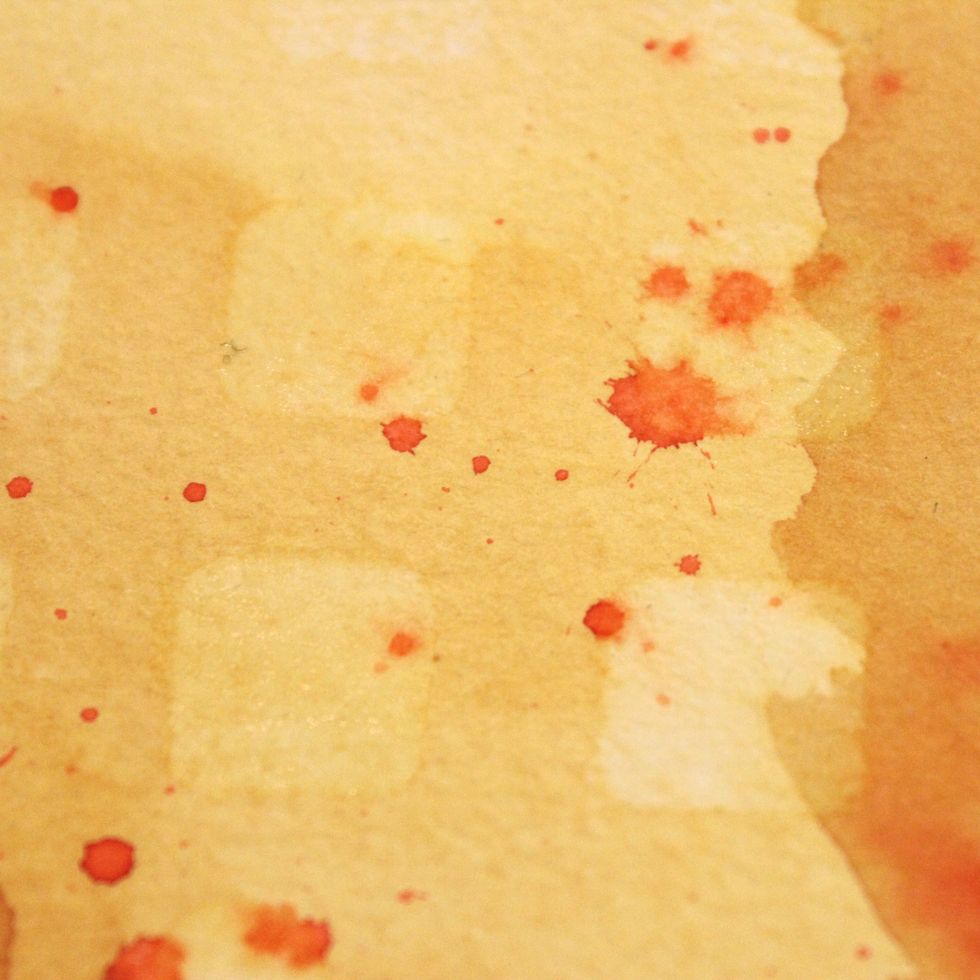
Then using a nozzle of Colorations in Juicy, I splashed the page. To create cool drips.
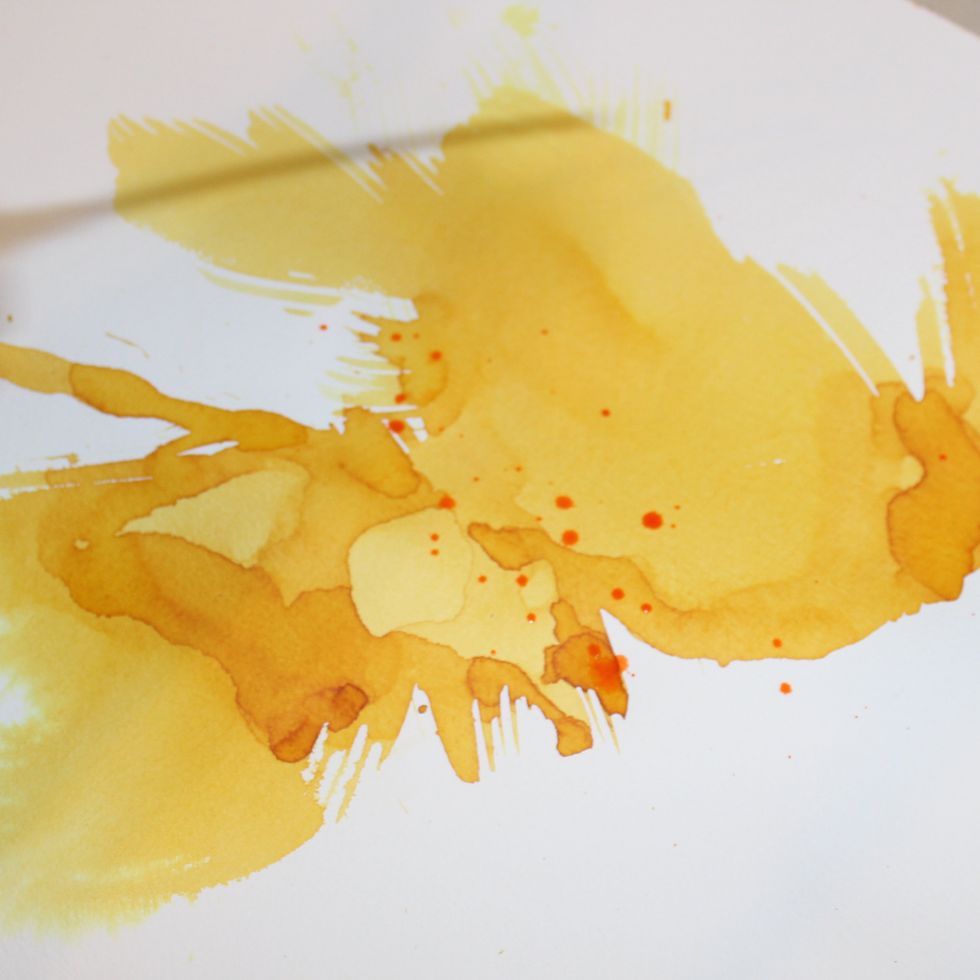
See how neat drips come out?
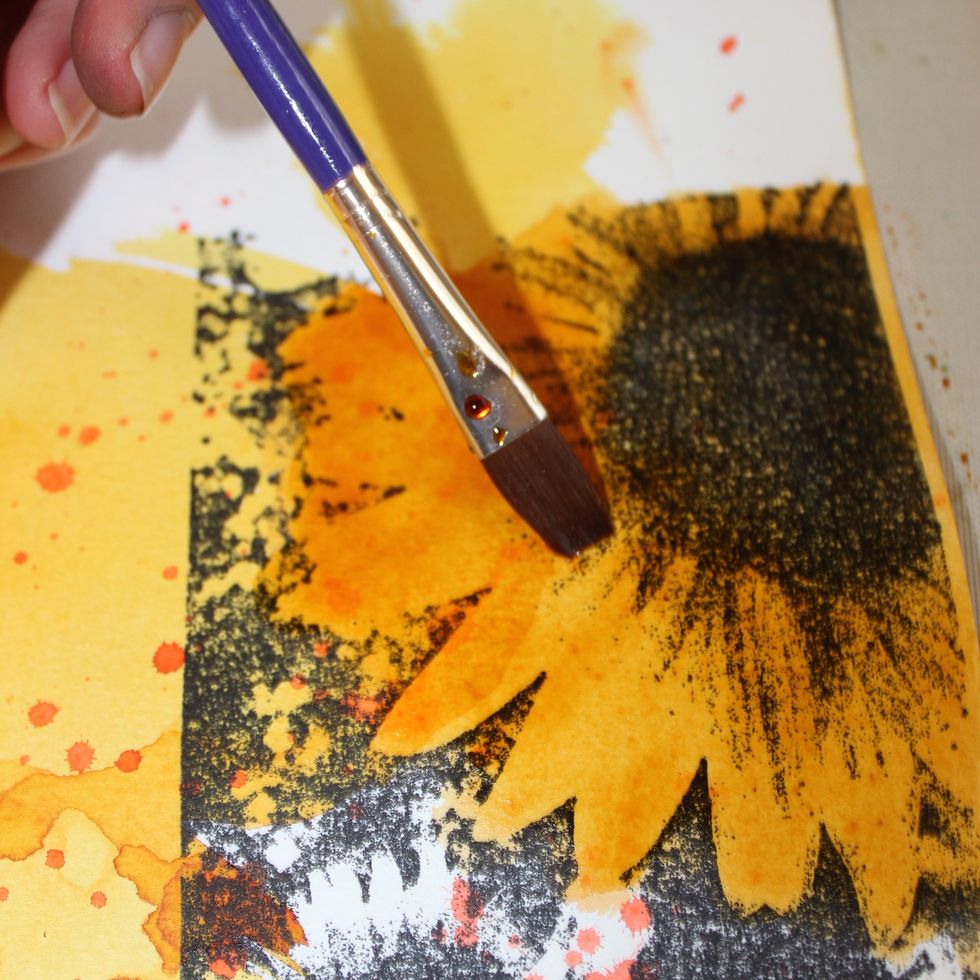
For this part I used a Technique Junkies sunflower stamp. I stamped it to a 5x6 piece of the same watercolor paper. The proceeded to use the Colorations with a brush to color in the flowers.
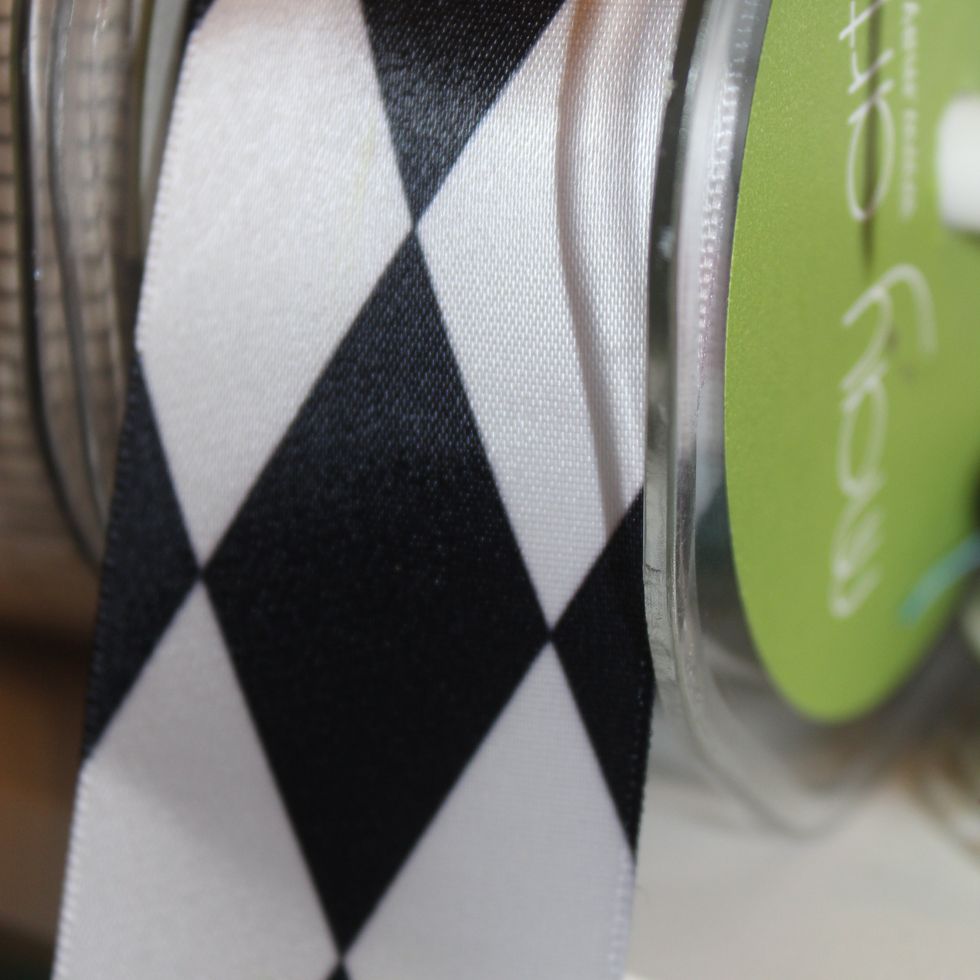
I had some ribbon I wanted to use. But I decided it needed to be yellow and black. So I sprayed it with Colorations in Timeless.
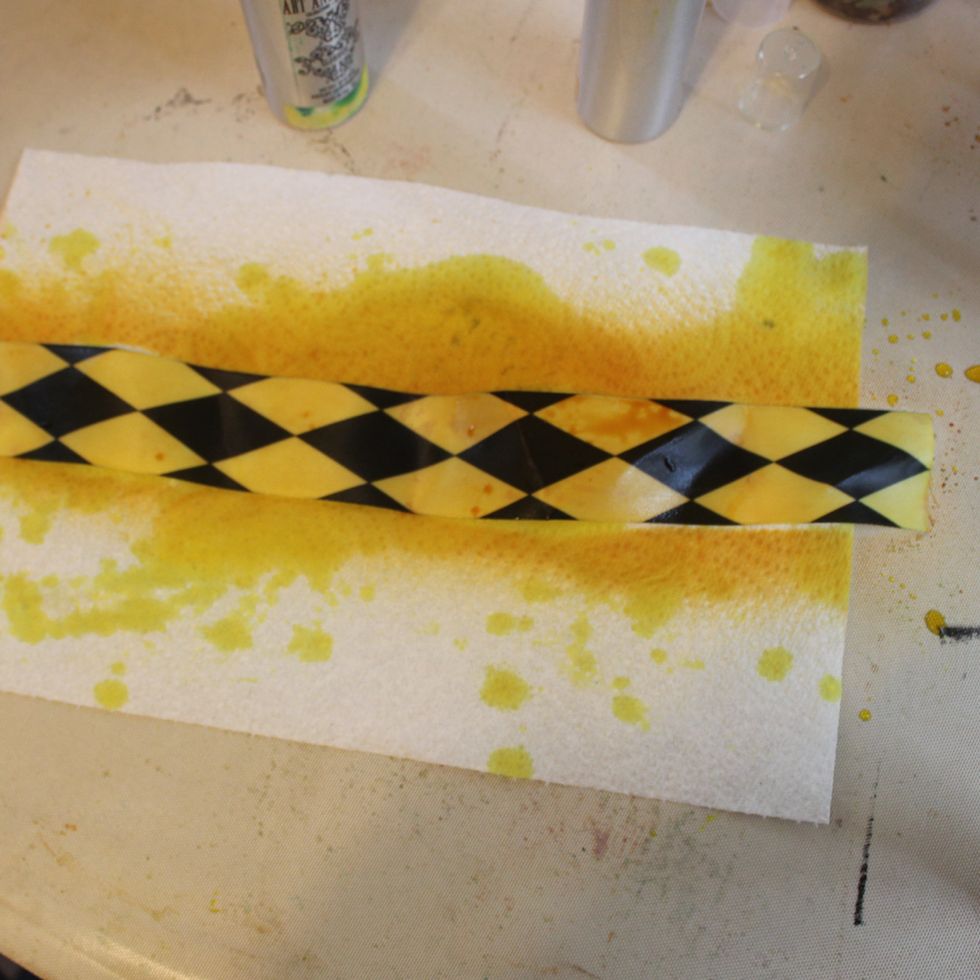
This is what it looked like when sprayed.

I put my layout together with the ribbons and some embellishments and then it was time to add a sentiment or word. I used the Soliloqui Stencil and Stone Effects in Lava.
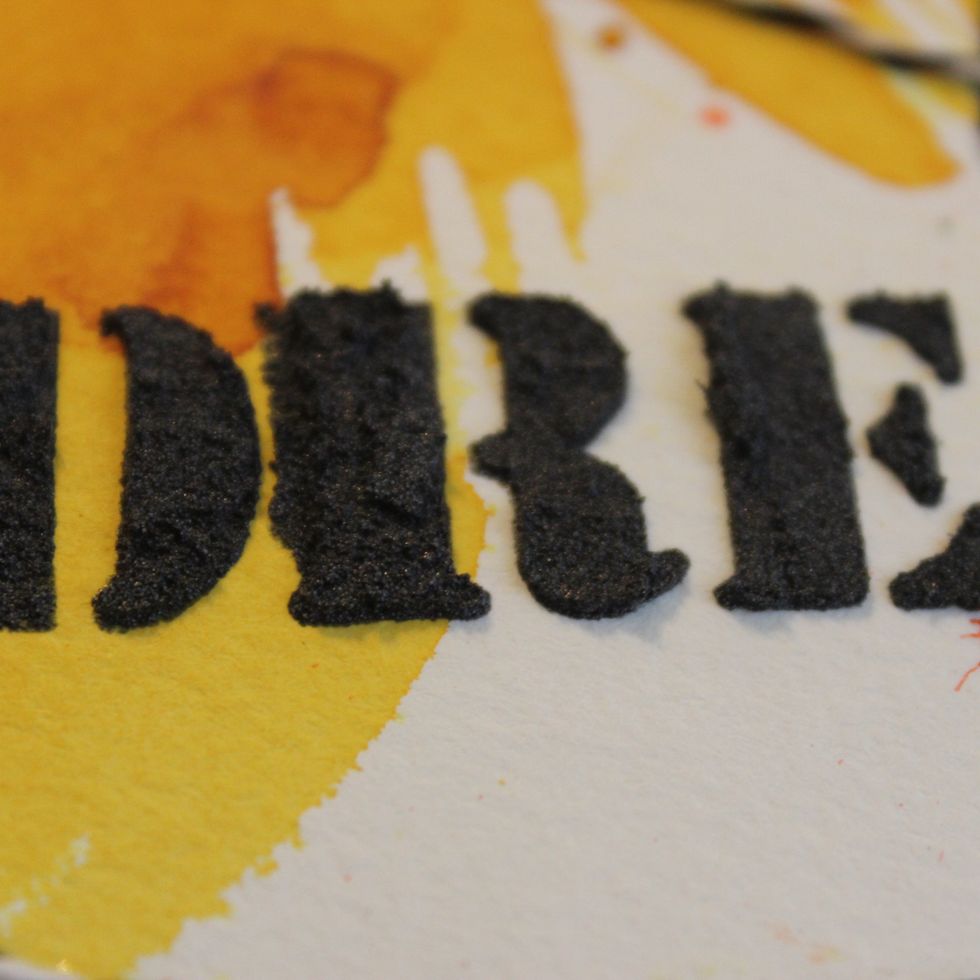
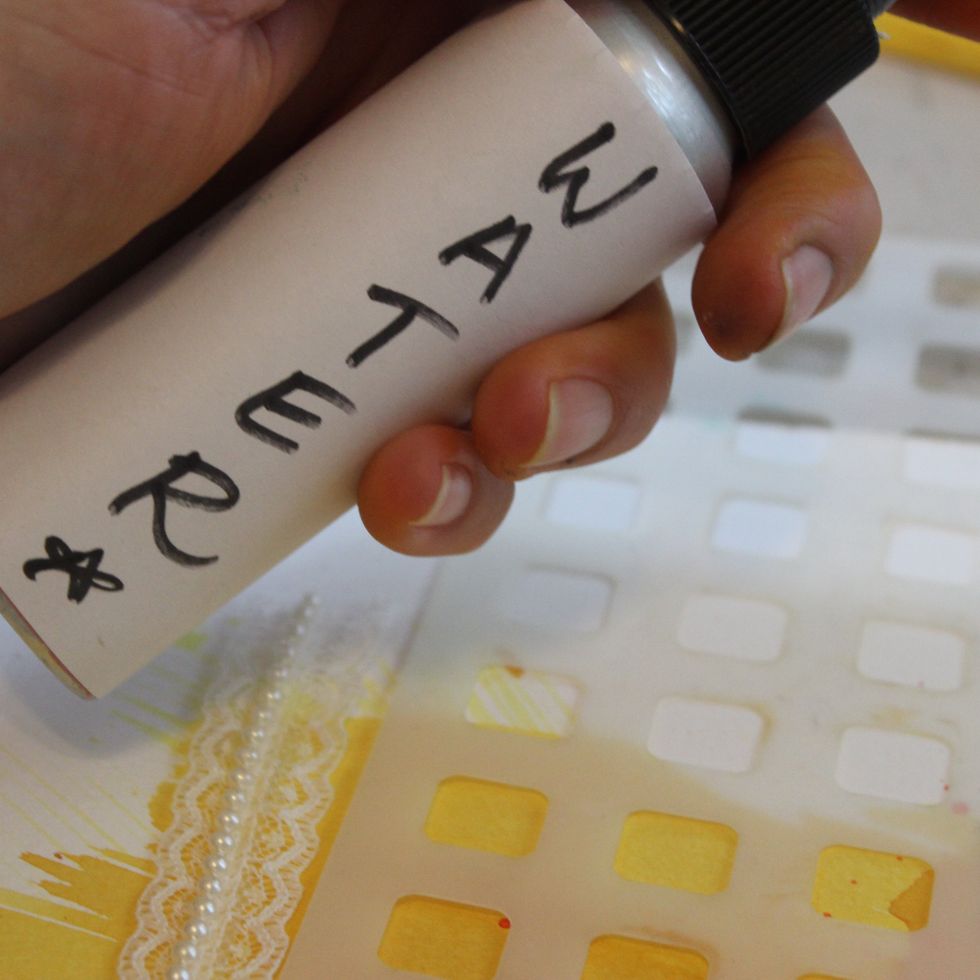
Over an area you already sprayed with Colorations, place a stencil and spray with water. Remove the stencil, wait a few seconds and them blot off water with a paper towel. This is called, Ghosting.
You will have a faint image of the pattern of your stencil. Our Colorations are water based, so they can be activated with water.
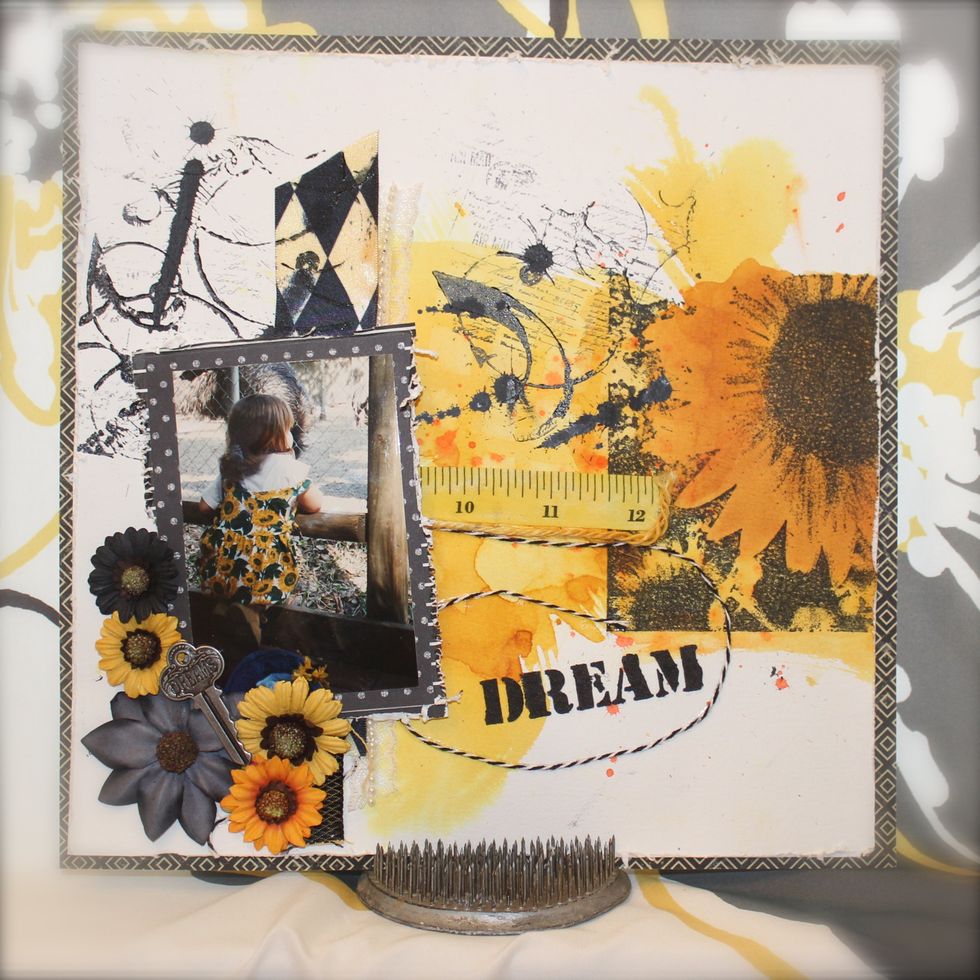
I hope you like my step by step tutorial and I really hope you have inspiration to go create your own!!!

Thank you for stopping by and viewing my Step by Step tutorial. Don't you just love Snapguide? XOXO Roxanne Dondanville www.roxannedondanville.com www.facebook.com/roxydondanville