The Conversation (0)
Sign Up
Prepare your lips with a balm to keep them hydrated. This reduces feathering once the lipstick has been applied.
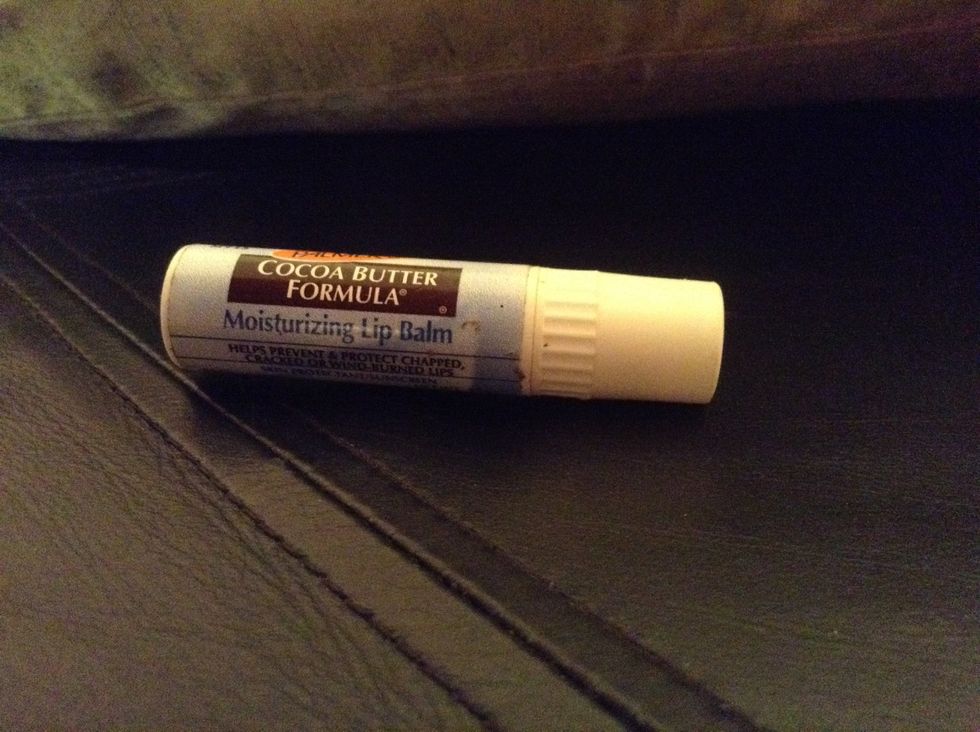
This is just my personal favourite. But you can use any light balm that you like! Make sure it isn't too greasy or heavy (such as Vaseline) because it will make the colour slip on your lips.
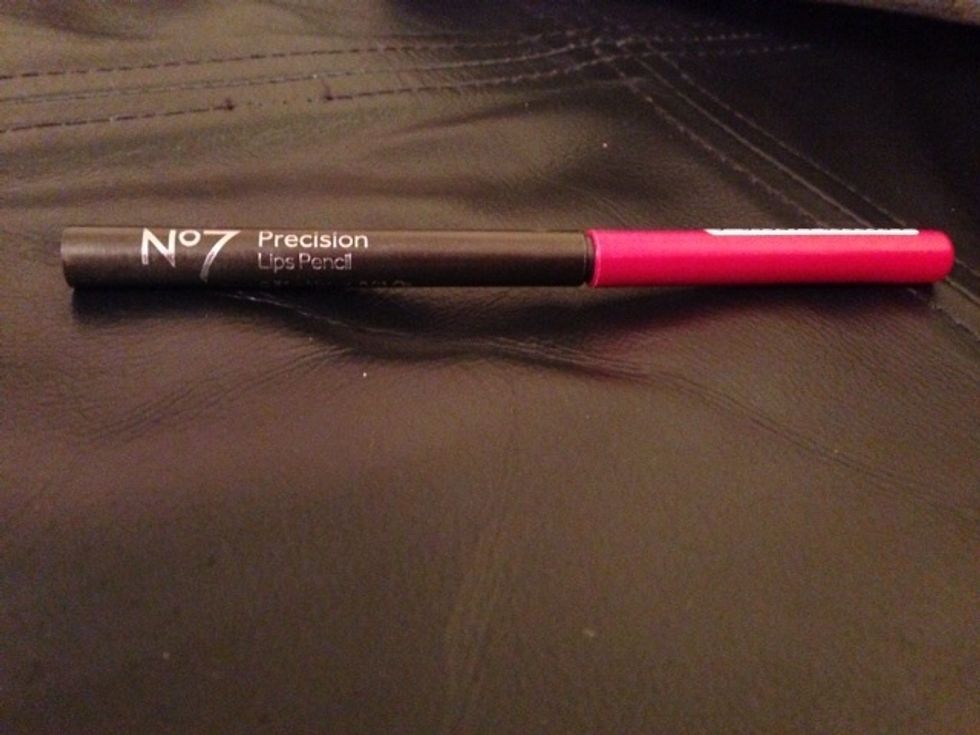
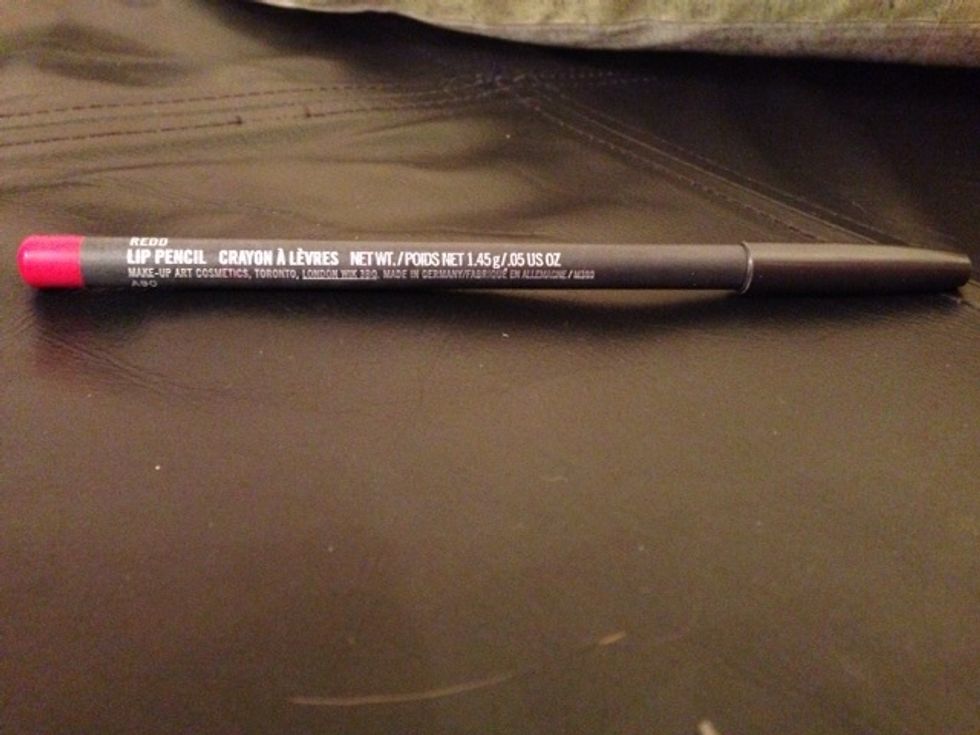
Get yourself a lip pencil. Mine is a mechanical one with a fine tip as I find this easier for precise application. Make sure it's sharp and suited to your skin. Pale = blue toned. Darker = orange/pink

Begin by lining your upper lip. Start at your Cupid's bow and slowly go downwards. Curve and follow the natural line of your lip to get the best shape.
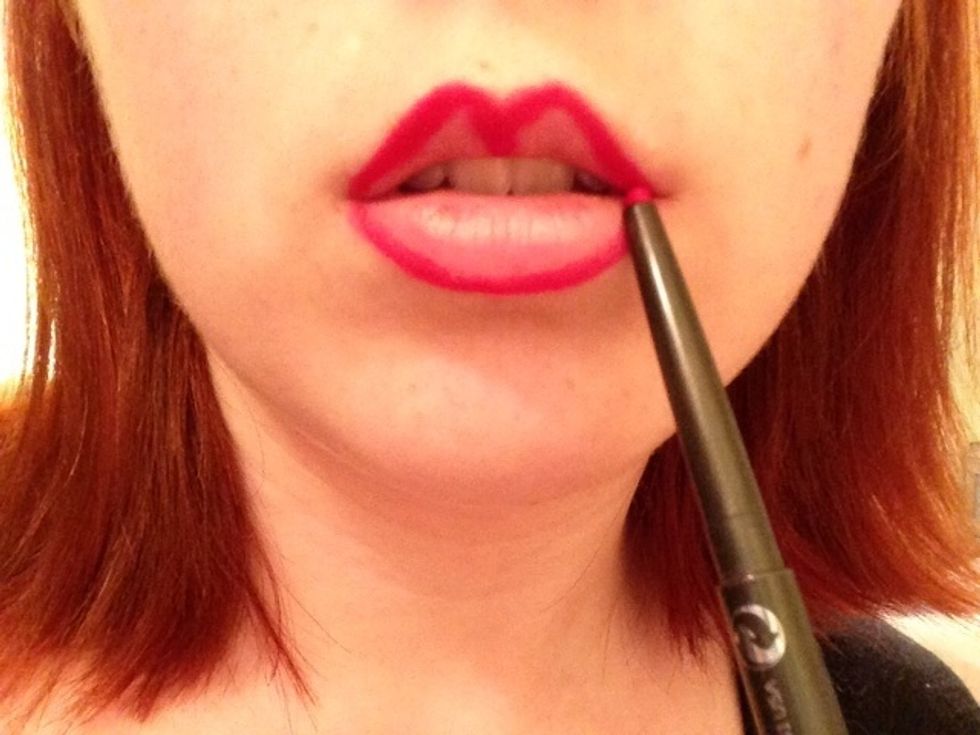
You want to continue this all the way around the outline of you lips. Keep the pencil at a point and don't overdraw. It helps to open your mouth when doing the inside corners.
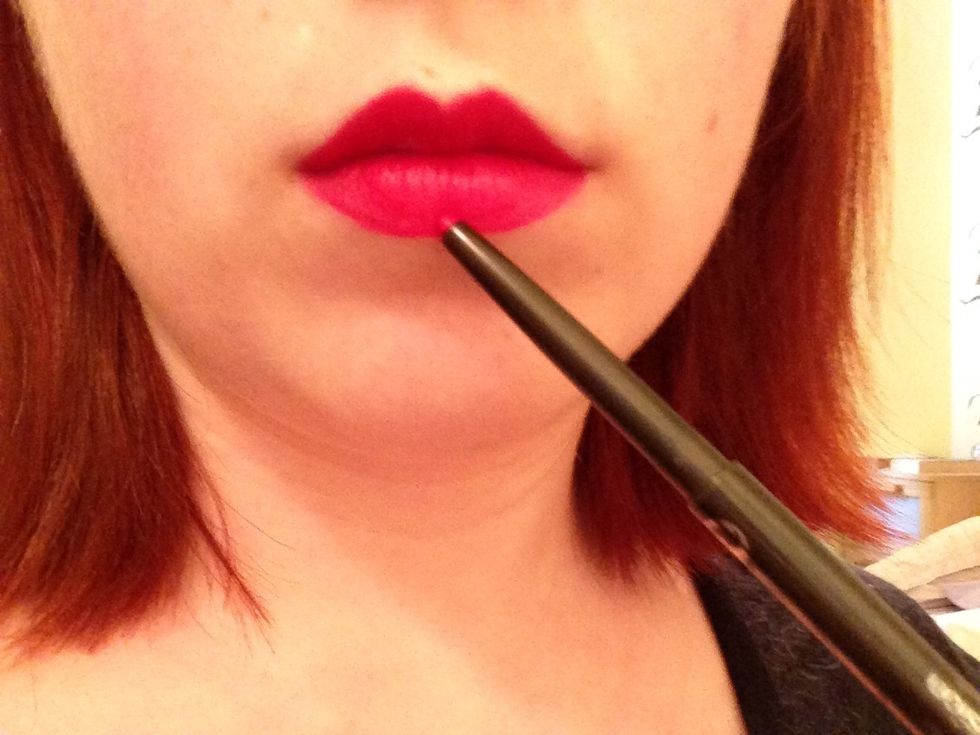
Now fill in your entire lip with the lip pencil. Just like colouring in! This provides a stain that enables the lipstick to stay put once applied.
Now choose a slightly lighter lip pencil. This may seem excessive, but it helps create dimension to your lips and highlights for a fuller look. I like this MAC one as its super pigmented.

Fill in and outline with this lighter pencil. You can see the lips are already looking fuller and have more texture.
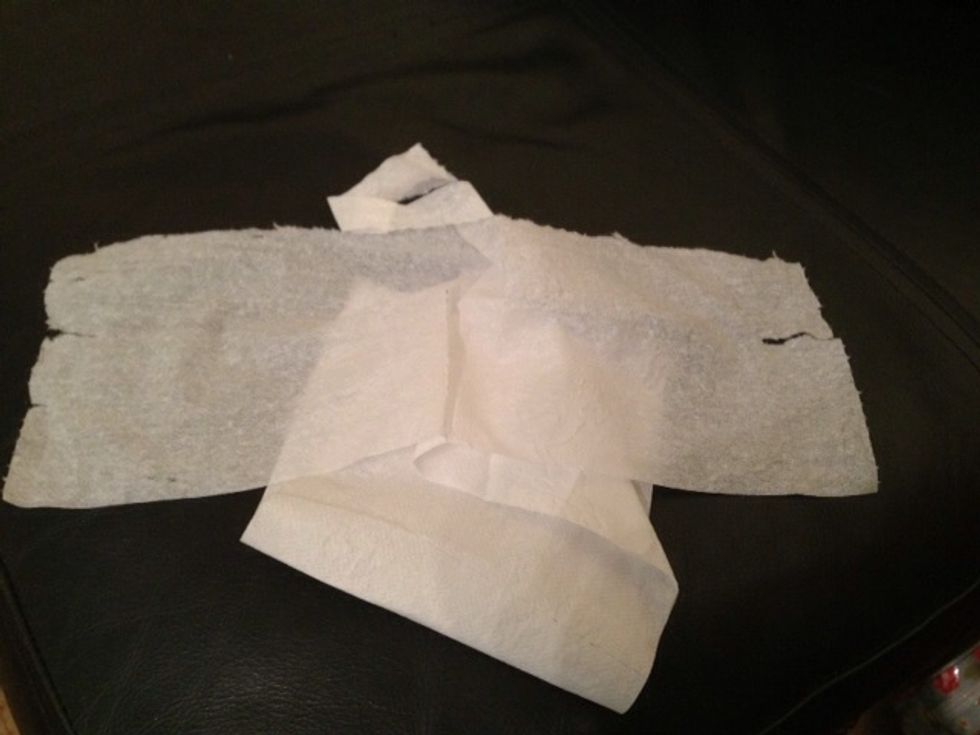
Grab some tissue (toilet or normal) but make sure it's as soft as possible. Now pull it apart so it's in two halves like the following picture.

Blot your lips. The trick is to roll your lips over the tissue and not to rub. Rubbing removes pigment, rather than lifting excess product.

Grab a thin, pointed lip brush. It needs to be super precise! This 194 is good from MAC, but it doesn't have to be expensive by any means.
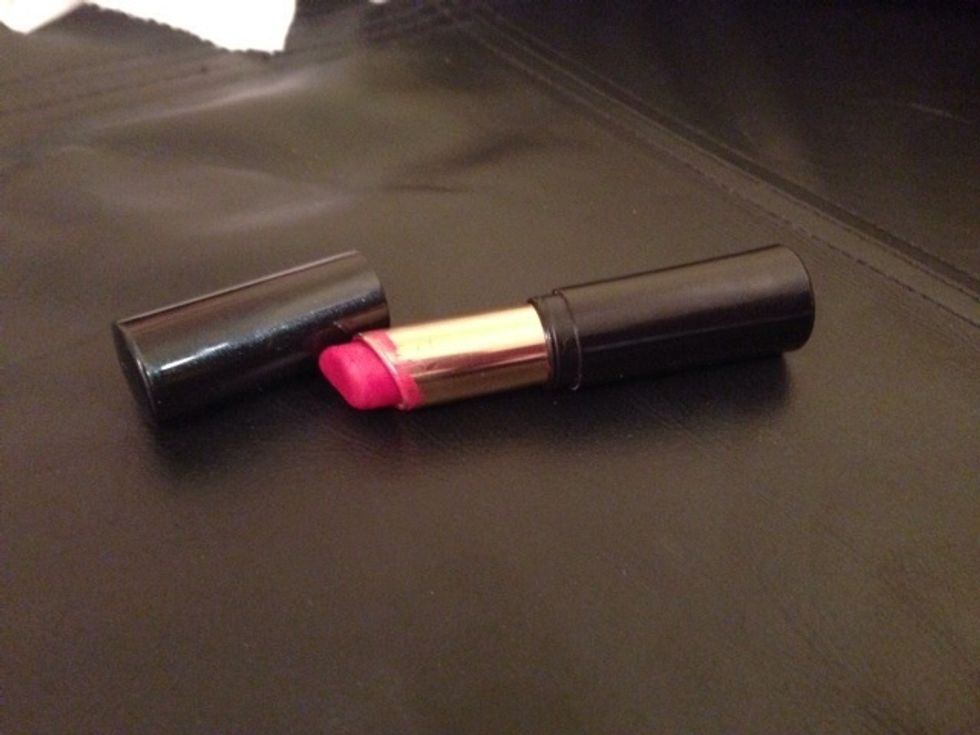
Now you want your lipstick. For this look mine is semi-matte because I like a classic look - something like Monroe. I chose a blue toned red (such as Russian red from MAC) because I am so super pale.
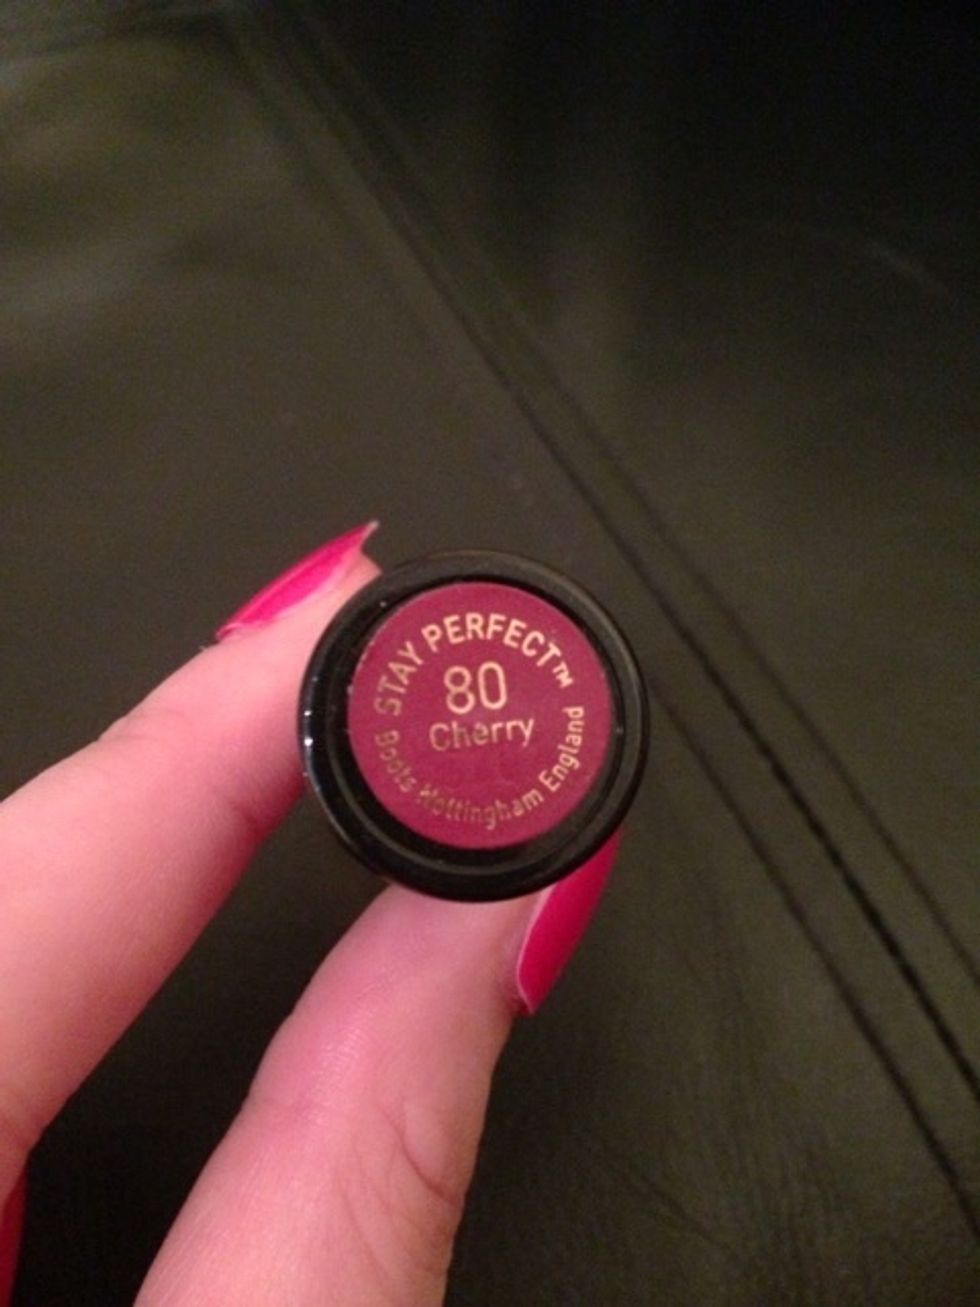
This is the colour and make of my No7 lipstick.
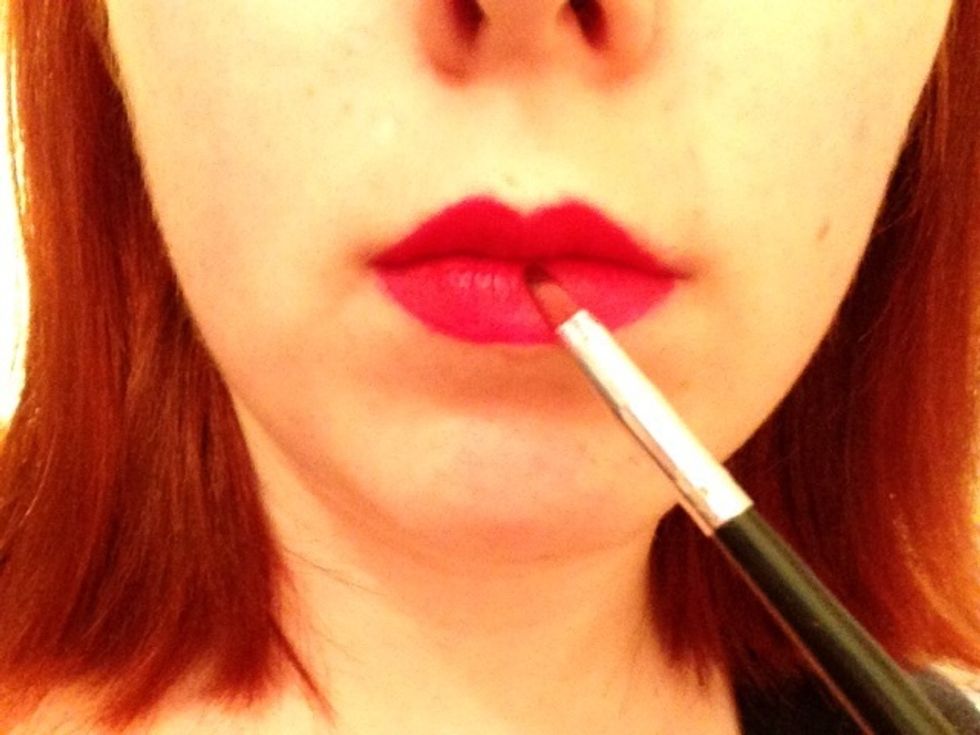
Carefully paint over the entire surface of the lip with the product on the brush. Outline too and try and be as careful as you can!
Now blot again with more tissue. What this does, is it locks the product in place and enables you to layer. Layering is the key to getting a full, red lip that the 1950's stars would die for!
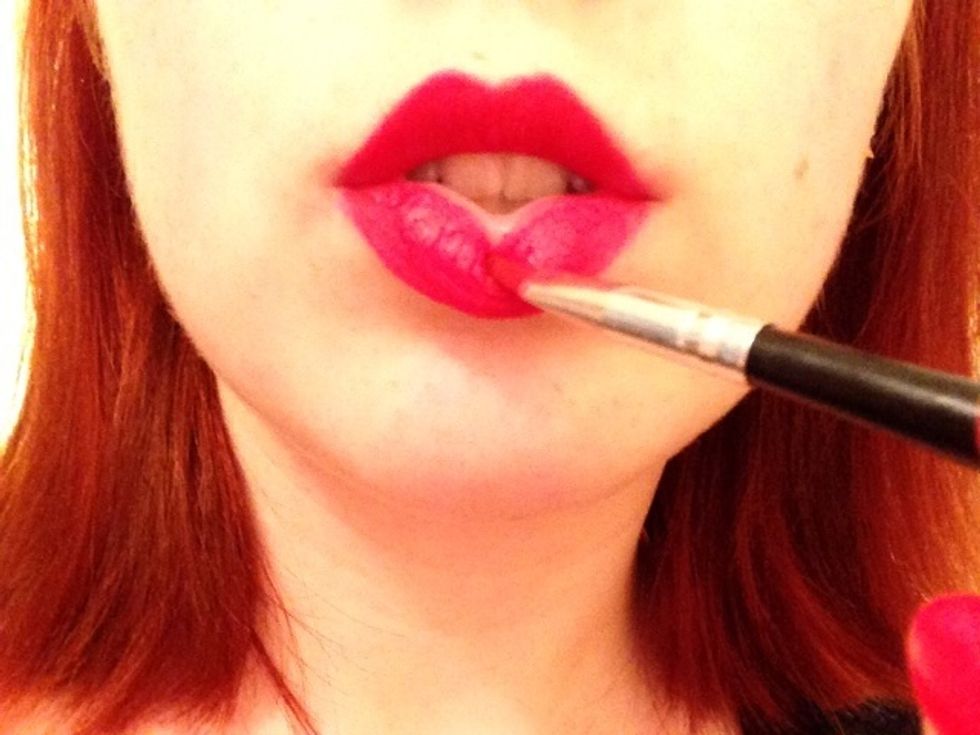
Apply more lipstick and make sure you get the pesky insides. Don't worry if you get lipstick on your teeth, we can sort that later!
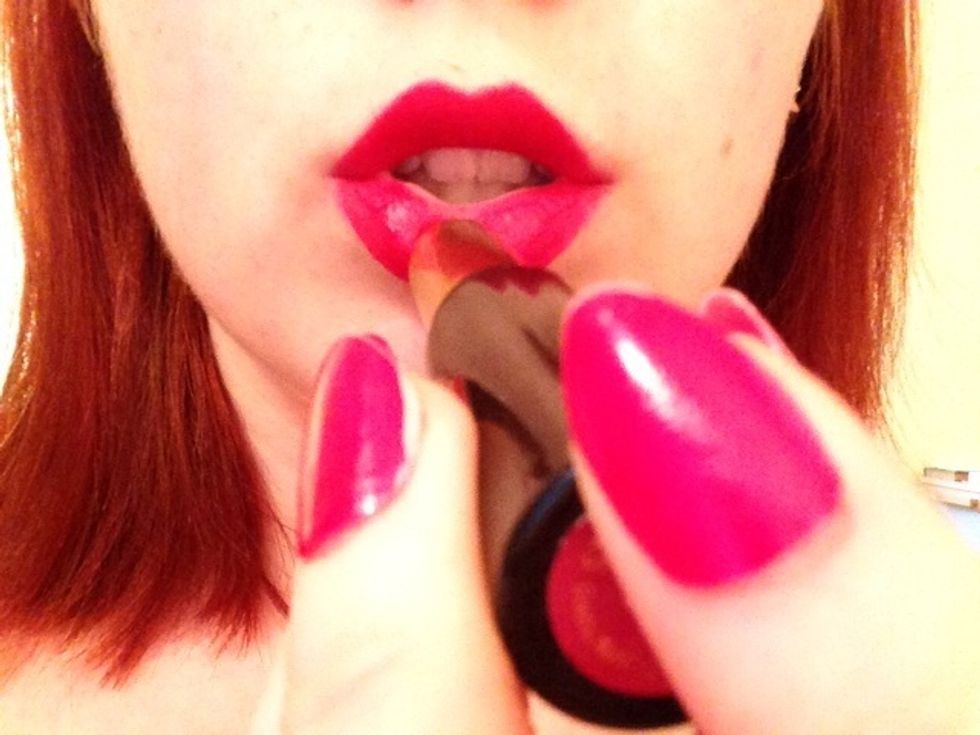
Now apply a layer of lipstick straight from the bullet. Be careful but do layer it on well.
Roll your lips together several times to distribute product.

You can now see that it's spread on the top lip and definition has been lost. It's easy to sort!
Blot again! All this layering and blotting is a technique used by many artists, including "whitey", Marilyn Monroe's artist. He layered her lips up to 8 times!! I normally do 6 layers with blotting.
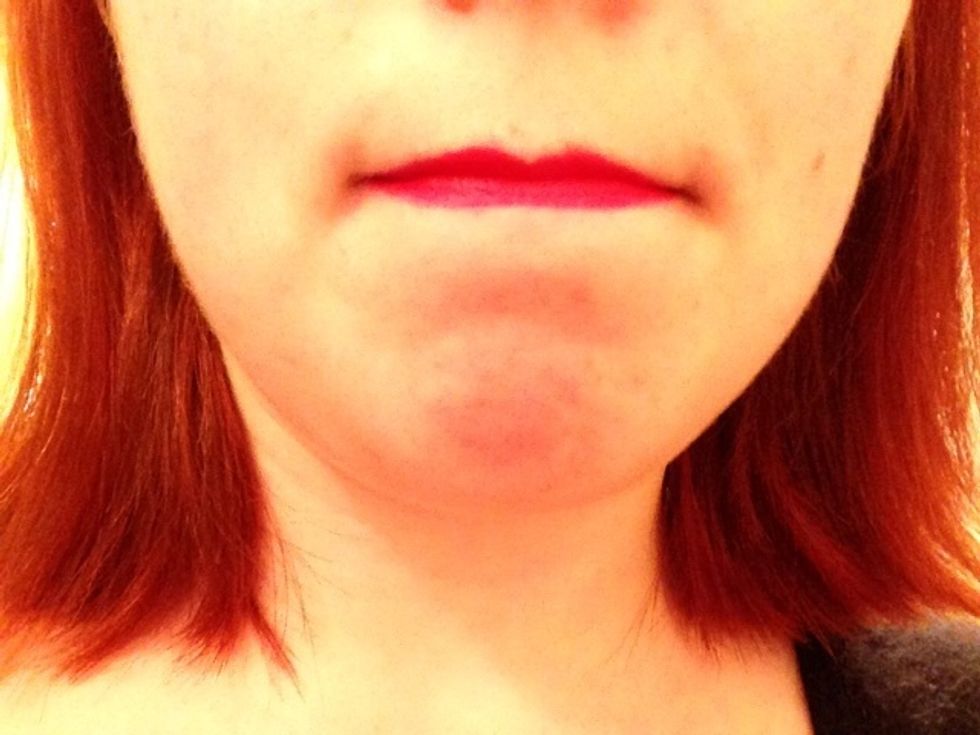
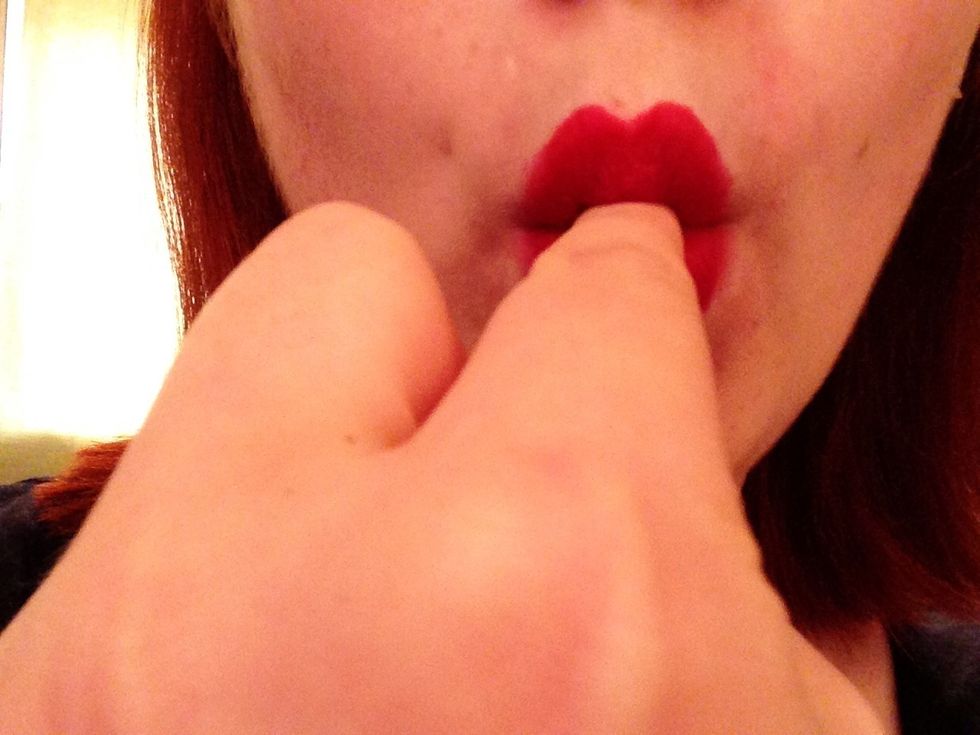
To get back the upper lip definition, take your little finger and pull it downwards, removing the excess product.
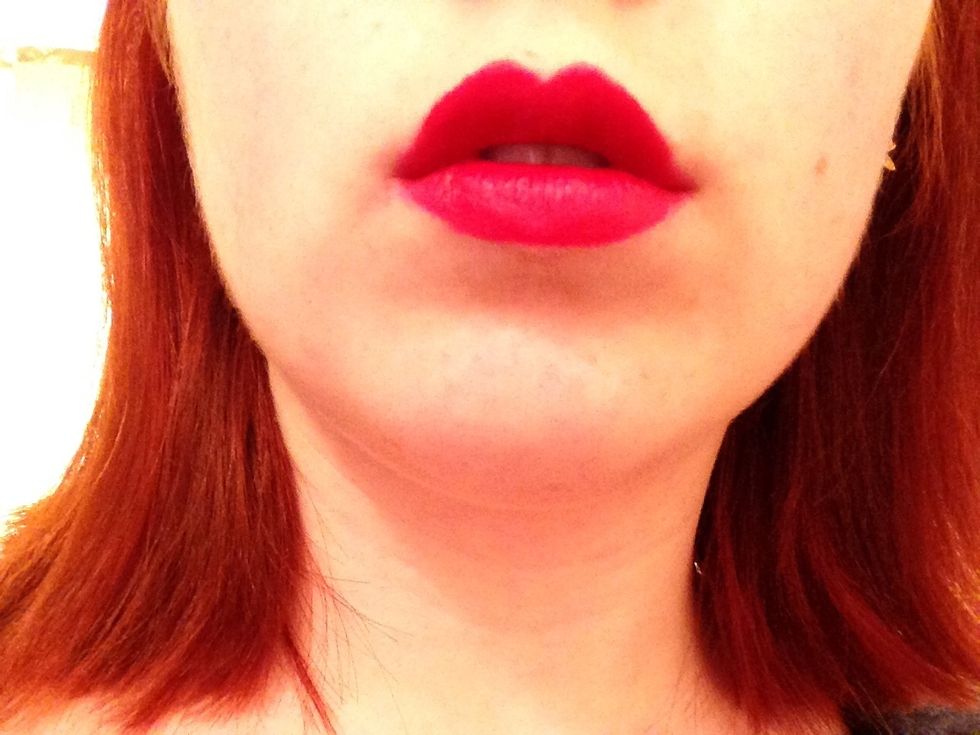
Now you have a clean line again!
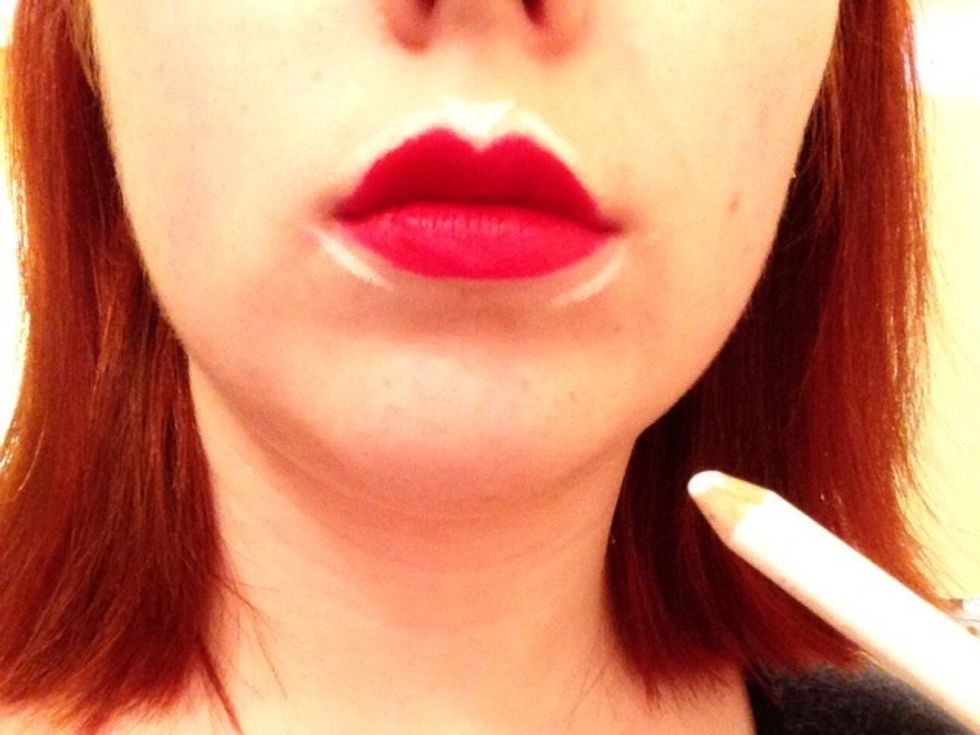
Now take any white pencil liner, and make lines in the Cupid's bow, outer corners and underneath. This creates contrast for a striking look.
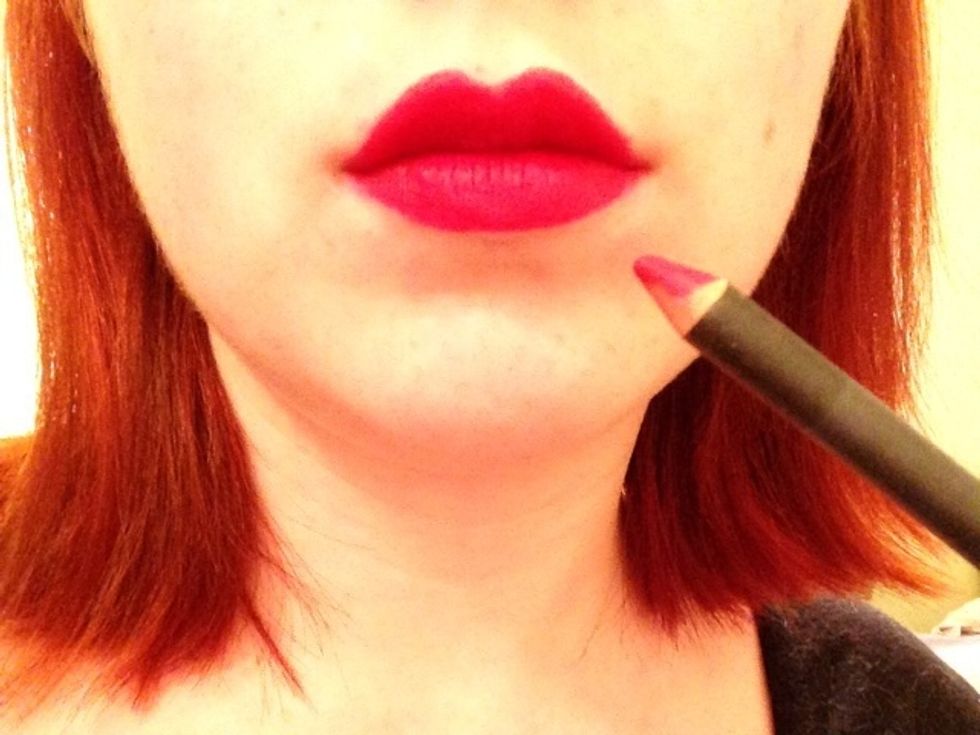
Smooth those in with a sponge or your fingers. Now tidy up any mess with the lighter of you lip pencils. This finalises the shape.
Get your fingers and drag them around the inside corners. It will remove excess lipstick and give you a good shape.
Now you can see its more 'heart shaped', which is what I prefer. If you don't, simply skip that step!
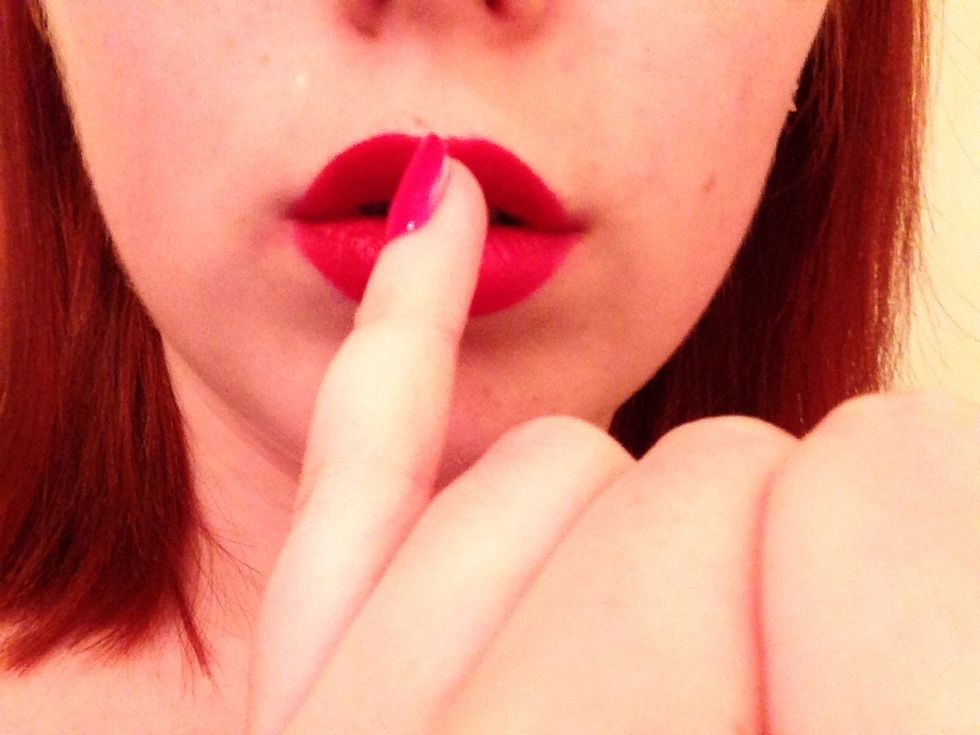
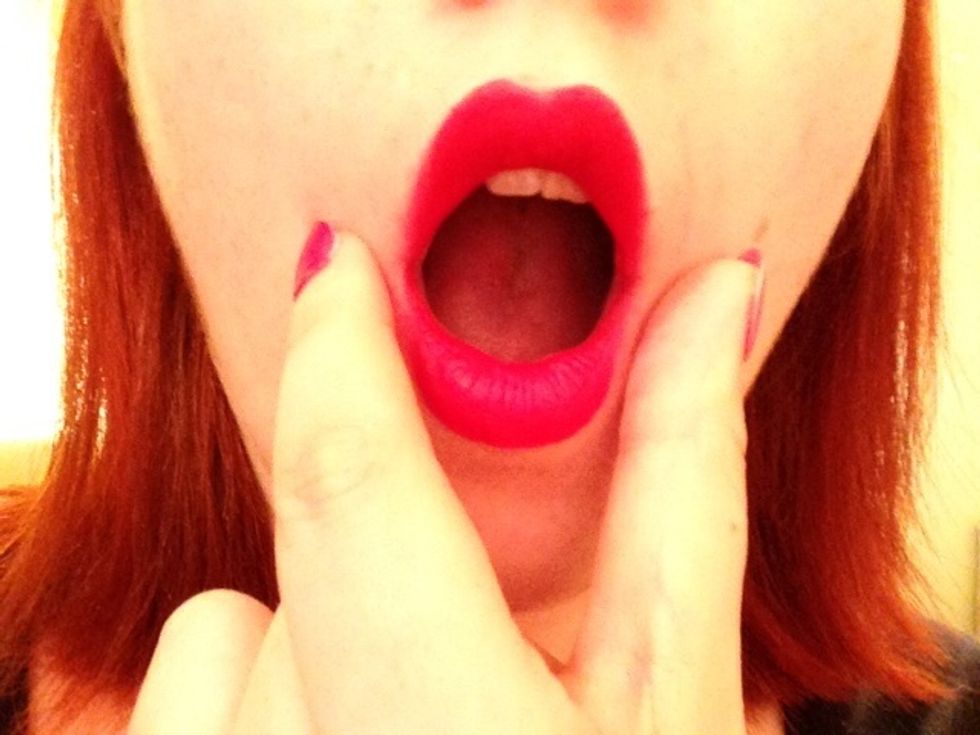
This is the weird bit. Put your index finger in your mouth and remove again. Your finger will catch any lipstick and stop it from transferring to your teeth!
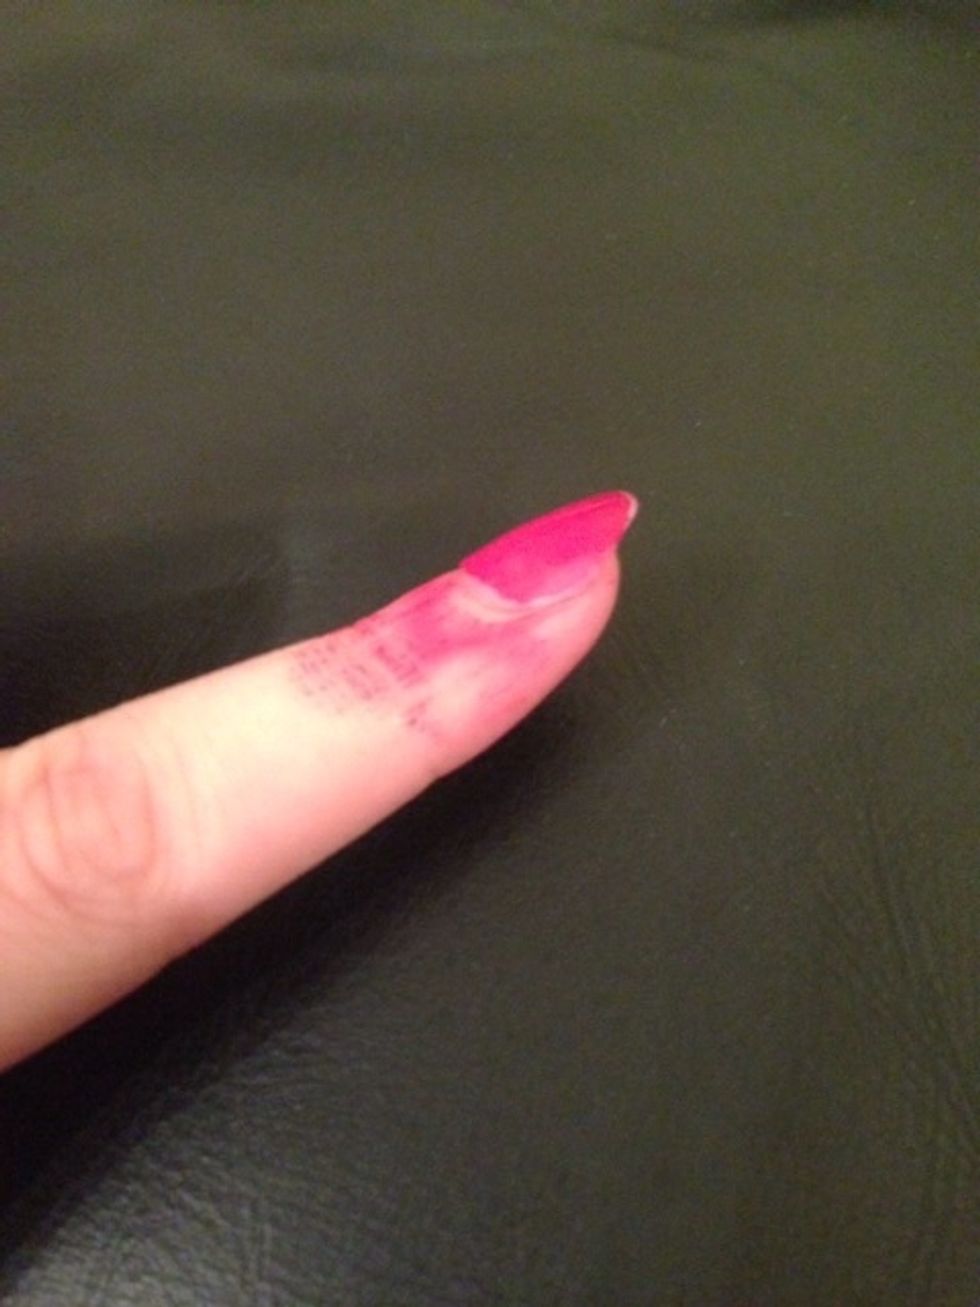
Weird, but it works!
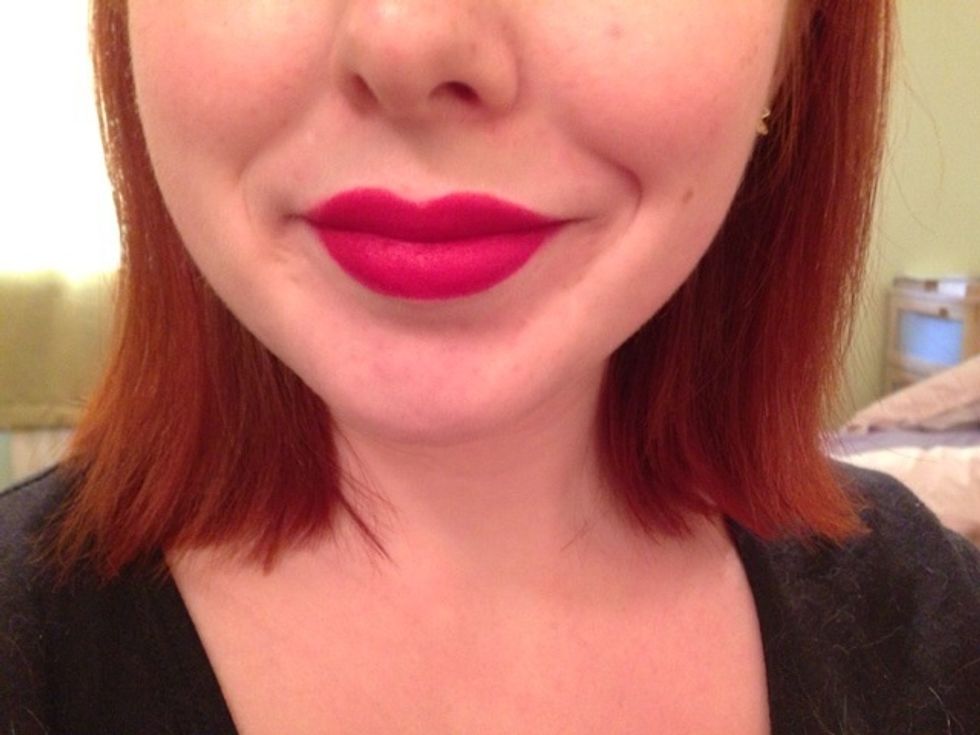
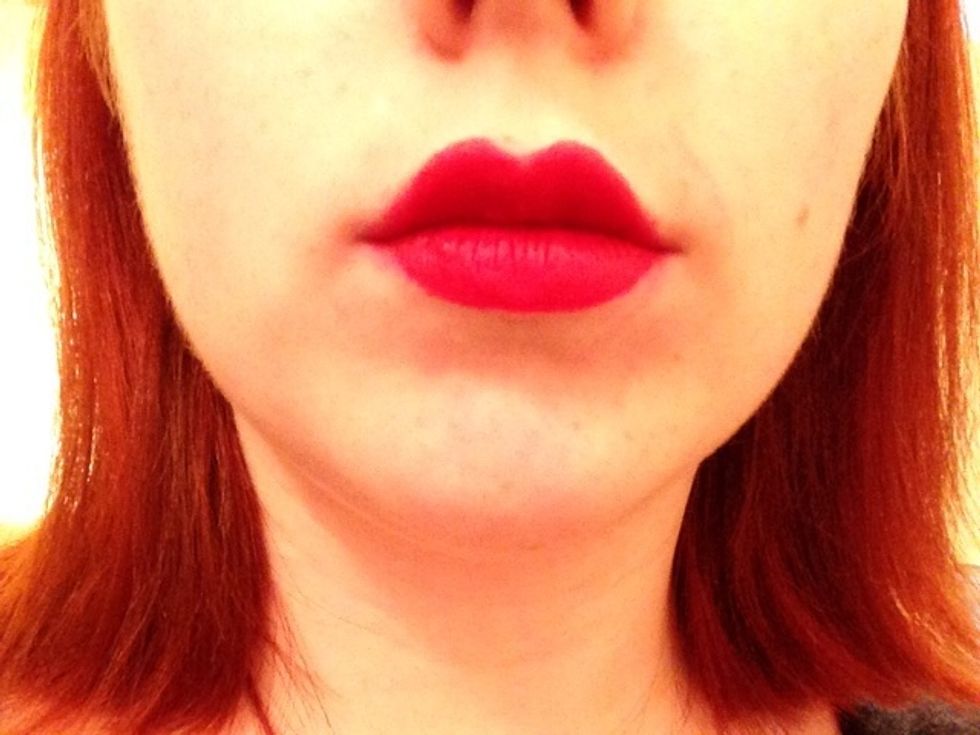
Here is the finished lip without flash.
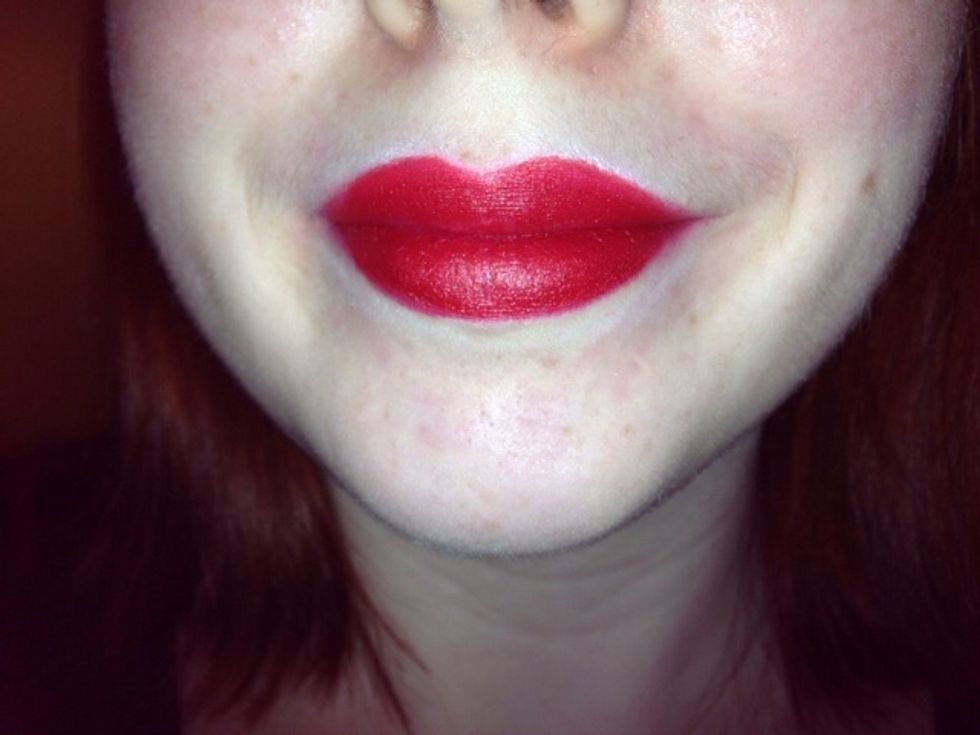
And with flash. Excuse my pale, make-up free skin! There is a slight sheen to the lip which I like, but you can make it fully matte with a translucent powder dusted over.
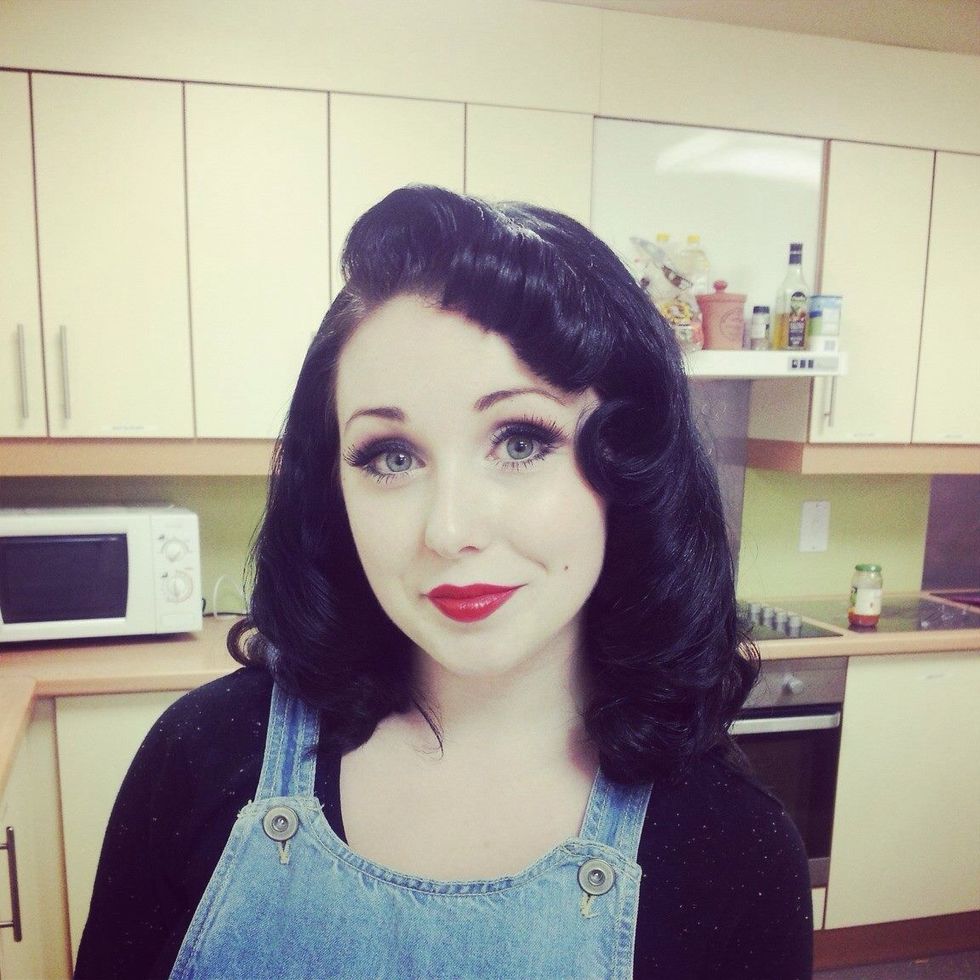
Here is me after a Burlesque show, wearing the lip! It's a great, foolproof way of getting a bold lip which will stay put and look classic and ooze Hollywood glamour. Sorry this was SO long everyone!