The Conversation (0)
Sign Up
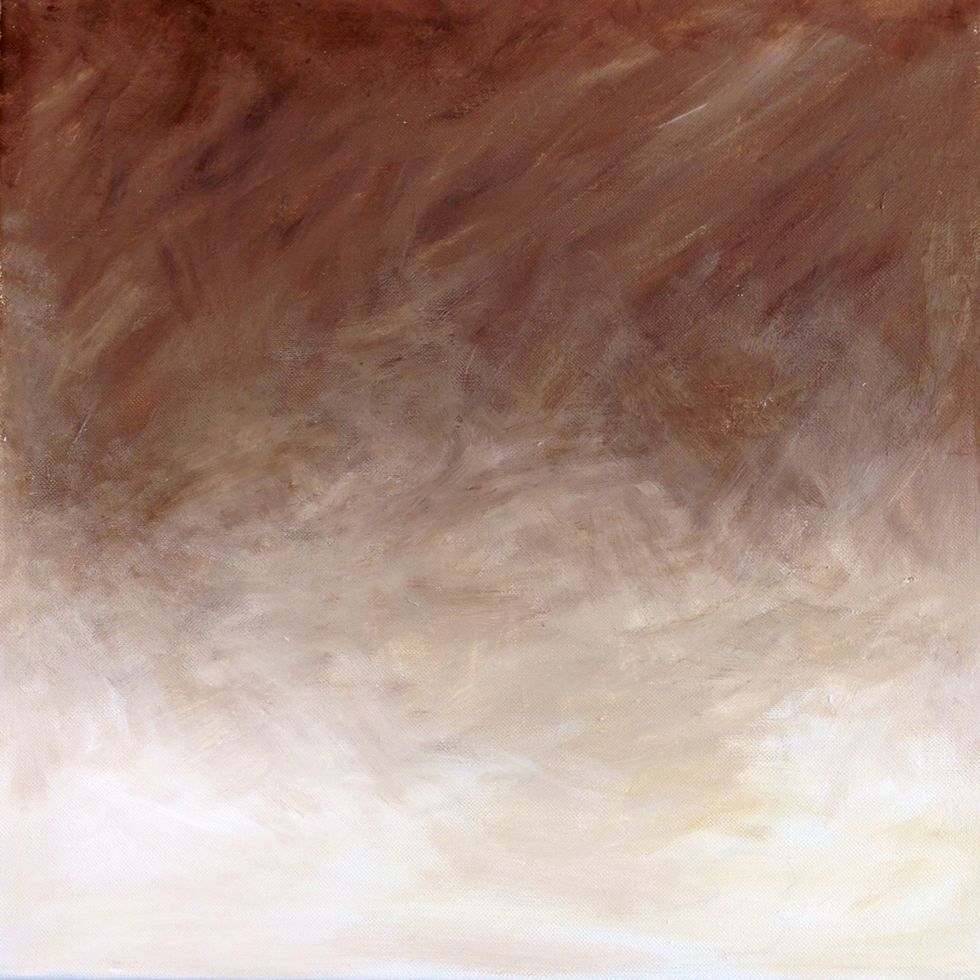
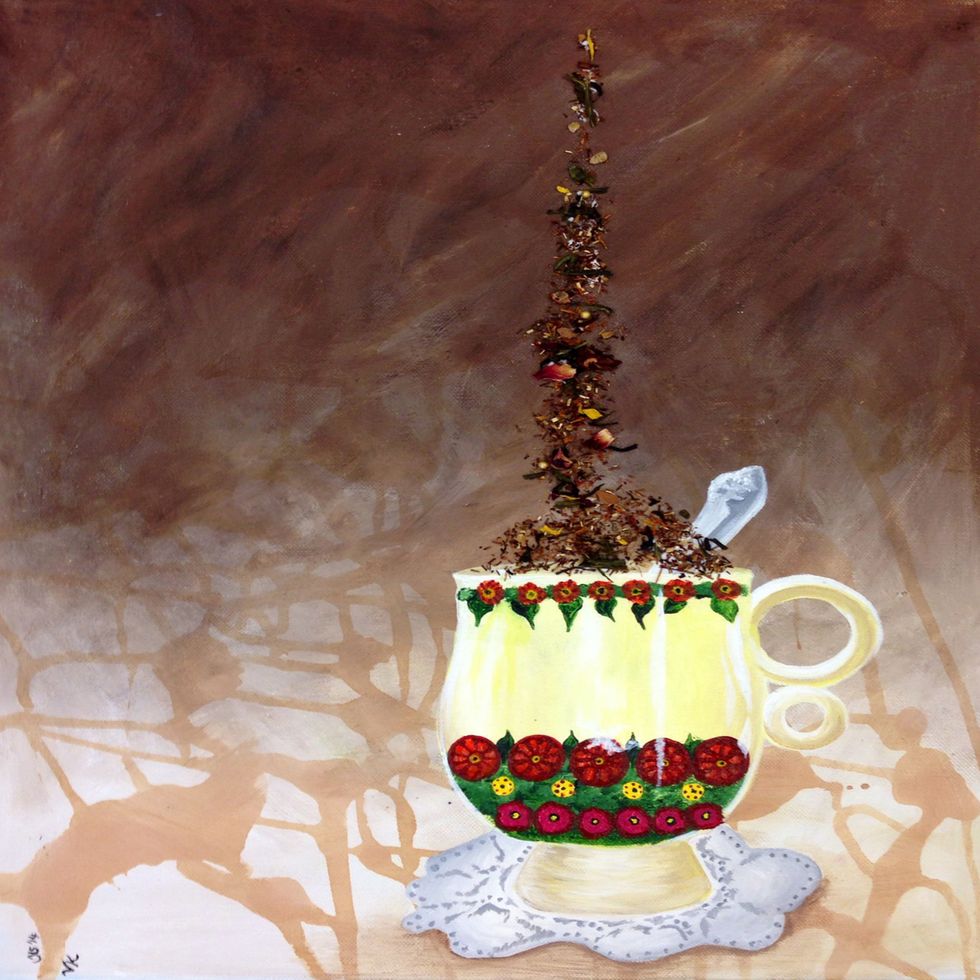
Paint the background a neutral colour, going dark to light from the top to the bottom. Wait for the background to dry.
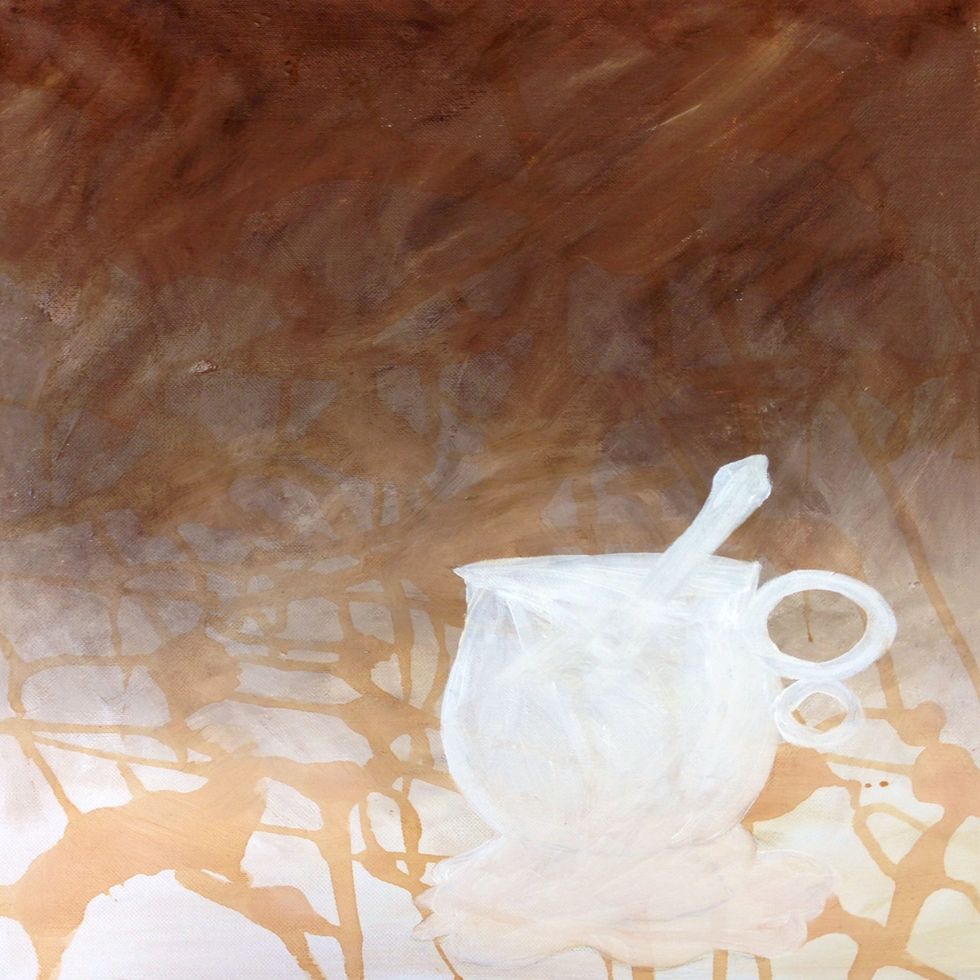
Splatter and drip concentrated Tetley 'Orange Pekoe' tea on the background. Sketch the outline for the teacup and paint it white. Allow the white paint to dry.
Paint the teacup and doily. Make the colour darker towards the outside and lighter towards the inside for the teacup to appear realistic.

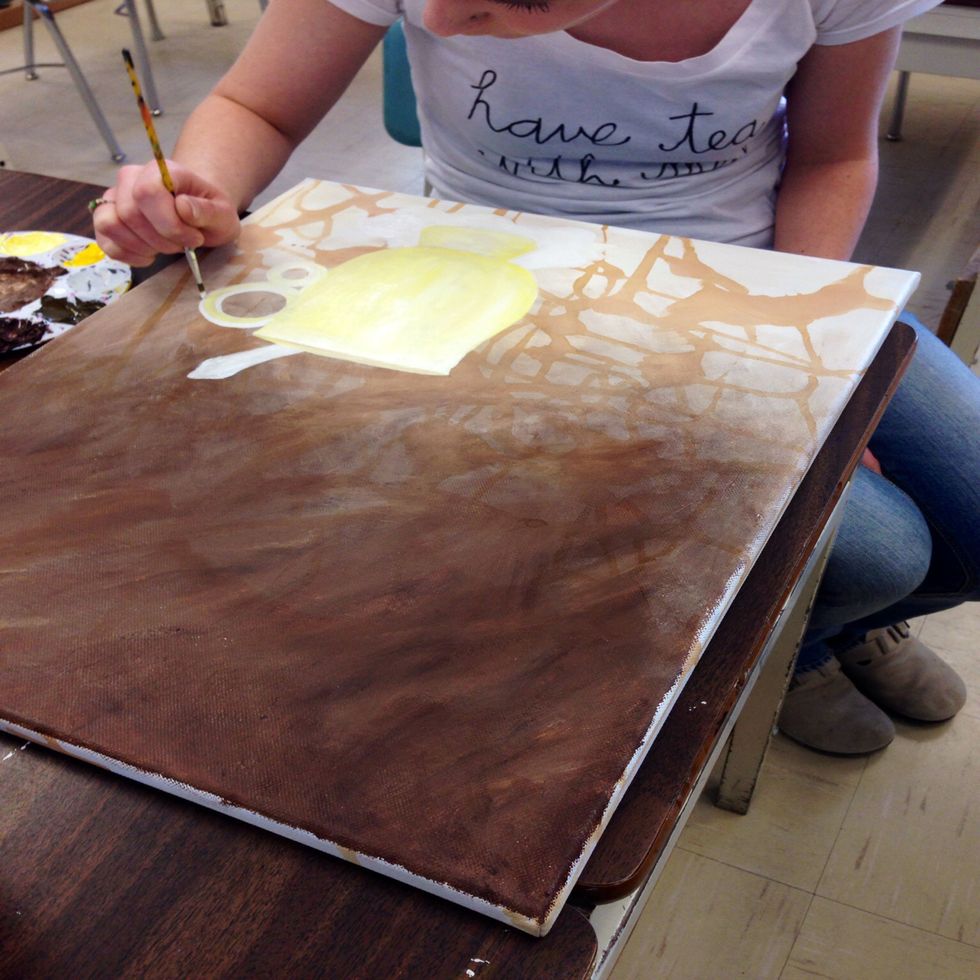
Stipple dark green paint at the bottom of the teapot to create a background for the flowers. Let the paint dry.
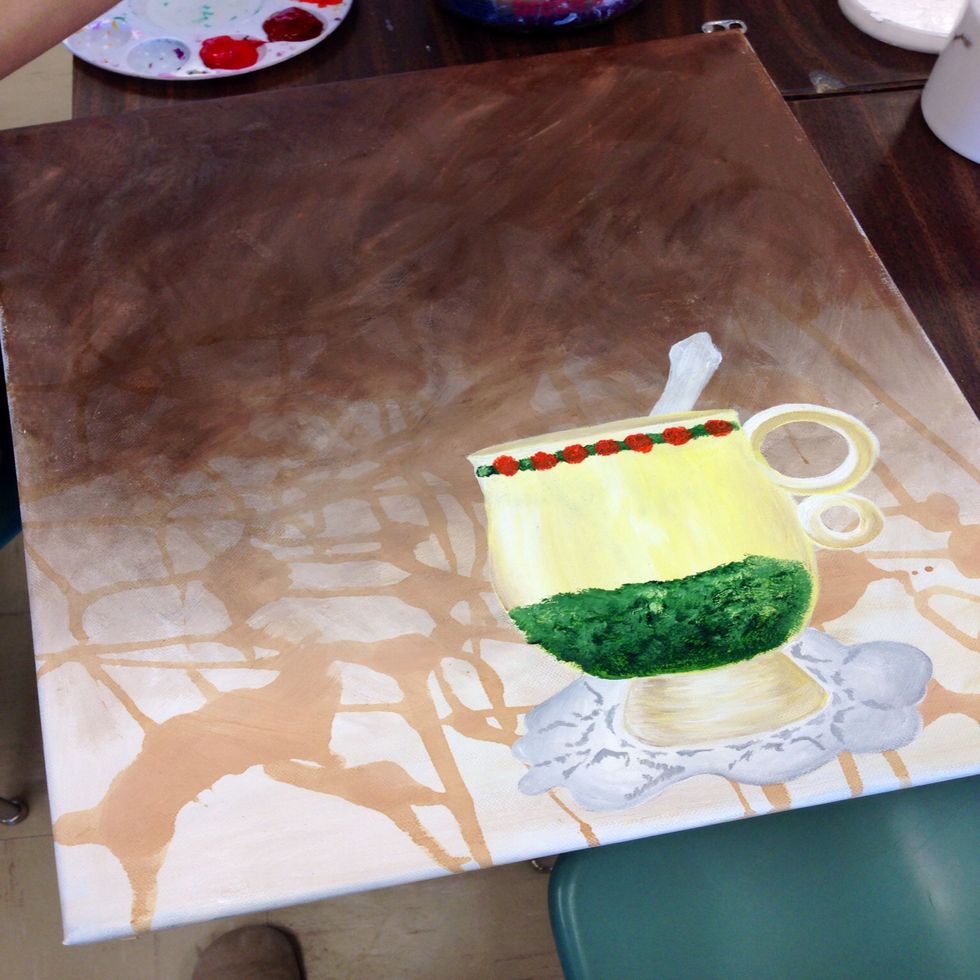
Paint flowers over the green paint and allow them to dry. Also paint the spoon grey. Stipple dark grey on the doily in a pattern in order for it to look like lace. Paint the spoon and allow to dry.
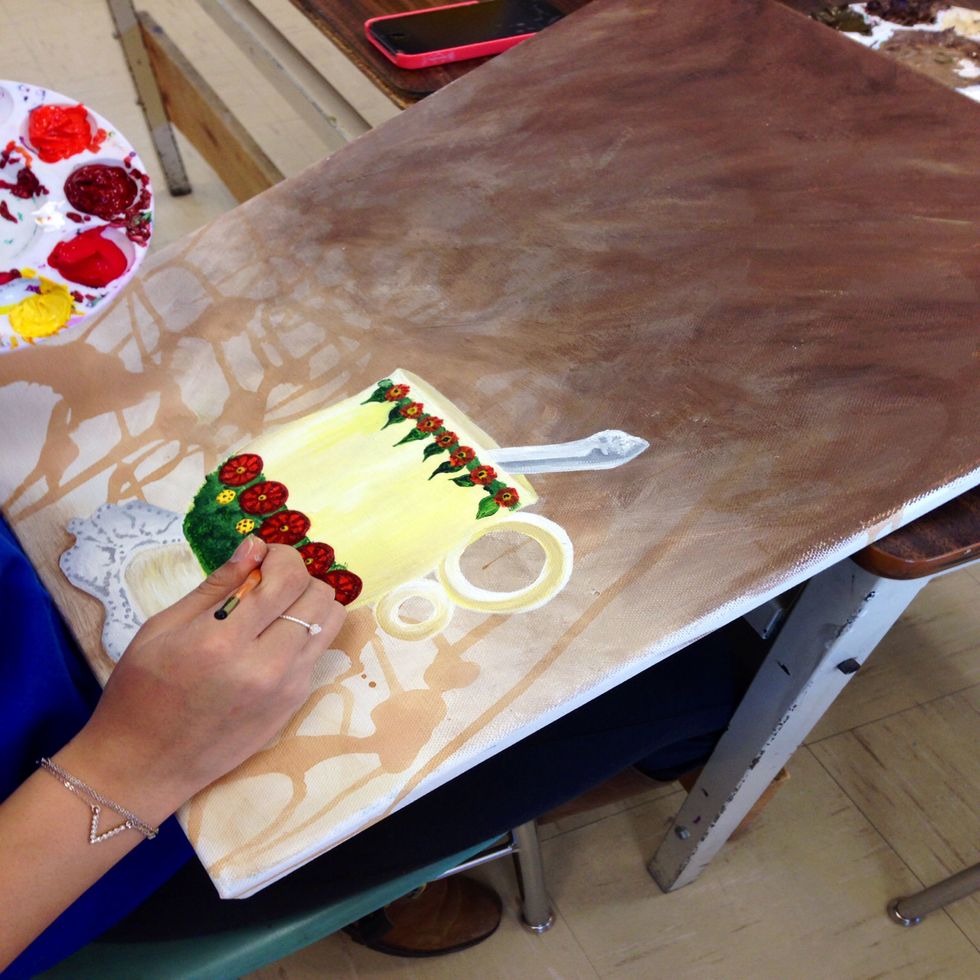
Continue painting flowers and allow to dry. Add dark grey to the outer portion of the spoon to create a shadow.
Finish painting the flowers and add details so you are satisfied with the teacup. Also add a shadow underneath the tea cup in order for the teacup to appear three dimensional.
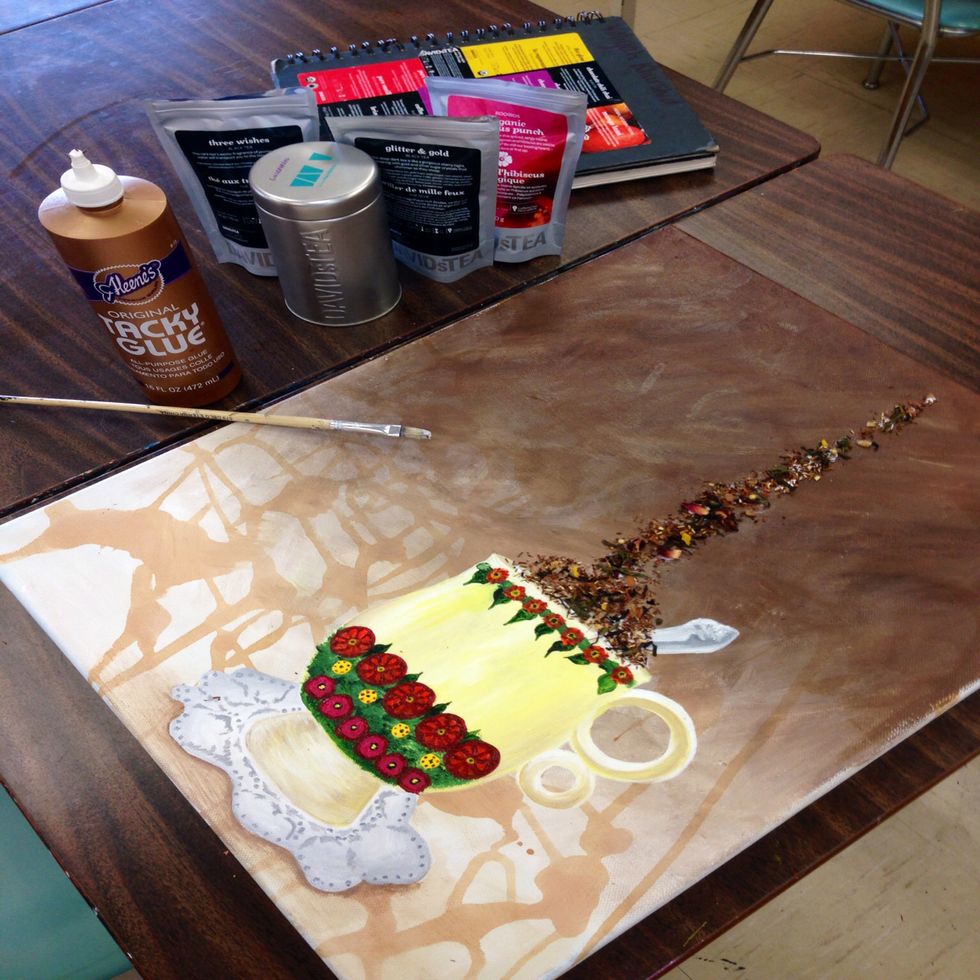
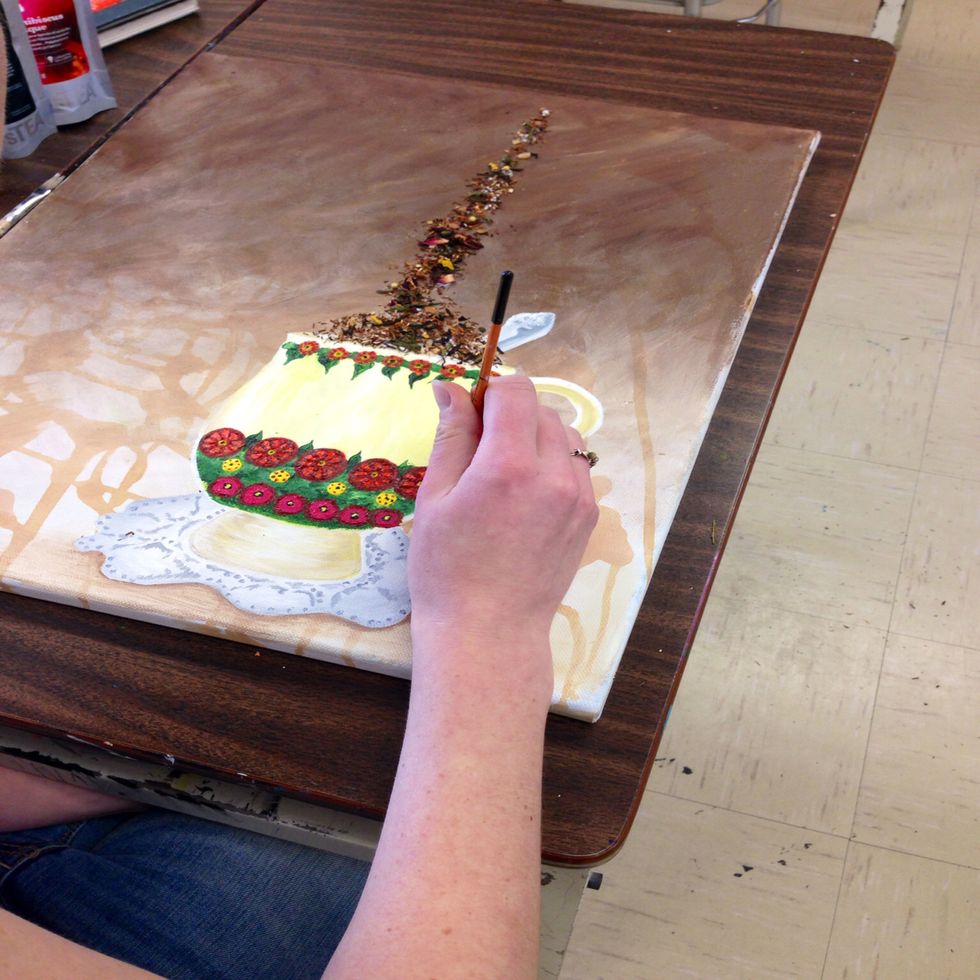
Brush a thin layer of white glue where steam would appear. Stick the tea leaves over the glue. We used Davids Tea's 'Gingerbread', 'Hibiscus Punch', 'Glitter & Gold' and 'Three Wishes'. Allow to dry.
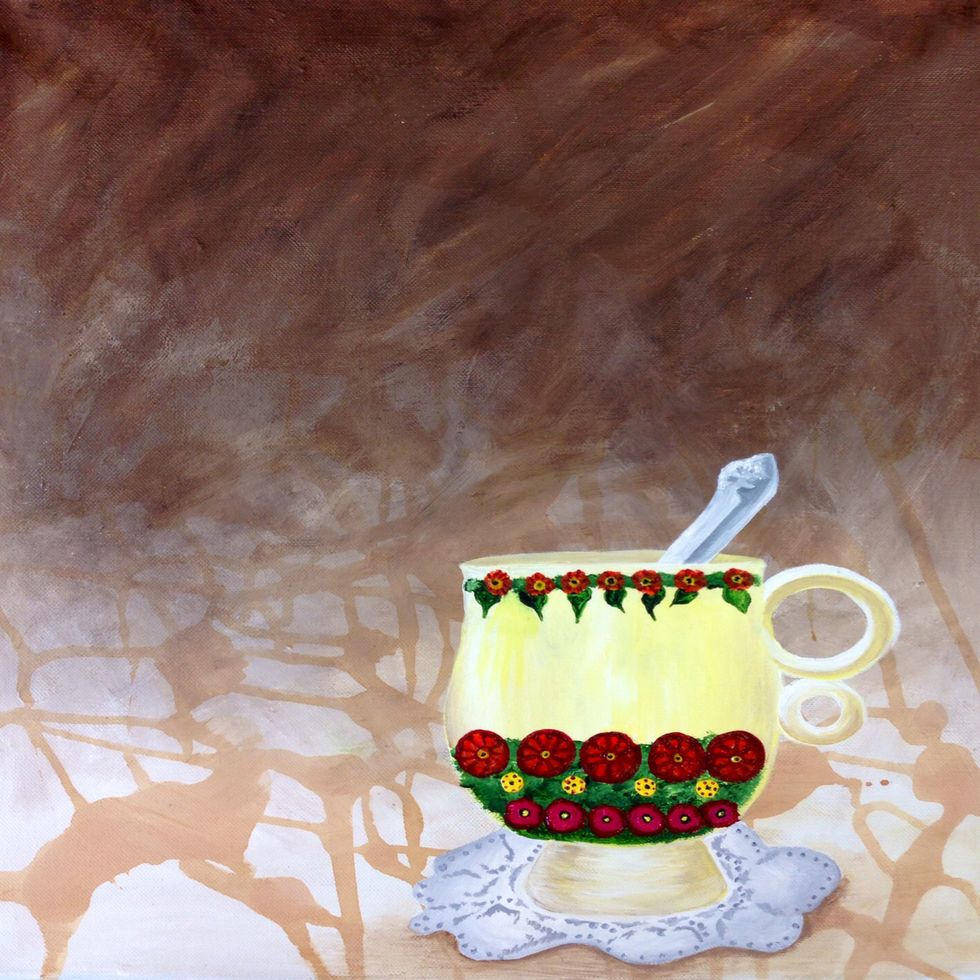
Add highlights with white paint in order to add light to the teacup.
Sign the painting and add any finishing touches.
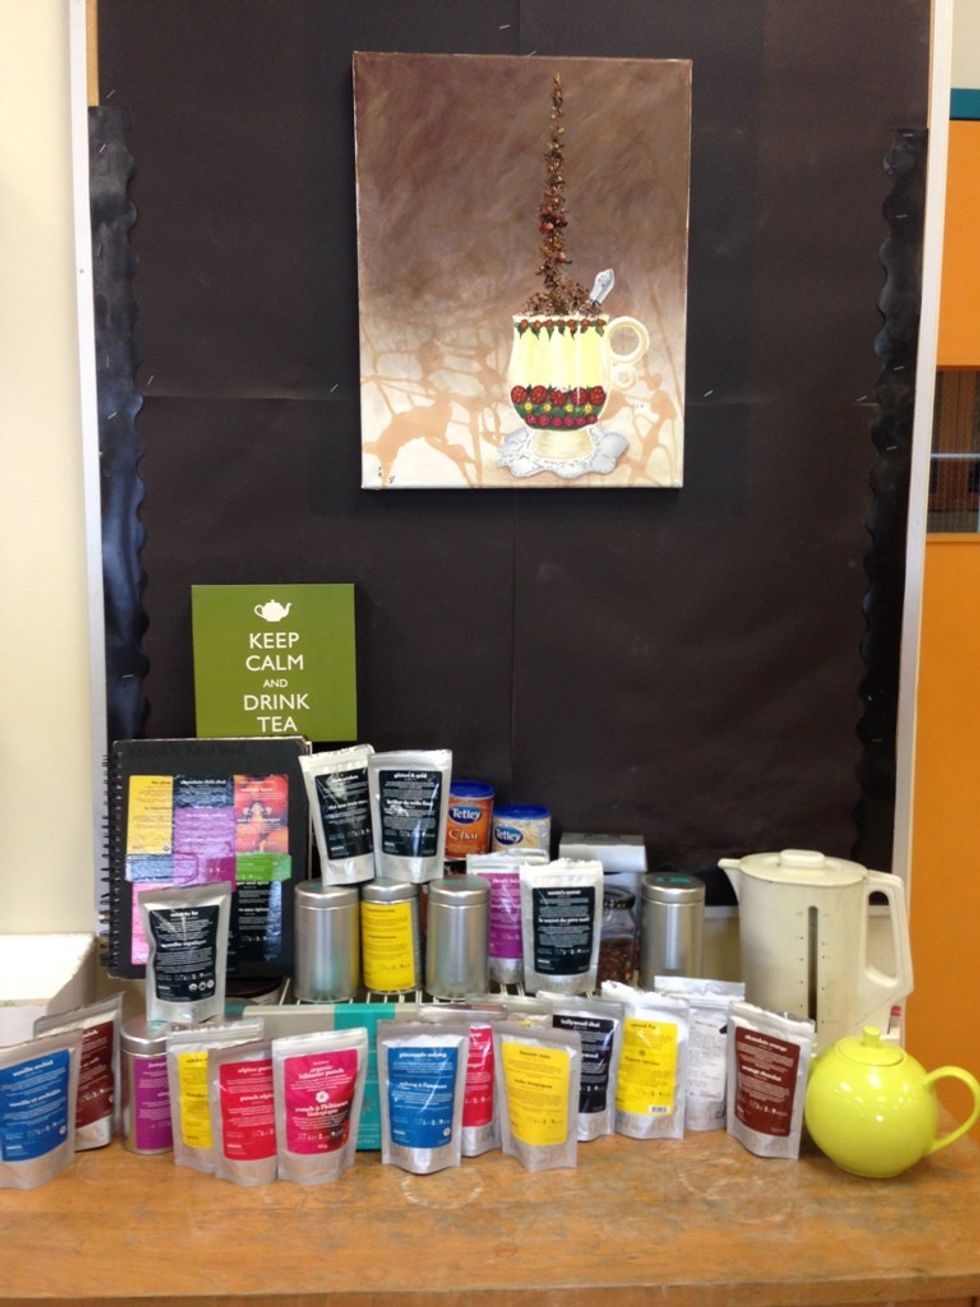
Hang your artwork up and enjoy your homemade personalized tea inspired piece of art! We hung ours up in the art classroom over our tea corner :) - By Natalie Stevens and Valiyah Khurshid