The Conversation (0)
Sign Up
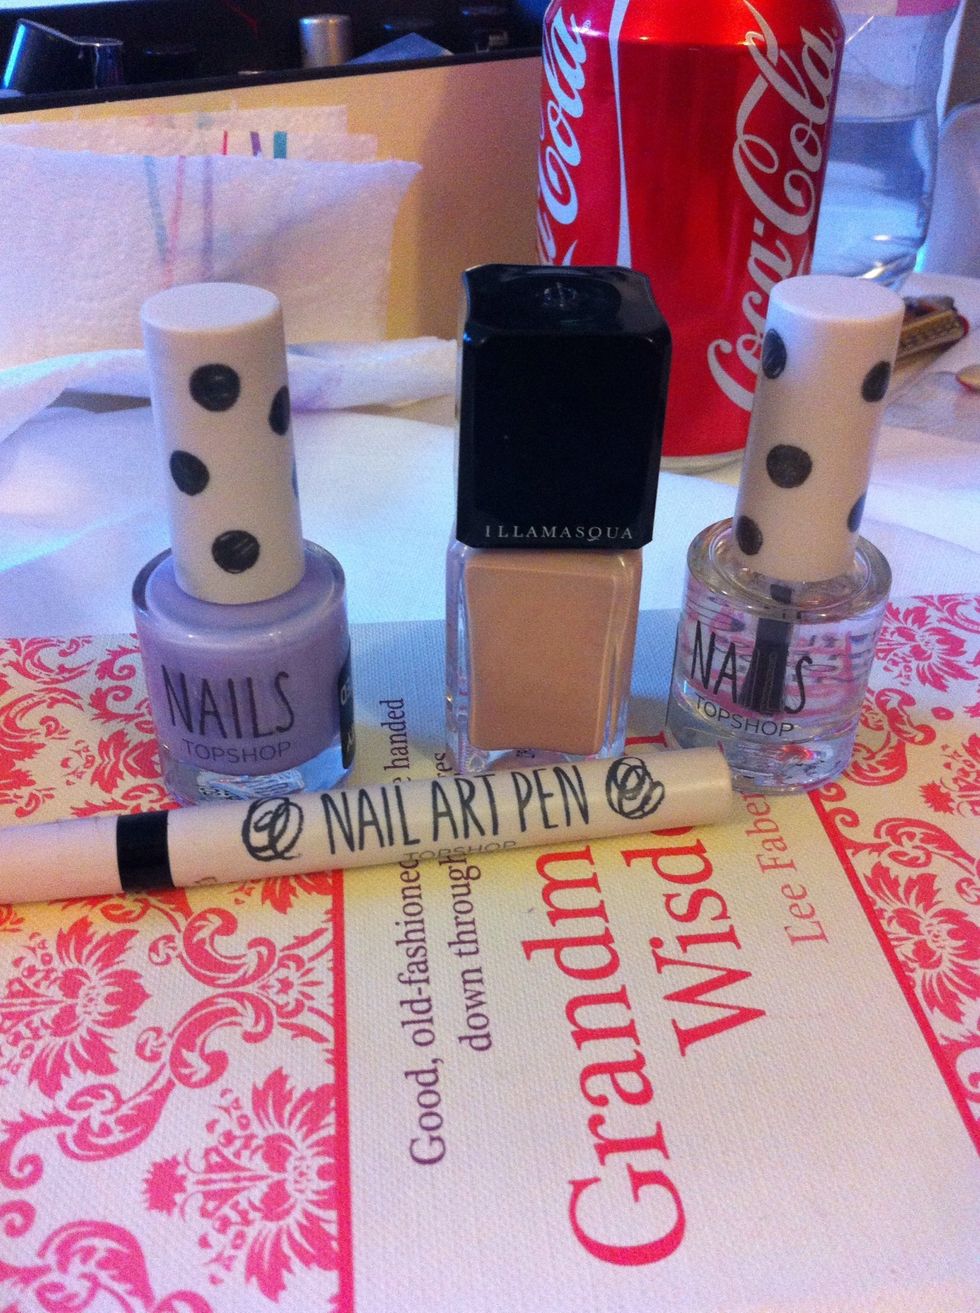
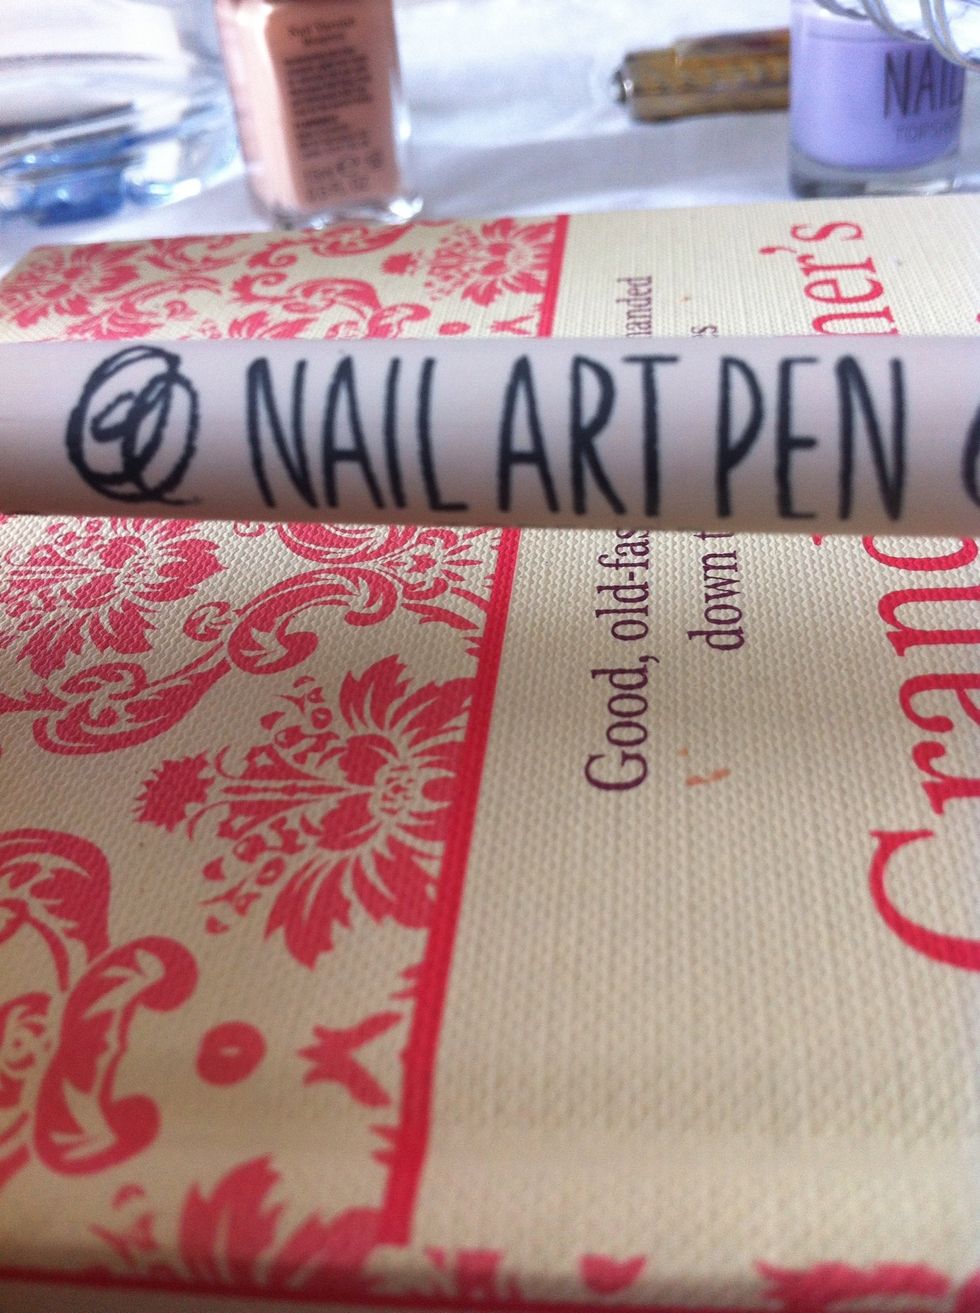
I am using topshop an illamasqua nail varnish. Nail art pens are easy to get.
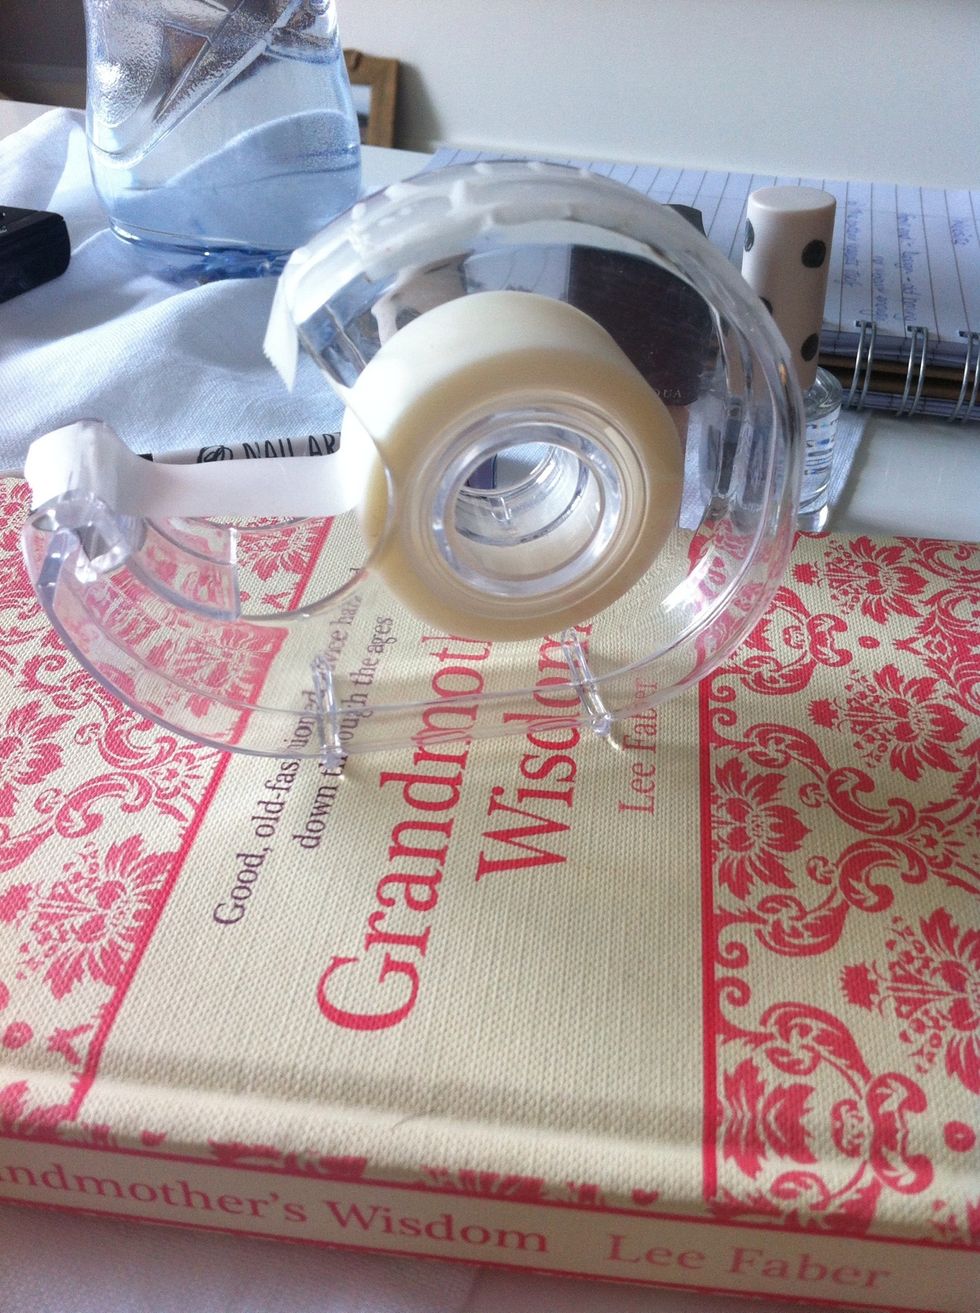
Also get some cello tape ready.
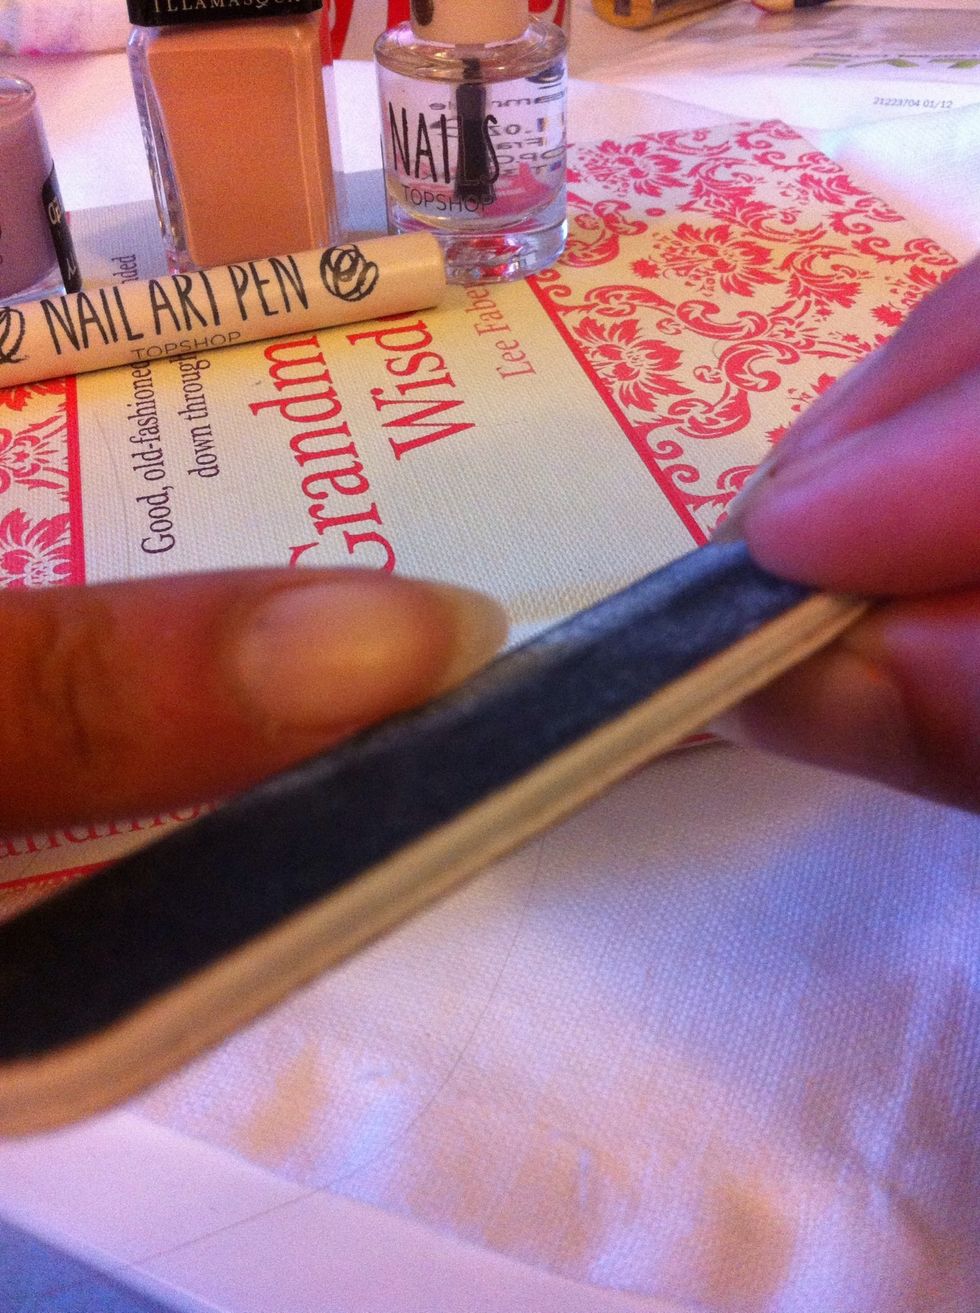
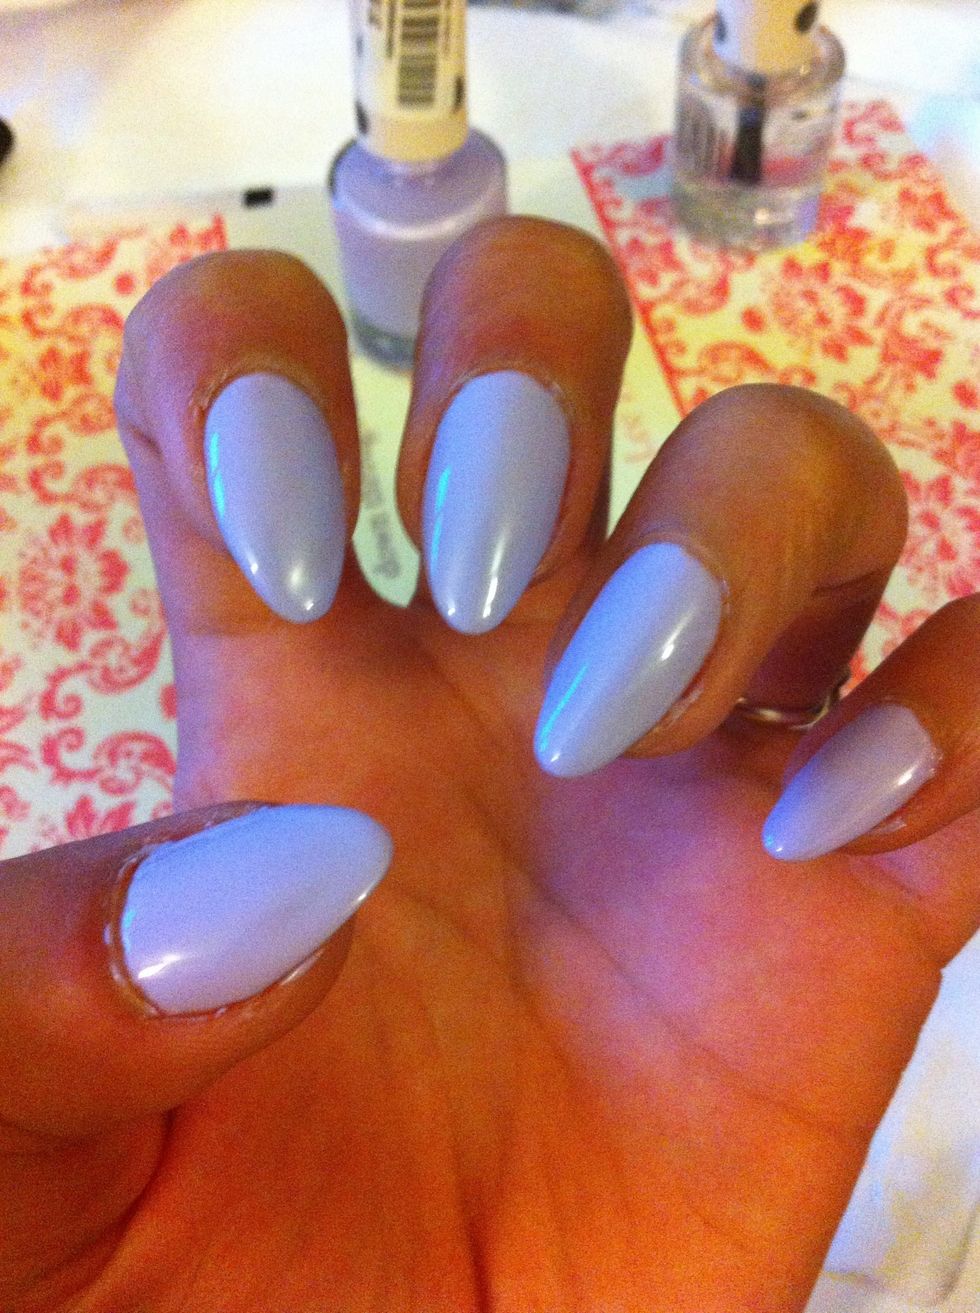
File each nail into a point. This can take a while but the results are worth it.

Final result of filing. Pointed, rounded and clean!
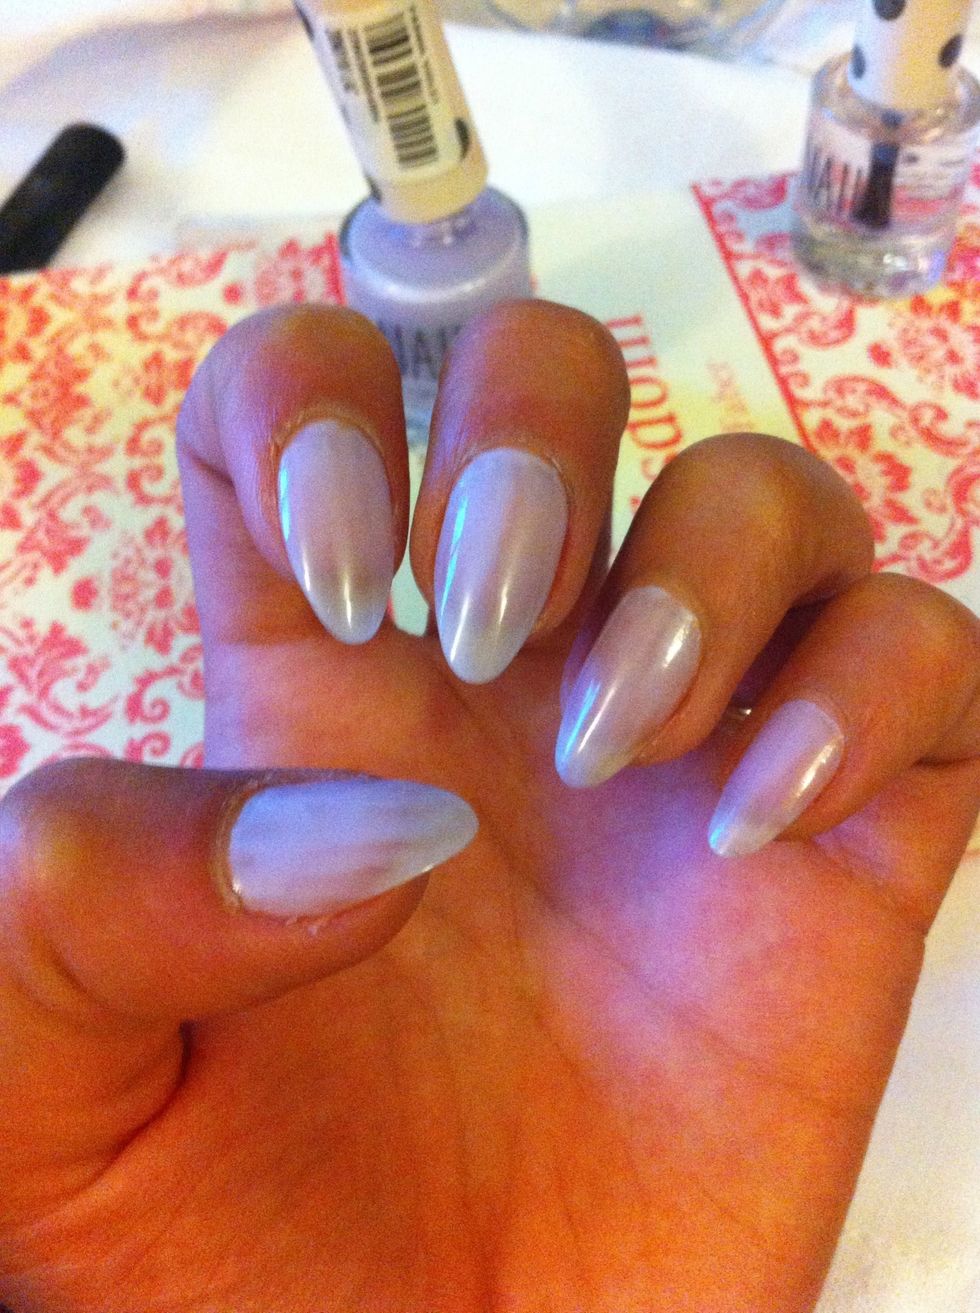
First coat of the lilac varnish. Make sure the application is thin and even.
Second coat of lilac. Done be scared to really slap it on.
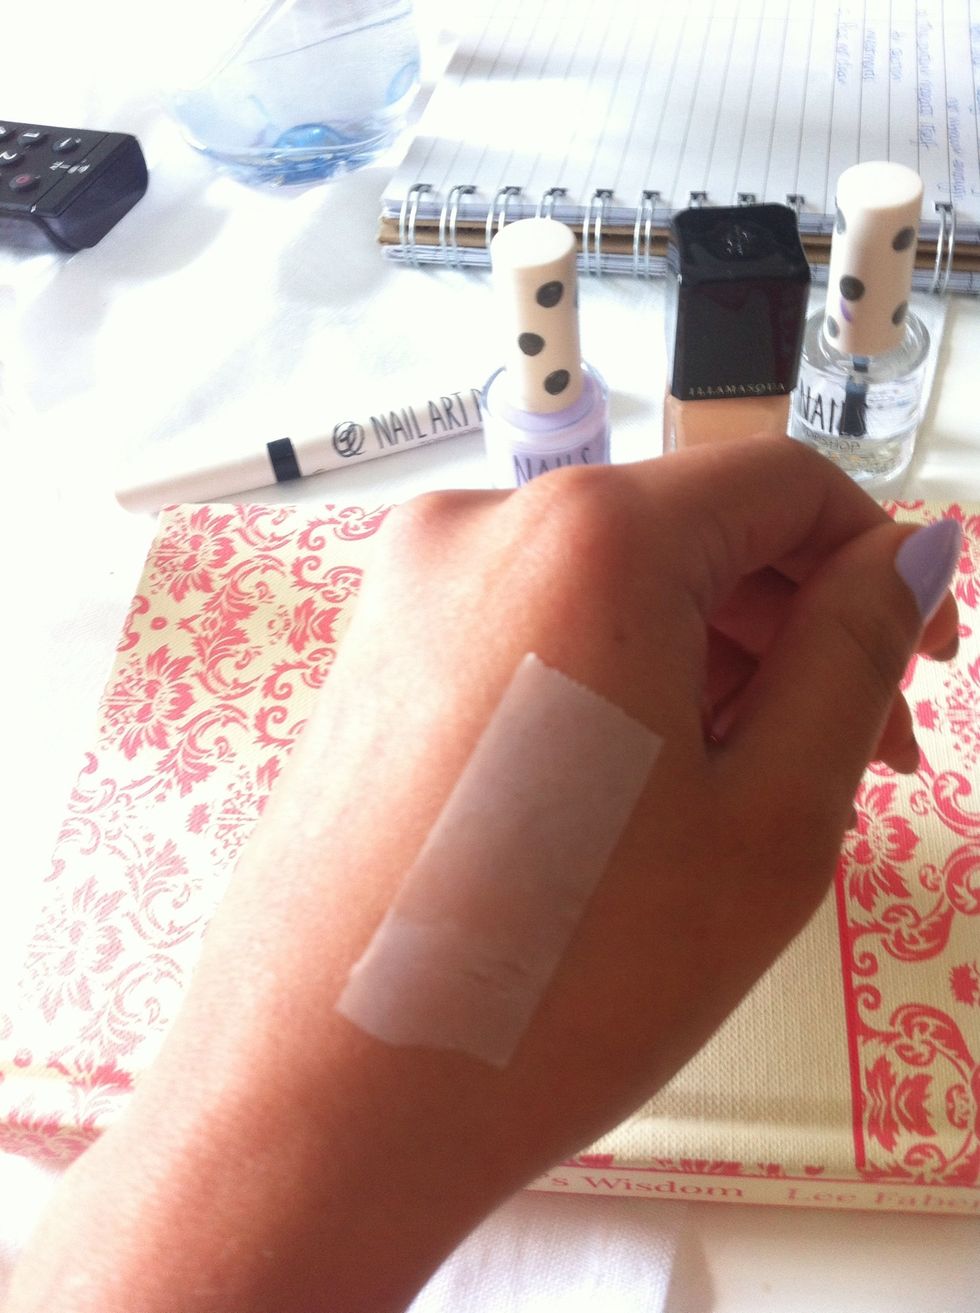
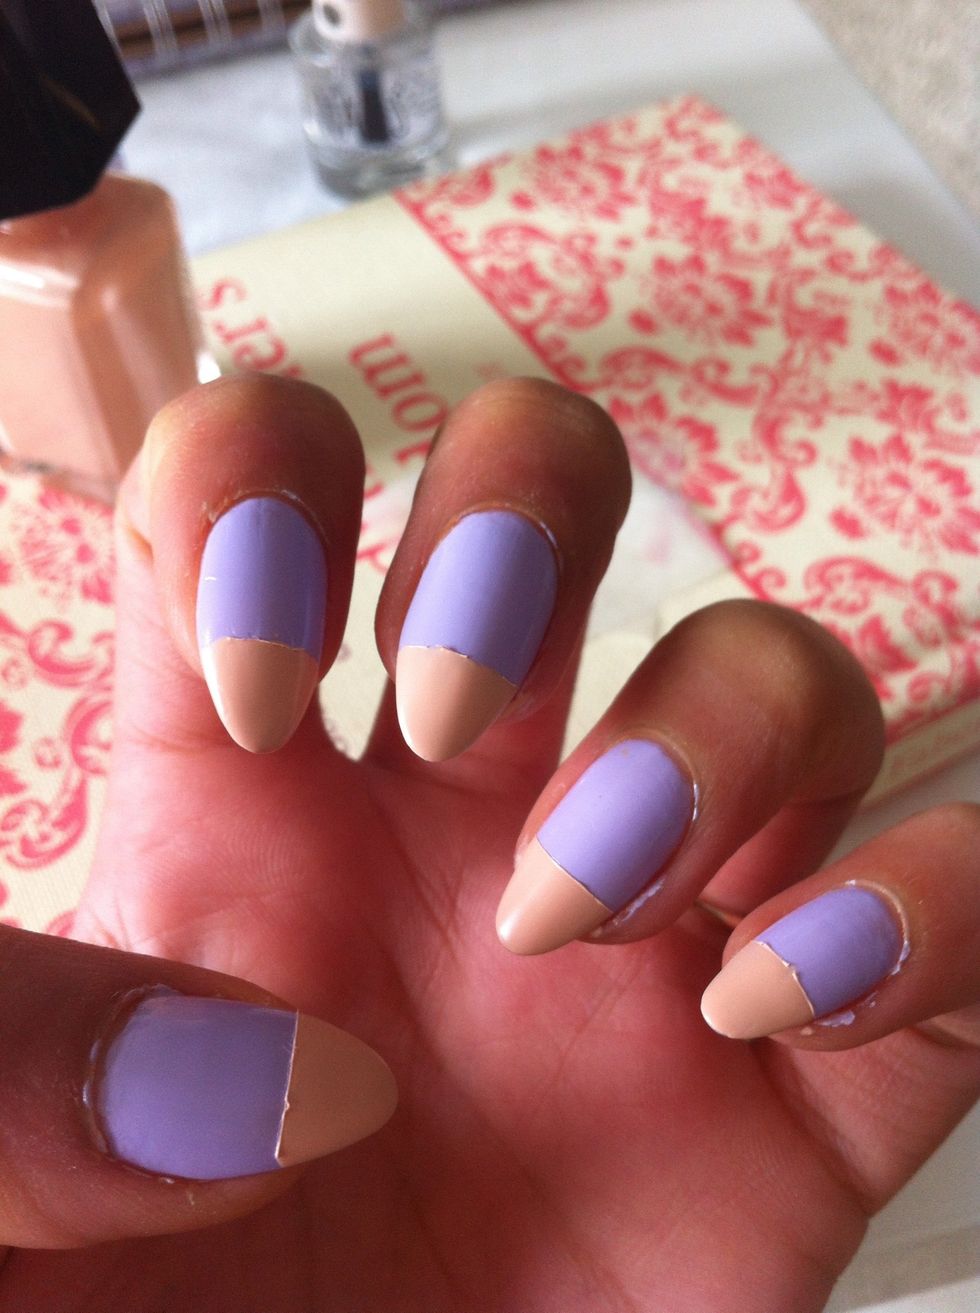
Take a piece of cells tape and stick it to your hand a few times so it looses a bit of the stick. This way it won't damage the polish underneath.

Stick it on your nail leaving a third of the nail uncovered. Make sure the line is straight.
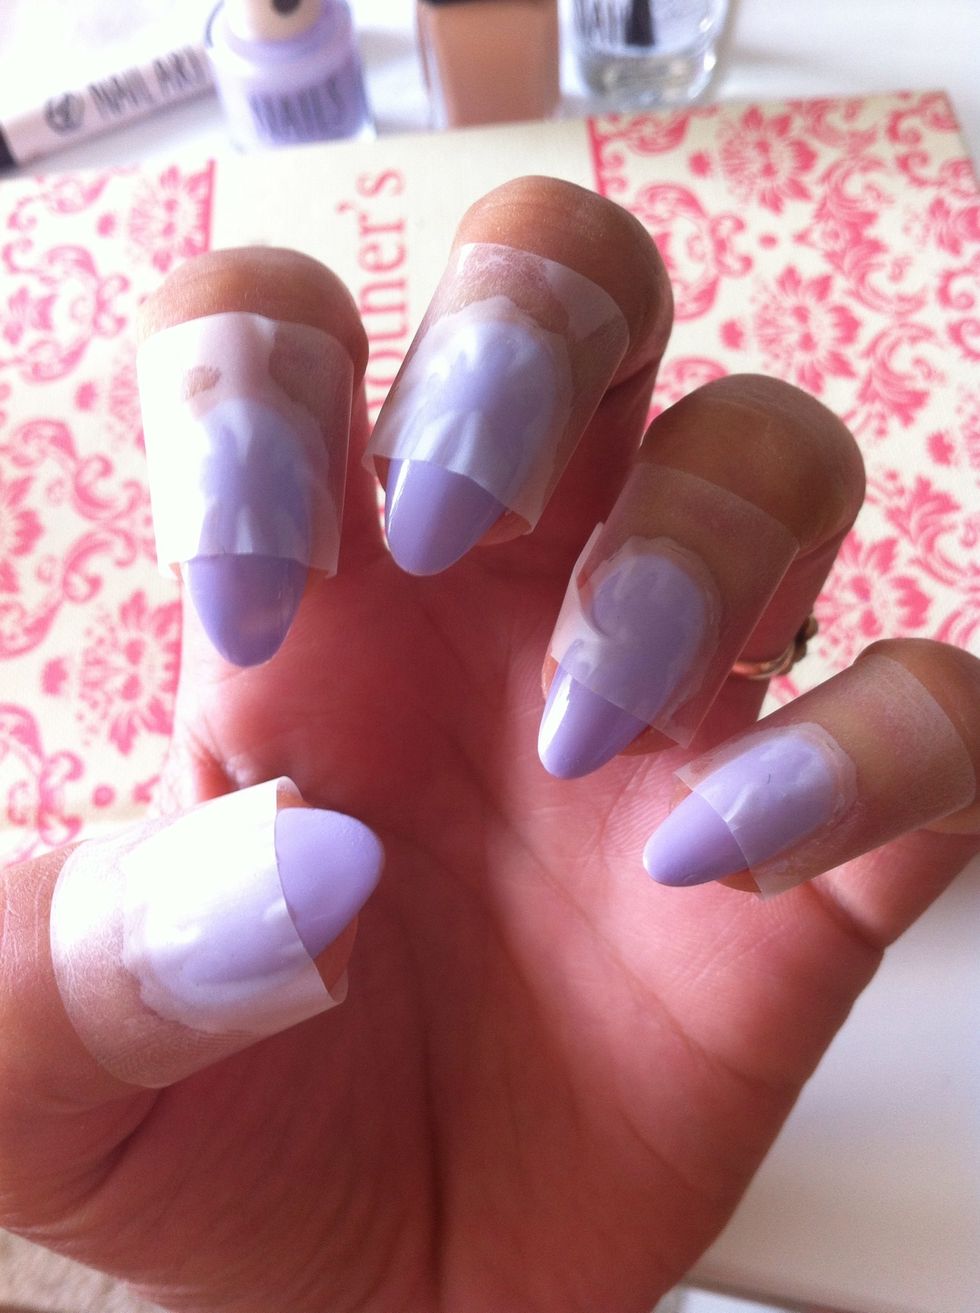
All nails done and your ready to paint.
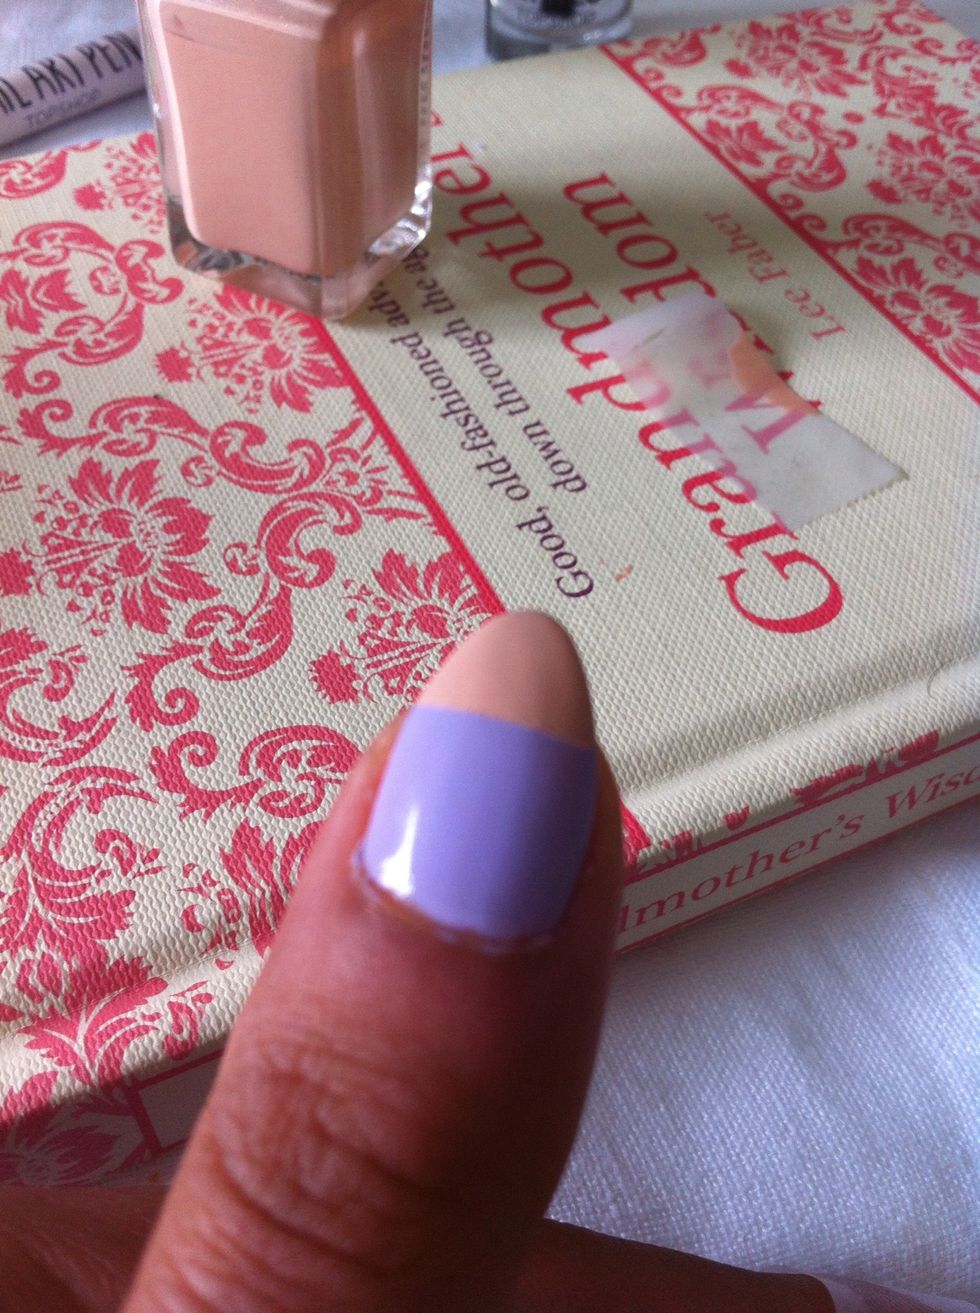
One nail done!

Repeat repeat!
Beaut
Now for the tricky part.
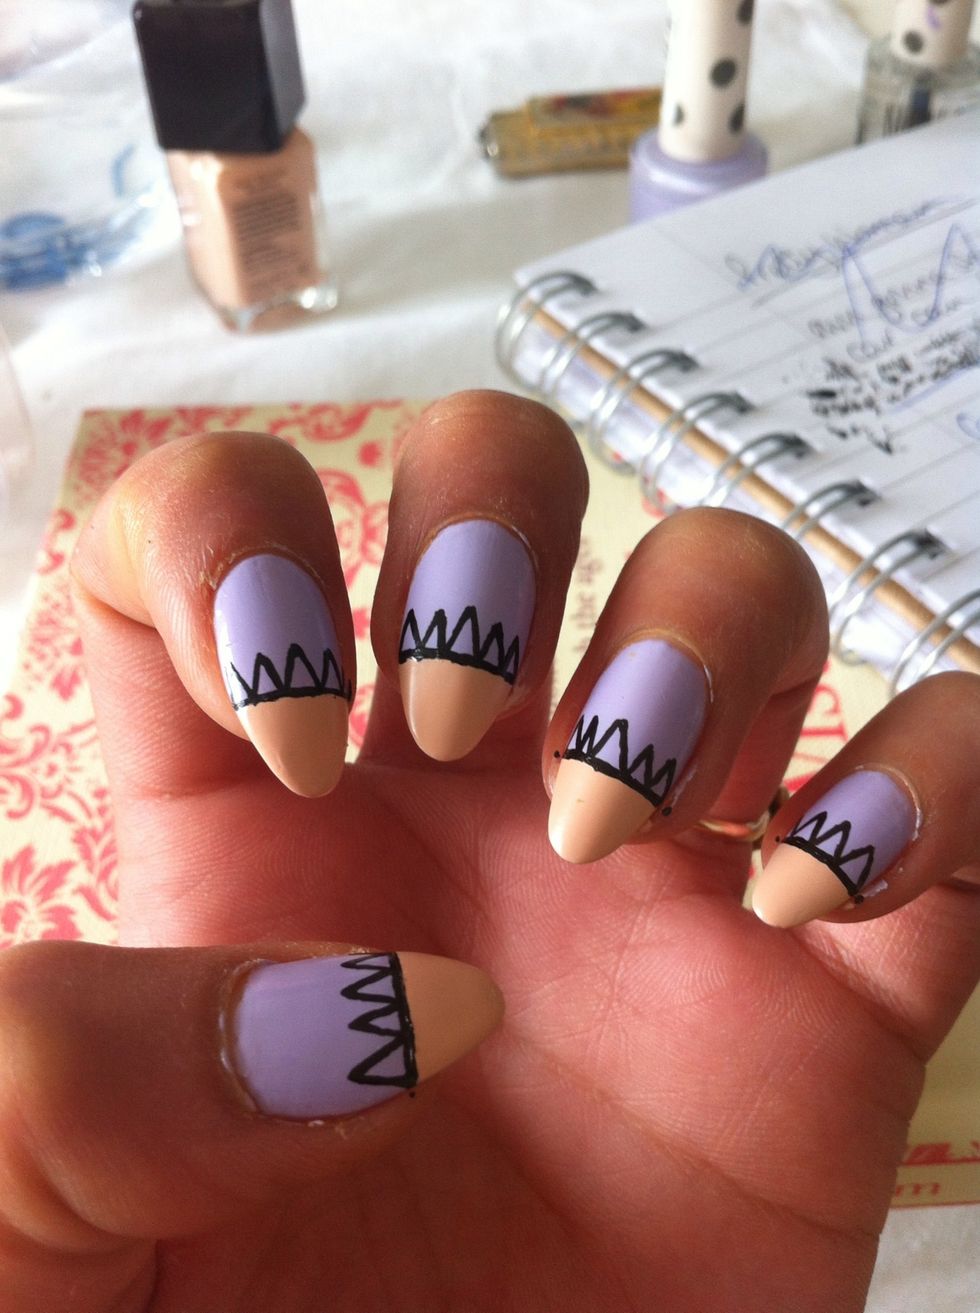
Add triangles or whatever shapes/patterns!

I've added dots to the other side!
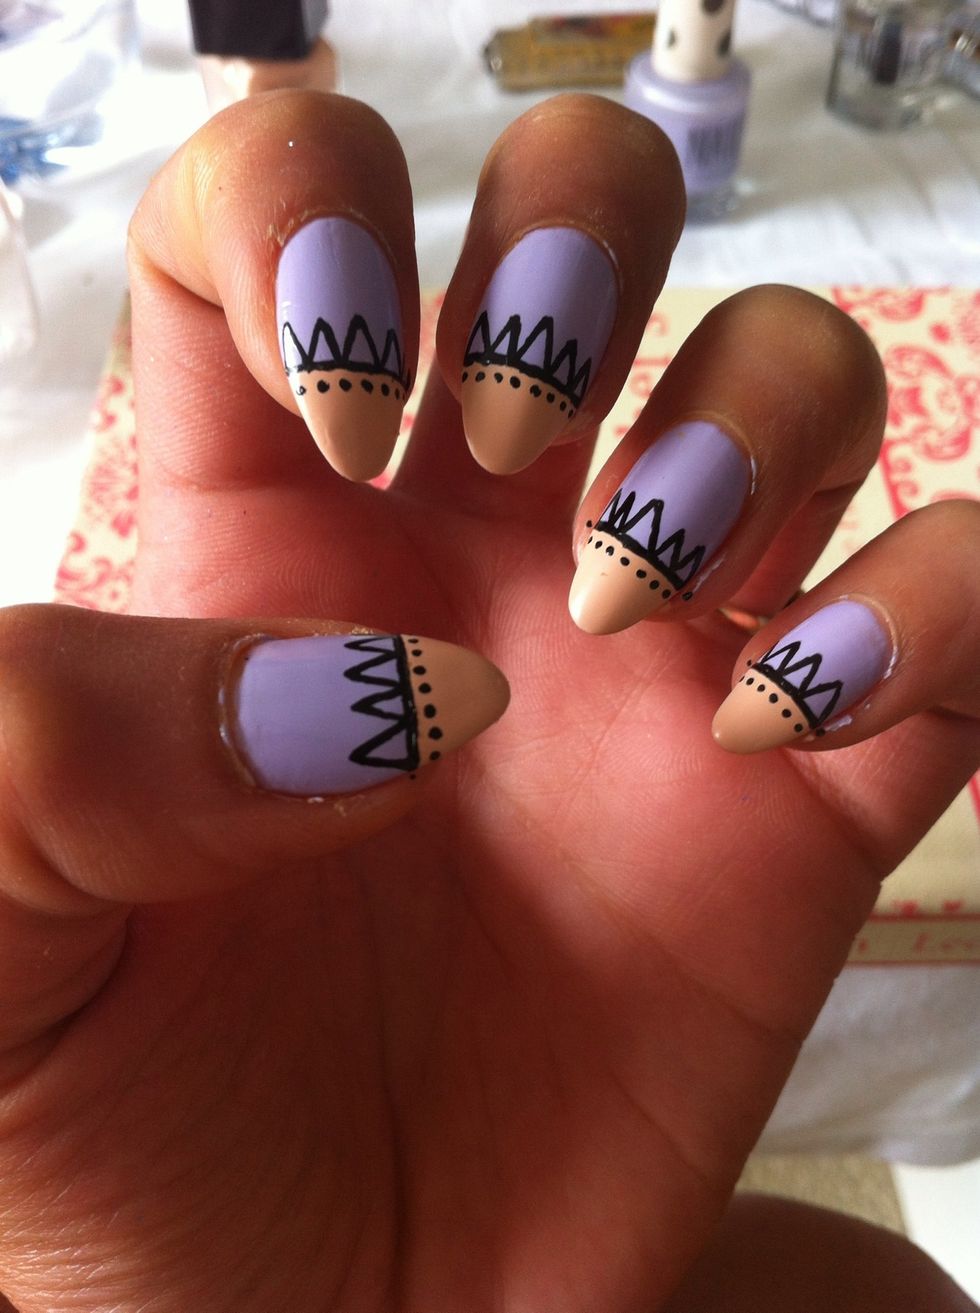
Almost done
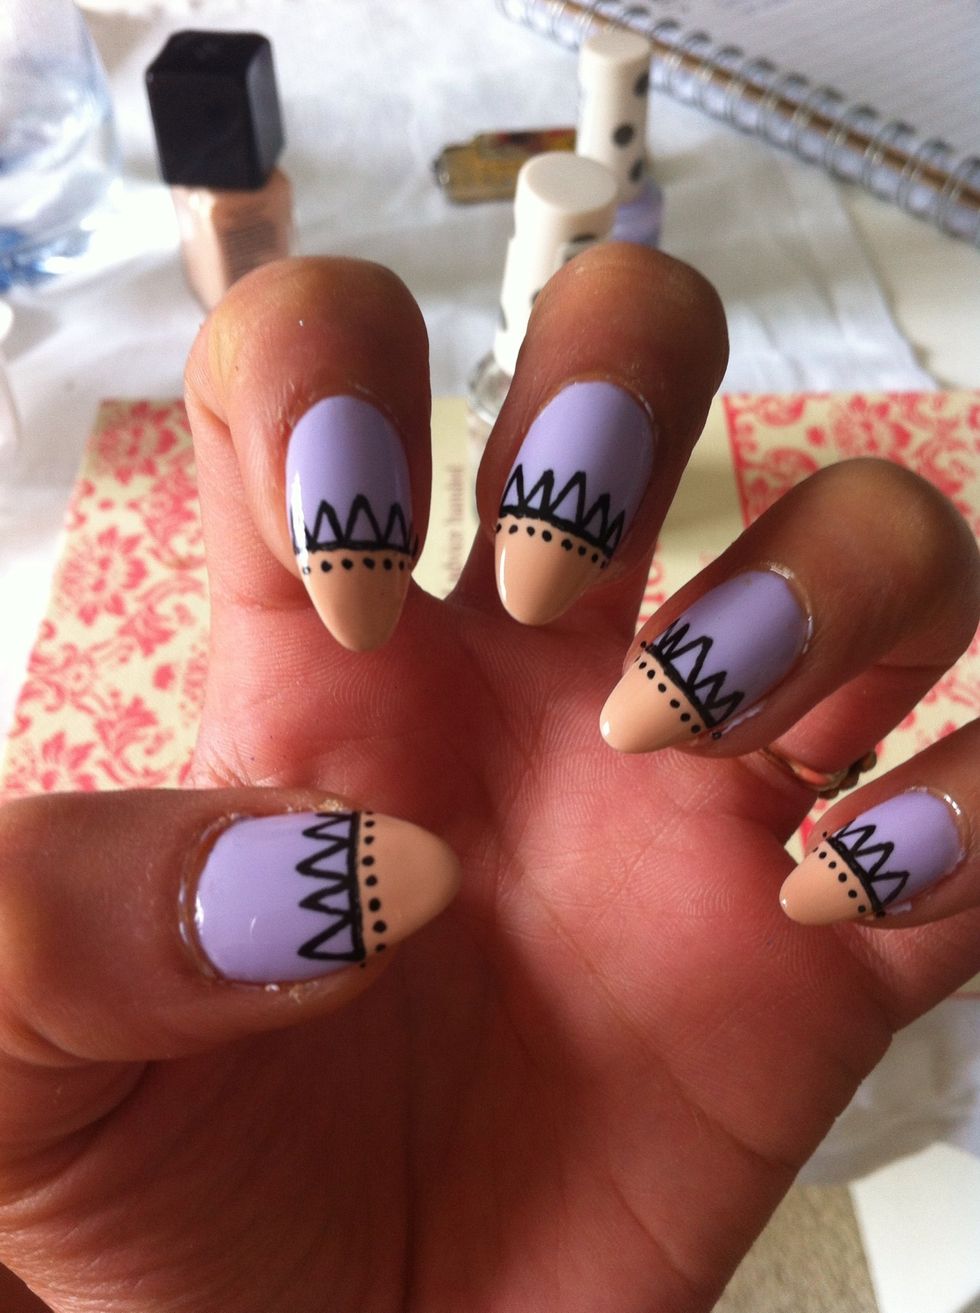
All done! Use whatever colours or designs you want and enjoy.