STEPS
TOOLS
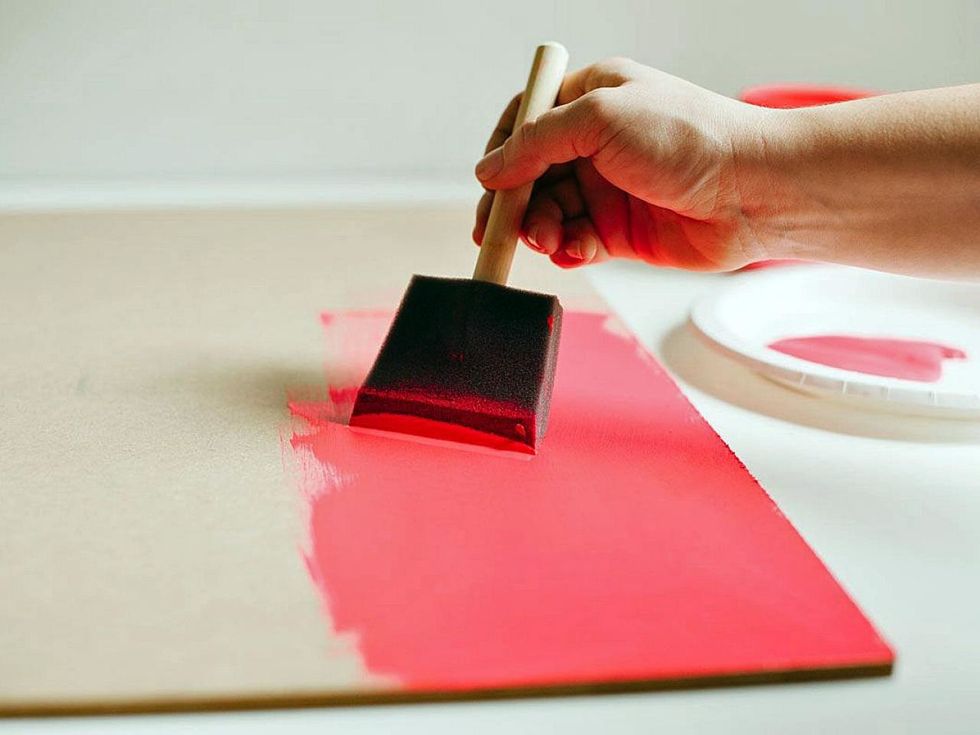
Paint your wood board. Paints, painters cups and paint brushes are located on the embellishment shelf in squeeze bottles. Create your own shade my mixing colors. Scroll for wood-stain instructions.
You can create a wood-stained paint by mixing equal parts of paint and water (bring a painters cup to the hand washing sink for water.) Apply mixture to board and wipe dry with a paper towel.
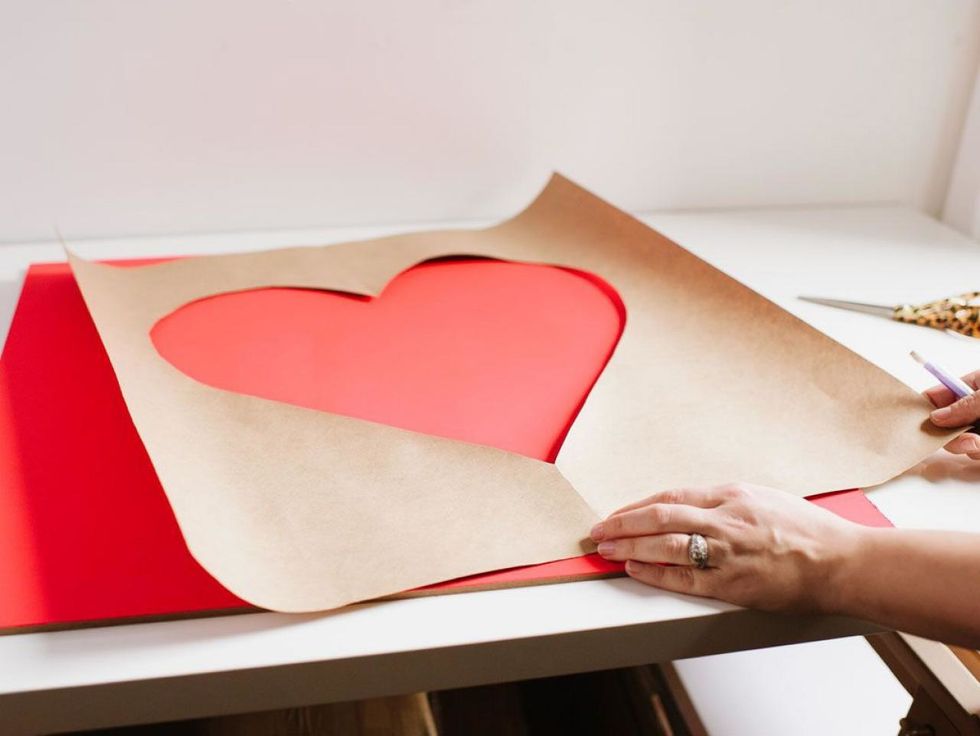
After choosing your stencil, position it on top of your board and use a pencil to lightly trace the design.
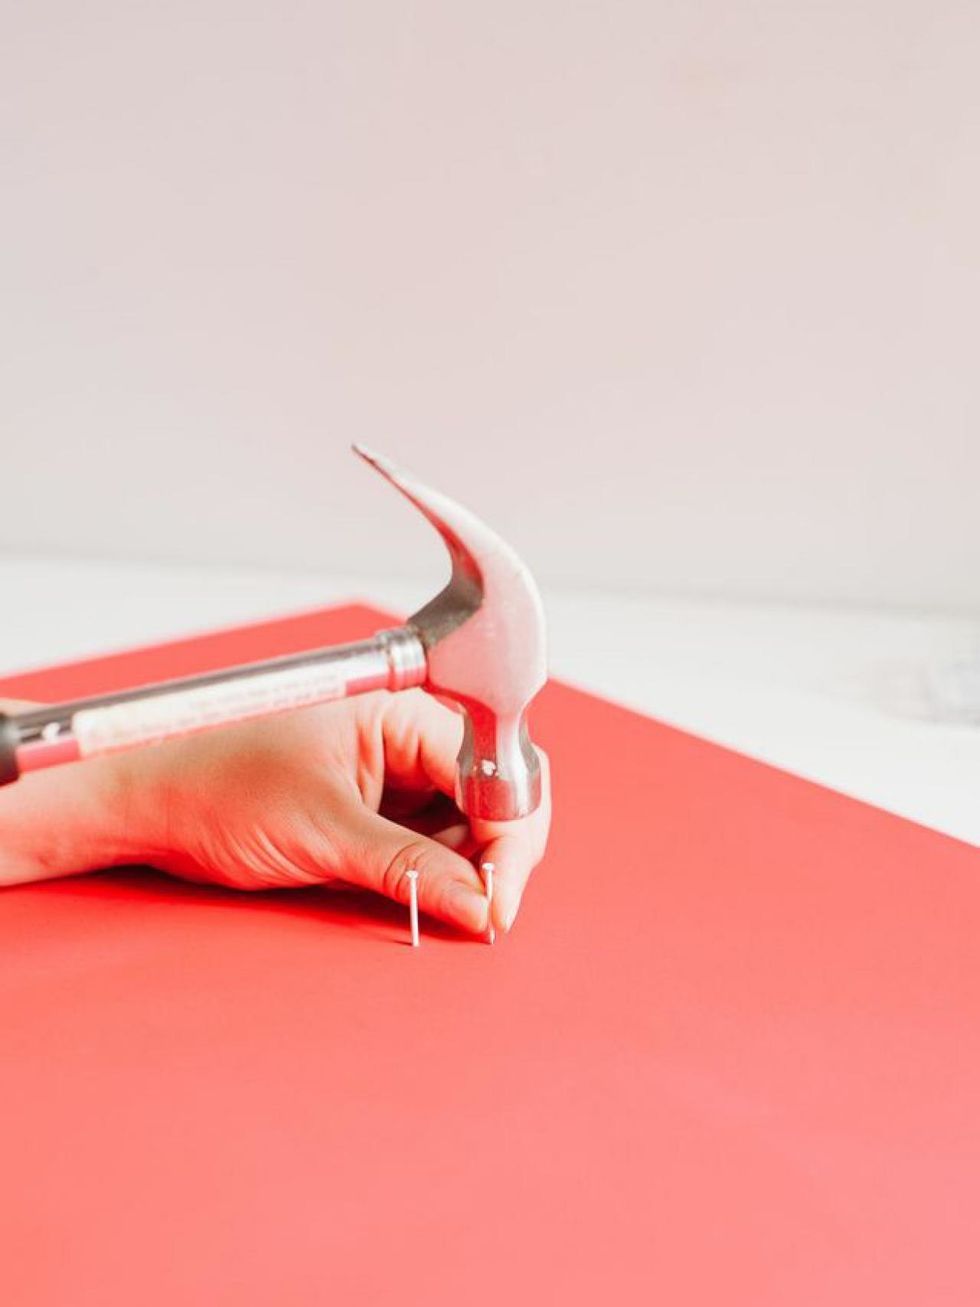
Time to get the hammer out! Nail around the entire outline of the image - we spaced our nails about 1" apart or two fingers distance (for simple measuring) *please watch your fingers!
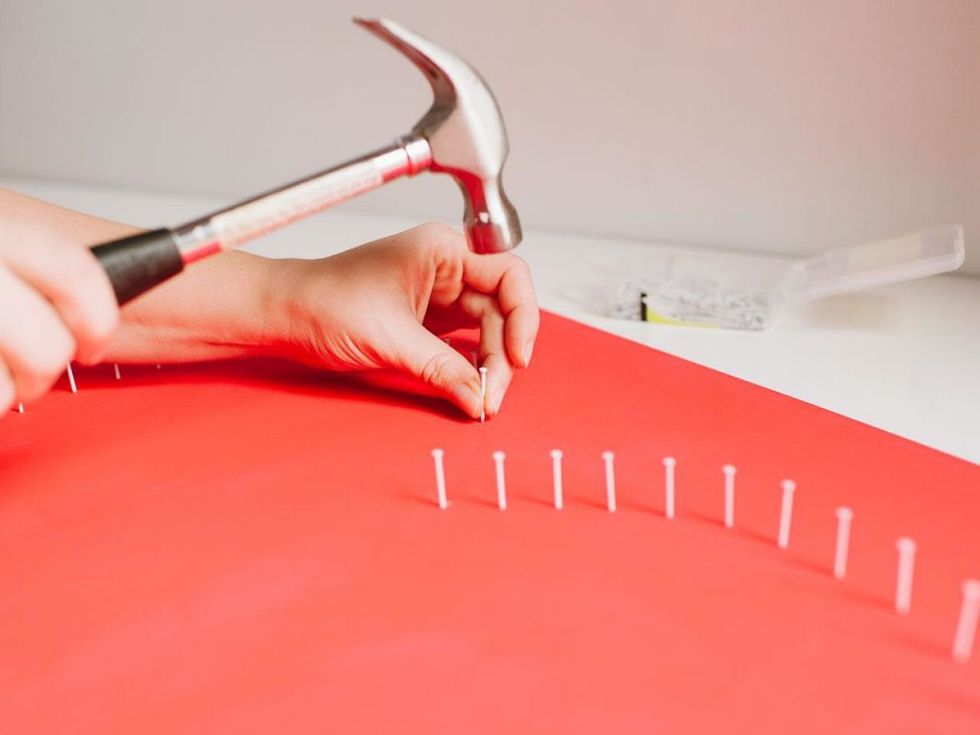
Hammer the nails just enough into the board to where they will not wiggle. Give it the wiggle test to make sure they are secure
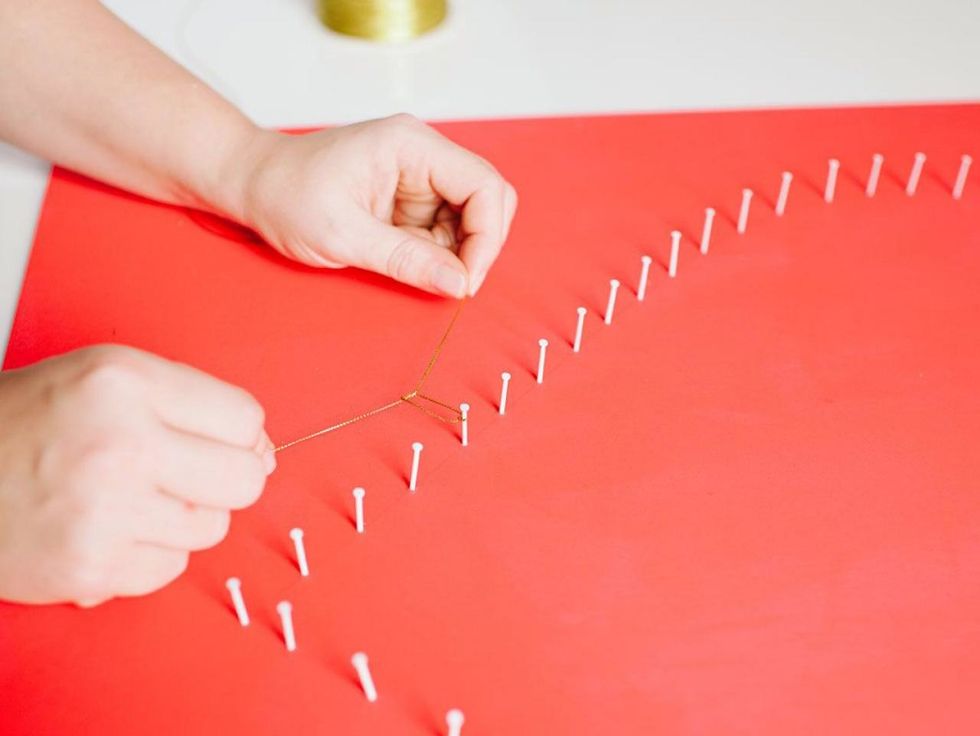
Once all of your nails are in, select your string color(s). Start with your first color and tie a slip-knot around the head of any nail.
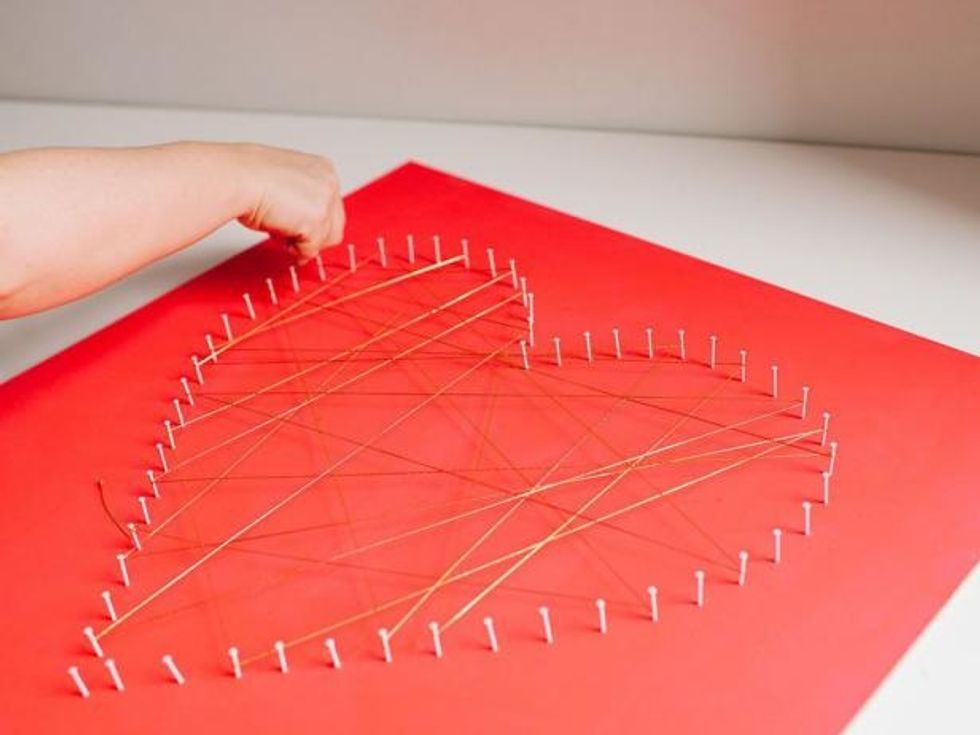
Keep stringing the string around nails and occasionally circle a nail 360 degrees to keep string from unraveling. Keep going until you like the pattern you created.
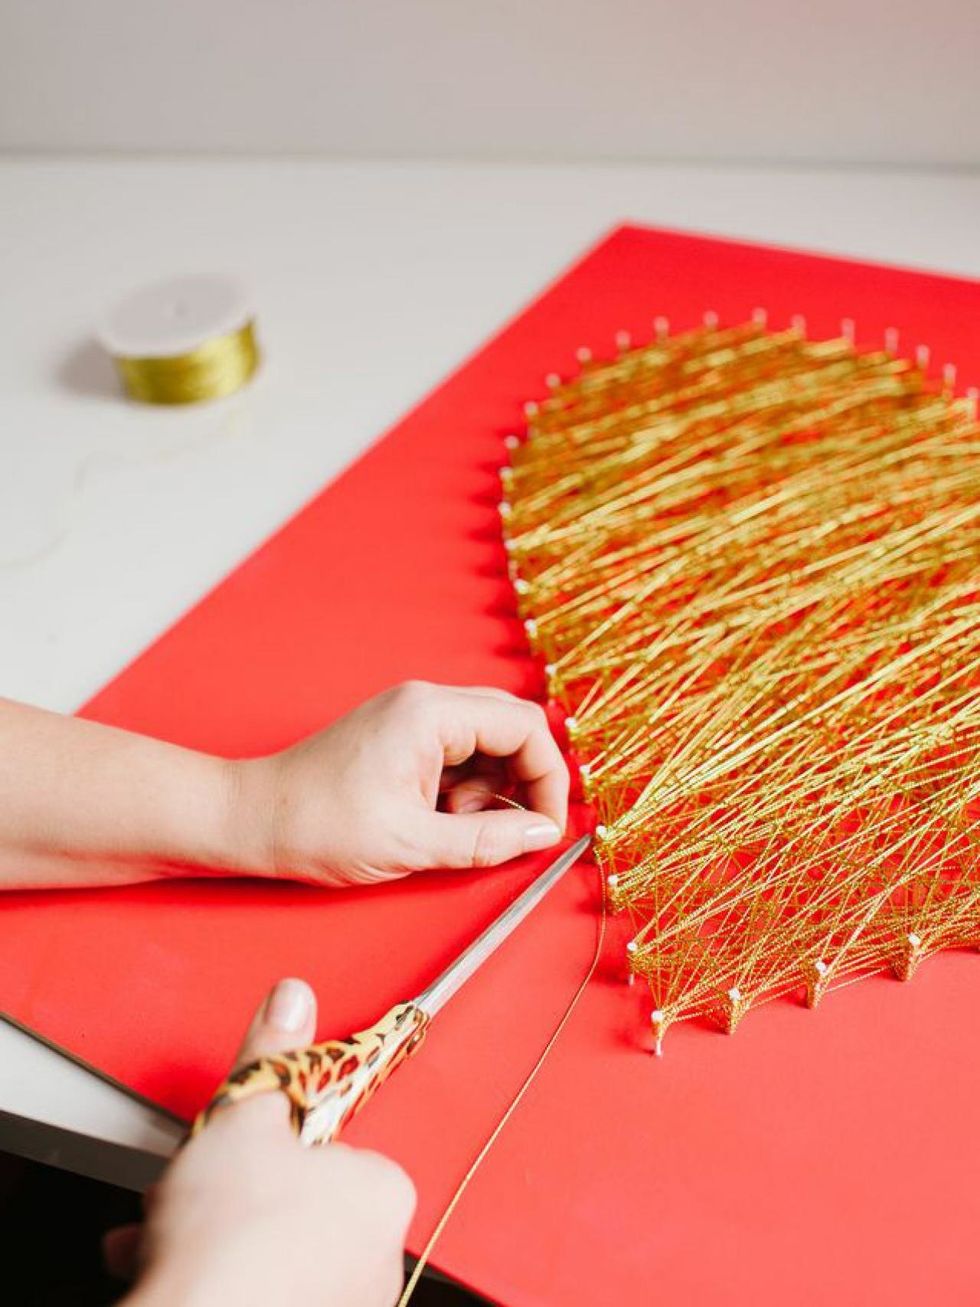
Continue to layer the string by wrapping it back and fourth around different nails. Once you have achieved your desired look, finish with a double slip-knot around any nail and trim the end.
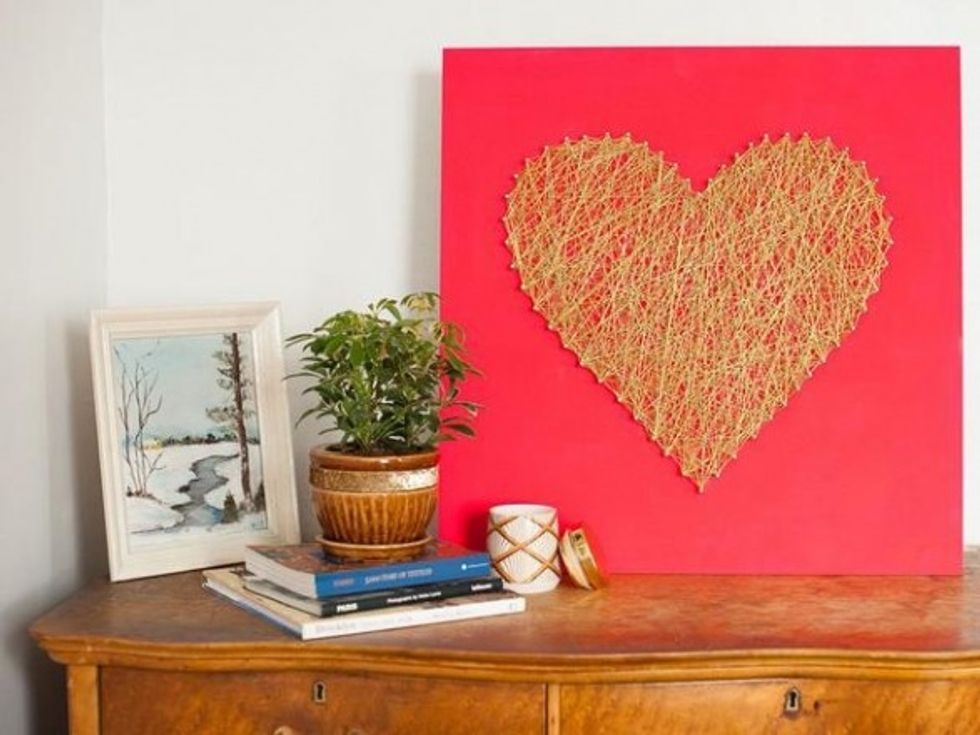
Thats it!! Beautiful 3-D art, easy and fun!
Tutorial and Photo Credit by: Michelle Edgemont hdtv.com
- 1.0 Piece of Wood
- String
- 2.0 Box of Nails
- Stencil
- Ruler
- Hammer
- Pencil