The Conversation (0)
Sign Up
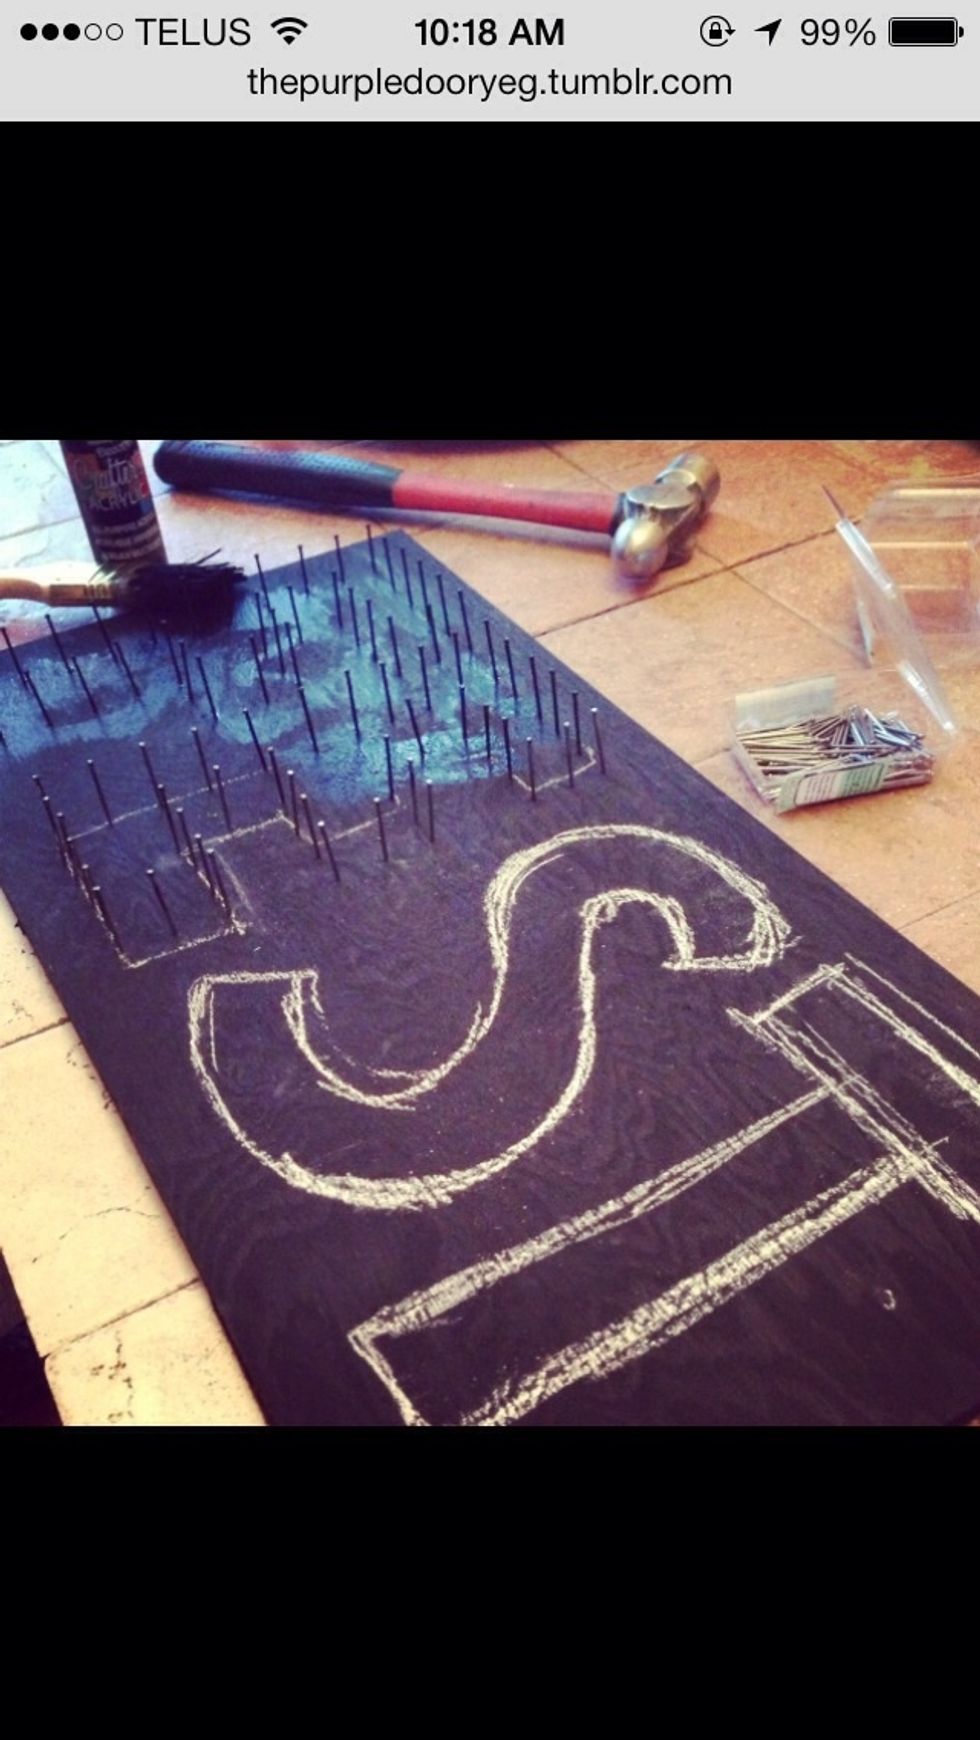
Either leave the wooden board in its natural state or paint it. After its dried, draw a design on the board using chalk. Hammer in nails along the outline of the design spacing them 1-2 inches apart.
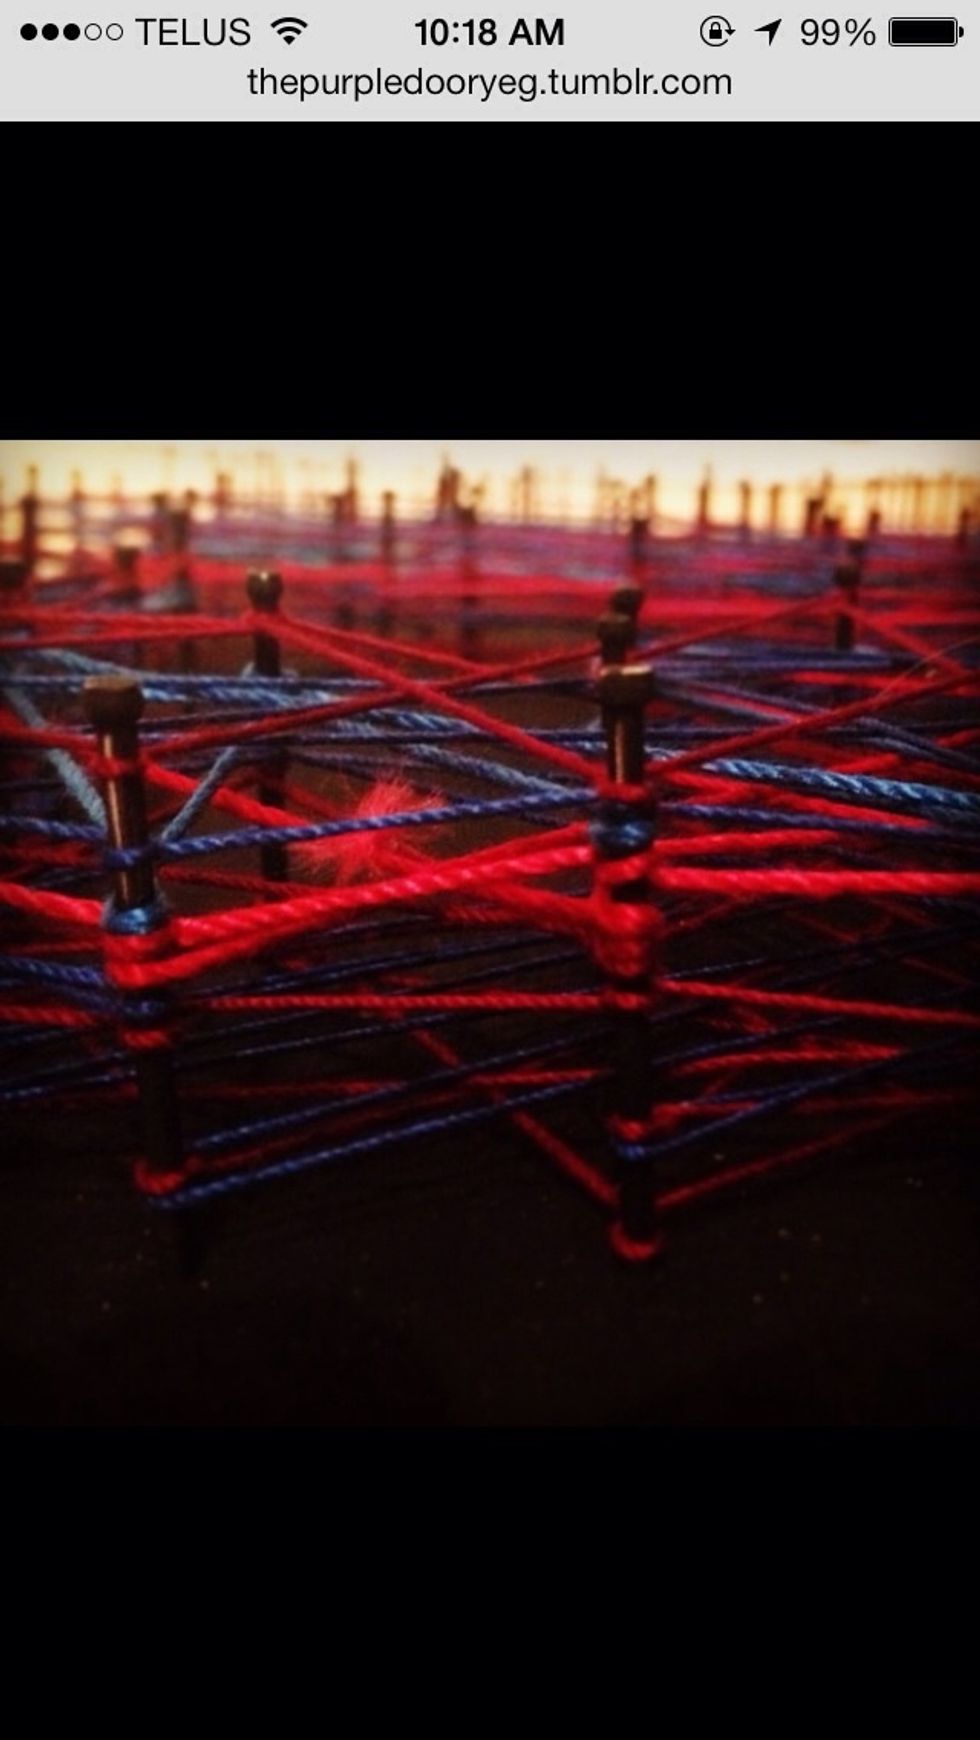
Wipe off the chalk outlines, then begin to wrap the string around the nails in a pattern. The more layers and different coloured string you use the more interesting your piece will turn out!
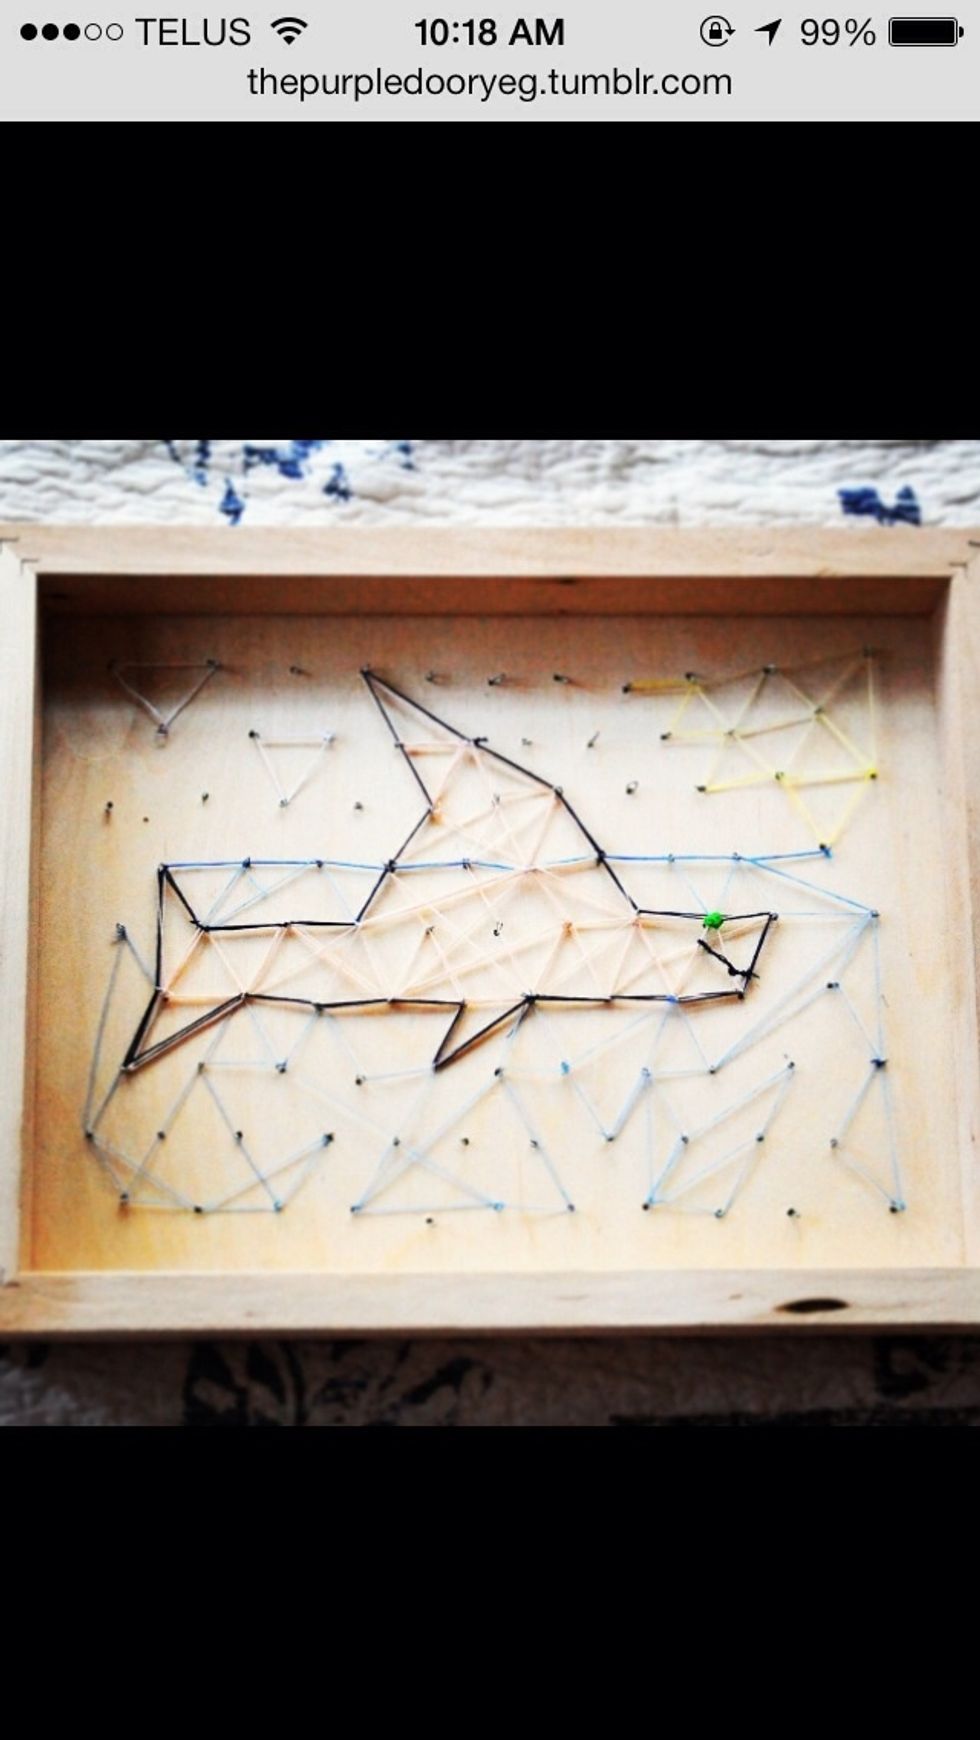
Keep the design simple for best results. Tons of fun for kids and adults!
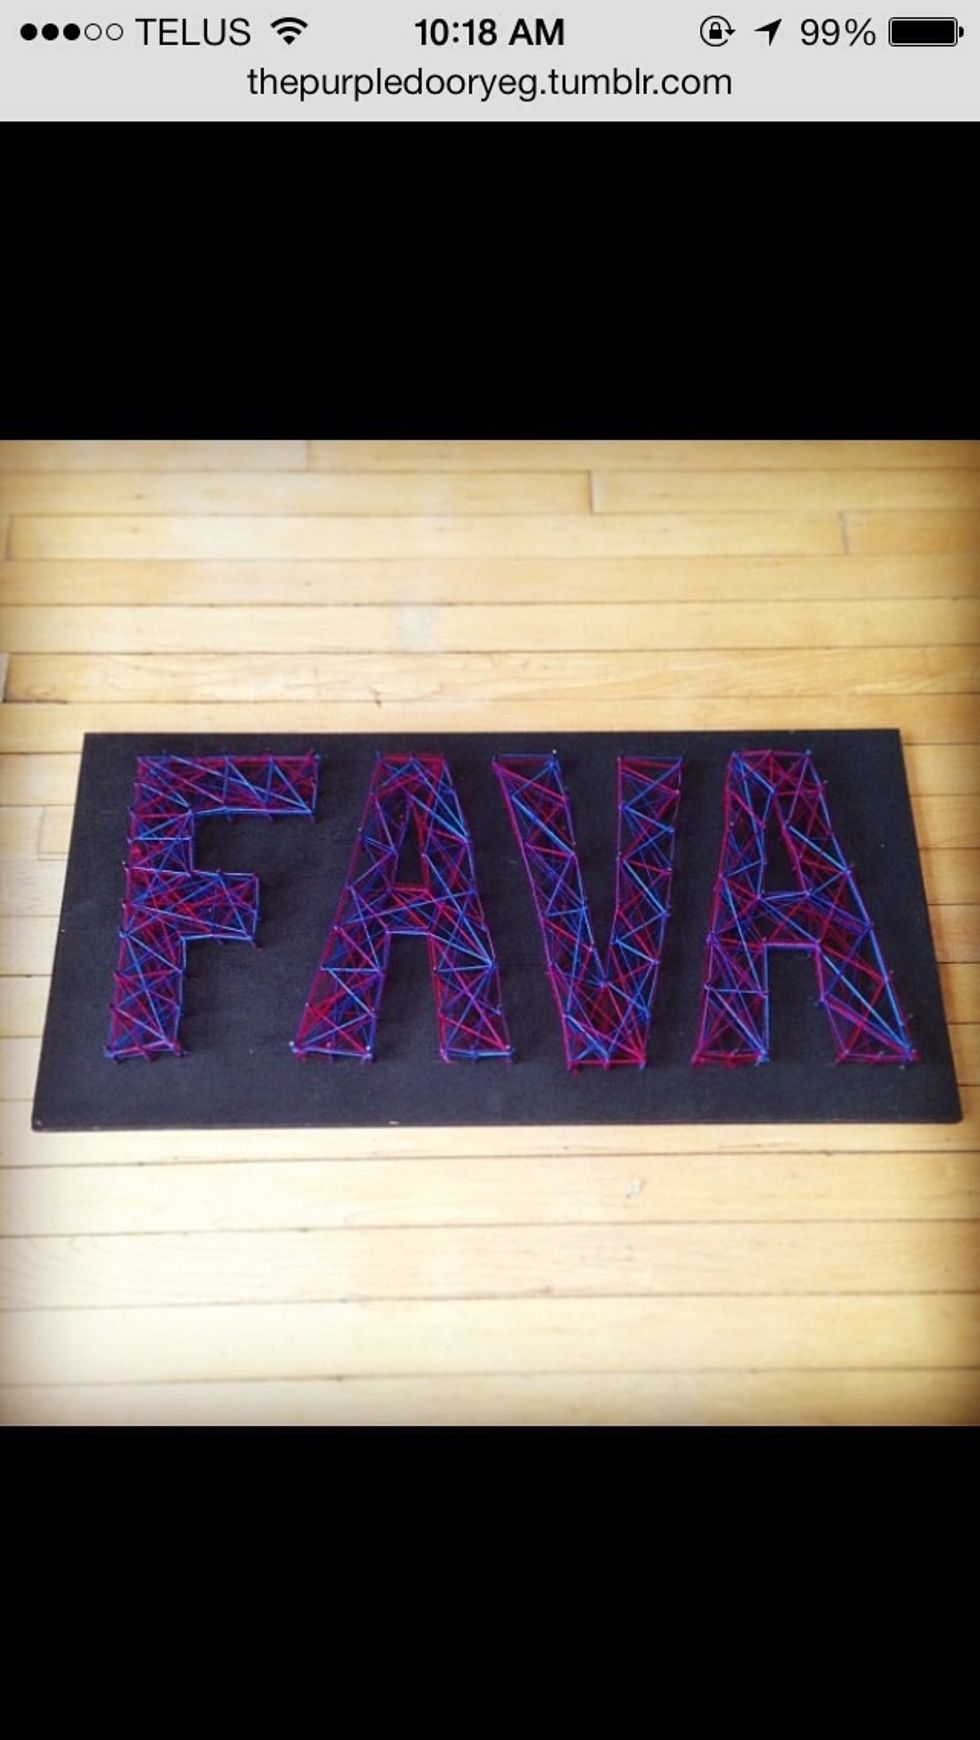
Use this idea for art pieces or even signs. This sign was made for a 3D themed party.