The Conversation (0)
Sign Up
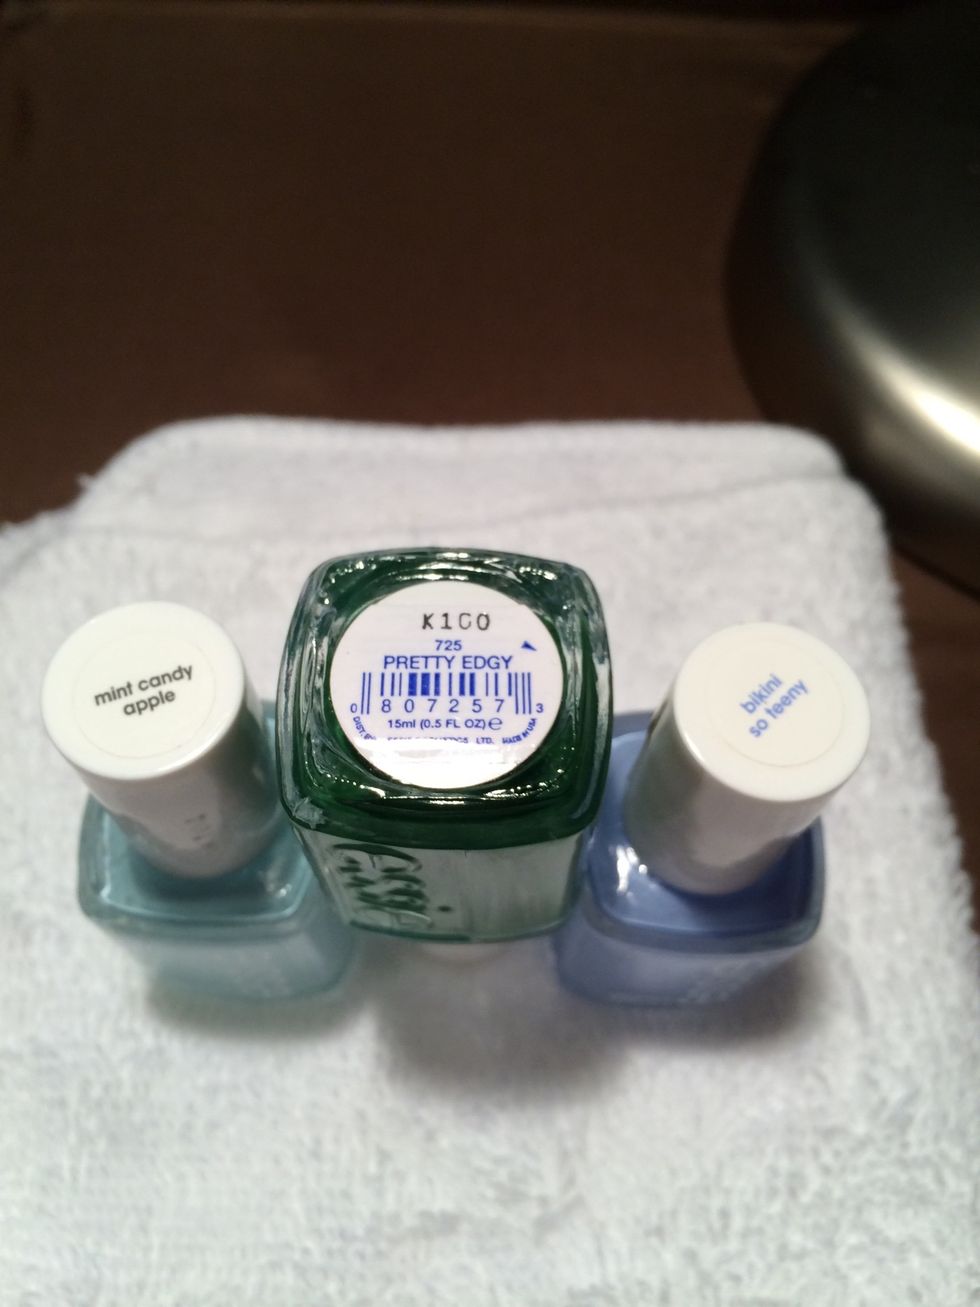
Gather your base colors
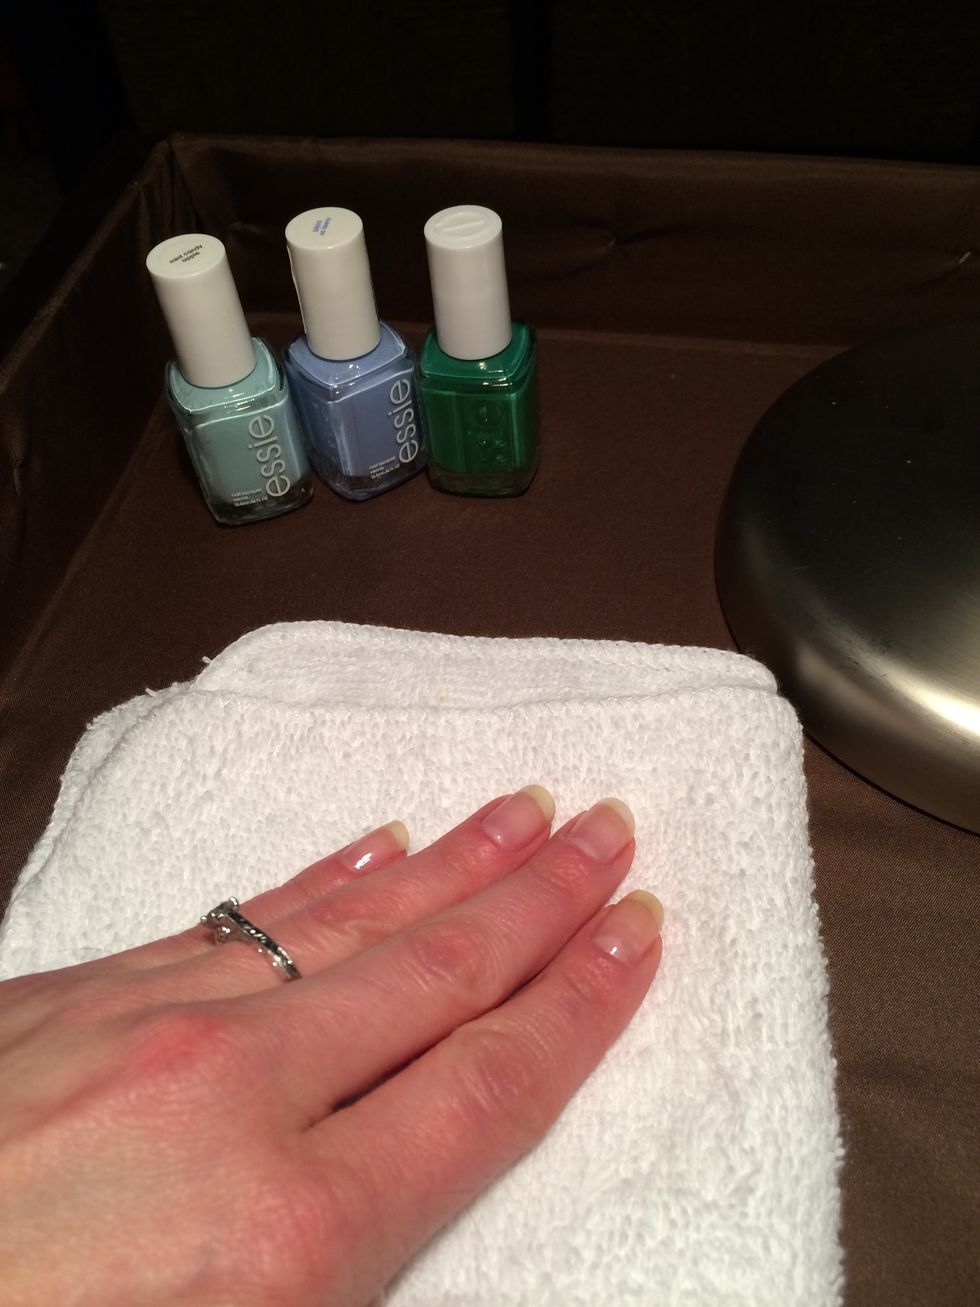
Start with applying a base coat.
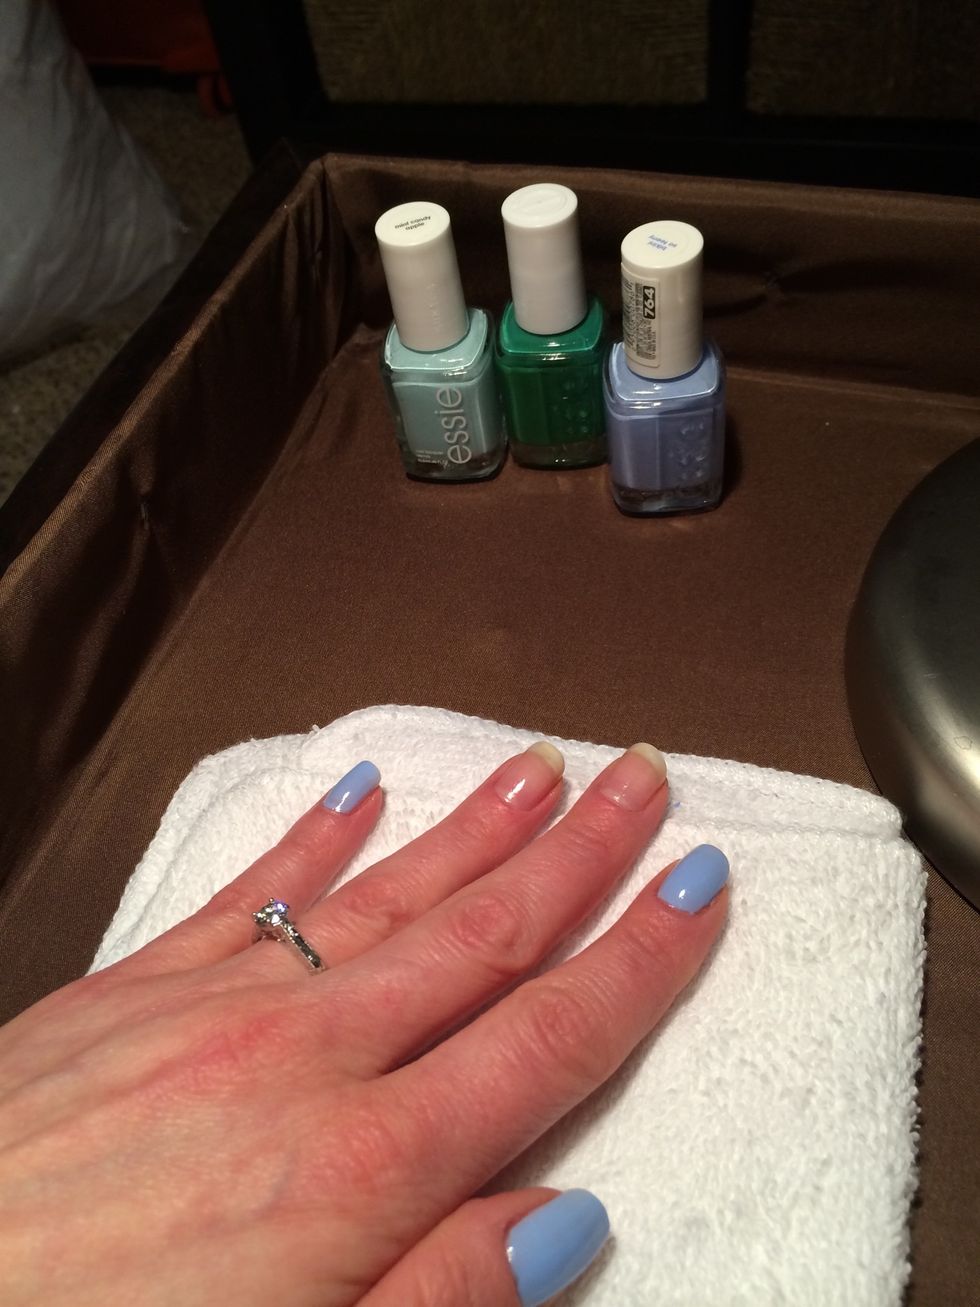
Paint your pinky, index and thumb your chosen blue color. 2 coats is best.
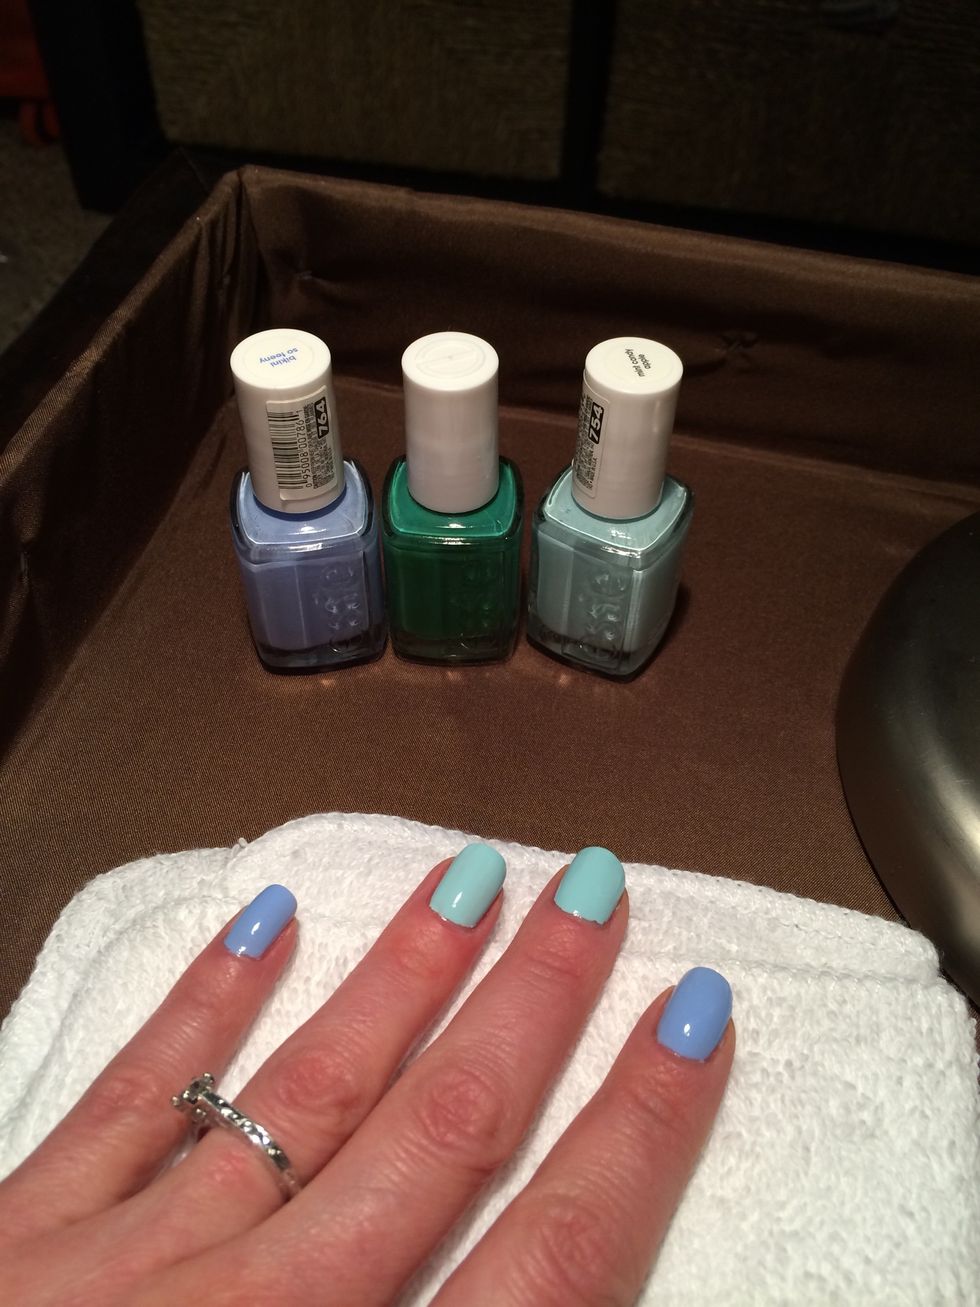
Paint your middle and ring with your chosen light green color.

Using a thin brush or striper and small light strokes, brush on your blades of grass--sweeping up off the nail as you end the blade.
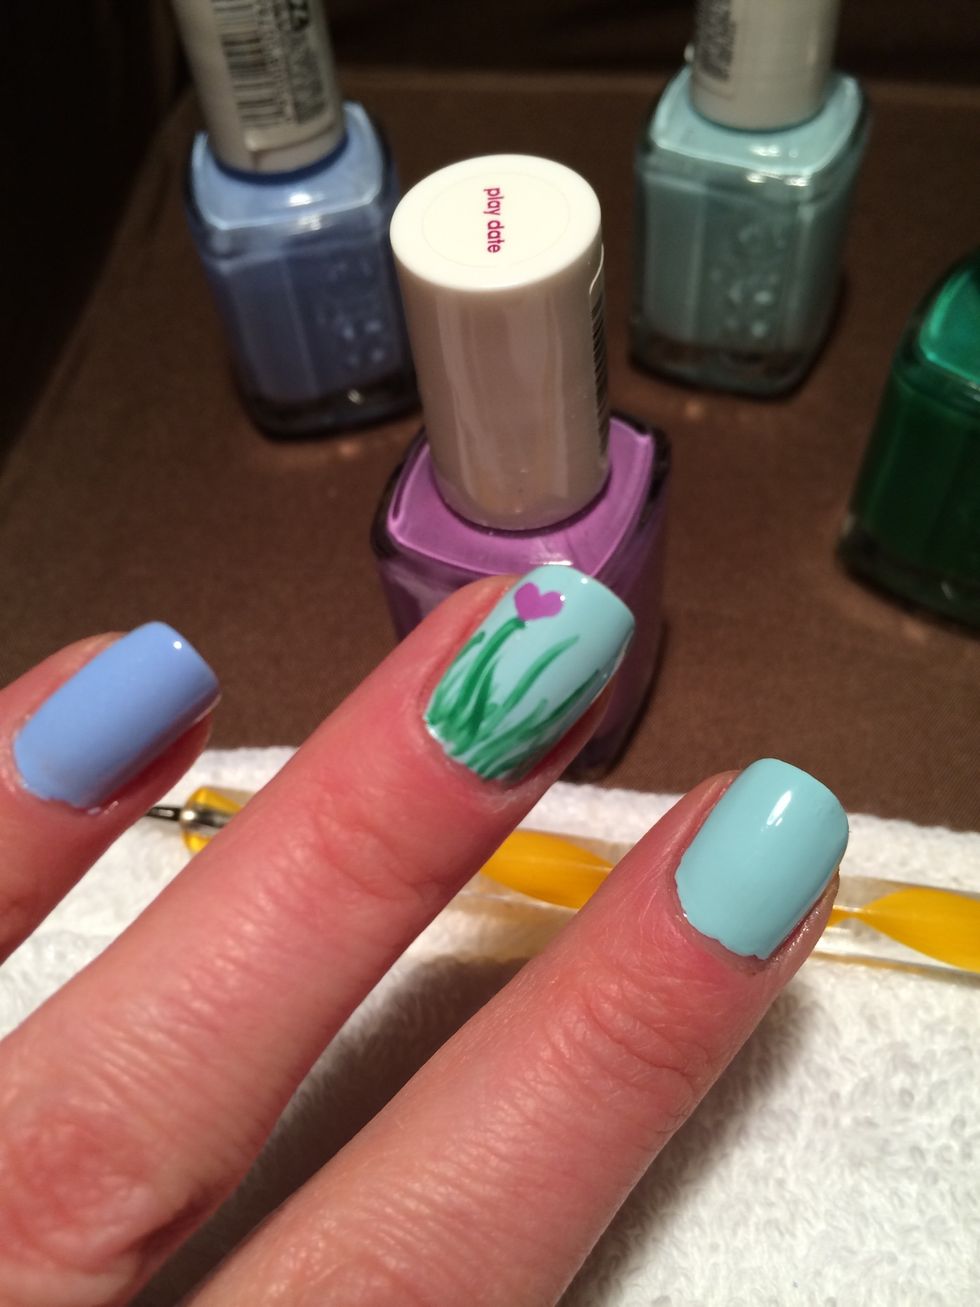
Using a smaller dotter or toothpick, dot two dots side by side of your chosen color. This is Essie: Play Date.
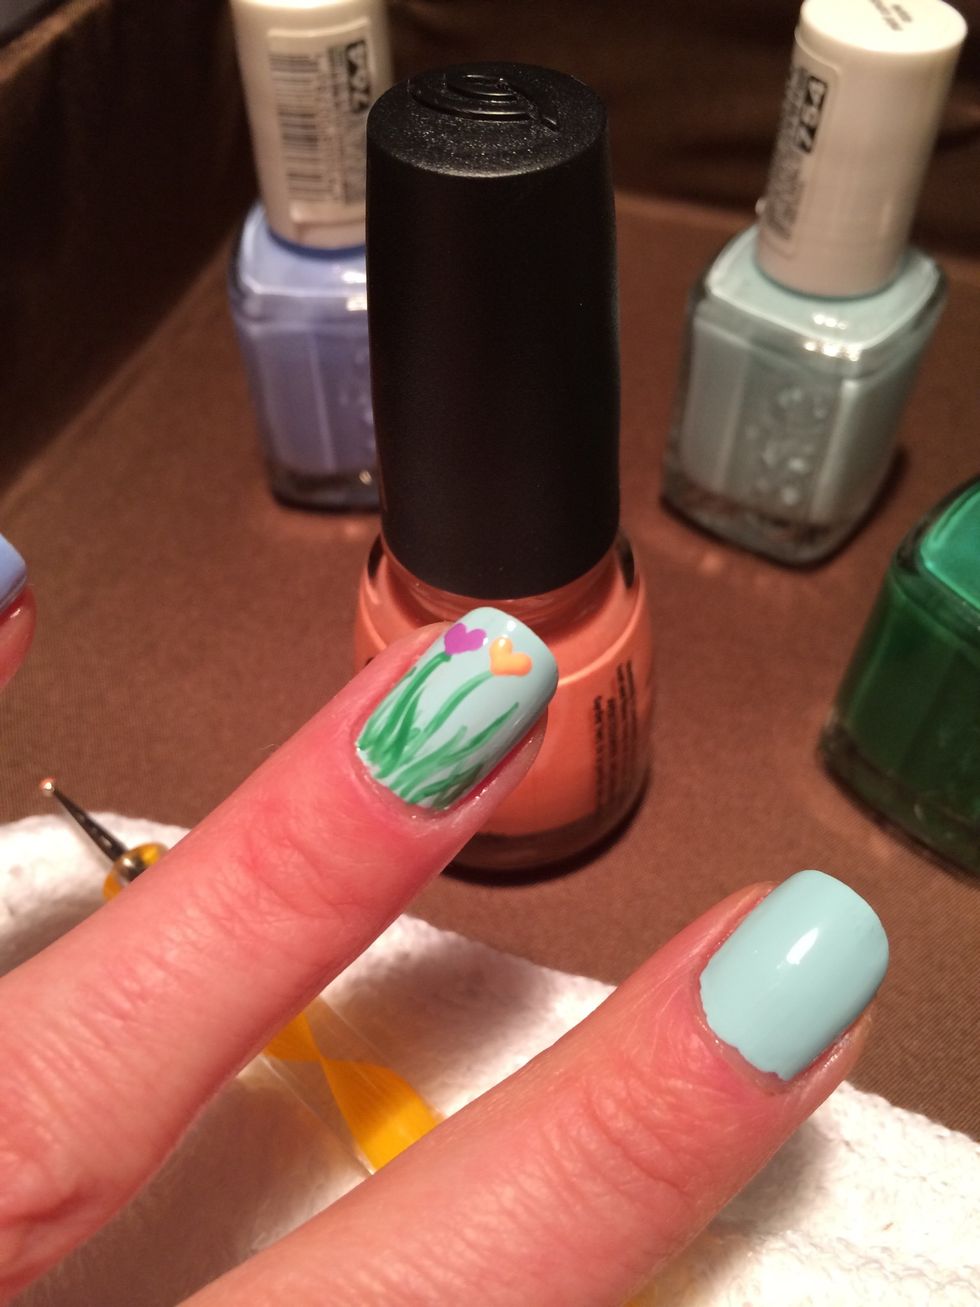
Using an even smaller dotter, drag the colors downward towards the heart's tip.
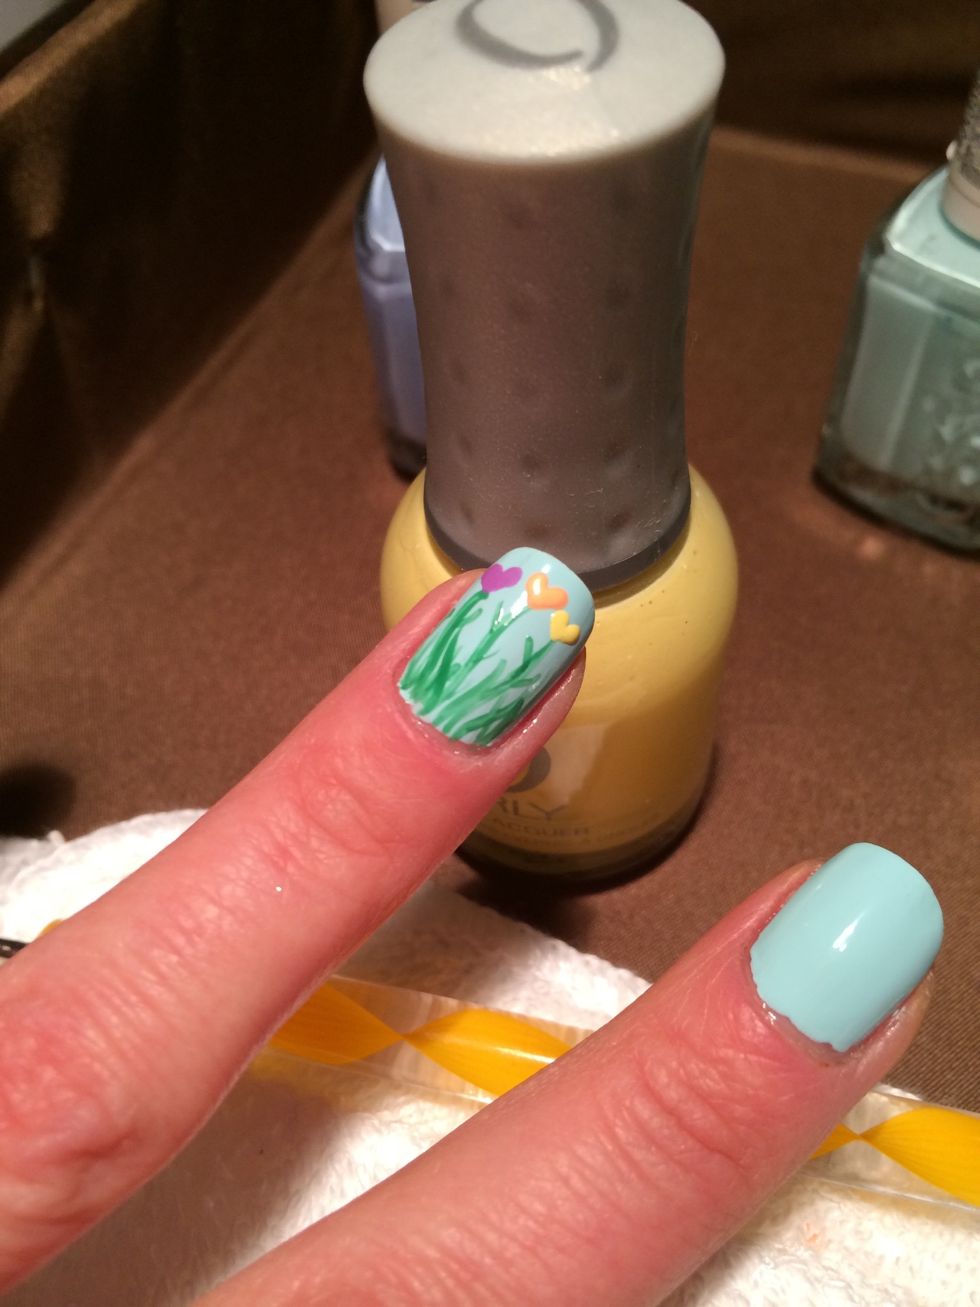
Continue doing this with 3 or 4 colors.

Bright Colors: Essie Play Date, China Glaze Flip Flop Fantasy, Orly Lemonade & China Glaze Sun of A Peach

All done.
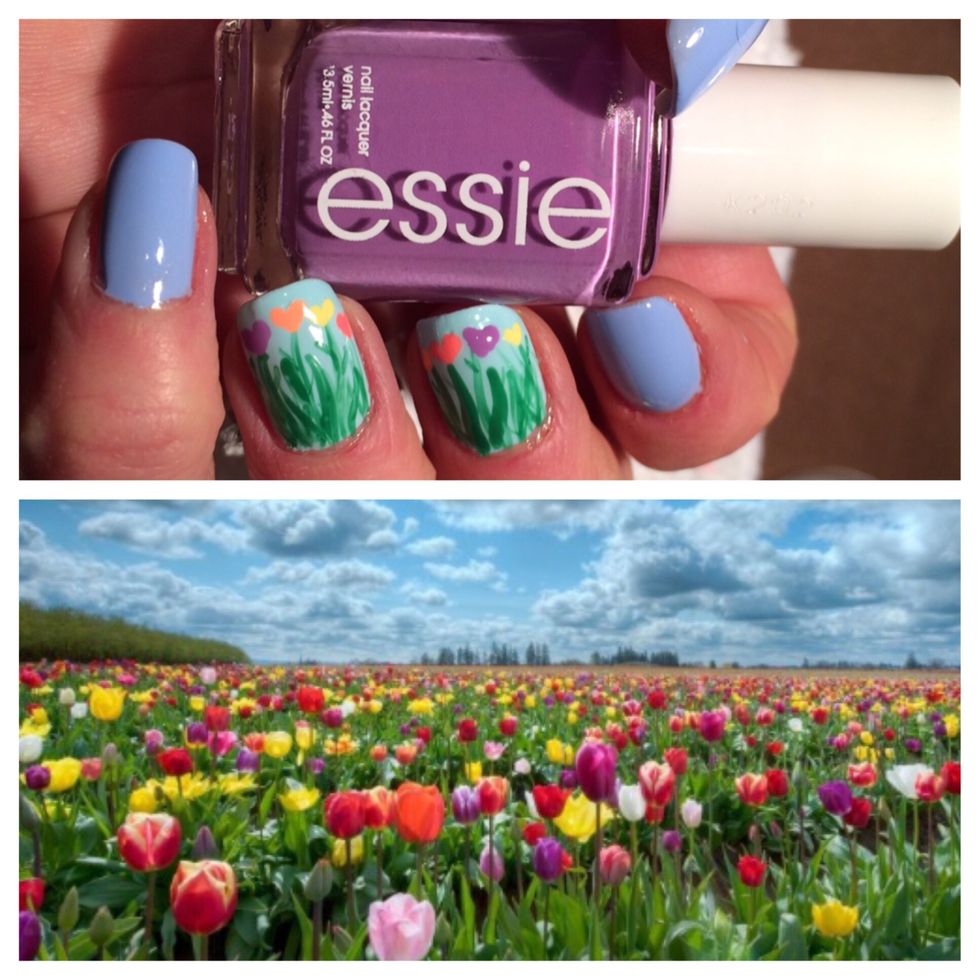
Happy Spring💐