The Conversation (0)
Sign Up
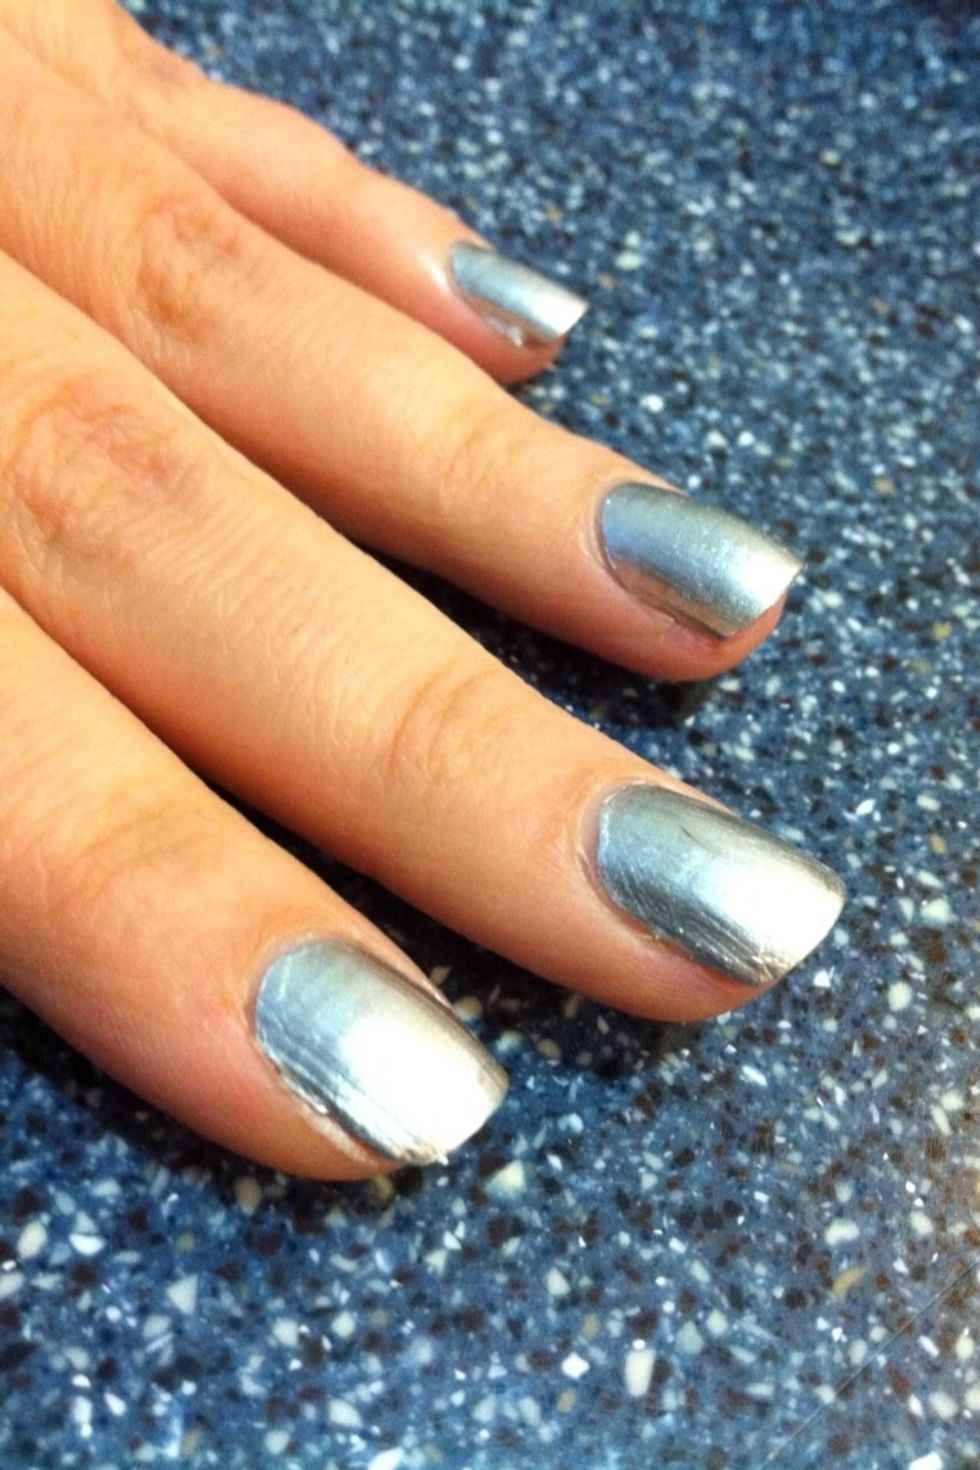
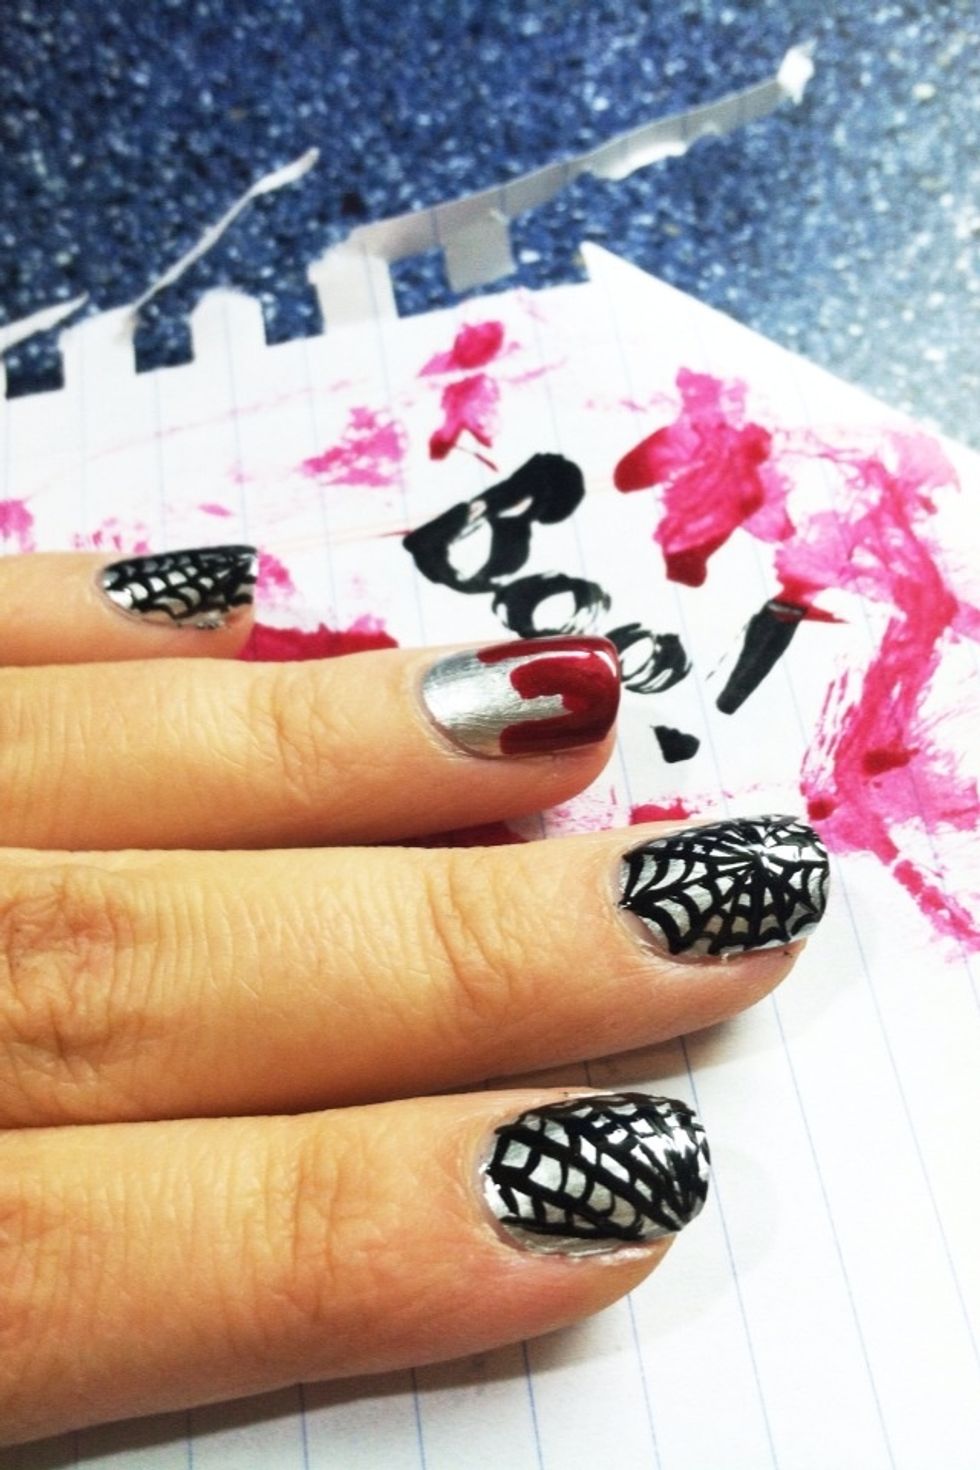
First paint nails with silver polish.

For the webbing take a thin nail art brush with black polish and start at the top right of the nail then extend to all other corners.
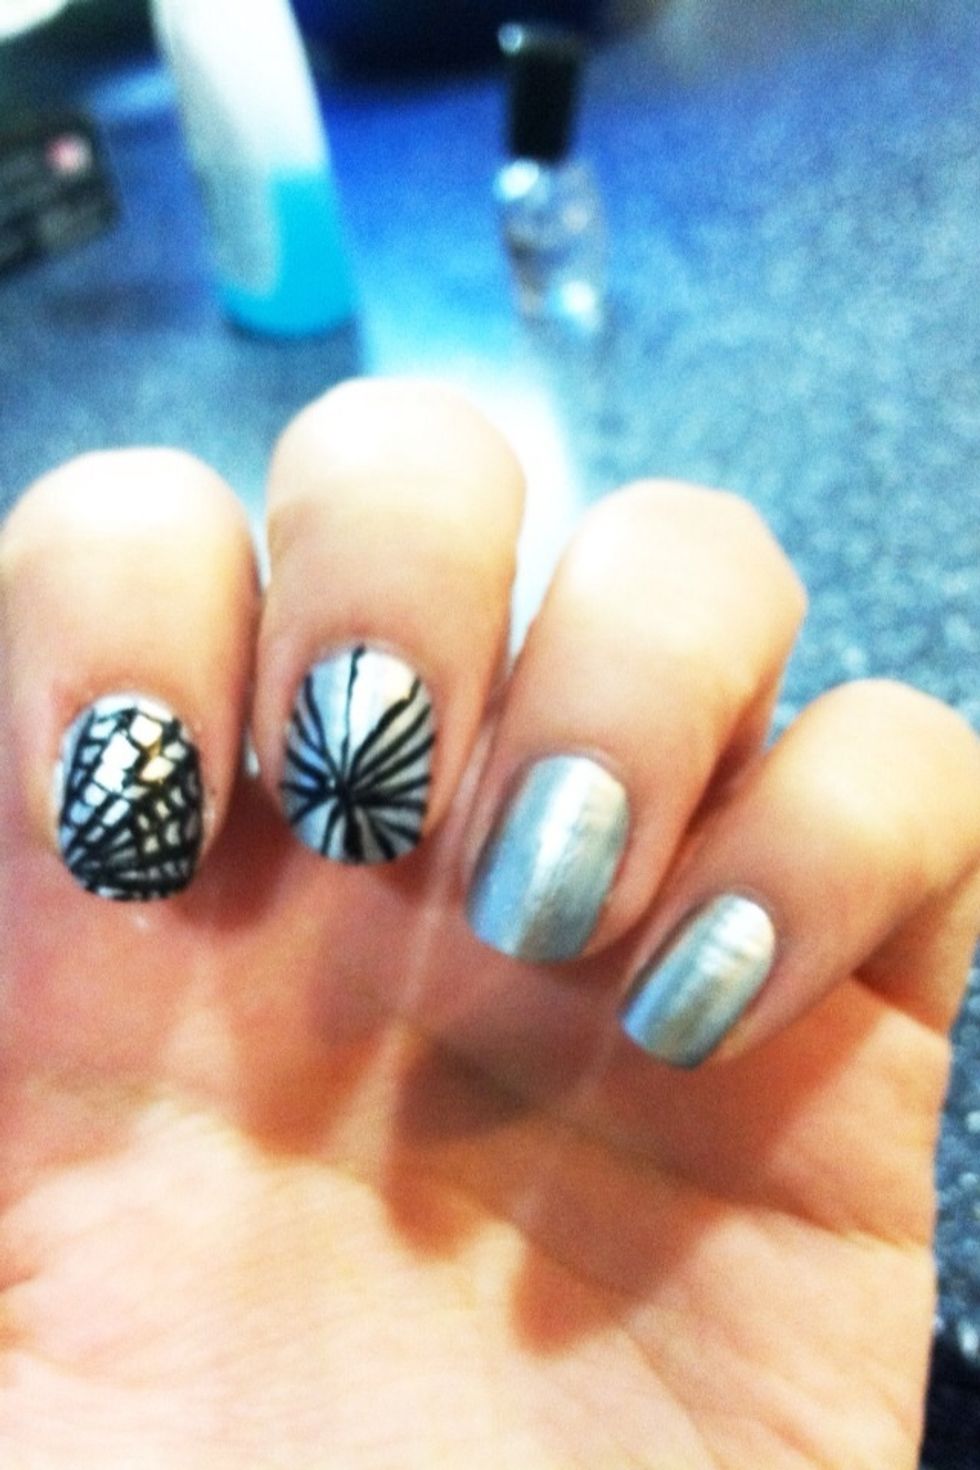
You can vary the pattern of the webbing on each nail.
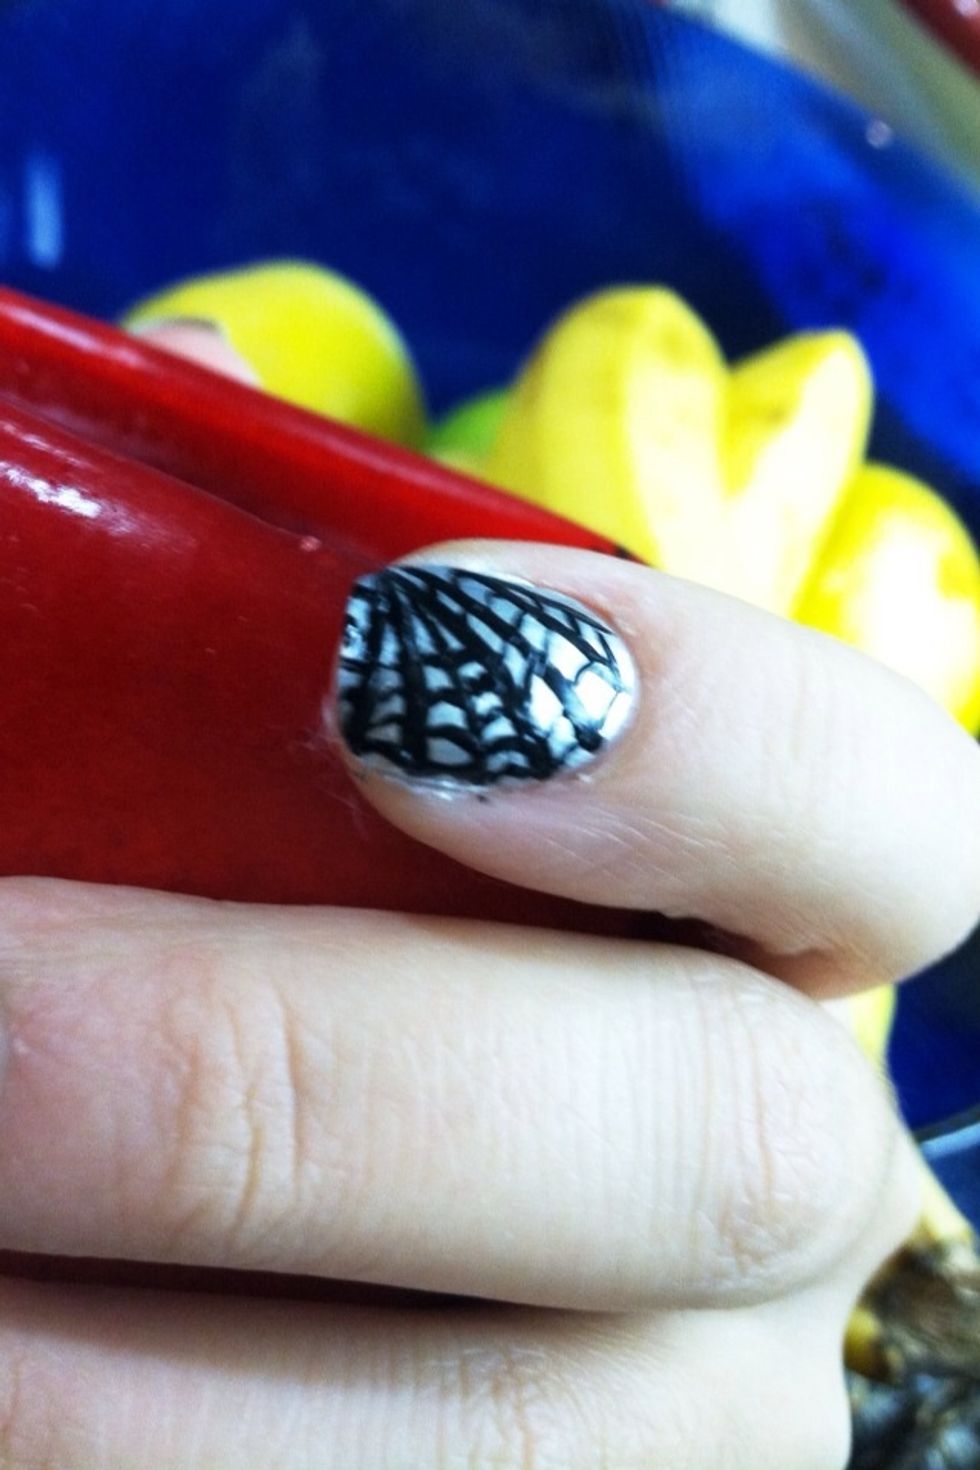
Again with the thin nail art brush fill in between the extended lines with a curved mark.
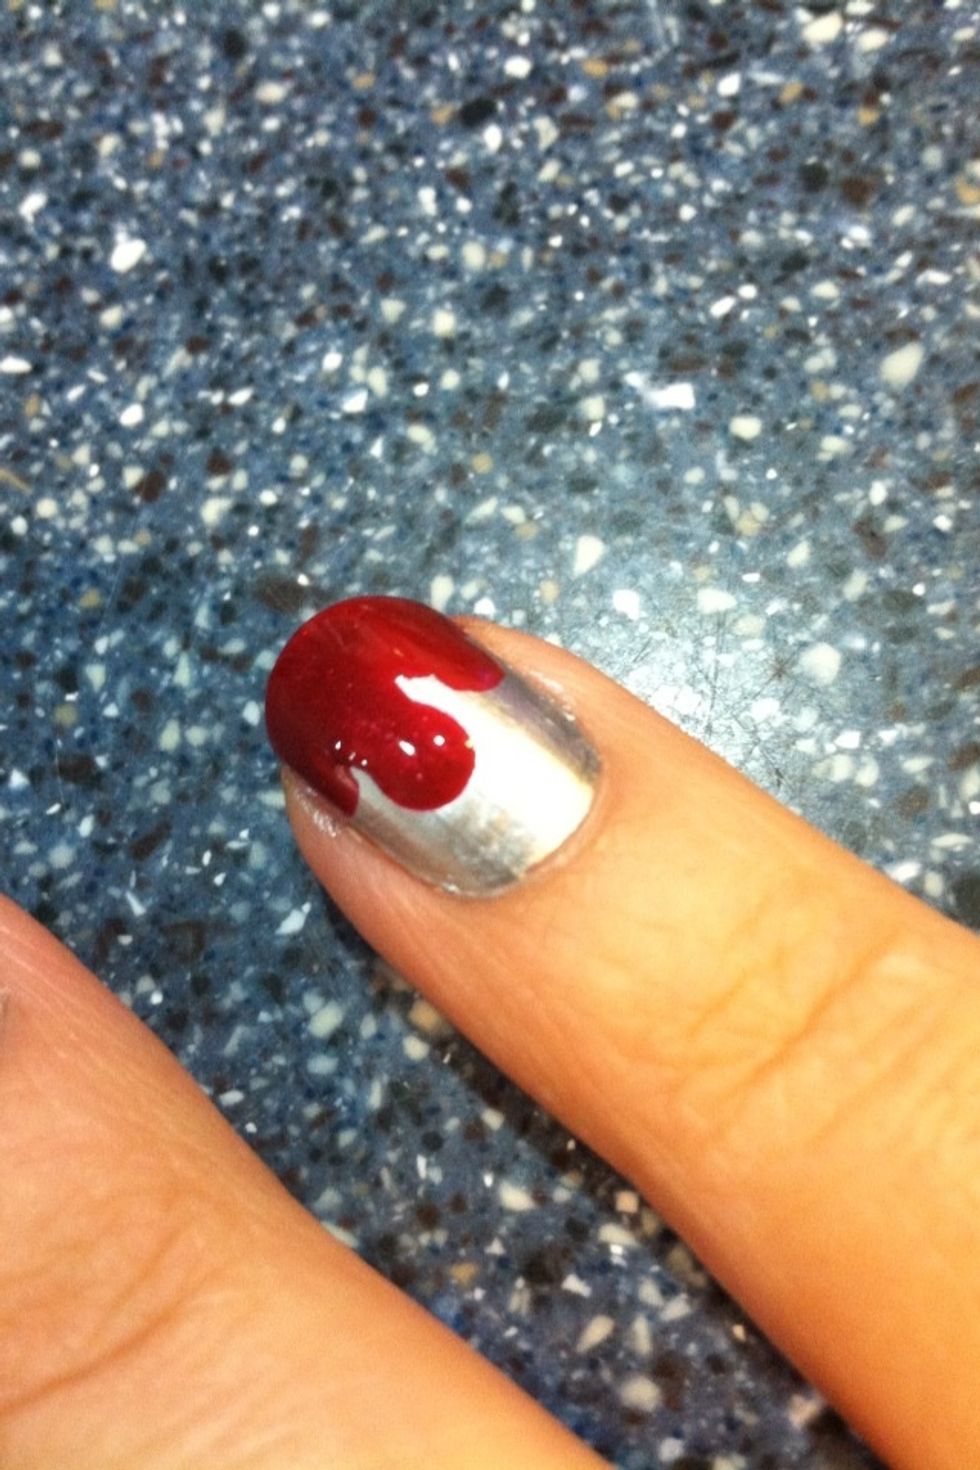
Now for the gory bloody part... Starting in the middle of the nail with a generous amount of polish on the tip of your regular nail varnish brush, paint up to the top.

Do the same with other lengths of red polish until there are no gaps in between.
This will make a great addition to a costume or just to celebrate the Halloween season!
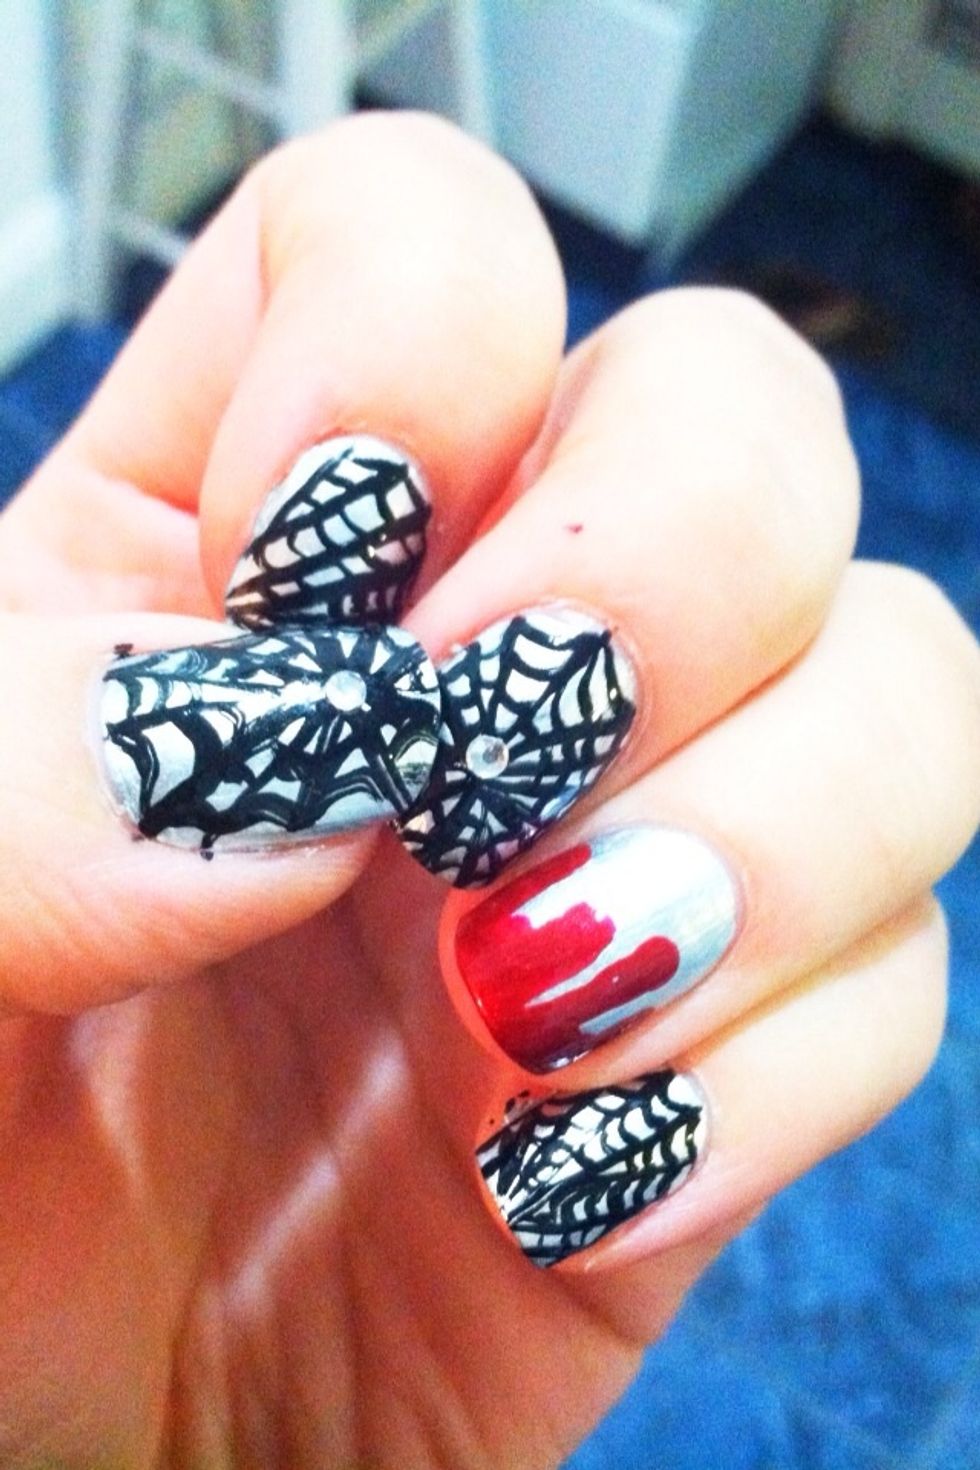
You can even add a small sequin to the middle of the webbing for a great effect!
For more ideas check out these other guides.