The Conversation (0)
Sign Up
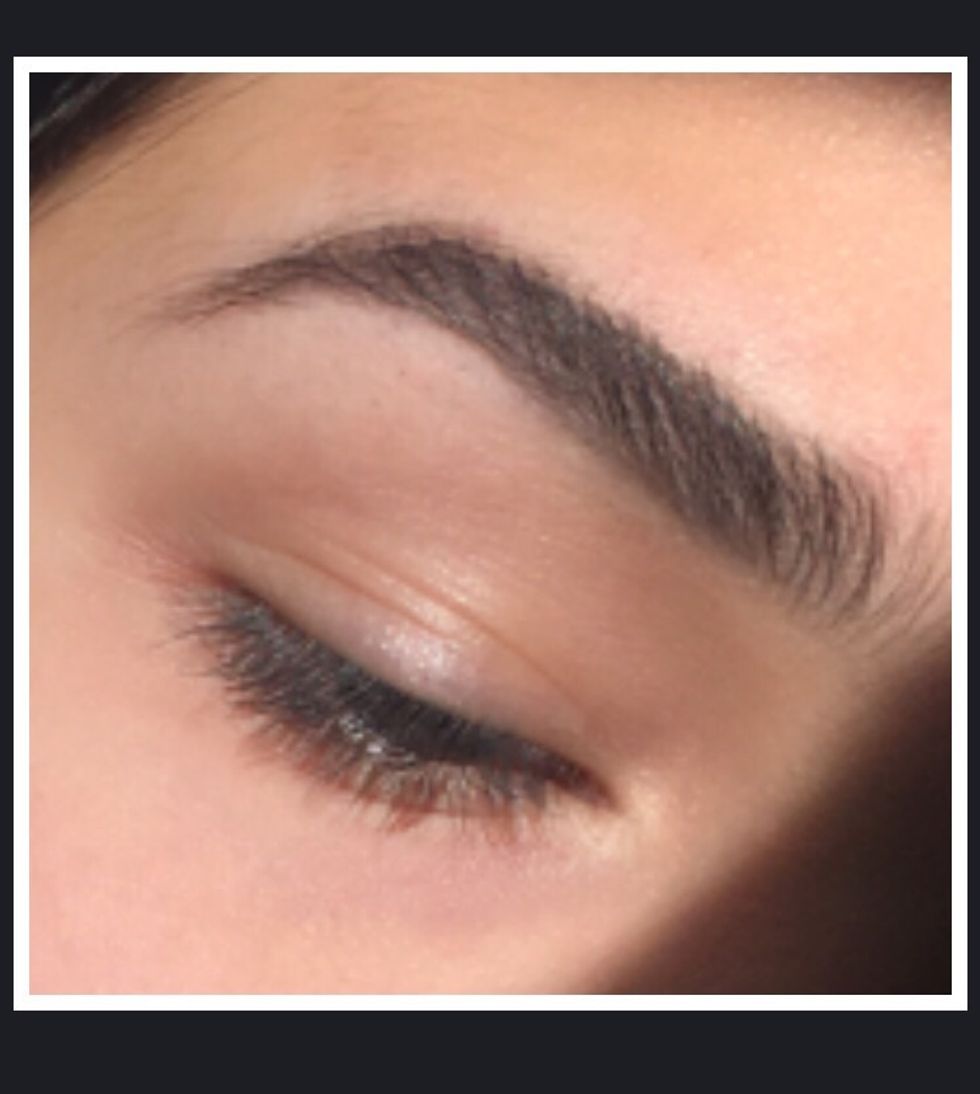
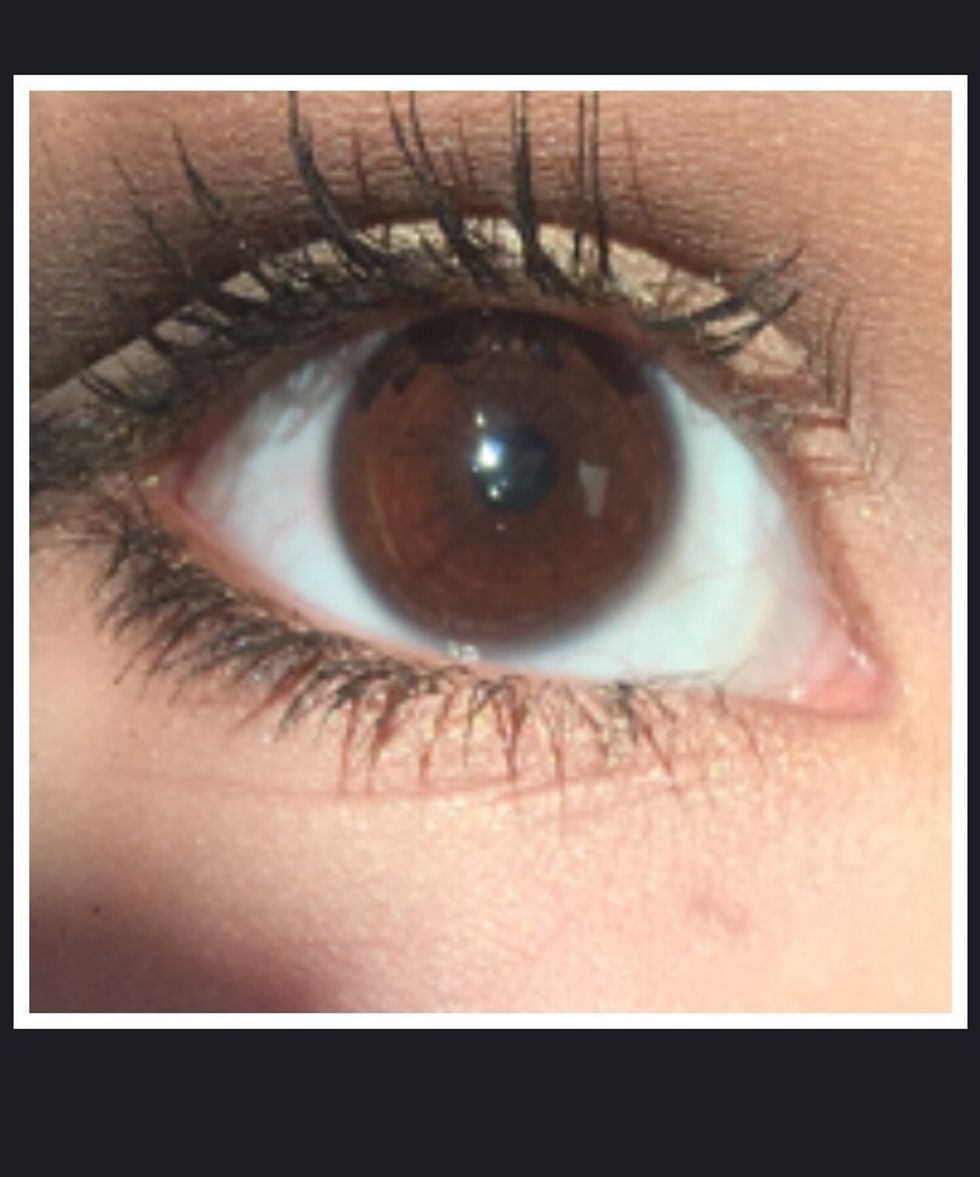
Step one: Start off with clean and fresh Eyes

Step two: Use a primer of your choice. Here I am using a sample I received from when I purchased my Naked Palette.
Apply the primer. Please excuse my eyebrows, they seem to have little hairs that refuse to be plucked.

Step three: With flat end of brush, Pick up the pigment in the shade Naked.
This shade will act as my base because it is nearly the exact shade of my skin. If only this color was a foundation, I have the hardest struggle finding the right shade.
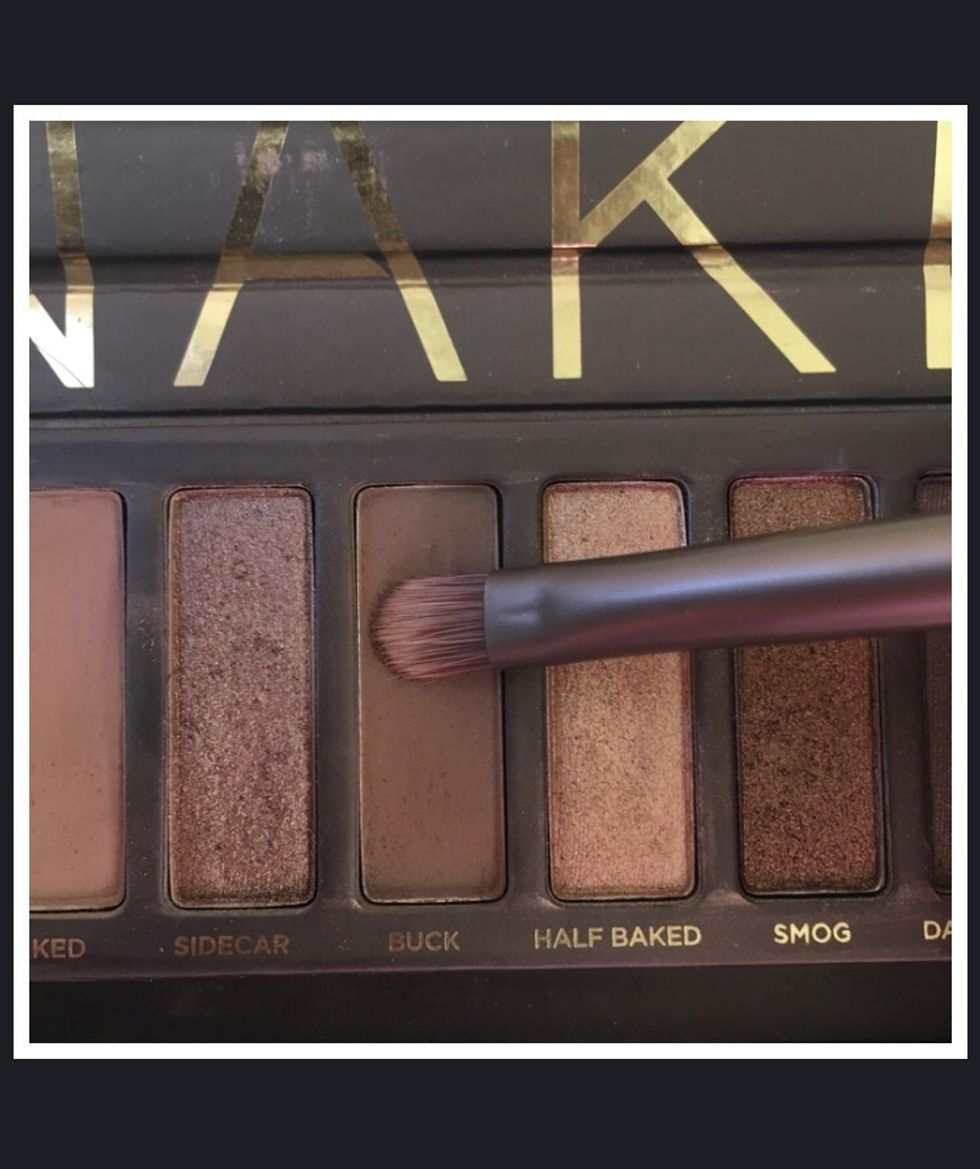
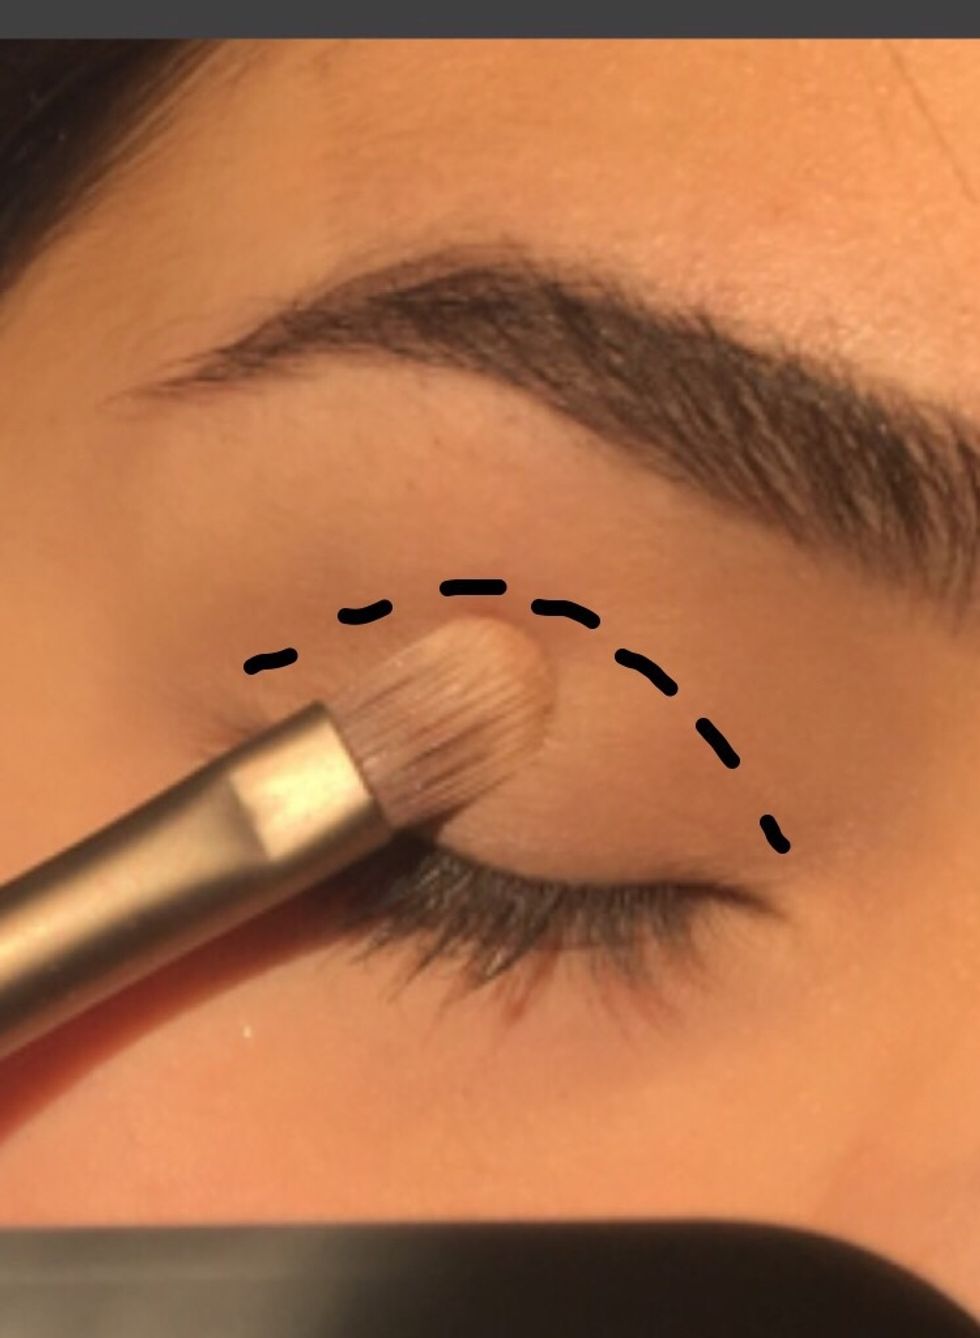
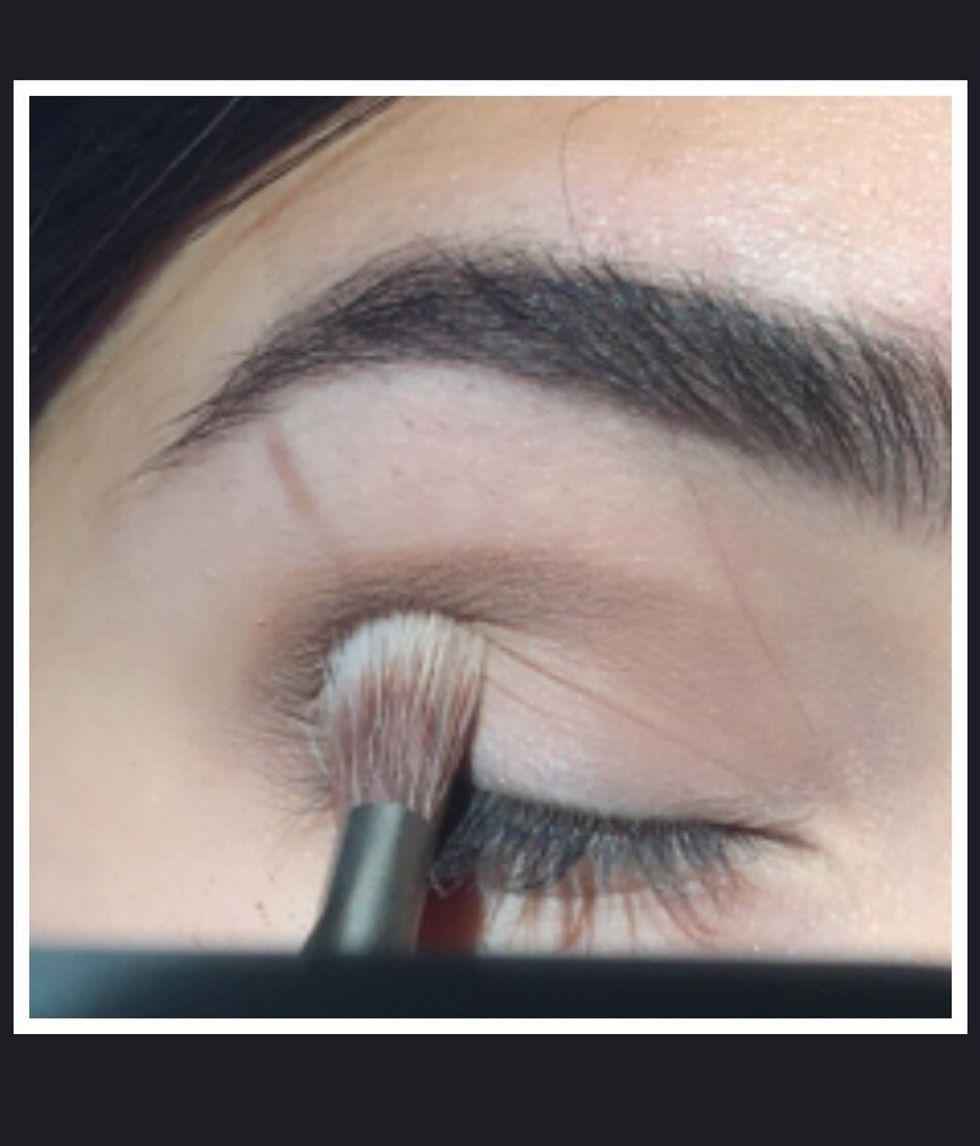
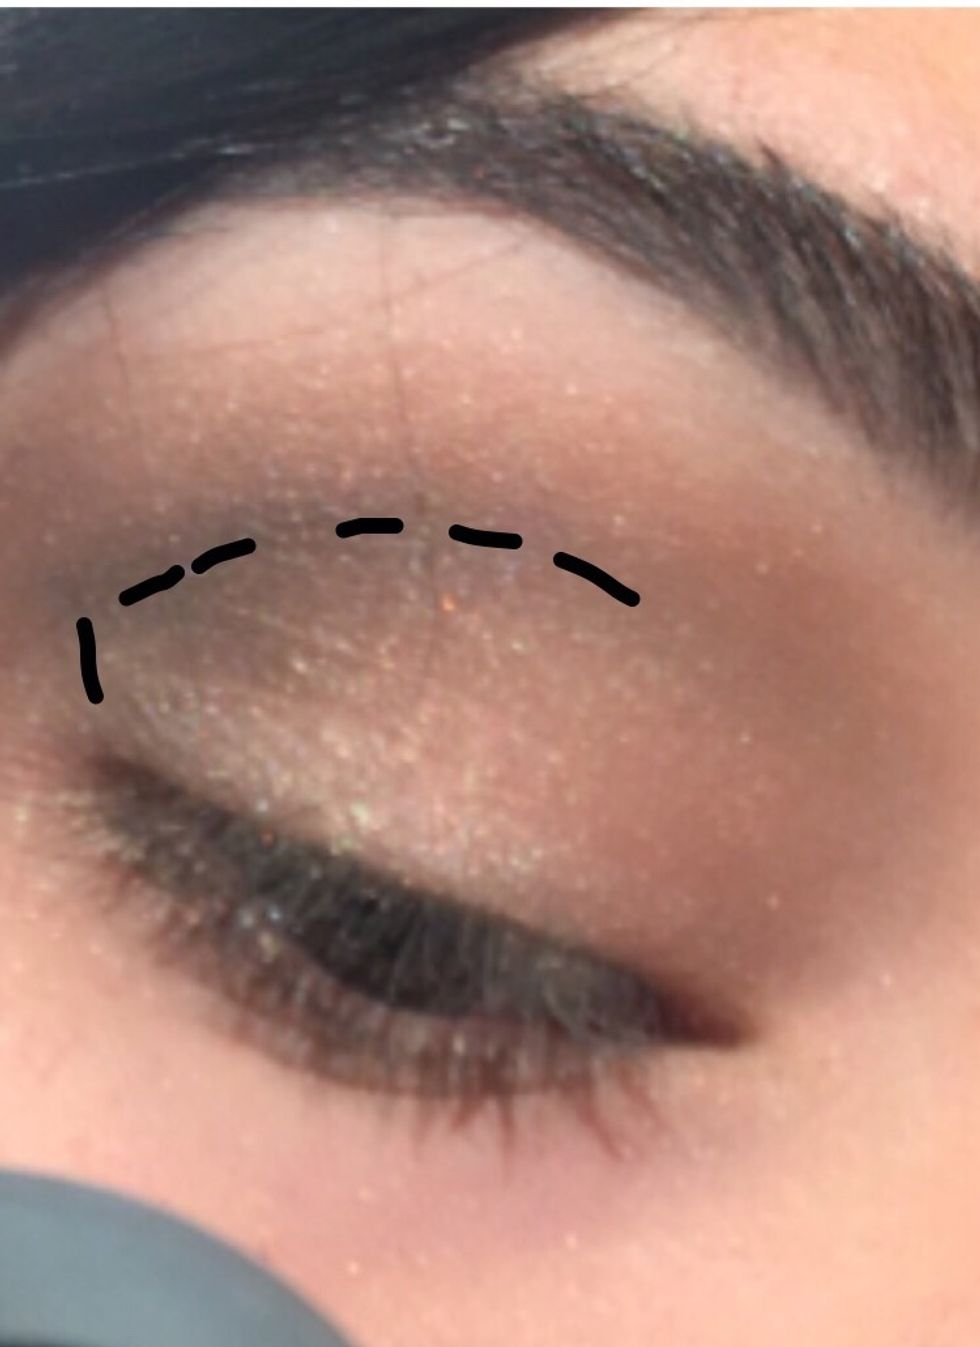
Step four: Pick up the shade "Buck"

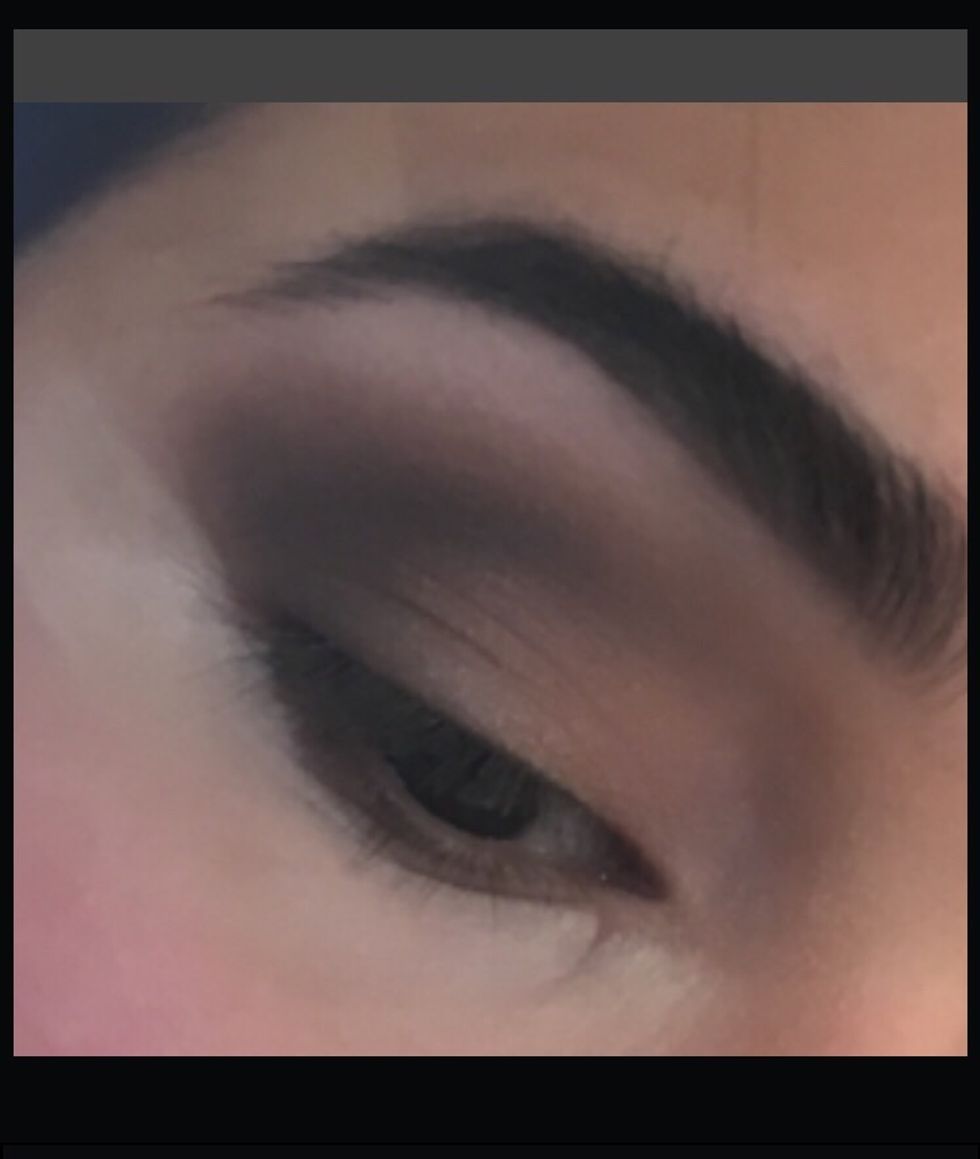
Here I have drawn a half-circle shape slightly above my crease. This is because my eyes are hooded. If your eyes are not then follow the crease. *ignore the random shadow of my hair on the edge*
Step Five: BLEND. In circular, swooping motions following the half-circle shape. You want to add more of the "Buck" pigment and then blend again until you reach desired darkness.
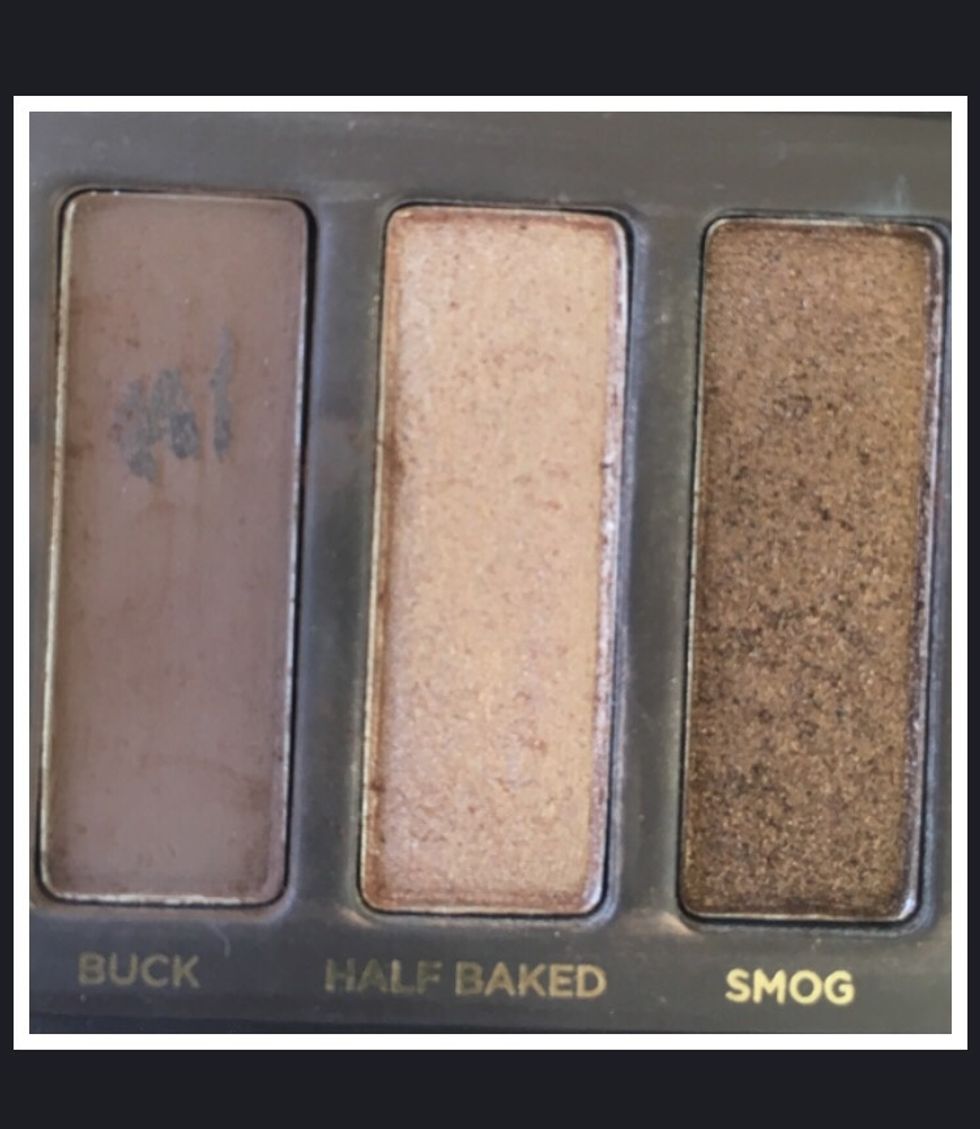
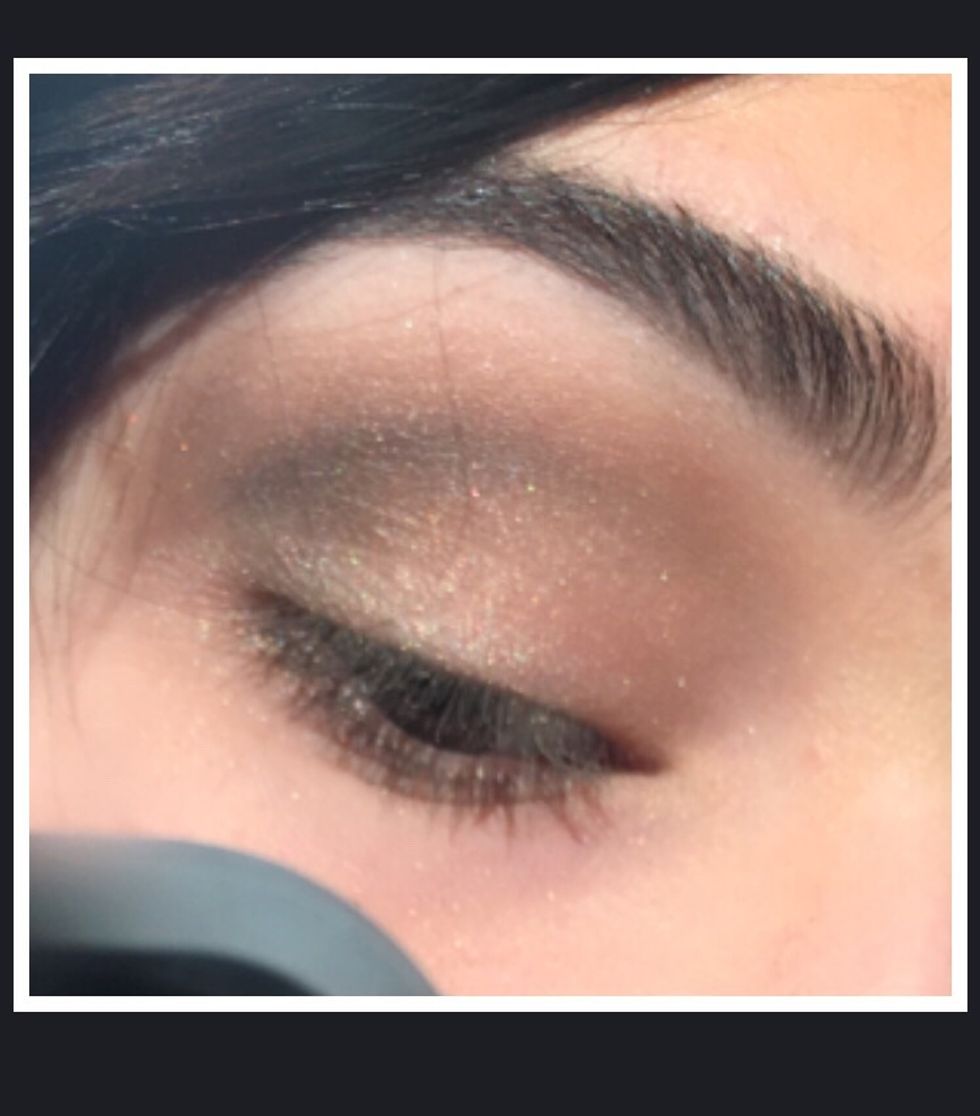
Step six: lightly brush of the previous pigment from your brush and pick up " Half-Baked"
Again, I am immensely sorry for the horrible photo quality. Pack on "Half-Baked" on center eyelid.
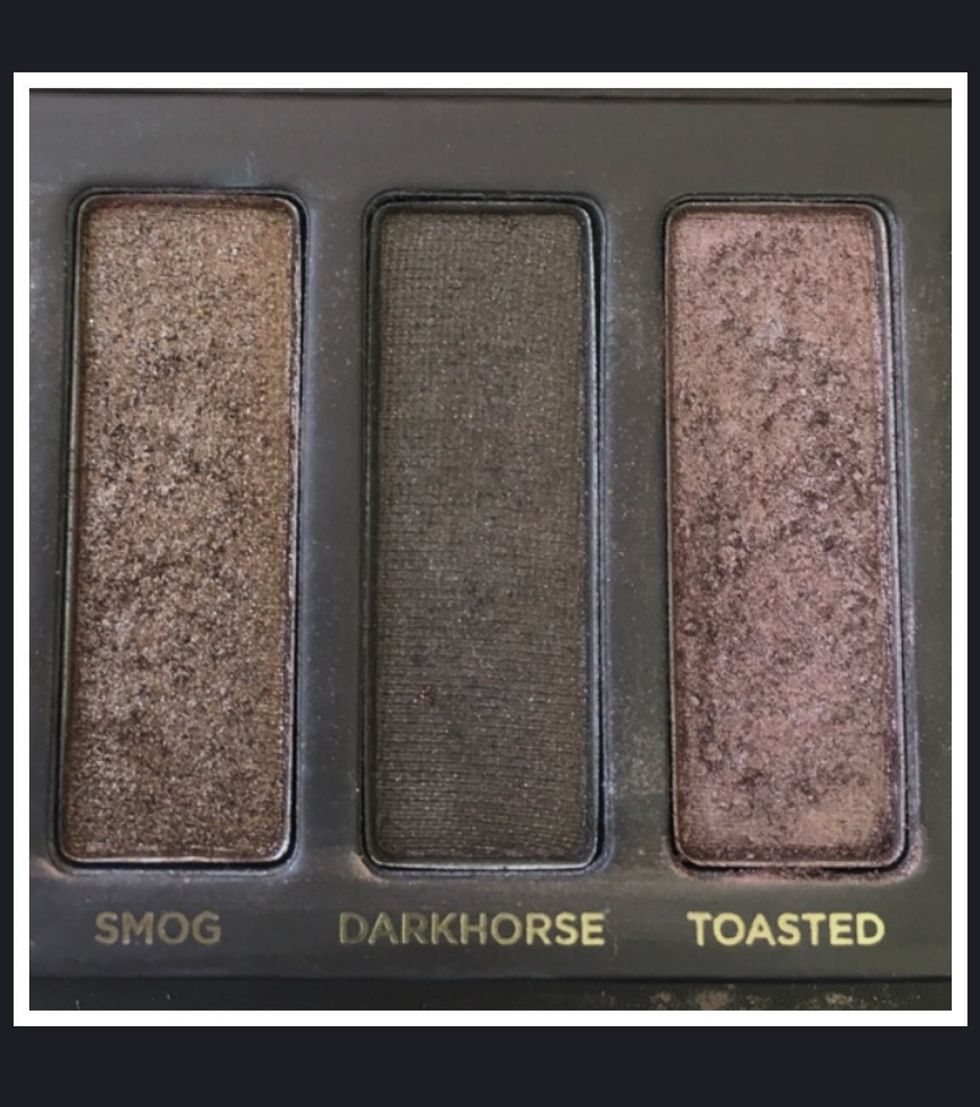
Step seven: You know the drill, Lightly dusk off previous pigment on brush and on the tip of the flat brush apply "DarkHorse"
Lightly trace over crease line, then darken by adding more. We will blend later
-----Add more---
Slightly begin to point the edge

In triangle formation I added a blend of "Buck" and "DarkHorse".

It will look crude, but remember We haven't blended this yet.
Step eight: Blend the crap out of it. In the same circular swoop and triangle formation, blend!!!!!!!! If it looks splotchy you can add where you think you need it but I can assure you blending is key
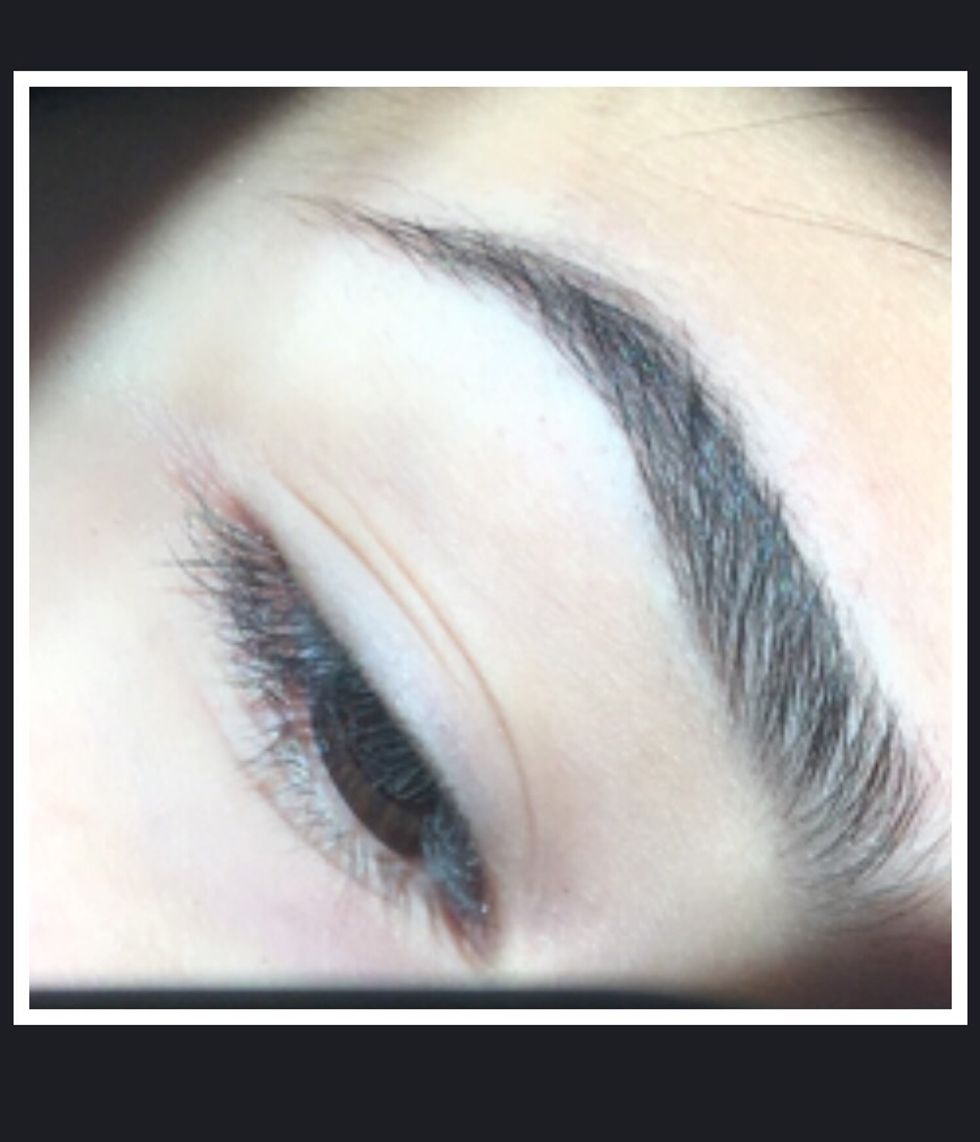
Step nine: With your concealer, you can now clean the edge of your eyes.
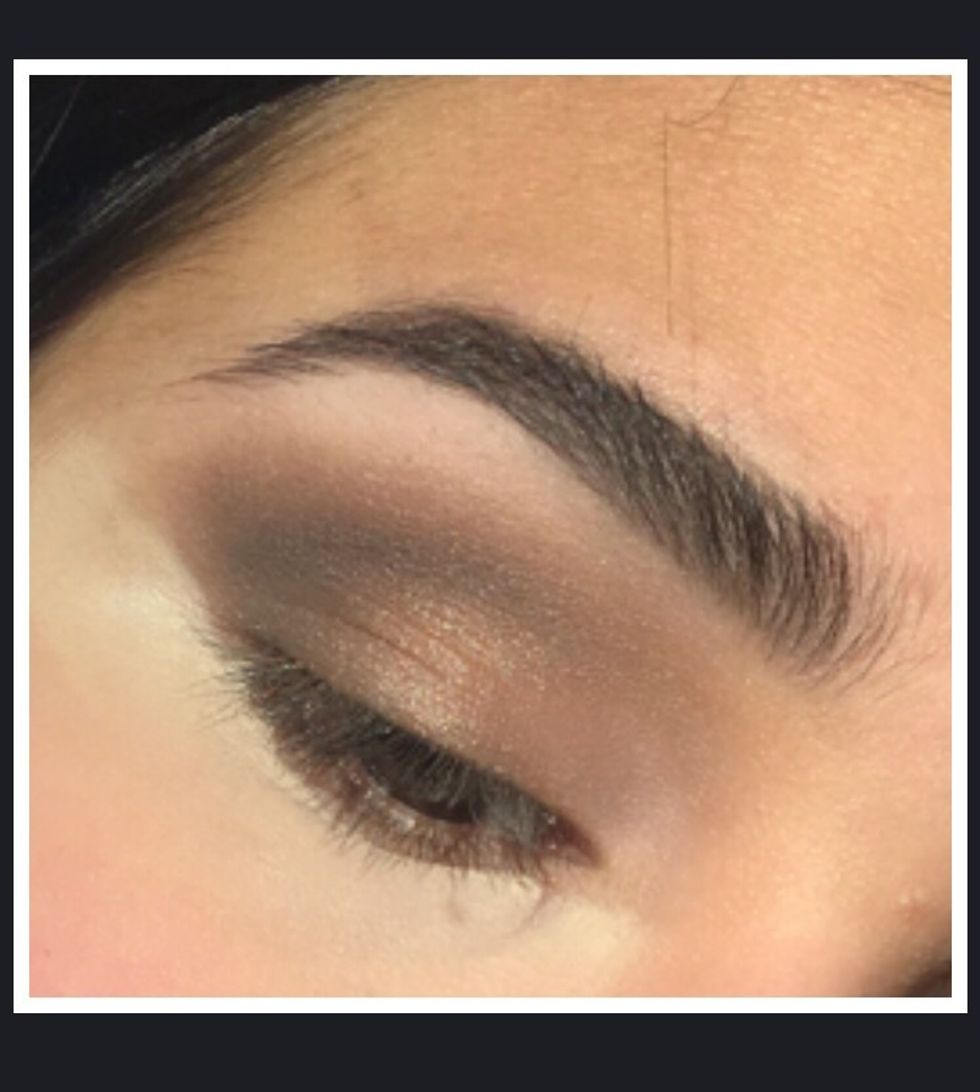
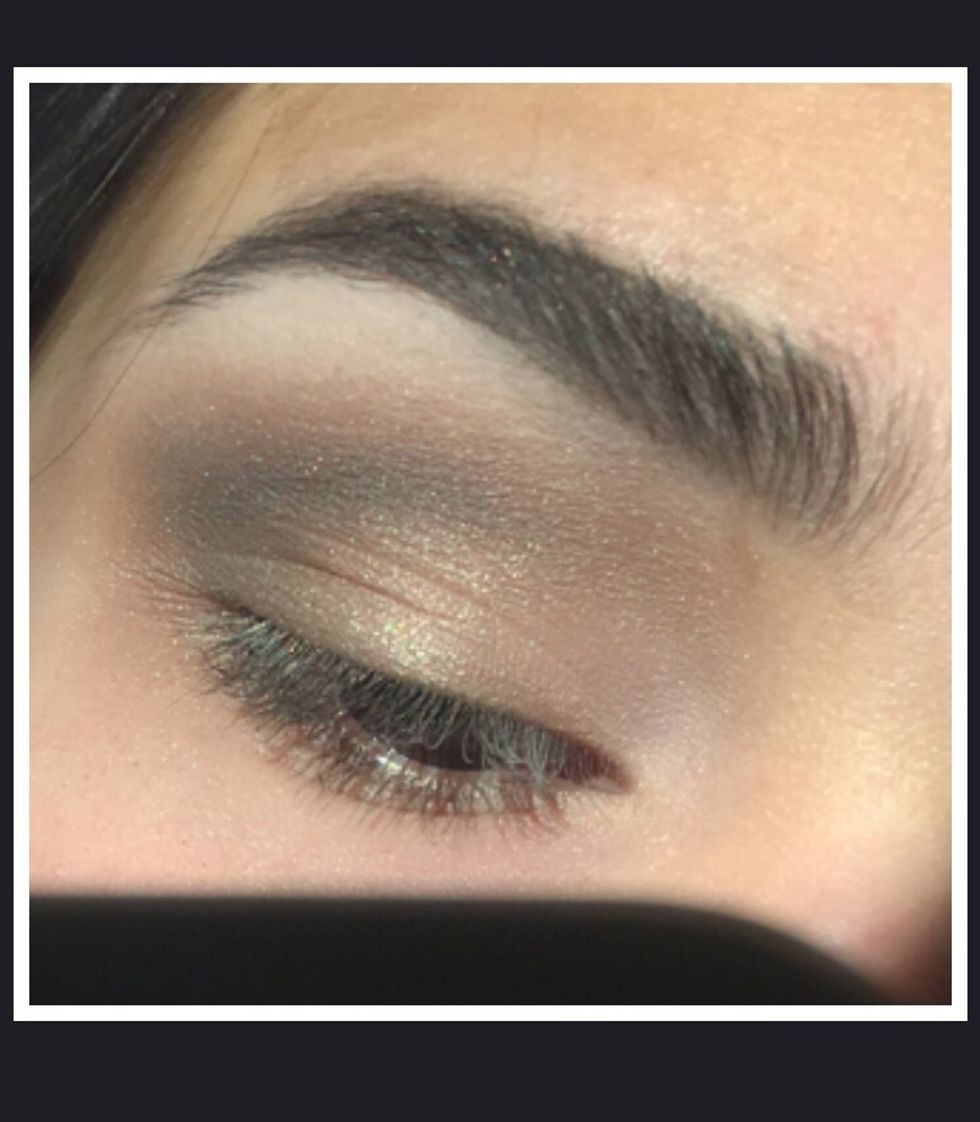
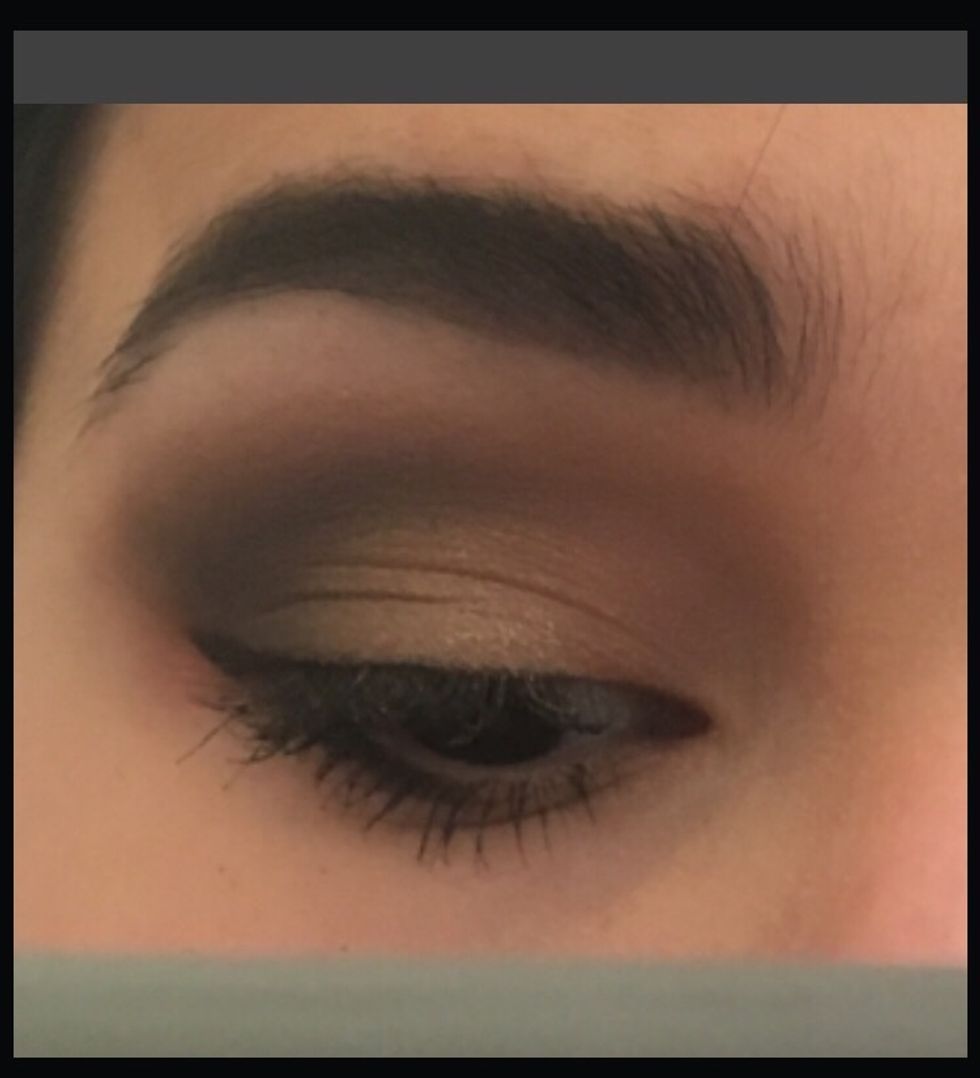
Here's a clearer picture

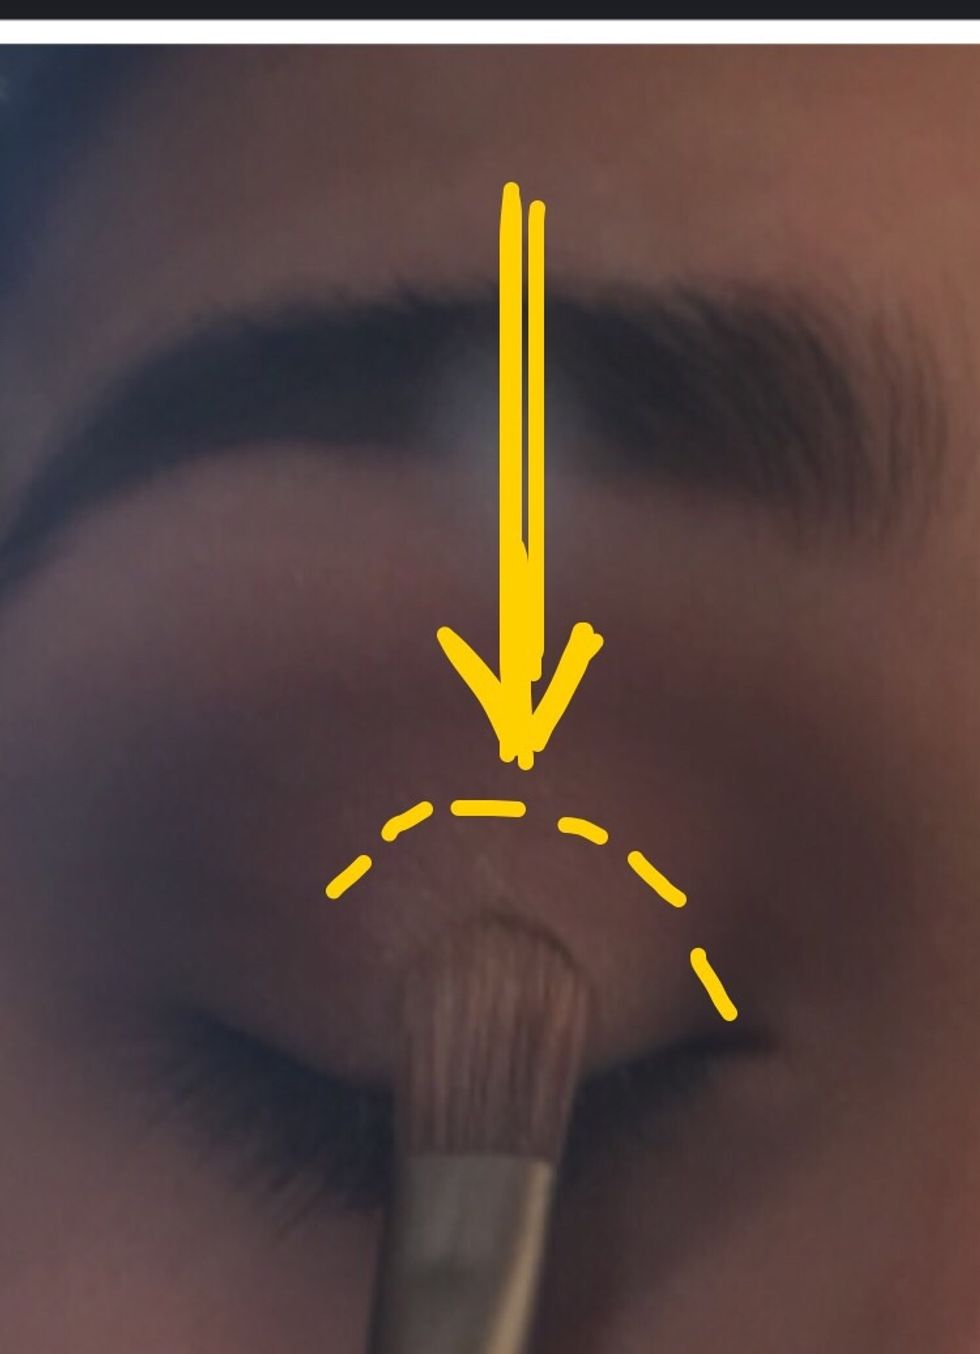
The last little details, with the tip of the flat end of brush, apply the pigment "SideCar" in --->
In the corner of your eye, midway
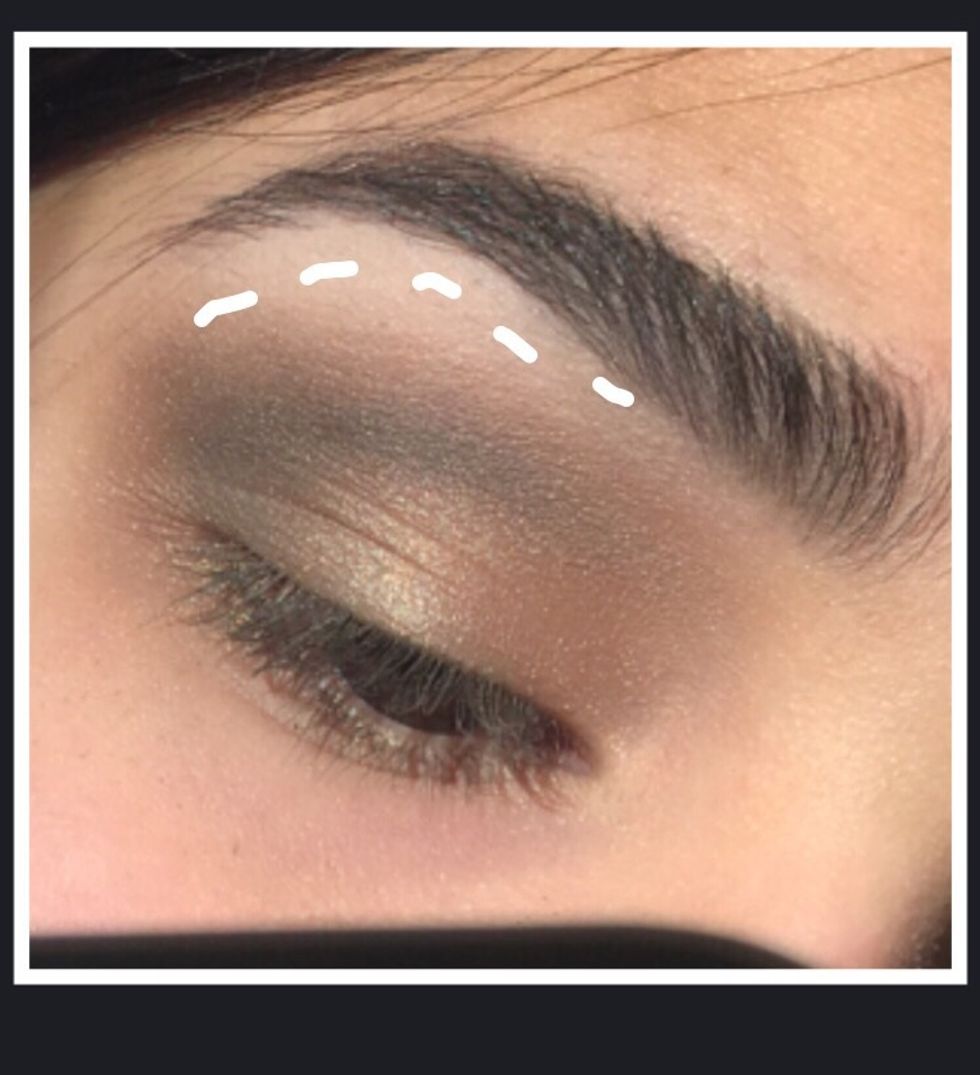
Highlight brow bone with a light color. Such as "Virgin"
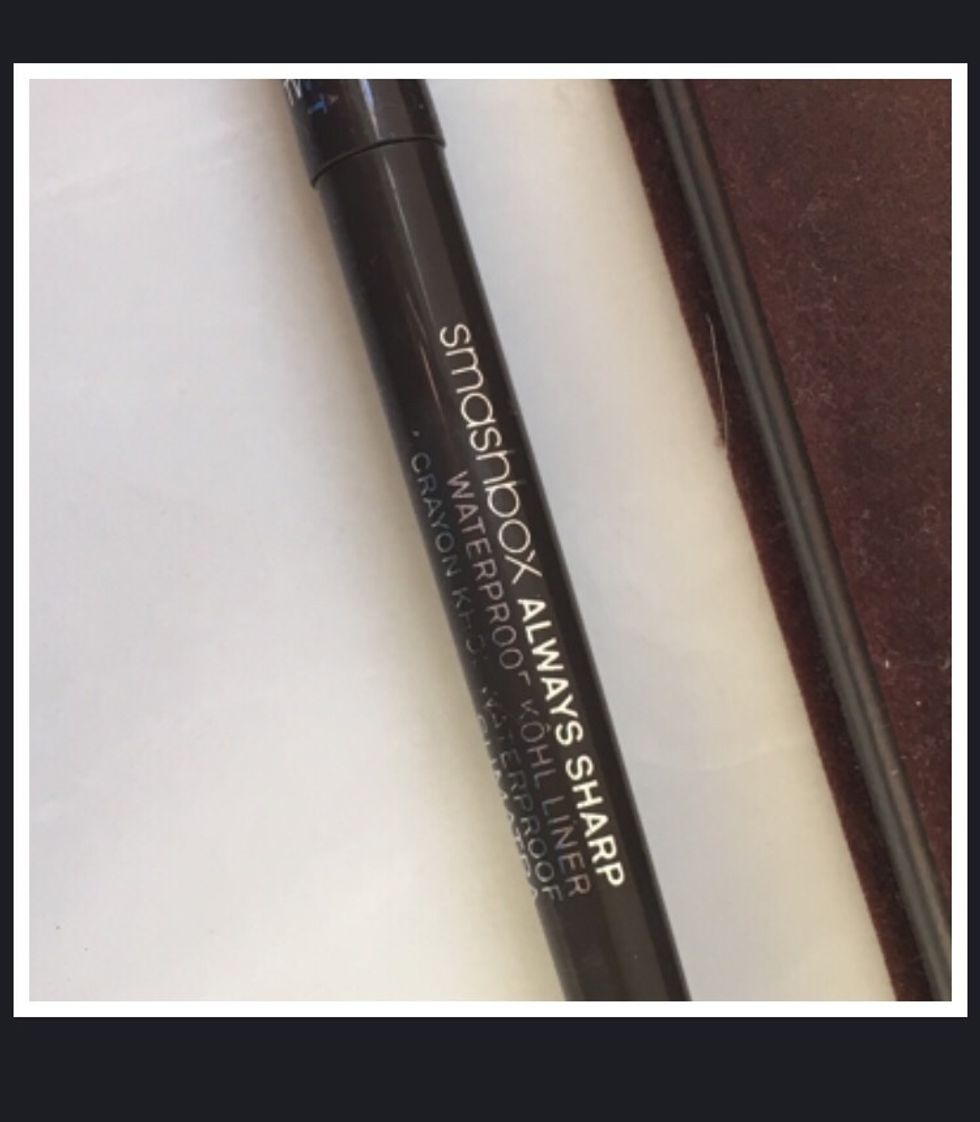
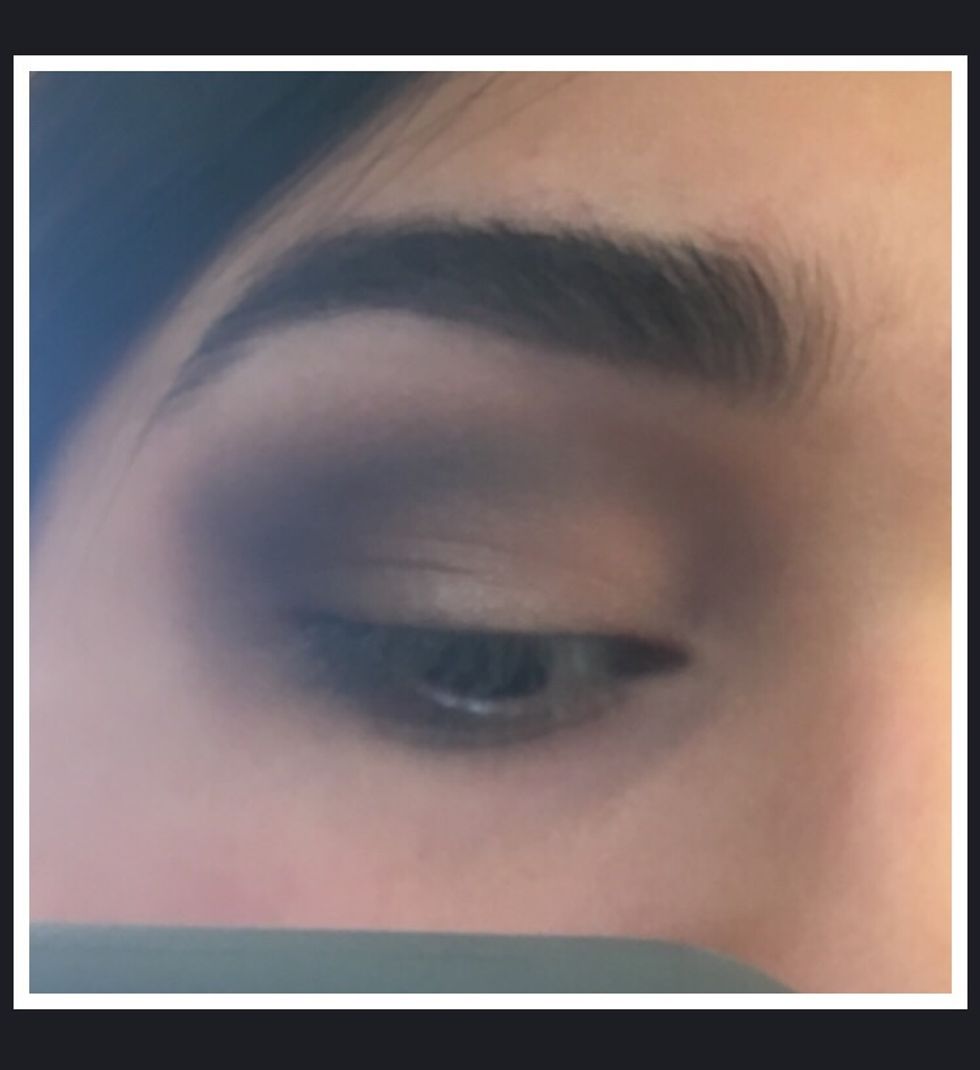
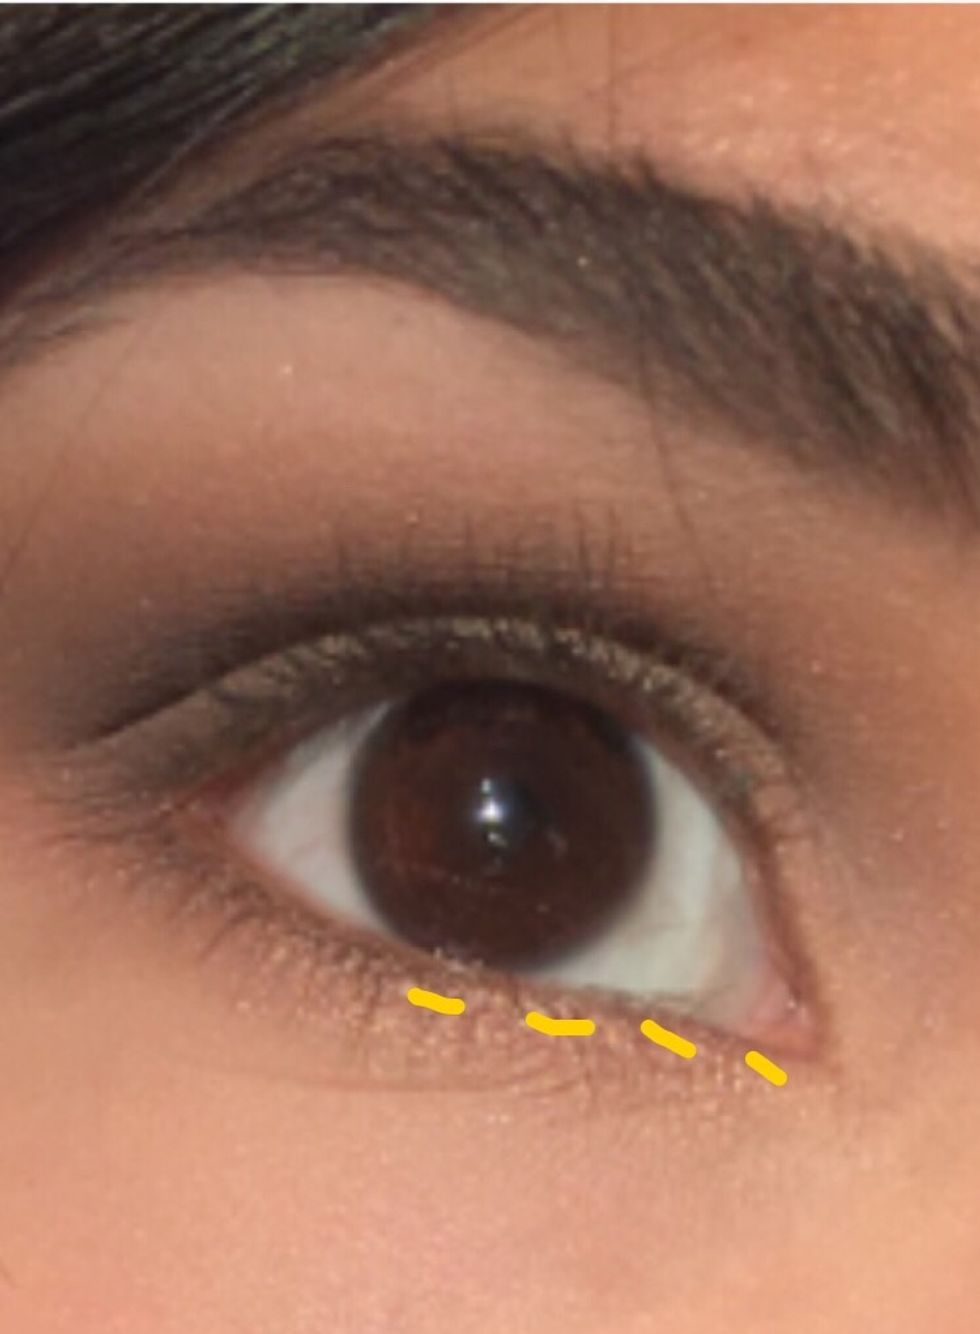
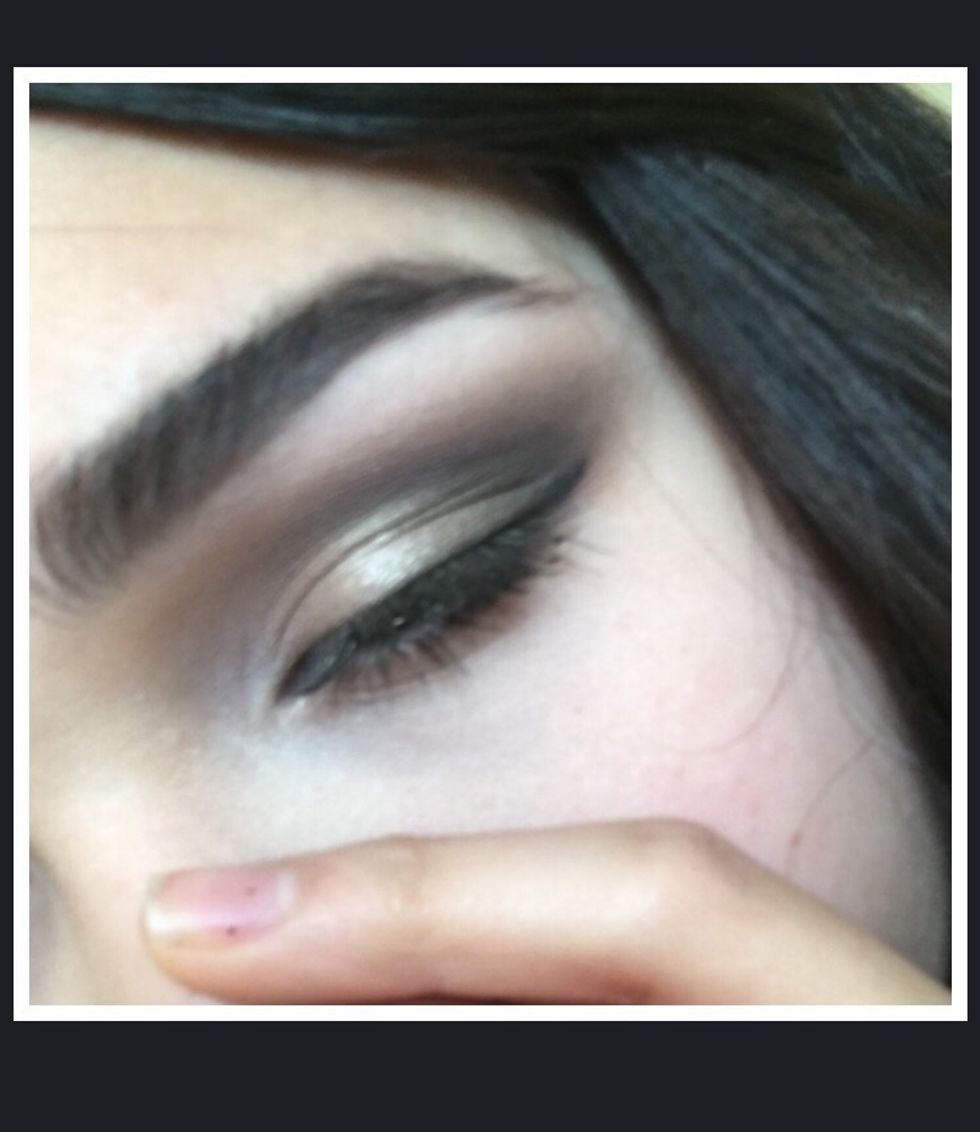
Step ten: Smashbox always sharp in brown I line the bottom of my eye midway as well. Also I created a tiny cat eye that I slightly blended.
The lines bottom eye thingie
And minuscule cat eye. Since I have hooded eyes, a thick liner would not look good on me. So I just did the little flick. You may however choose the eyeliner shape of your choice.

Last fixes I need to add a little more "HalfBaked" to the center of my lid. Apply mascara of your choice
Excuse the rest of my face.
Thank you for viewing! If you have any questions/suggestions/requests etc, Please ask! I love comments and questions!