The Conversation (0)
Sign Up
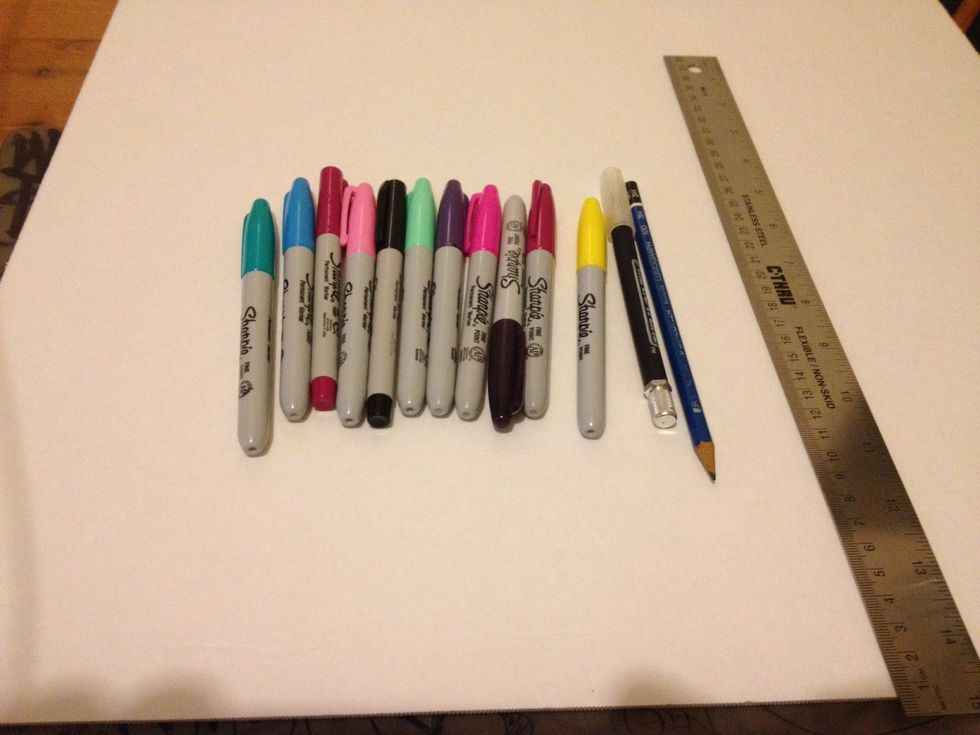
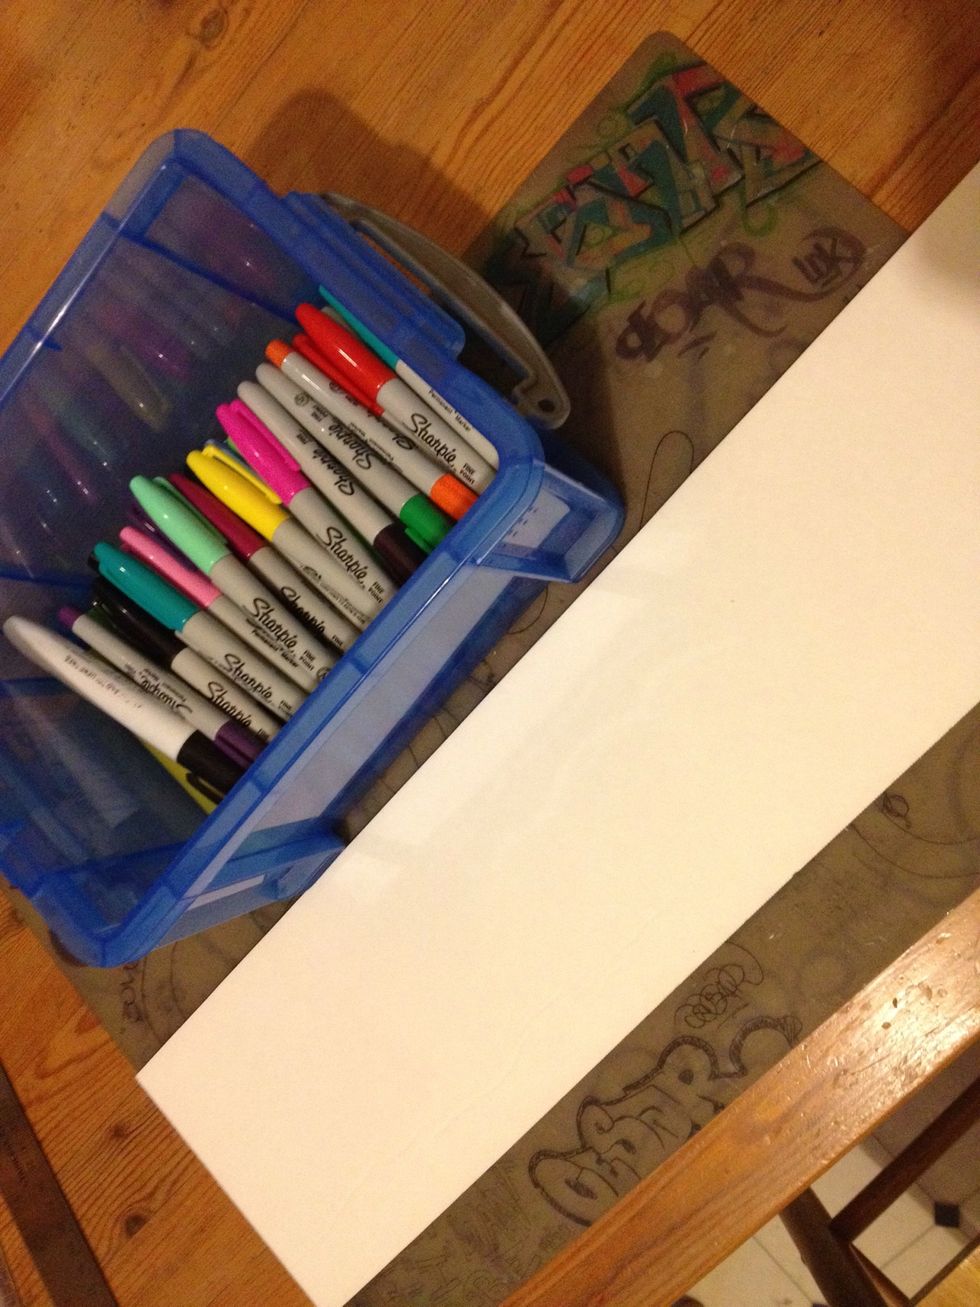
Here's some of the supplies. Missing is the other foam board and adhesive
For this guide I cut my foam board to 6". Just wanted to save the rest for other projects. I bought my boards for $1 @ Dollar tree 🌳
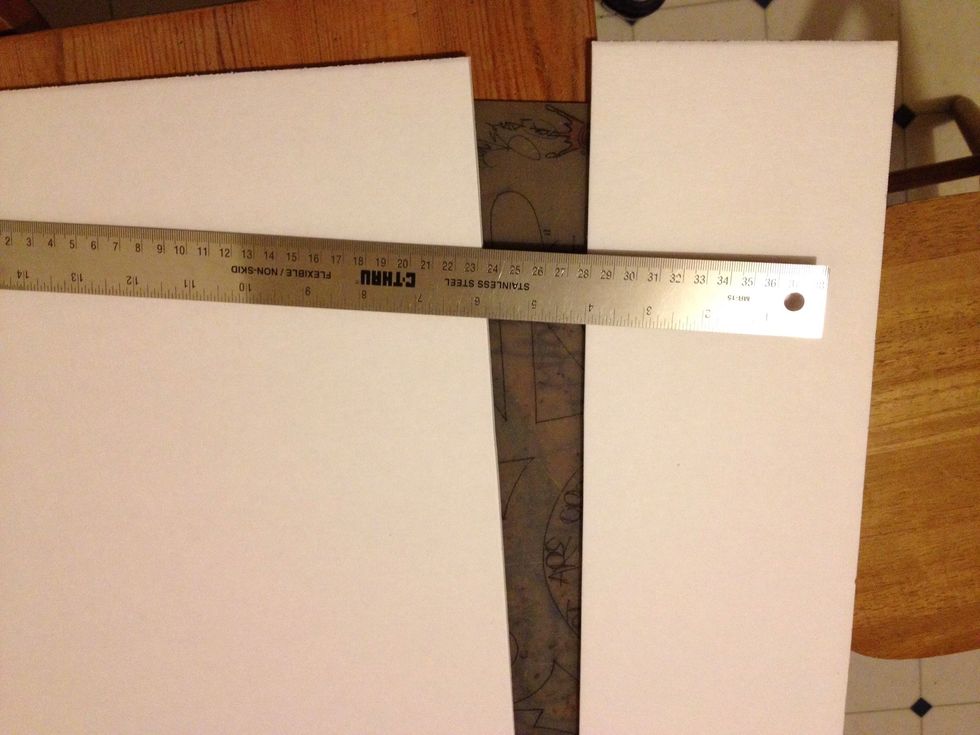
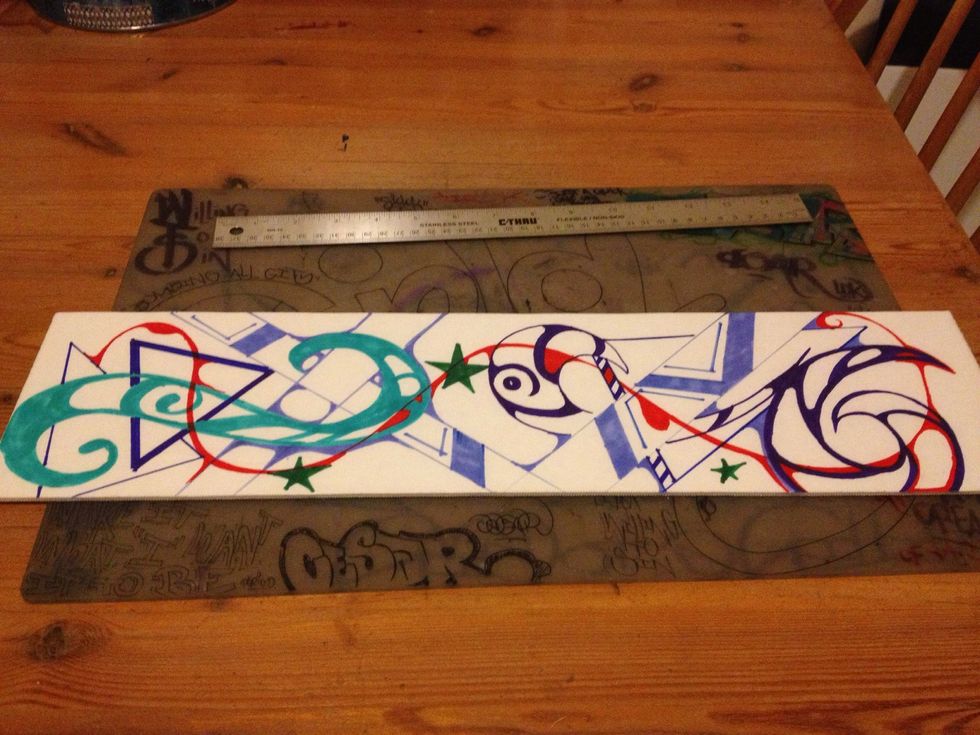
Here's the piece I'm using
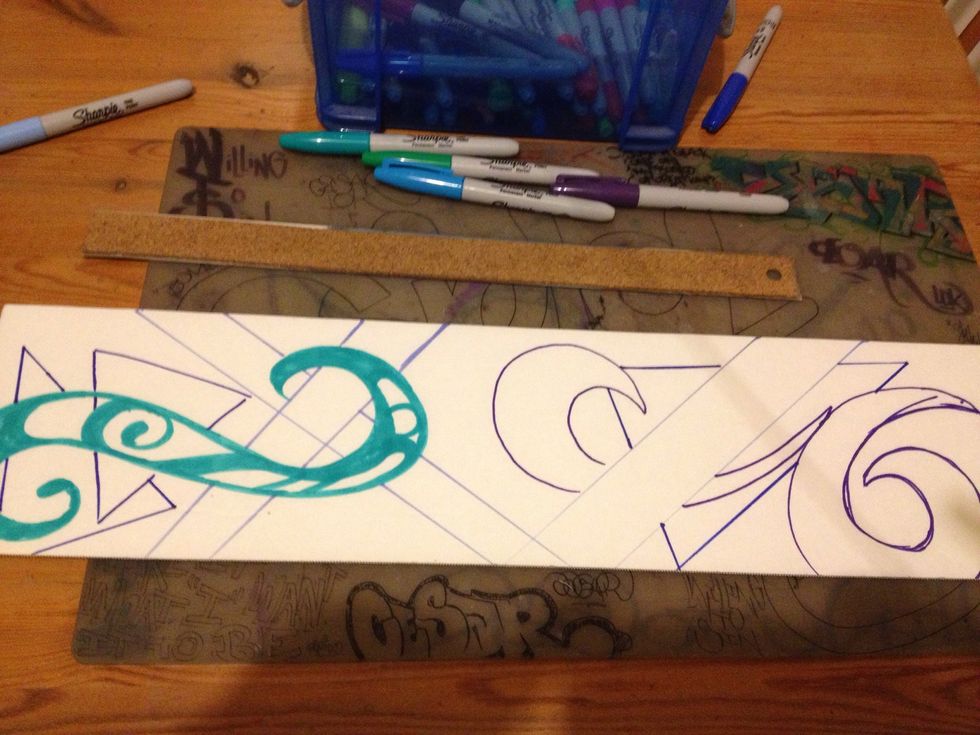
Now all you do is just start drawing different shapes with the markers. Color in some shapes and leave some blank if you wish. Feel free to use the ruler or free hand your designs. I chose both
There you have it. Your very own art. I chose to leave mine as is. I like it, simple!
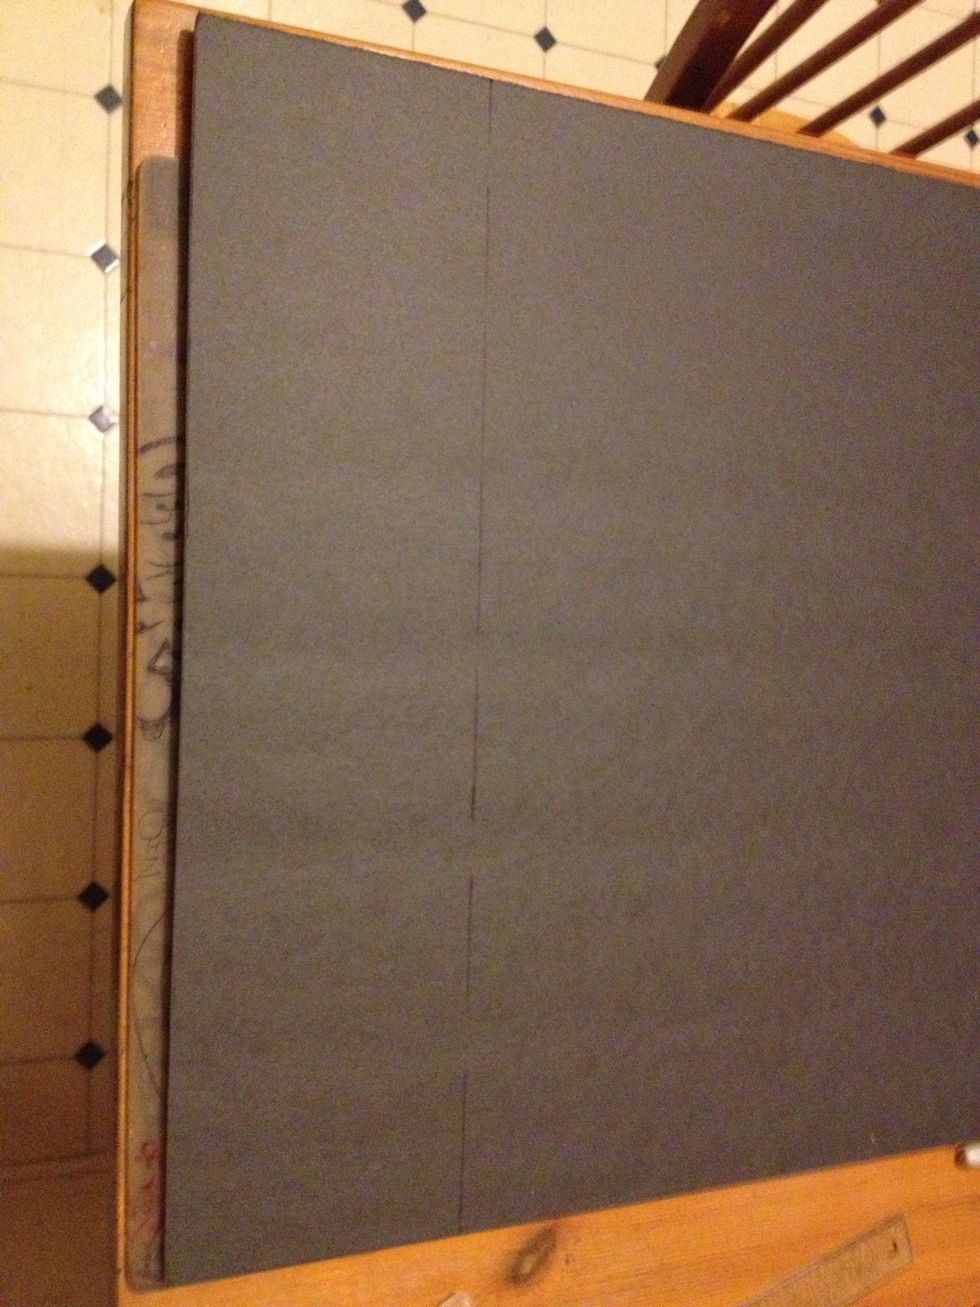
Here's the other board. Now cut this one maybe 1/2" or 1" bigger than the other board you drew on. Just adding background to it so it can stand out
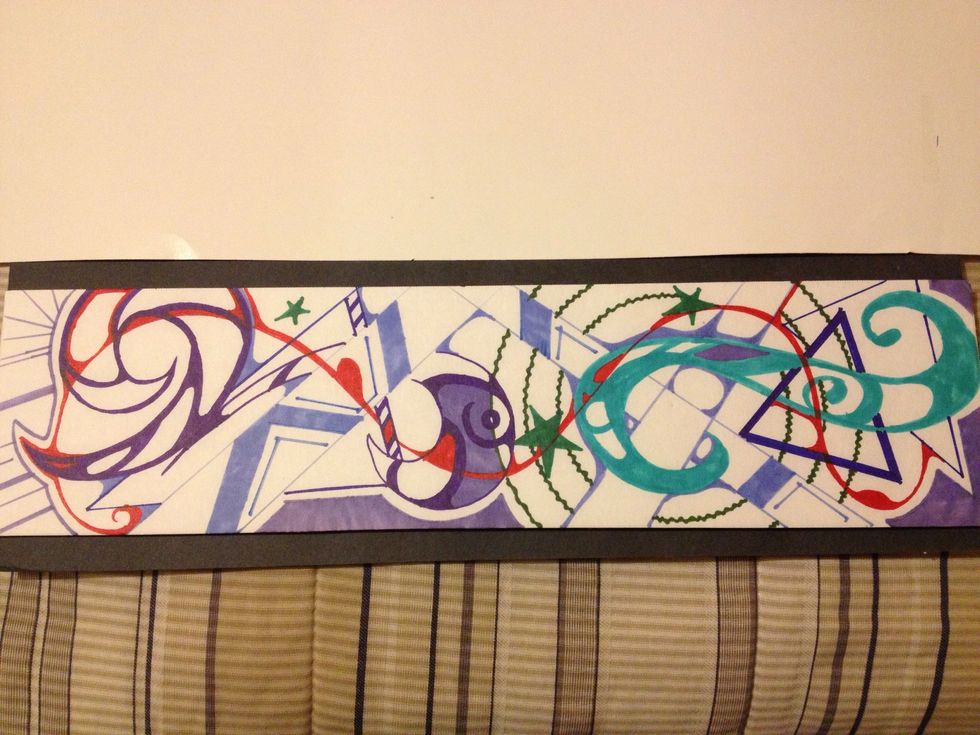
Spray adhesive on white board and place right on center of black board and you're done. Now you can choose to leave as is or place it in a frame. It's your art!
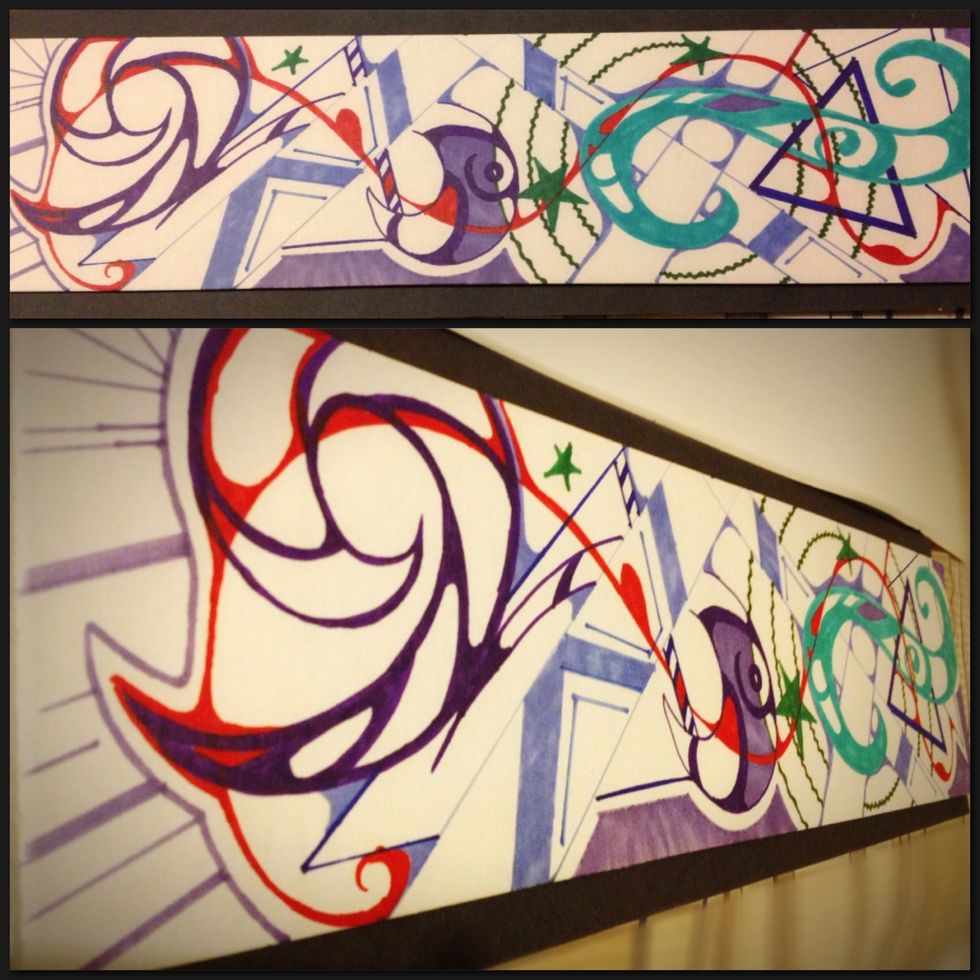
Final product. Your very own sharpie masterpiece.