The Conversation (0)
Sign Up
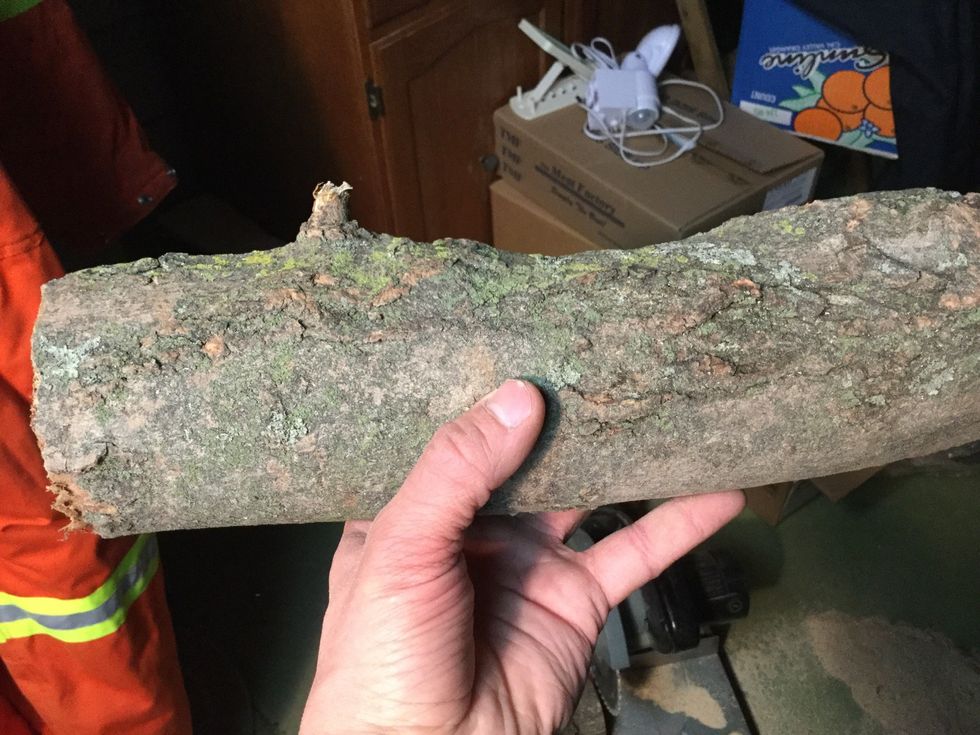
The Wood. The Legend. The Branch.

If it's partially split, let's chop that business!

As always, first don thy super chic safety apparatus. +10 points for style.
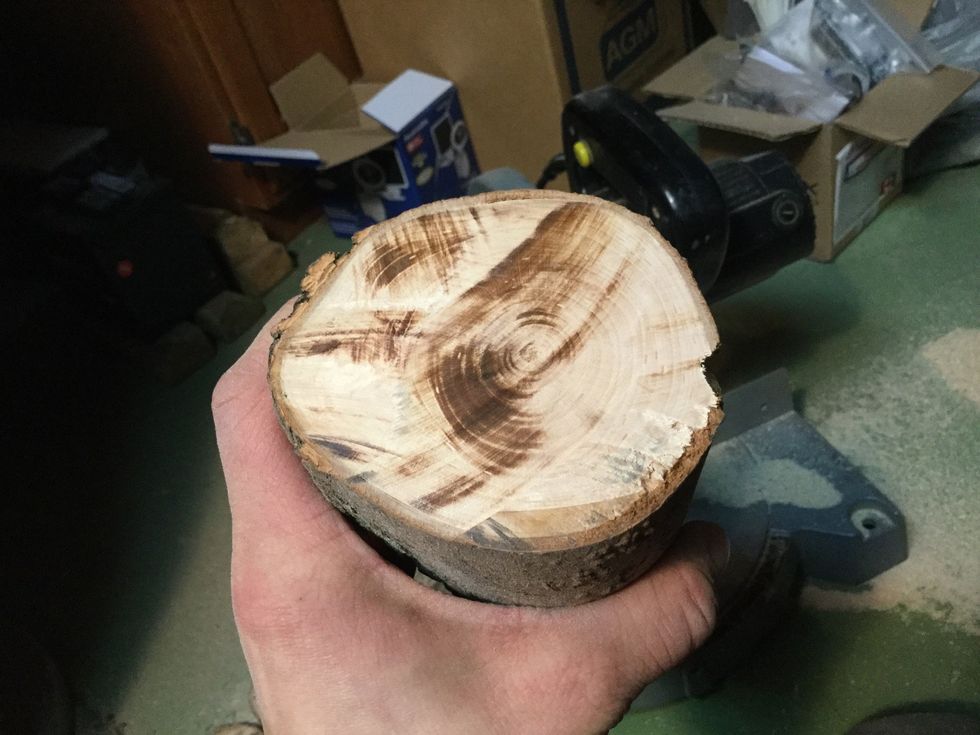
Chopped. Those aren't burn marks, they're beauty marks.
Hands well back people!! These coasters aren't being made to use in the emergency room.
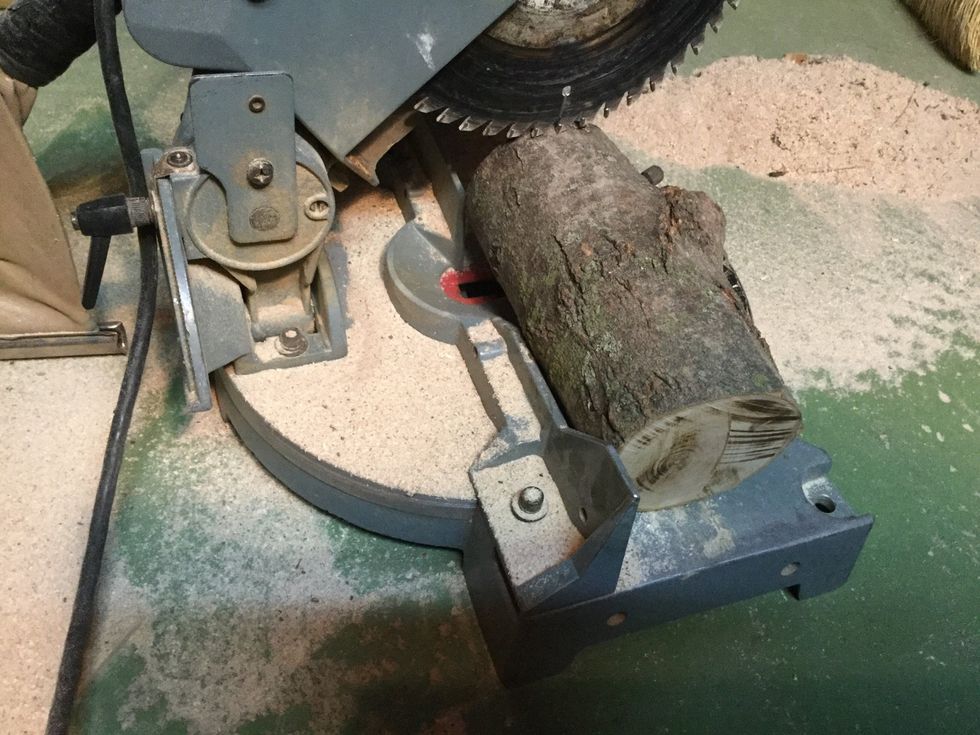
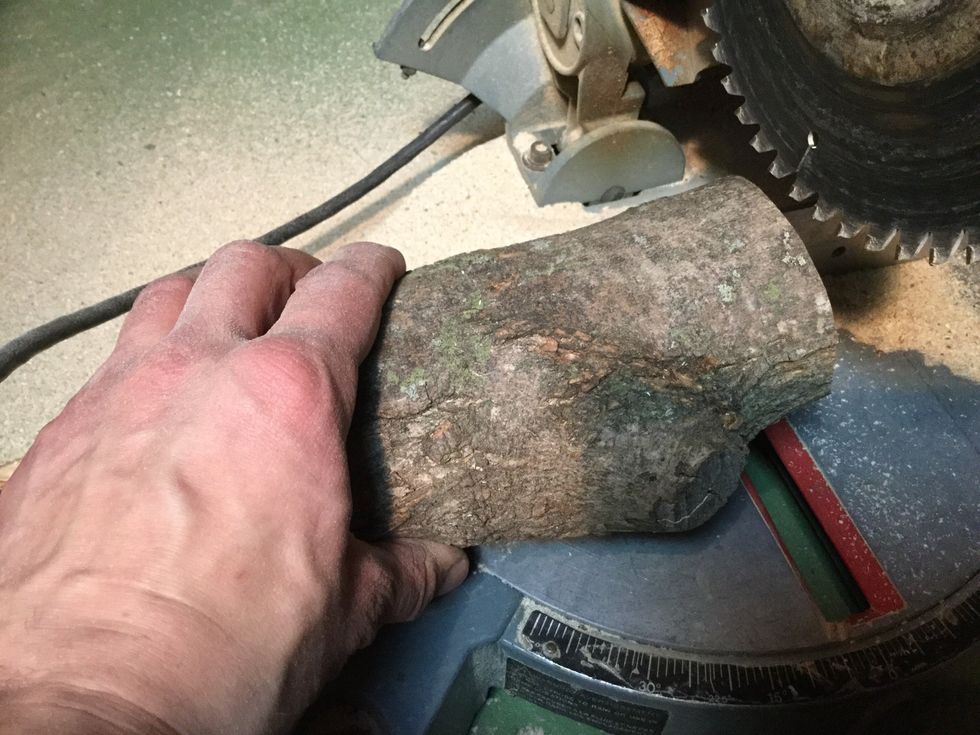
Keep branch tight to the back guard when you cut or the blade will bind up and the branch will fly.

Don't panic if one breaks, happens to the best of us...
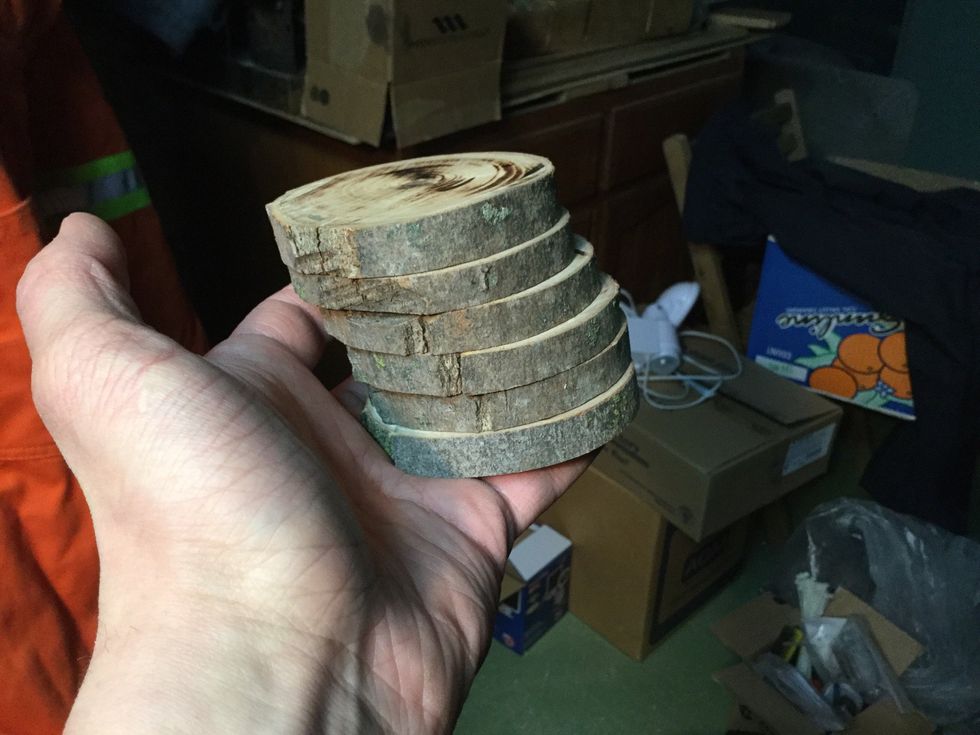
And there you have it. Six beautiful, live edge coasters for relatively free.
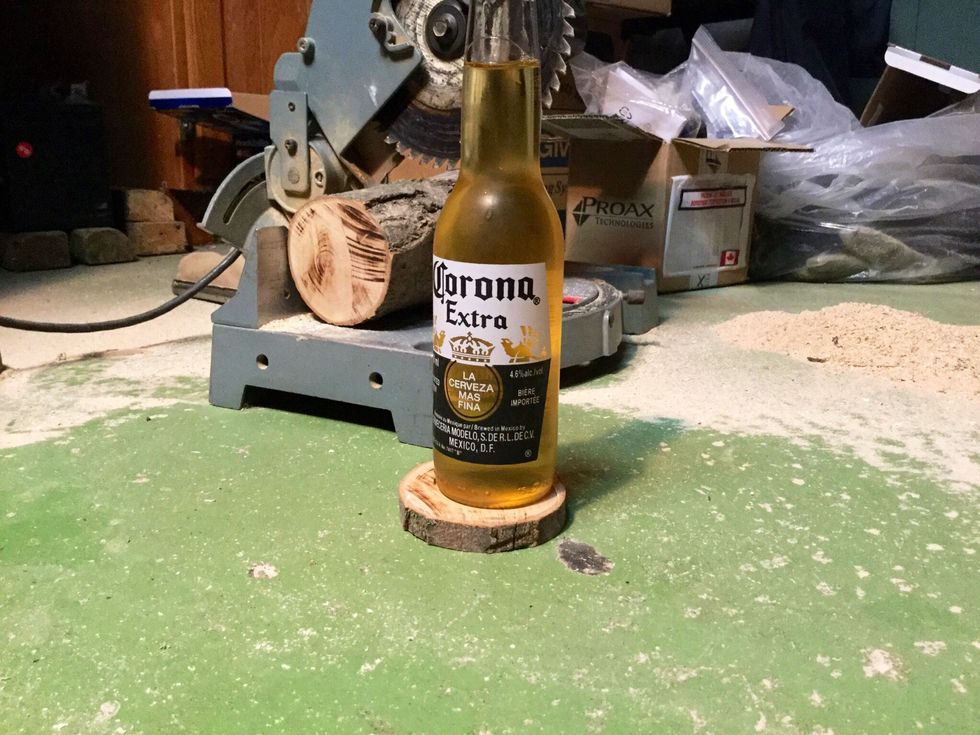
Enjoy the fruits of your labour! Feel free to let out a hearty lumberjack roar, you man(person)-of-the-woods, you!
You can sand and stain them as well, and add felt to the bottom so they don't scratch. I leave that to your discretion. I prefer rustic wood grain and slivers myself.
Hope you enjoyed my guide and I've inspired you to release that woodsman trapped within! Like and follow :D happy making!