The Conversation (0)
Sign Up
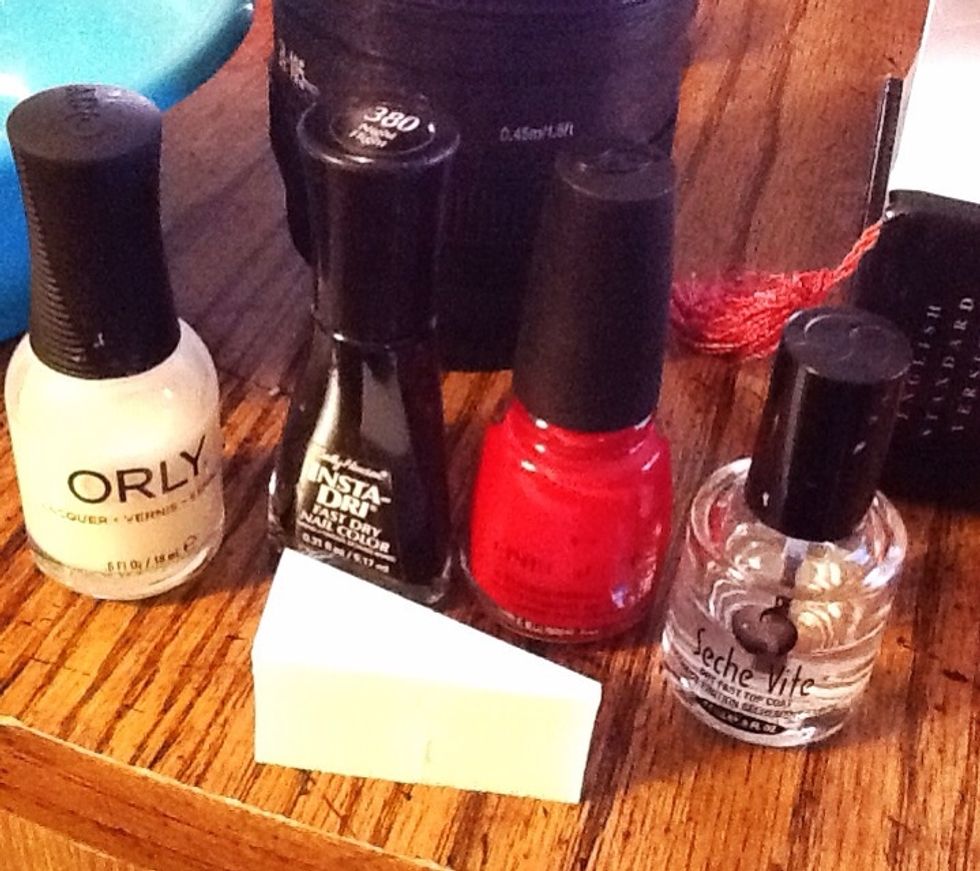
You will need a base coat, black and red polish, a top coat and a makeup sponge.
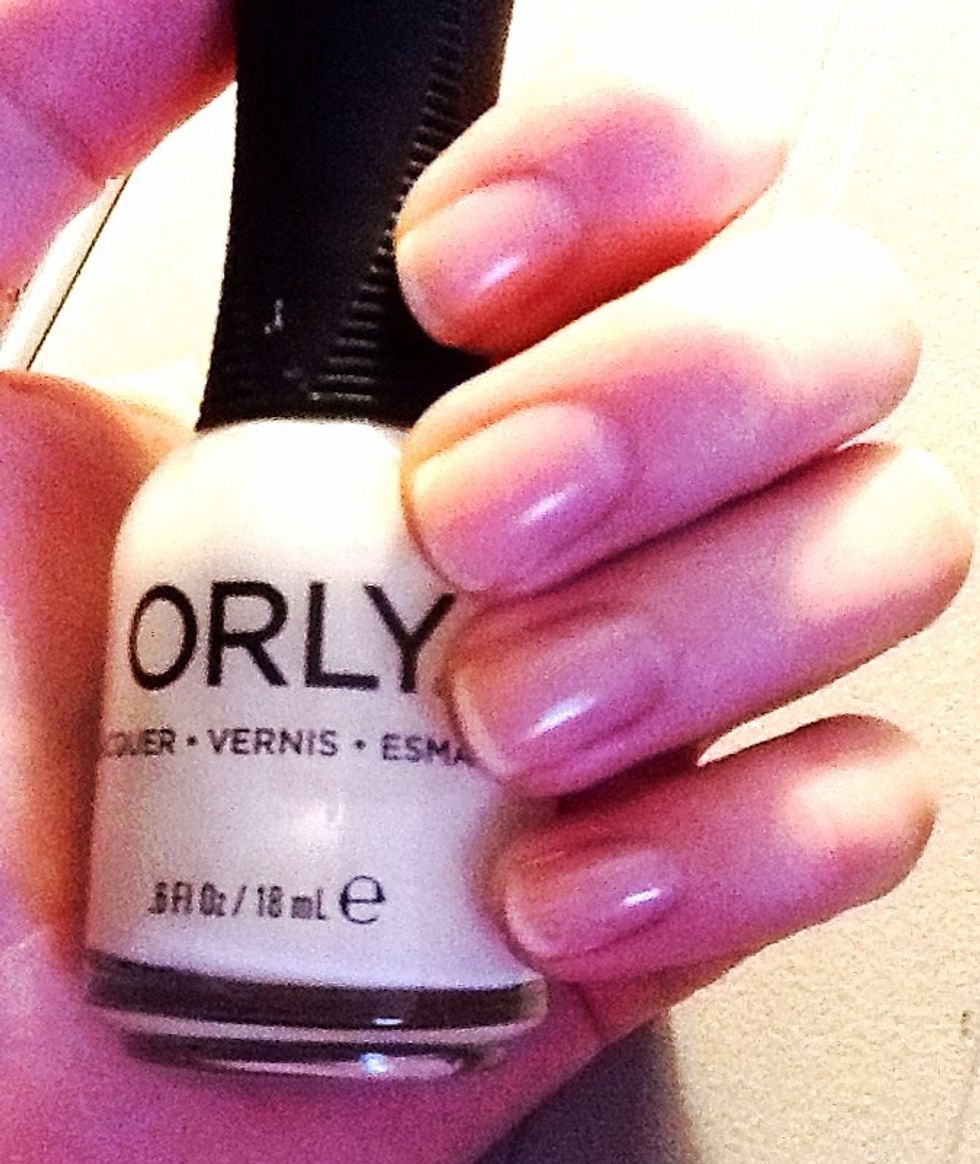
As always, start off with a base coat to keep your polish from chipping and to protect your nails.
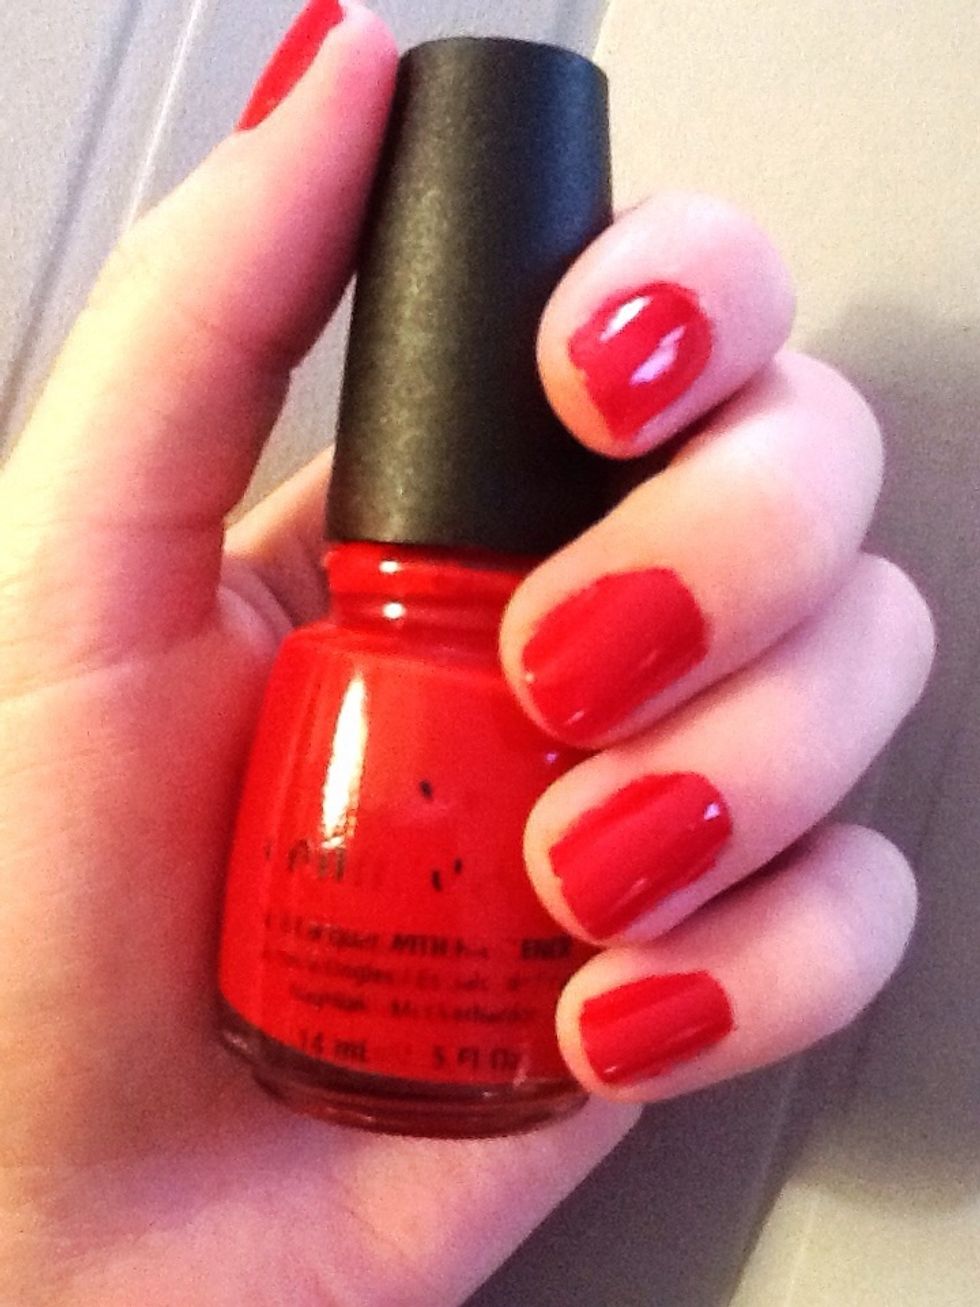
Paint your nails a light red.
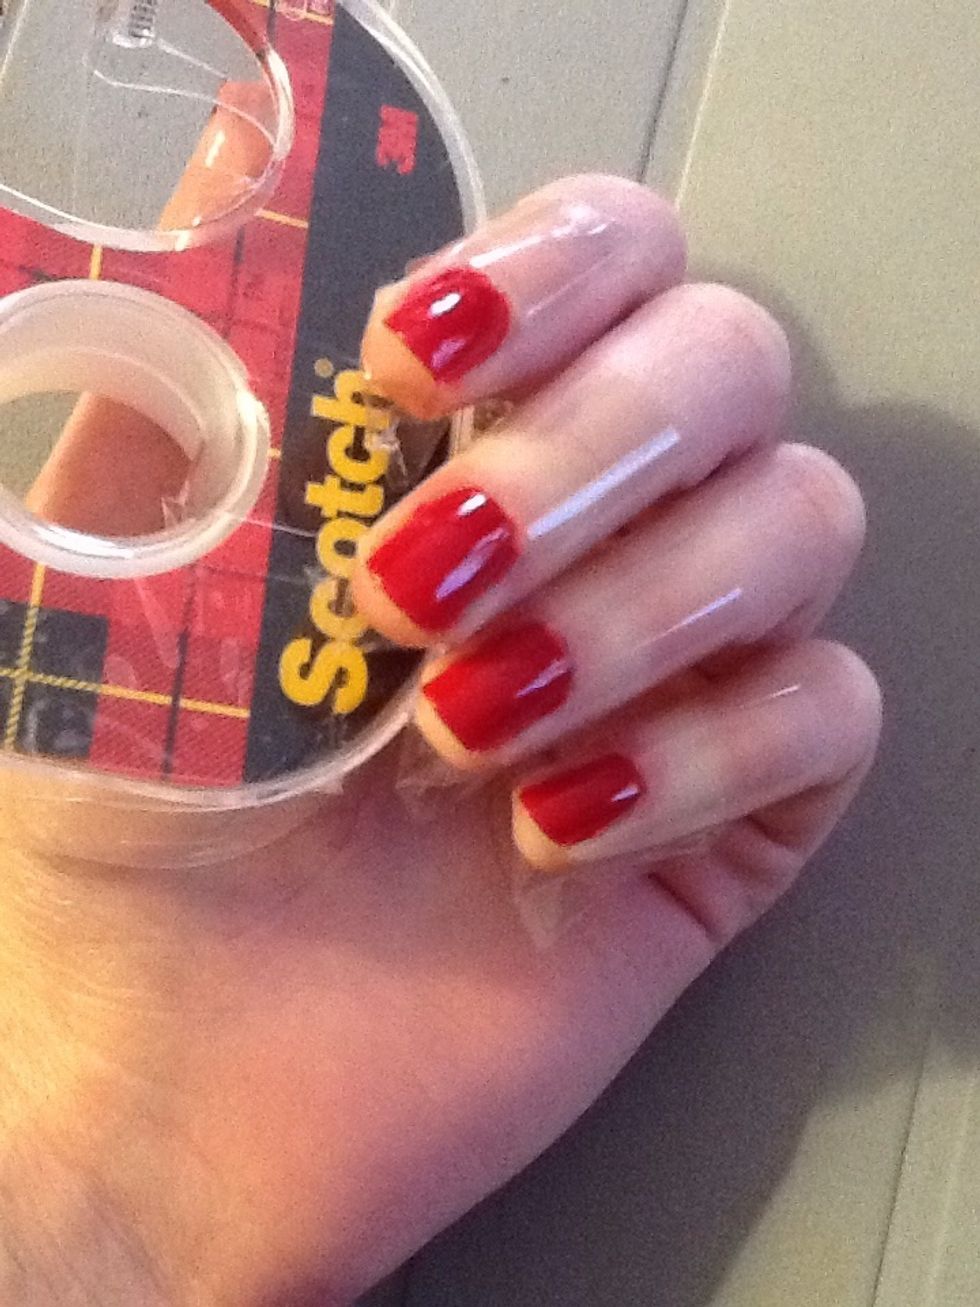
Tape around your nails to help minimize the mess from sponging.
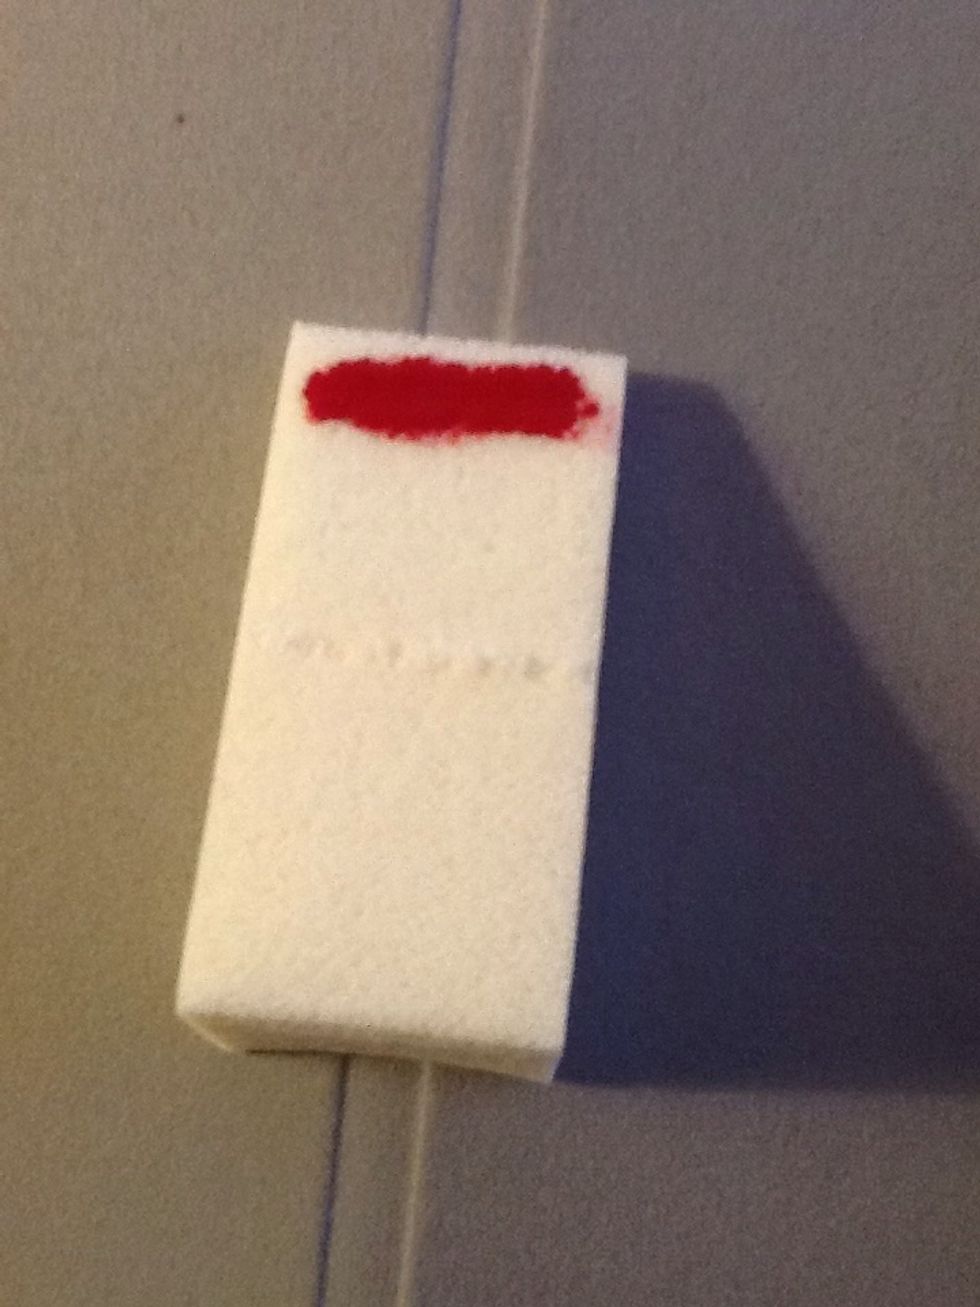
Paint a red stipe at the top of your makeup sponge.
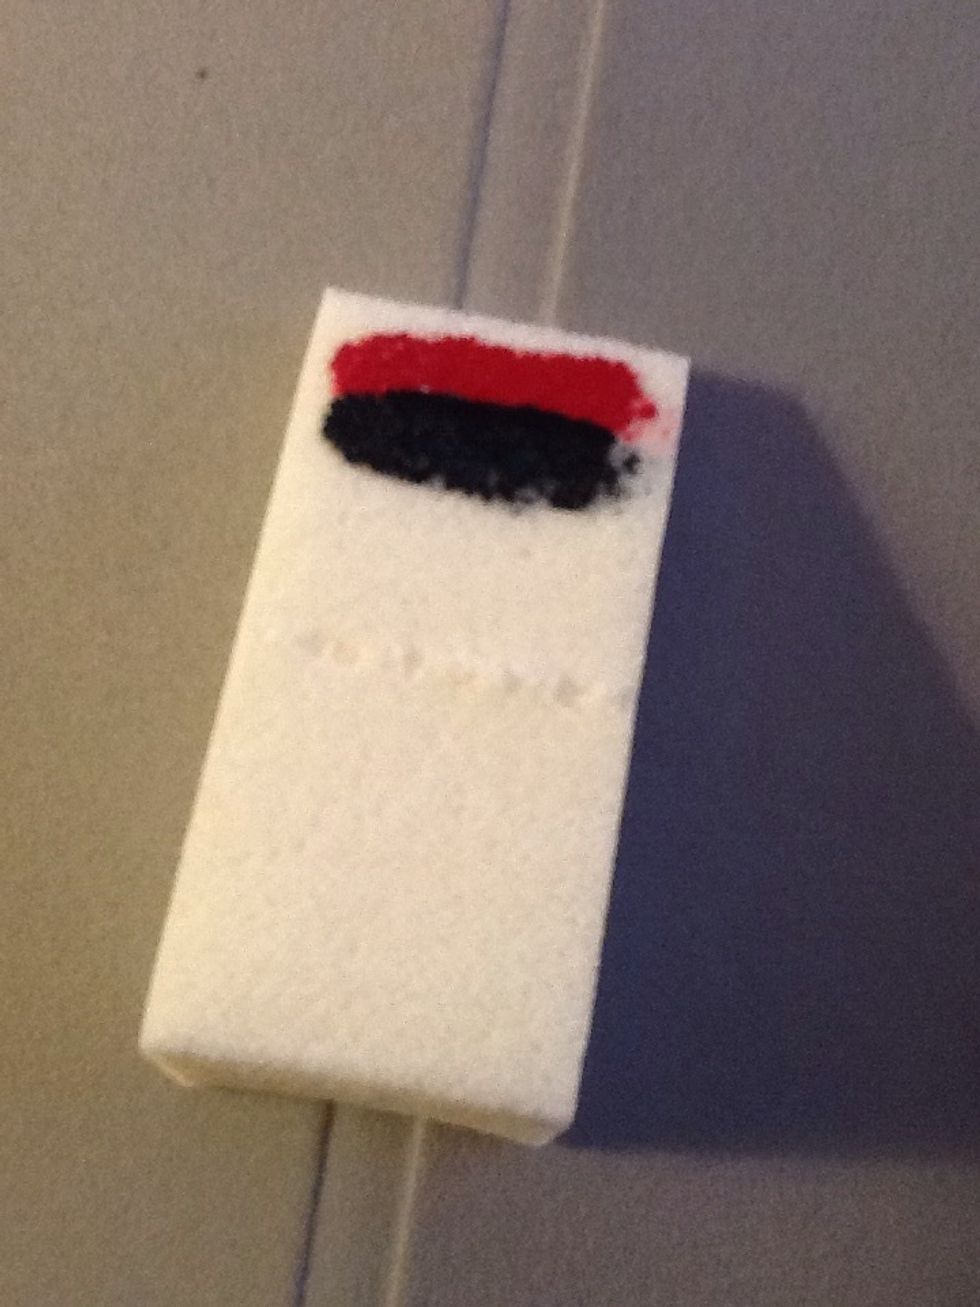
Next, paint a black stripe under the red. Overlap the black and the red to add a blended look.
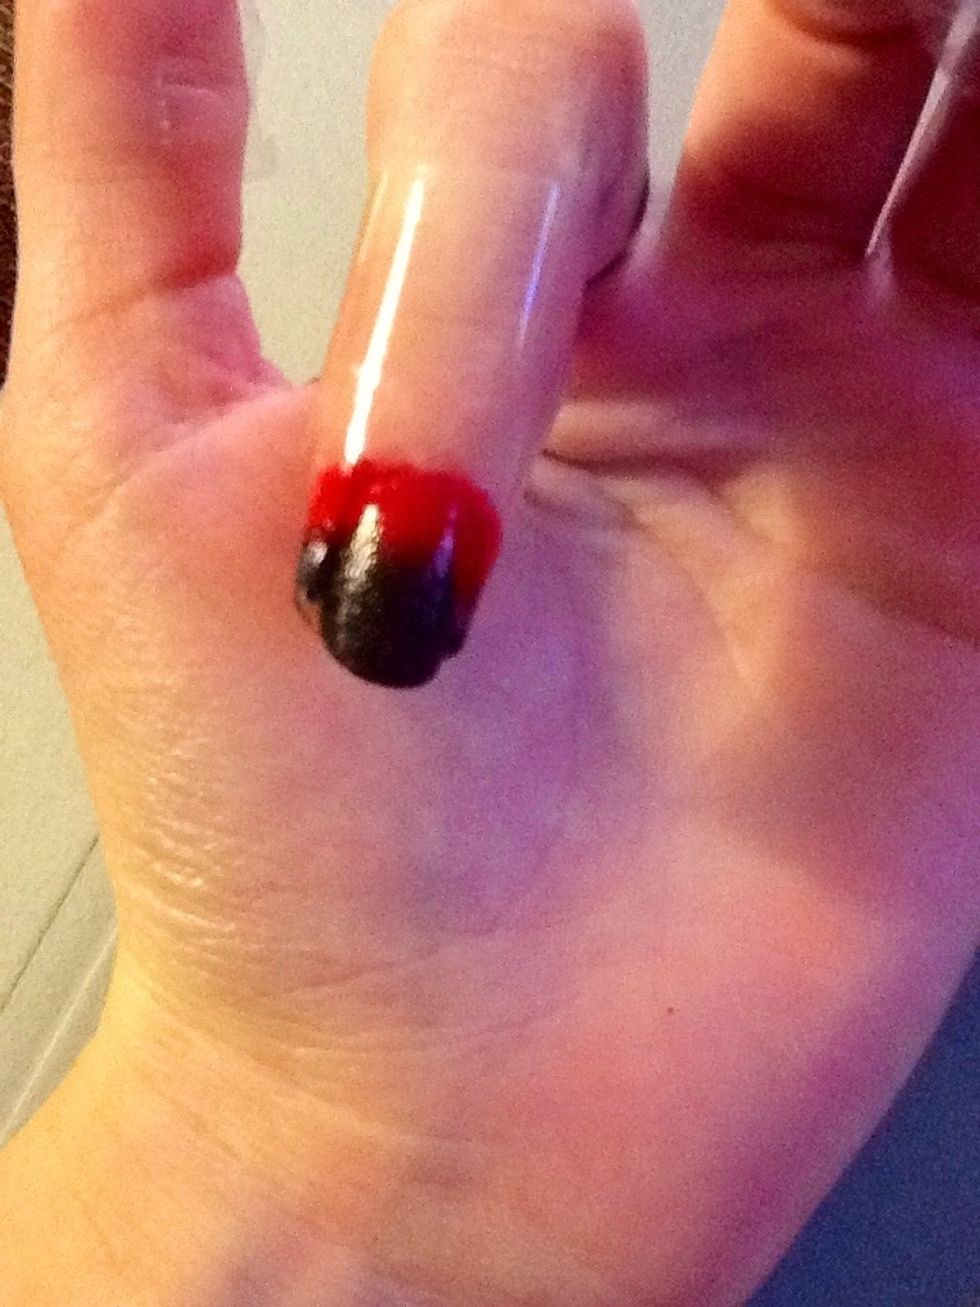
Sponge on the polish by rolling the sponge across the nail until the polish is bold and opaque. The black should be at the tip of the nail.

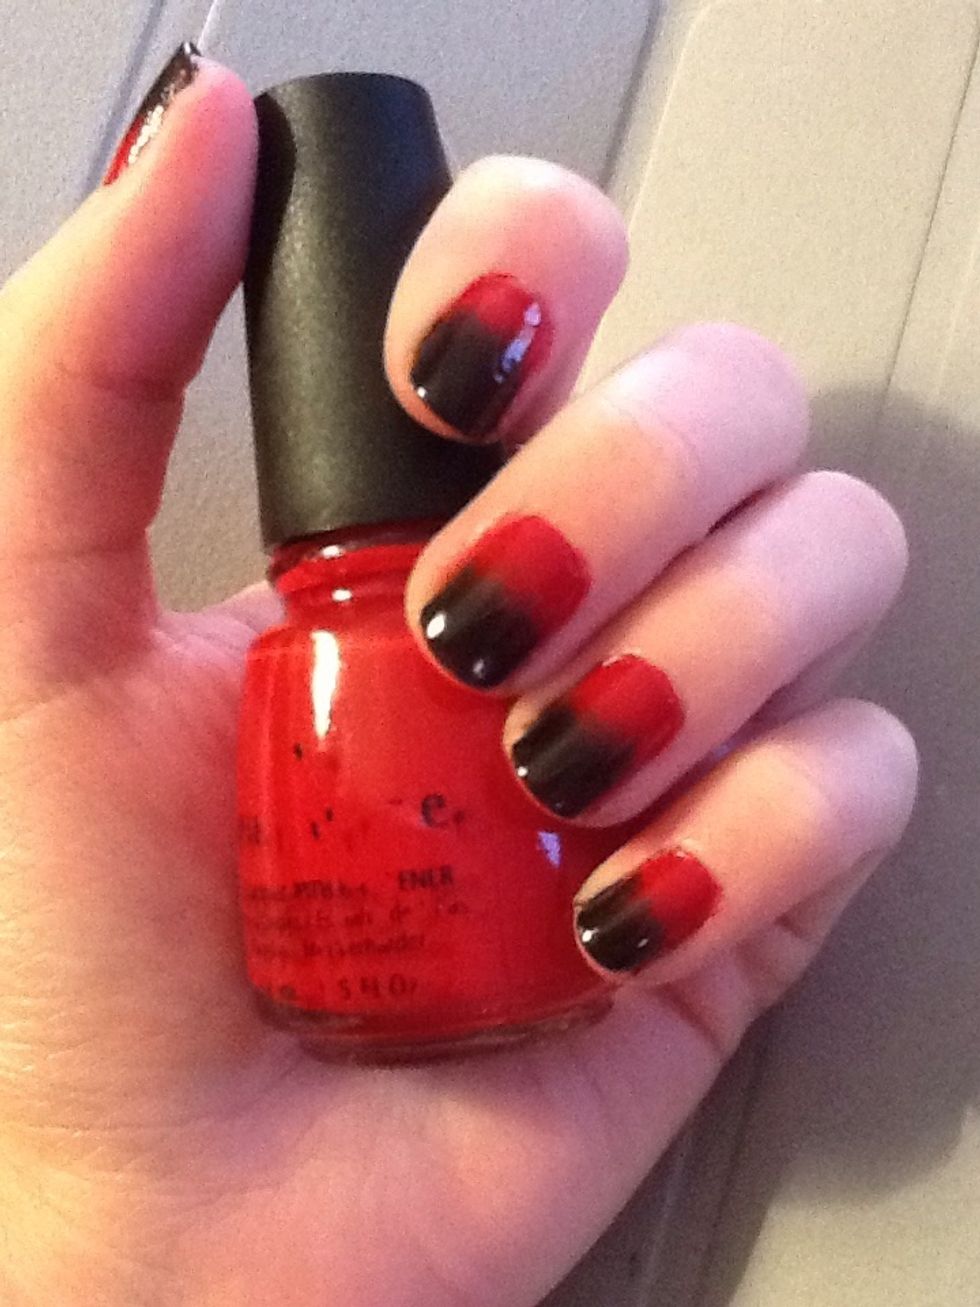
Remove the tape, clean up around the nail with nail polish remover and add a top coat to blend the colors.
Check out my other guides and follow me for more nail designs!