The Conversation (0)
Sign Up
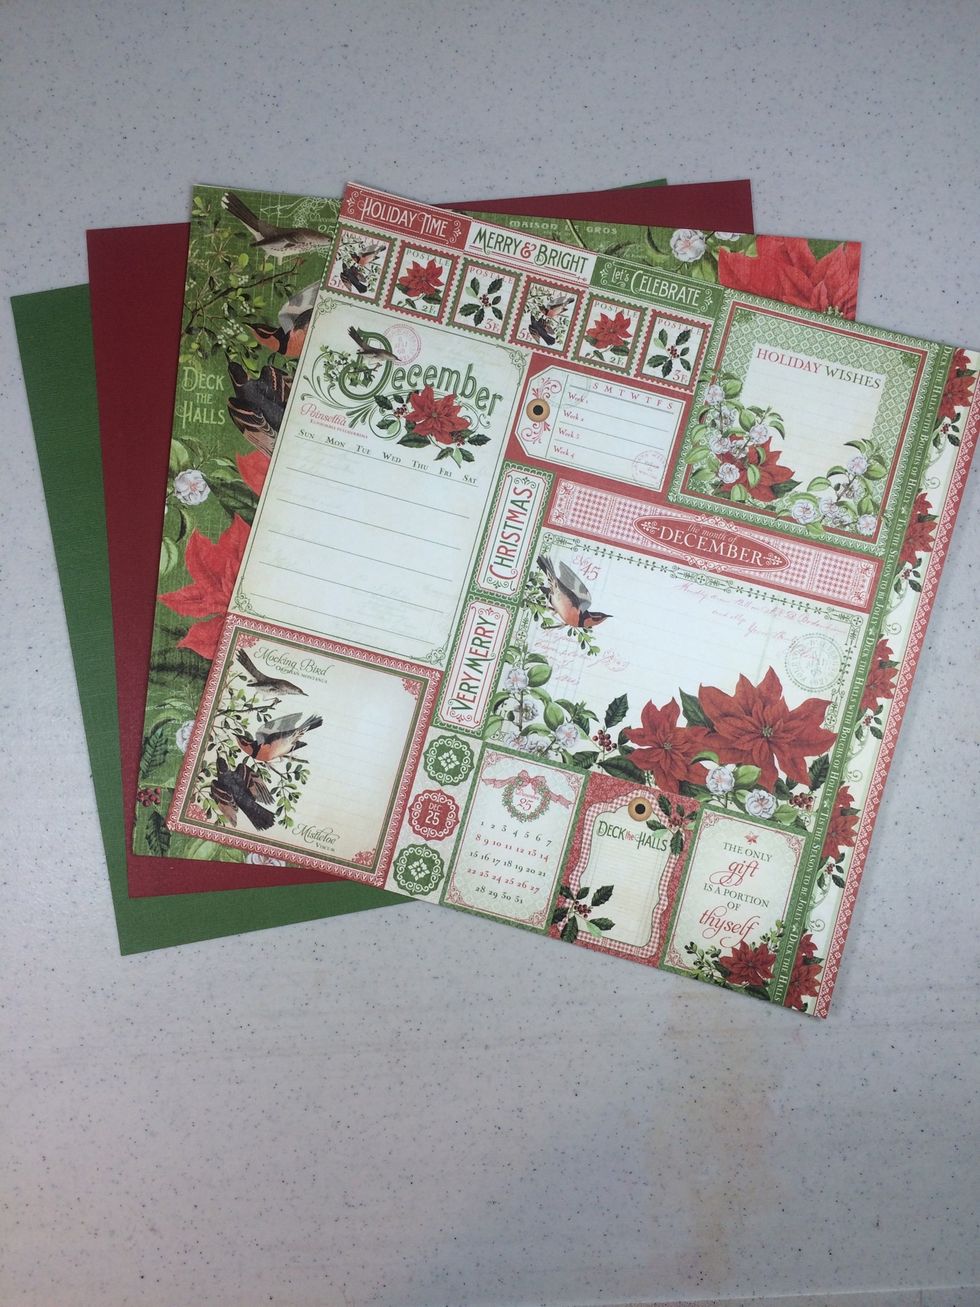
Start with Graphic 45's 12" x 12" Time To Flourish December Flourish page and December Cut-Aparts page, plus one sheet each of Triumphant Red and Antique Moss cardstock by Core'dinations.
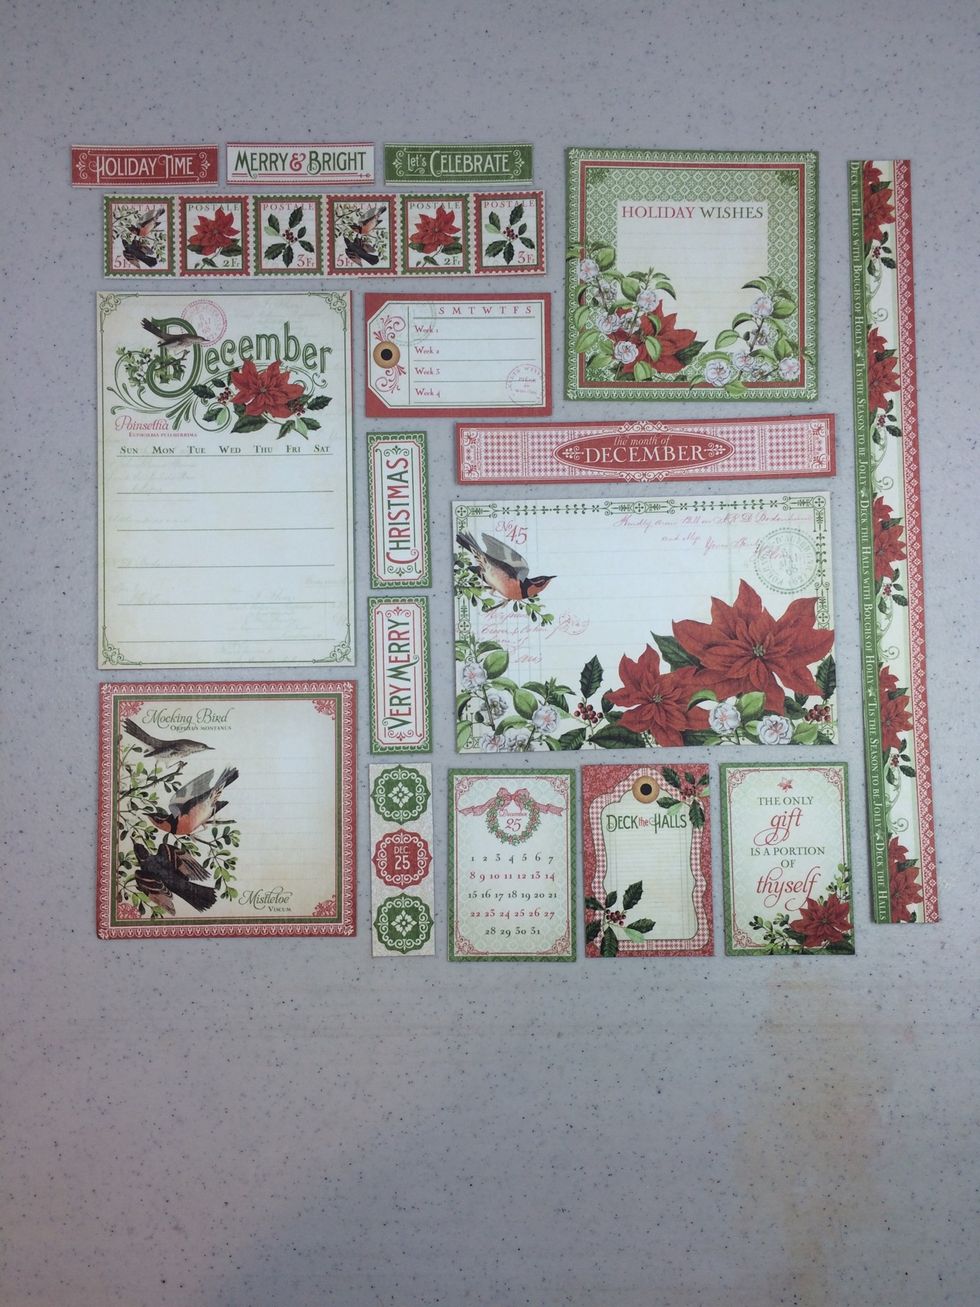
Cut out all of the parts on the December Cut-Aparts page.
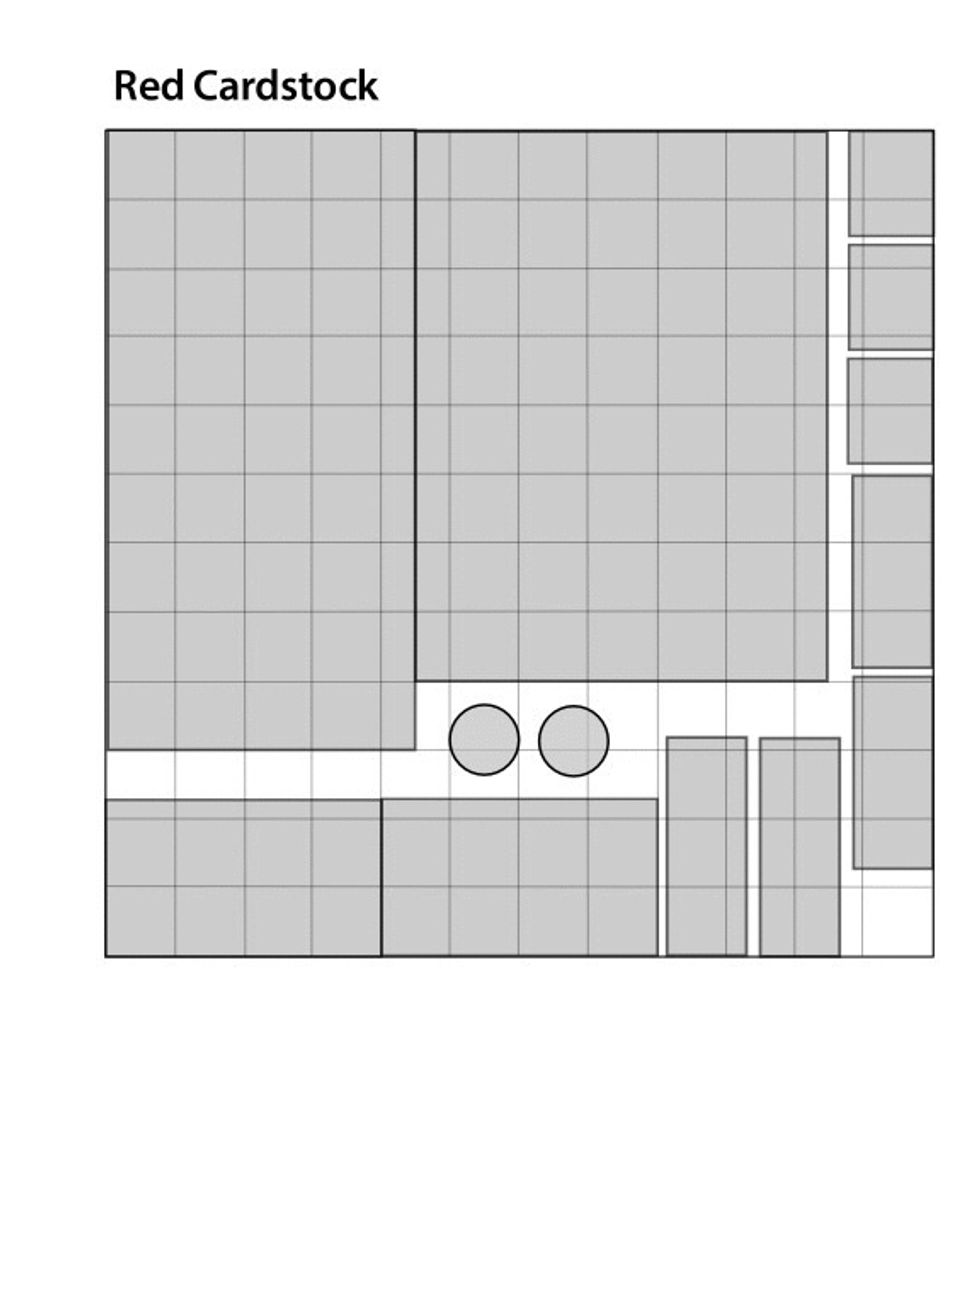
Refer to this diagram to economically cut the red cardstock pieces as directed throughout the guide.

Refer to this diagram to economically cut the green cardstock pieces as directed throughout the guide.
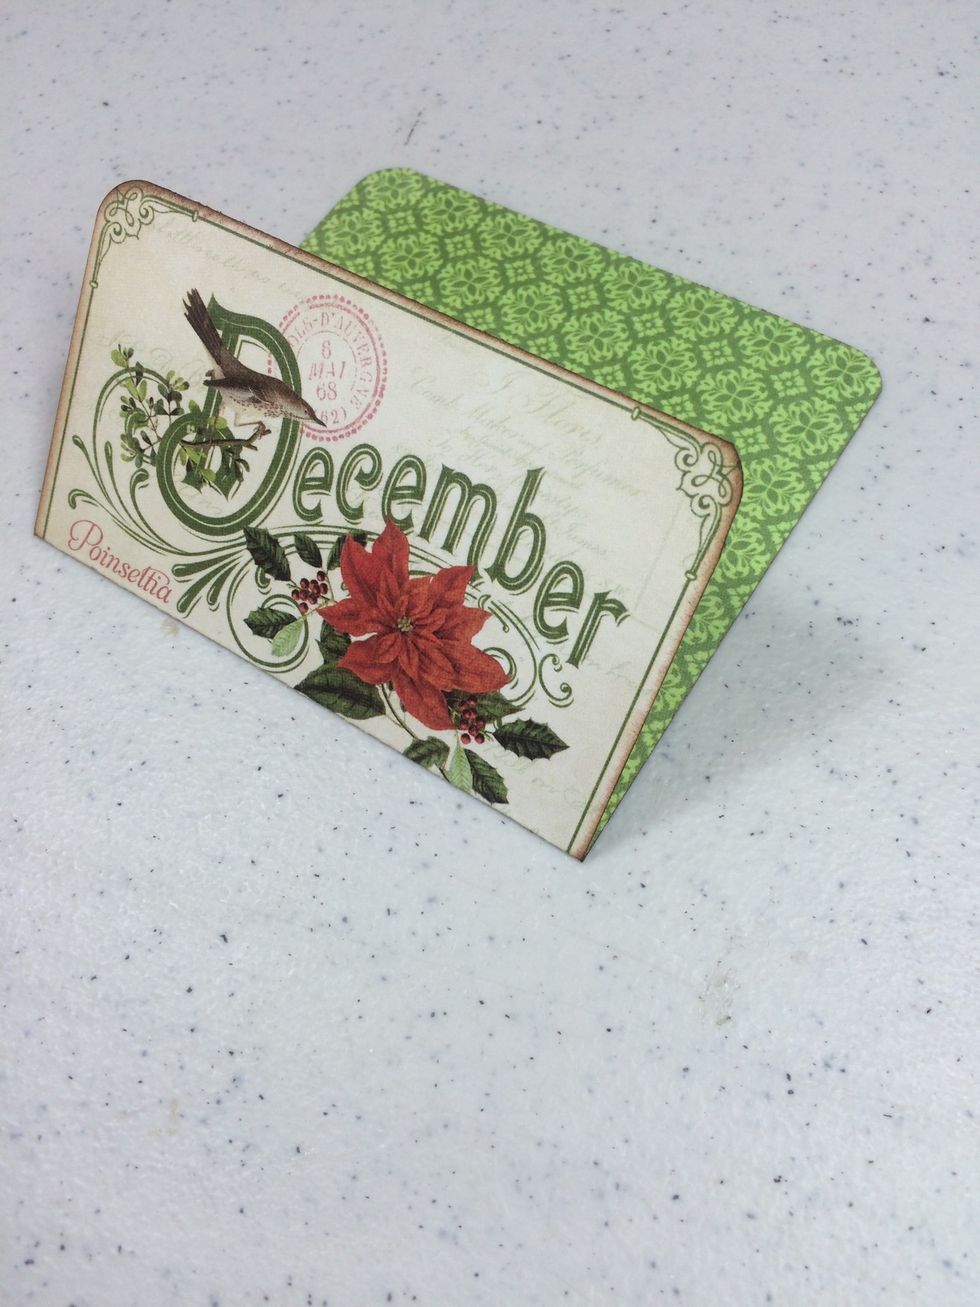
Create the first gift card holder by rounding off the corners of the tall December cut-apart. Score at 2 1/4" from the top and fold as shown.

Using a 1" circle punch, cut a notch at the center point as shown. Trim the additional two images, ink all paper edges with brown ink, if desired.
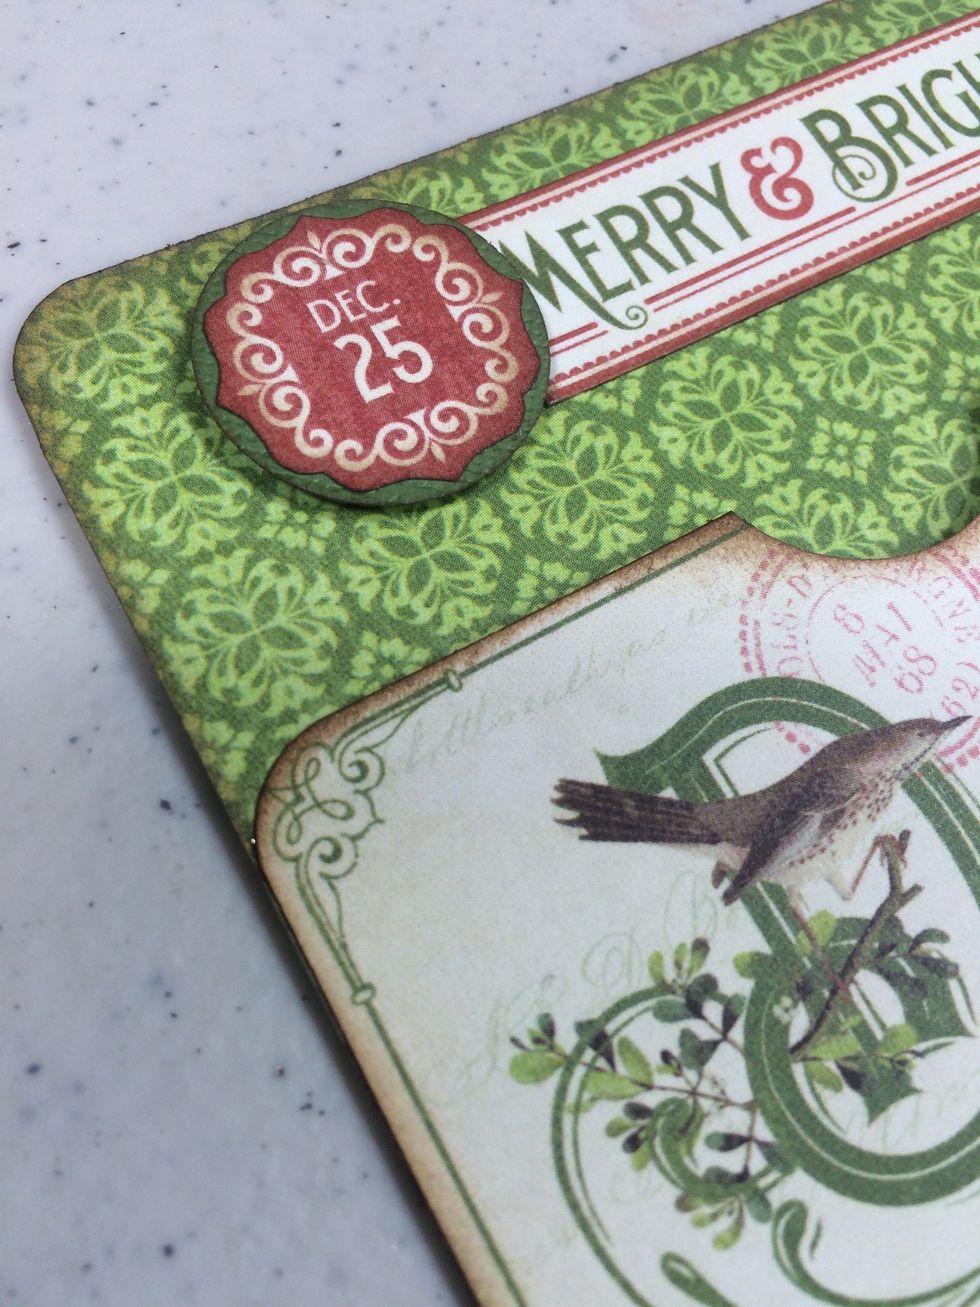
Cut a 1" circle from green cardstock. Layer the Dec. 25 piece onto it. Then adhere this unit plus the Merry & Bright strip across the top of the card. I used foam tape to pop up the circle.
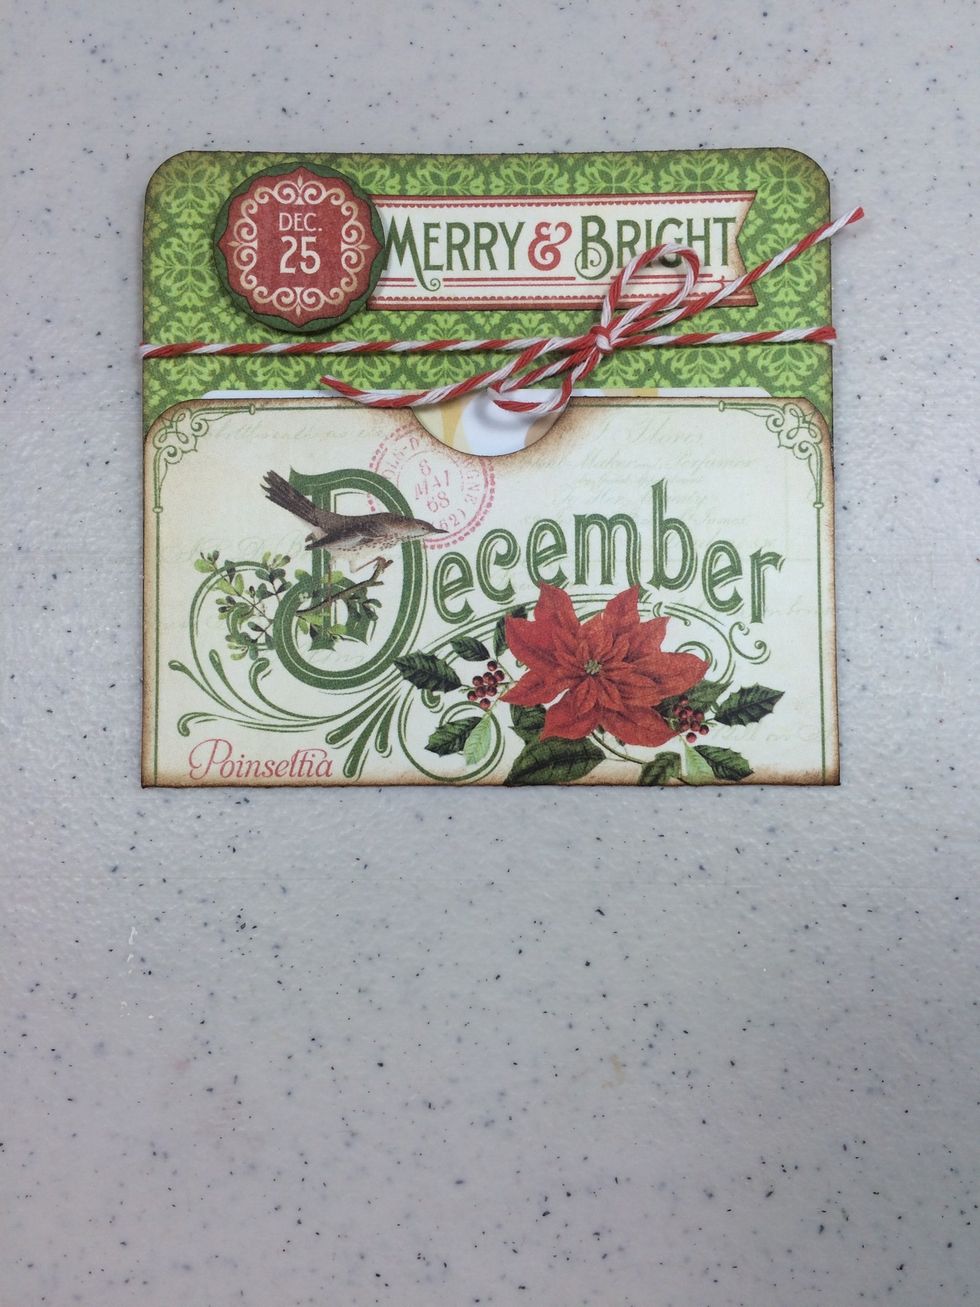
Adhere the two side flaps to create a pocket. Tie an 18" length of bakers twine around and into a bow. Insert a gift card or money into the pocket. Done!

For the second gift card holder, score the postcard image at 3" and fold in half.

Adhere the bottom and right side to create a pocket. Use a 1" circle punch to notch out a half circle, as shown. Ink edges.
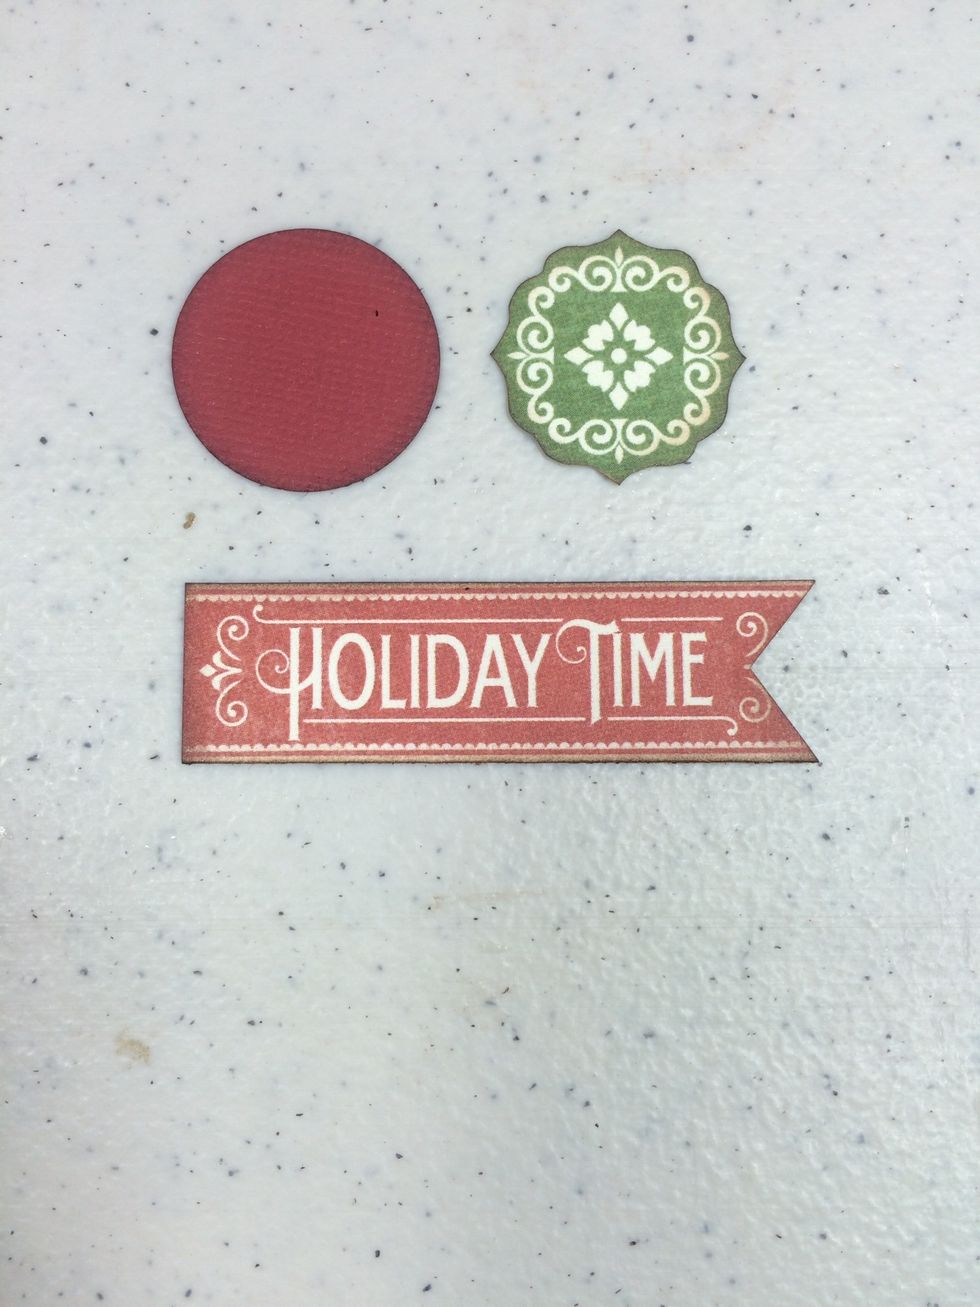
Cut a 1" circle from the red cardstock. Cut around the green medallion piece and adhere to the circle. Cut a v-notch off the right end of the Holiday Time strip. Ink edges.
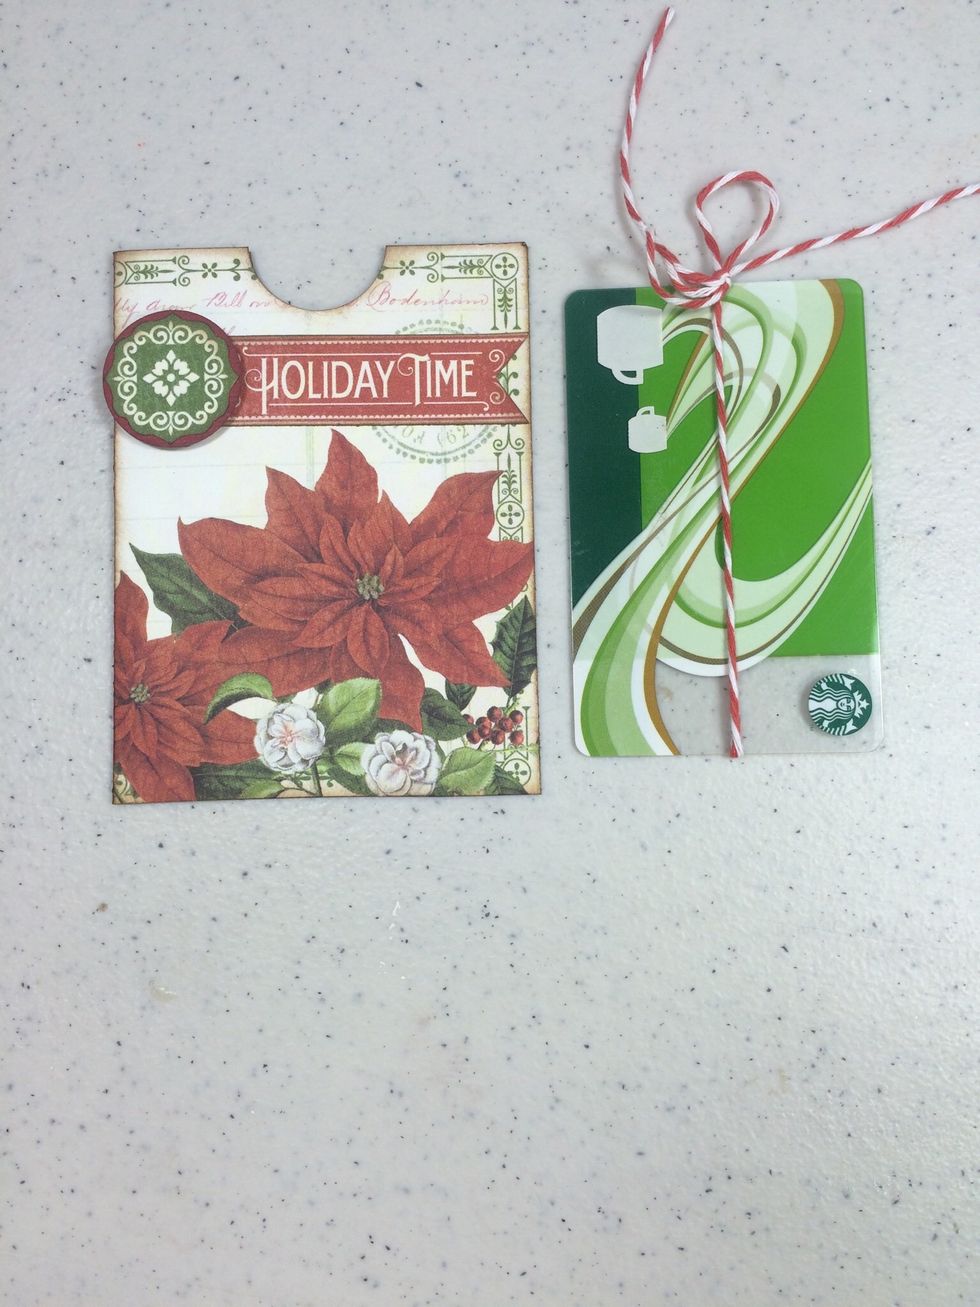
Adhere pieces to pocket as shown. Tie an 18" length of bakers twine around a gift card.
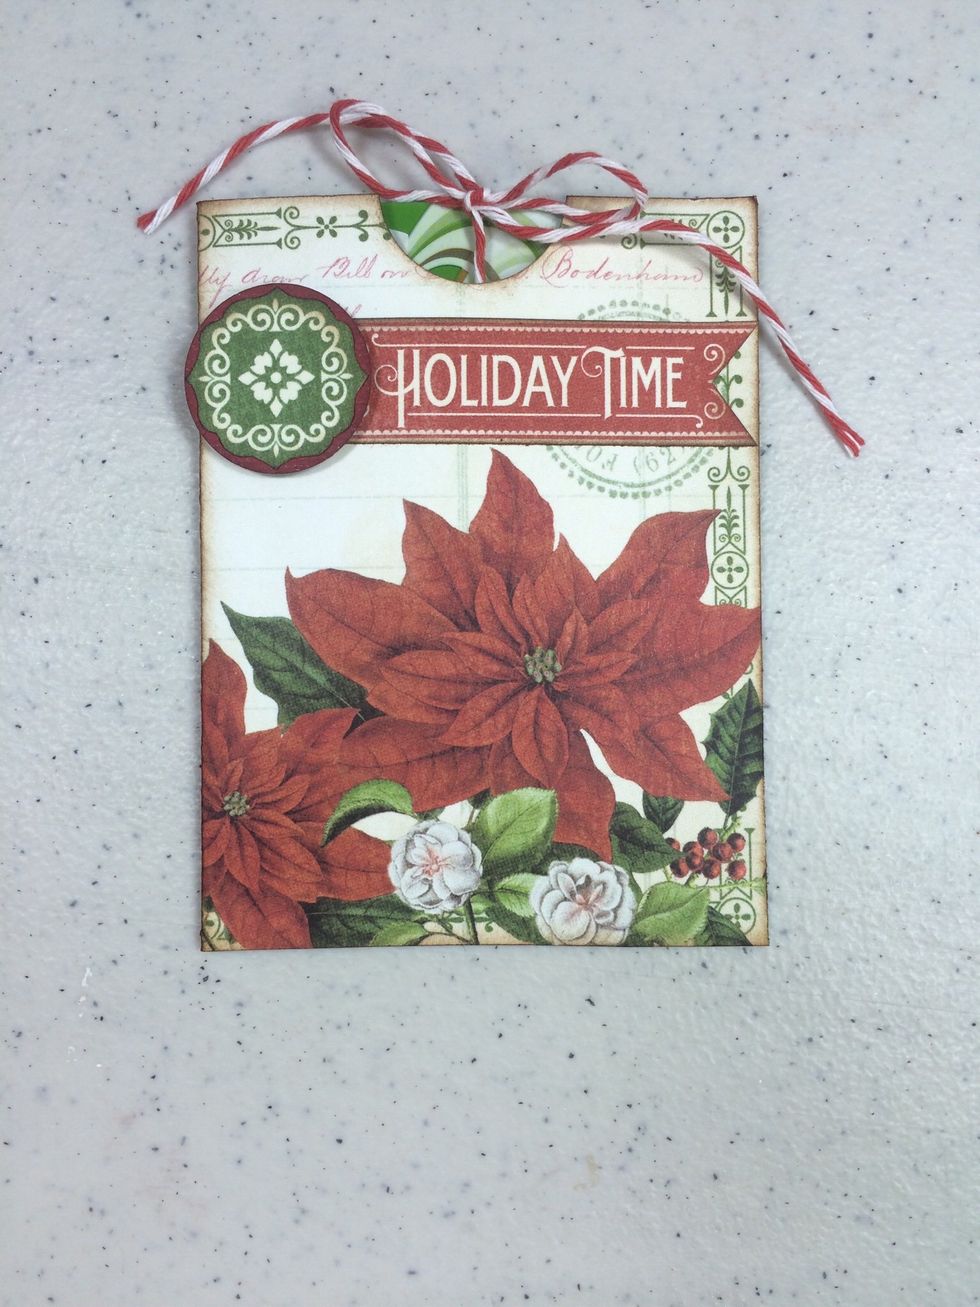
Insert gift card into pocket. Done!
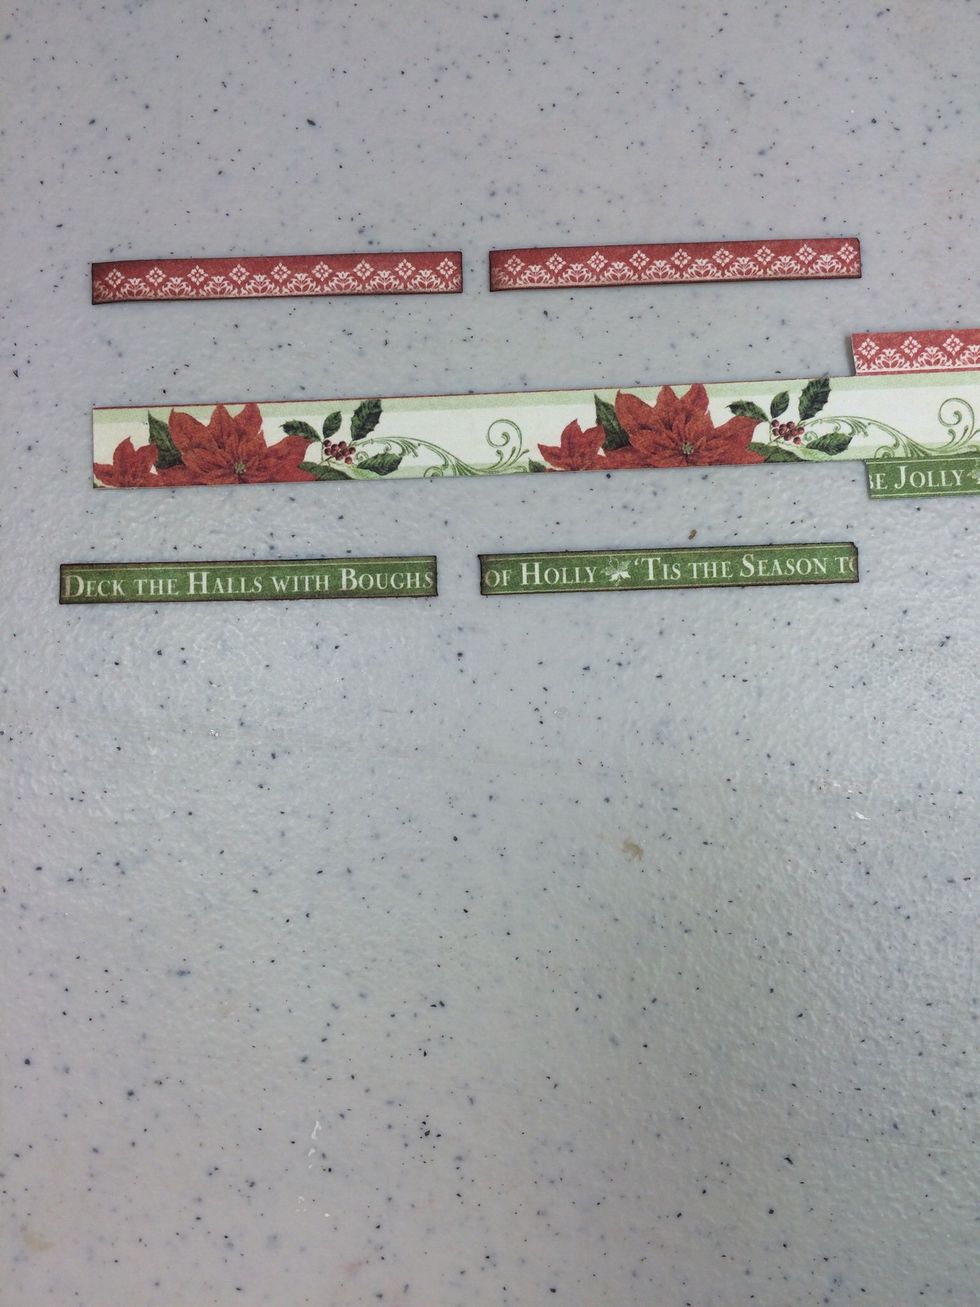
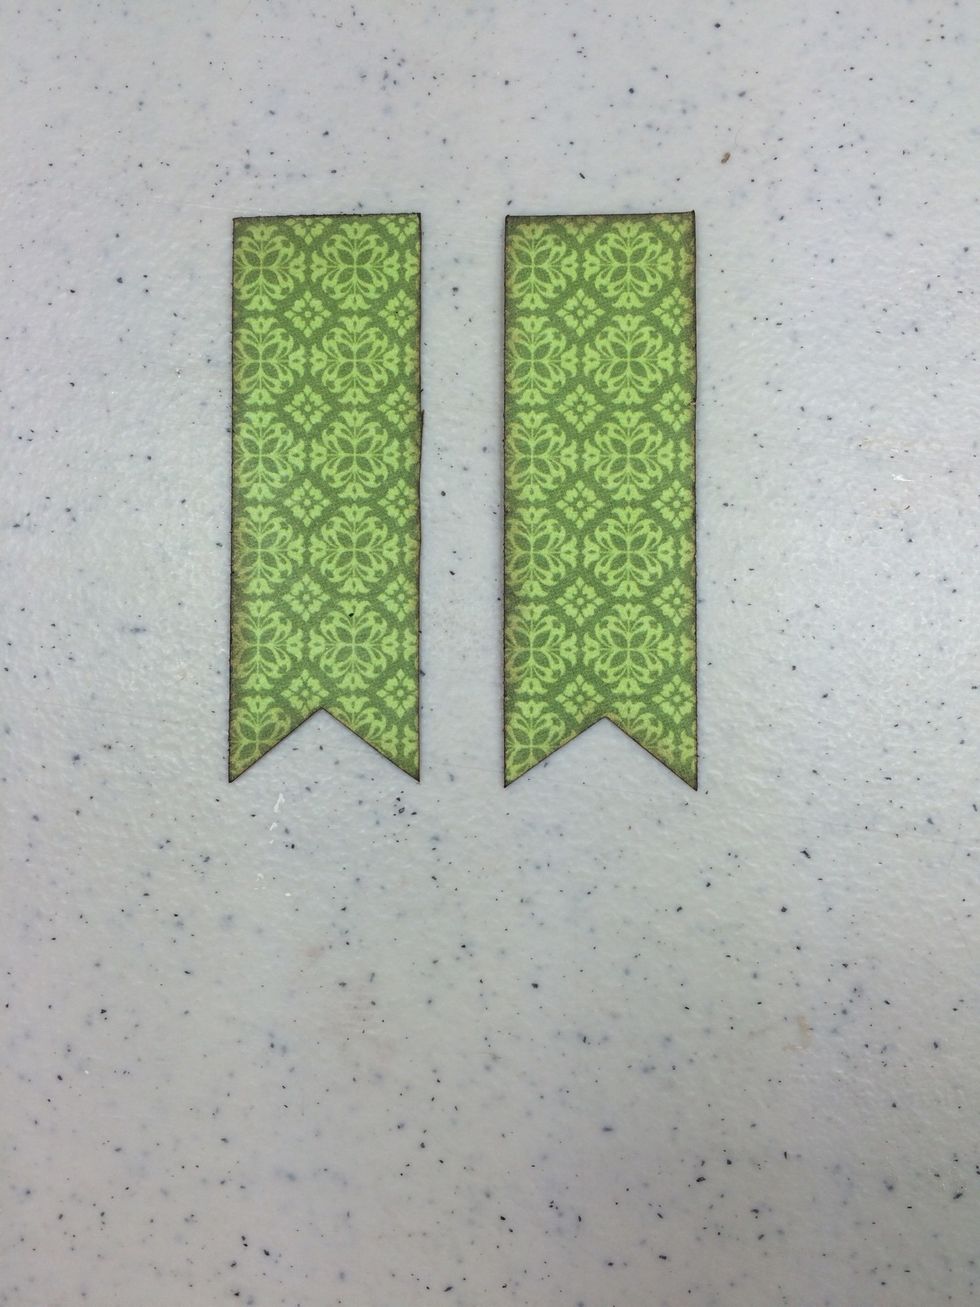
Now let's make 4 tags. Cut away two green strips from the December border piece at 2 1/4" long each. Do the same with two red pieces.
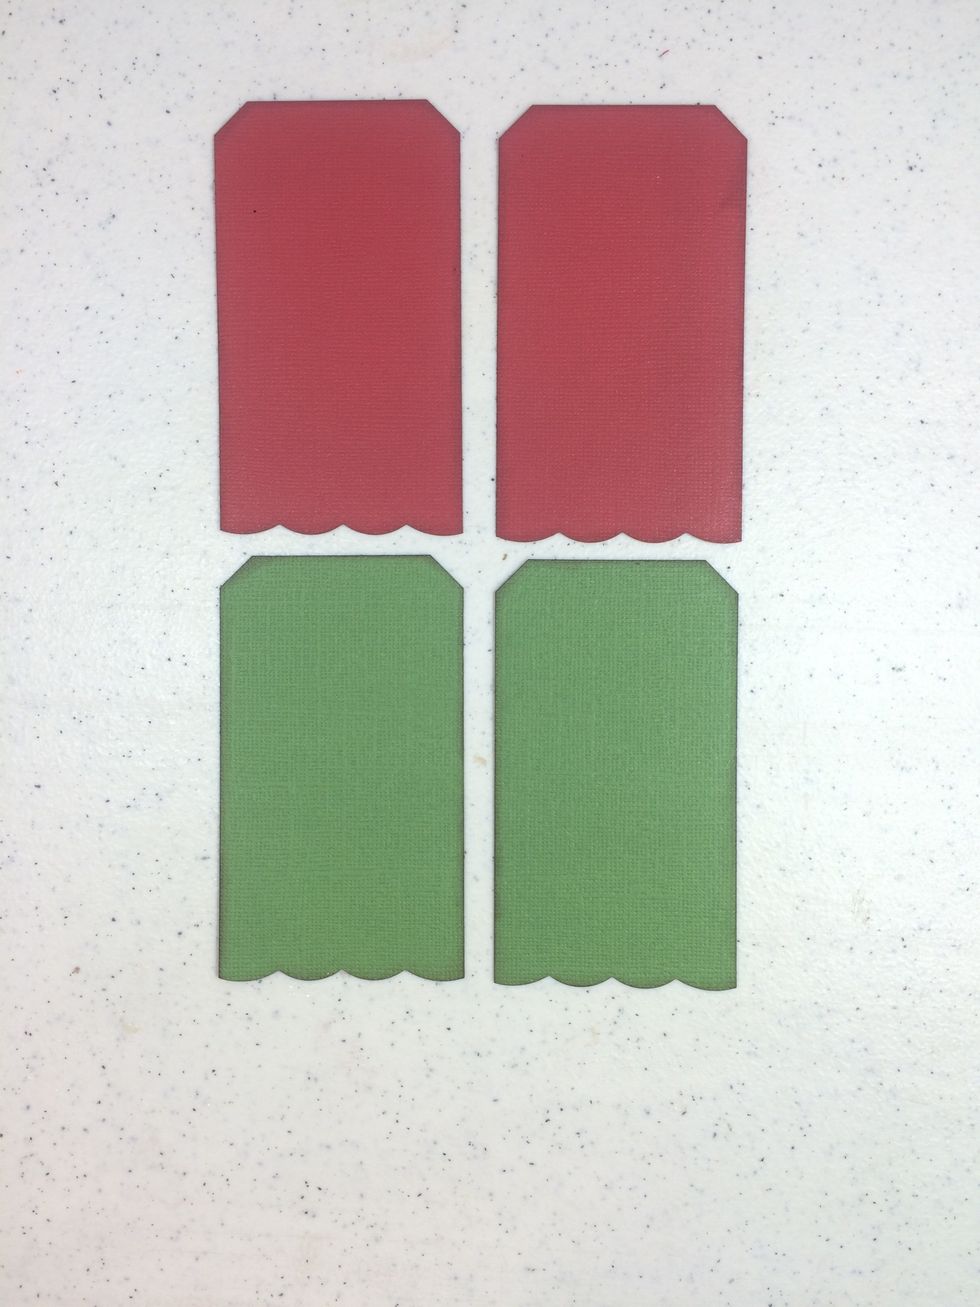
Cut two tag bases from green cardstock at 2 1/4" x 4". Do the same with red cardstock. Snip the top corners and cut across the bottoms with decorative scissors. Ink all edges with brown ink.
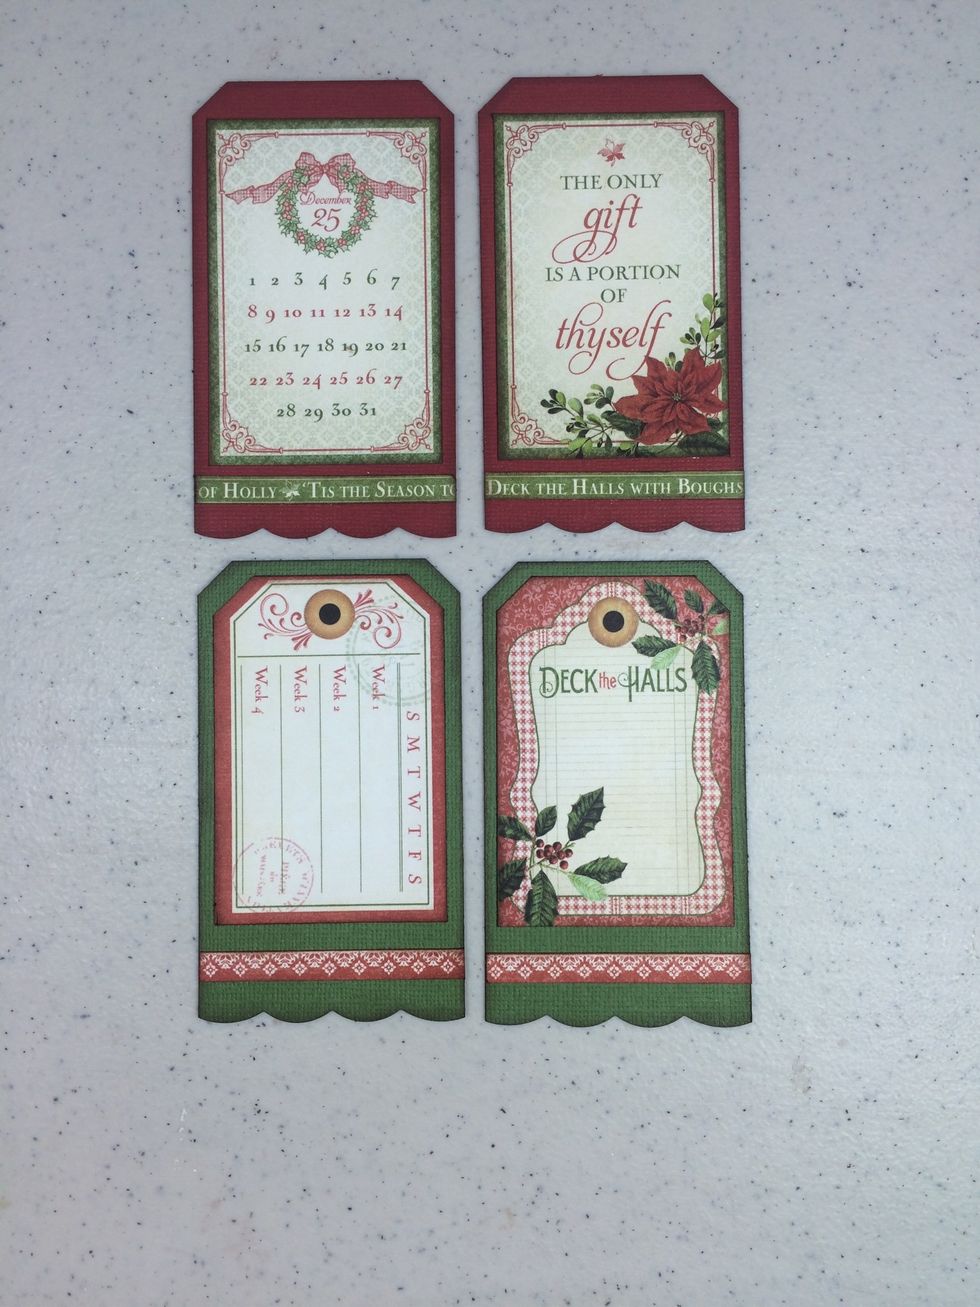
Ink edges and adhere the four cut-apart pieces and the thin strips to their coordinating tags, as shown.
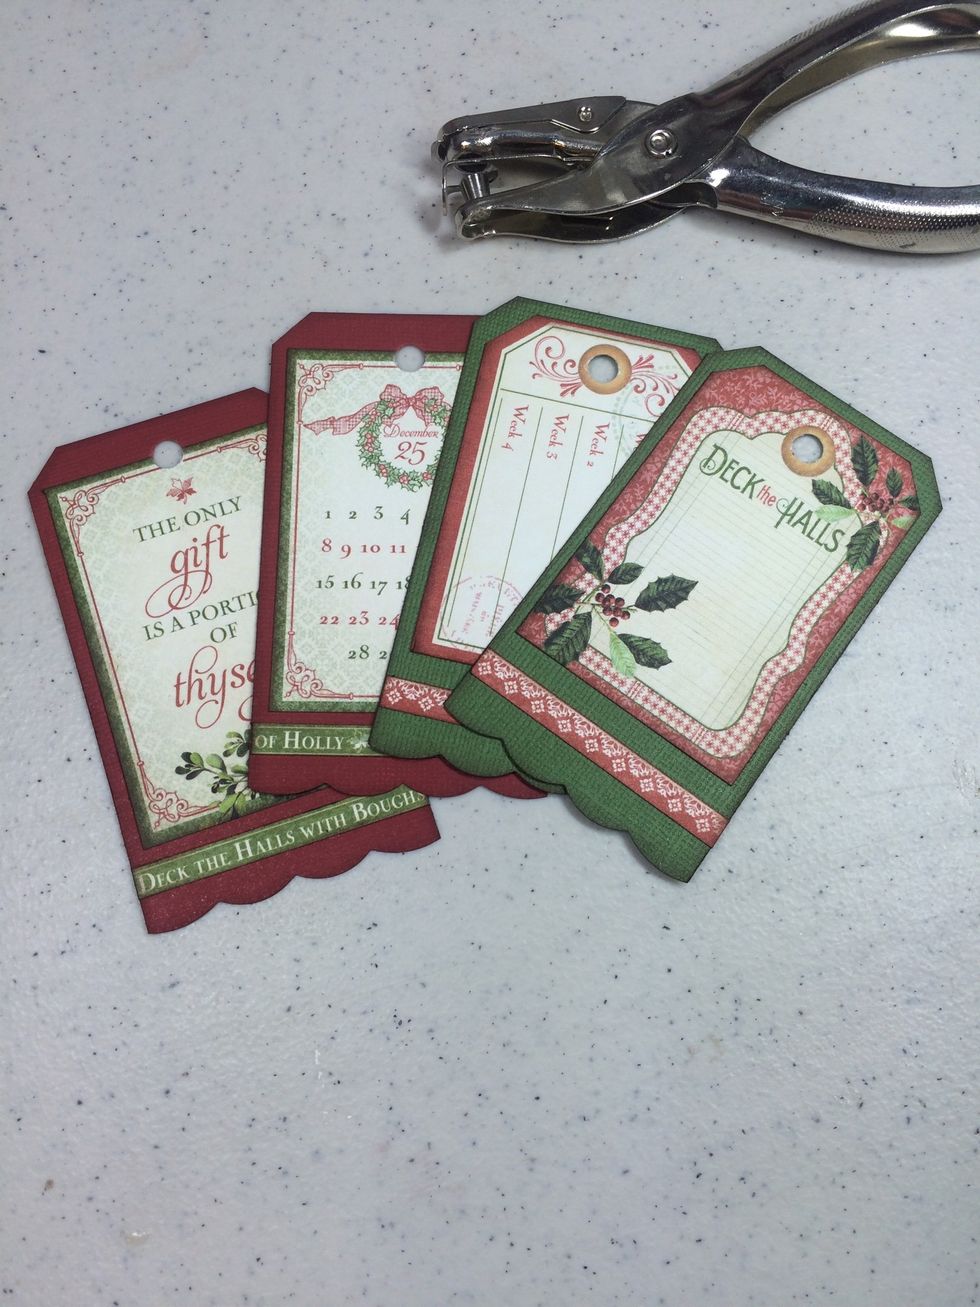
Punch a hole at the top of each tag.
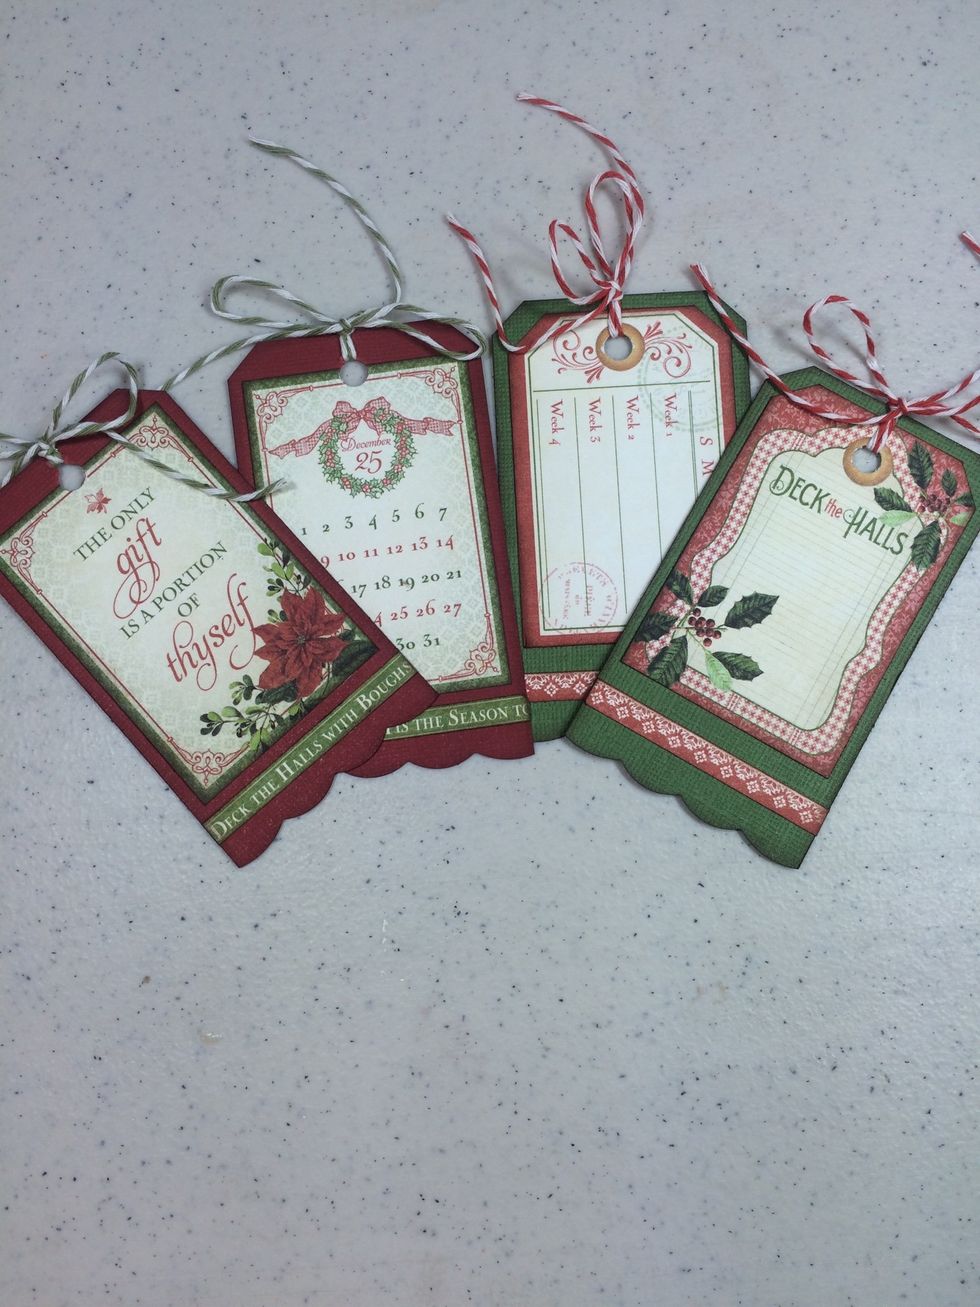
Insert 12" lengths of bakers twine into each and tie bows. Done!
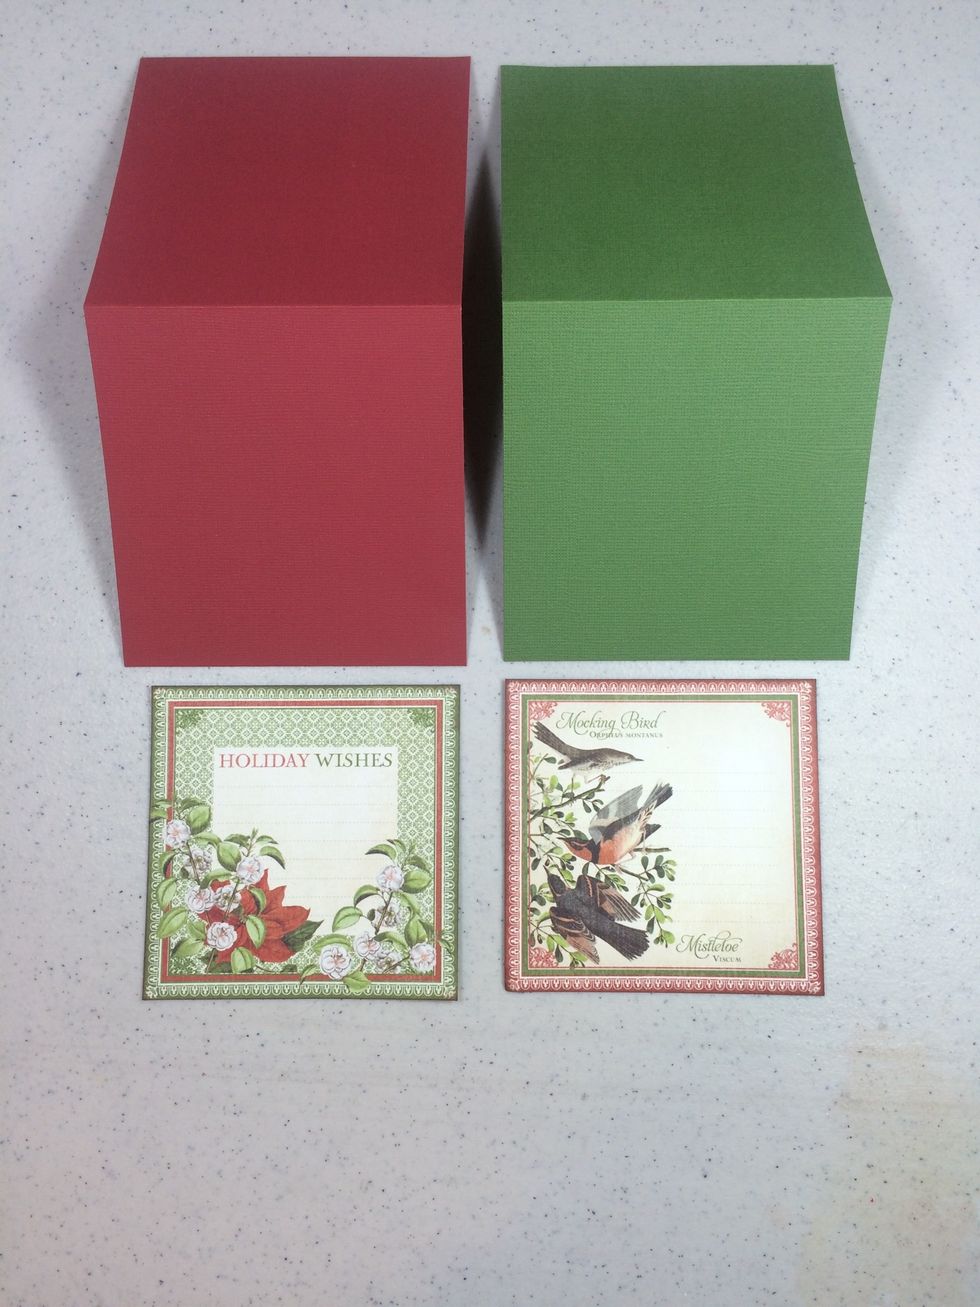
Next, we'll make two square cards. From red and green cardstock cut a piece 4 1/2" x 9" from each and score in half. Ink edges of the two 4" square cut-aparts shown.
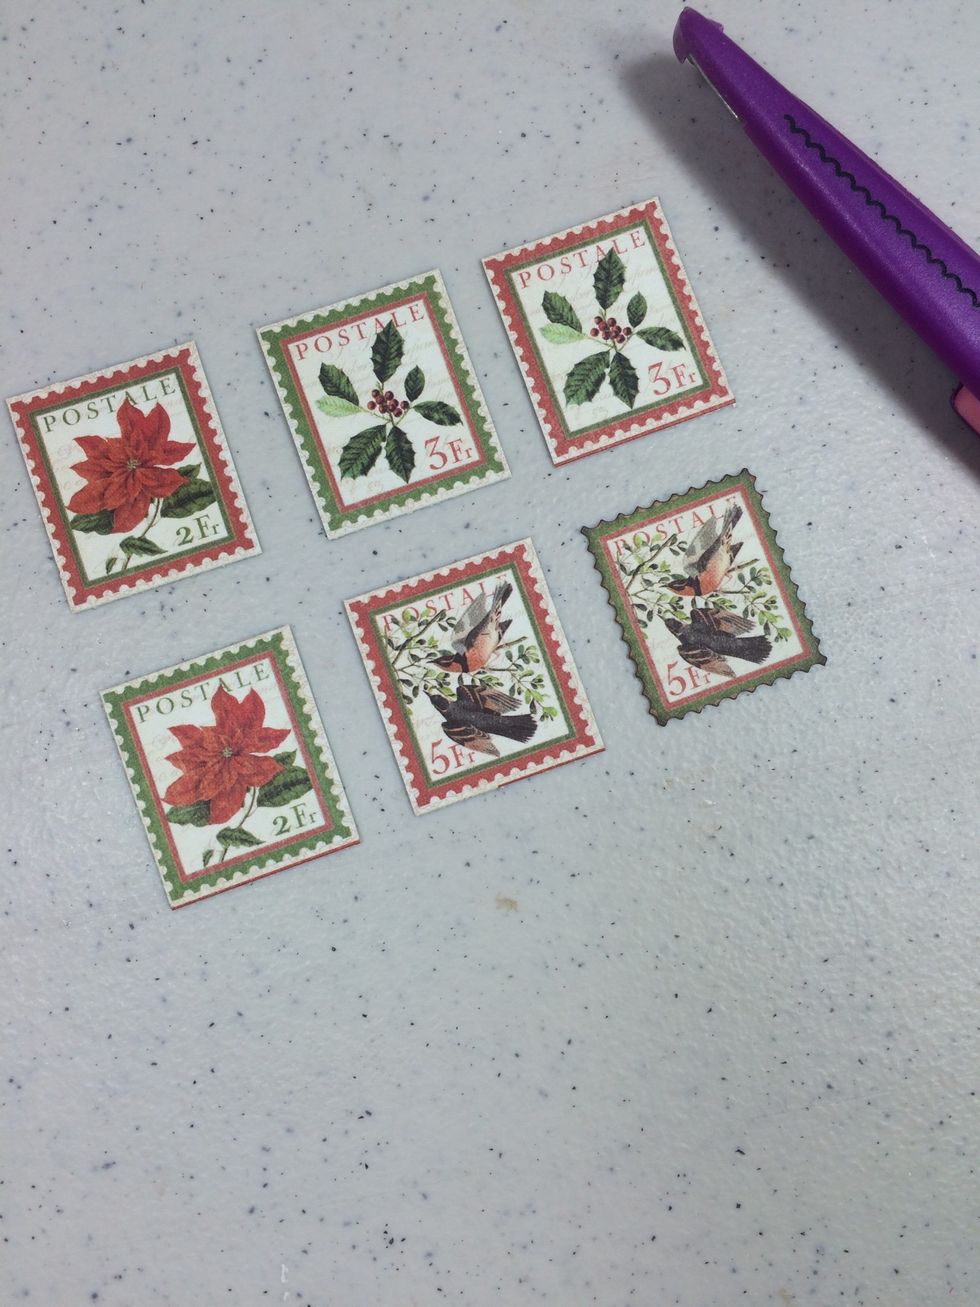
Cut apart six postage stamp images. I used a tiny scallop edge scissor. Ink edges.
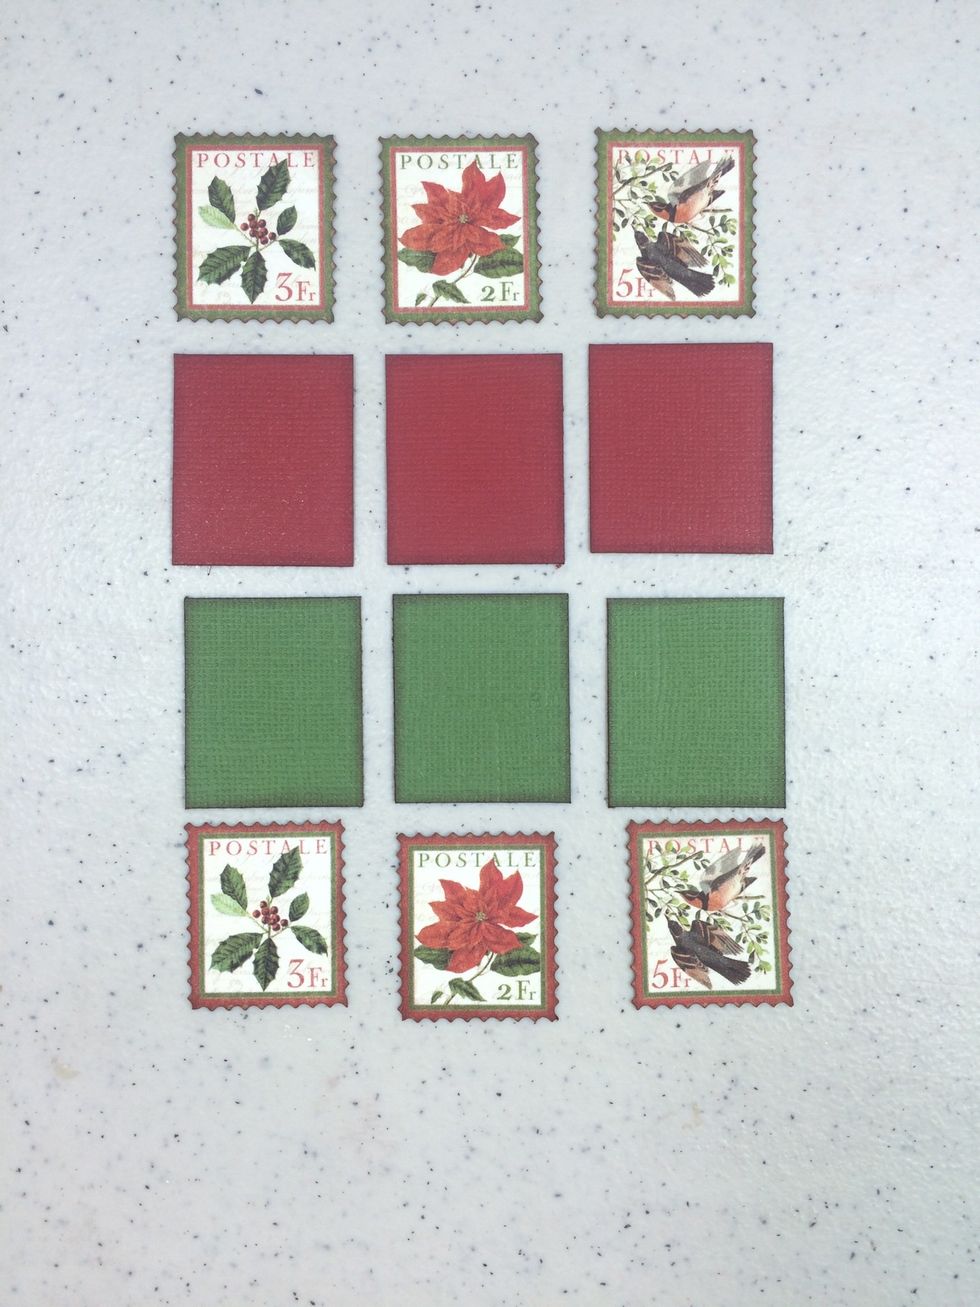
Cut 3 pieces from red cardstock at 1 3/16" x 2 7/16 each. Do the same with green. Ink all edges. Adhere postage stamps to cardstock pieces.
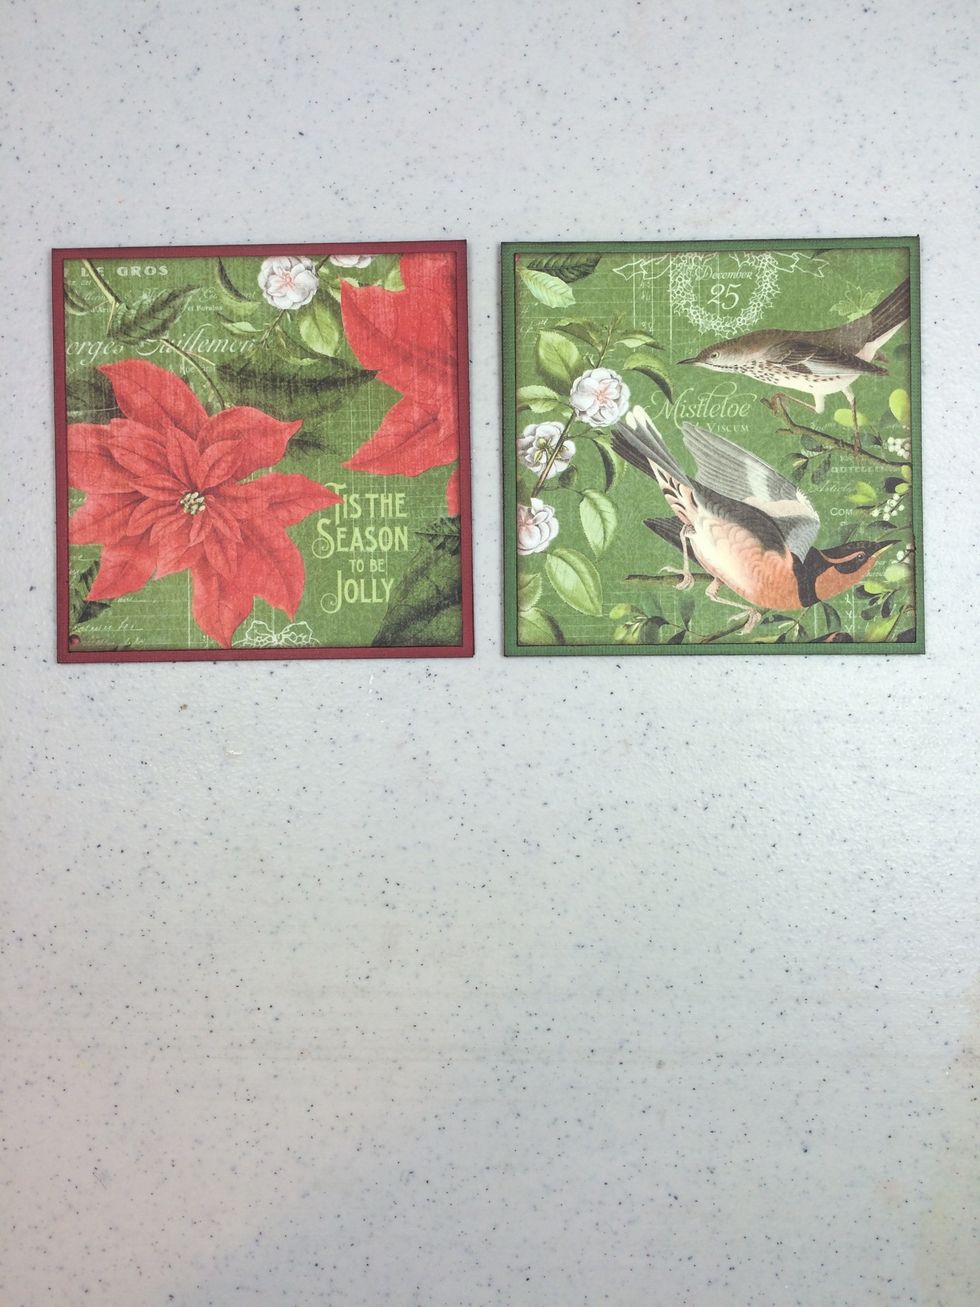
From the December Flourish page, cut two squares at 4 1/4" x 4 1/4", ink edges, and adhere to card bases. My cards open at the bottom, but change this if you prefer they open sideways.
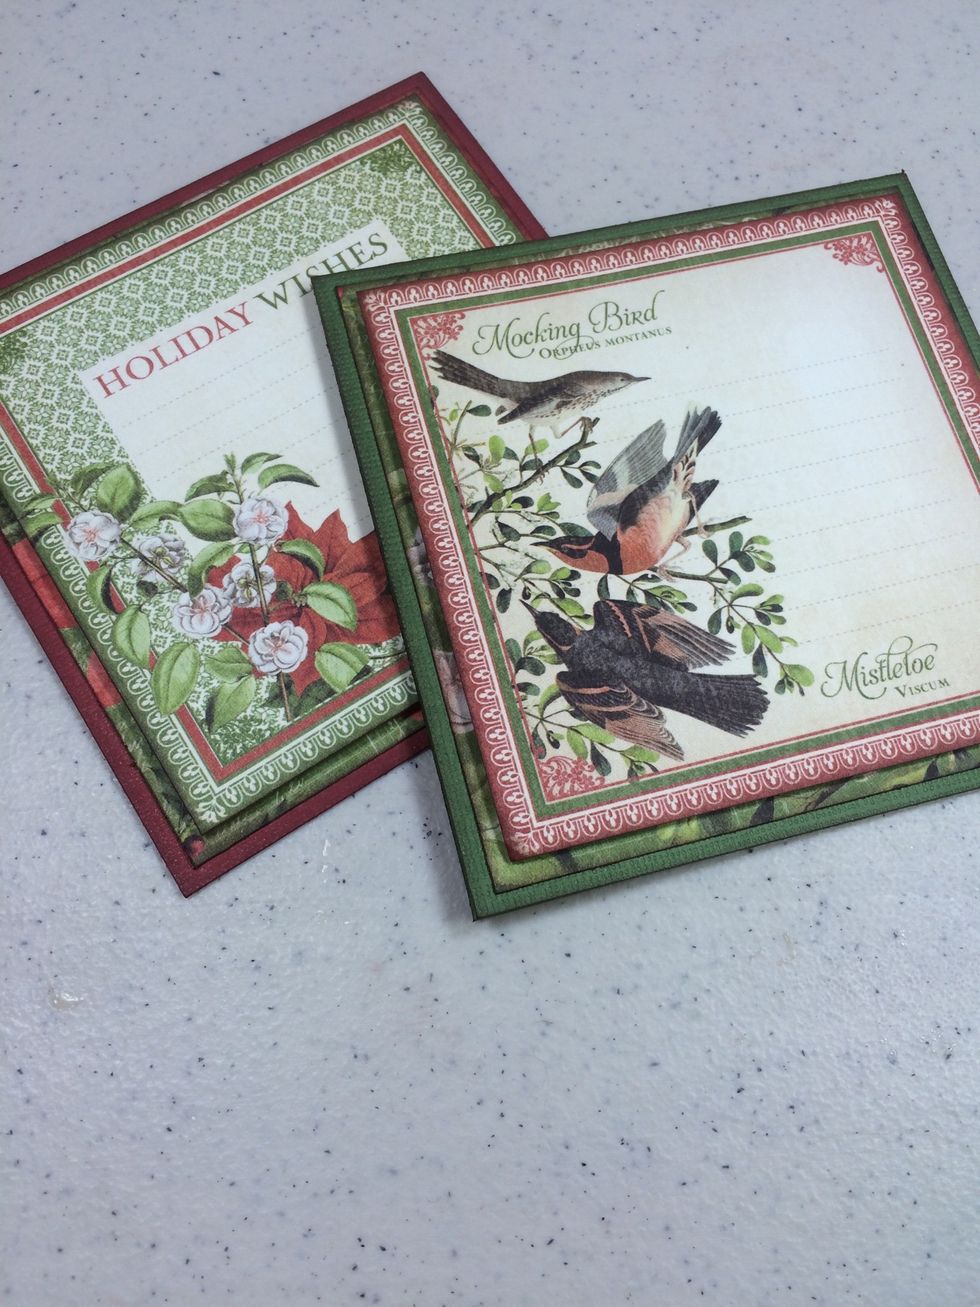
Using foam tape for dimension, adhere the 4" cut-aparts from an earlier step to the cards.
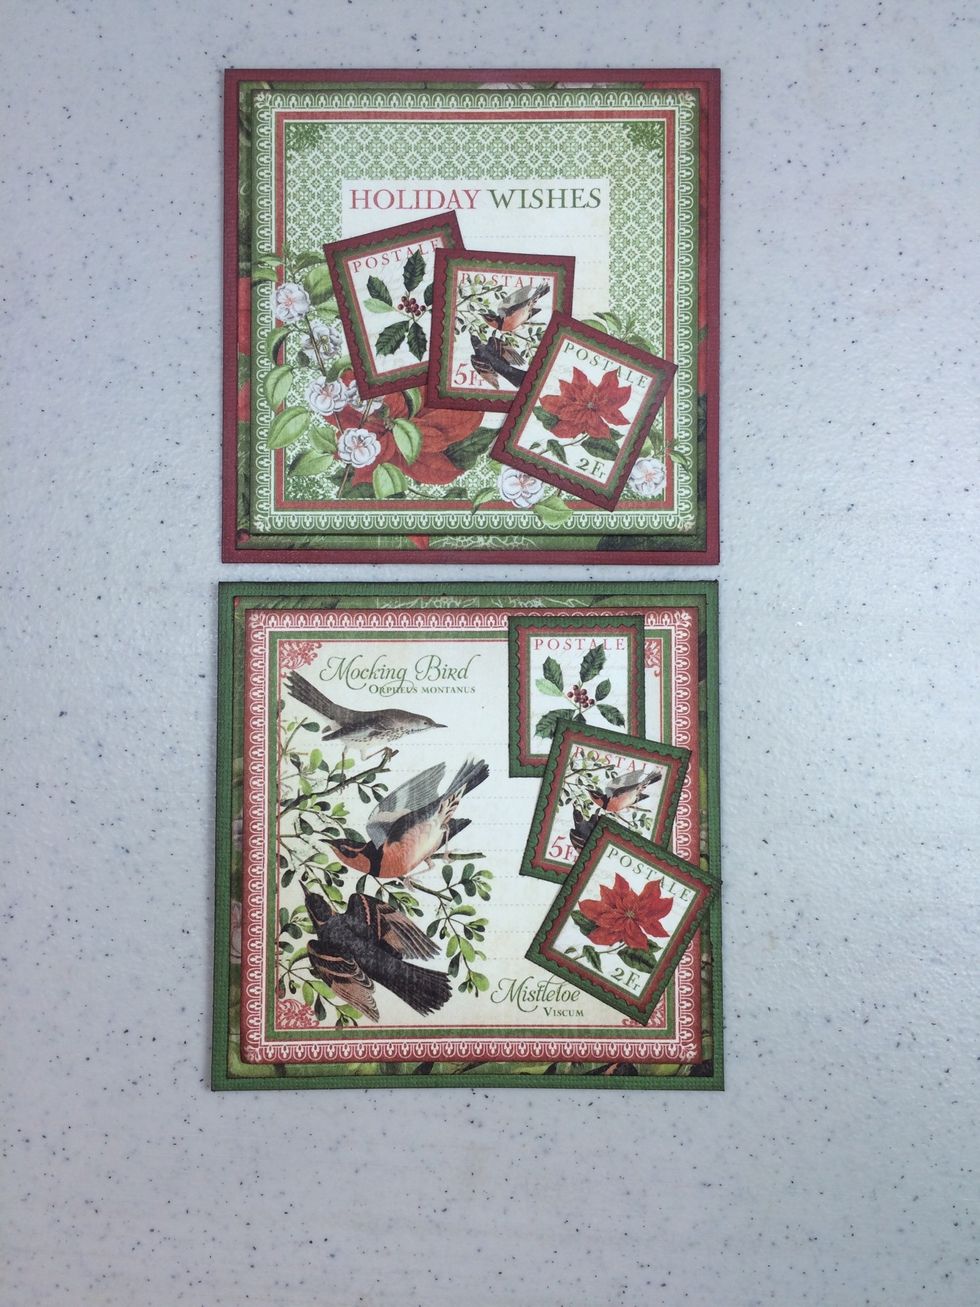
Adhere the postage stamp units to the cards, overlapping as desired. Done!
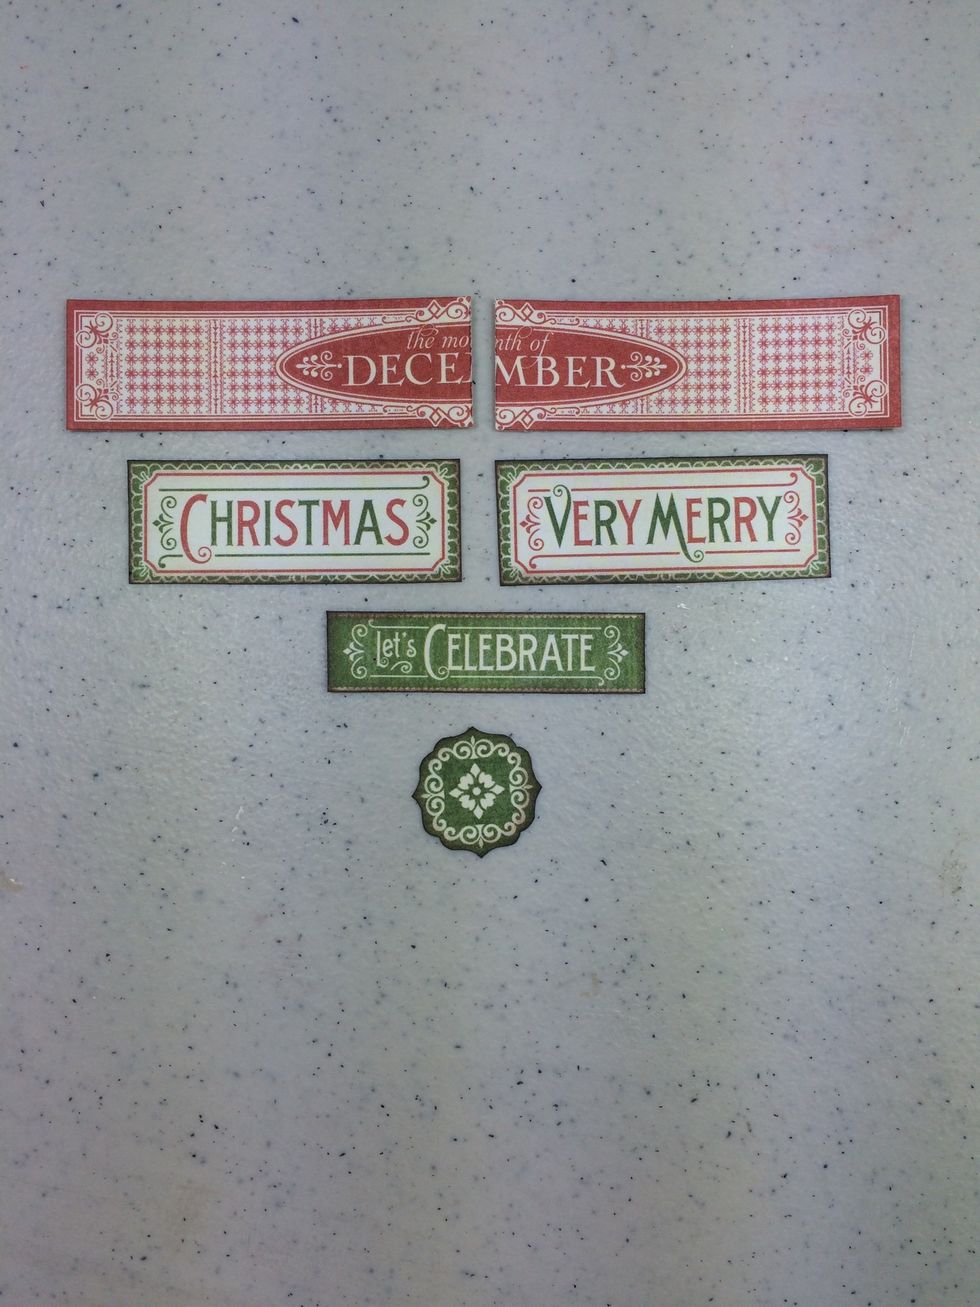
Finally, let's make two 4" x 6" cards. Select the cut-aparts shown, snip the December piece in half (you'll be using the green side), cut out the green medallion piece, then ink all edges.
Cut a v-notch off the two strips on the green side from Step 25. Ink edges.
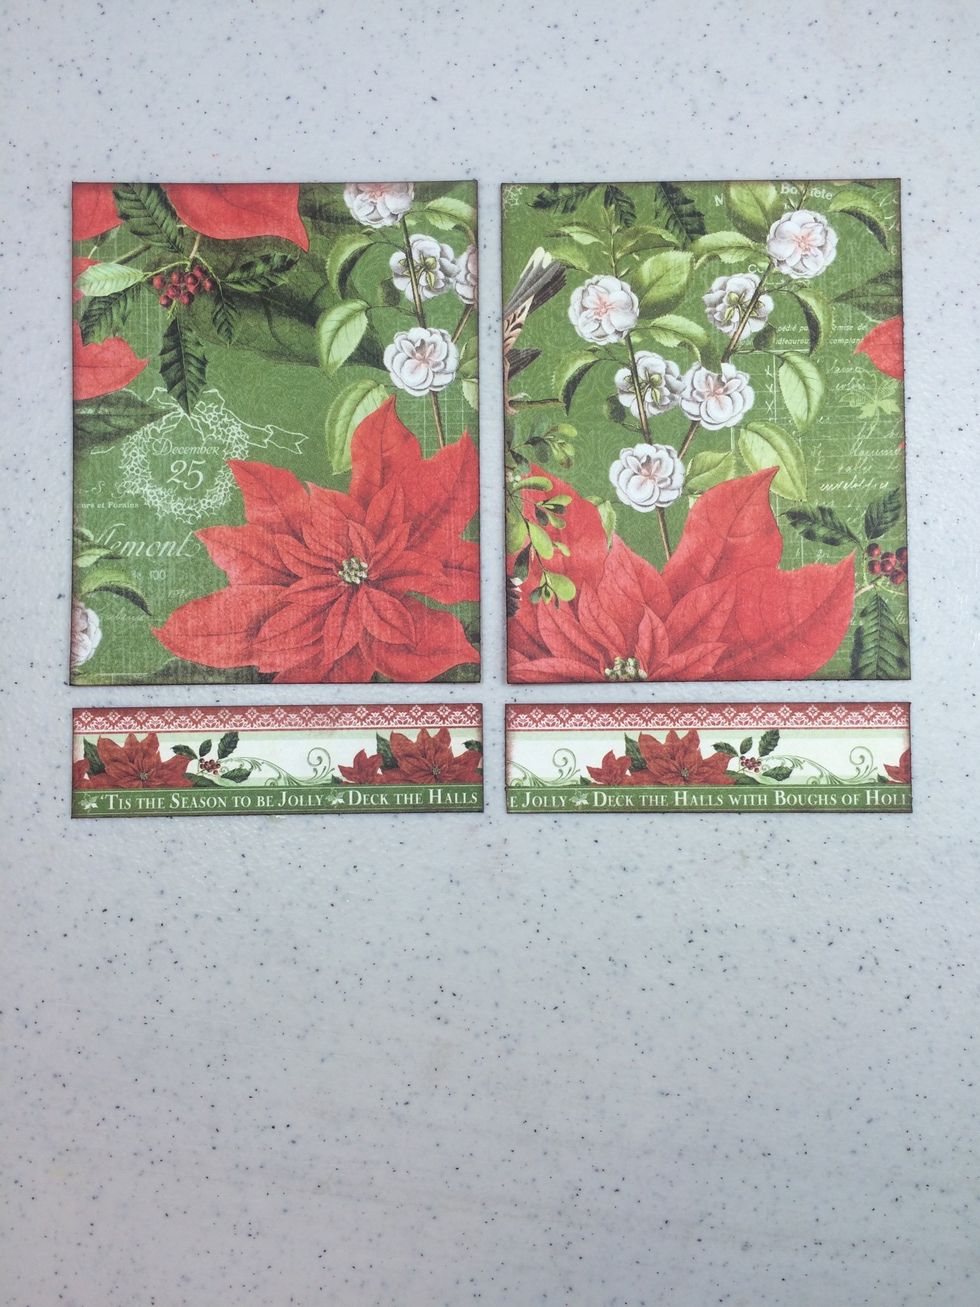
Cut two pieces from the December Flourish page at 3 3/4" x 4 5/8" each. Then cut the border strip into two 3 3/4" lengths. Ink edges.
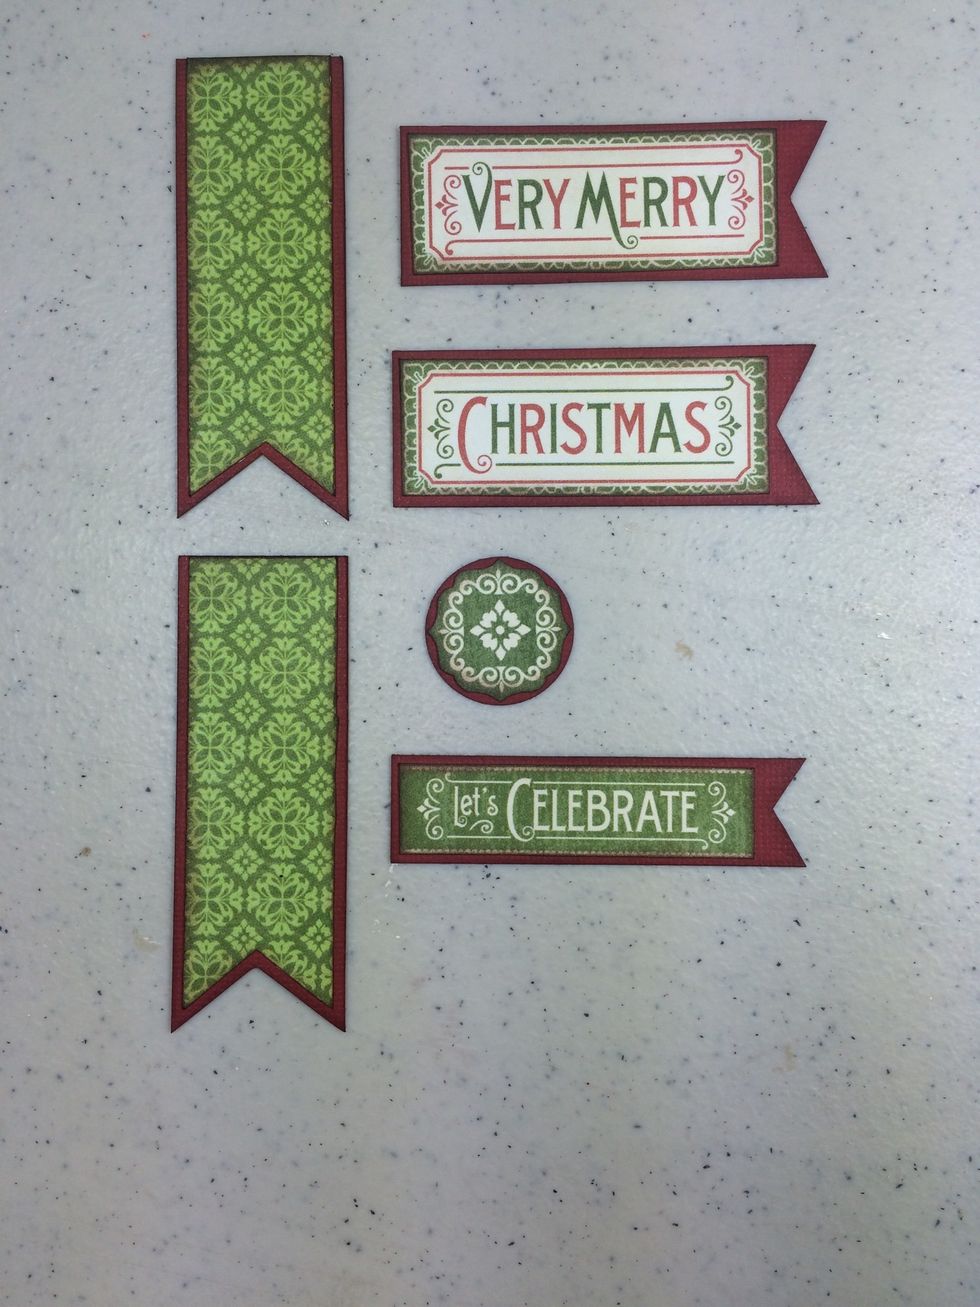
From red cardstock, cut two 1 1/8" x 3 1/8", 2 more pieces 1 1/8" x 2 7/8". Cut a 1" circle. And one 3/4" x 2 3/4". Adhere cut-aparts to cardstock as shown.
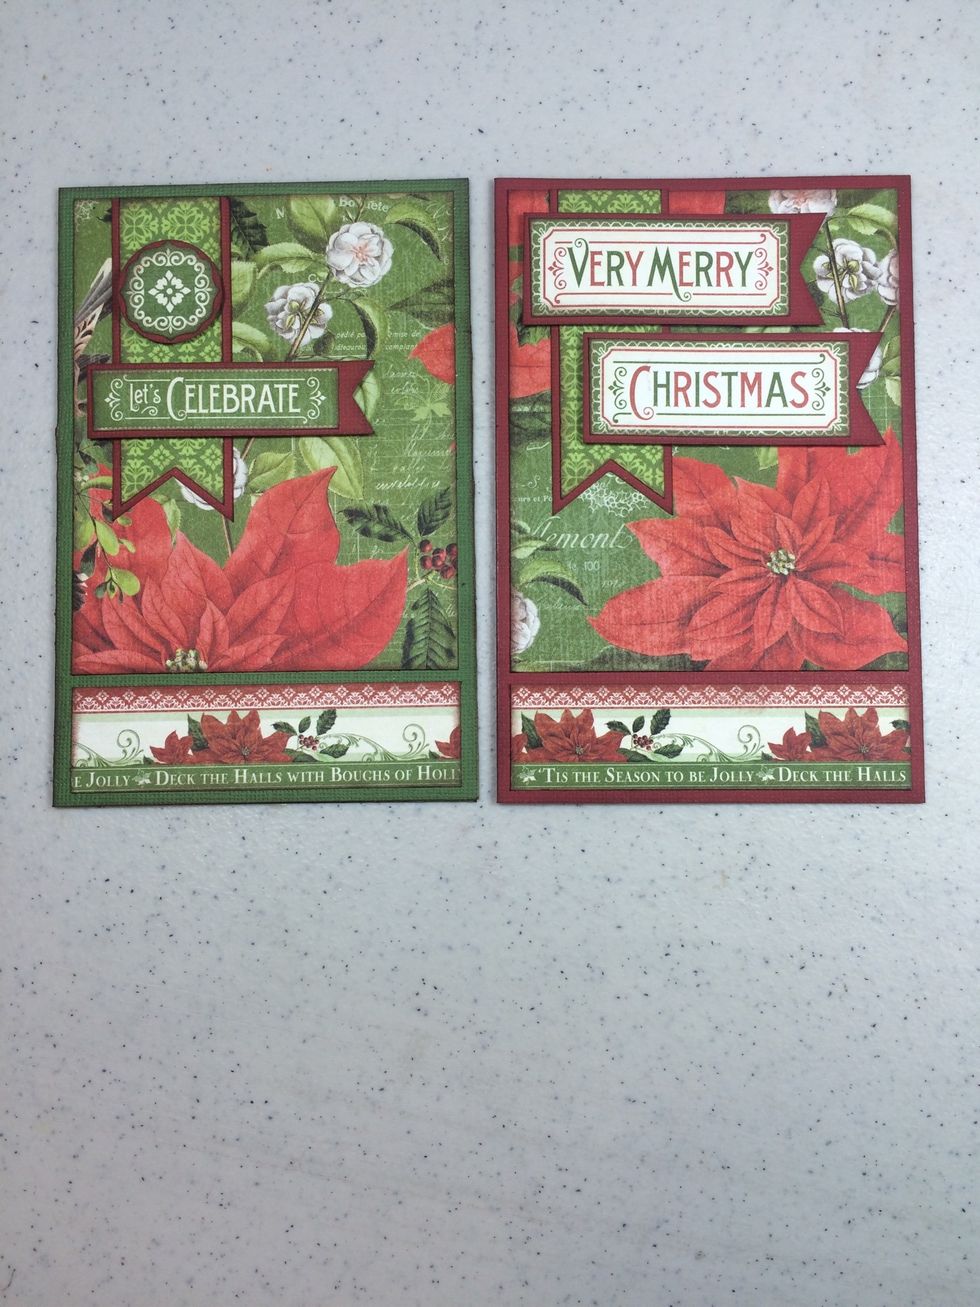
Assemble cards as shown. I used foam tape to pop up banners and circle.
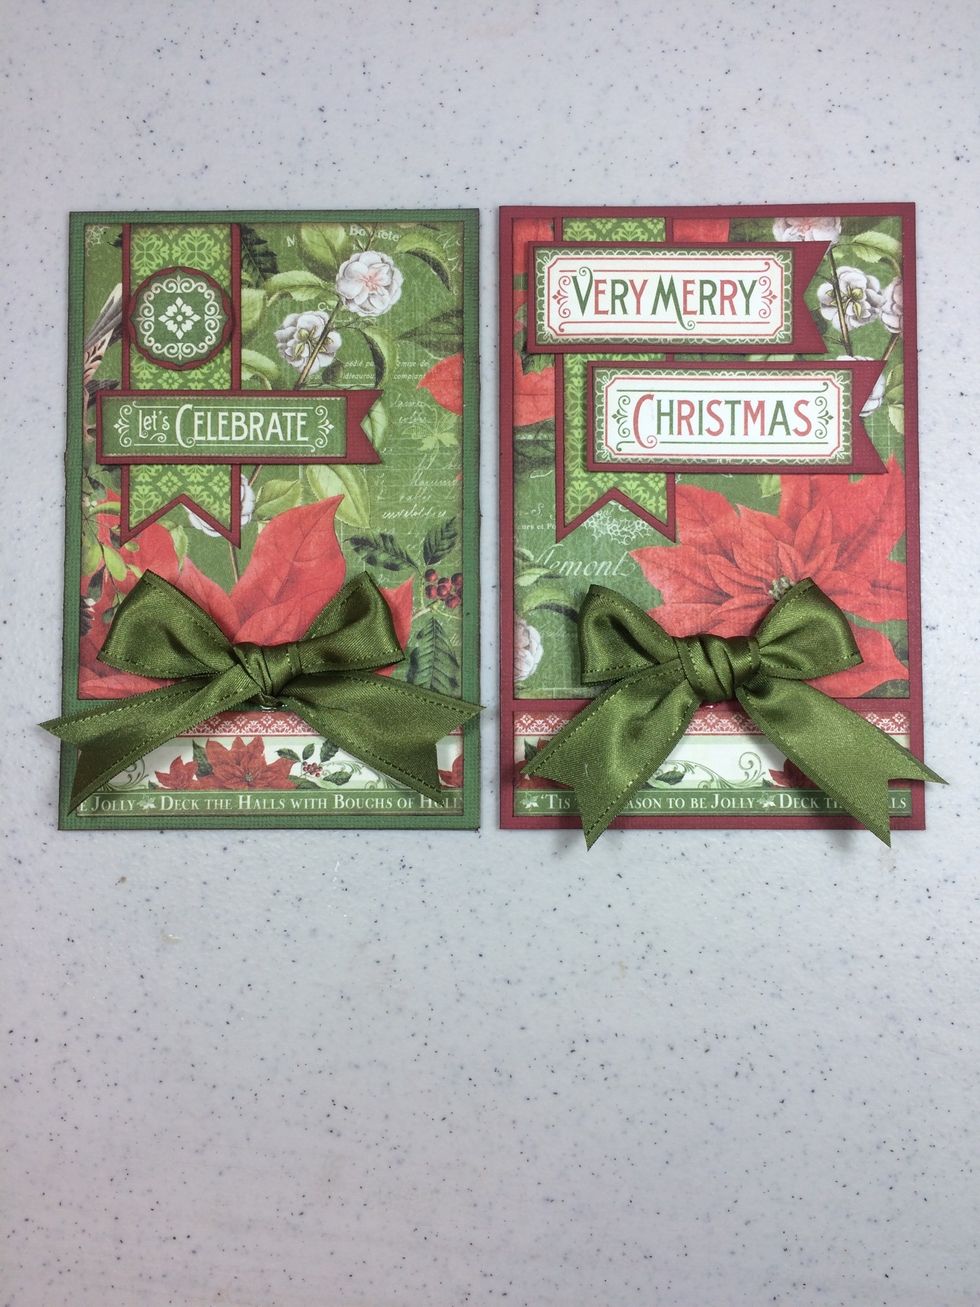
From two 14" lengths of green satin ribbon, tie a fluffy bow and adhere to card fronts with fabric glue. Done!
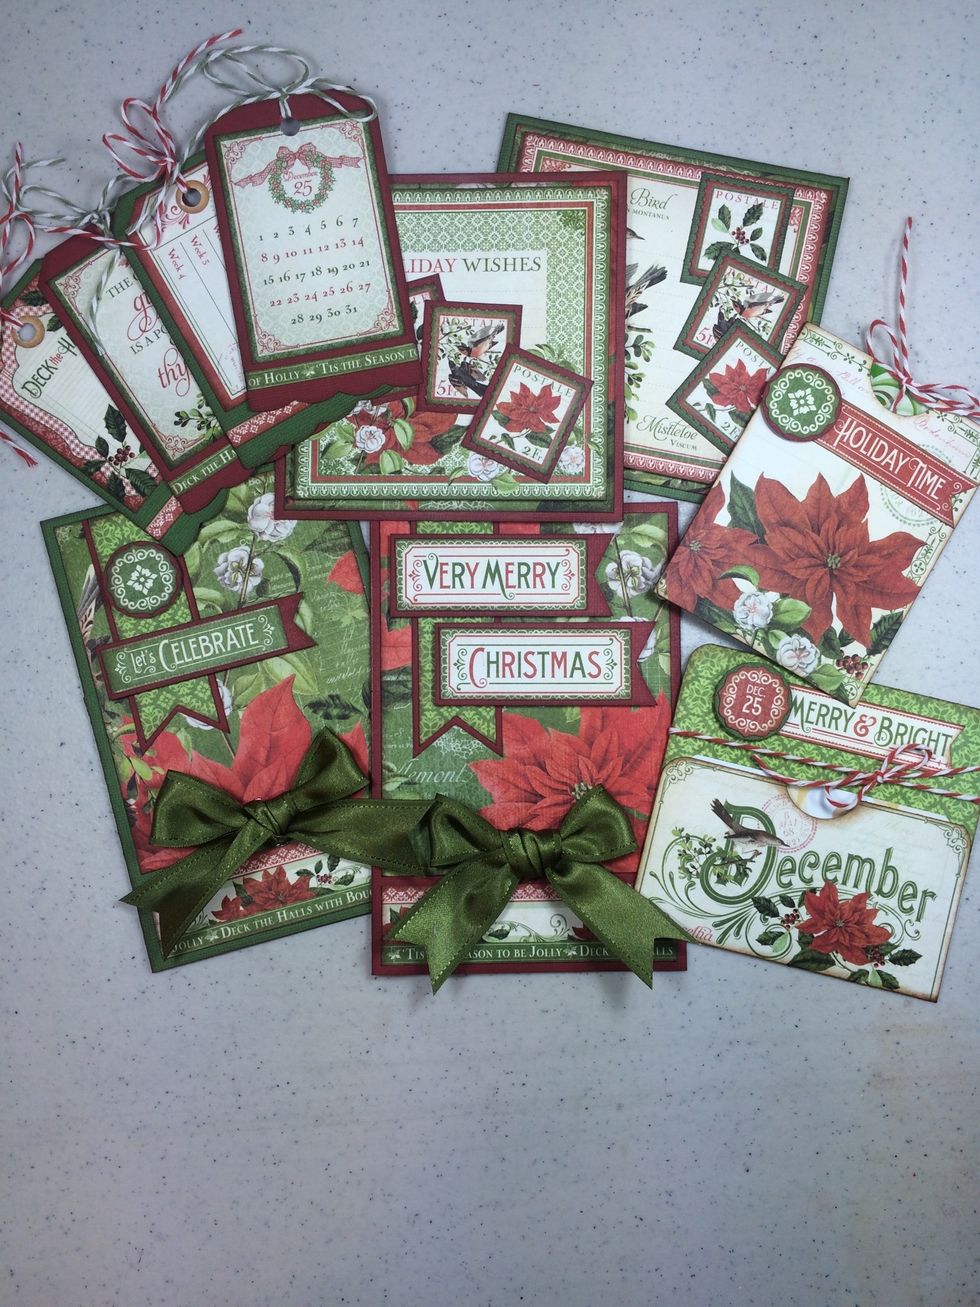
Now you have quick cards and tags for your holidays! You could apply the same cutting guides and directions to make simple cards & tags every month all year long with the Time To Flourish collection.
Thanks for checking out my guide today. For more inspiration and ideas, visit my blog at AnnettesCreativeJourney.blogspot.com