The Conversation (0)
Sign Up
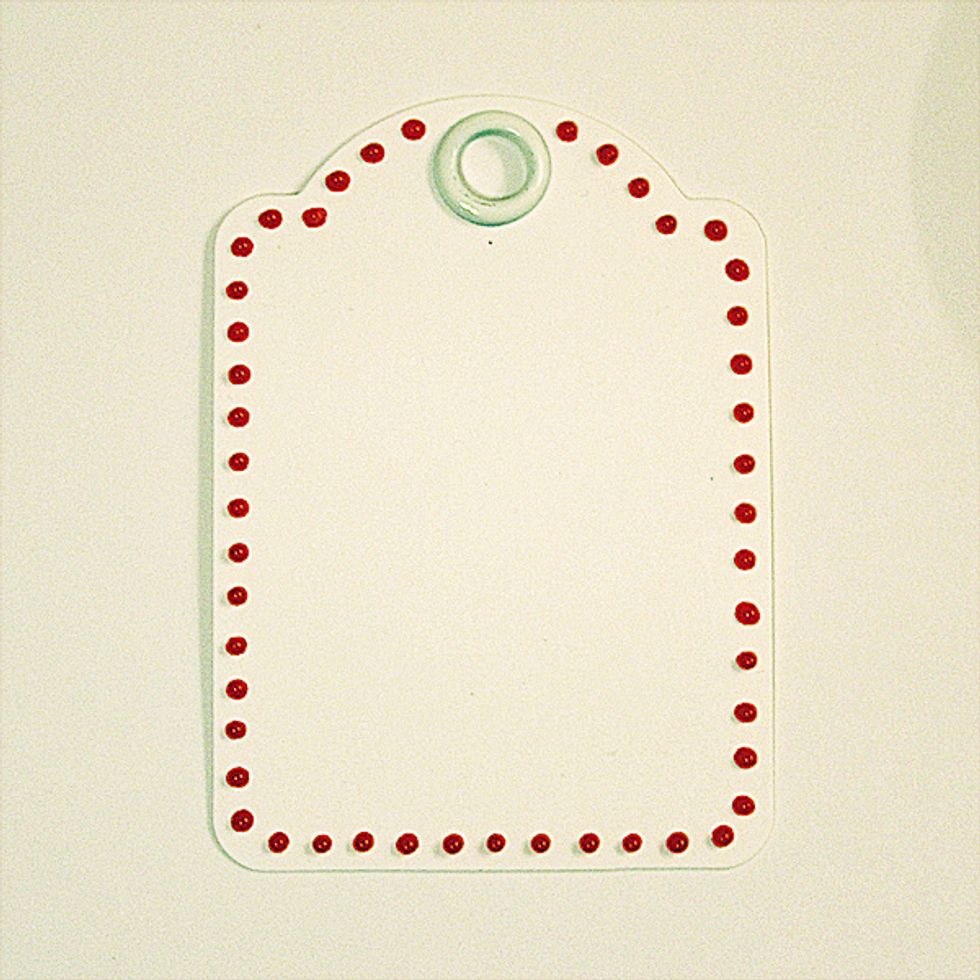
Ink edges of ATC, then apply liquid pearls around the edges of the card as shown. Allow to dry.
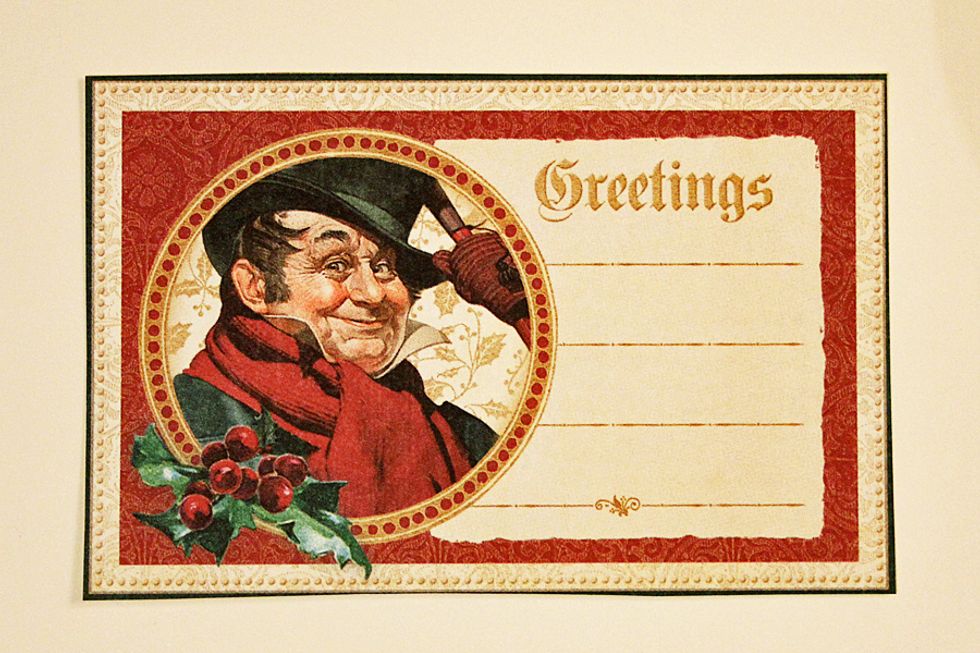
Cut the circular image shown using detail scissors.
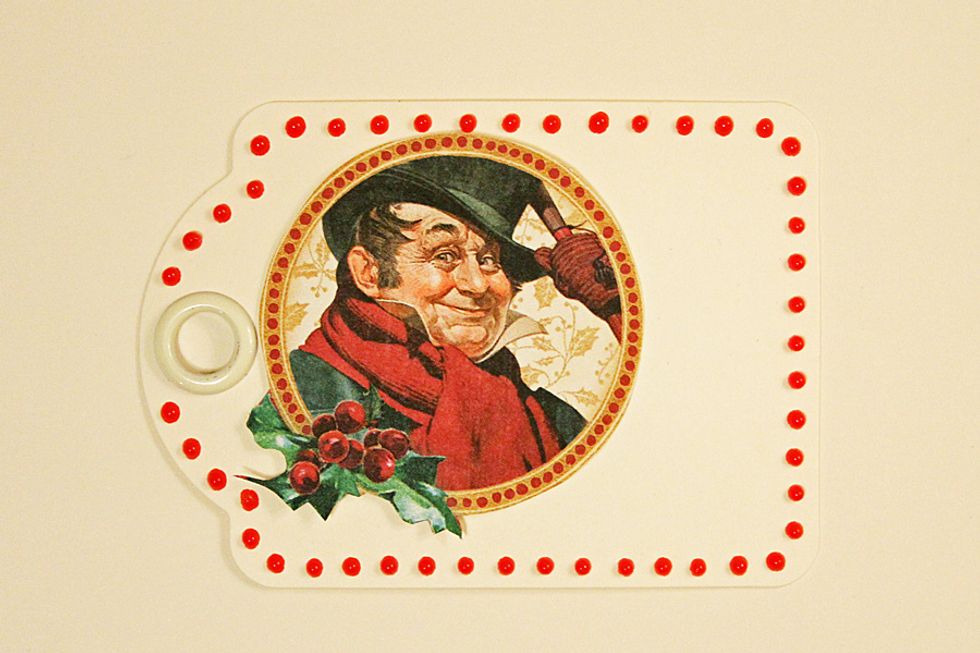
Adhere image to the tag as shown.
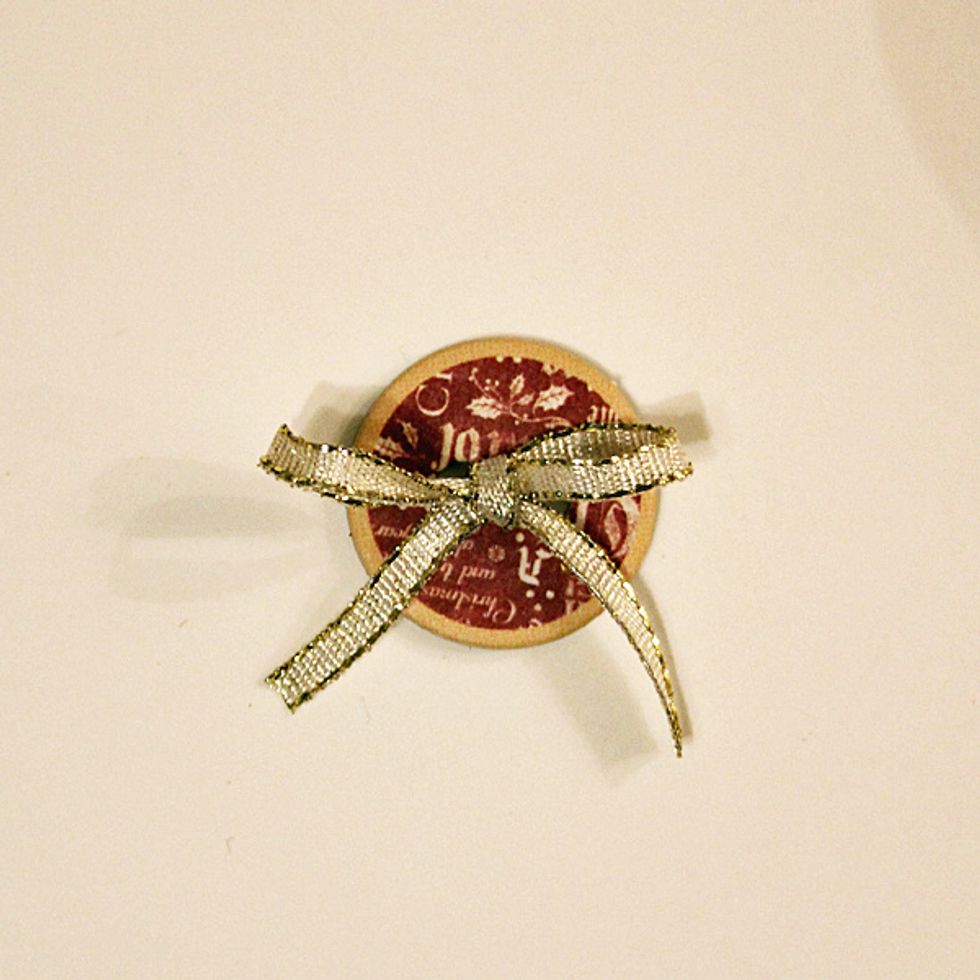
Choose a chipboard button from the journaling chipboard sheet, ink edges and add gold ribbon.
Cut the "Greeting" sentiment from the from the sheet which contained the circular image used earlier. Ink edges and adhere to the lower right side of the card.
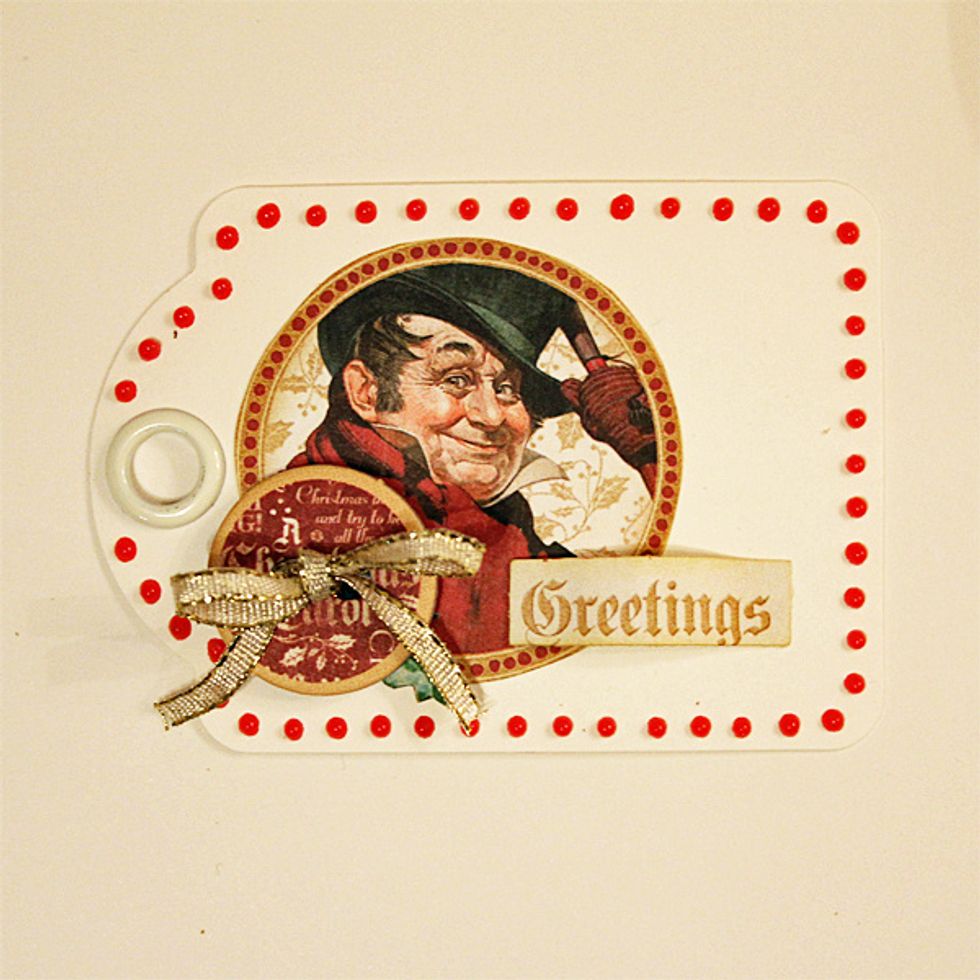
Your tag is now complete! You can now add 8" of jute to the circular opening of your tag.