The Conversation (0)
Sign Up
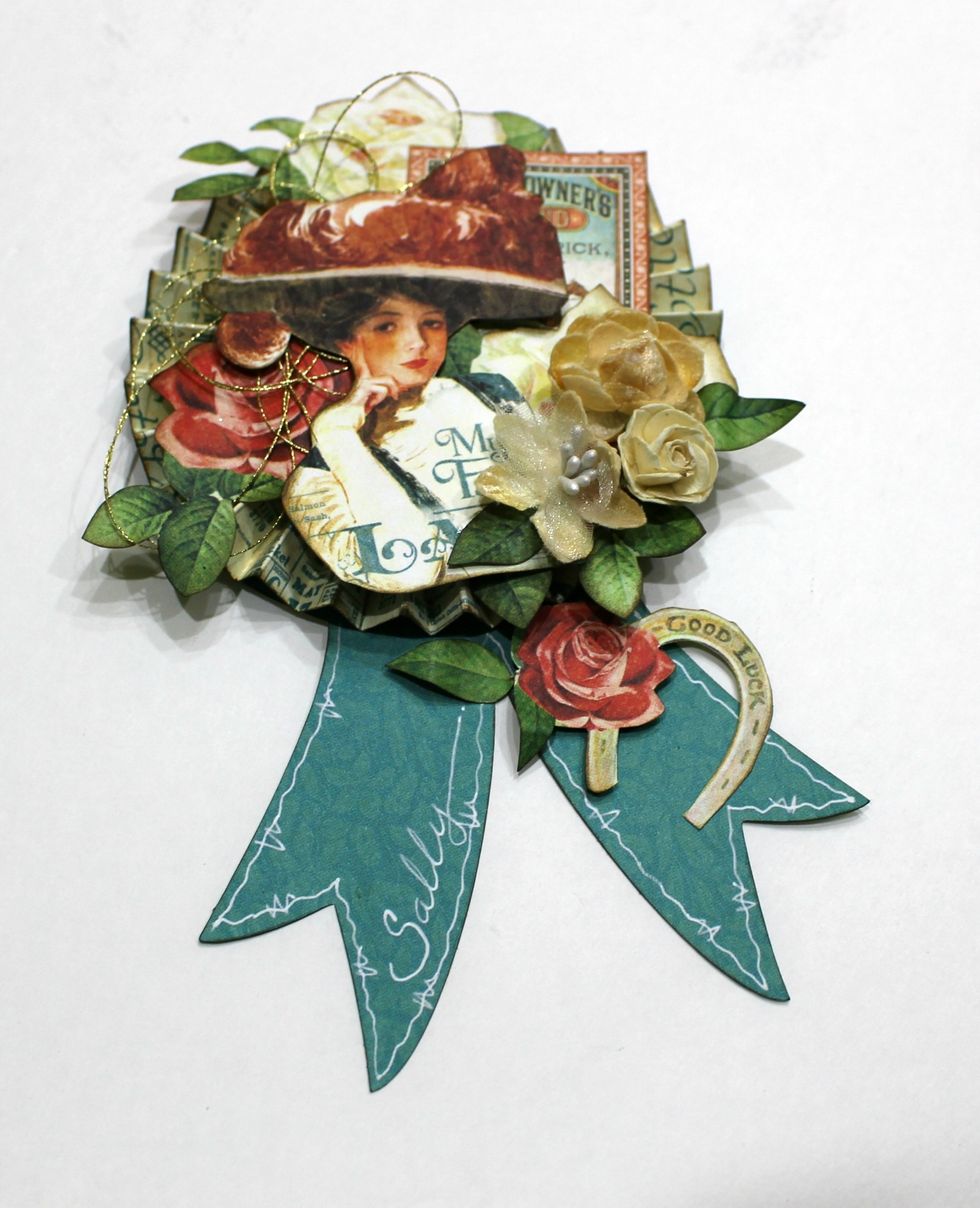
This is an easy tutorial to make Rosette Ribbons and use it as a Place Cards for a Dinner Party! Let's START!!!

First.. Pick your paper .. I choose the New "Off The Races Paper Collection" It's is so adorable!

Then I pick my supplies.. I Love the Scrapbook Adhesives! and the Crafty Foam Tape will give dimension to the project.
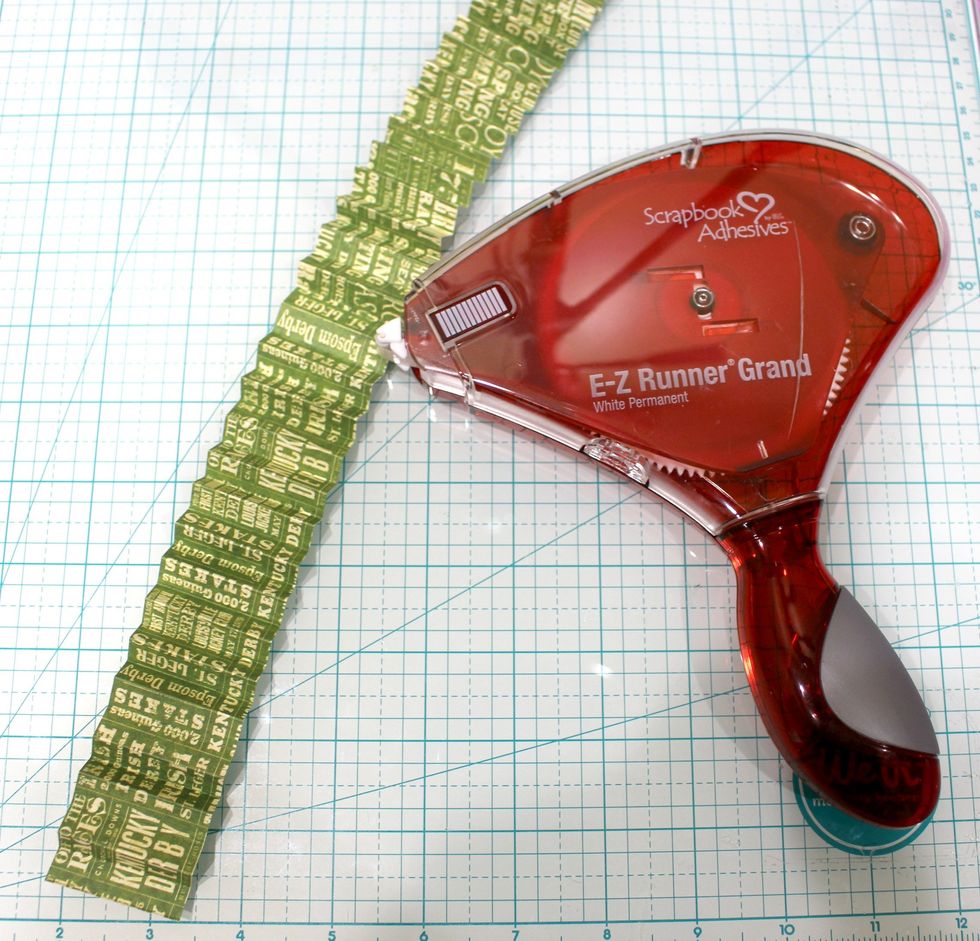
I cut two pieces 11 1/4" x 1 1/2" - The paper I'm using is The Patterns & Solids .. Then I scored every 3/8" all the length of the paper..and with my E-Z Runner I'm going to glue the two pieces.
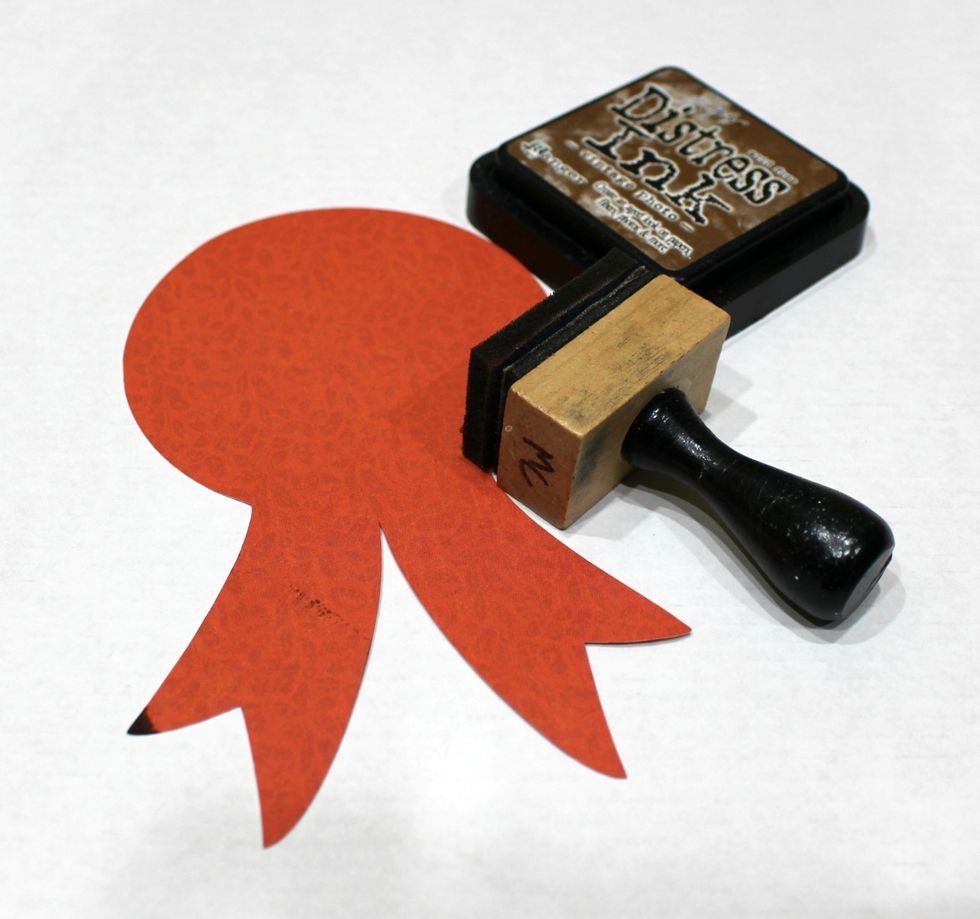
Then I cut the ribbon with my Silhouette Cameo.. if you don't have this machine don't worry .. just draw a circle with a cup and make the legs with your pencil.. the circle is 3 3/4" and the legs 3"
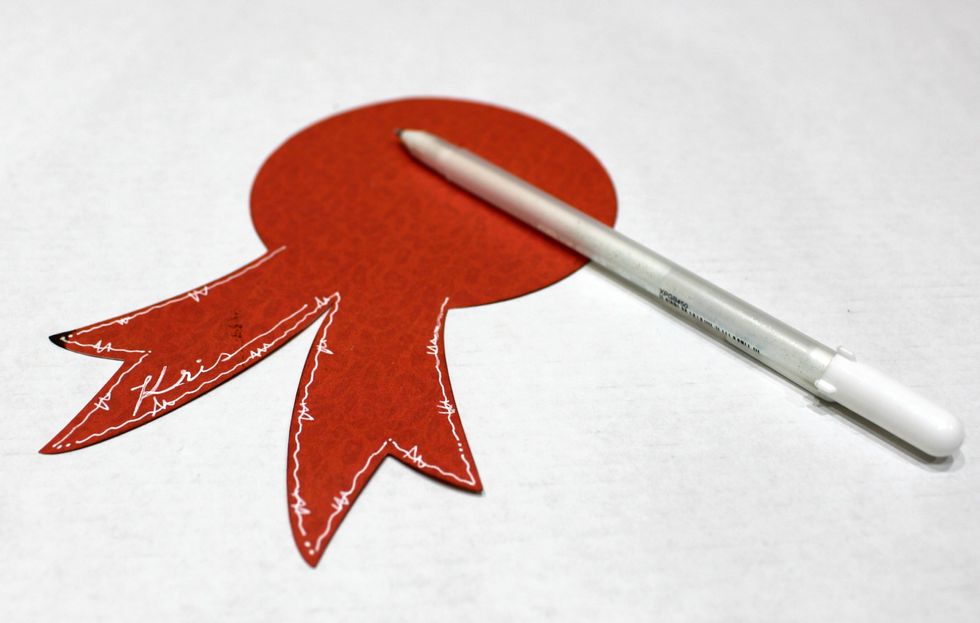
once you inked the borders you can make some doodles to the edge of the legs with a white pen.. Remember this is a place card so I write the name of my friend in one of the legs..
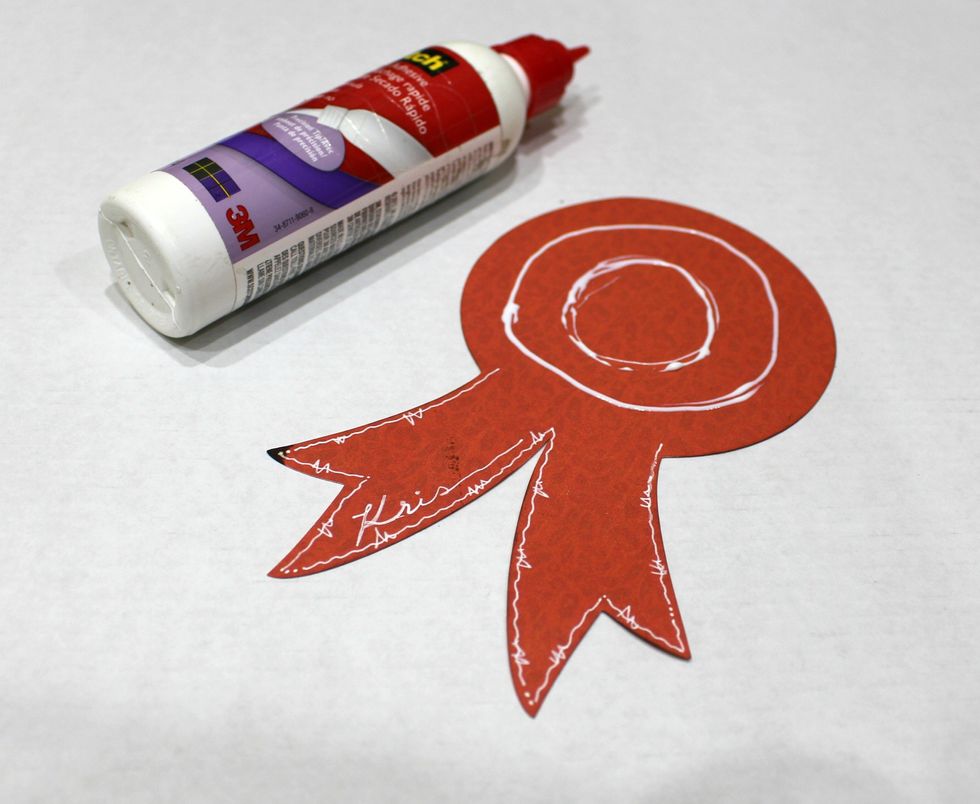
Then I put the glue in two circles.. Do not put the glue to close to the border or the center.
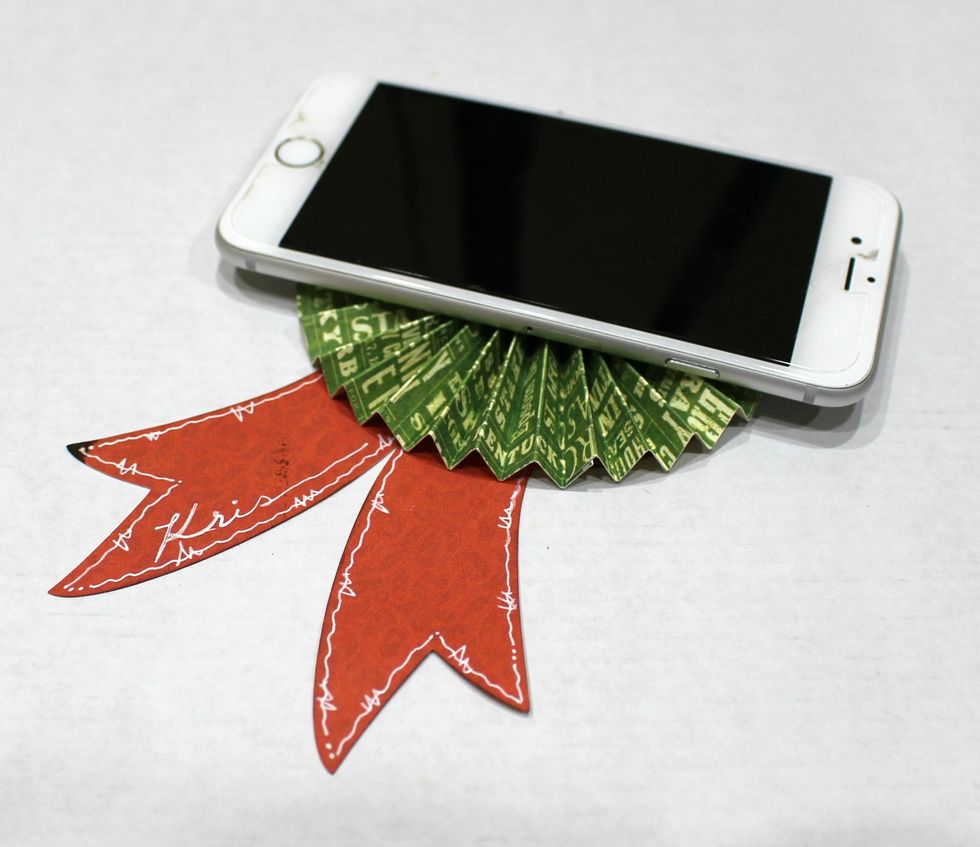
Then place the rosette and put something a little heavy to keep the rosette in place and flat.
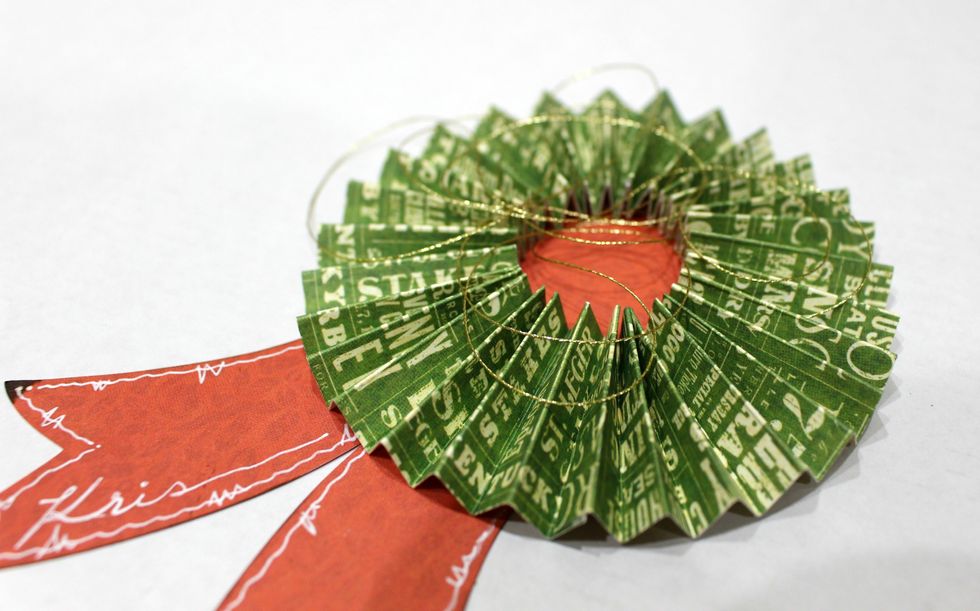
Now is time to decorate!! I add some metallic thread.
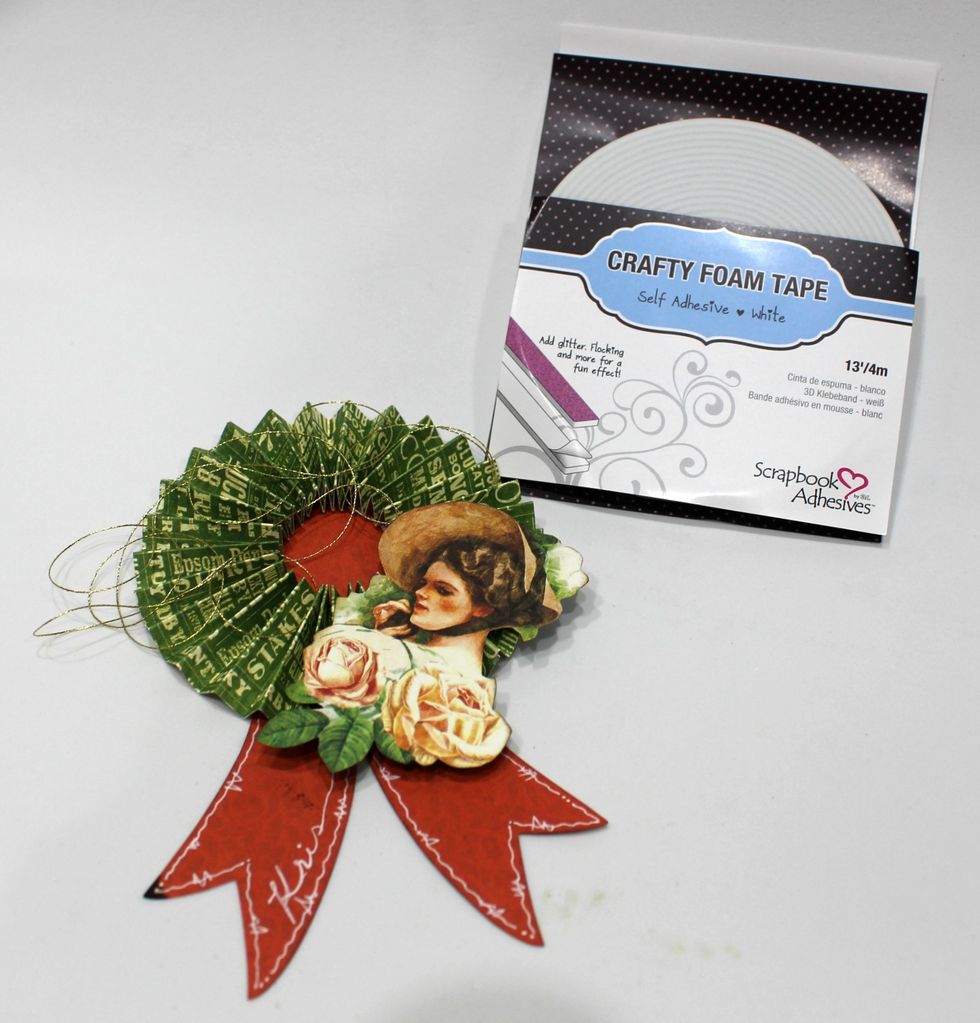
Now.. I'm going to use the Crafty Foam Tape to give dimension to the project.
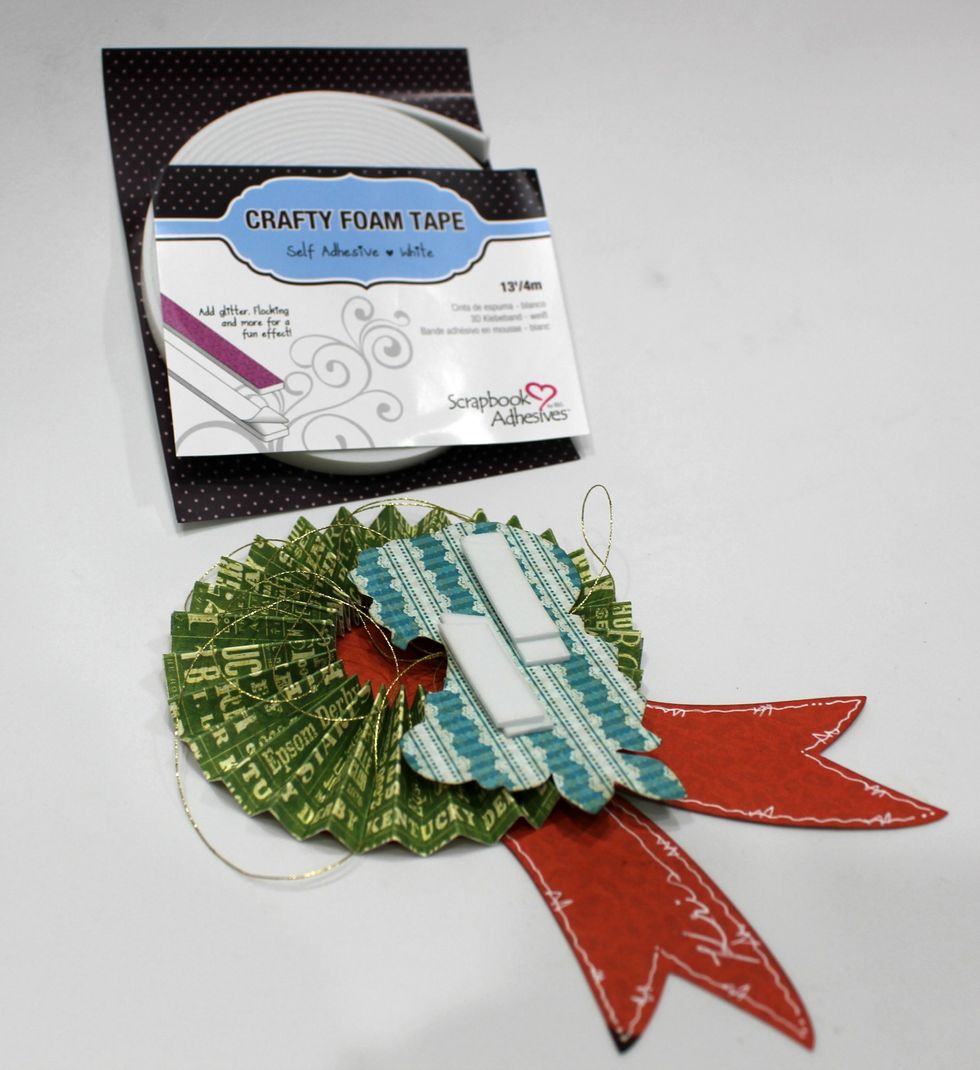
For my main focal point I add two pieces of Crafty Foam Tape.. as you can see in the picture.

And Voila! E-Z Runner and Crafty Foam Tape make this project so easy!!!
