The Conversation (0)
Sign Up
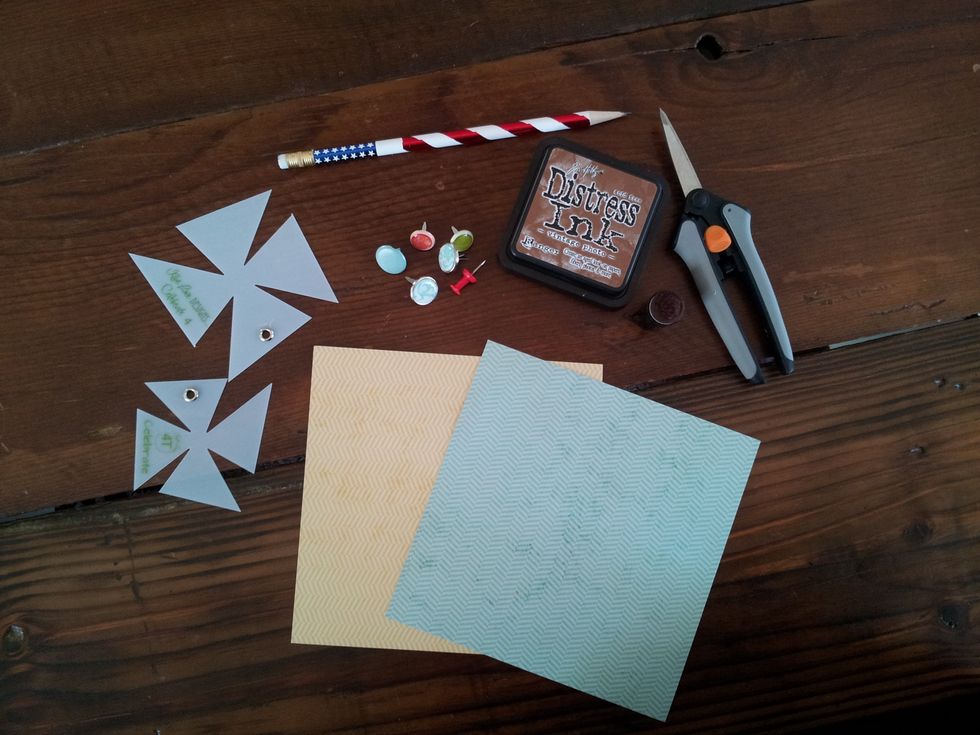
Here are the items that I used in this guide.
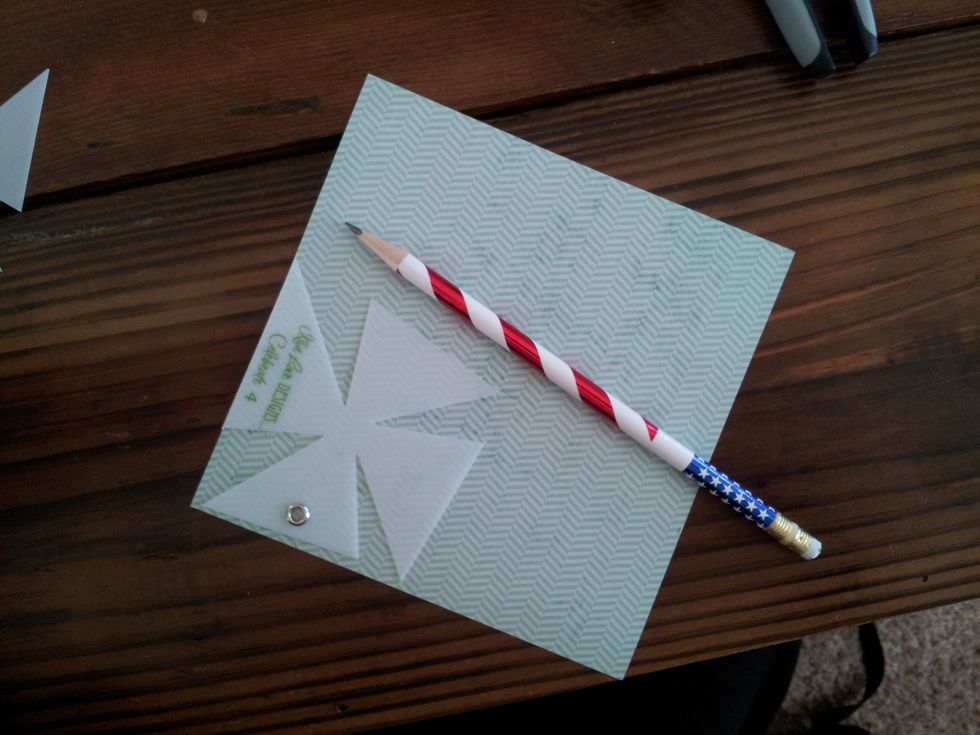
Select your paper and place the pinwheel Designer Template at the edge of the paper and trace with a pencil.
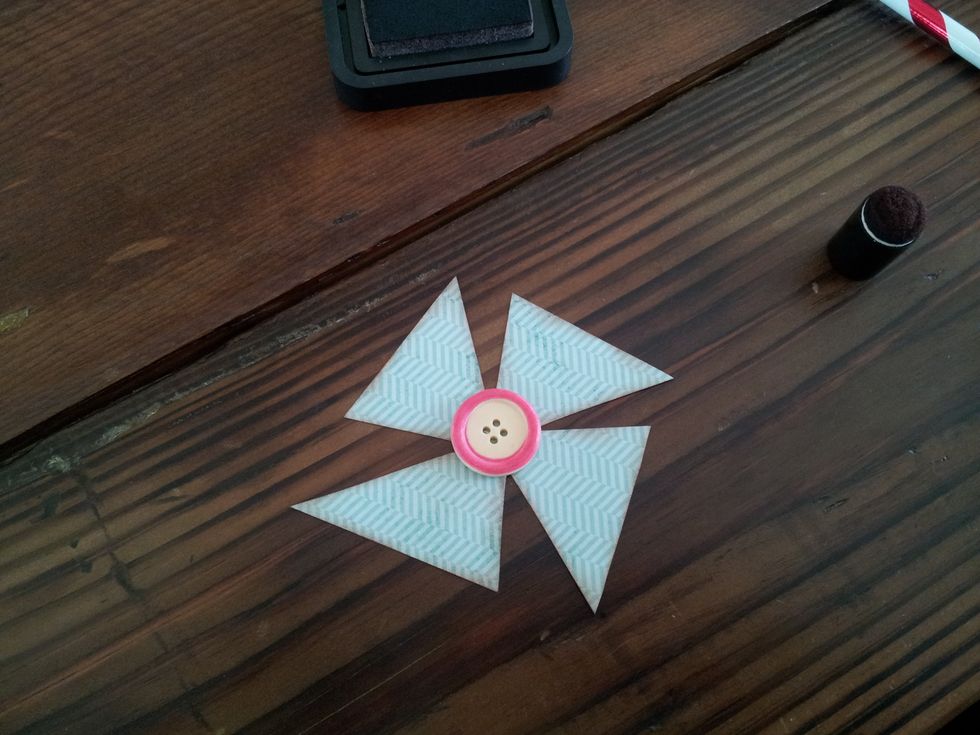
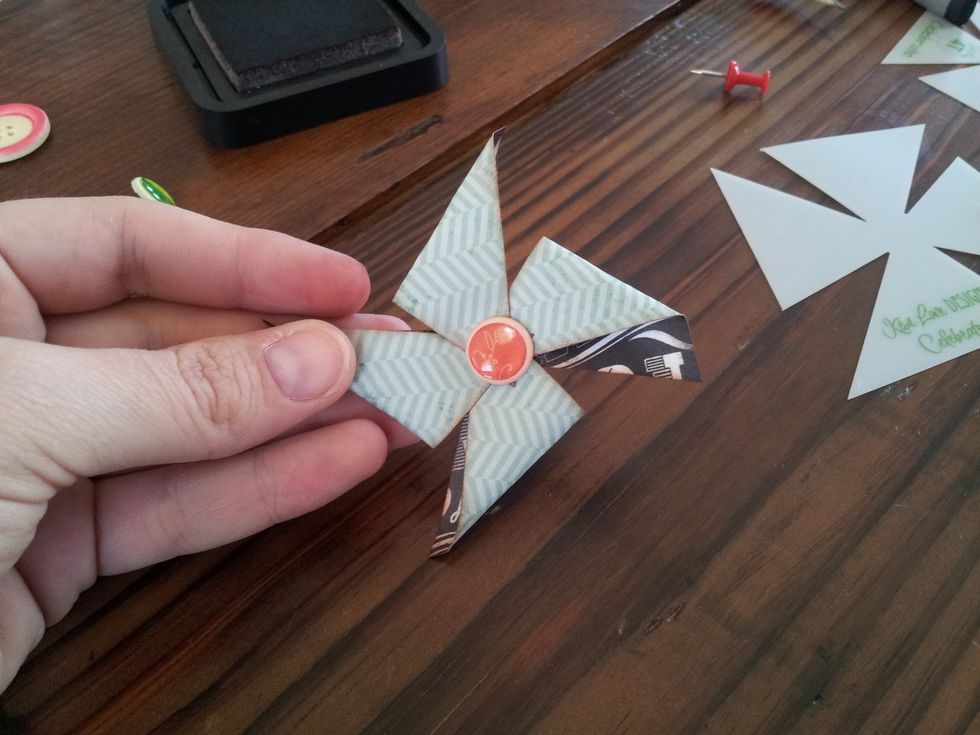
Add a button or brad to the center for a fun look.
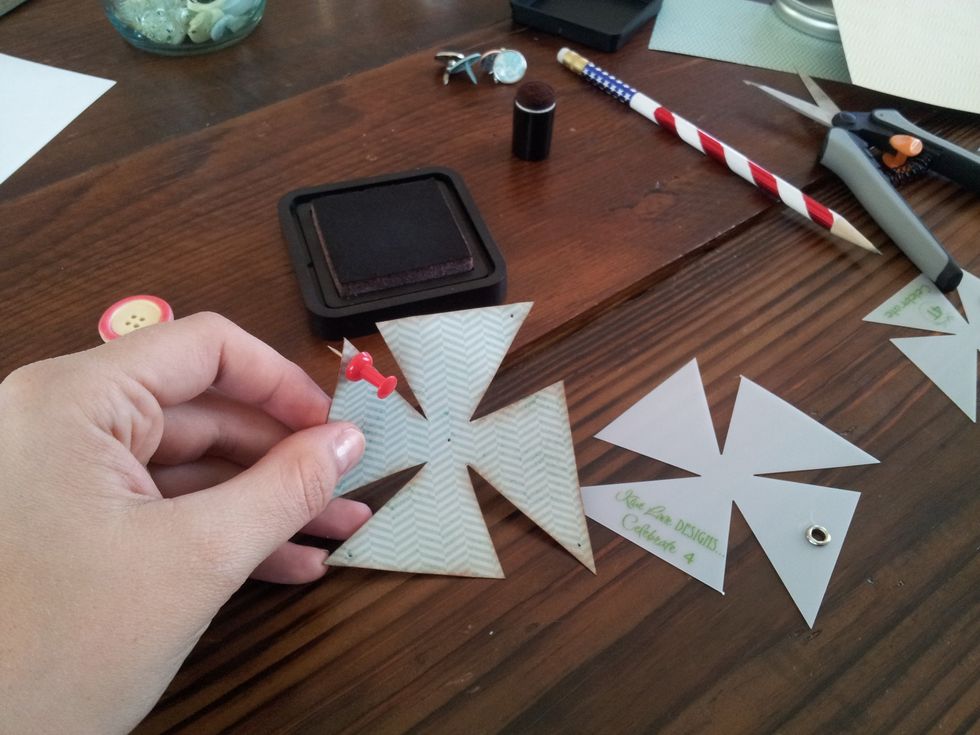
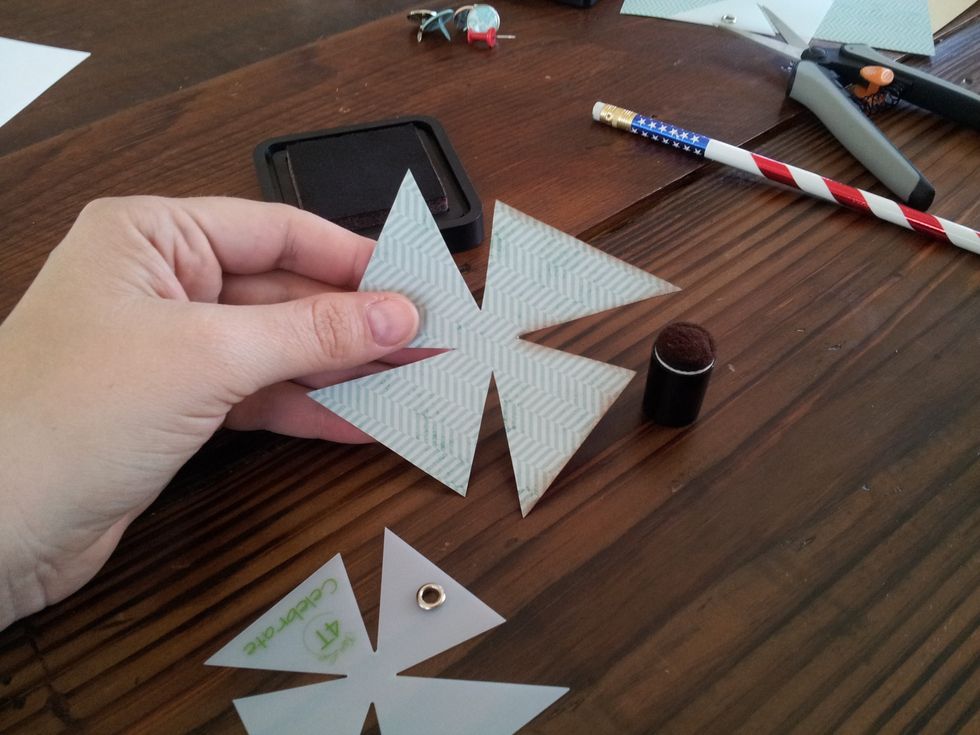
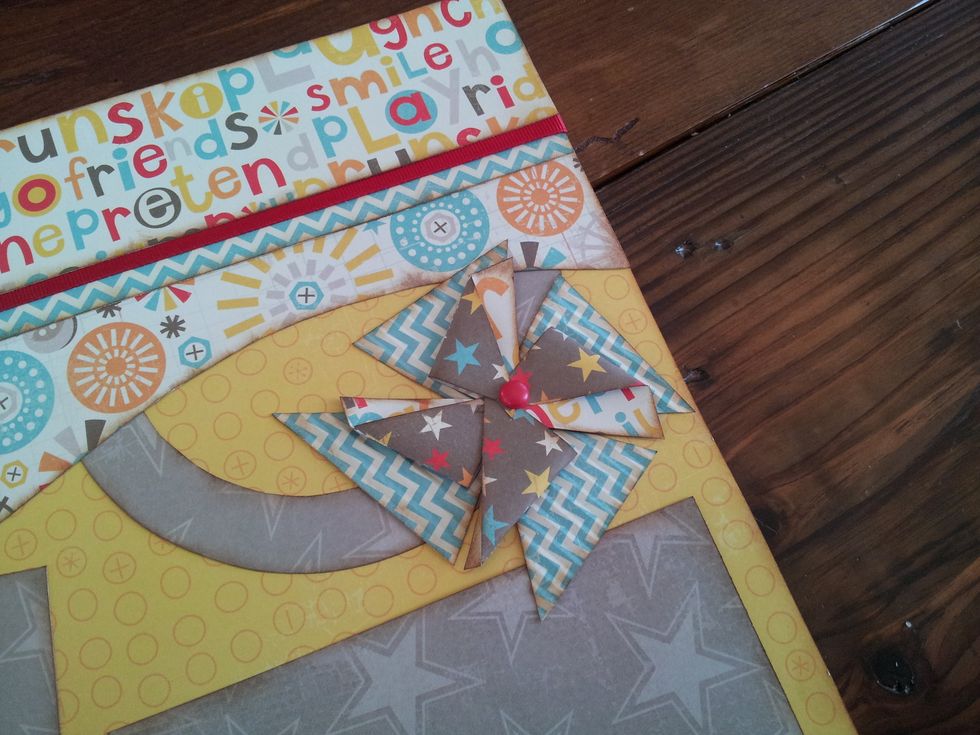
If you would like your pinwheel to have a dimensional look, ink the opposite side of the paper and then using a tack pierce the top corner on the right of each section plus one in the middle.
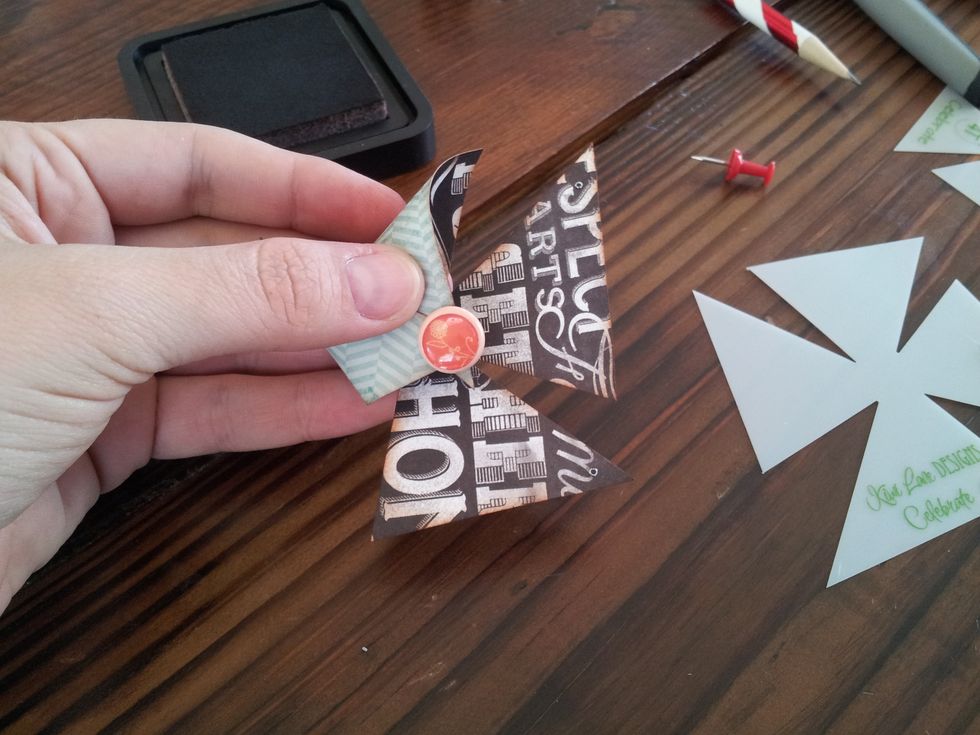
Then push the brad through the middle hole and open the prongs on the back to secure. You can also use hot glue and a button on top for the same look.
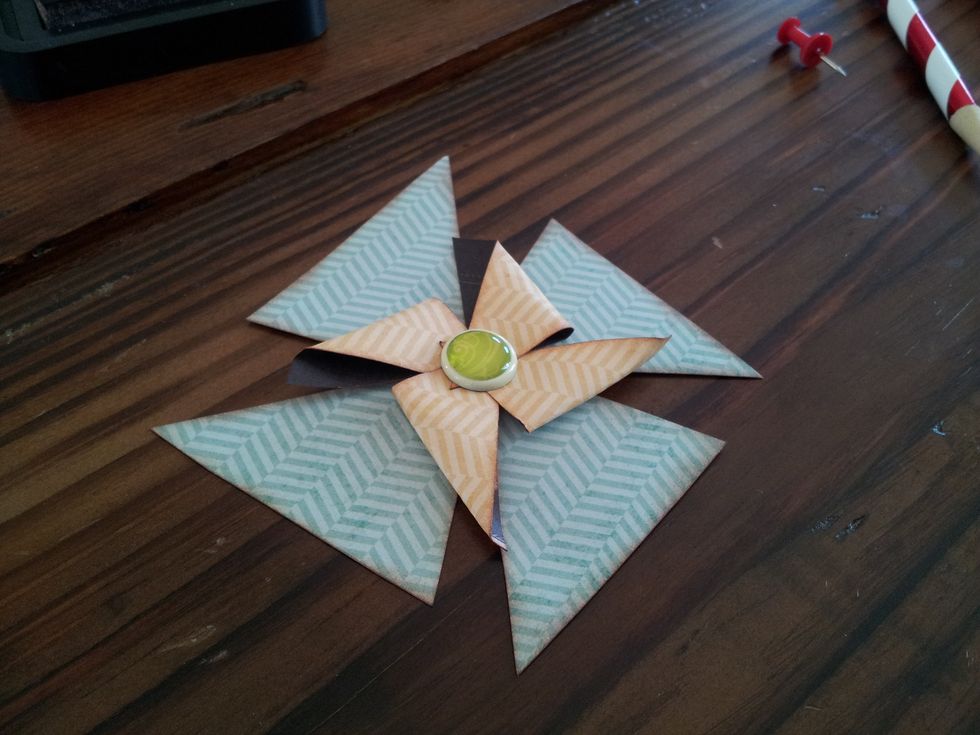
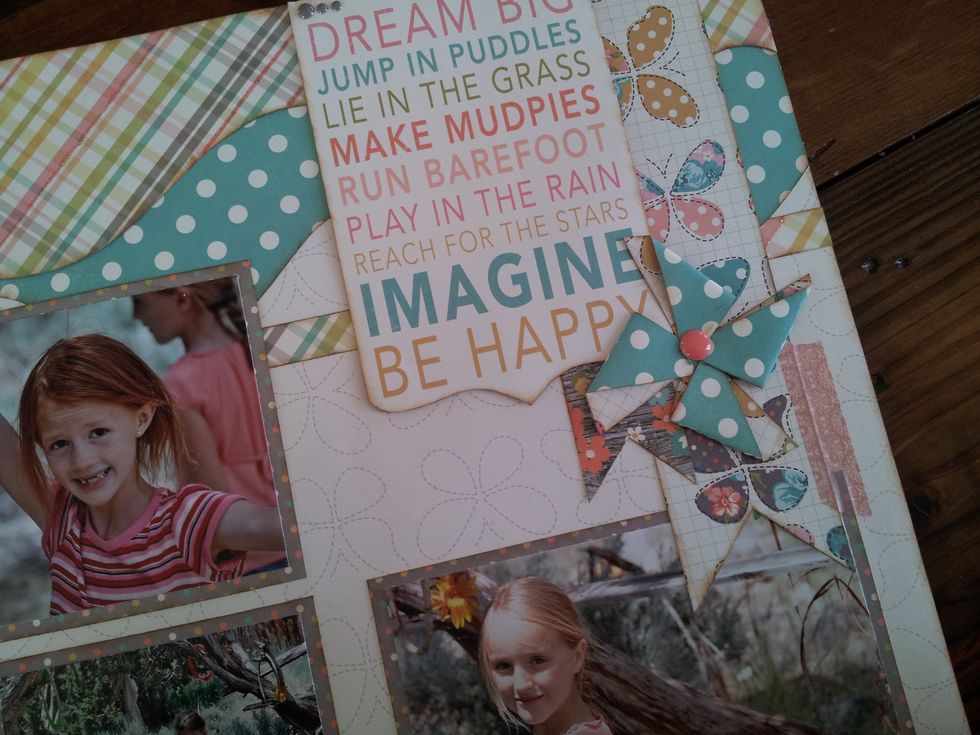
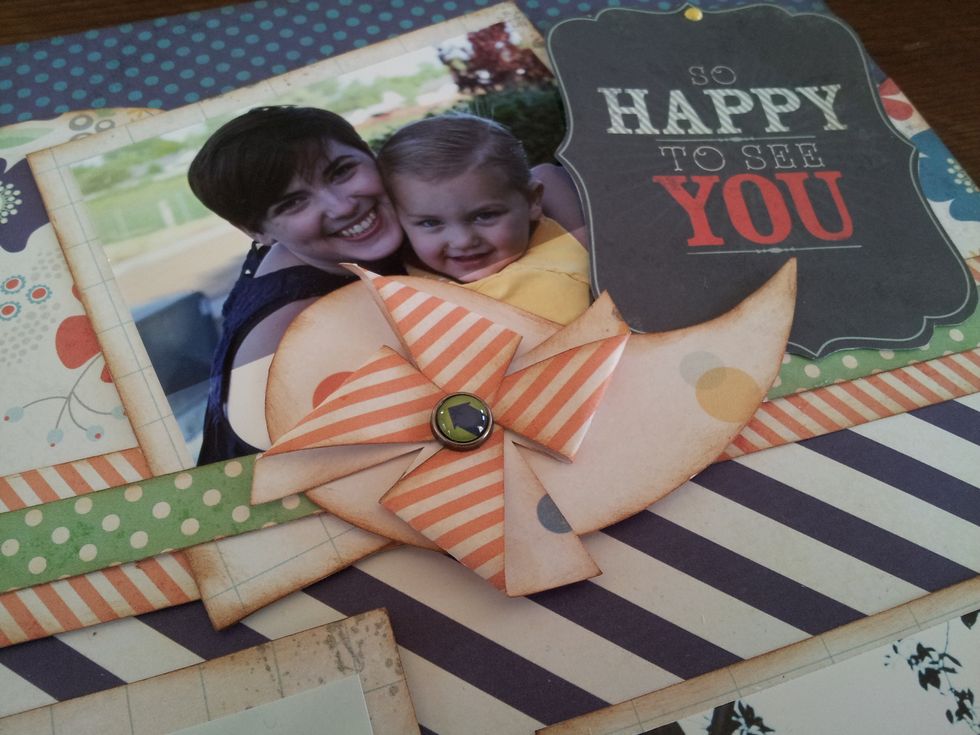
Sample of the layered pinwheel on a scrapbook page
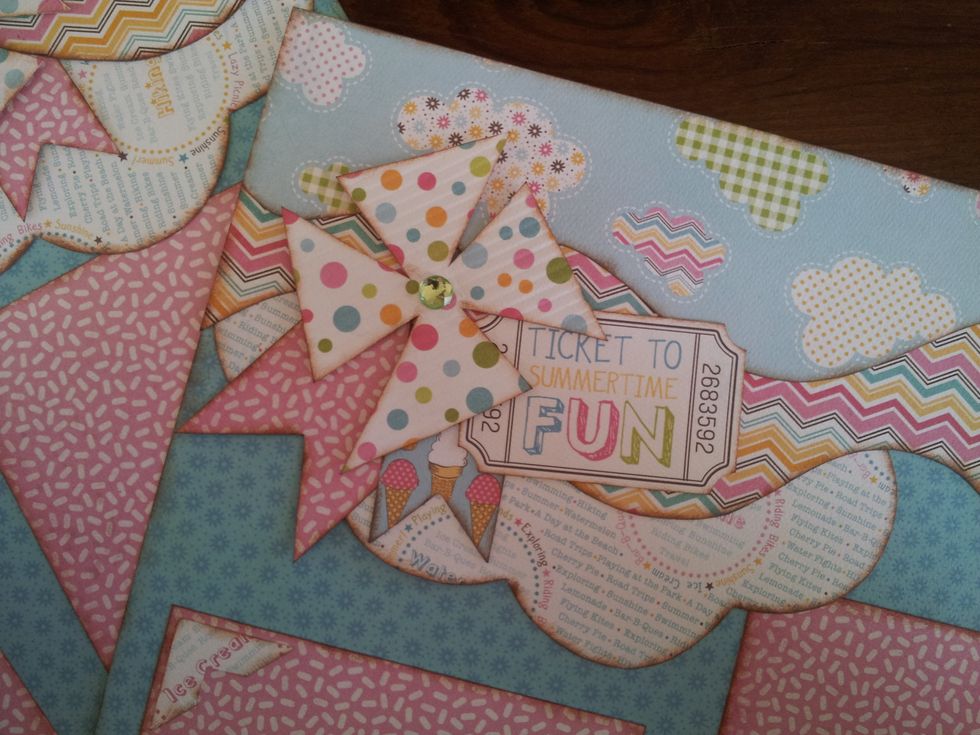
Flat pinwheel on a scrapbook layout.