The Conversation (0)
Sign Up
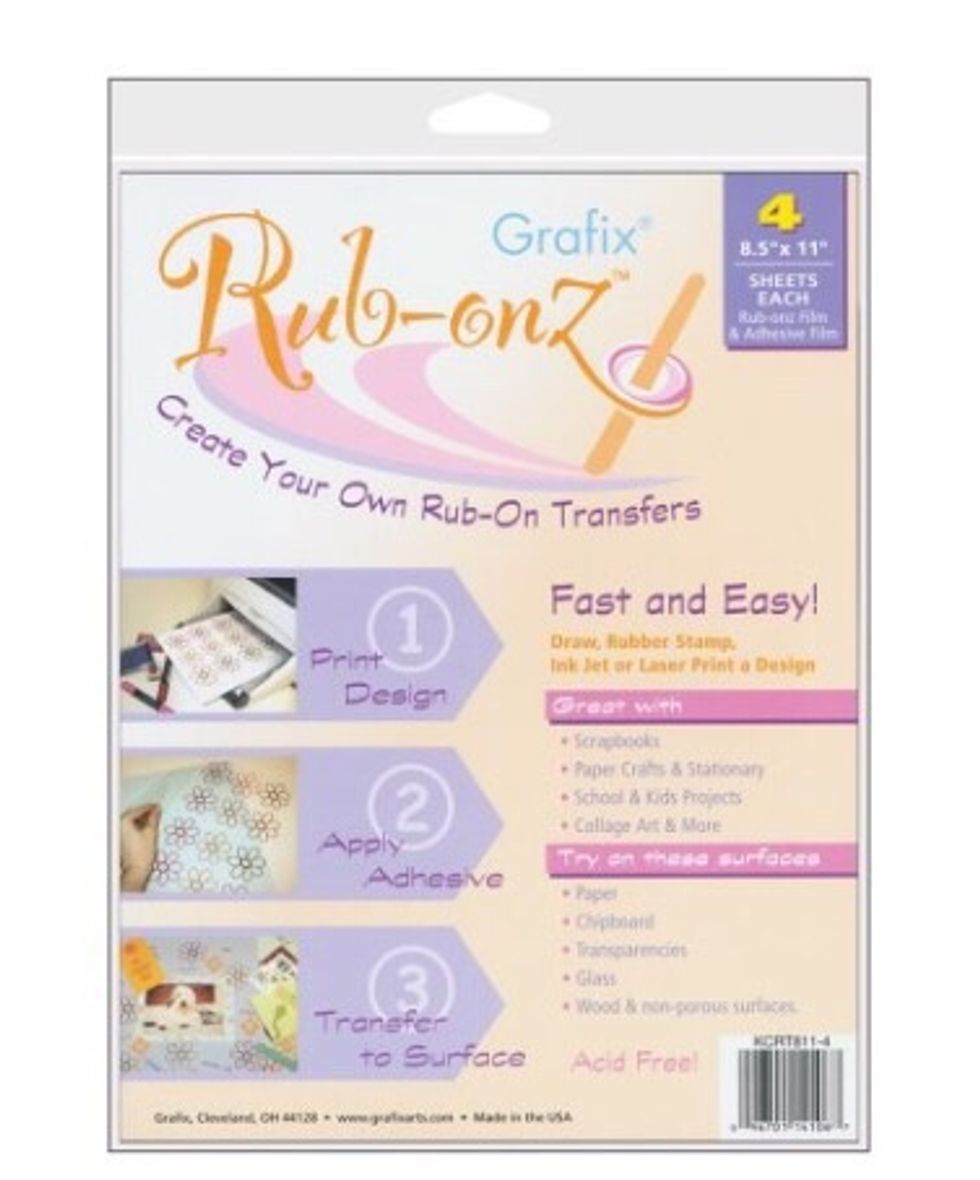
create your own custom rub ons quickly and easily using Rub Onz by Grafix. you can print photos, draw your own designs or even create rub ons from stamps.
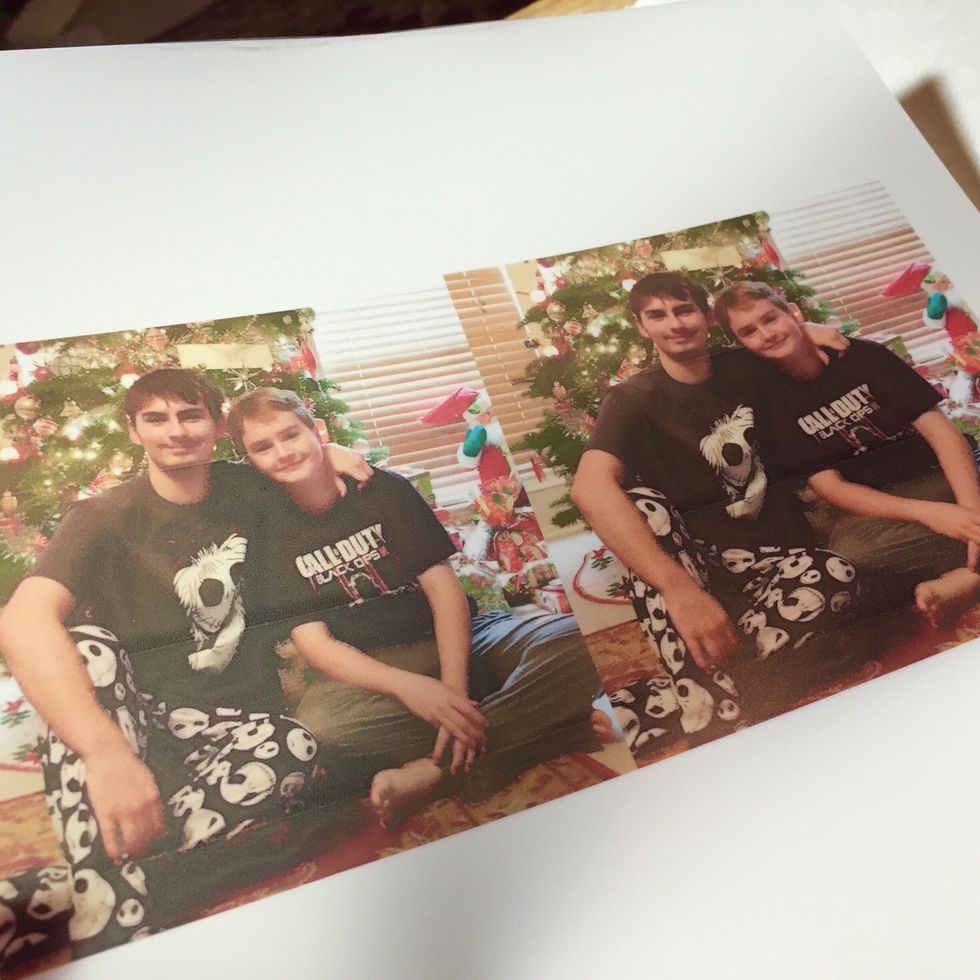
select a photo and adjust size as needed to ensure that subjects will fit on the ornament. follow package directions to print photos out on transfer film.

cut out images leaving a narrow border around the photo.
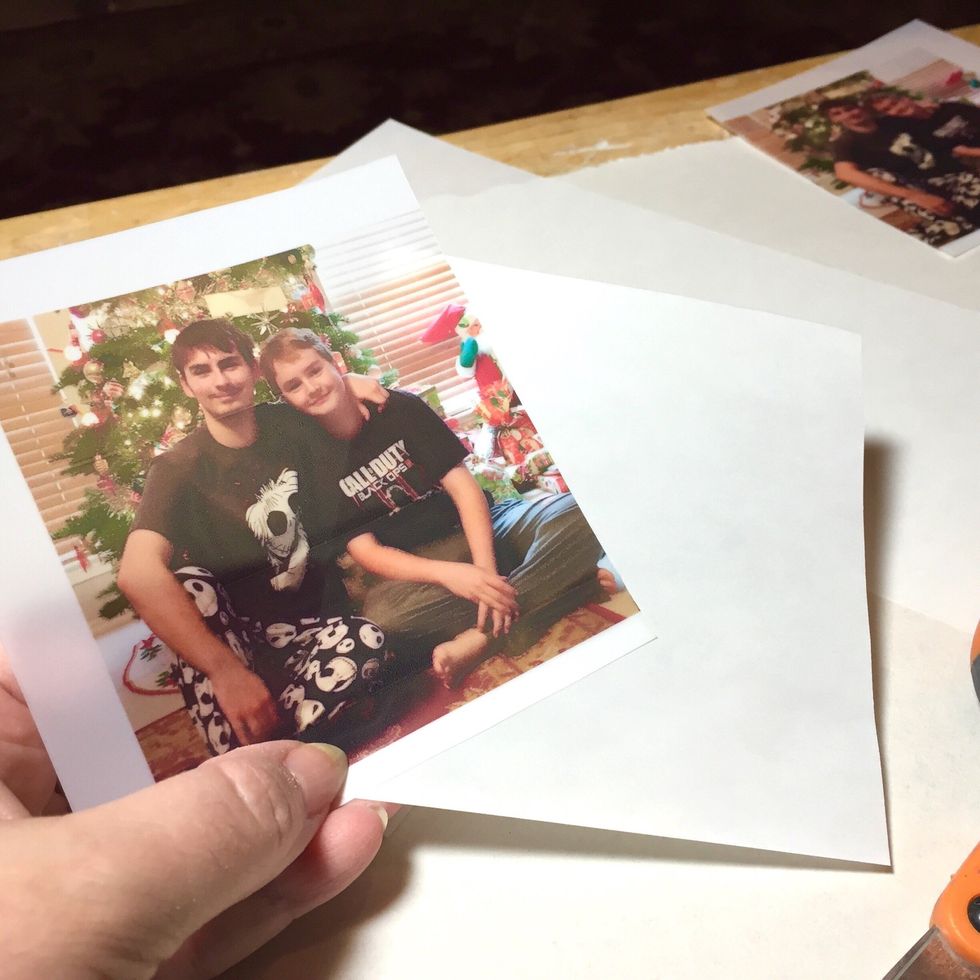
cut a matching size piece of the adhesive film.
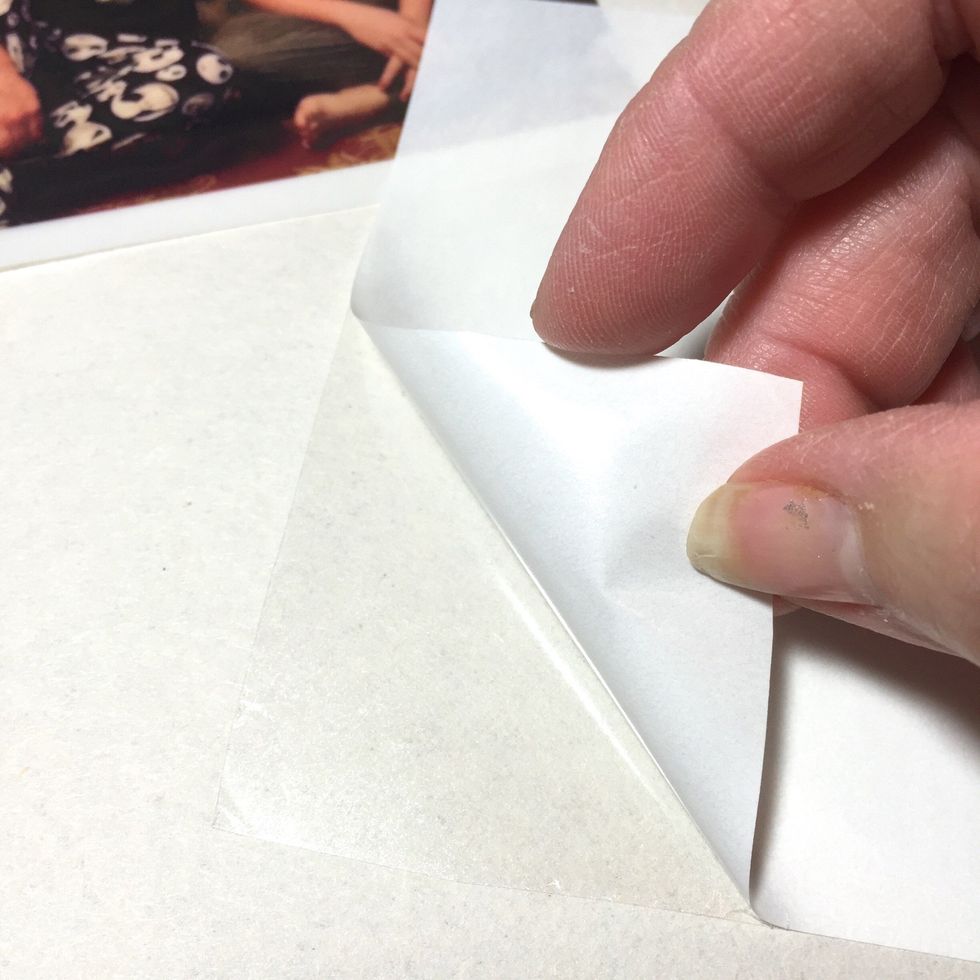
carefully peel away a corner of the the white liner from the adhesive film. i find it easier to work with and align the adhesive if i start with just one corner.
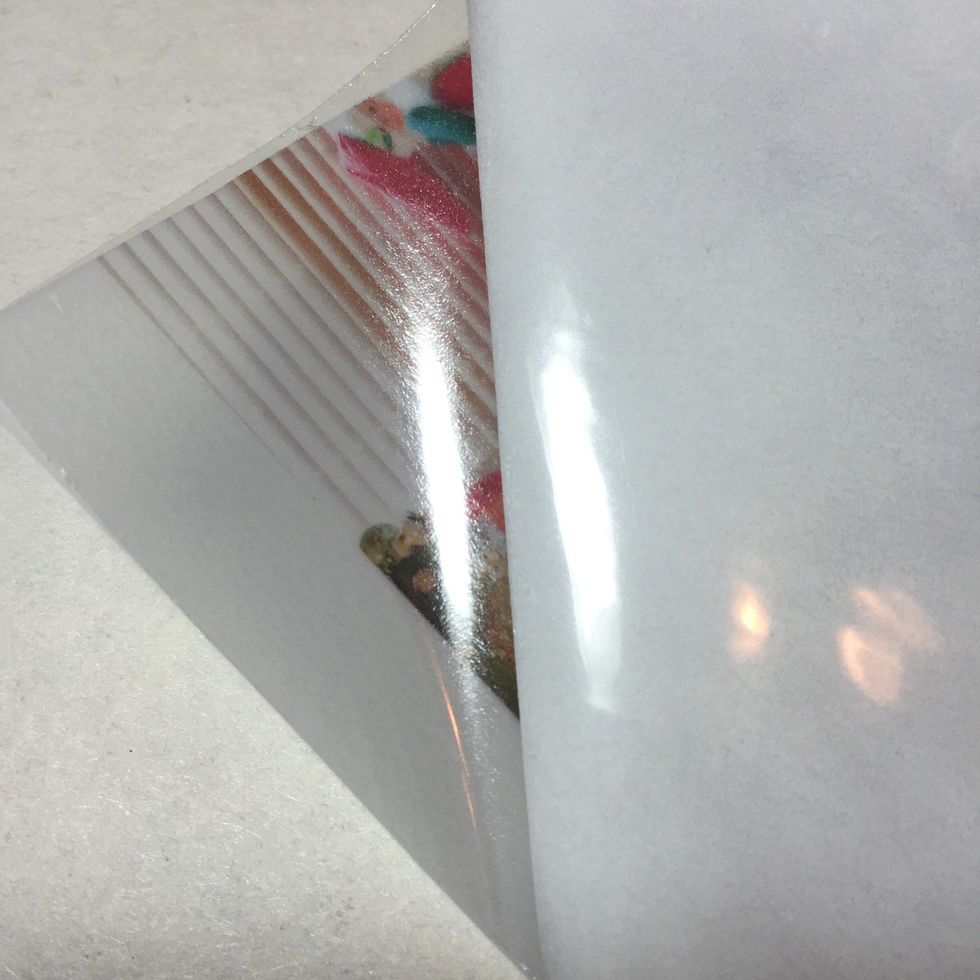
with sticky side down, lay over your photo printed on the transfer film, lining up corner and edges.
slowly continue pulling the liner off, smoothing the adhesive as you go.
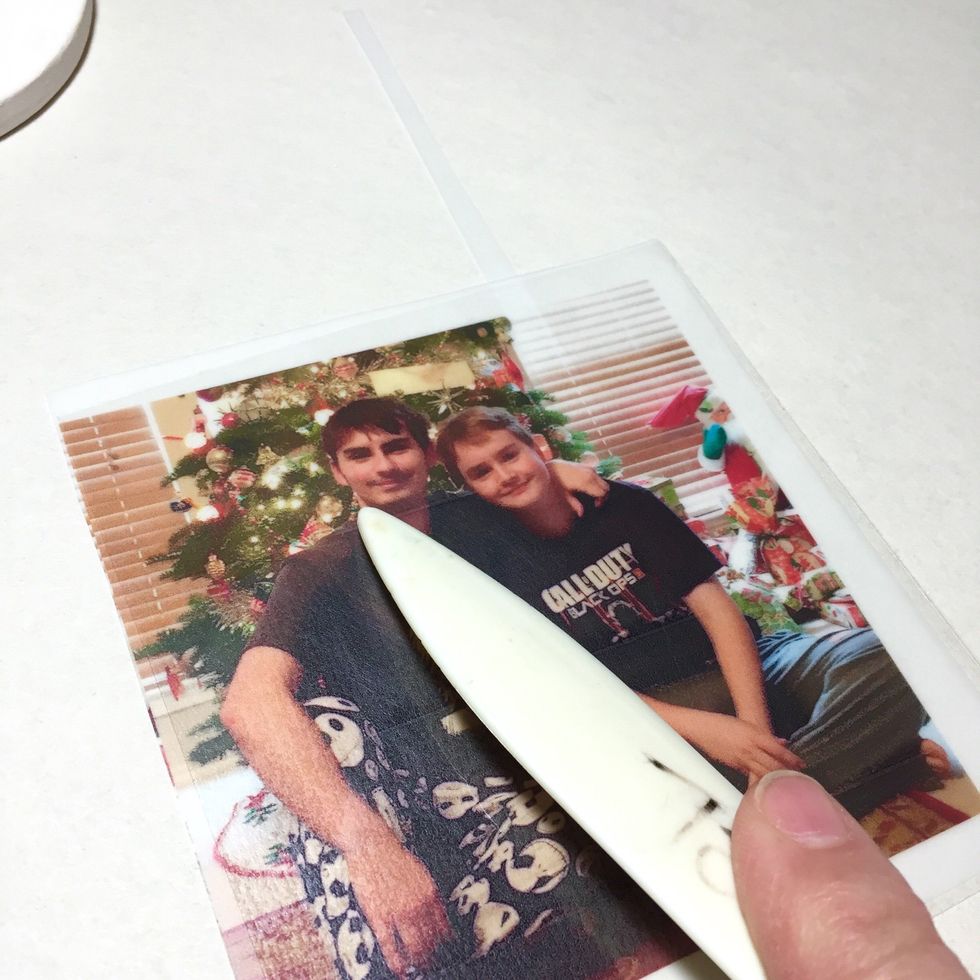
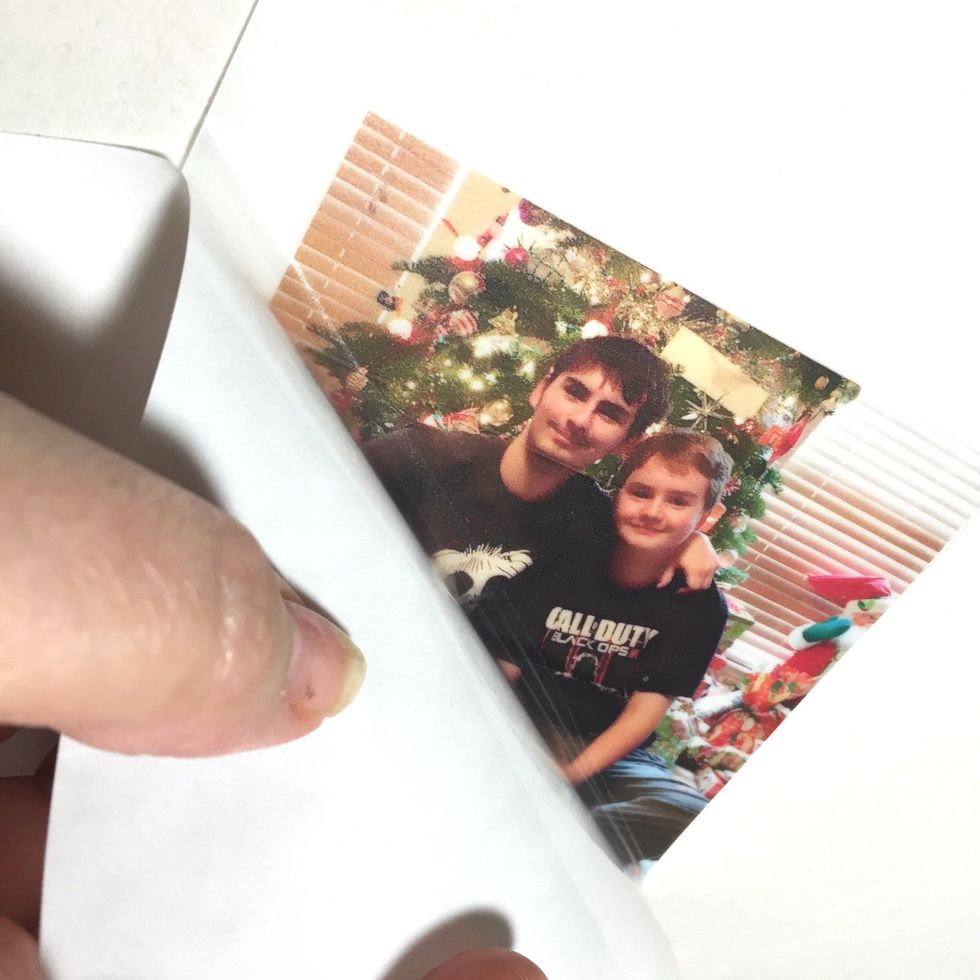
once adhesive has been applied, use bone folder to finish smoothing, pressing out any air bubbles. it is important the the adhesive be completely adhered to the photo transfer film.
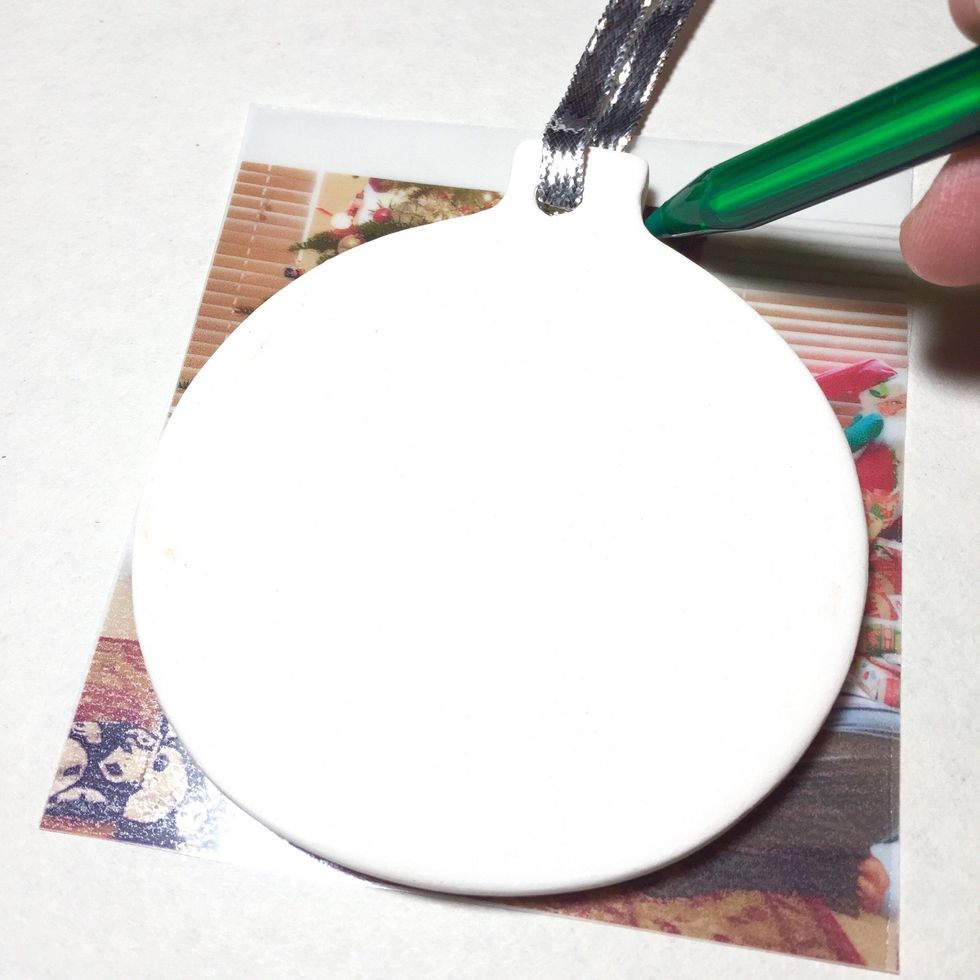
lay ornament over photo centering photo on it. and trace around with a pen or pencil.
make sure photo fits on the ornament, trim as needed.
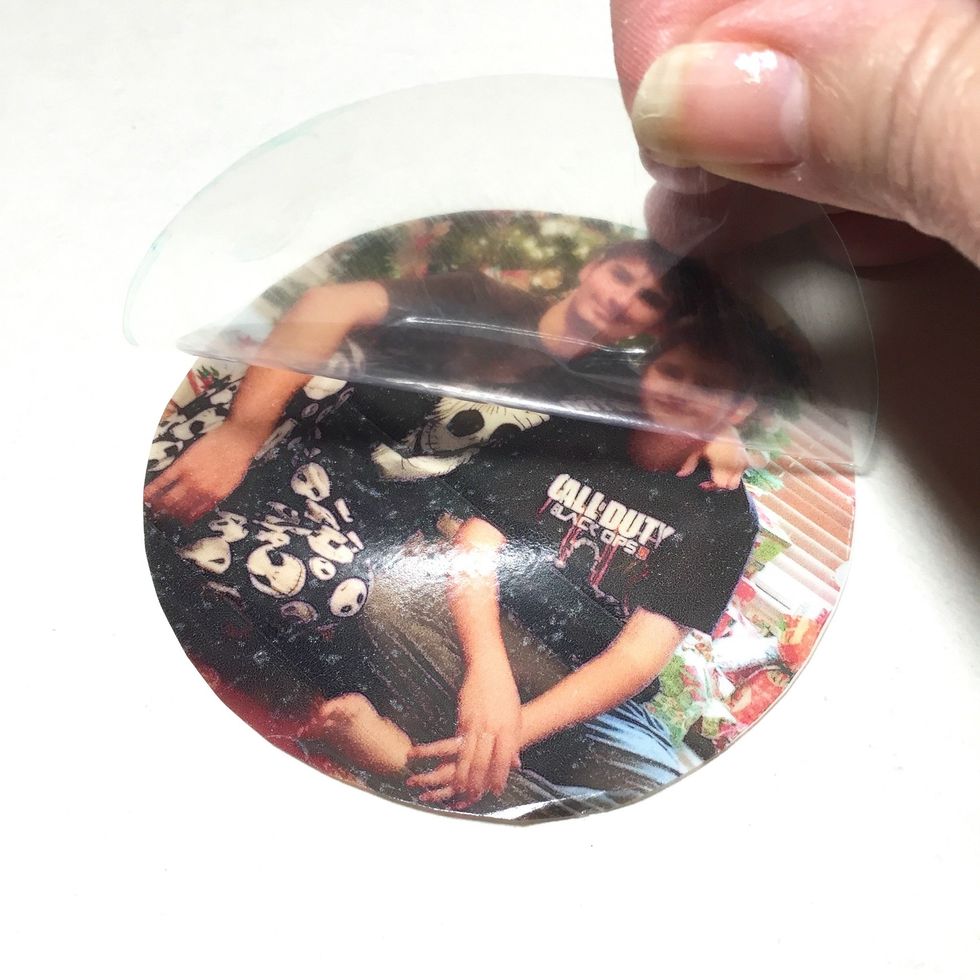
carefully remove the clear adhesive from the top of the rub on. work slowly, the top photo surface will be sticky.
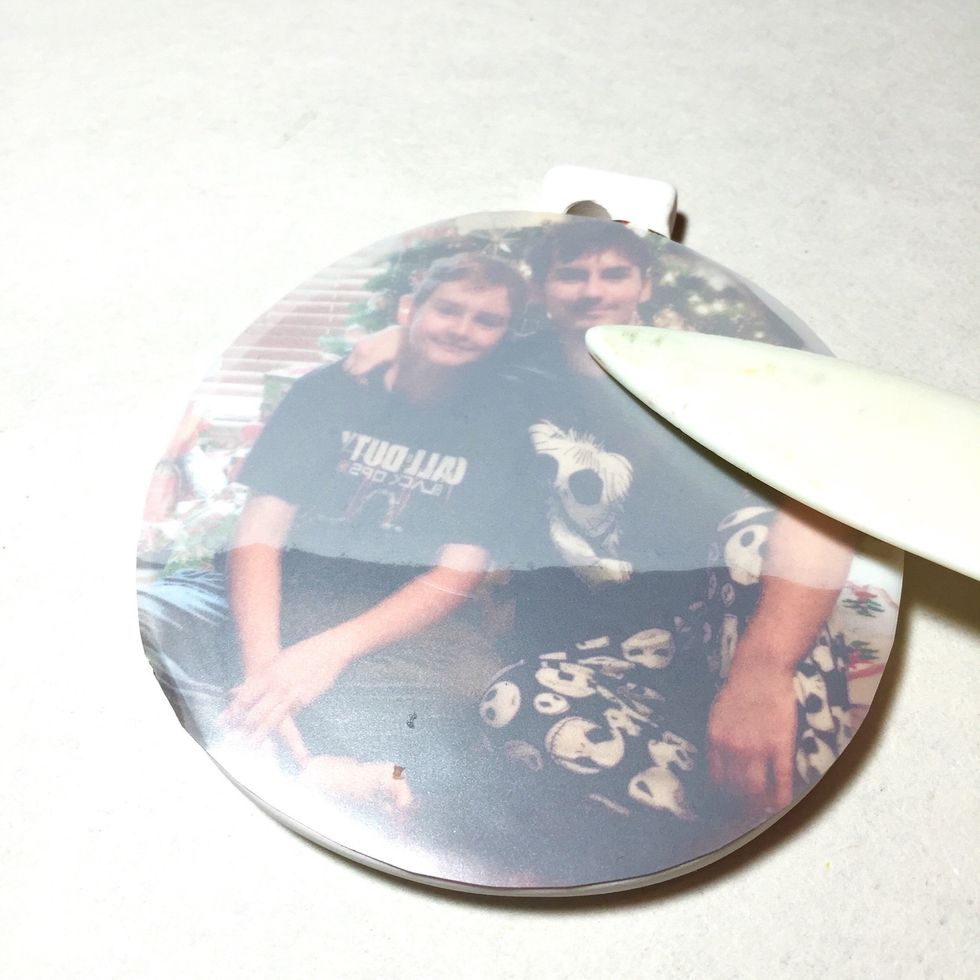
line up the transfer on the ornament and apply sticky side down. smooth with bone folder to transfer rub on to ornament.
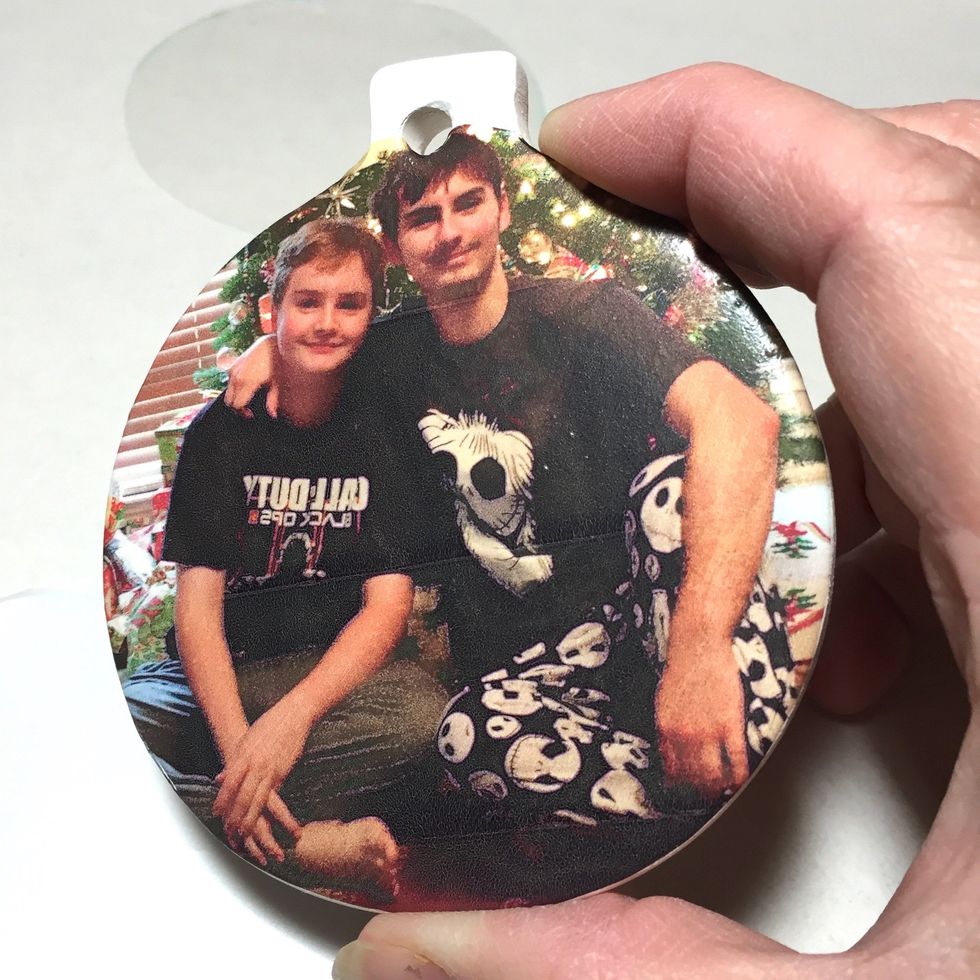
remove the matte liner to reveal your photo applied to the ornament.
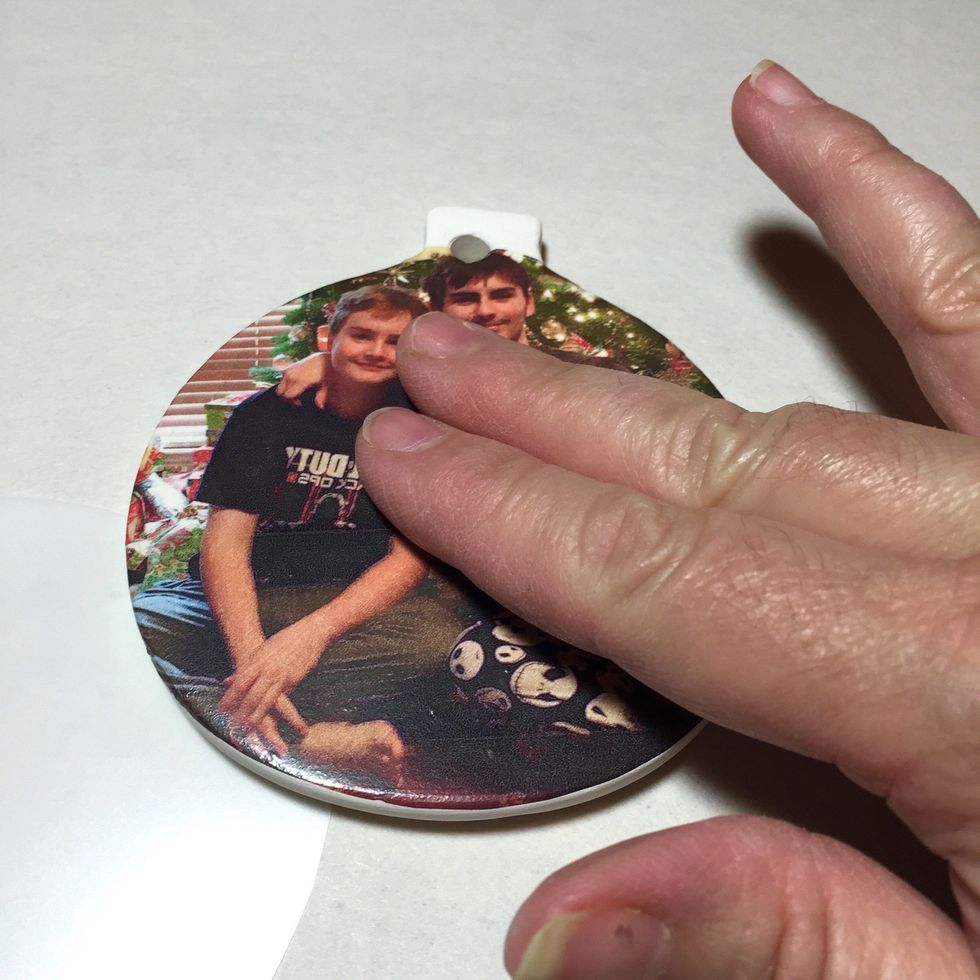
smooth gently with your fingers to make sure rub on is completely applied and to remove any air bubbles.
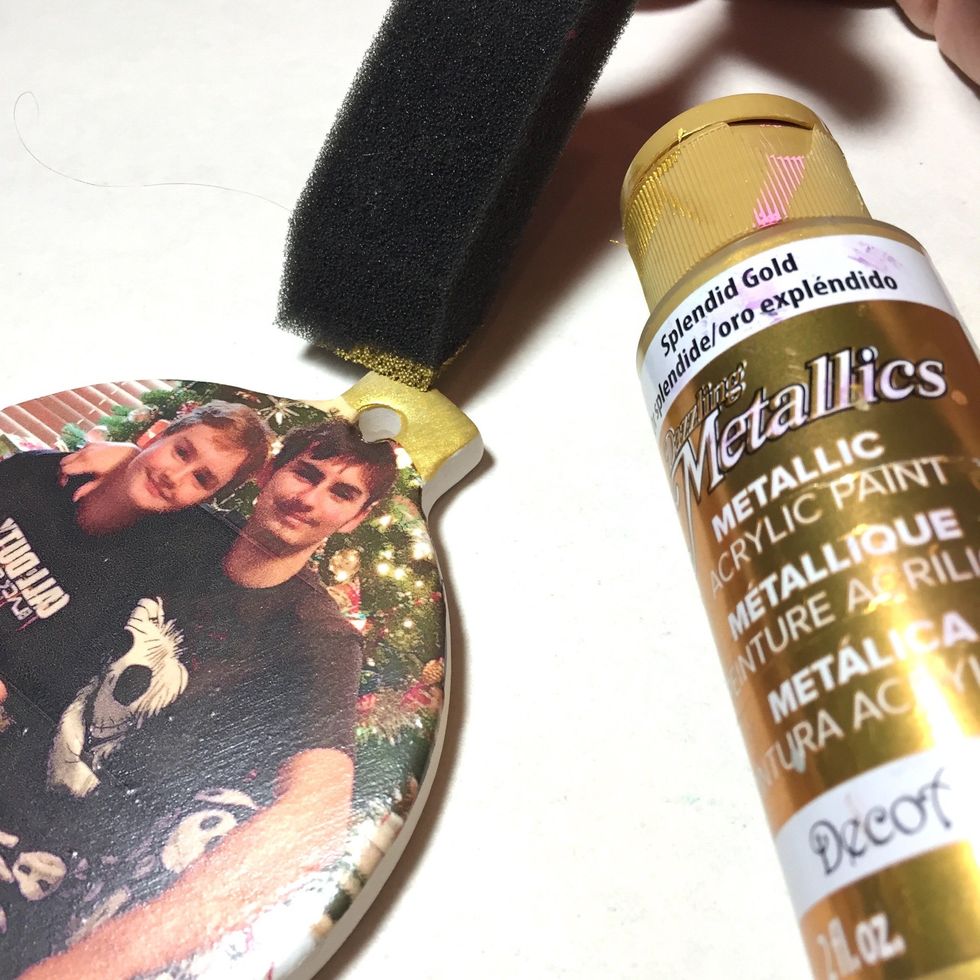
paint the cap with gold paint.
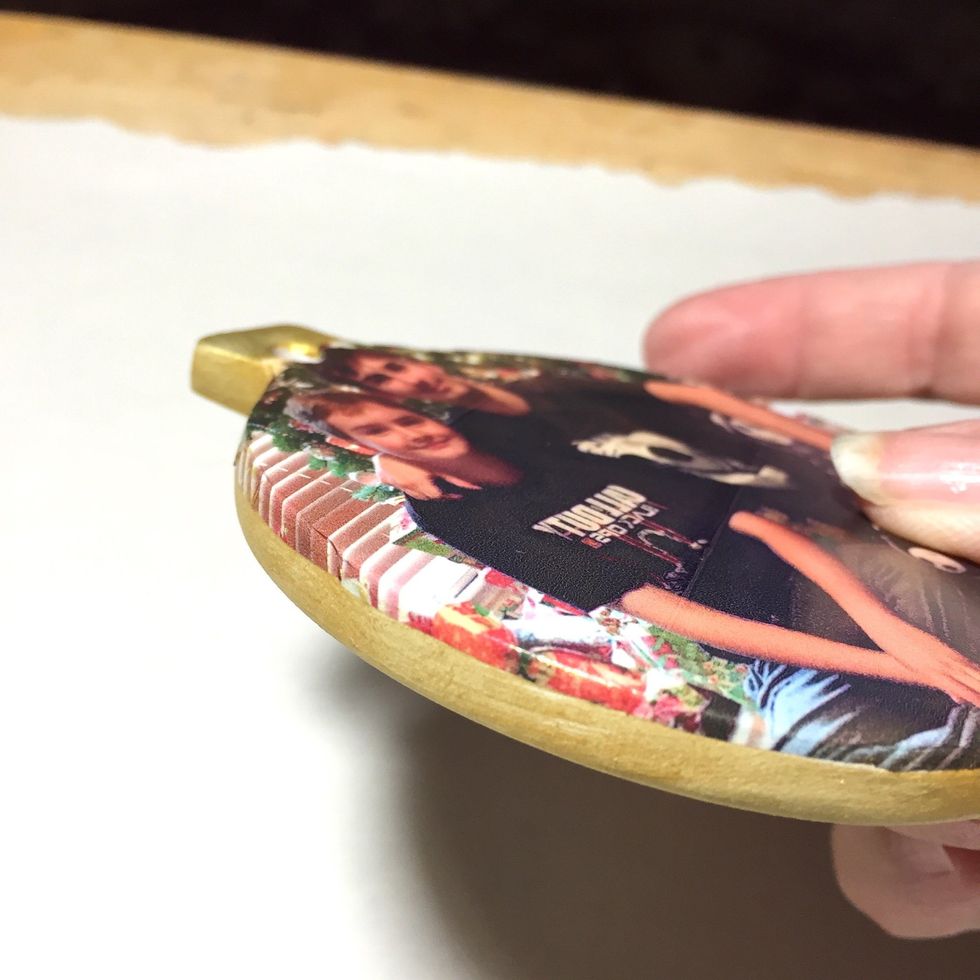
also paint the sides...

and you can also paint the back if you like.
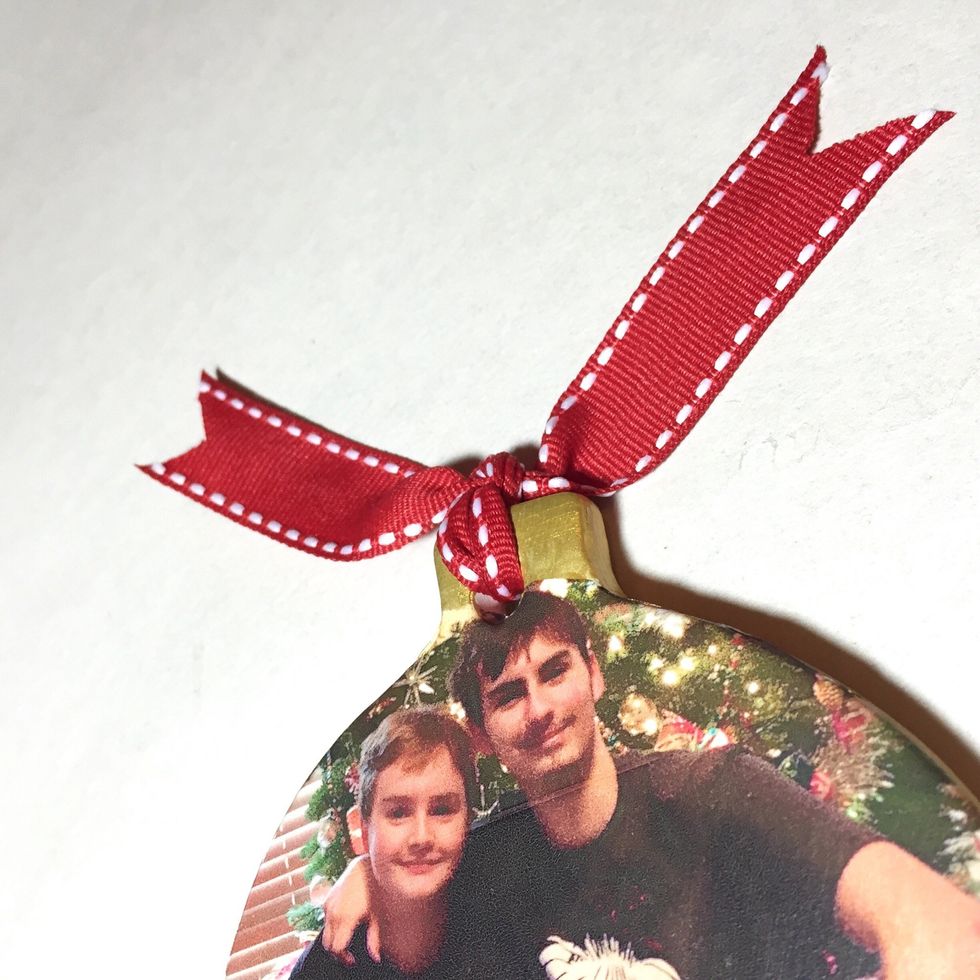
add a ribbon.
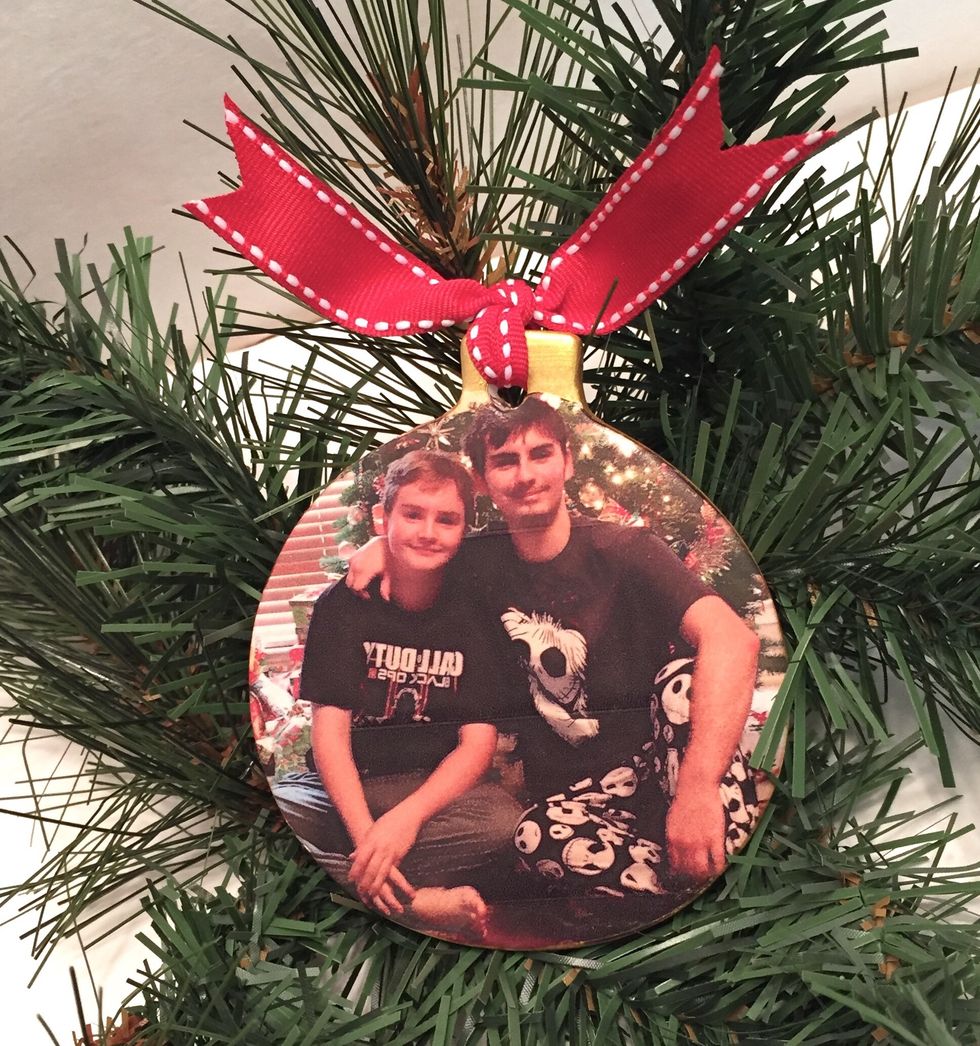
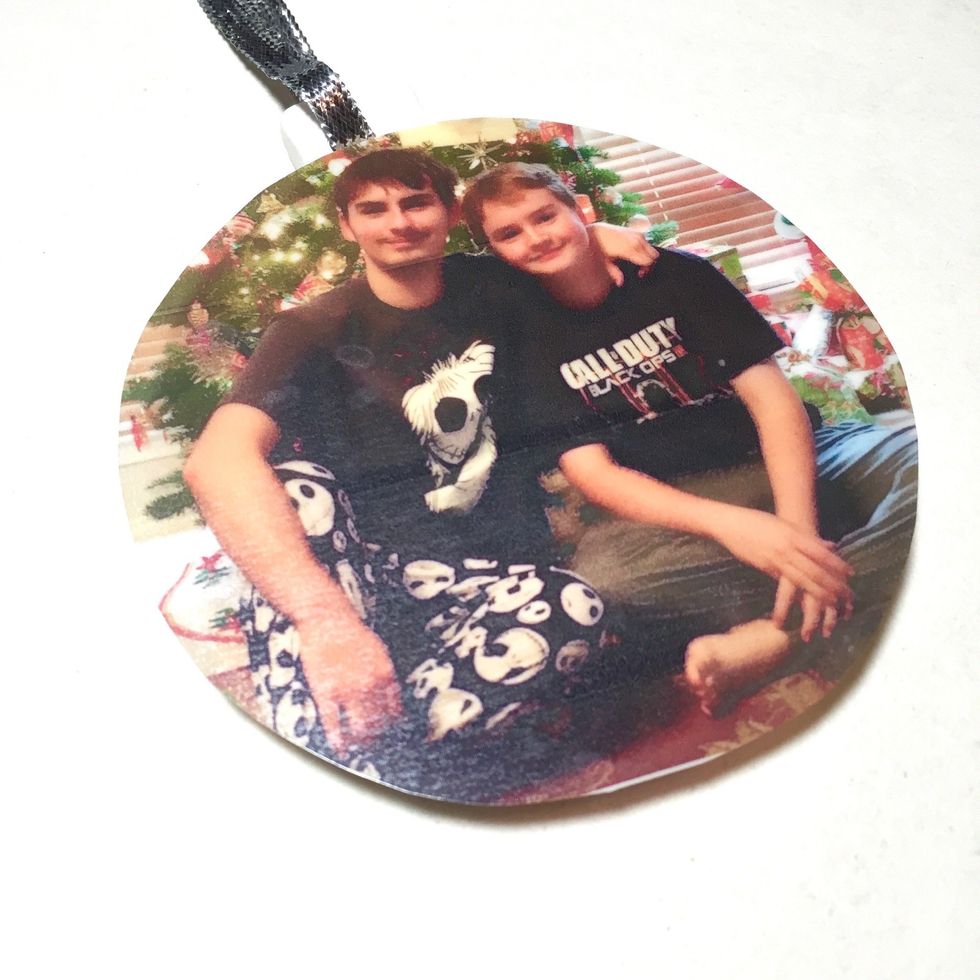
and your ornament is all finished and ready for gifting!
i hope you enjoyed this project. you can get more great project ideas by visiting the GRAFIX website and blog www.grafixarts.com you can find me on my blog www.tamisanders.com