The Conversation (0)
Sign Up

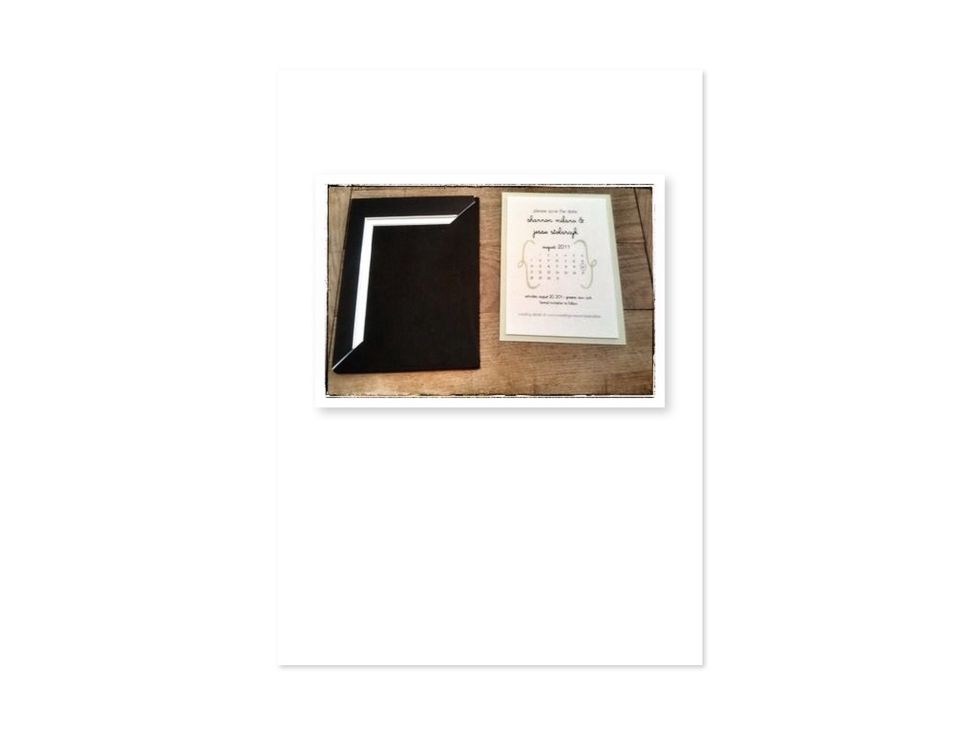
My Inspiration, the JIGster by Envelopments... However, I wasn't about to spend $70 for the perfect edges to my DIY invitations!
Go to your local craft store and look in their pre-cut picture mat section. Just buy the cheapest one. I picked up at Micheals a 5x7 one that was already layered at a 1/4" = perfect!
Using a knife make a clean slice in opposite corners of the mats. Then glue the 1st piece of mat on to the background board.
Measure where you want the 2nd mat to hit. Mine was already at 1/4", this was great. If you wanted an 1/8" or three levels, just need to measure where the steps should go and layer appropriately.
Glue the 2nd mat on top of the 1st mat. Let it dry and you are good to go. Perfect edges without driving yourself mad!
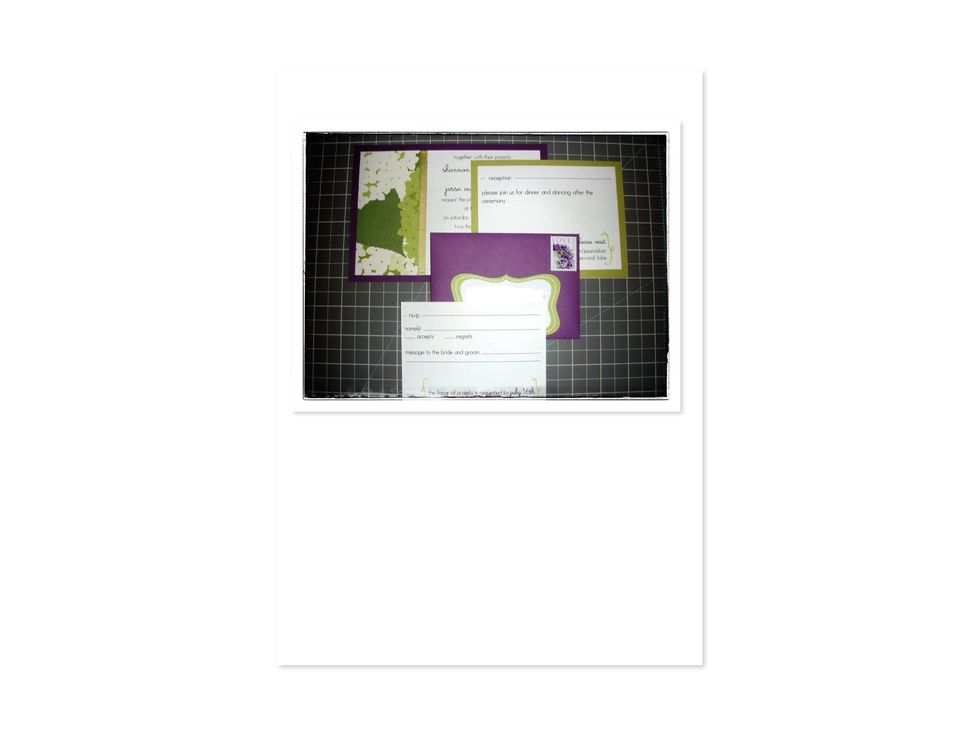
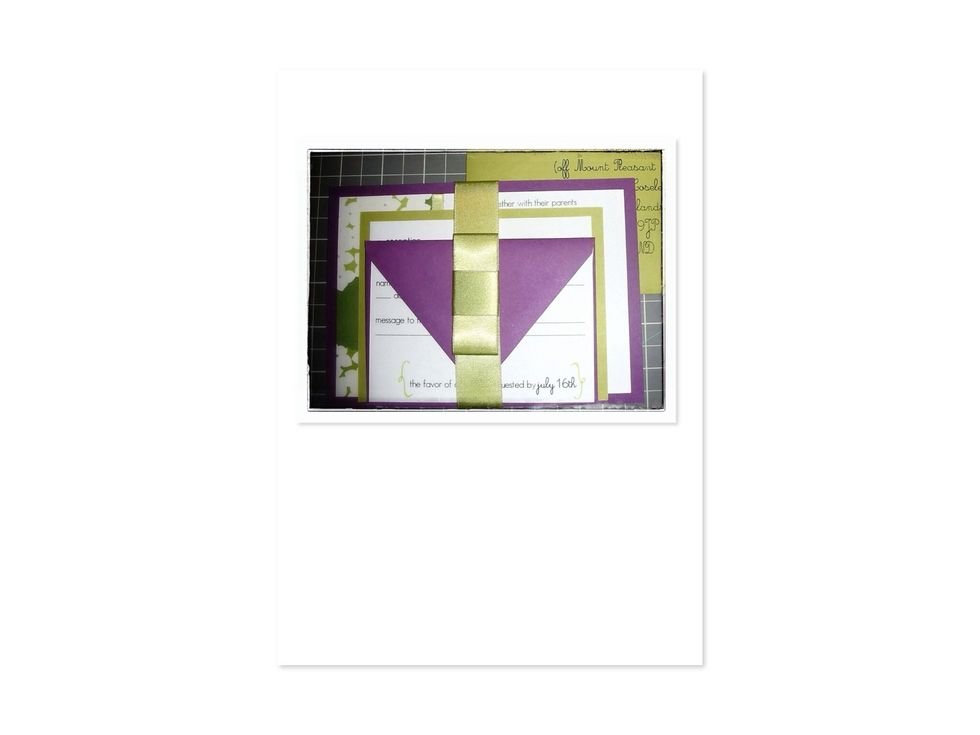
Finished invites with perfect edges!