The Conversation (0)
Sign Up
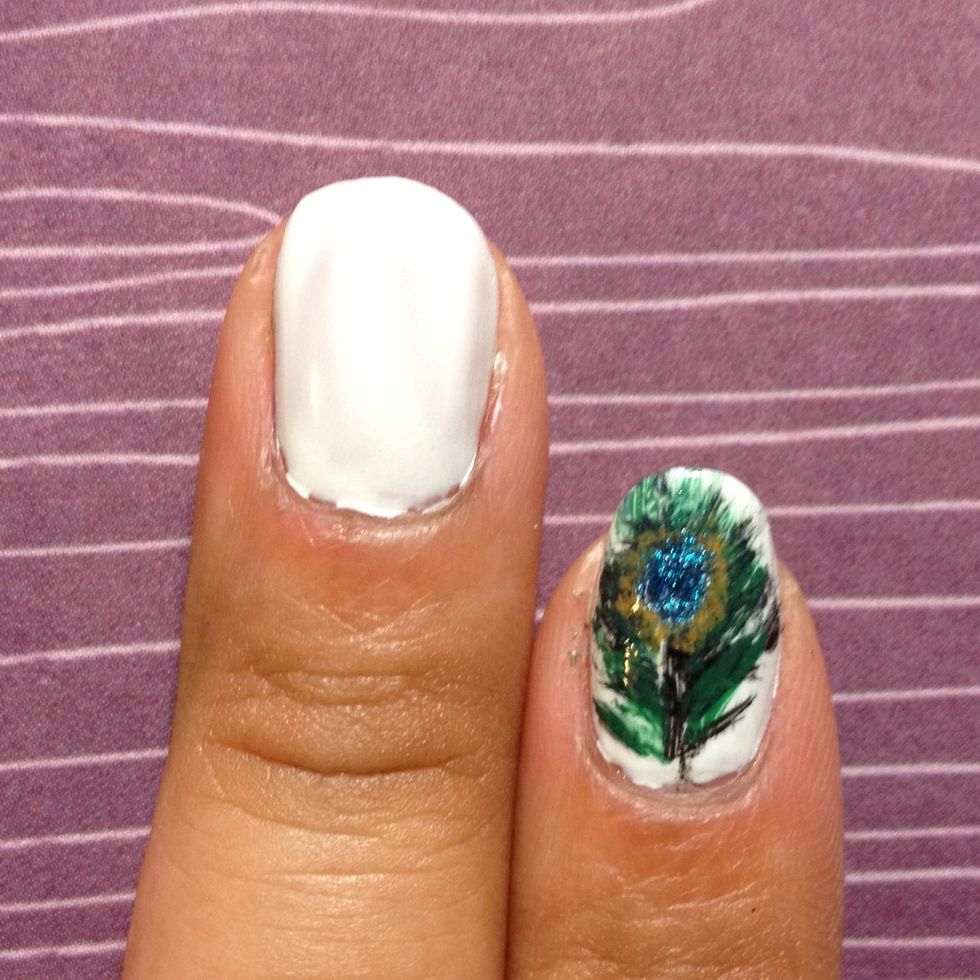
Paint the base of your nails white.

Using your nail art brush dip it and simply drag outwards until the polish is dried.
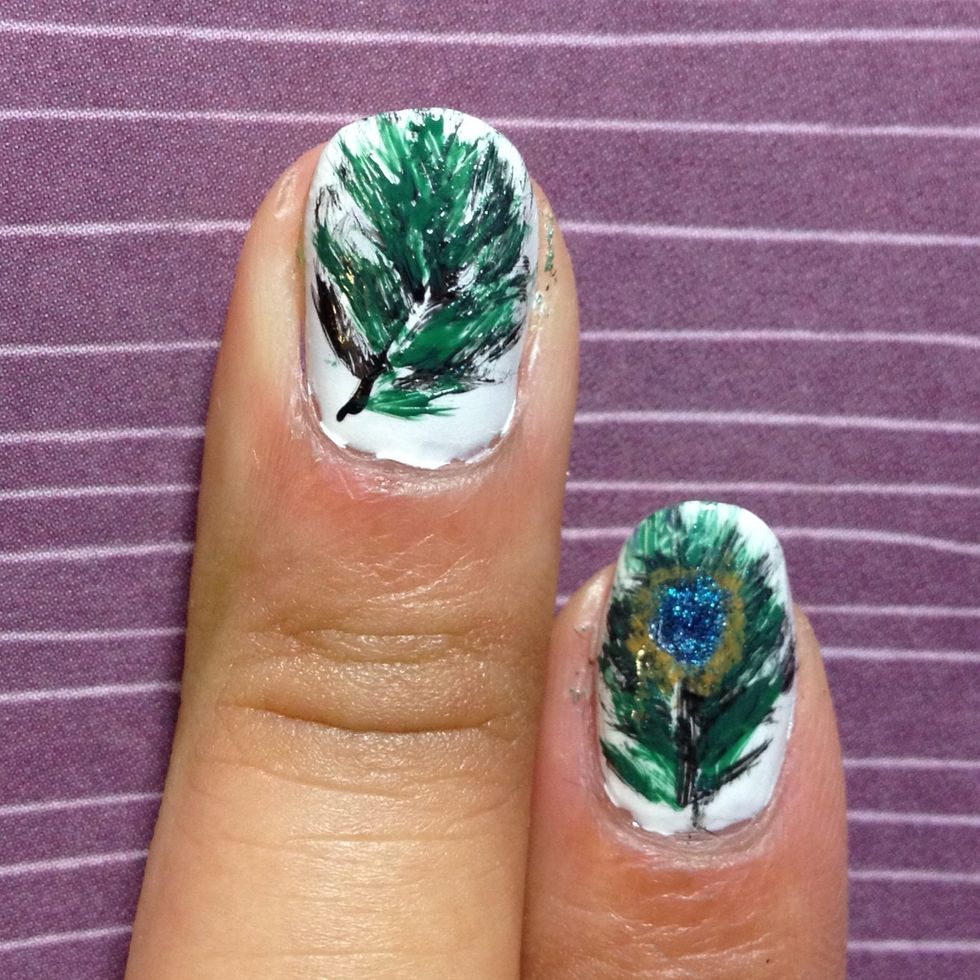
Do the same with the green polish. A dry brush creates the feathering effect.
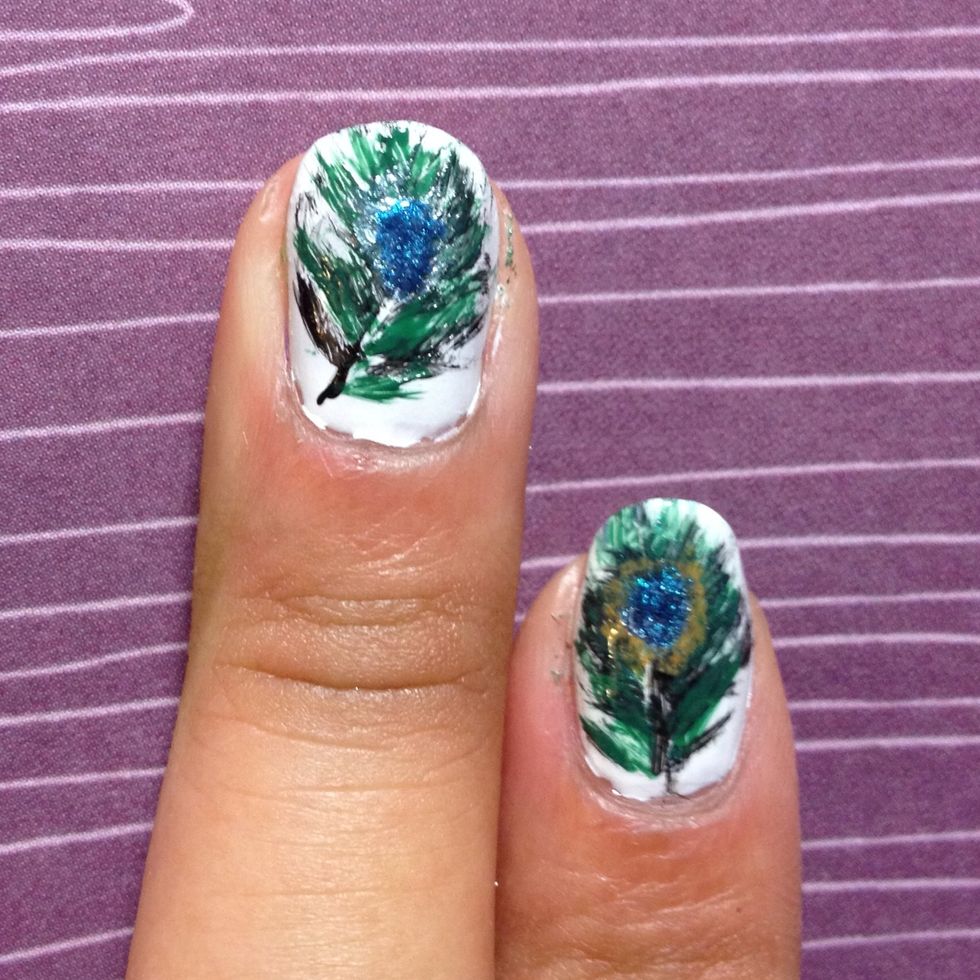
Use a light blue create a small circle then place a darker blue on top of it. Dab it until the brush feels dry.
Next take an orange polish and encircle the blue. Slightly drag it outwards.

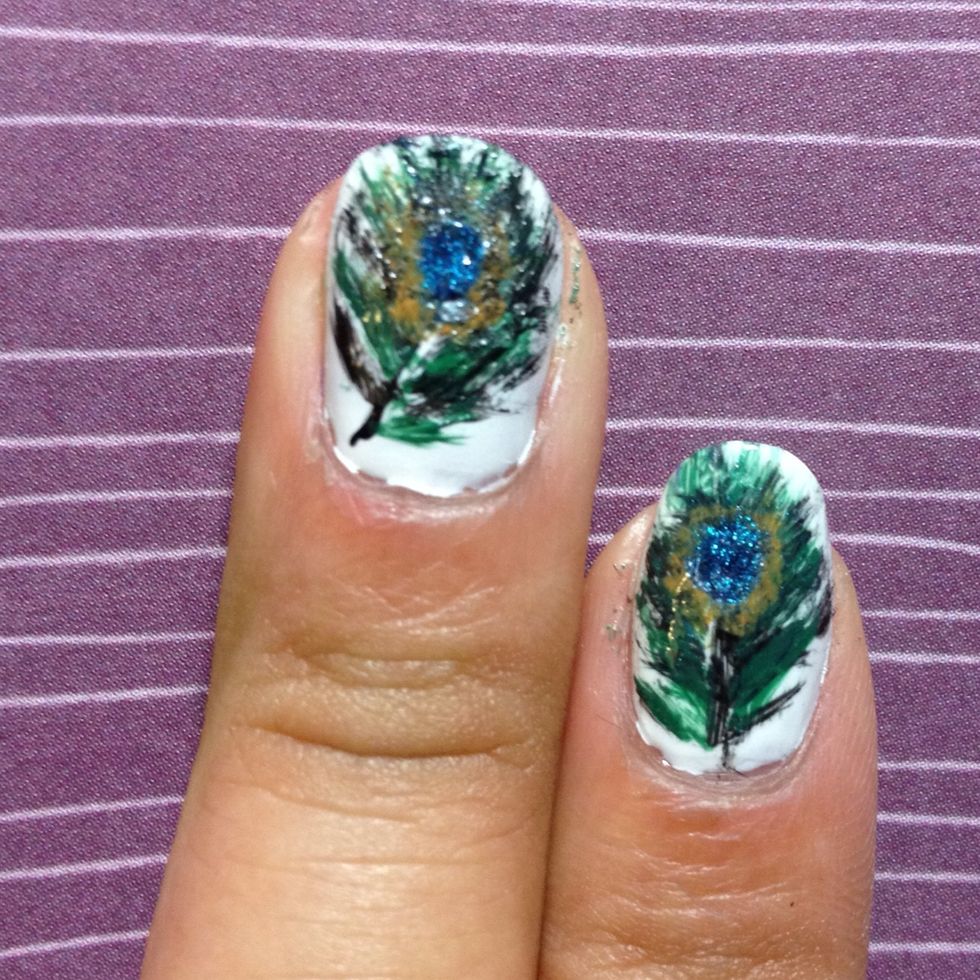
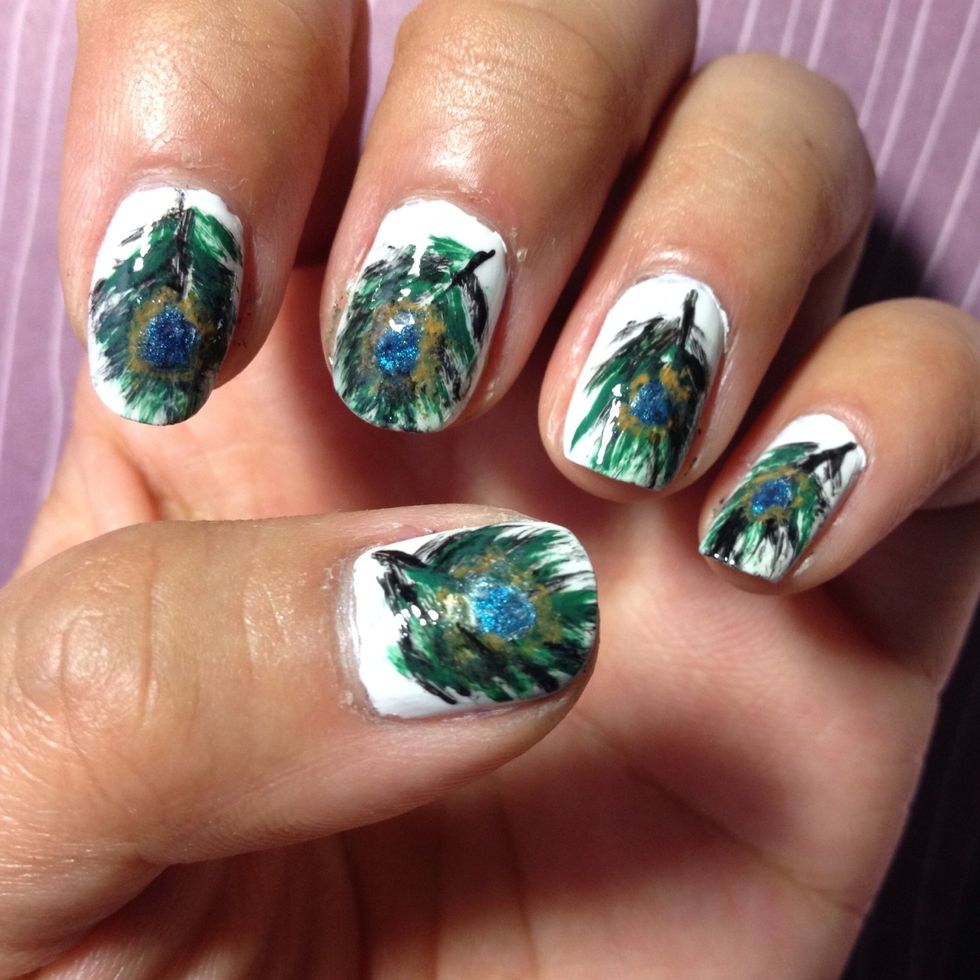
Use a topcoat to smooth out the rough look design.
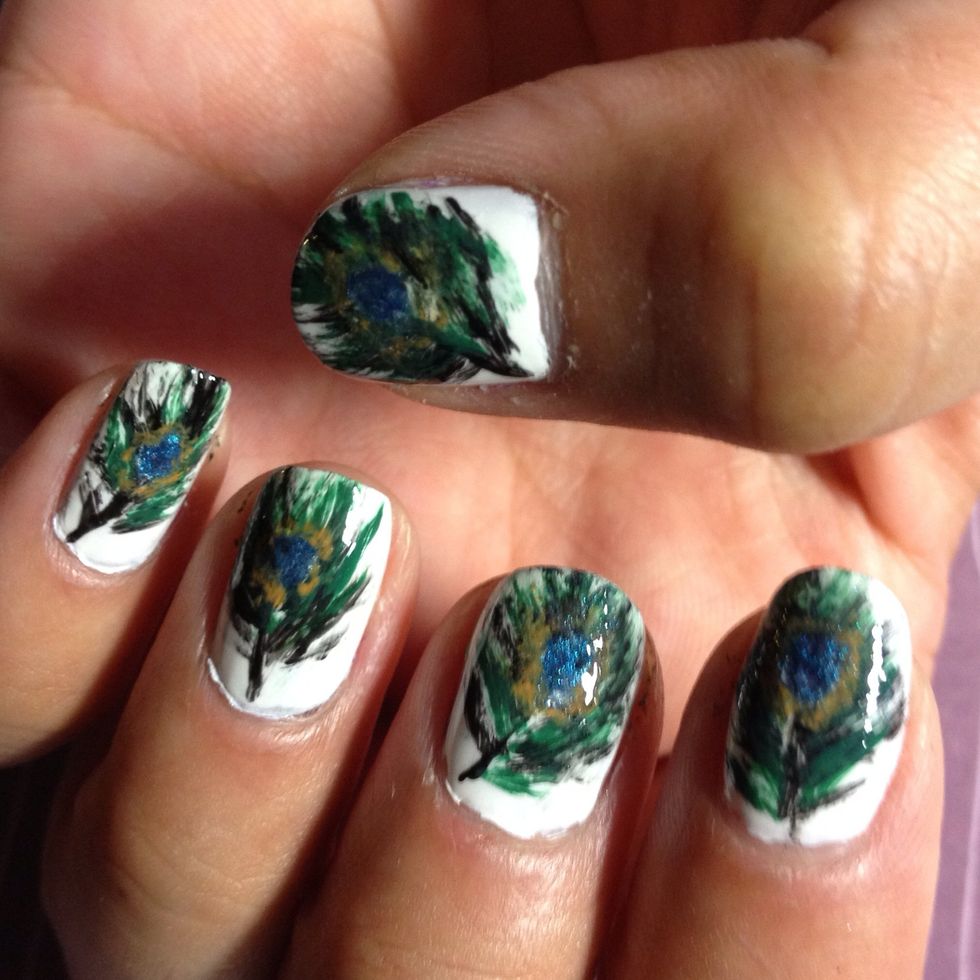
Repeat onto your other fingers. It is meant to look imperfect and realistic.
Be sure to check out my other nail art guides and drop by my blog: nailartcouture.blogspot.com