The Conversation (0)
Sign Up
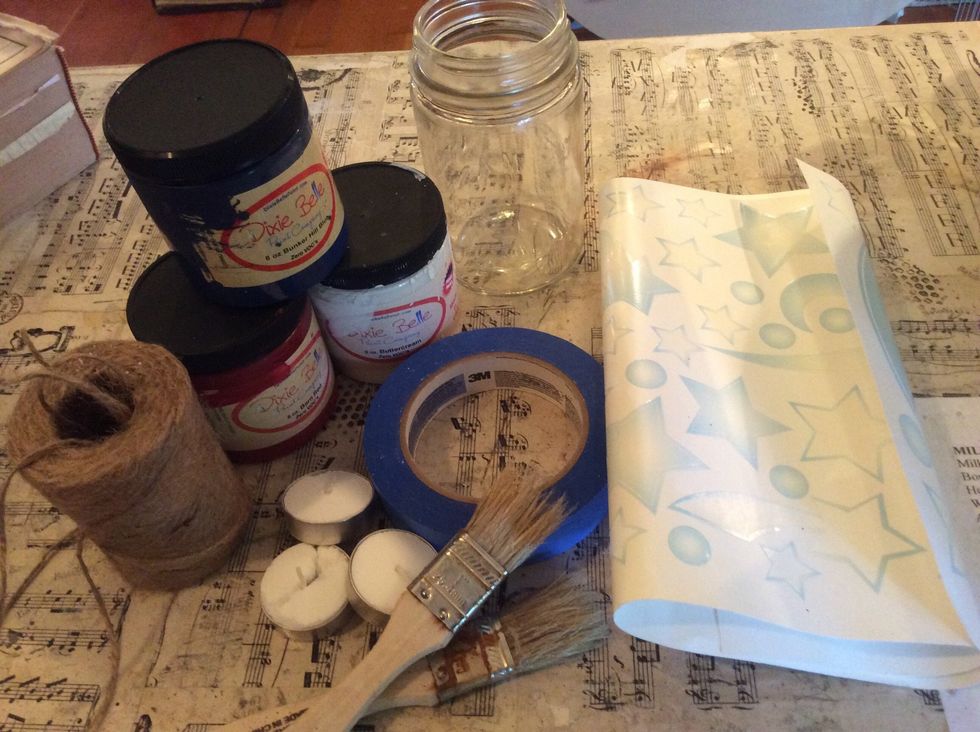
Gather your supplies. I used Dixie Belle paints: Buttercream, Barn Red and Bunker Hill Blue, but you can use any DB colors that you love!
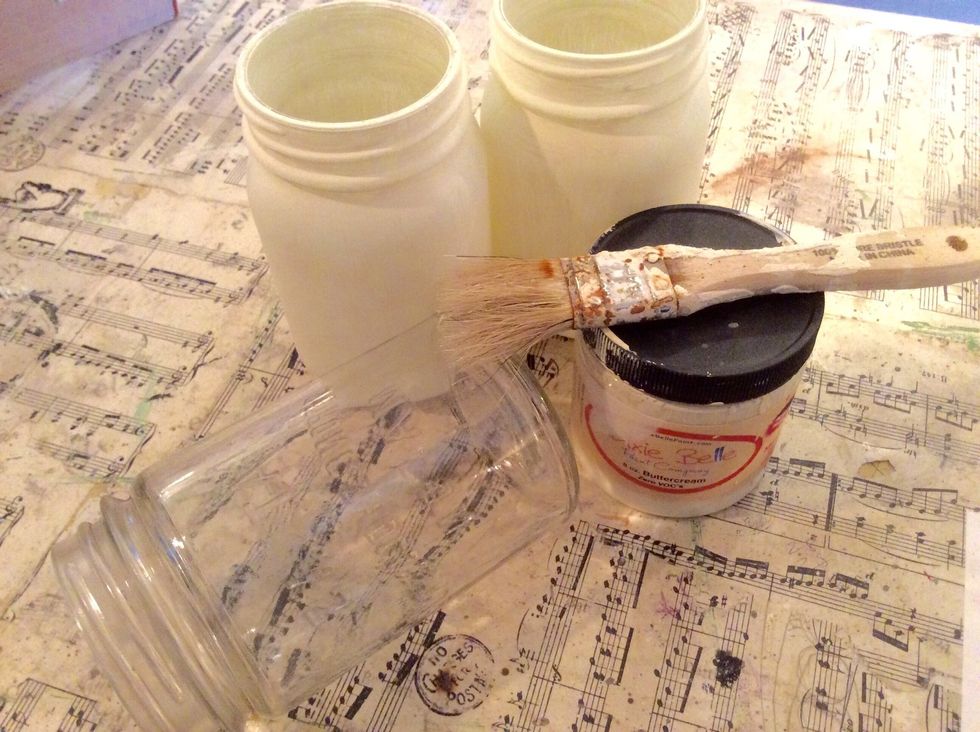
Paint clean, clear Mason jars with Buttercream. Let dry completely before moving on.
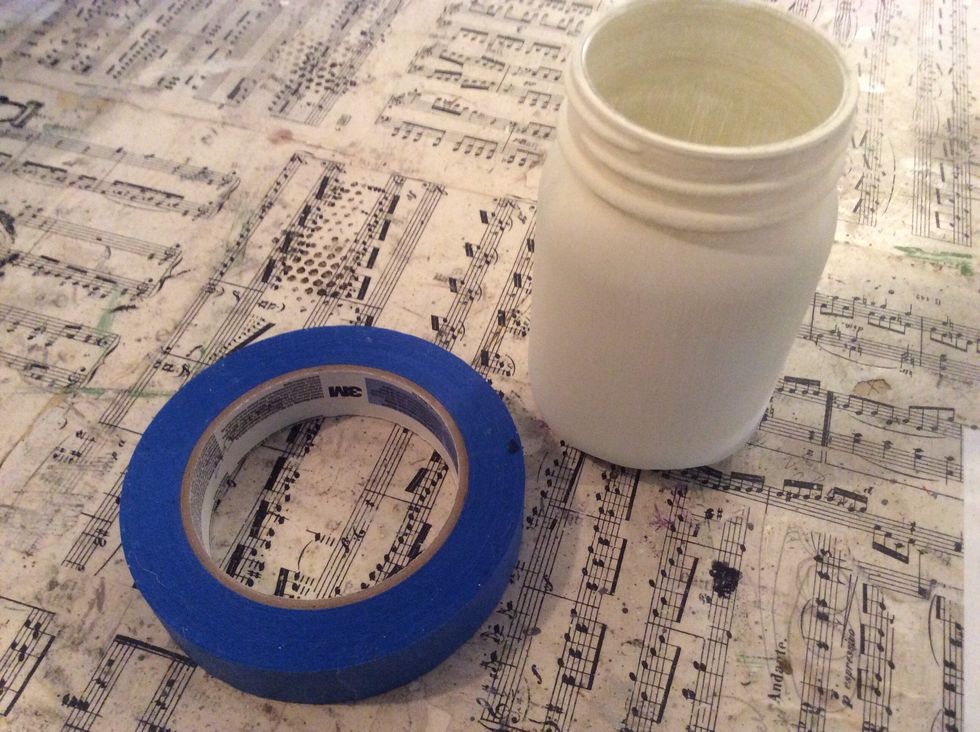
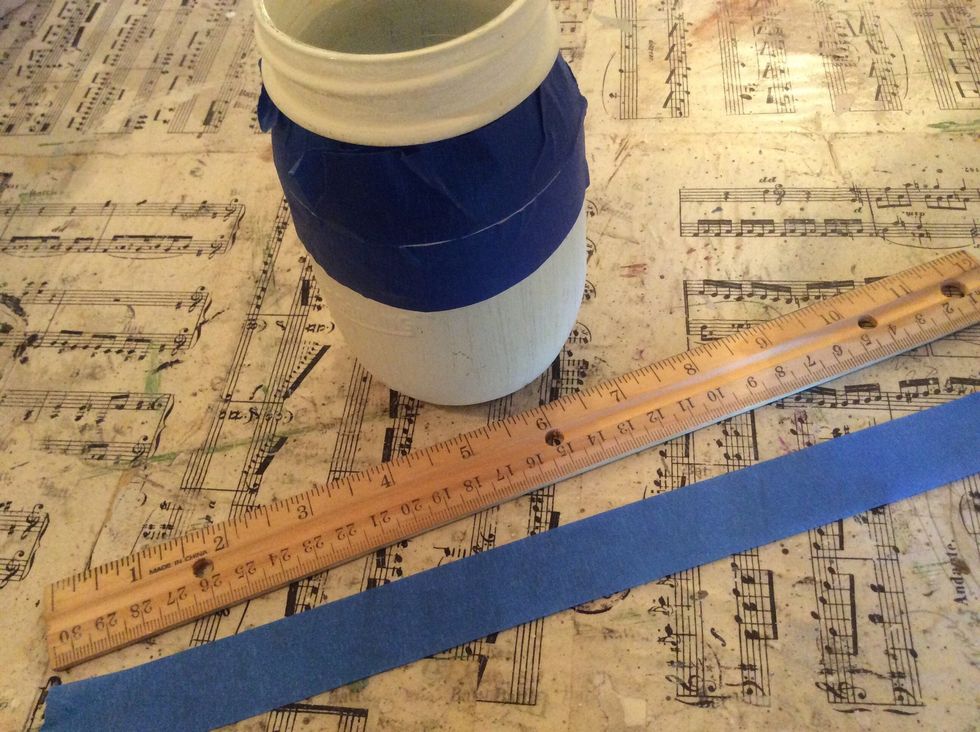
Once dry, grab your painter's tape. (I used 1" wide tape). We'll start with our striped jars.
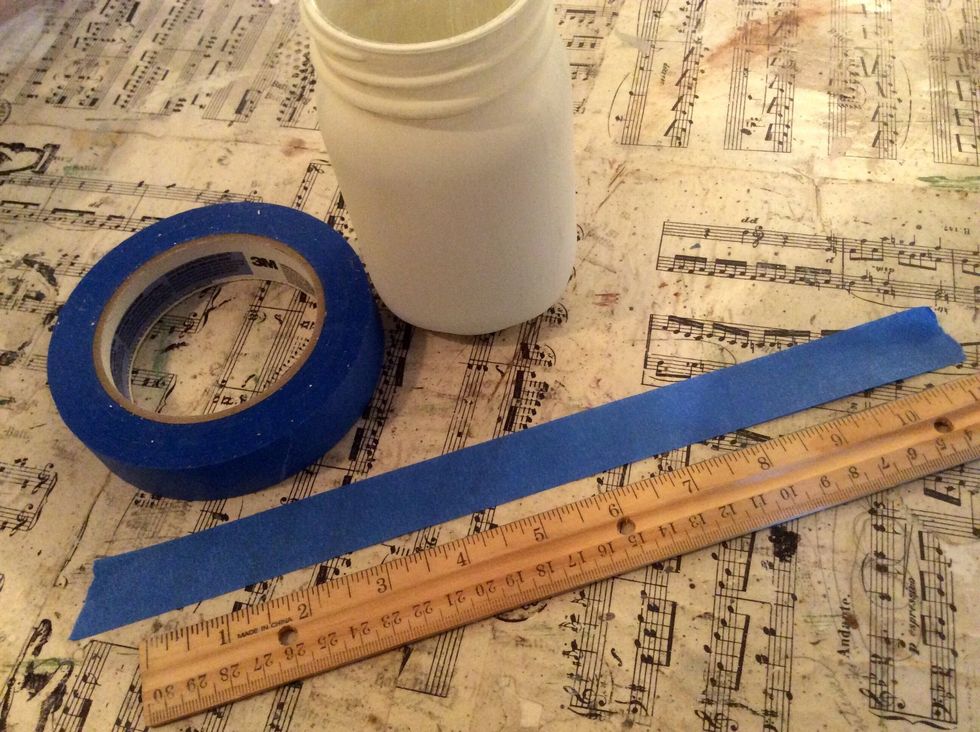
Tear off a piece of tape approx. 12" long. (I used pint jars, if using a different size you will need to adjust a few of the steps, i.e.; your tape may need to be a bit longer if your jars are wider.)
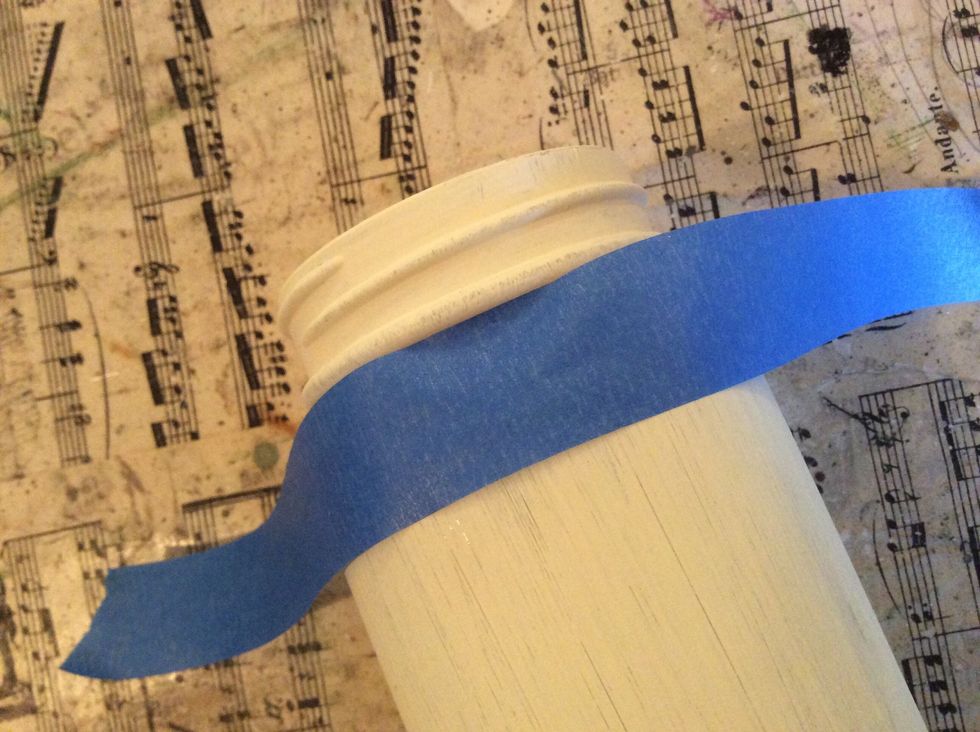
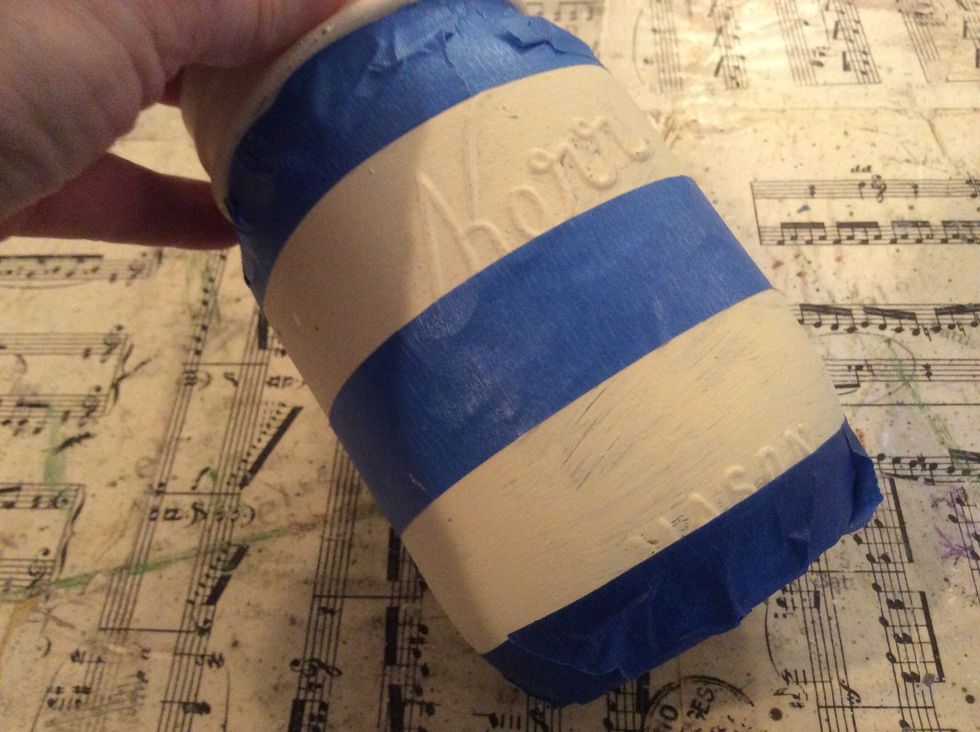
Using the rim of the jar as a guide, wrap the strip of painter's tape around the jar.
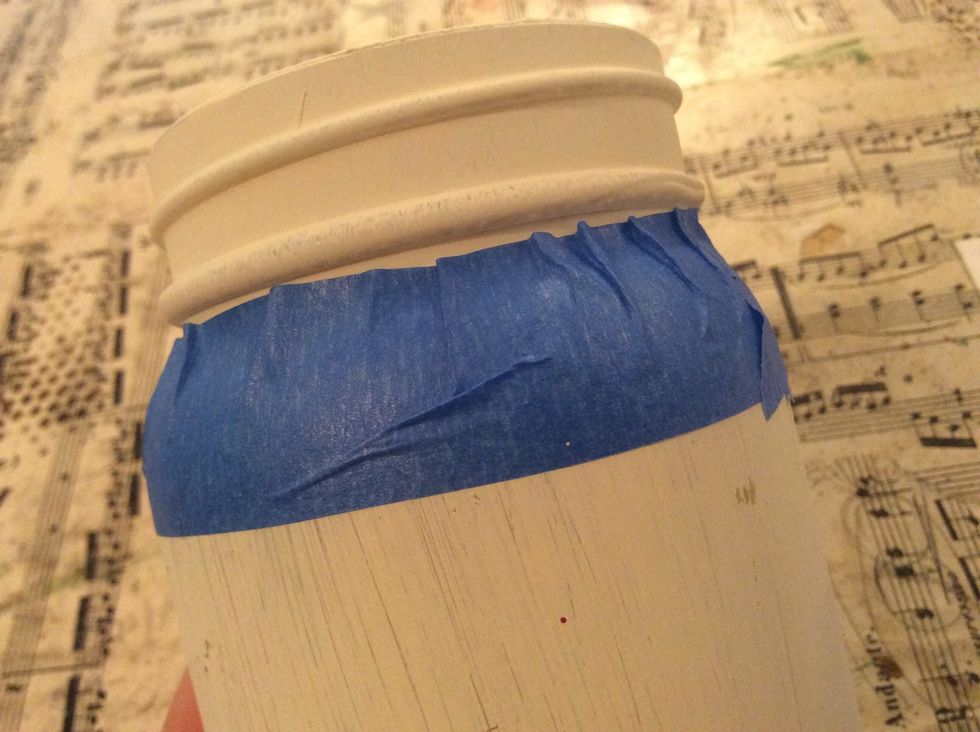
If you have little gaps simply tear off smaller bits of tape to cover....
Like this!!!
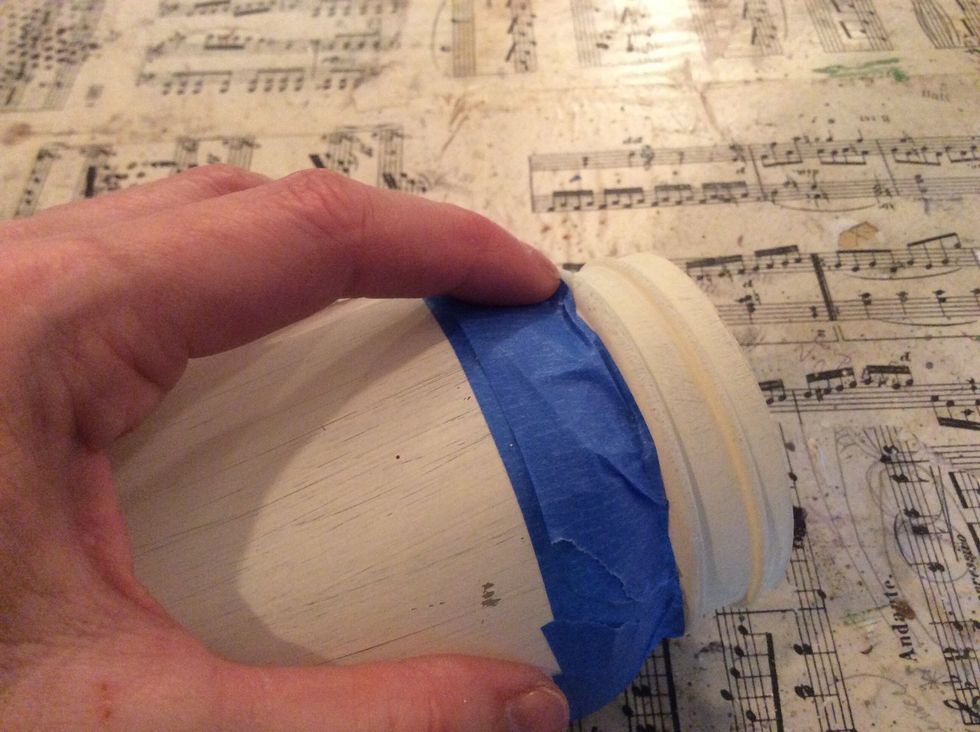
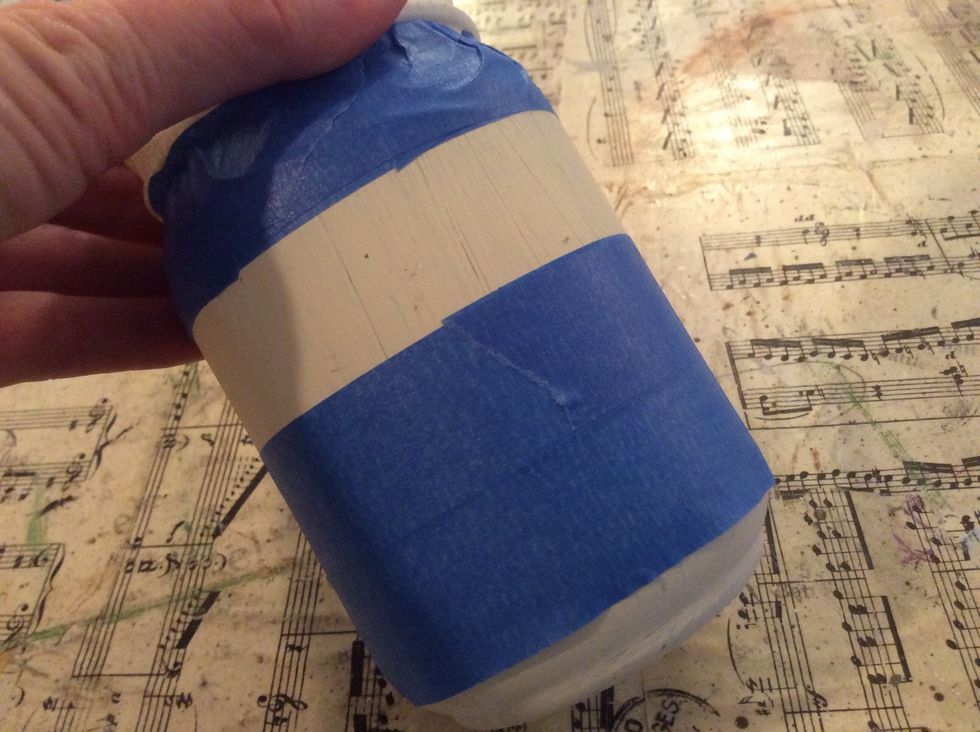
Tear off another 12" piece of tape.

Place that piece right under the first strip.
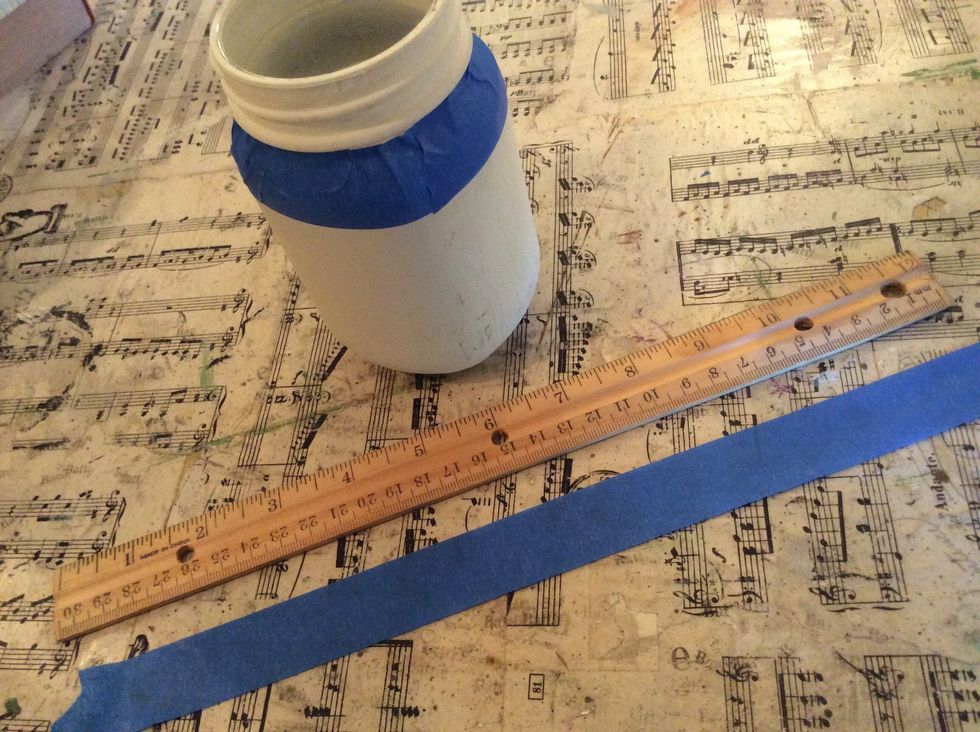
Tear off a third piece of tape....
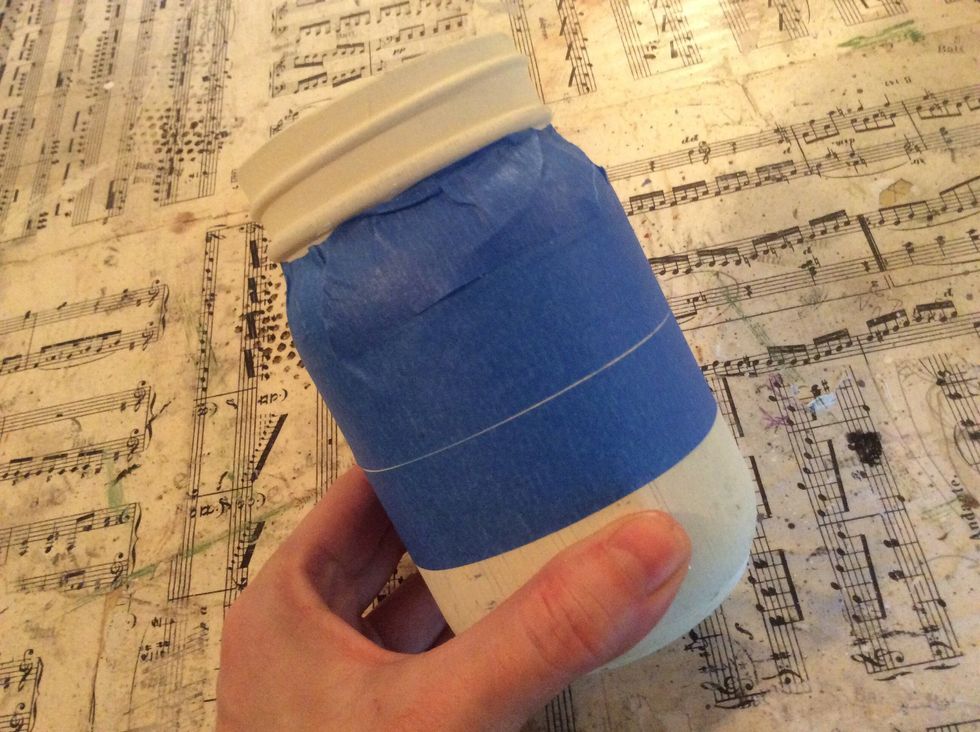
Place that piece right under the second piece.
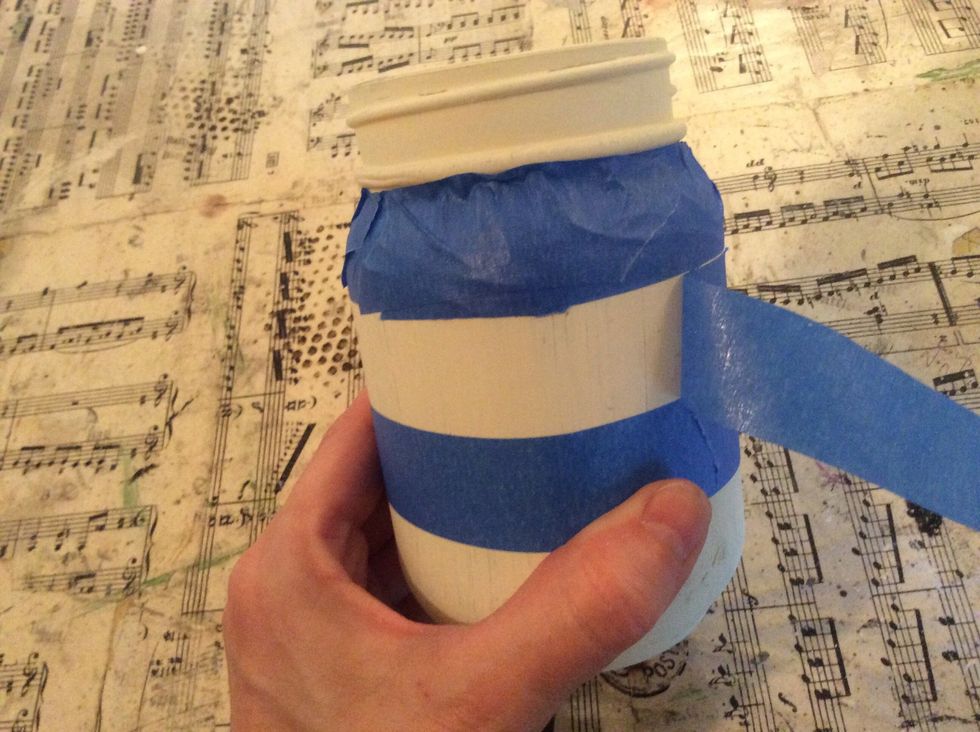
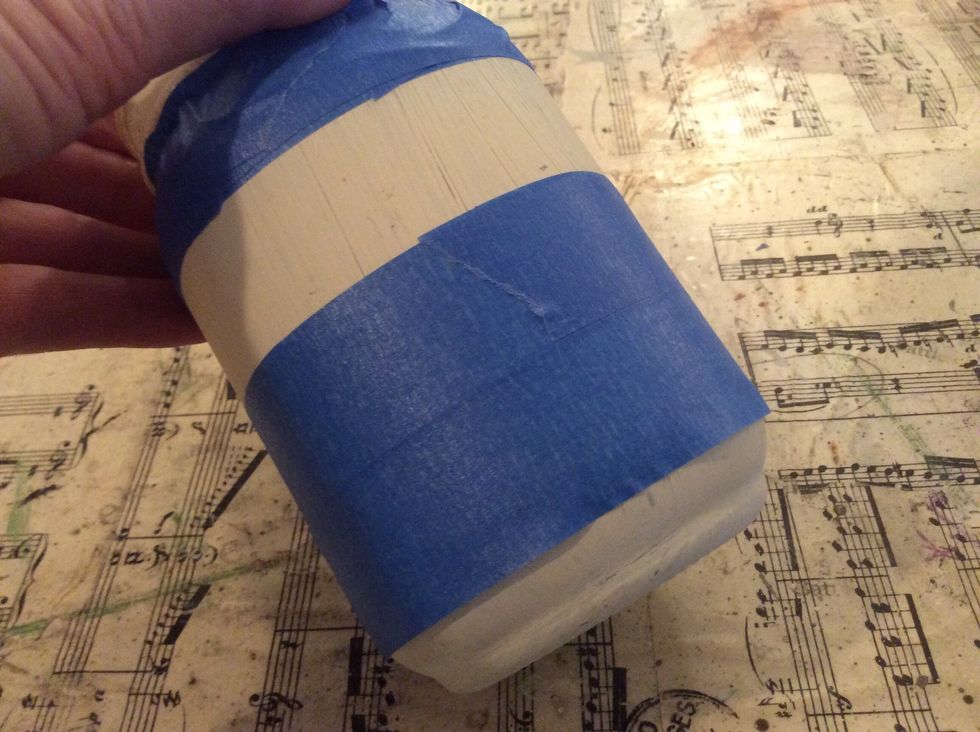
Now remove the middle/2nd strip (save this piece of tape).
It will look like this.
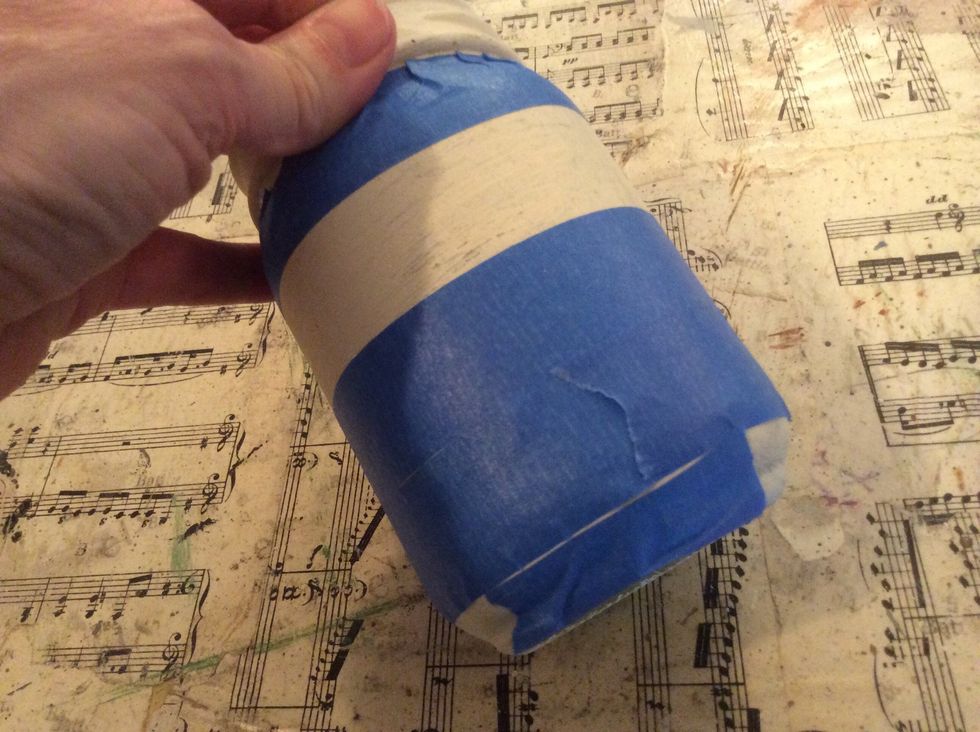
Using the piece we just removed, place it right under the third strip.
Like this!
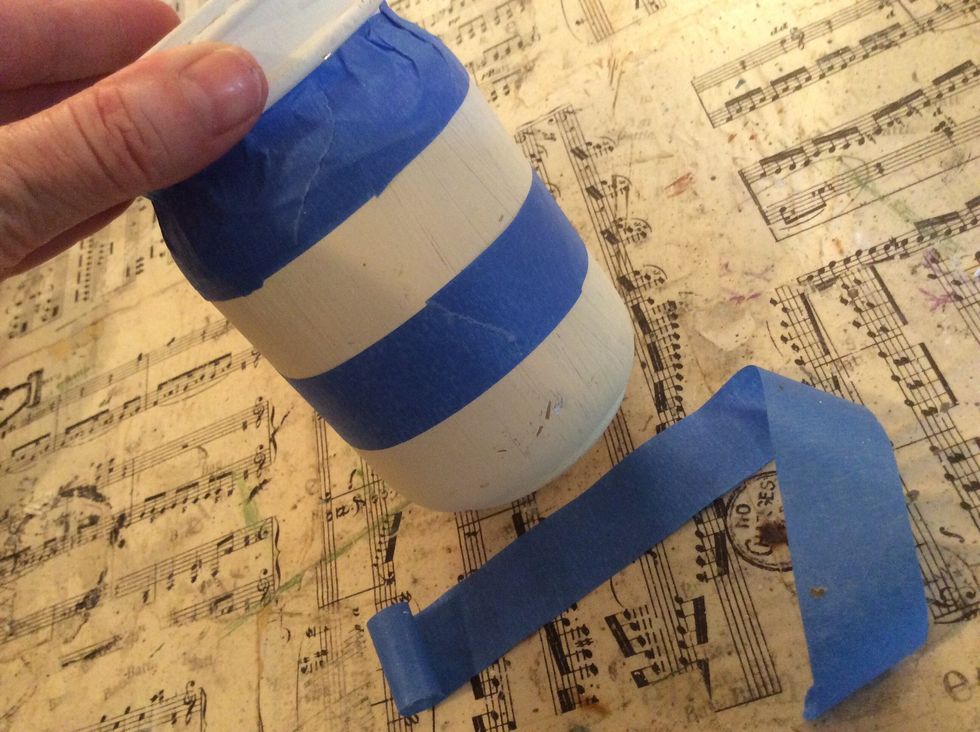
Now attach pieces to the very bottom under the 4th row of tape. It's easier to tear off smaller bits to work around the bottom of the jar.
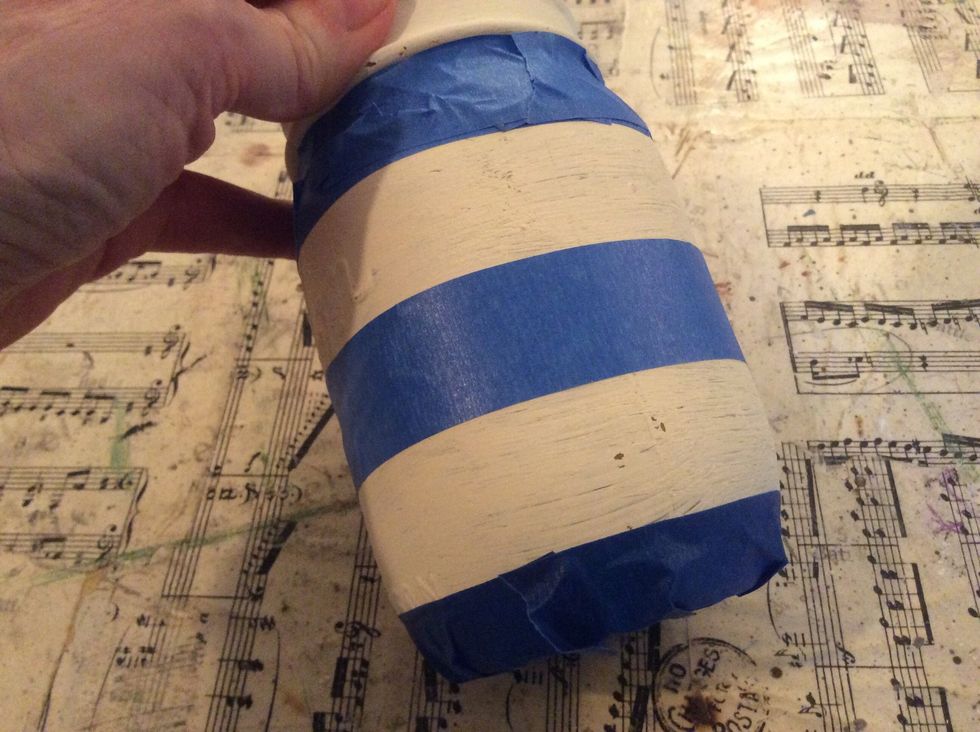
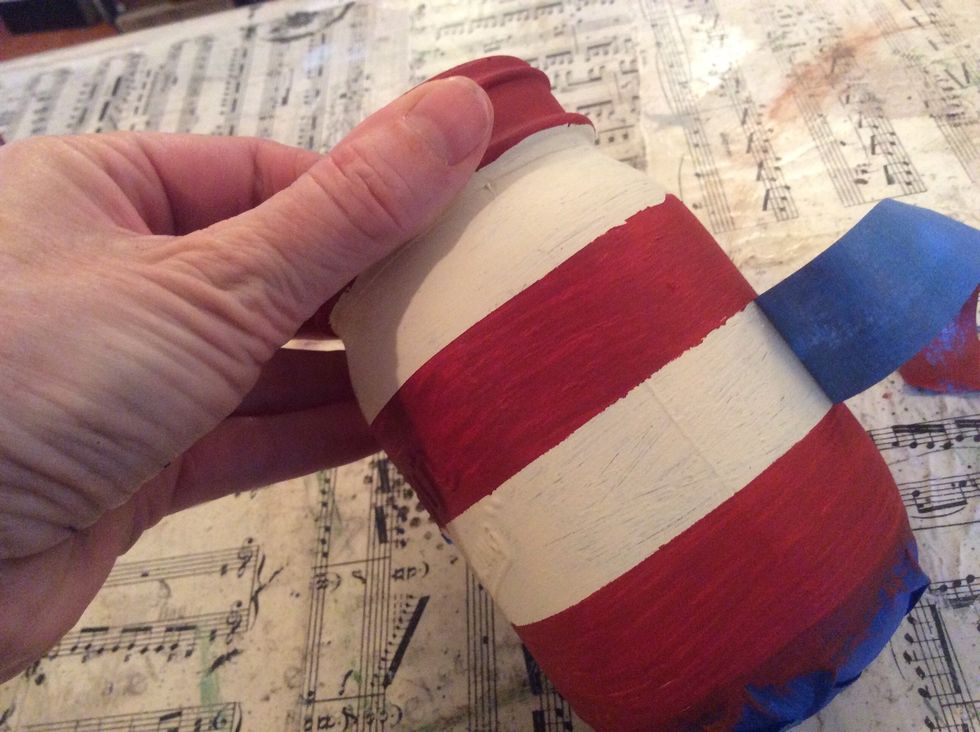
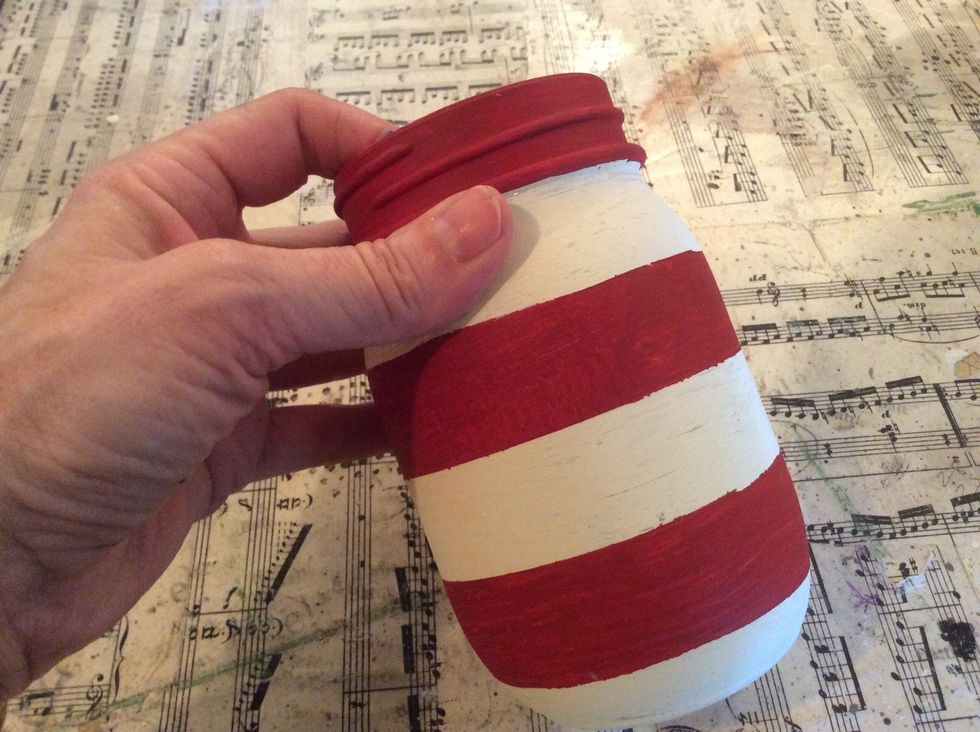
Here is the finished striped jar!
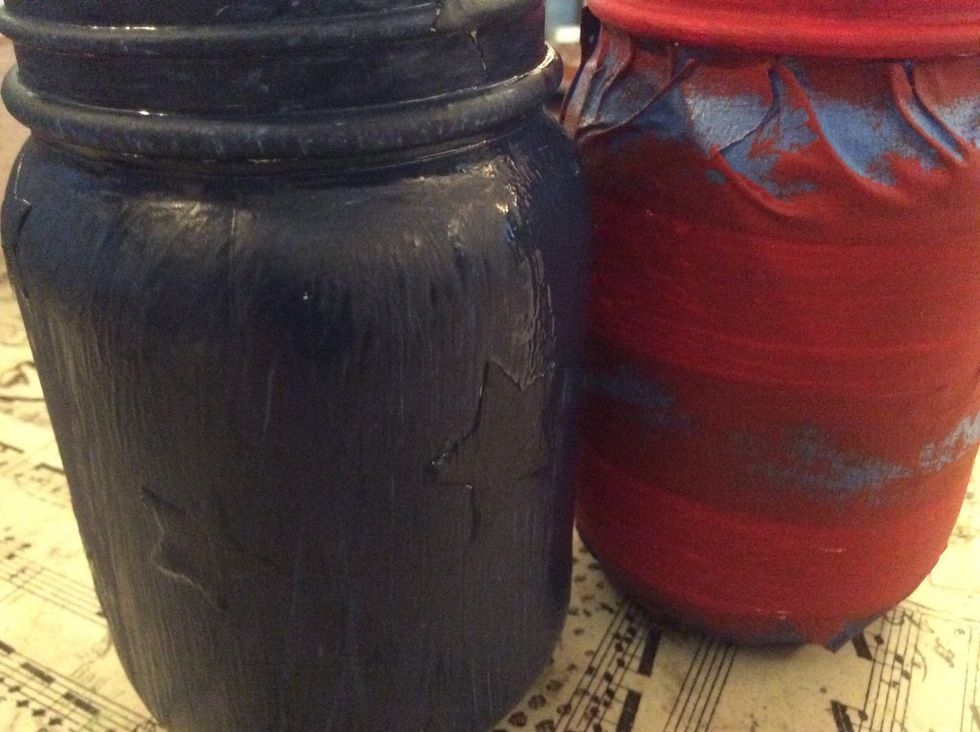
To create a "flag" you'll need to create 2 of the striped jars.
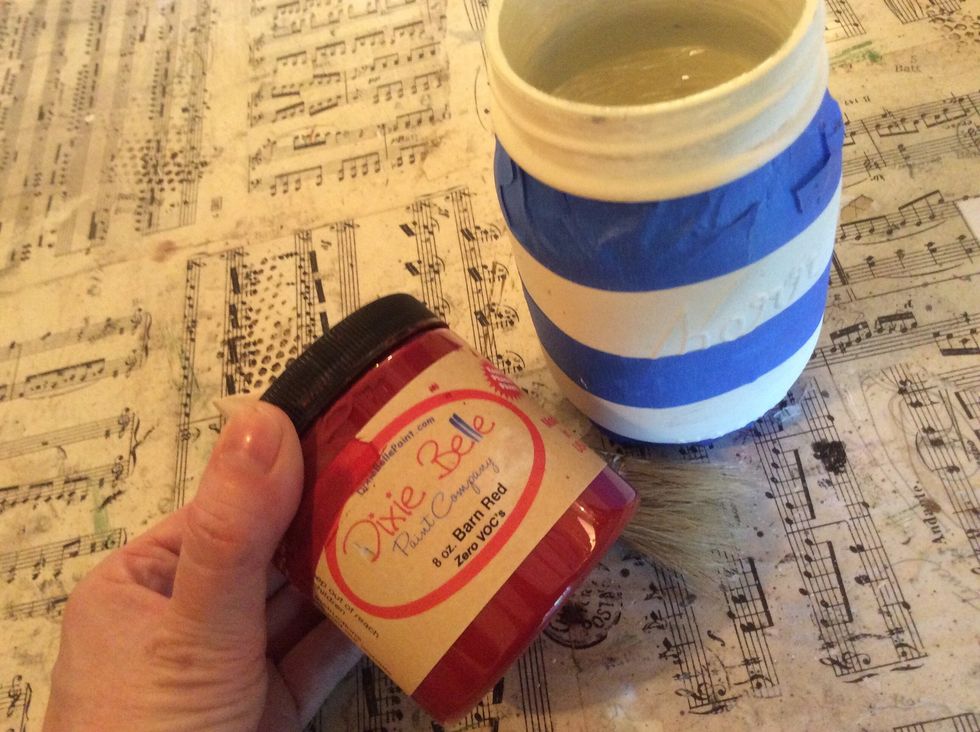
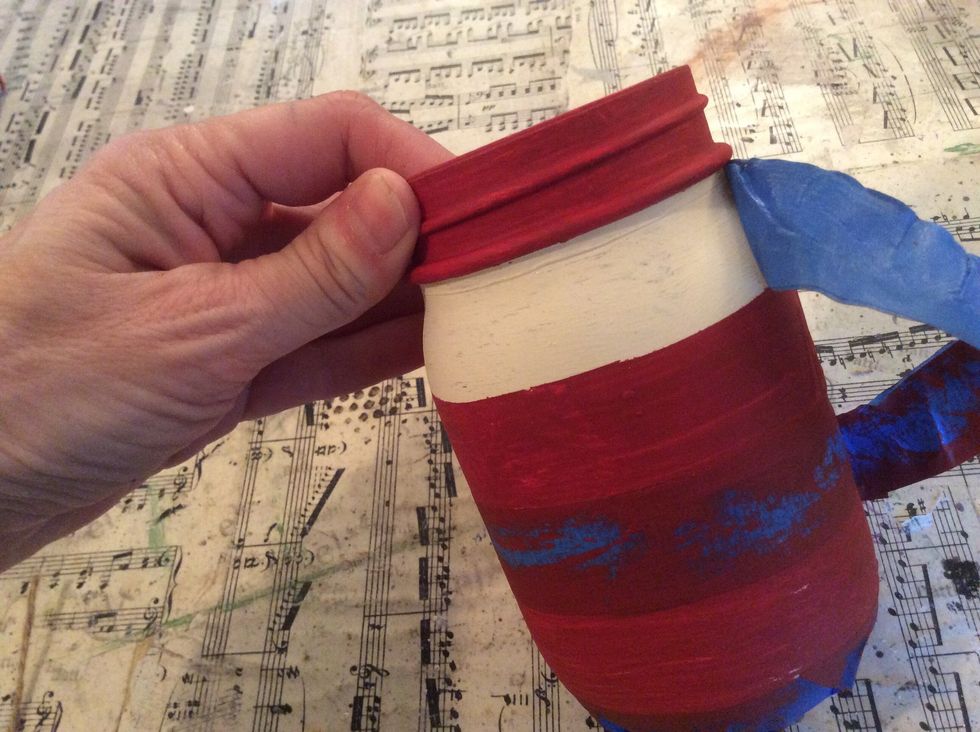
Make sure your tape edges are nice and tight, then paint the white sections red.
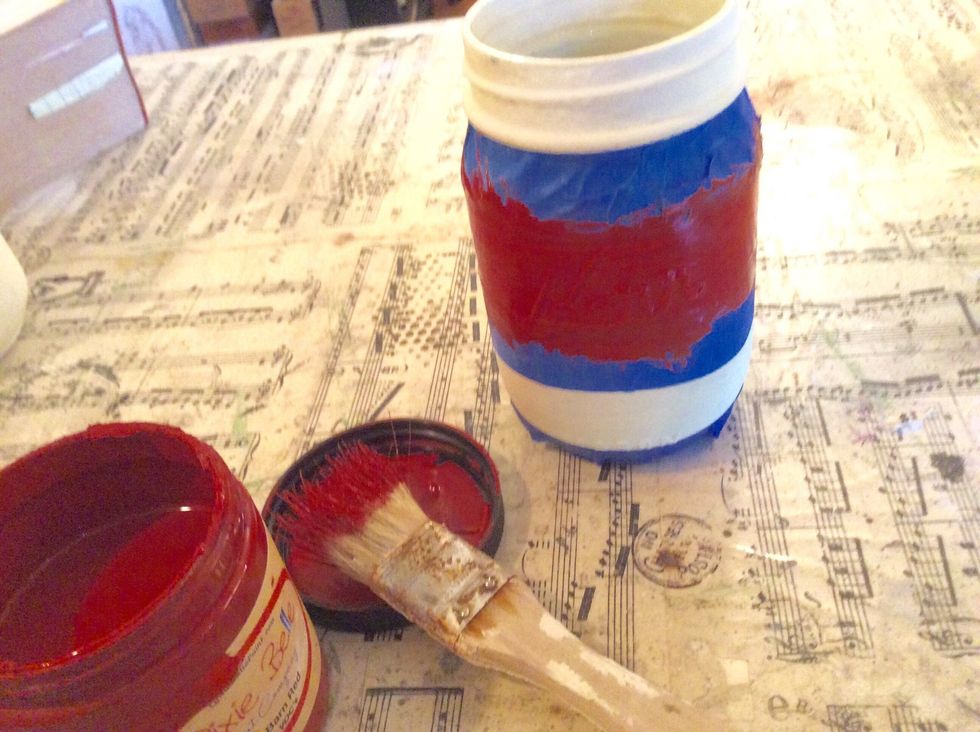
My favorite part!!
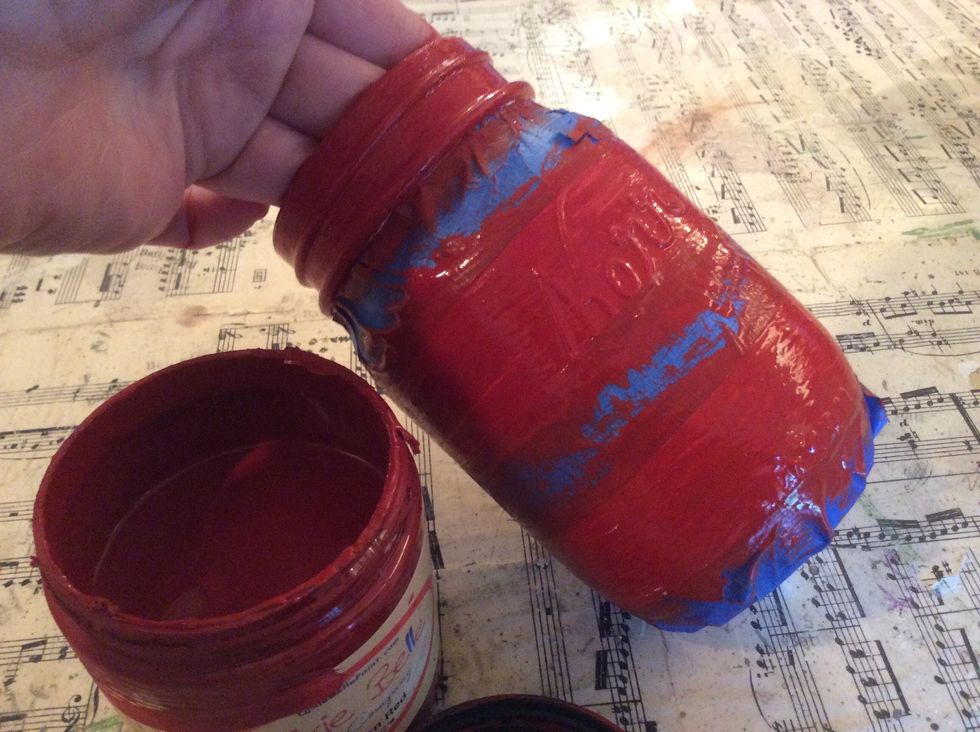
Paint all the white areas. Set aside to dry.
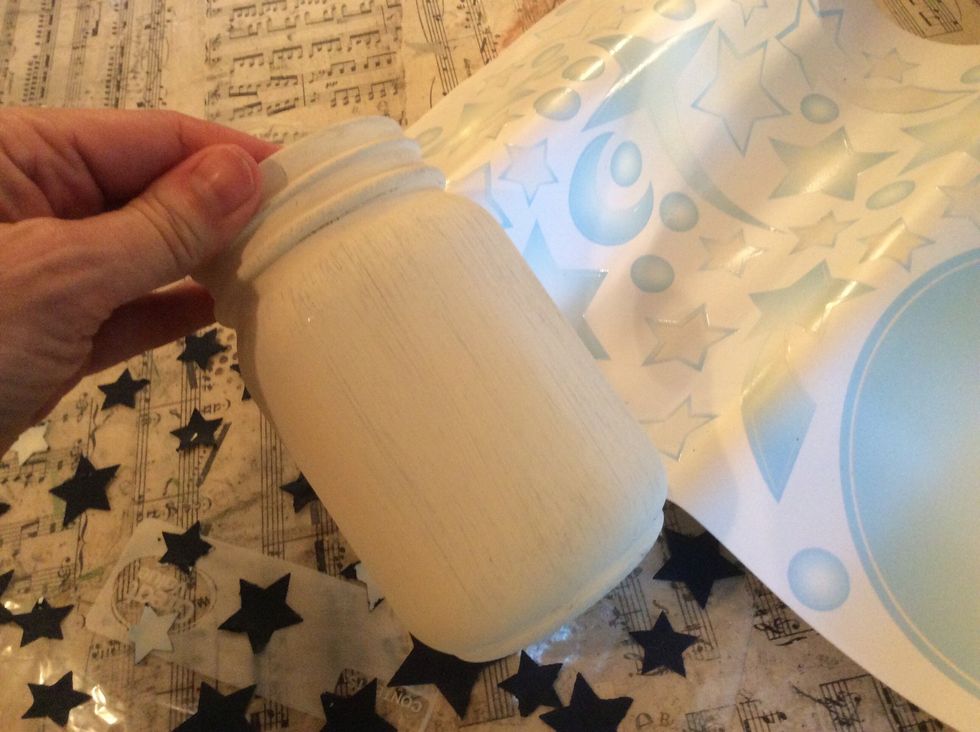
Now we'll create our star jar. Use vinyl star stickers that are repositionable/reusable. (Paper stickers won't work. The paint makes them wet so they won't peel off cleanly).
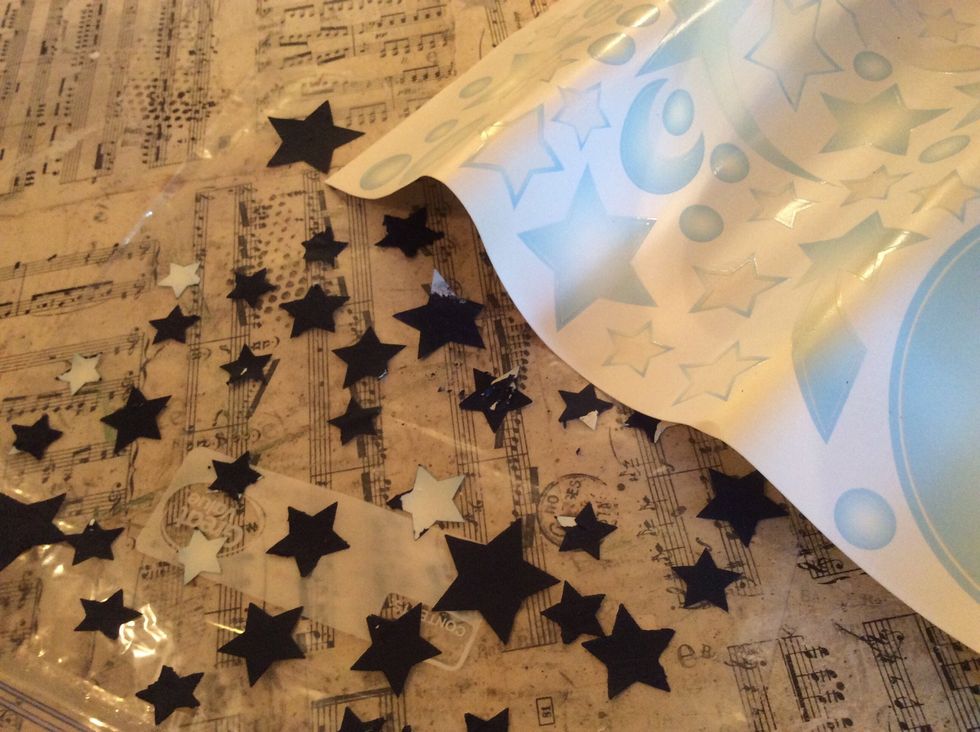
These are a set of glow in the dark stickers for the ceiling😜, they worked perfectly!
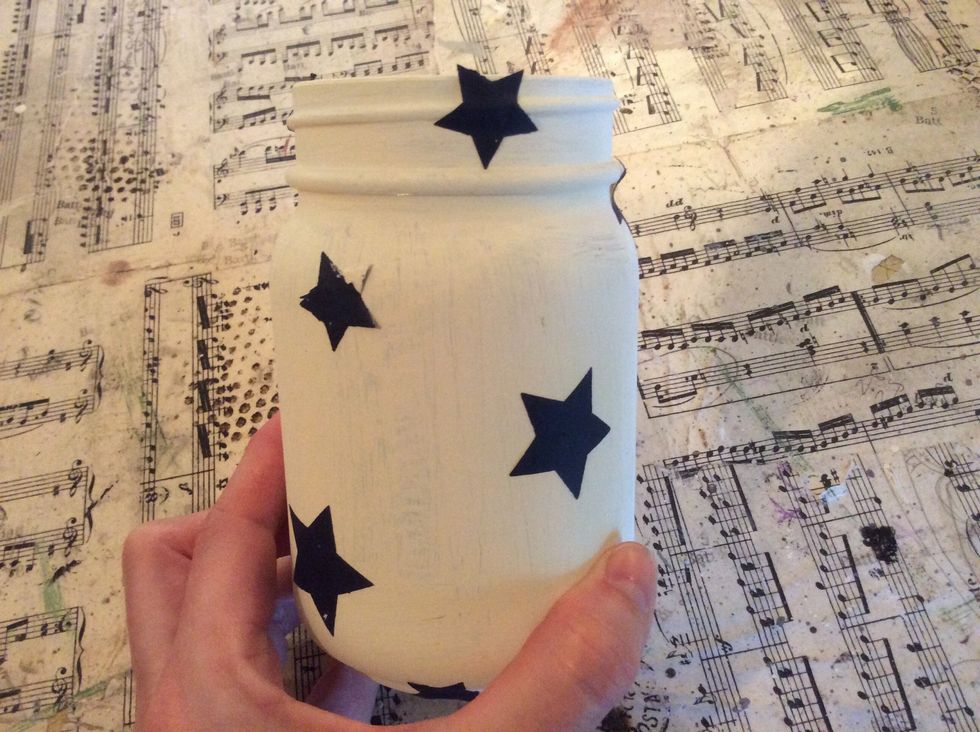
Stick the stars on randomly.
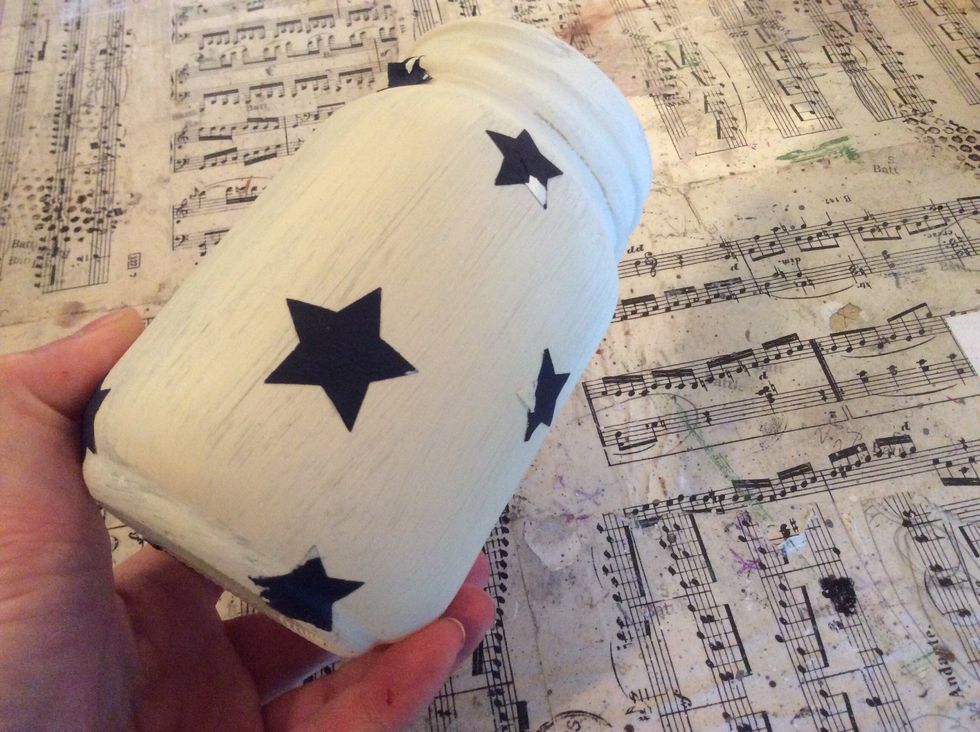
You can run them off the top and bottom edges for a nice, full looking design.
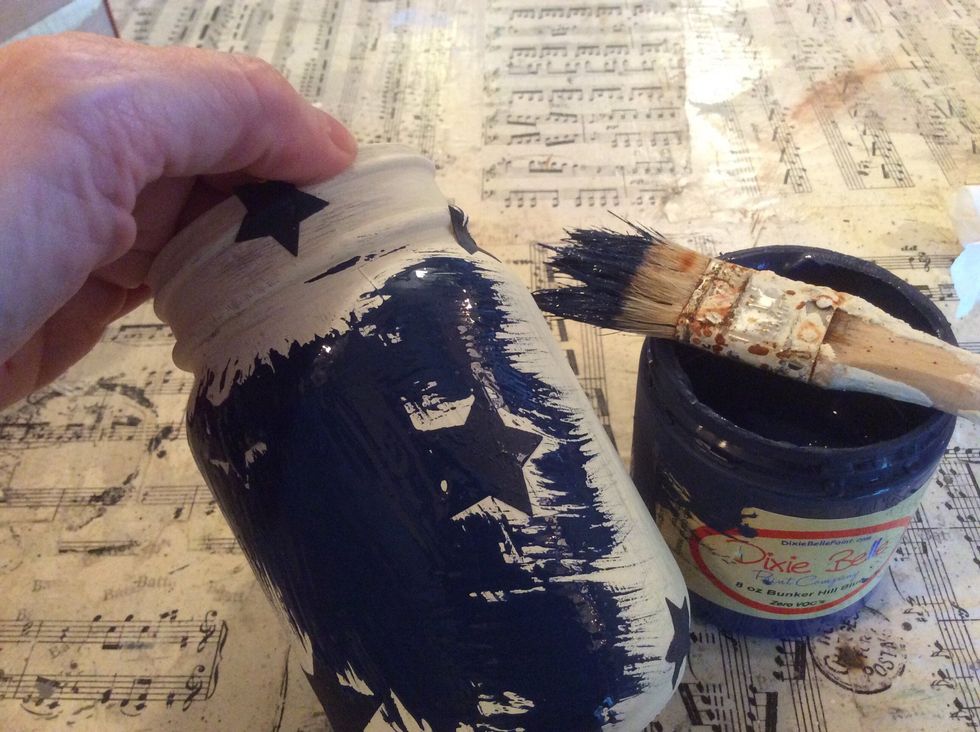
Now paint!
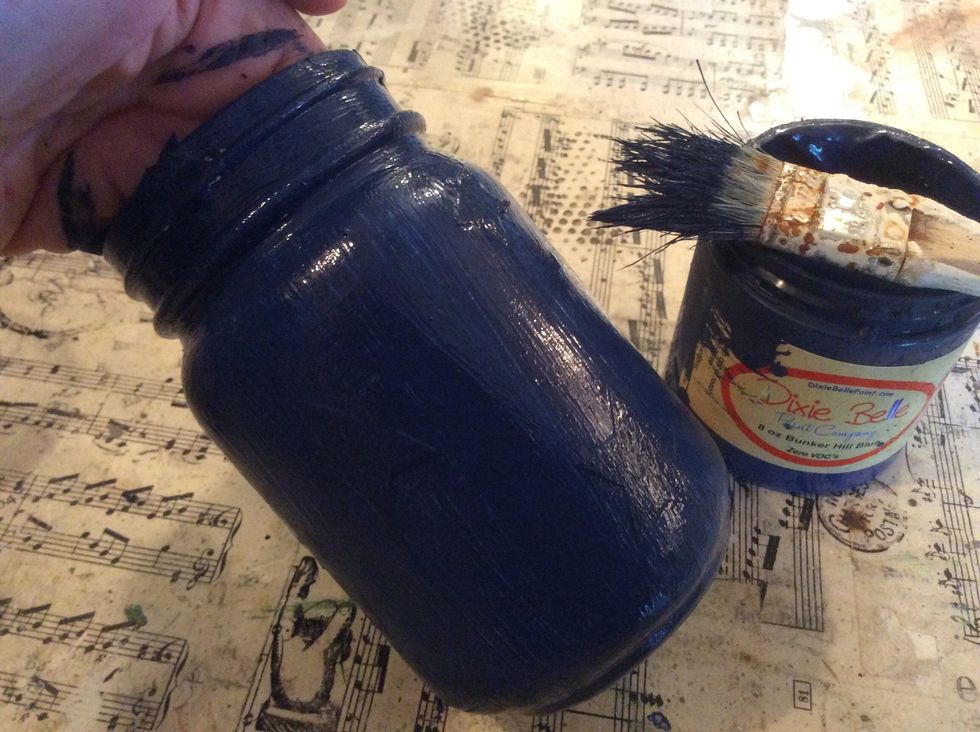
Paint all the white space.
Let your jars dry completely before moving on.
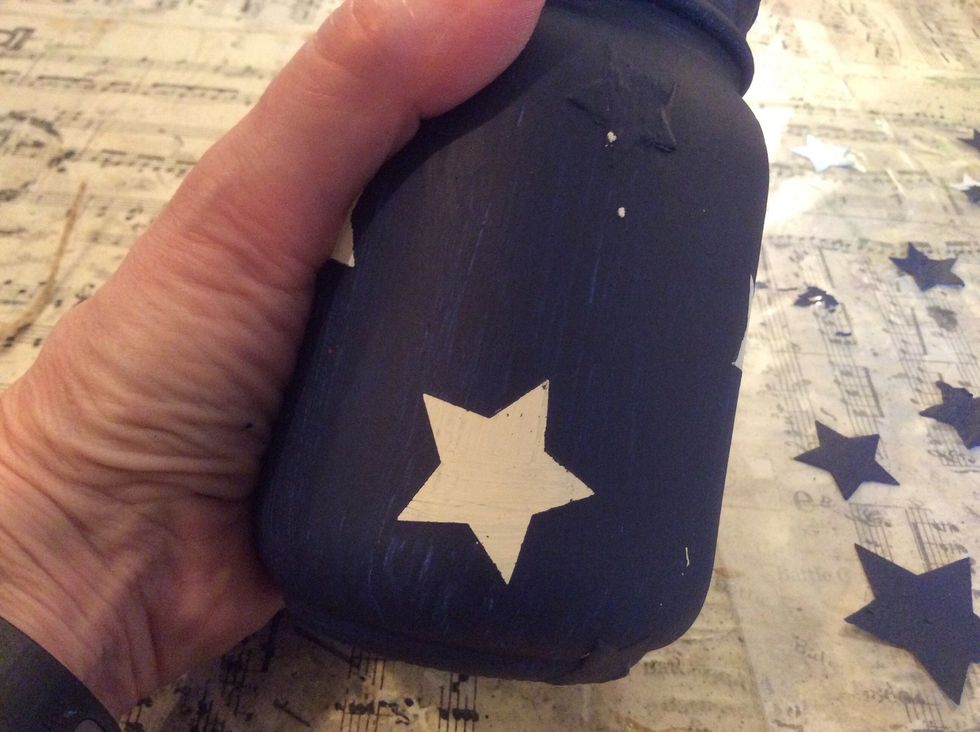
Once dry, remove the stickers carefully. You can use a little pick to lift the edges to make it easier.
Carefully remove the painter's tape from the striped jars.
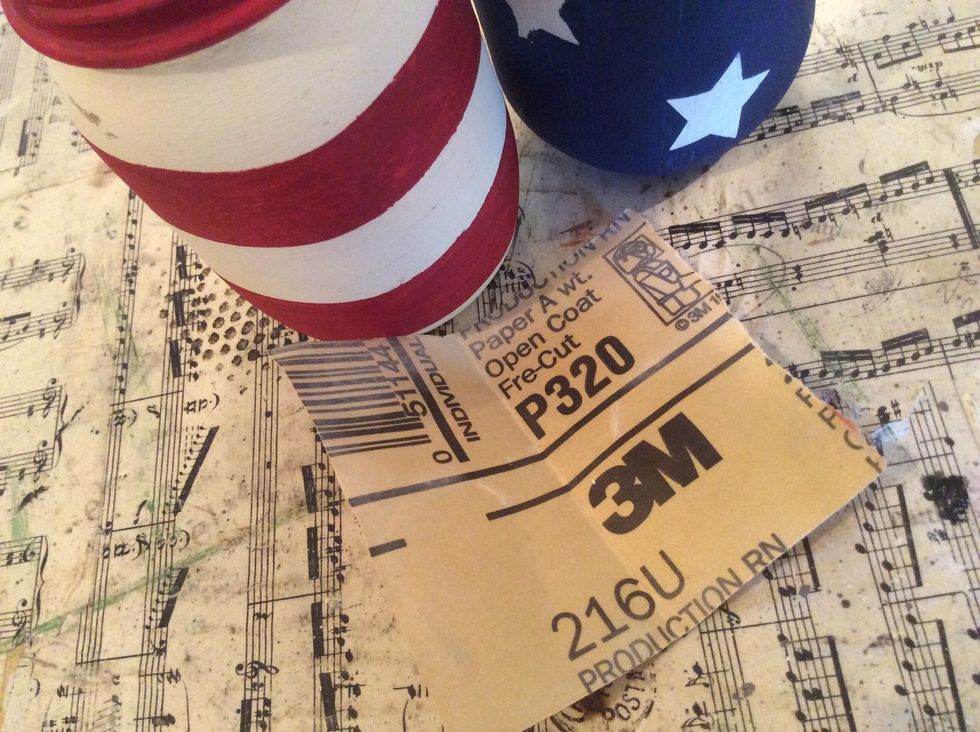
You can use a very light grit sandpaper to softly sand and distress your jars a bit.
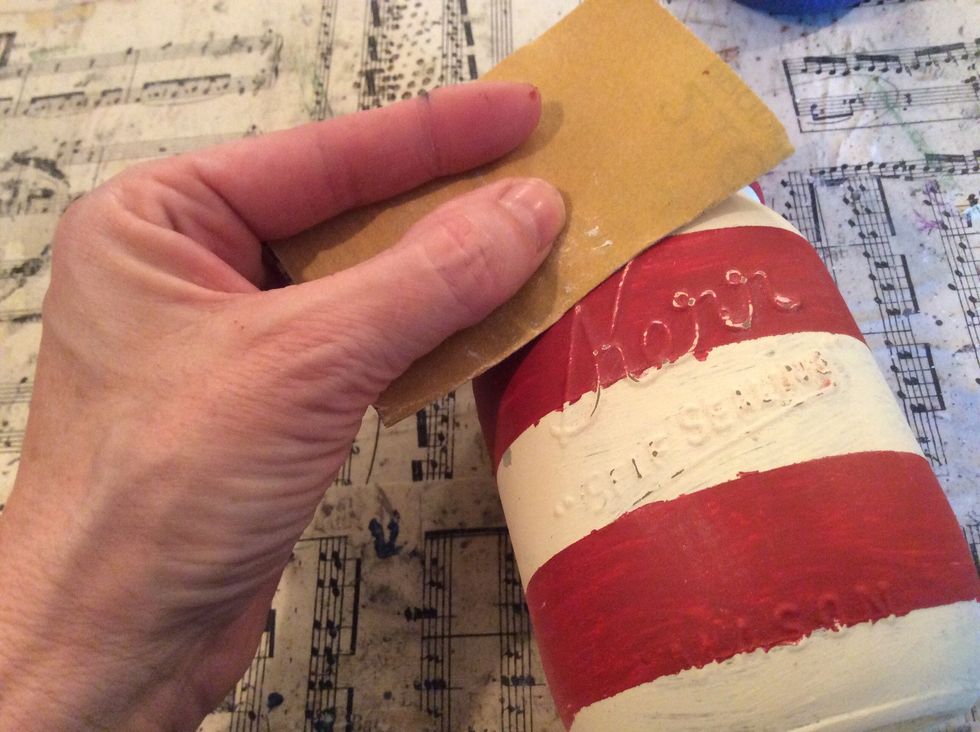
Love it! Dixie Belle paints sand so nicely!!
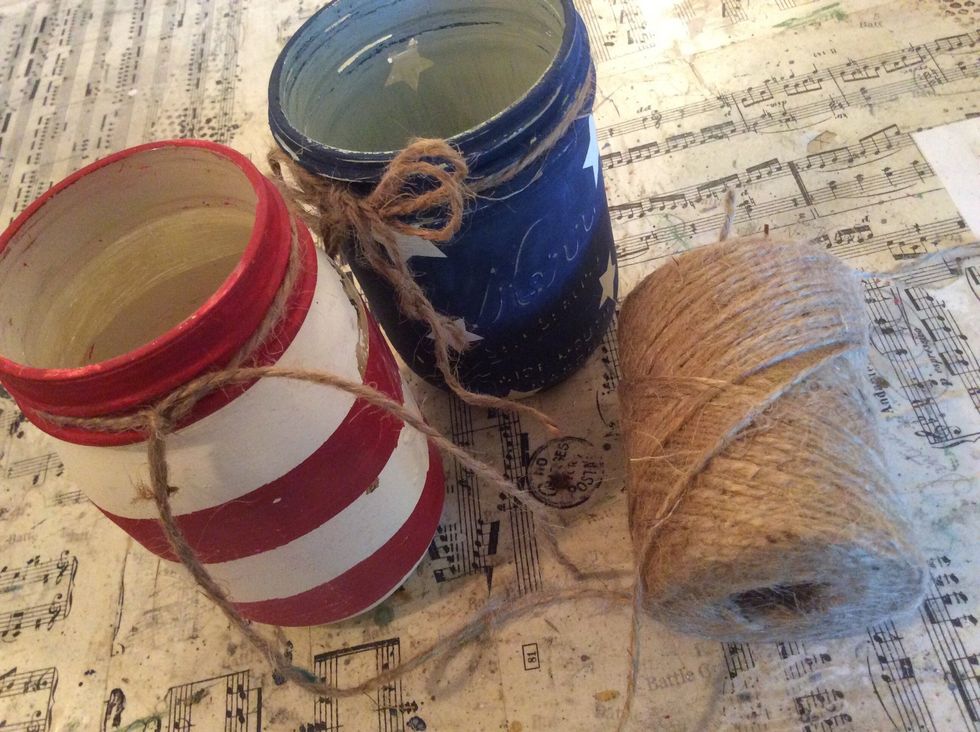
Once you've sanded to your liking, tie jute around the tops of your jars.

Add tea lights.

Display with pride!!!
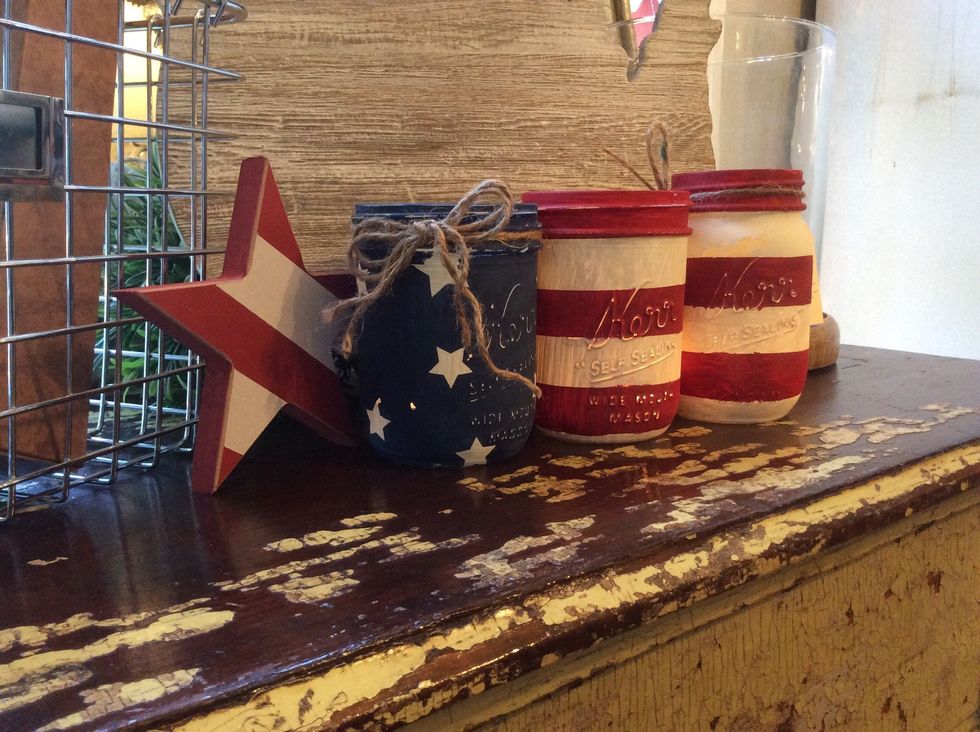
Enjoy!!

Project brought to you by Denise from el&em. For more fun DIY inspiration please follow us on Instagram... @elandemcottage