The Conversation (0)
Sign Up
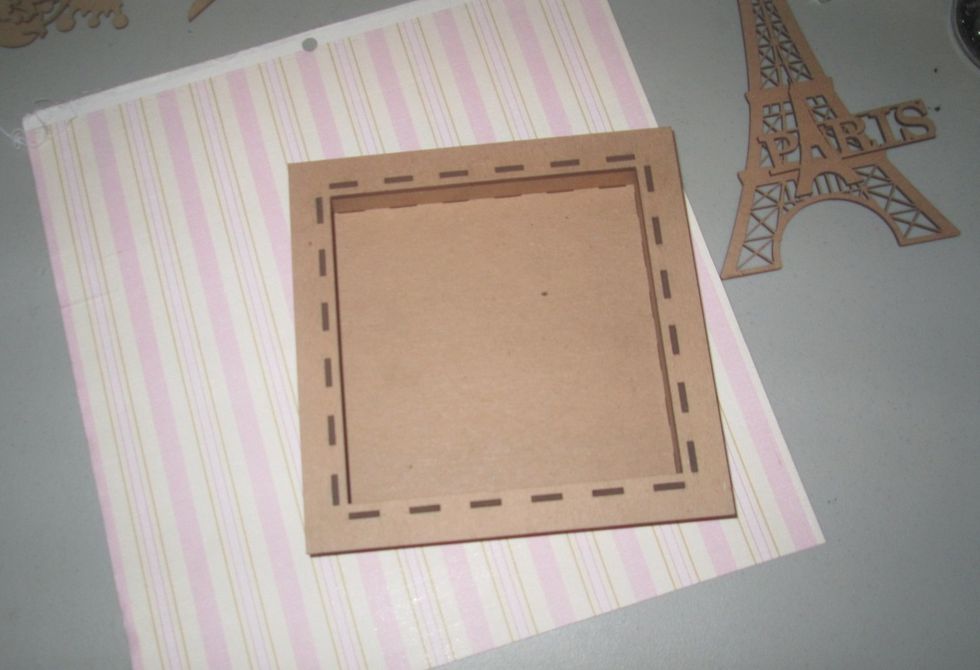
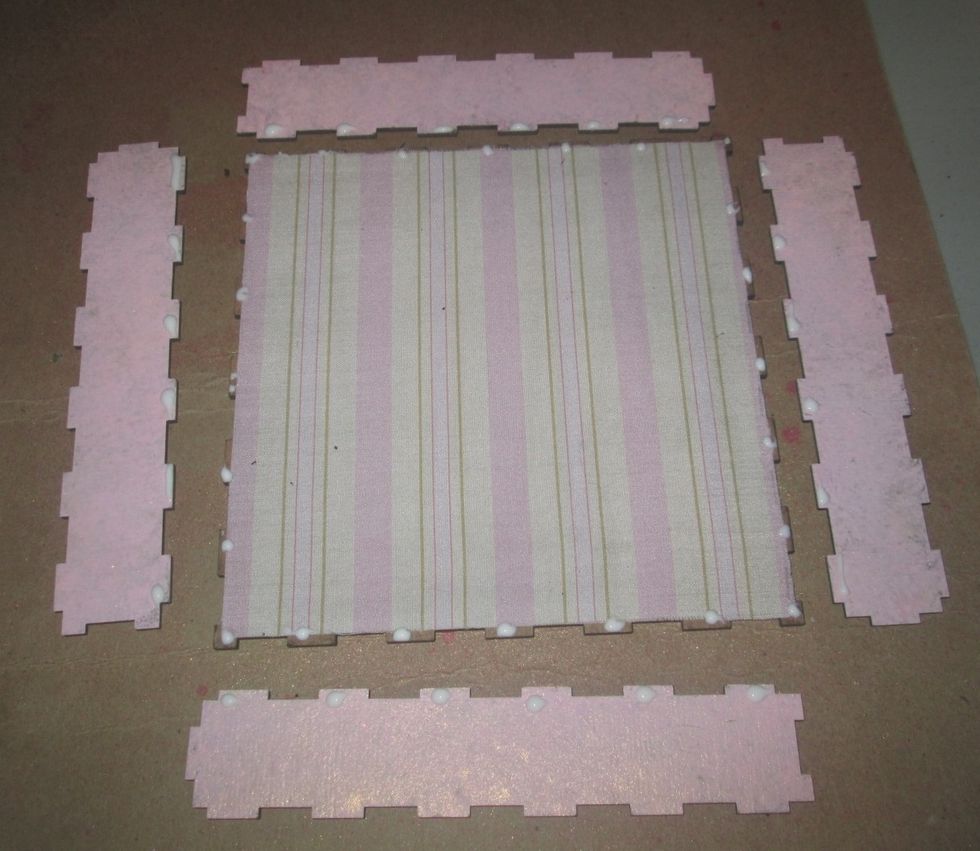
The first thing that I did was to assemble the shadow box so that I was certain to have all of my pieces in the correct spot.
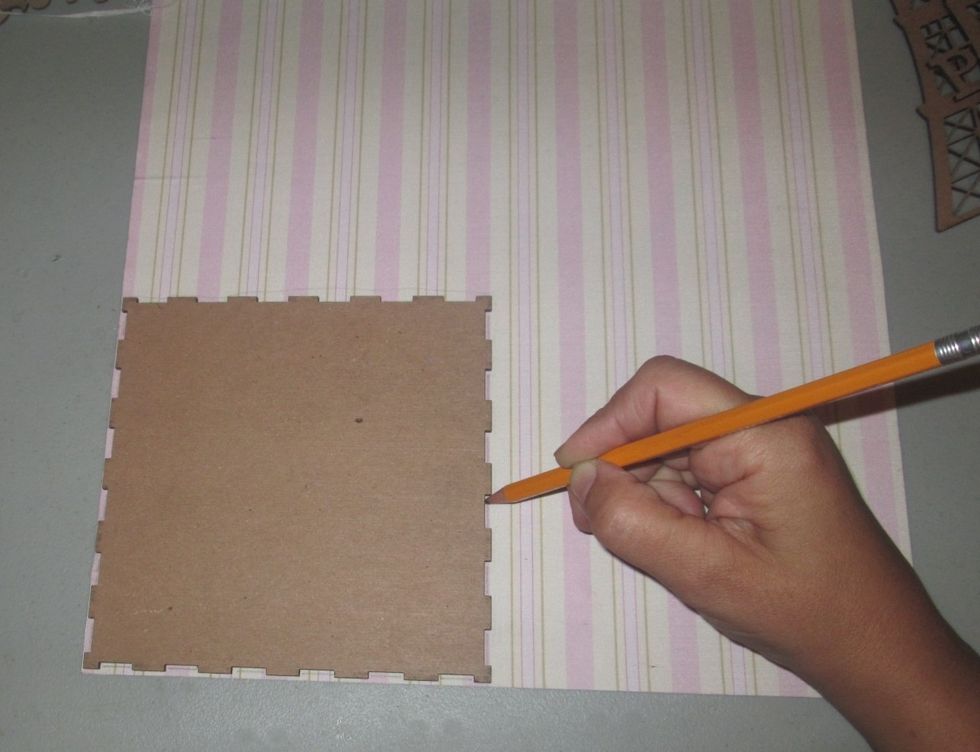
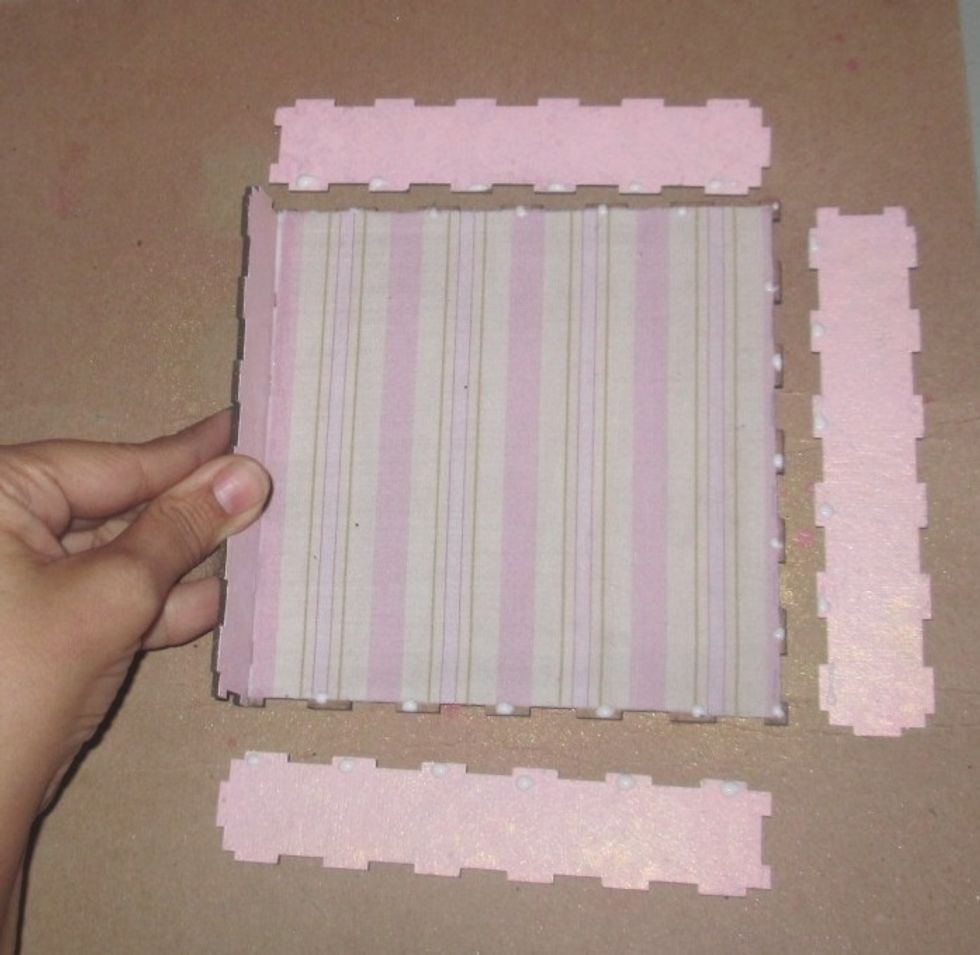
I chose this adhesive fabric for my back groud. Using a pencil, trace within the grooves so you can trim for a perfect fit without covering the notches that will attach to another piece.
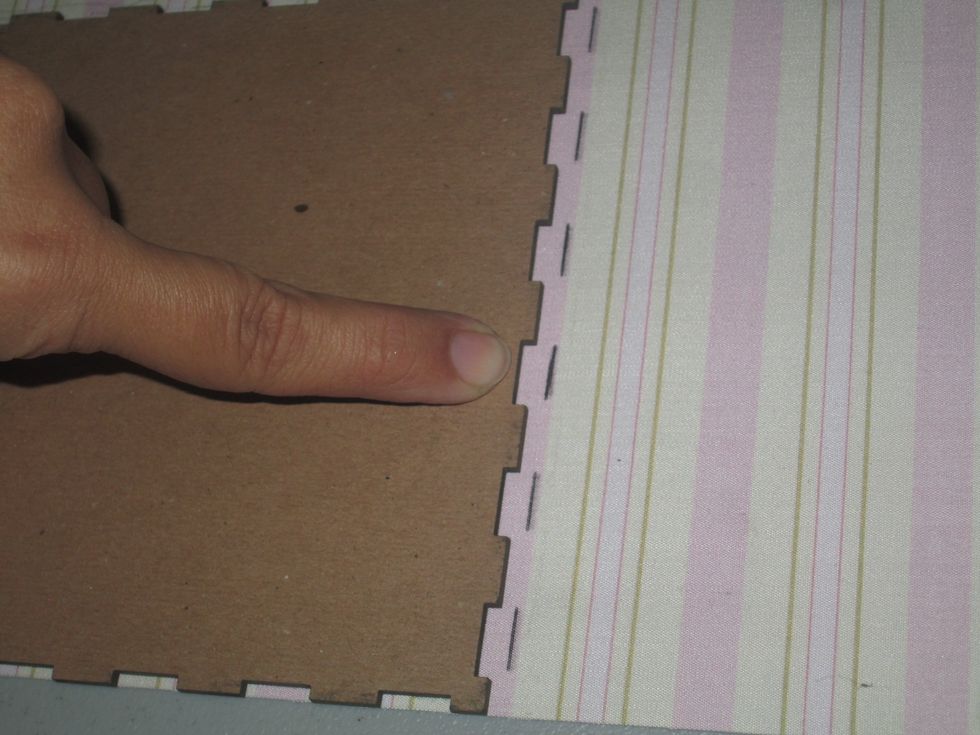
The area that pops out further will need to remain free of layers so it will fit completely into the neighboring piece.
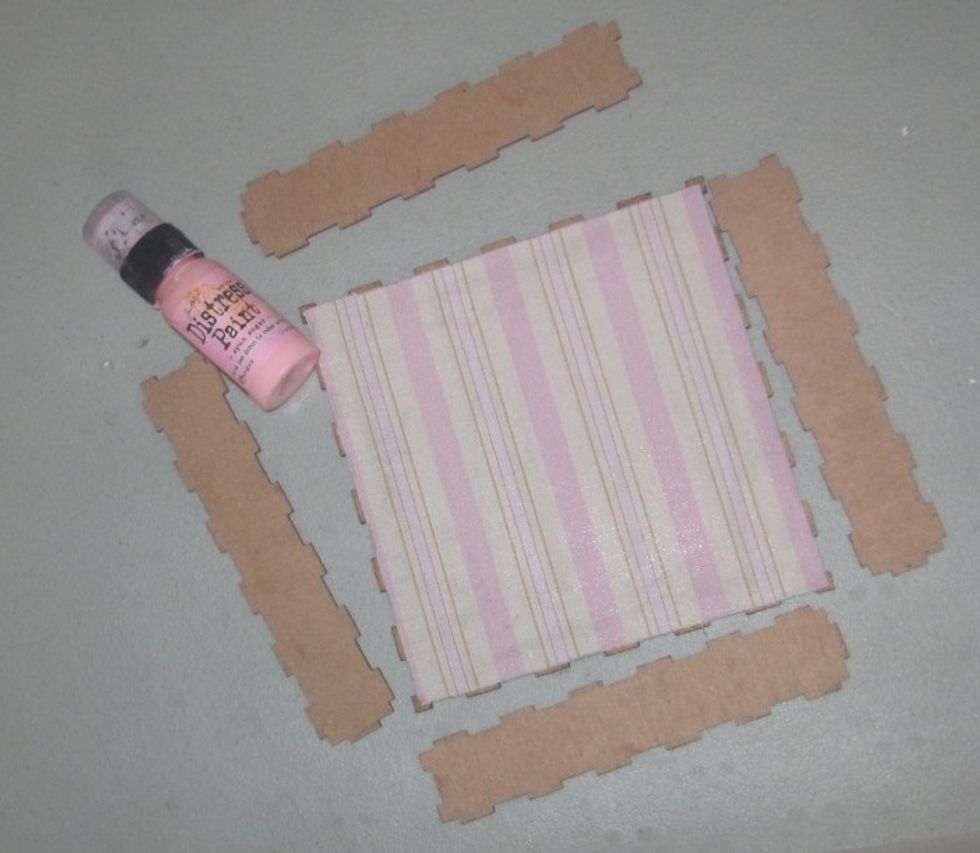
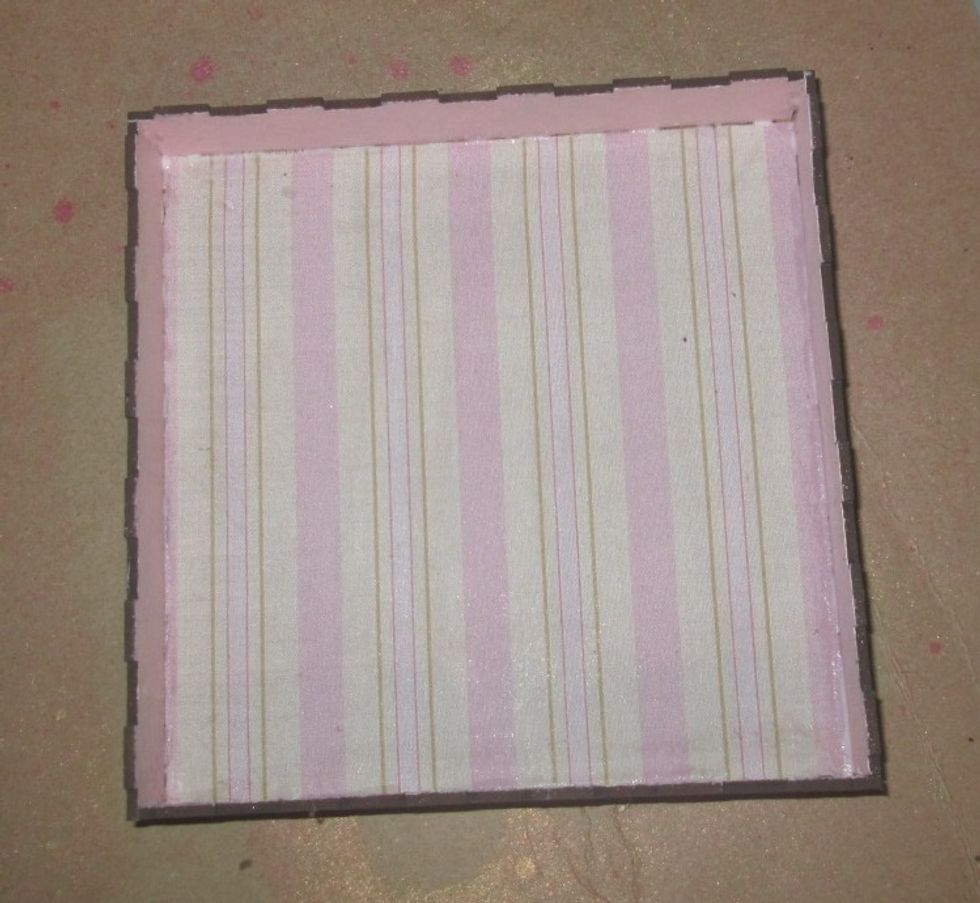
After trimming off the excess fabric, I chose a coordinating shade of Distress Paint to add color to the inner sides and outside of the shadow box.
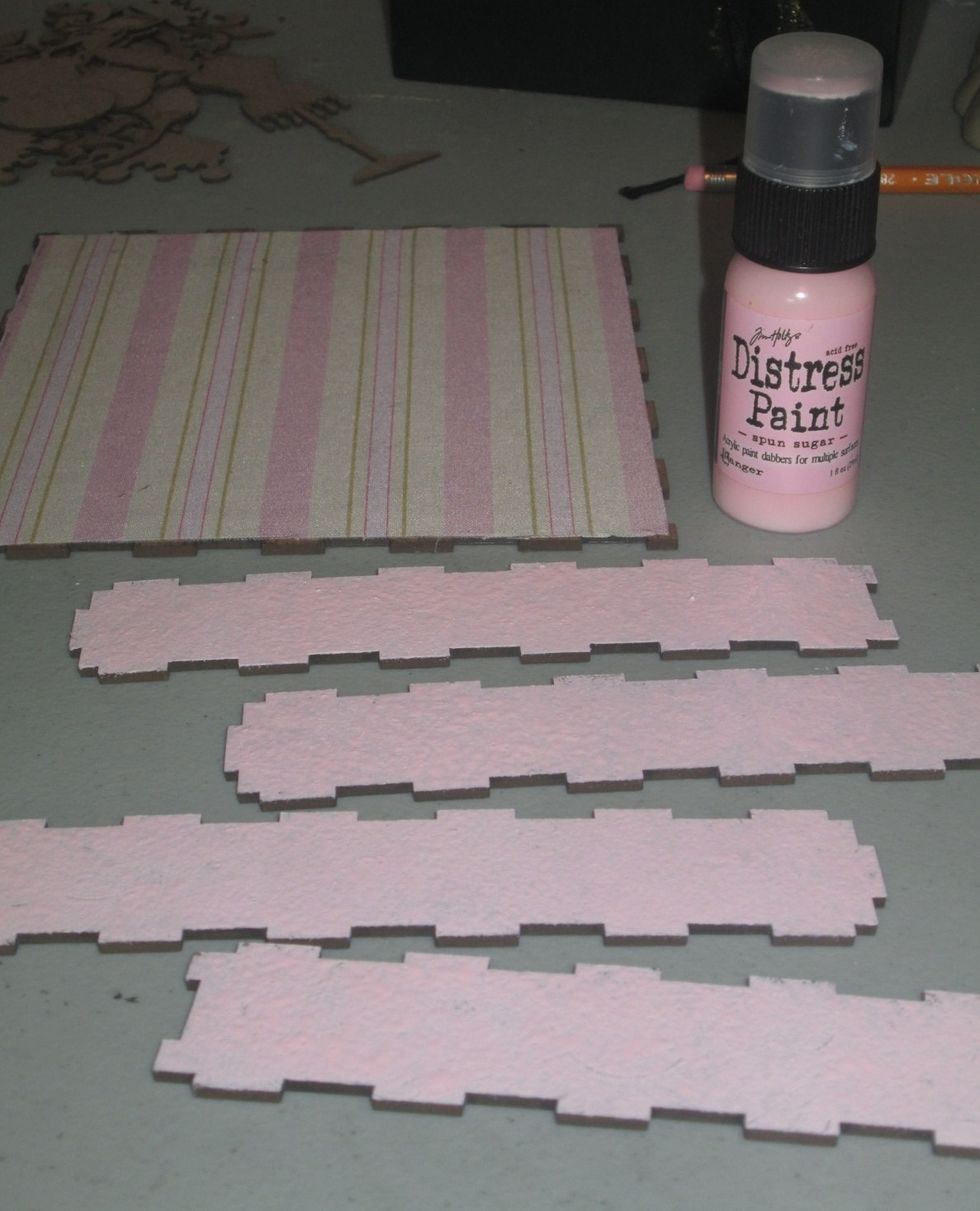
I love using Distress Paints for this purpose because there is really no clean up.

Next I used some Shimmer Mist and some Lindys Stamp Gang Starburst Sprays to add a bit more character to my pieces.
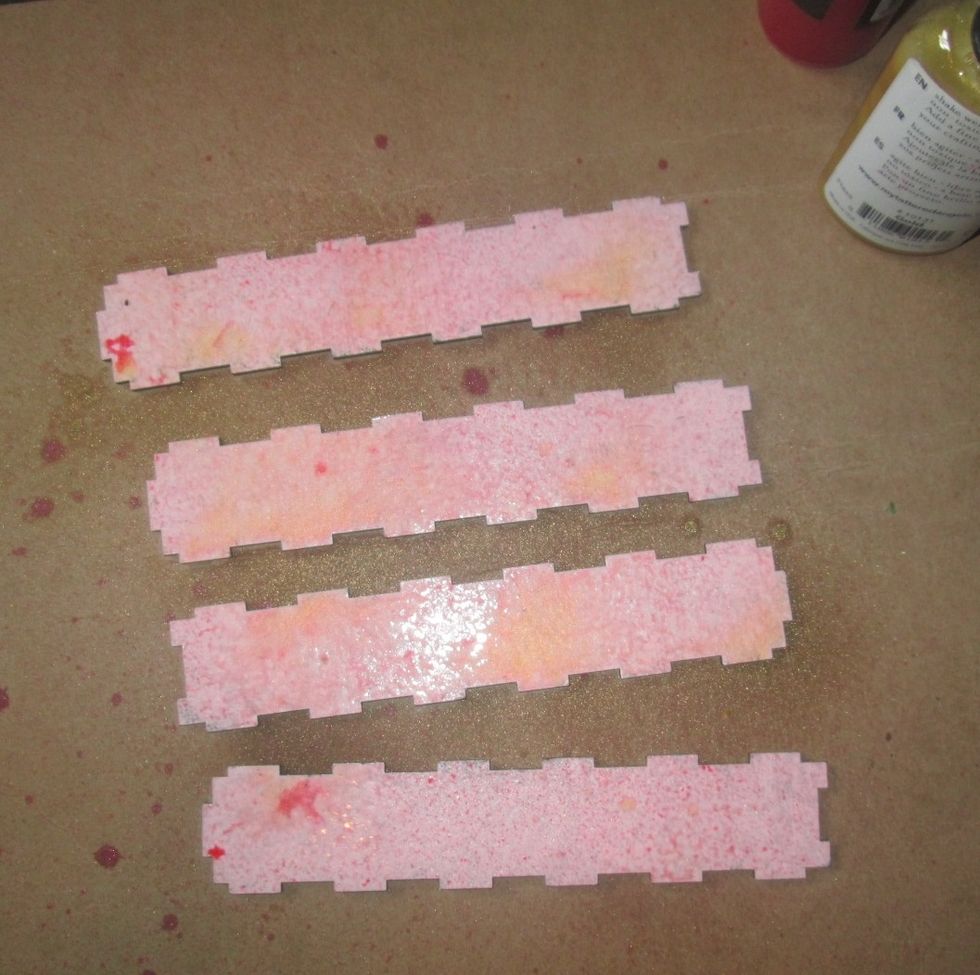
I squirted a good dose of both colors onto my pieces.

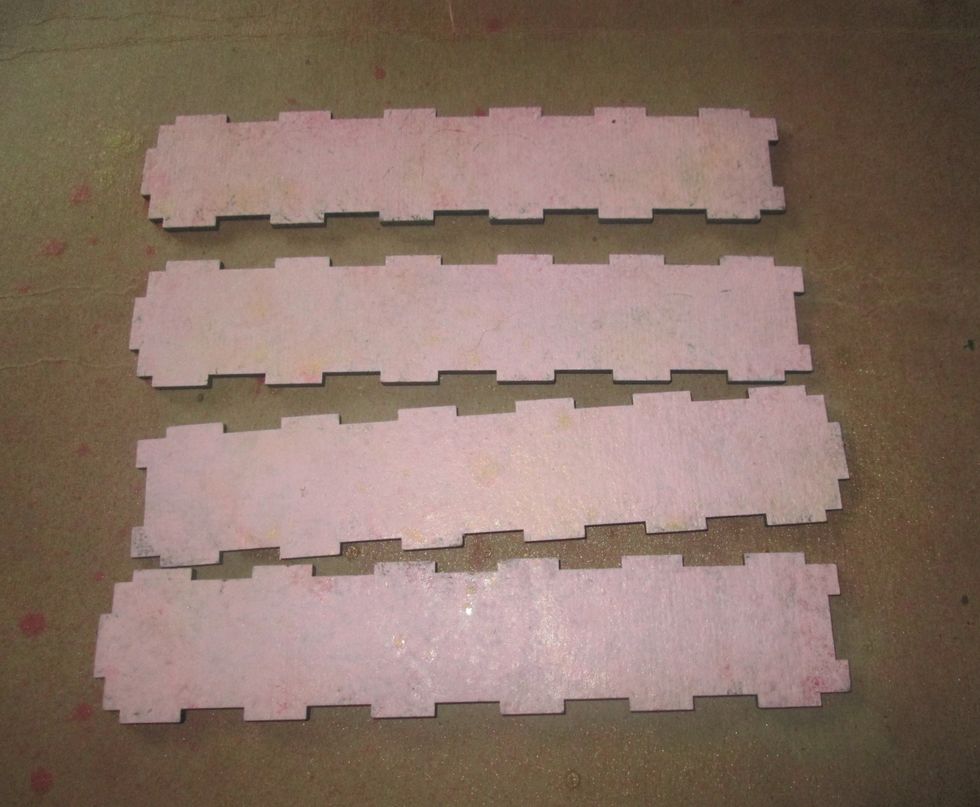
Then, using a stiff brush, I dabbed the colors to blend and unify.
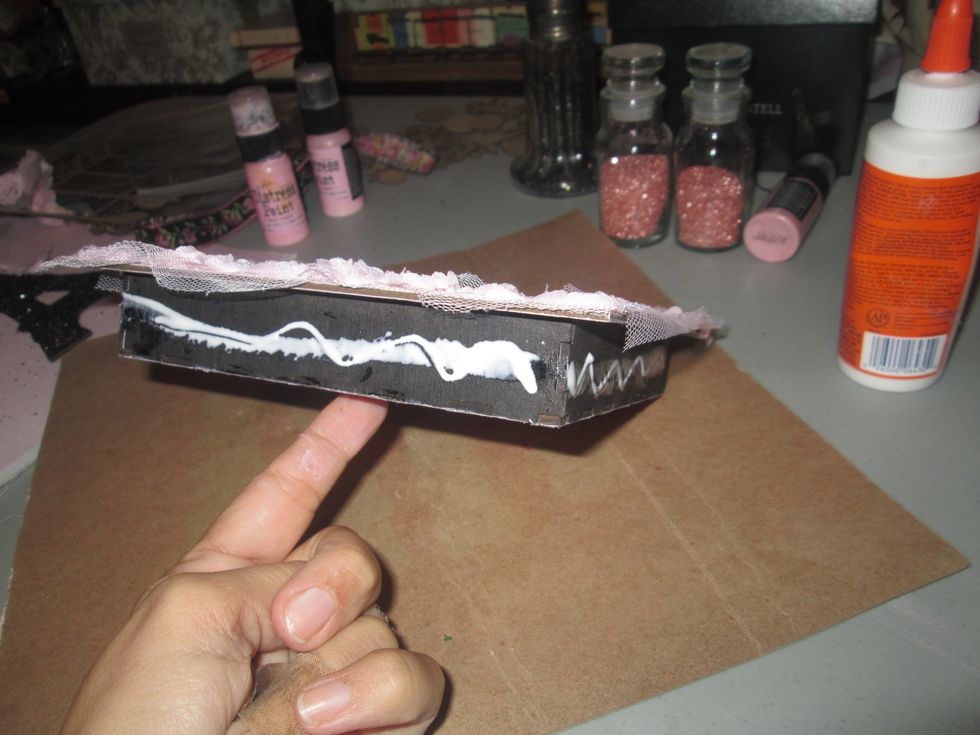
After laying all of the pieces into place, I added a dot of glue onto the slats that will make contact with a flat surface.
Push each piece into place.
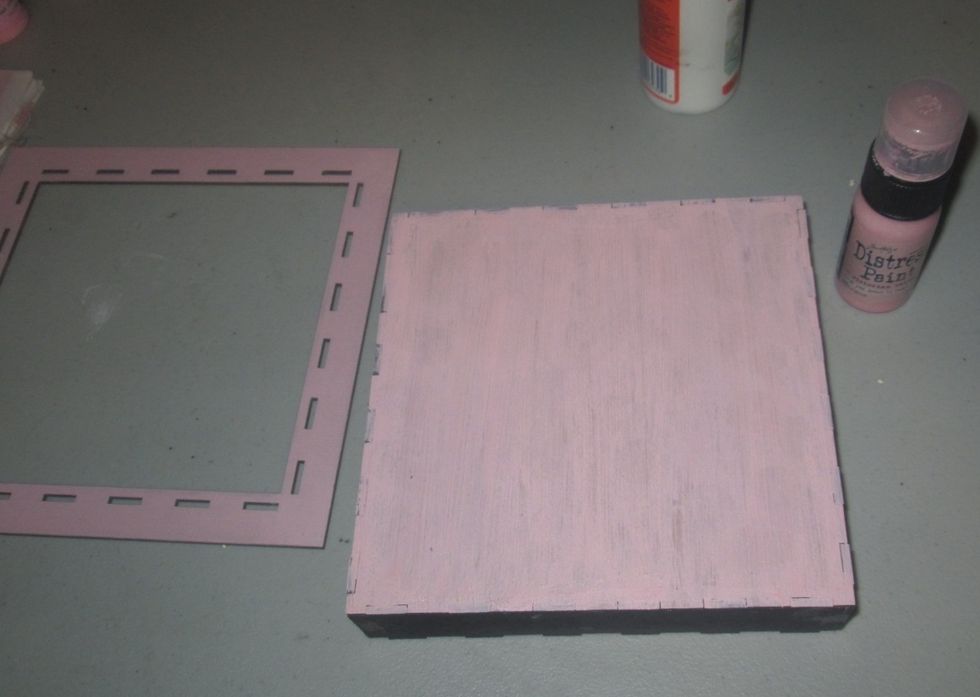
Now that my piece is assembled, I used the same shade of Distress Paint on the outer frame and back of the box.
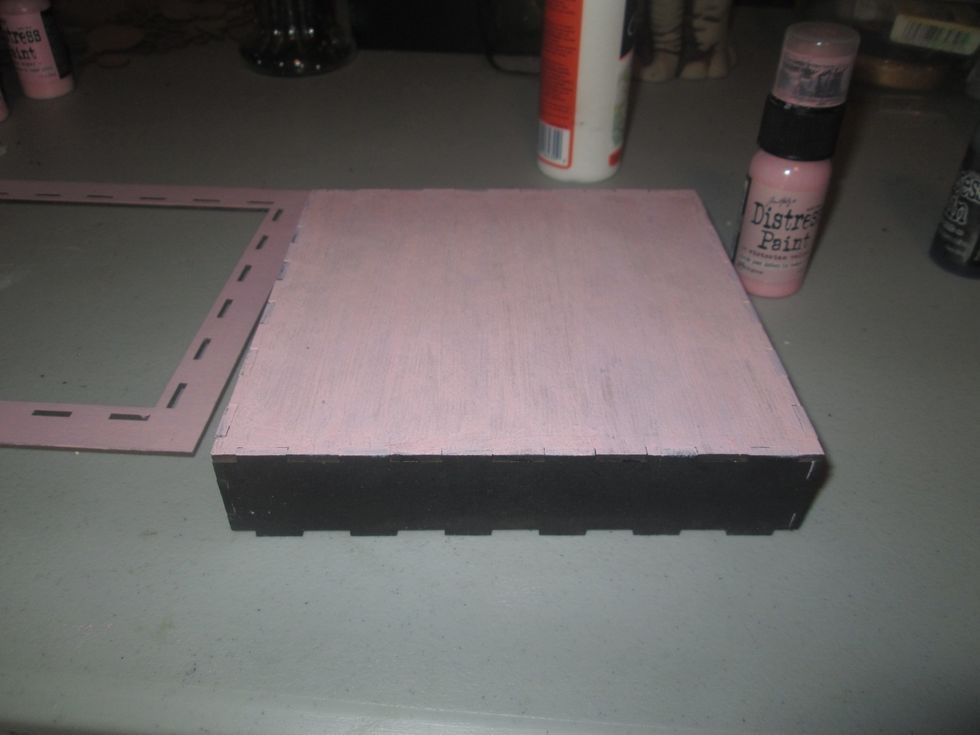
For the outer sides of the box I chose to use black paint to coincide with my theme.
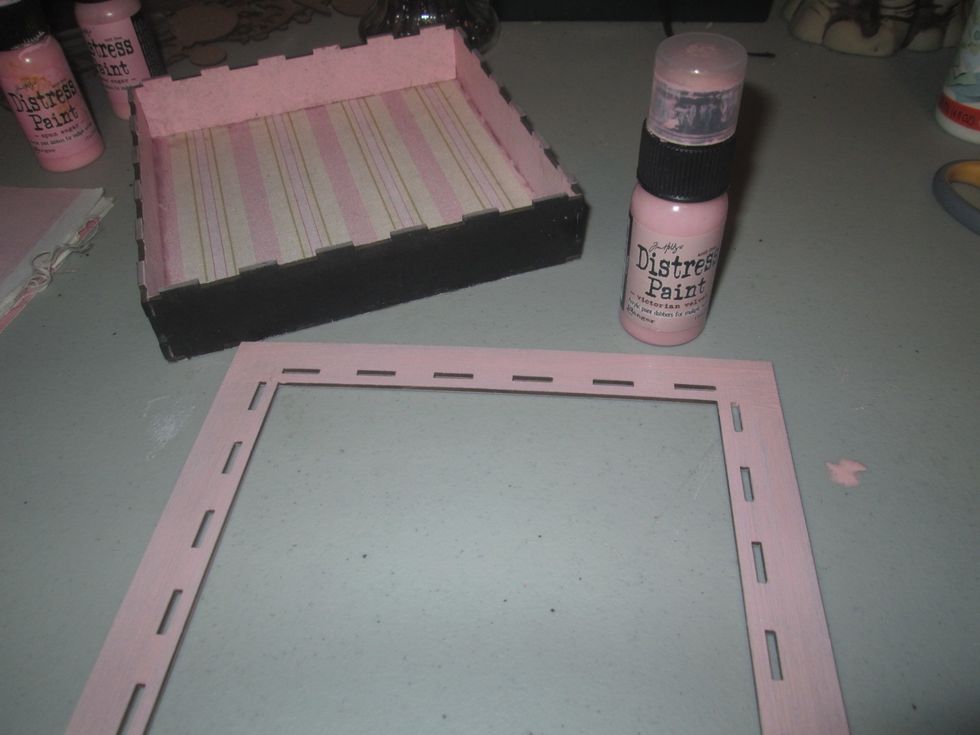
Now I'm ready to adhere the outer frame.
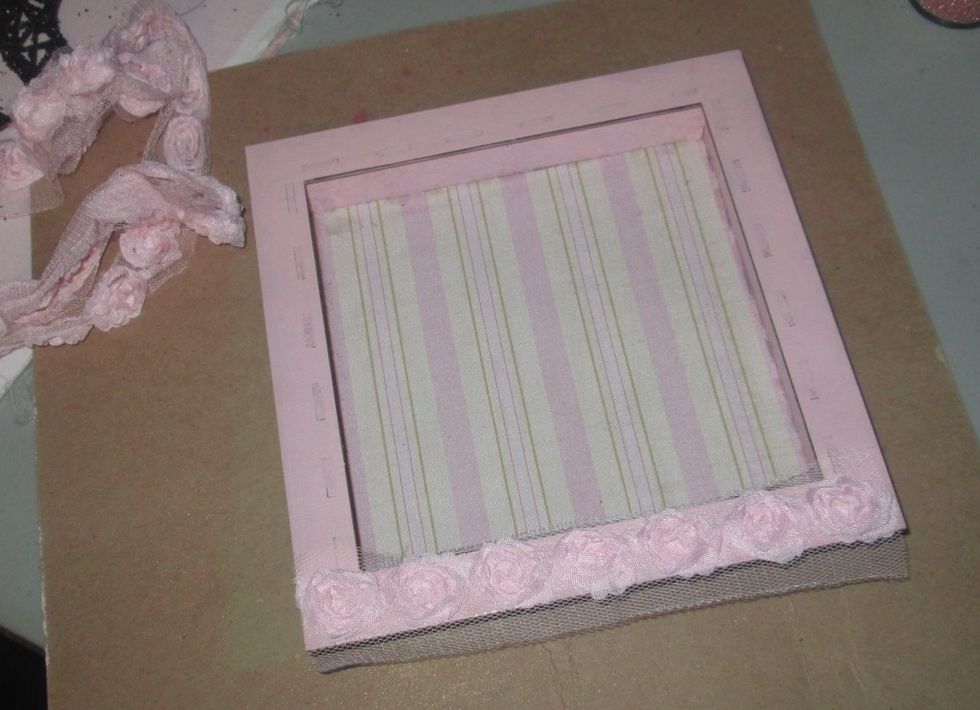
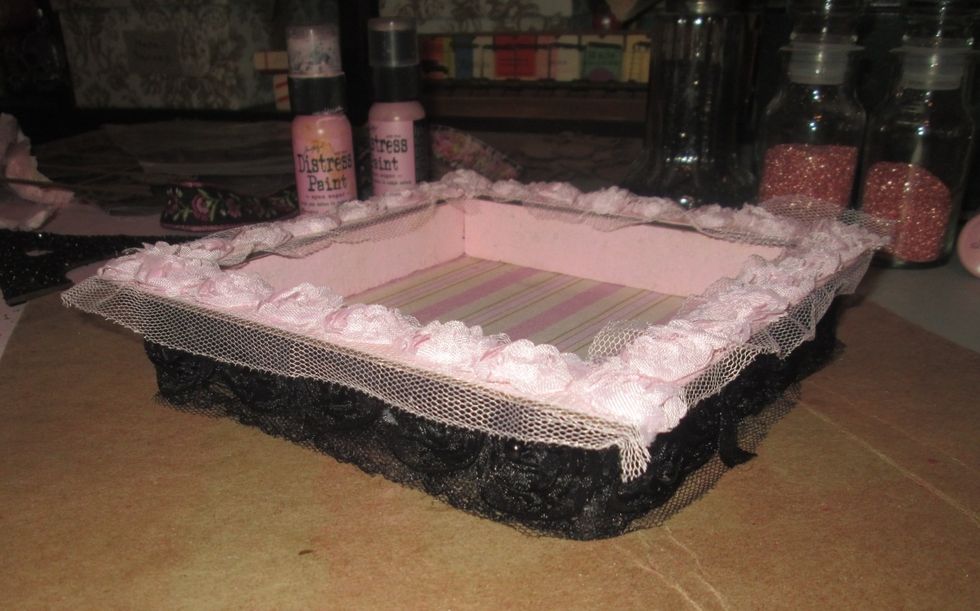
After assembling, I added some pink trim to the outside of the frame.

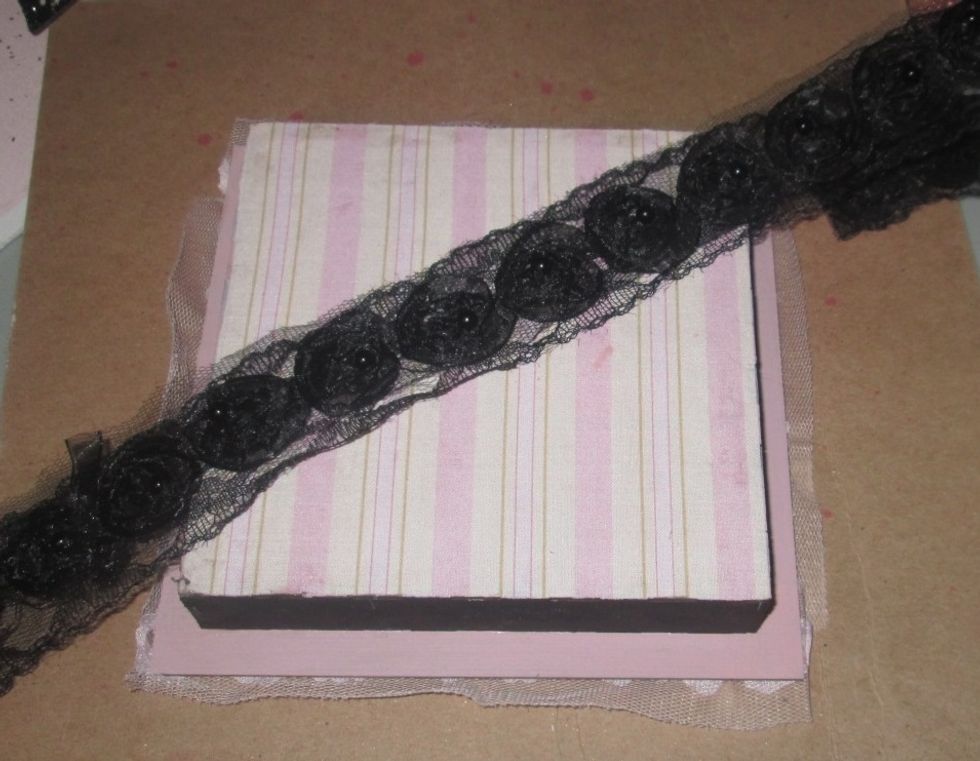
Then I added some more fabric to the back of the box and black trim for the outer part of the frame. I always like to have the back of a project as pretty as the front.
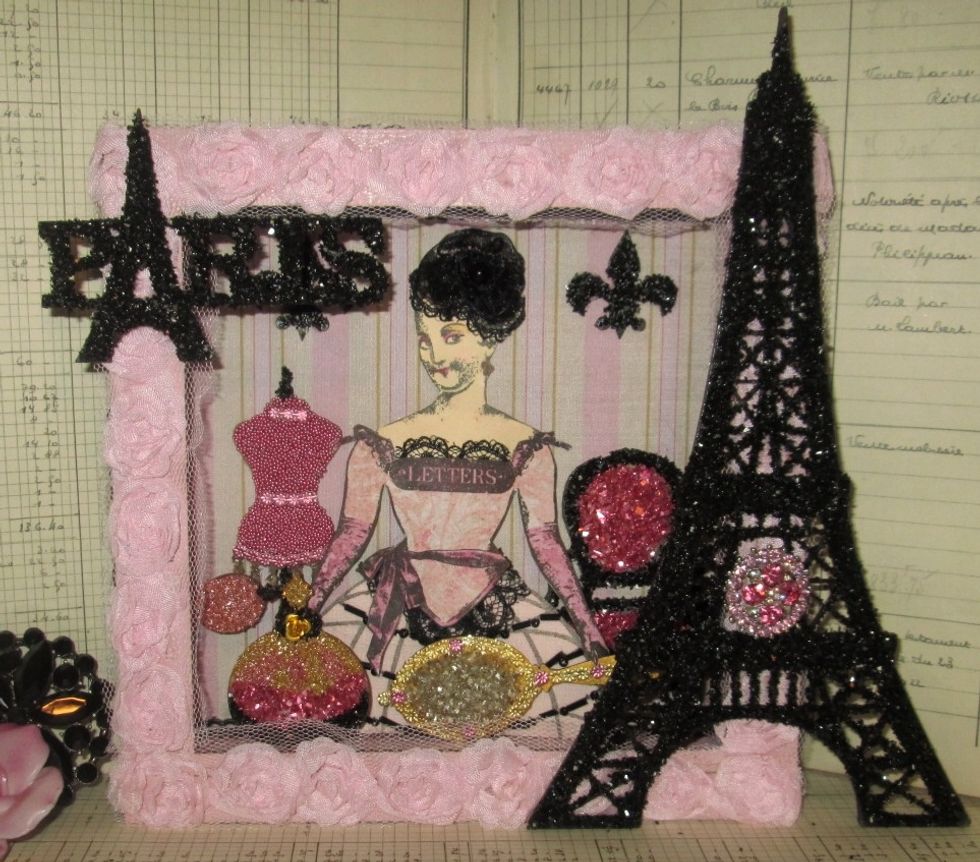
Done! Now it's time to add the details!