The Conversation (0)
Sign Up
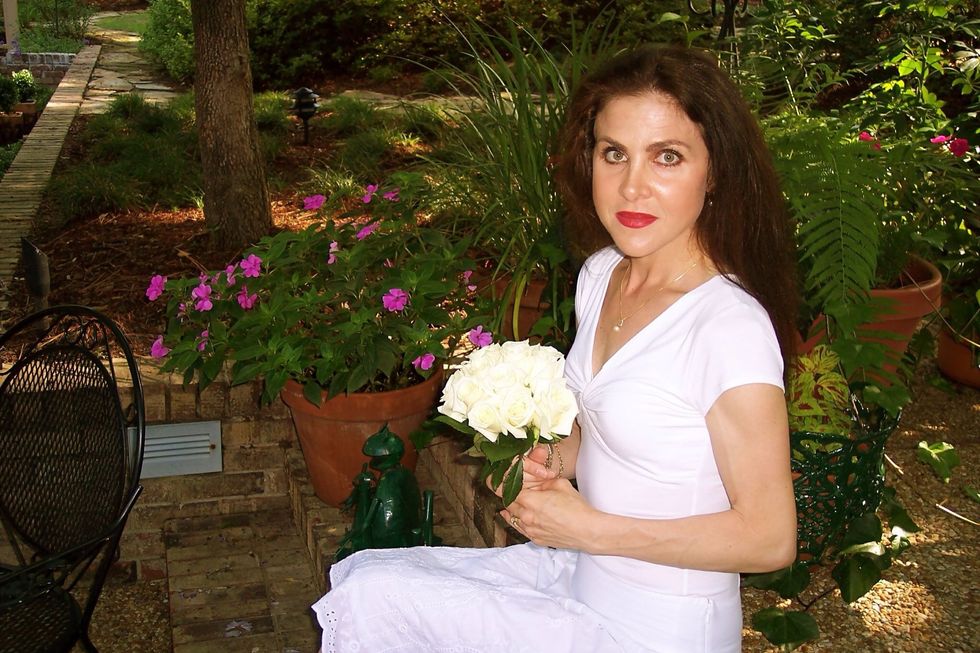
Choose a photo from your library.

Import your photo into Moku Hanga HD.
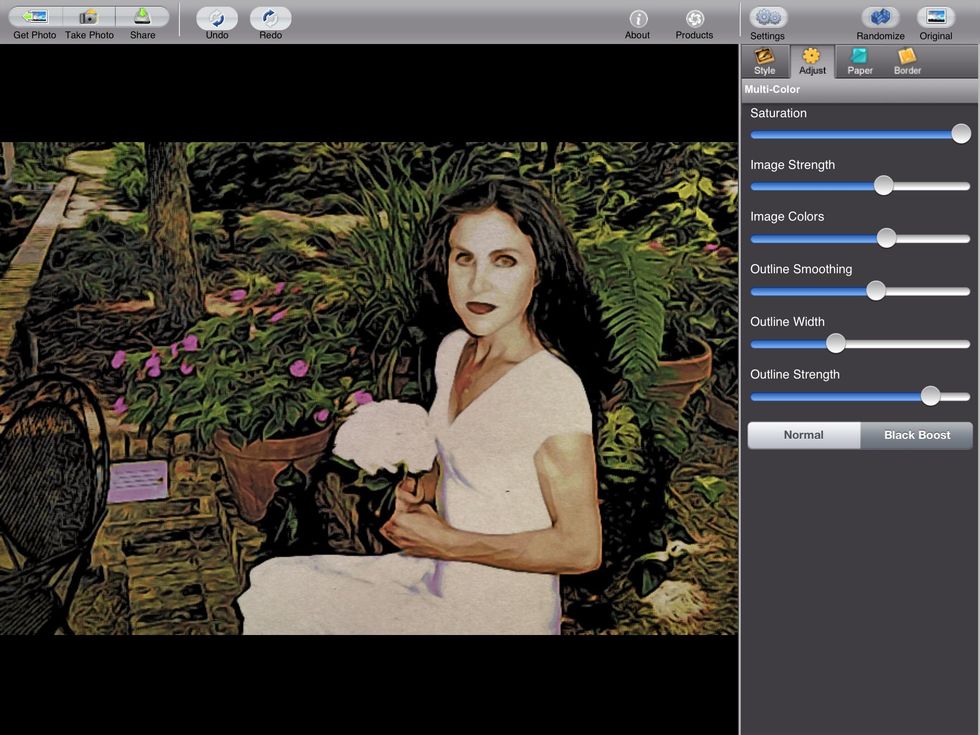
Choose a filter from the range of presets; make adjustments to filter by changing brightness, contrast, etc. (this will become my background).

Open Pencil Camera.

Open the original photo and add a filter (I chose "wooden floor"). Make any necessary adjustments.
Open PS Touch.

Open the original photo.
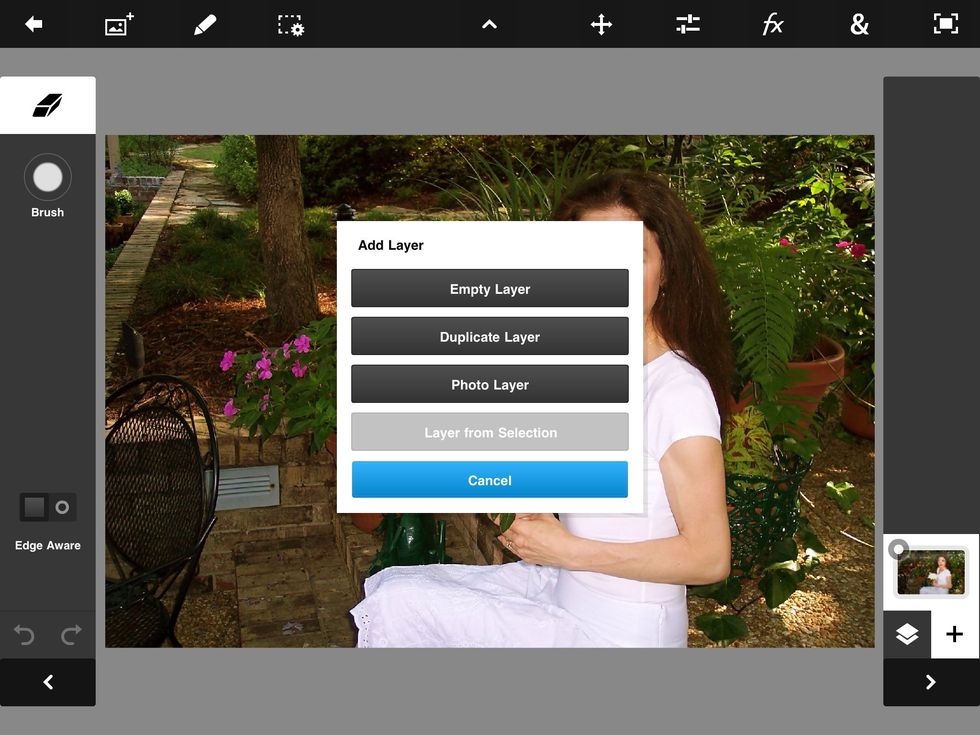
Add a new photo layer.
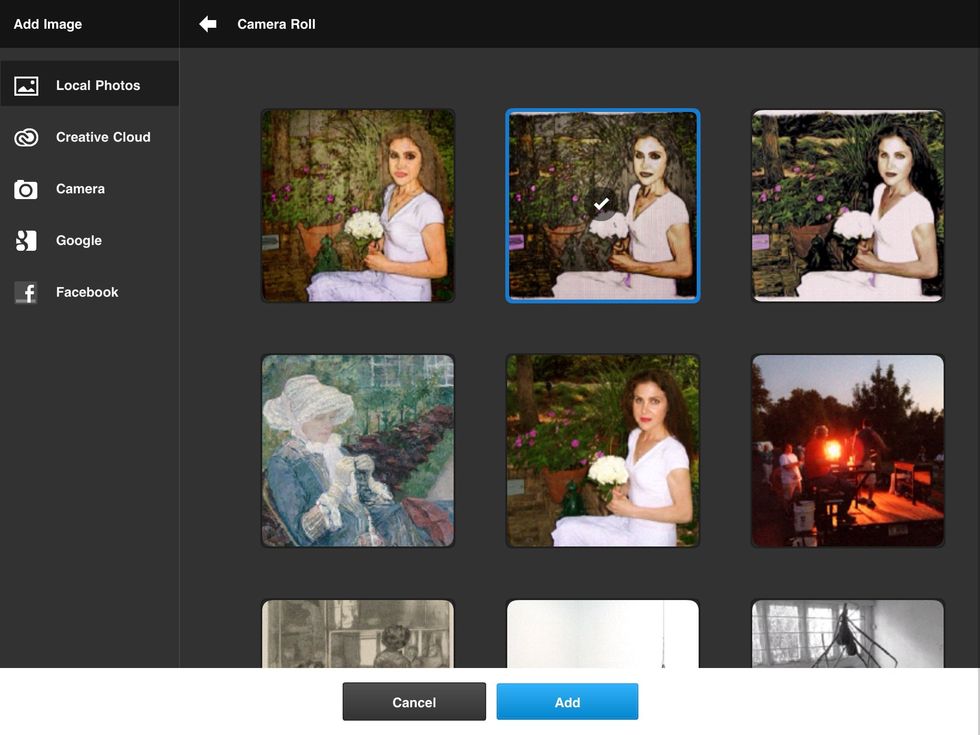
Import image from Moku.
The Moku image now appears as a second layer.
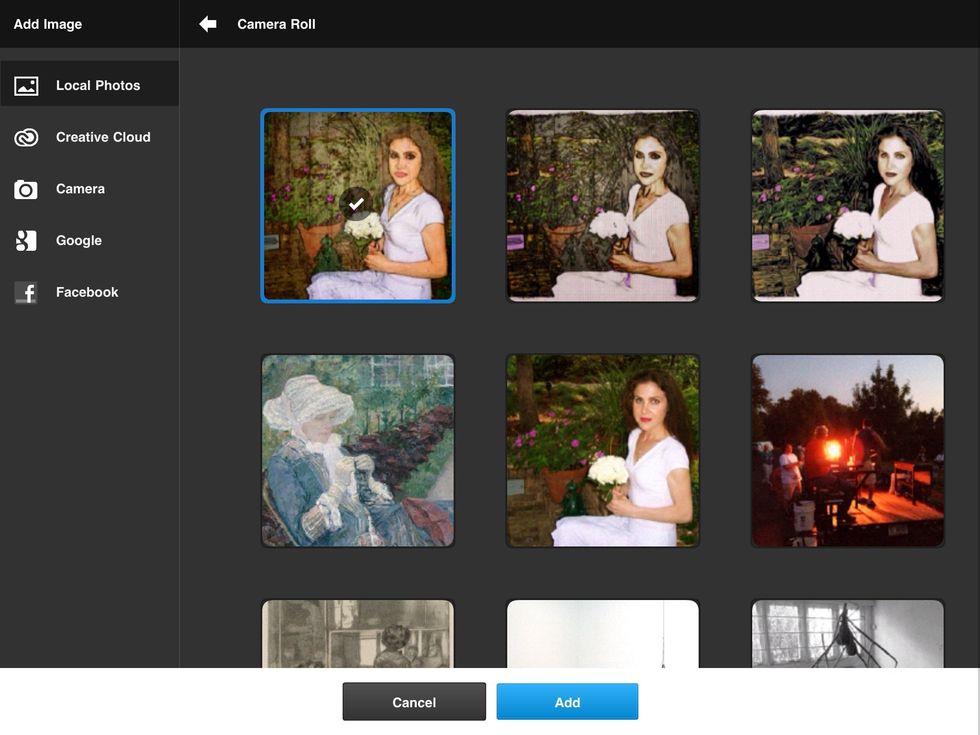
Import image from Pencil Camera.
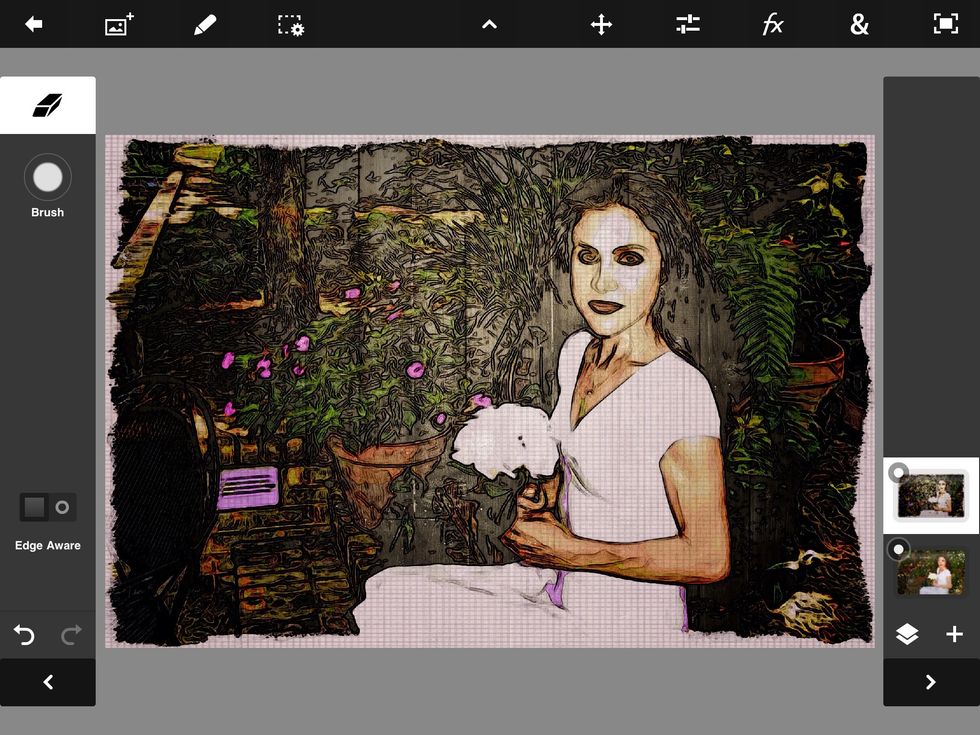
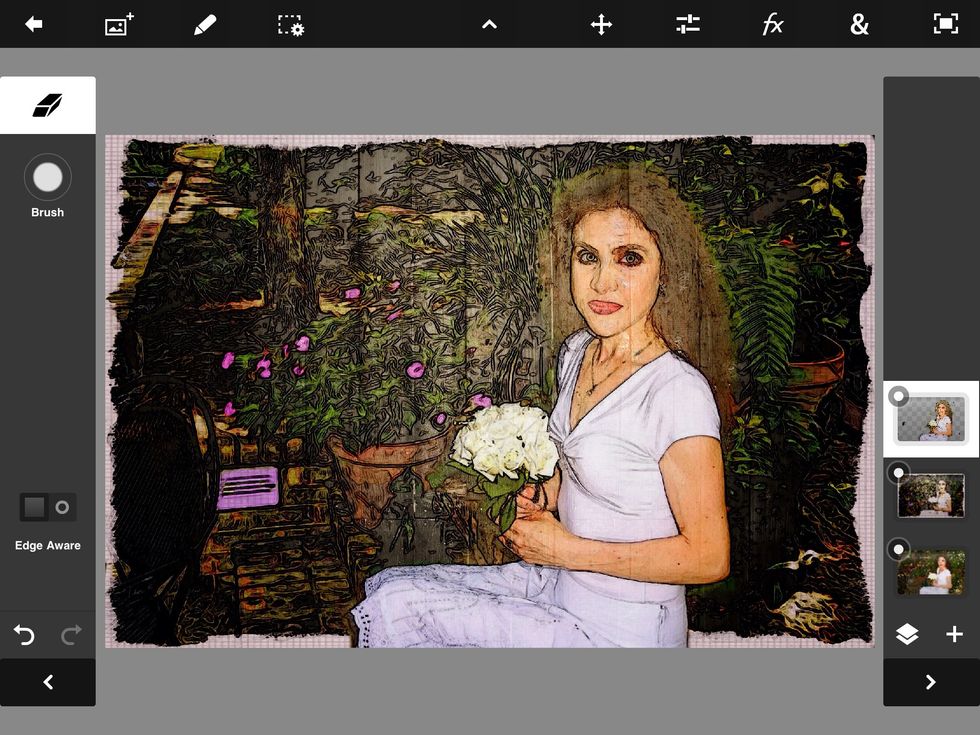
In this example, I chose to erase the background of Pencil Camera, the top layer, in order to reveal the Moku effect underneath on the second layer.
The background has been erased; you can now see the Moku effect in the background.
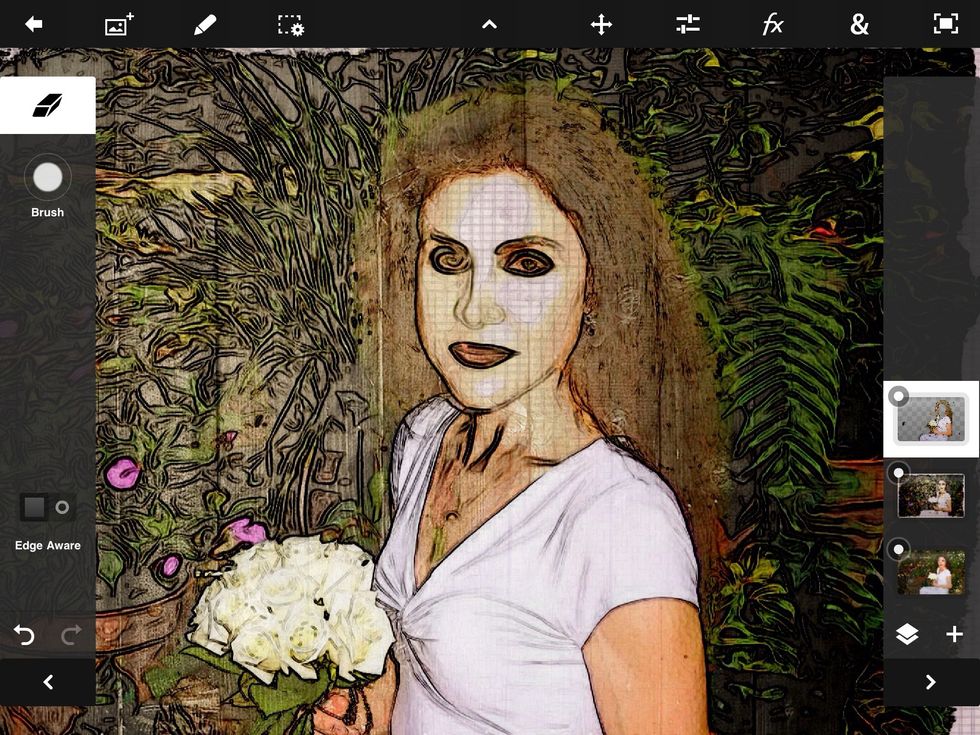
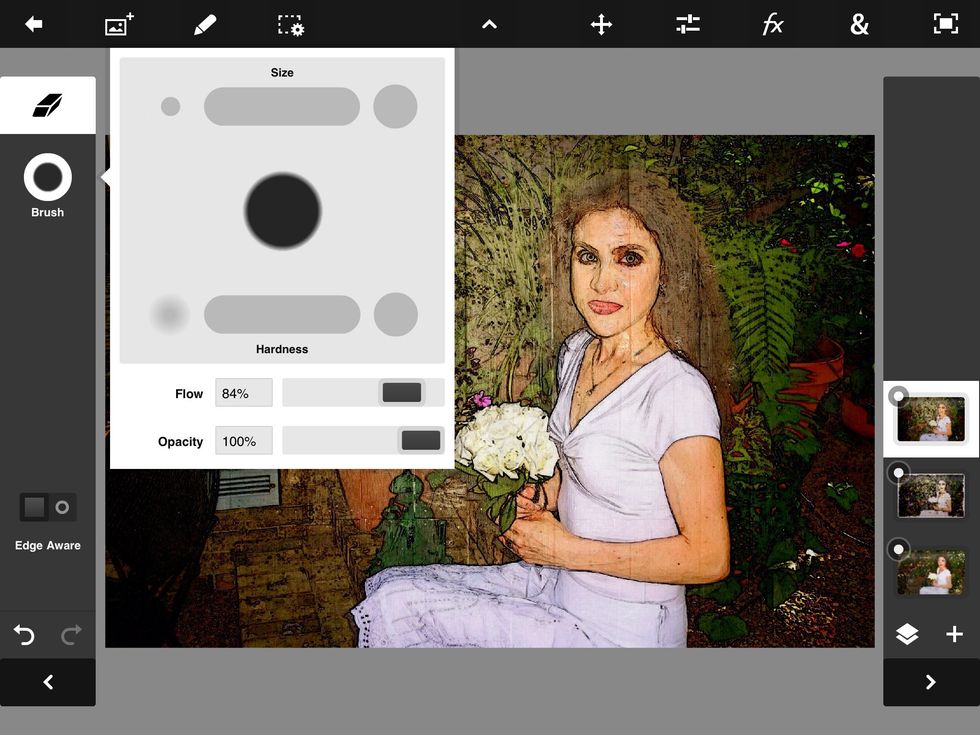
I returned to the top layer and erased the face and neck areas.
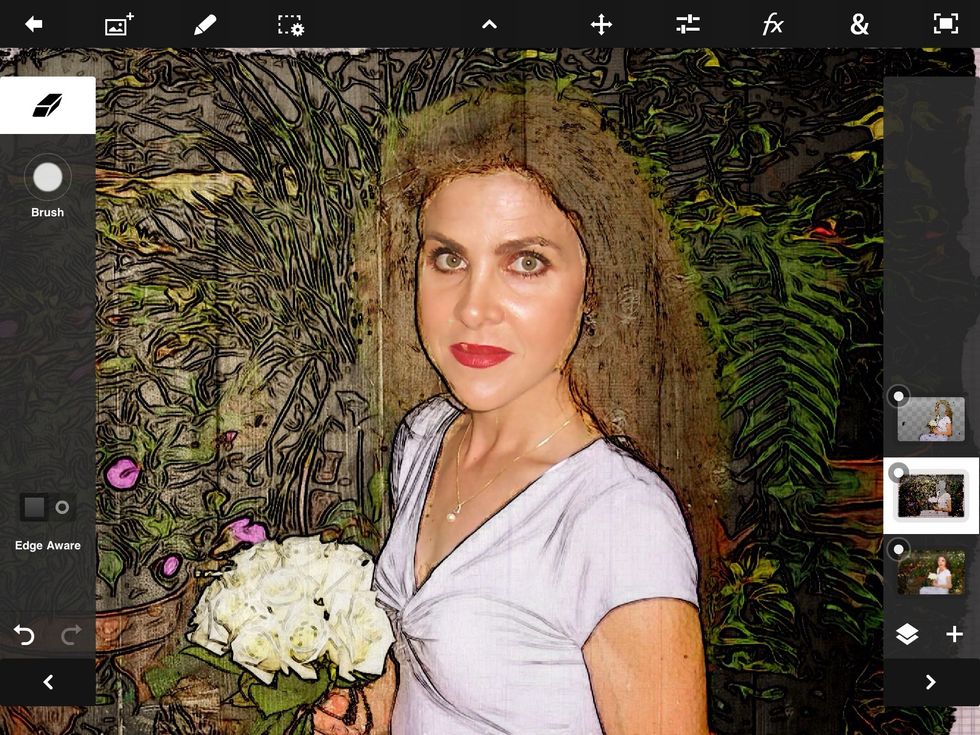
I returned to the second layer and repeated the same step, revealing the original face underneath.

And here is the final result.