The Conversation (0)
Sign Up
Use the same brand of polish for each color if you can. Doing so reduces chance of bubbling, streaking and not drying properly
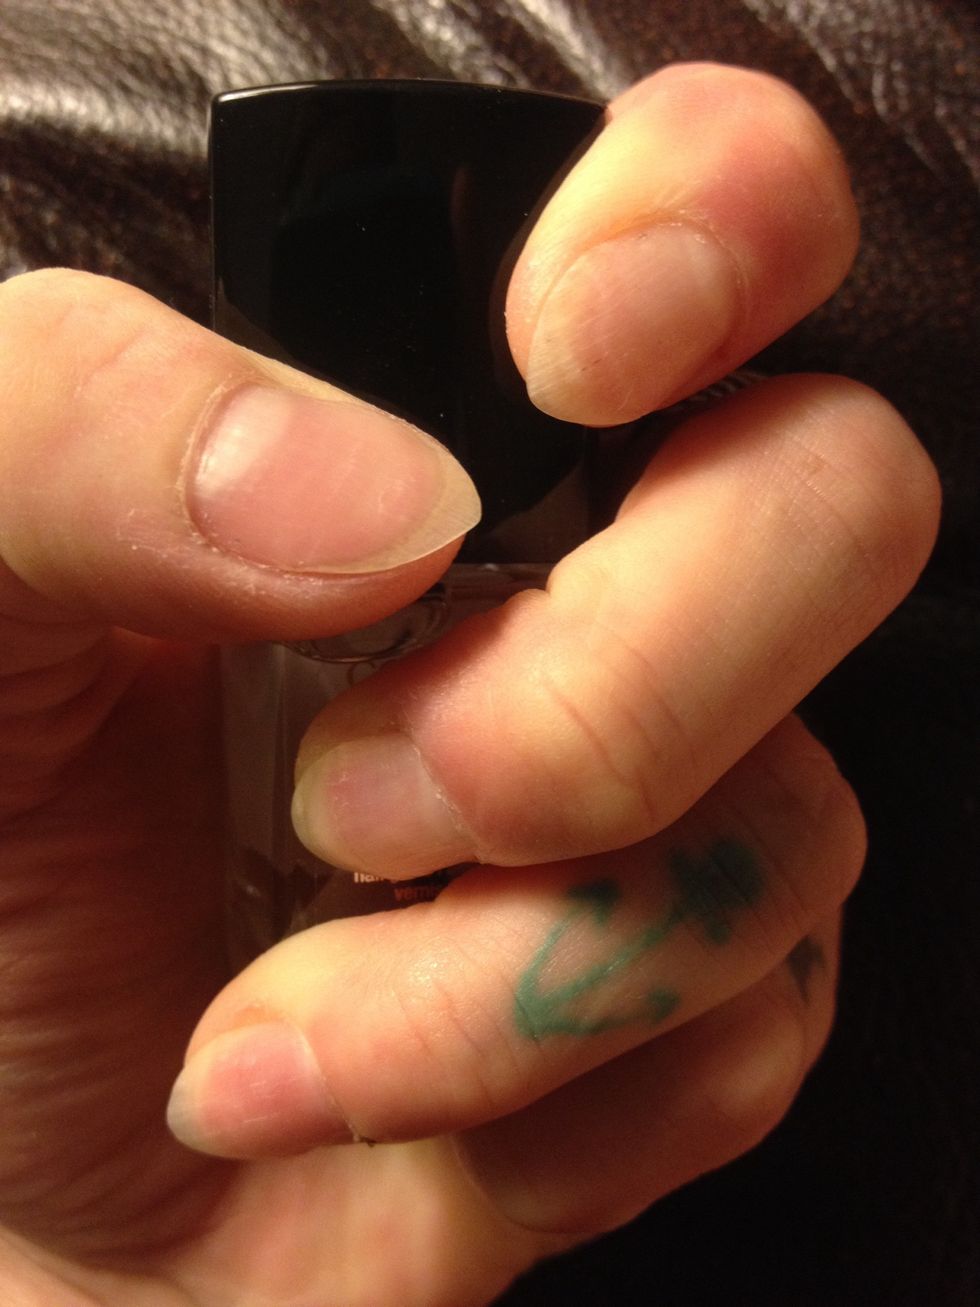
Start with clean, shaped nails. I chose "Mountain Peak" shape but you can do any shape you like.
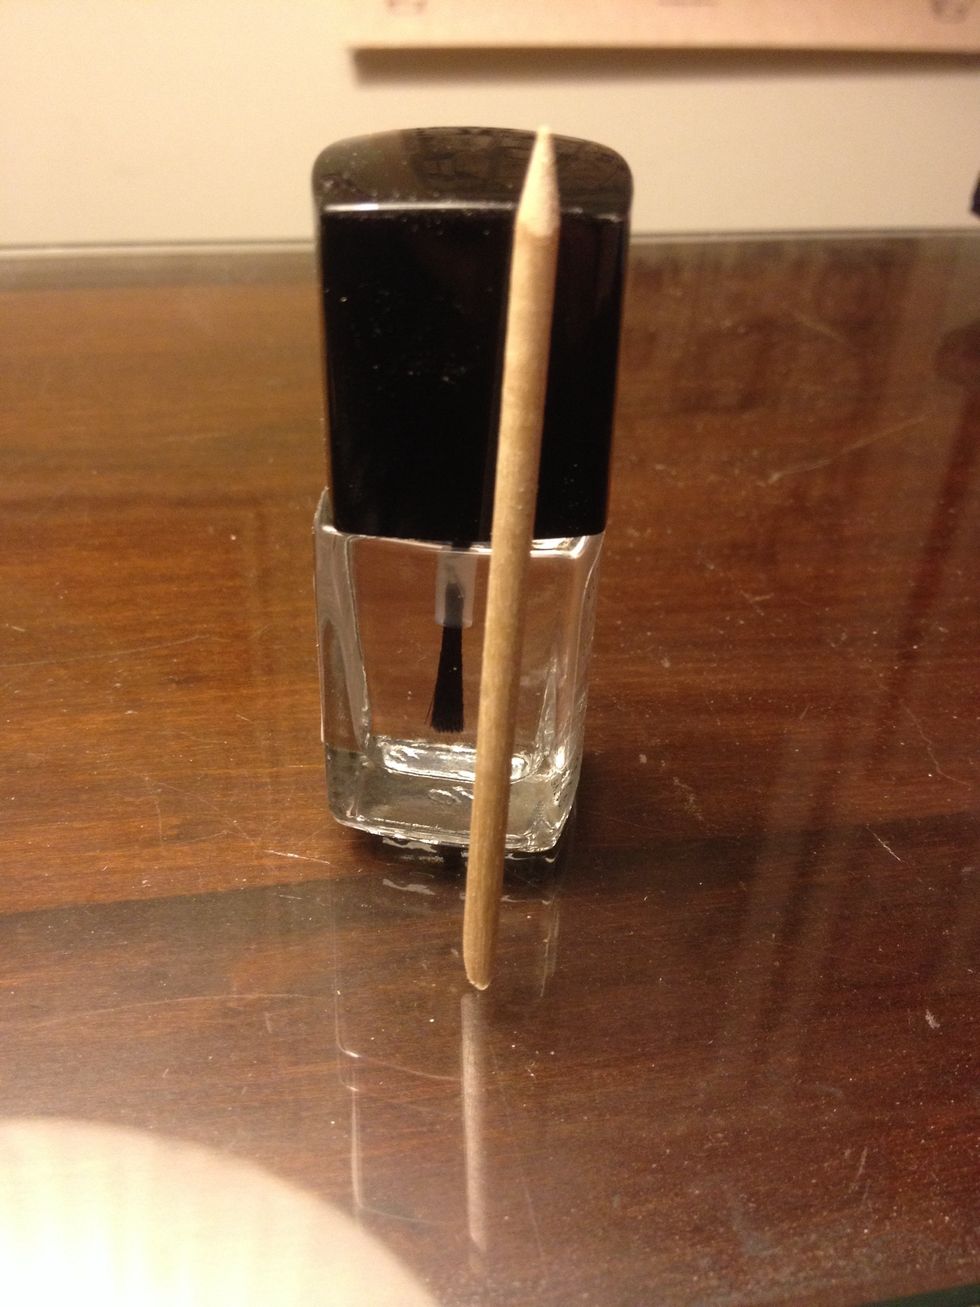
Push back cuticles w/ stick. You may choose to trim them using clippers. Paint nails w/ clear polish and let dry, usually 5 to 15 min.
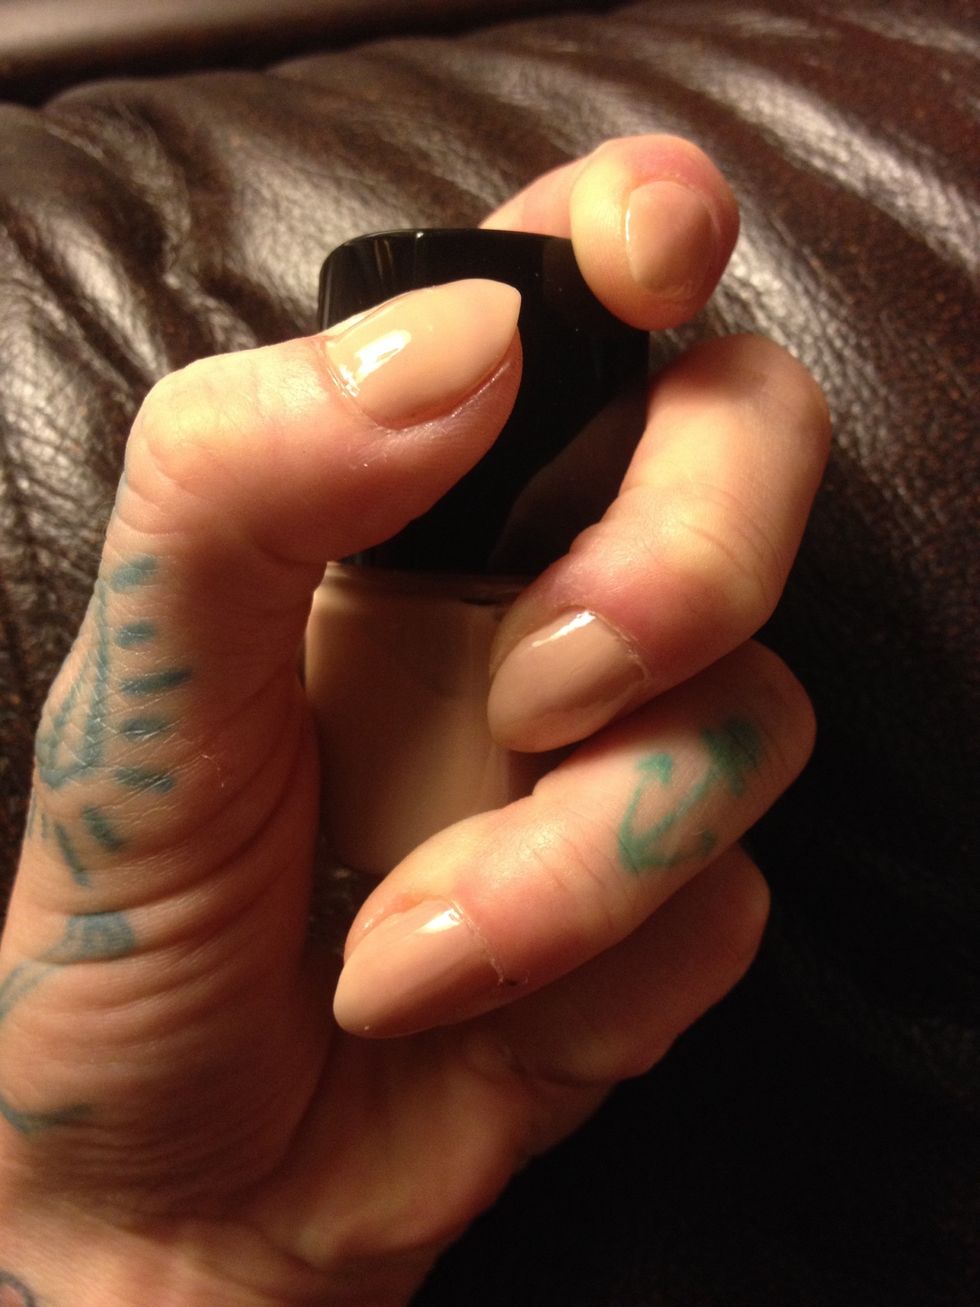
Apply two coats of beige. Allowing proper dry time between each coat.
You can use any colors you like as long as they contrast well. Using the lighter color as the base will make your nails pop!!!
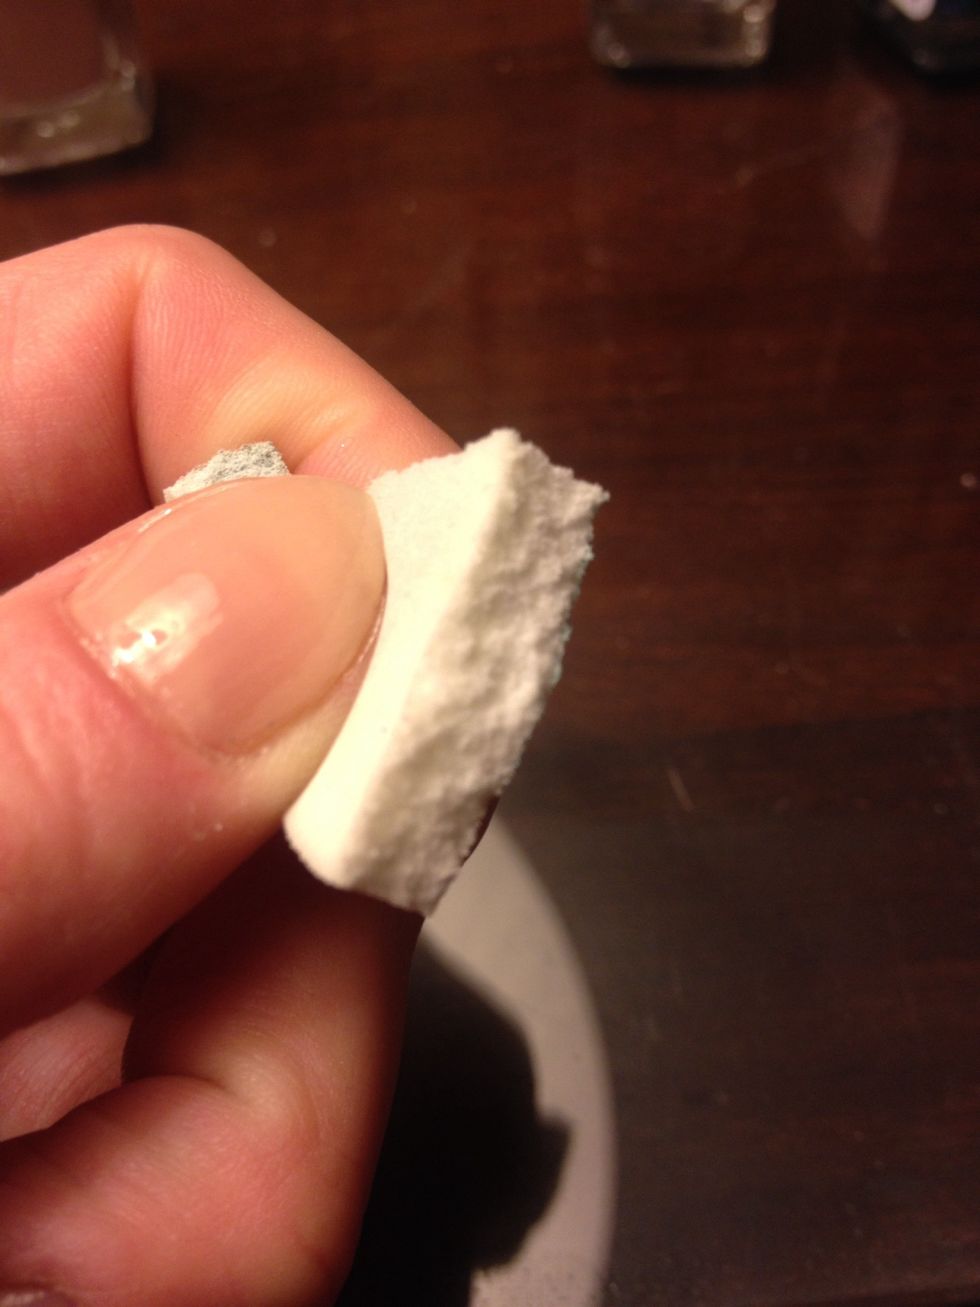
Rip a small portion of your makeup sponge off. I prefer this method over cutting because it helps with the ombre's gradient texture

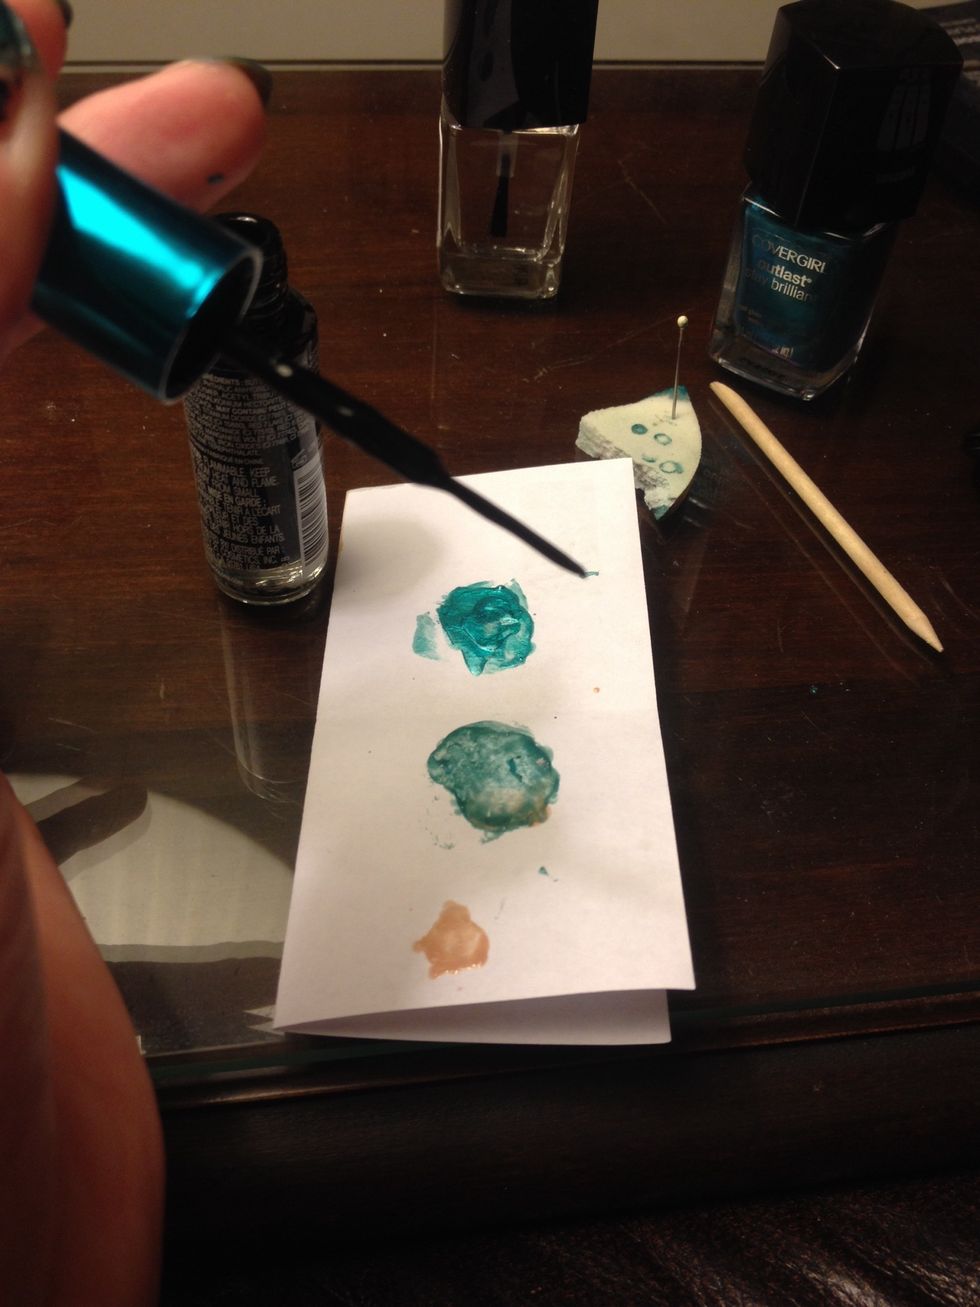
Mix teal and beige together on a piece of paper.
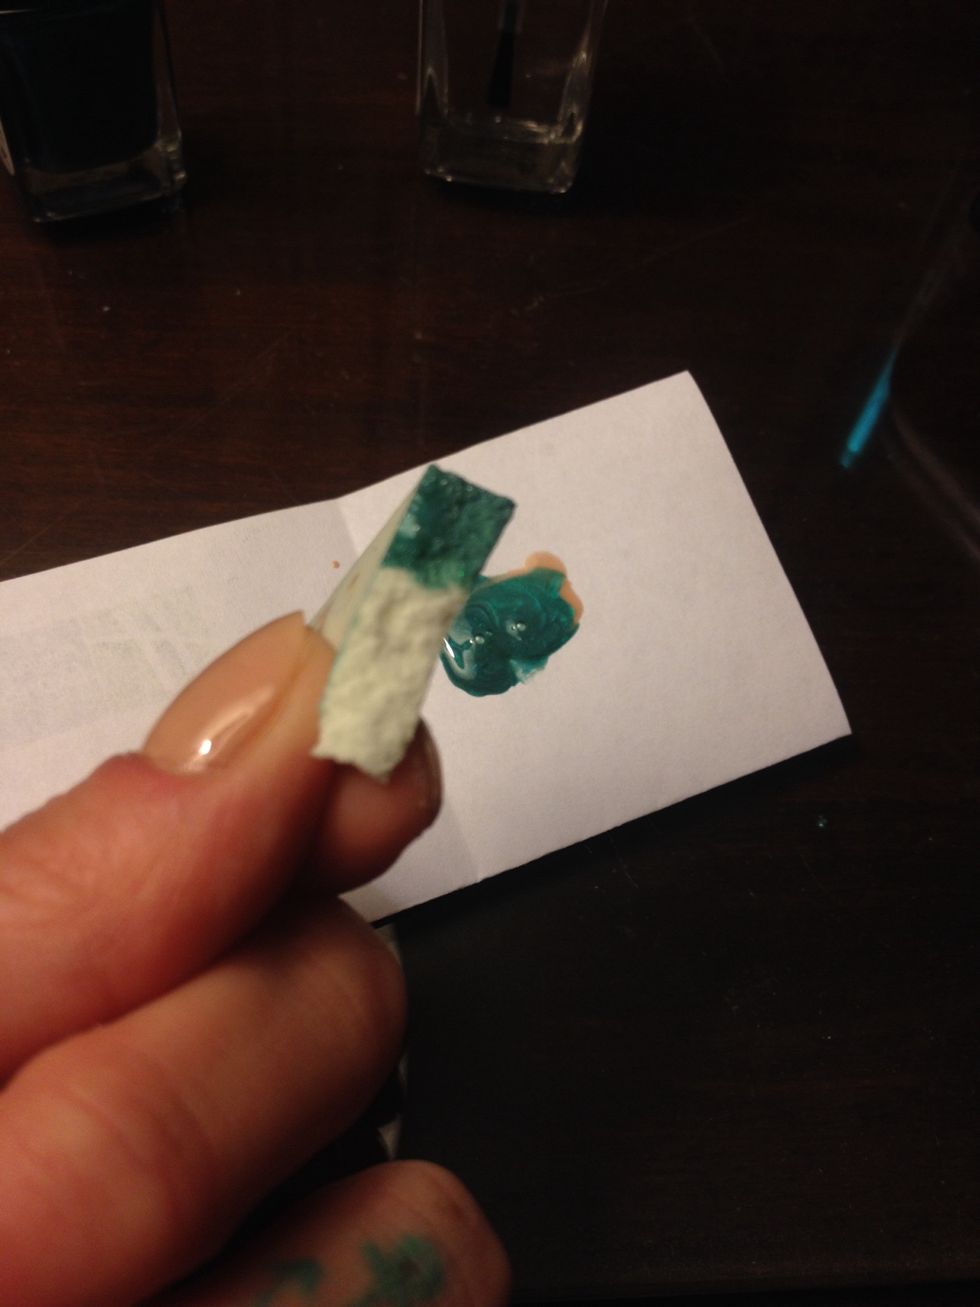
Dap corner of make up sponge in polish
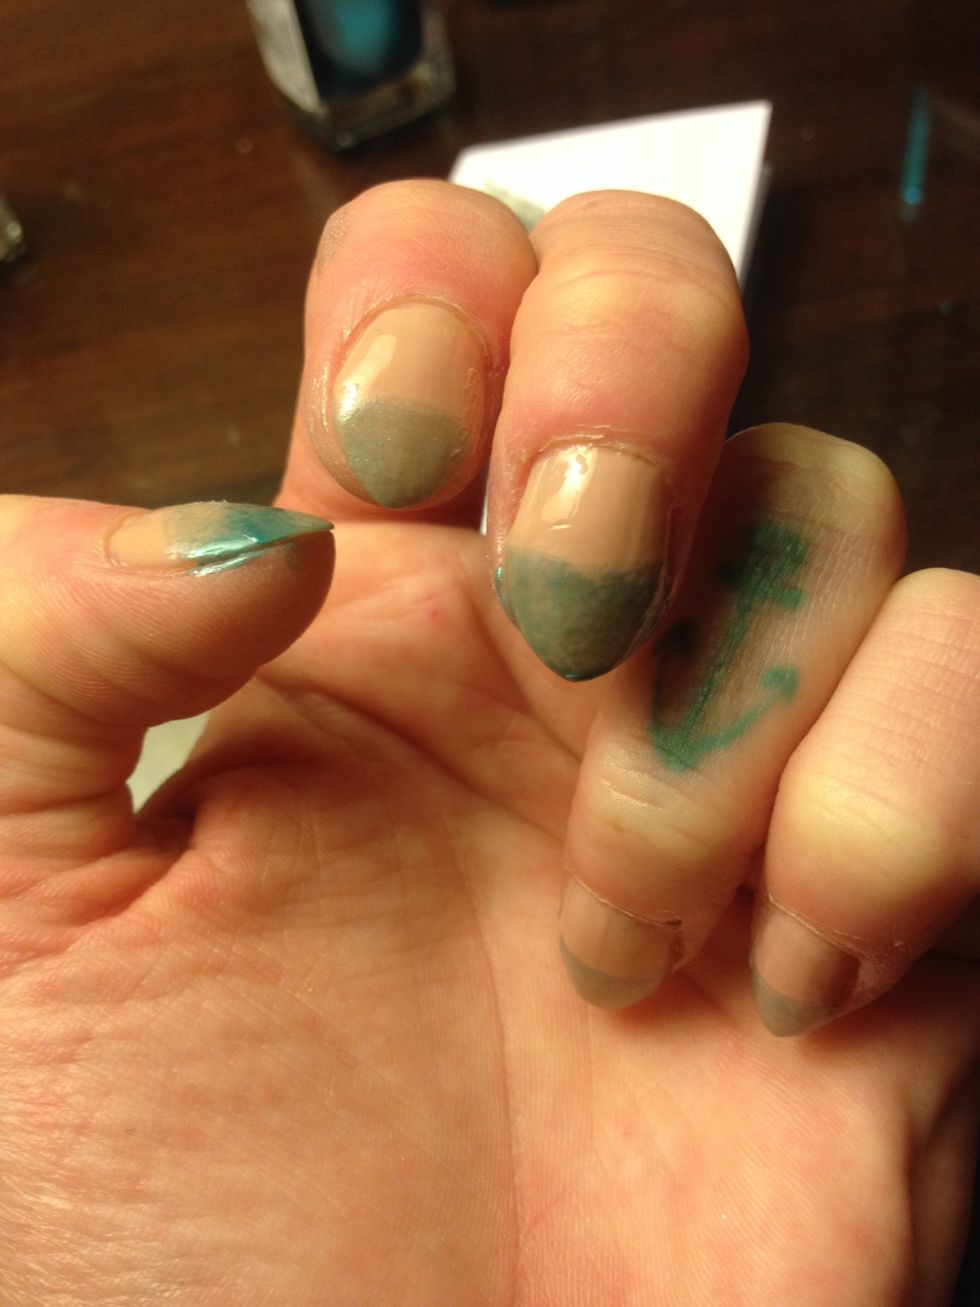
Apply to half of nail by blotting until even coverage is achieved
Then repeat step 9 with just the teal.
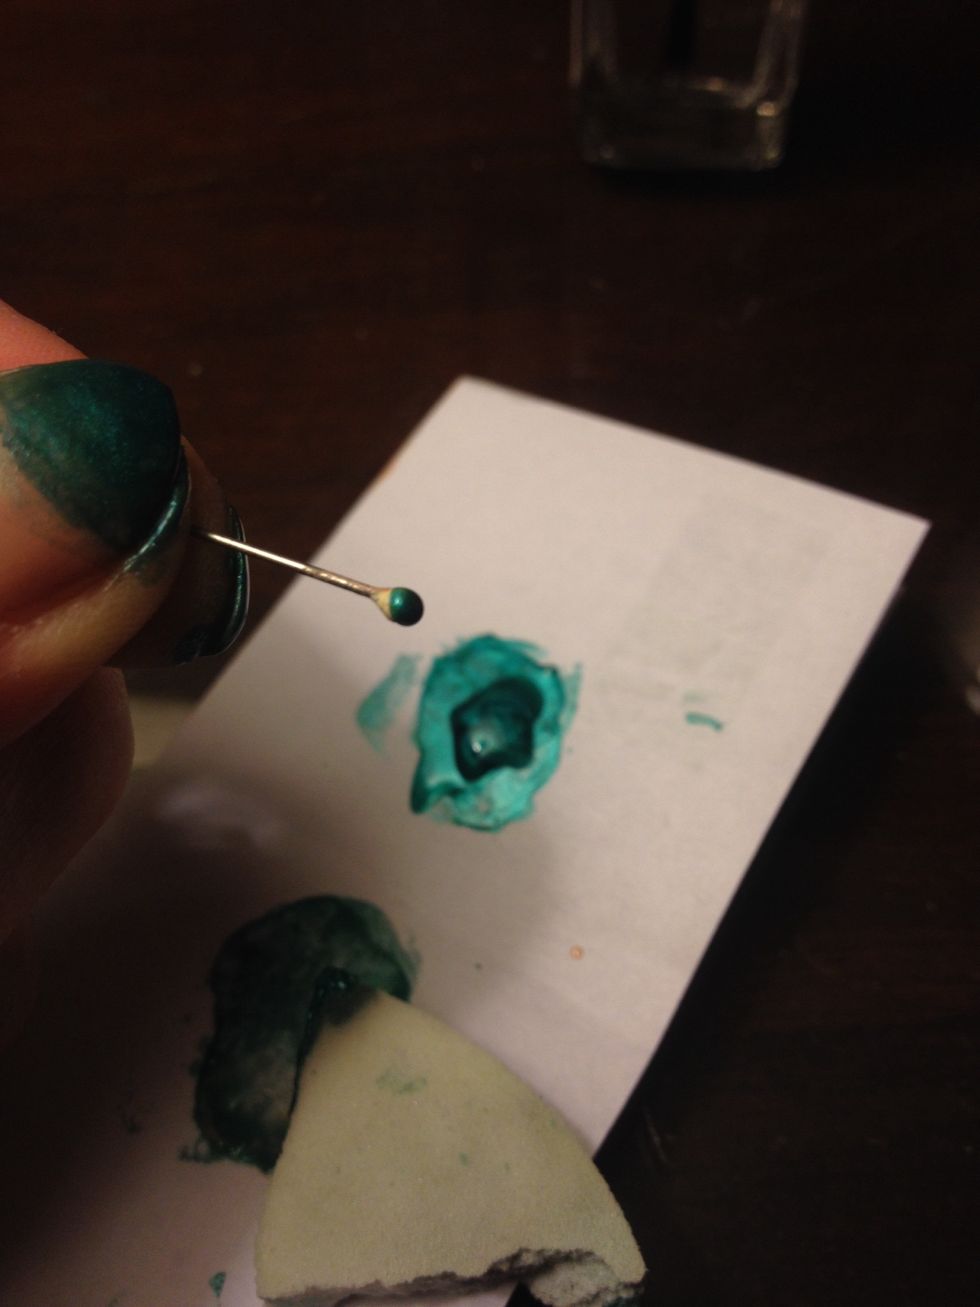
Dab head of sewing pen in teal polish.
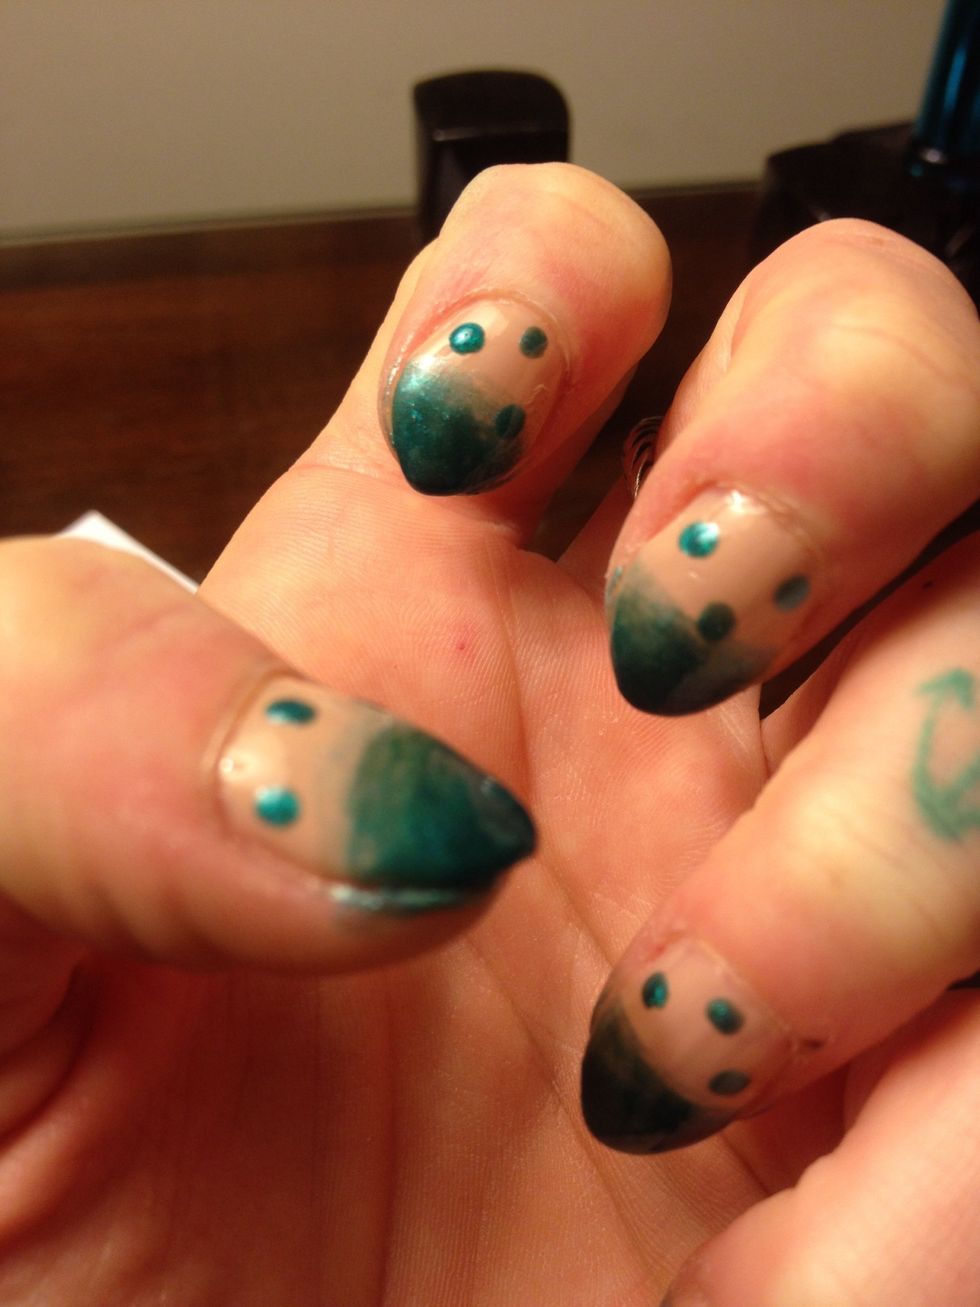
Make 3 little dots on beige part of nails.
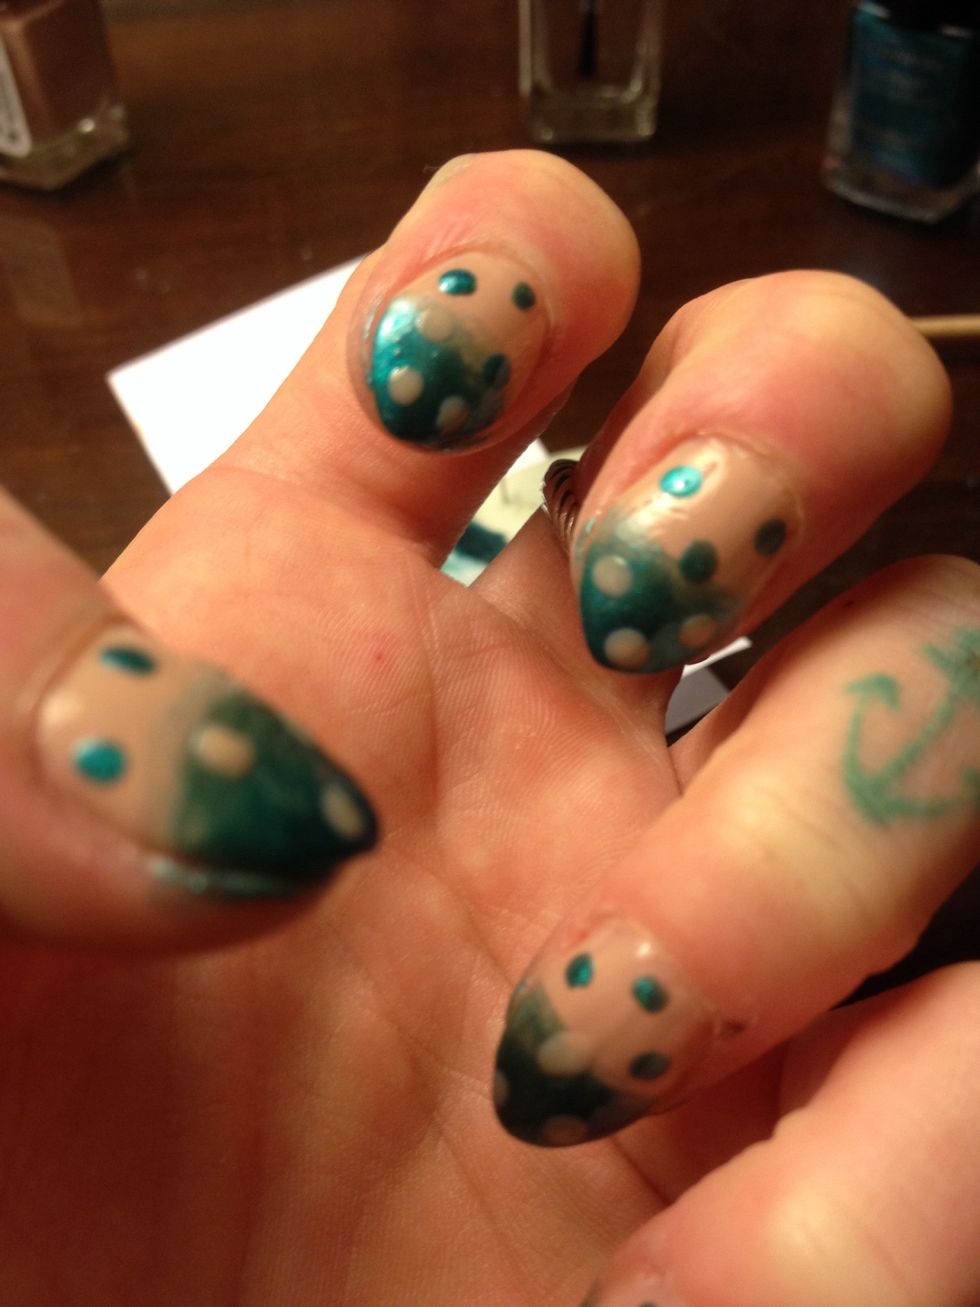
Clean off pin and dip in beige. Make dots on teal part of nails and let dry. Don't worry about perfection, it will all come together in the end.
Get black deco brush ready by removing excess paint.
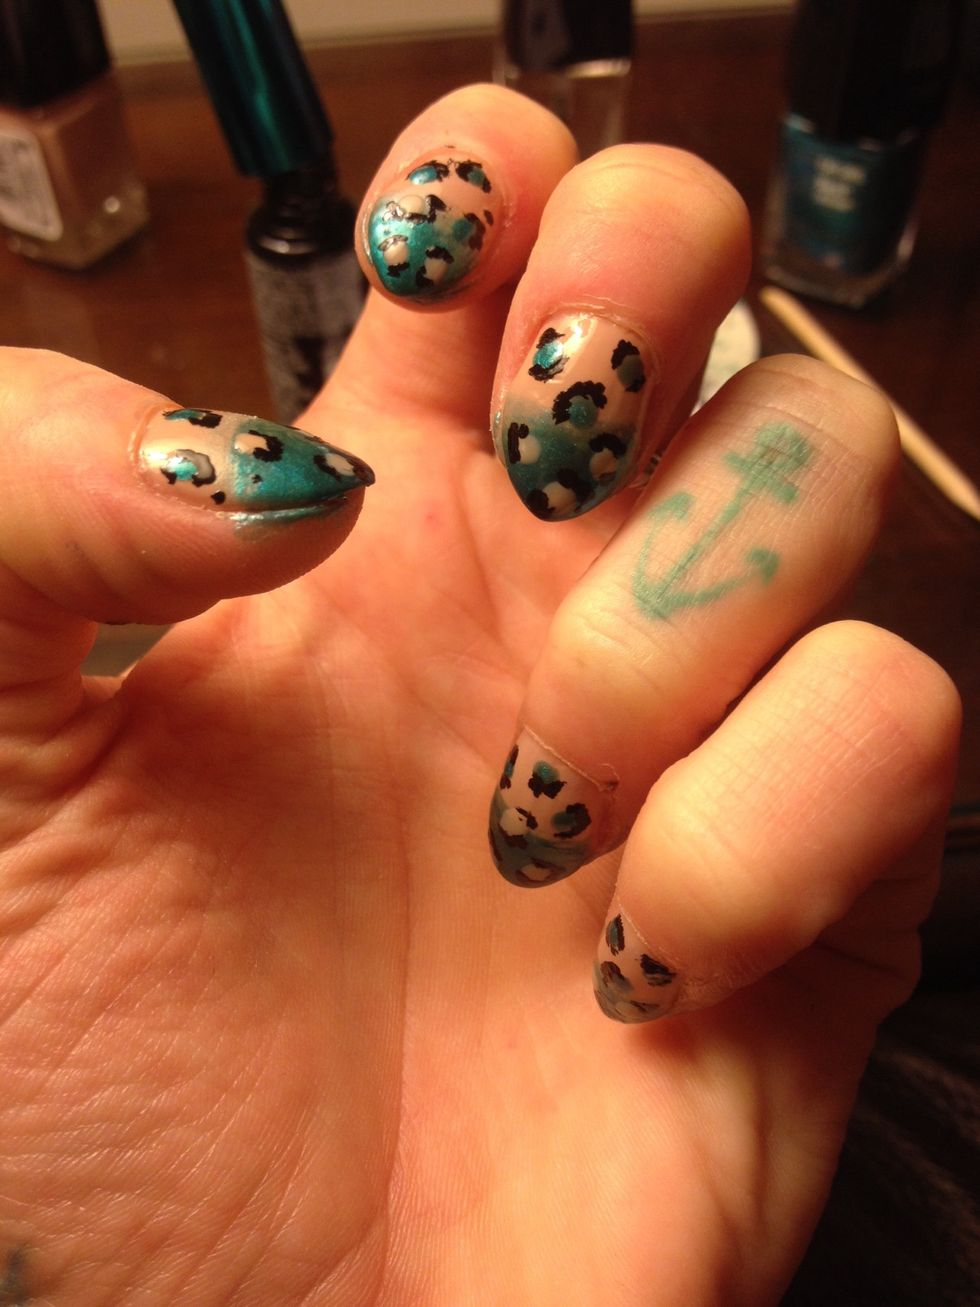
Paint half moons around dots by dabbing. Using this technique will make it easier to match nails when painting with your non dominant hand.

Add small dots to fill in blank spaces. Keep an eye on your deco brush for drips running down it. Always remove excess after re dipping brush.
Wait at least 1 to 2 hours for paint to dry before applying top coat! Failing to do so will ruin all your hard work!!!
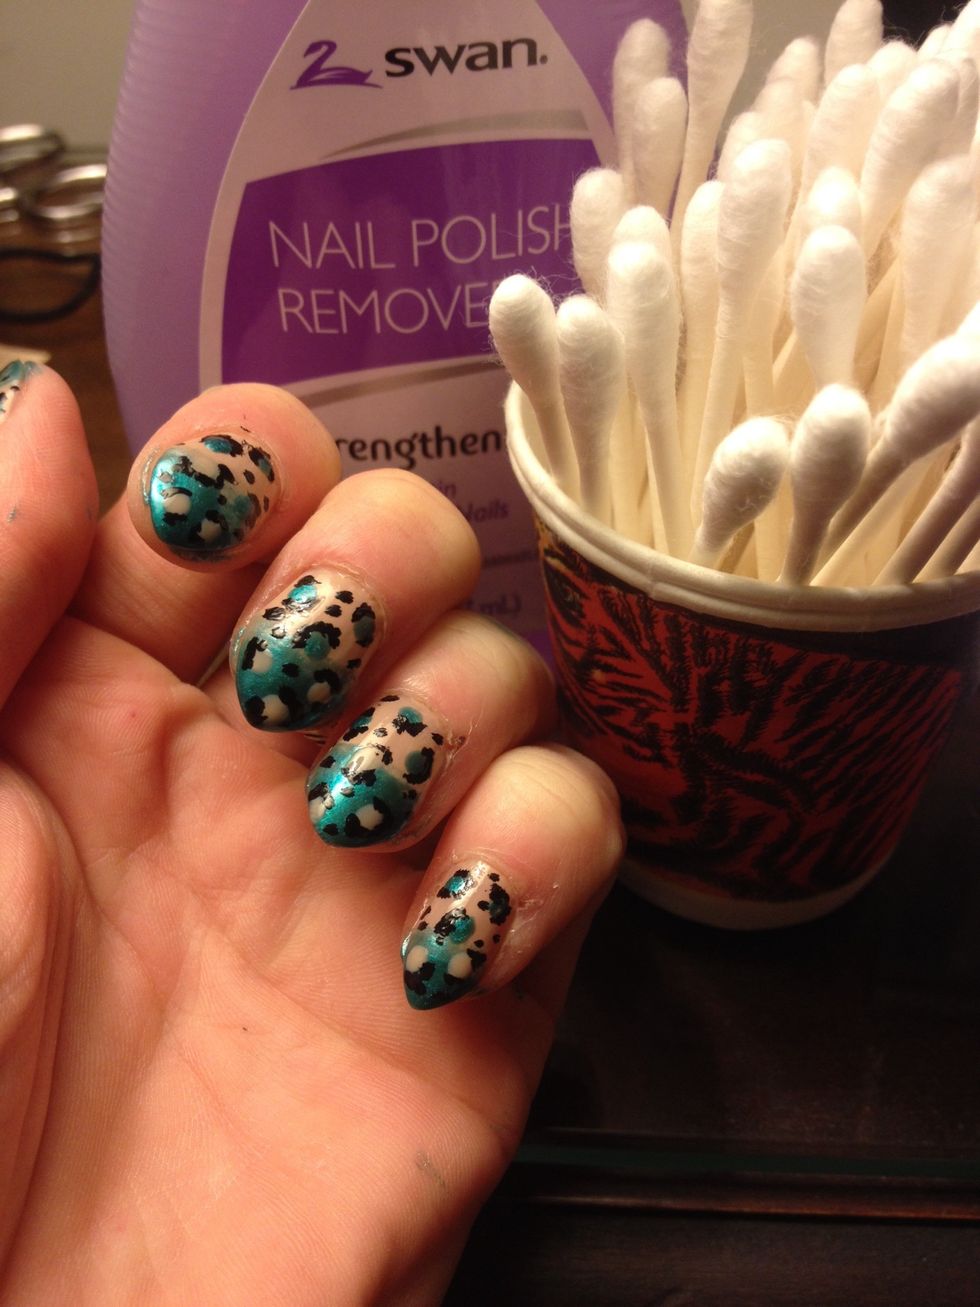
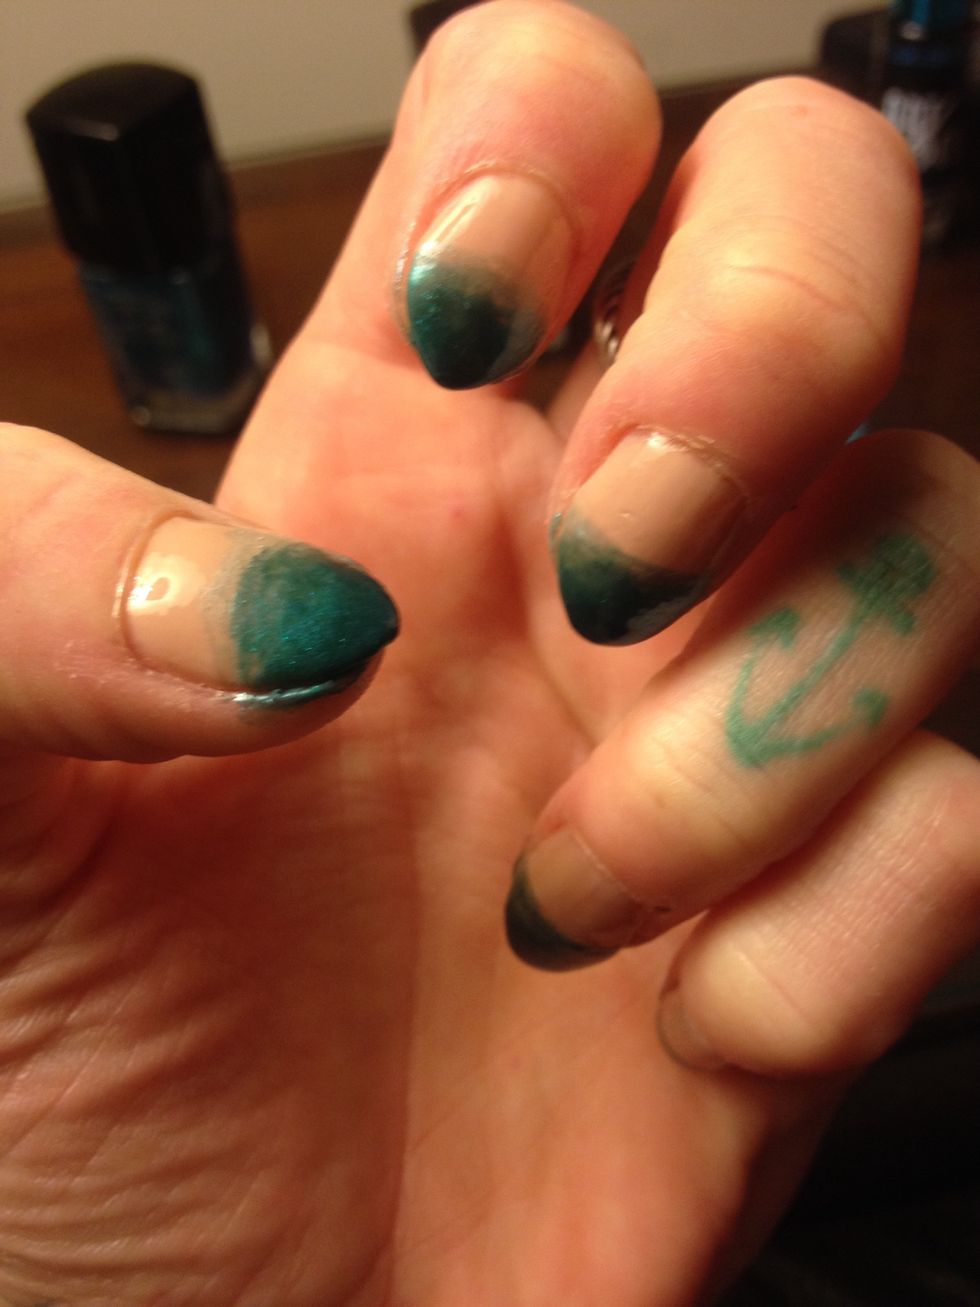
During waiting time use Q-tip dipped in nail polish remover to get rid of any nail polish that may have gotten on your fingers.
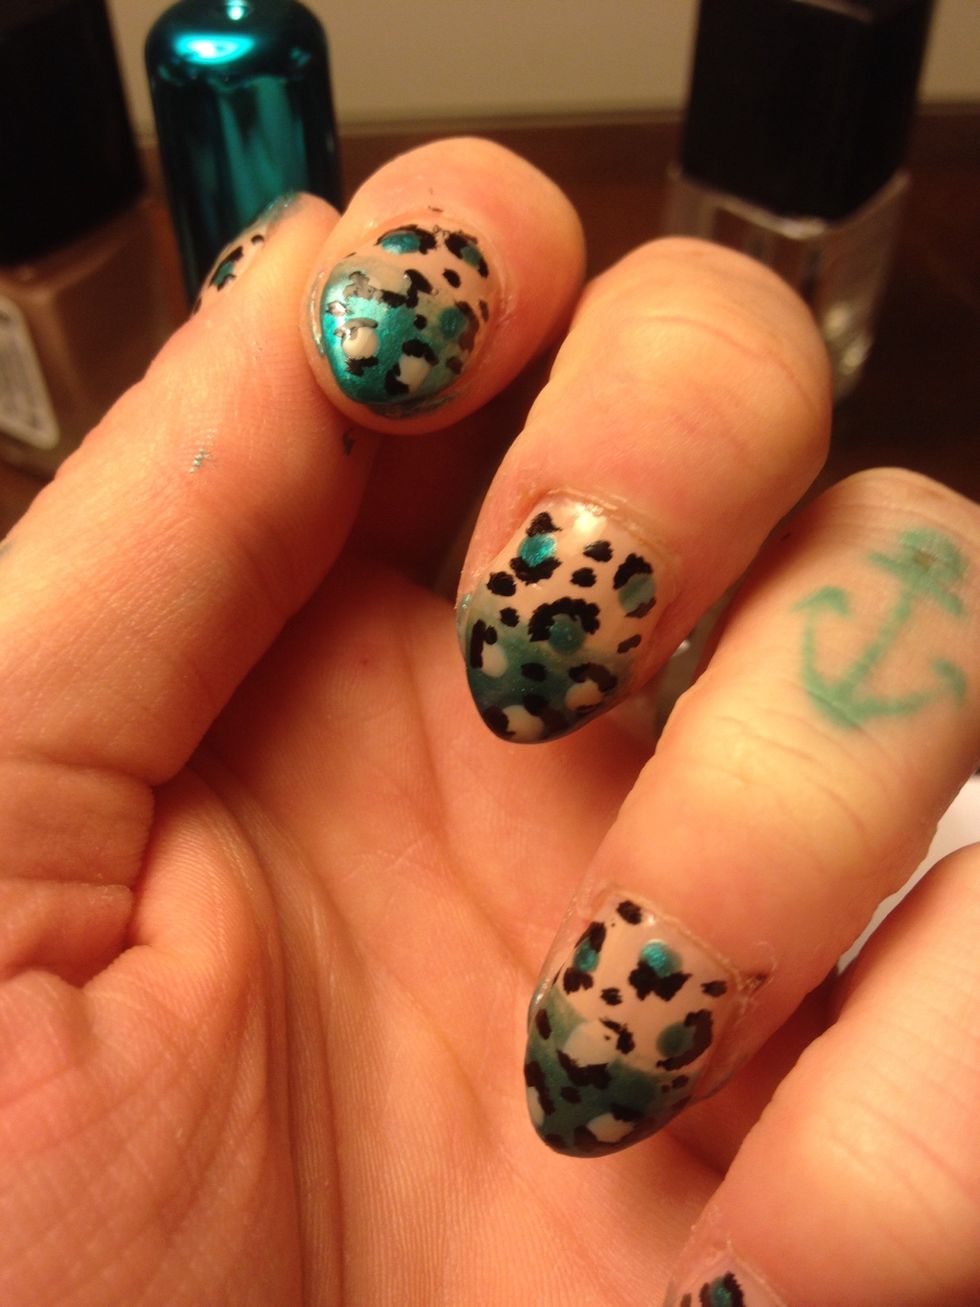
You must wait for polish to FULLY dry!!! If you don't, the leopard print will smear when you apply the top coat.
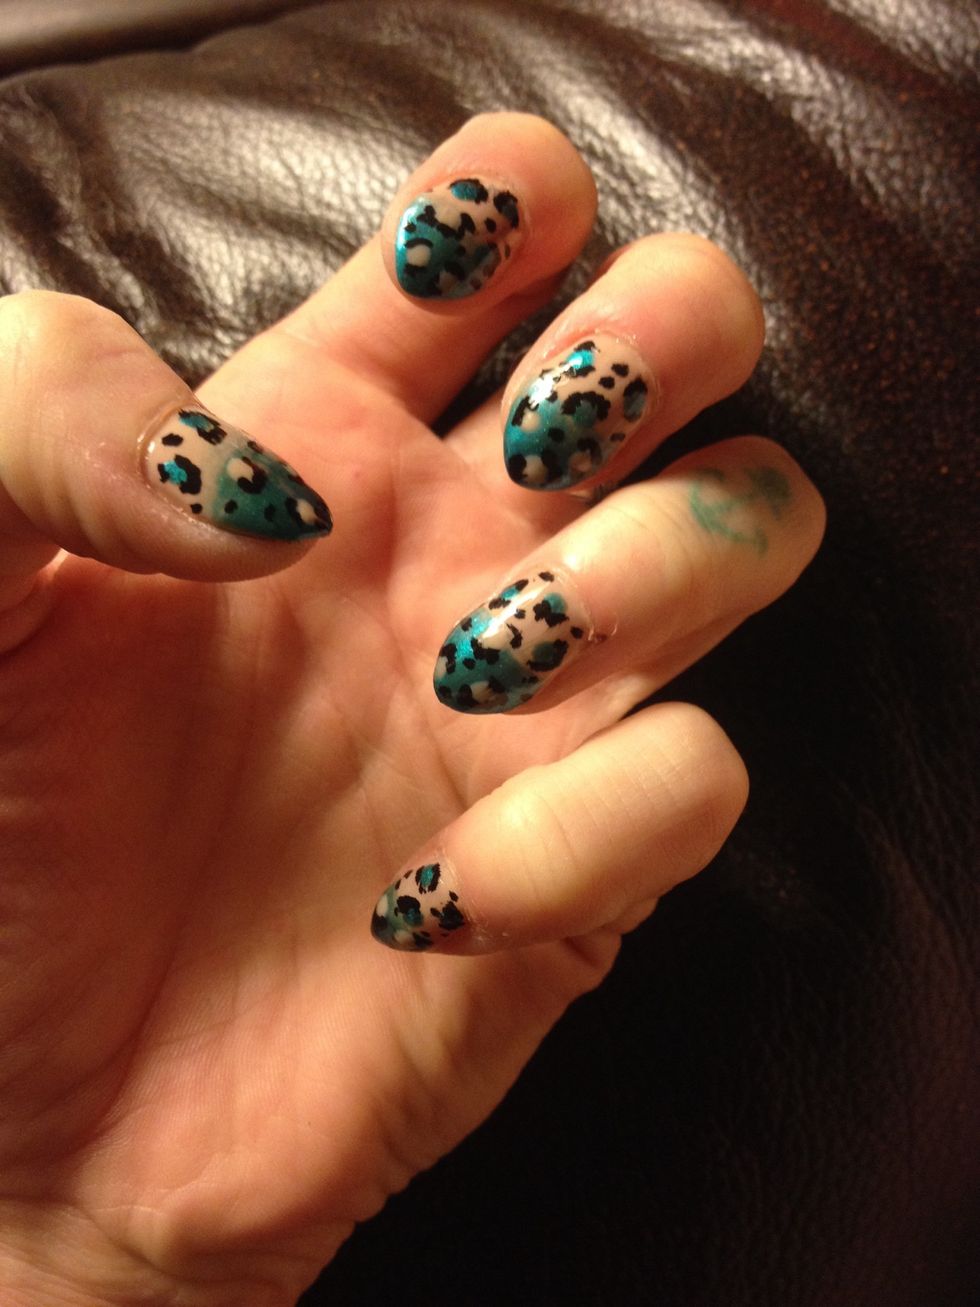
After nails have dried apply top coat and your done!!! Rawr!!
In this guide I used Covergirl Outlast polish for the beige205, teal290, 105top/base coat and LA Colors Art Deco Black 802.