The Conversation (0)
Sign Up
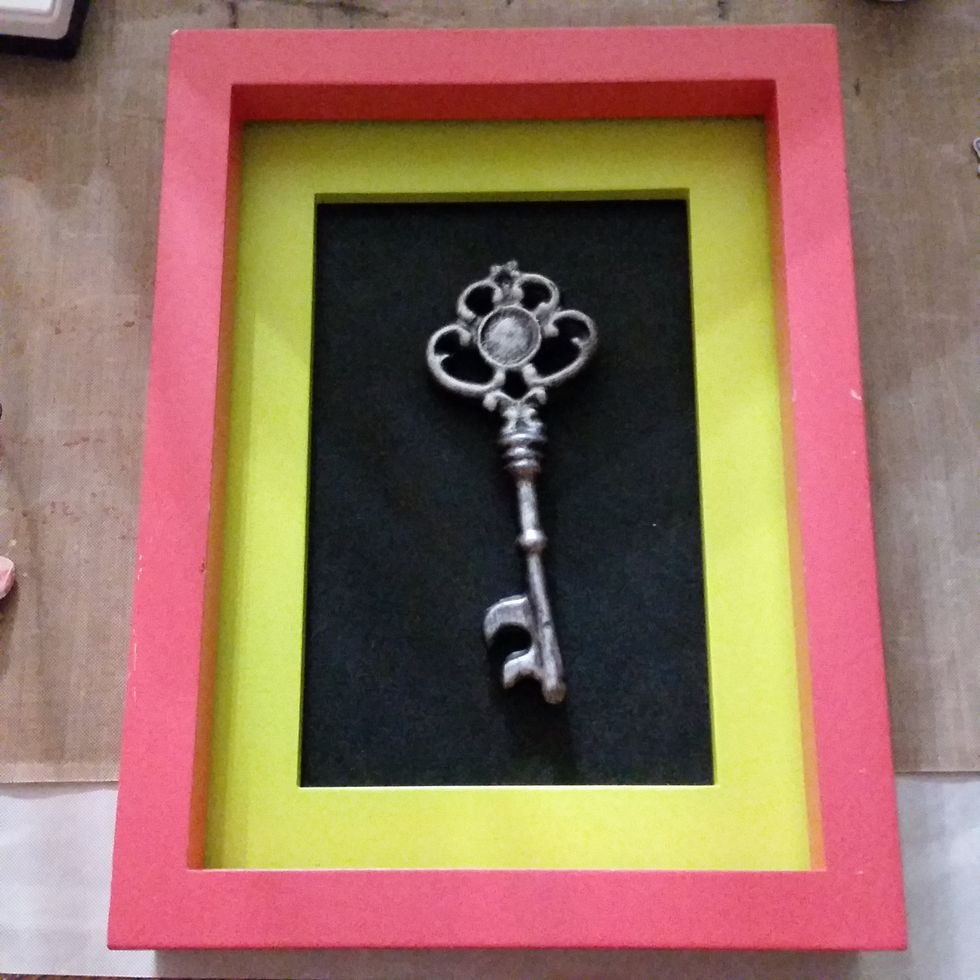
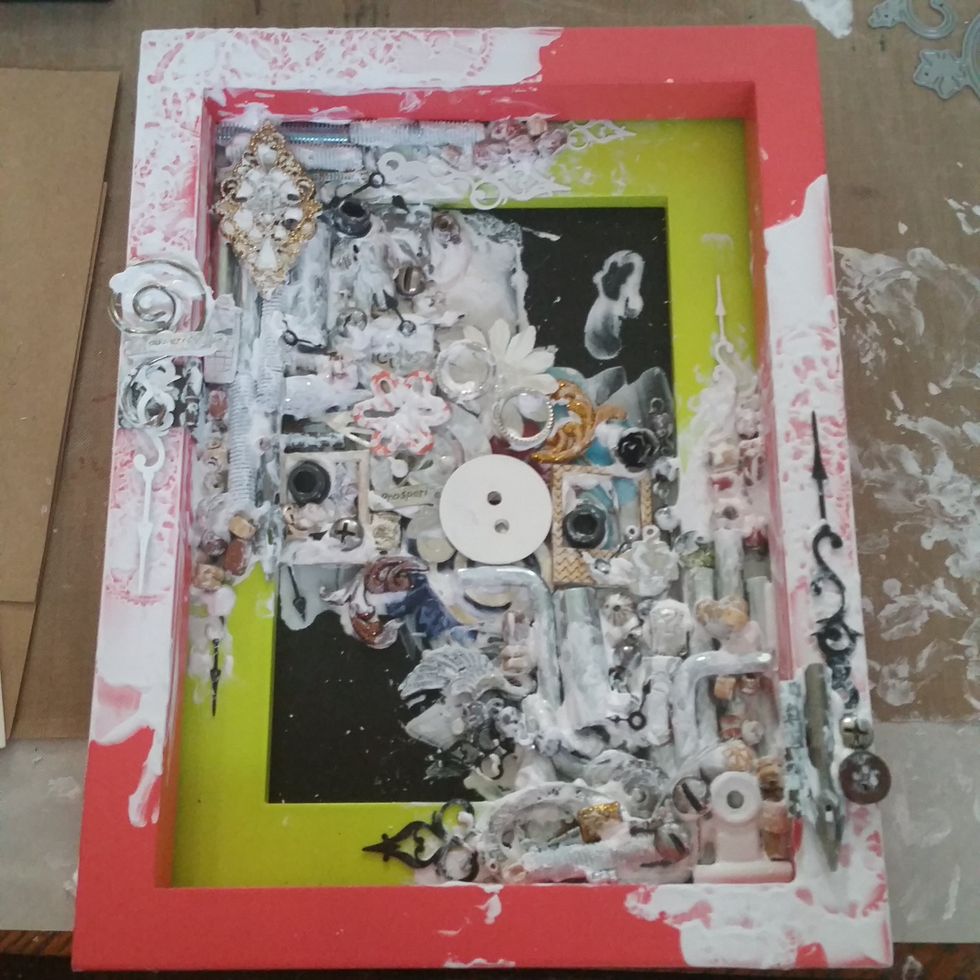
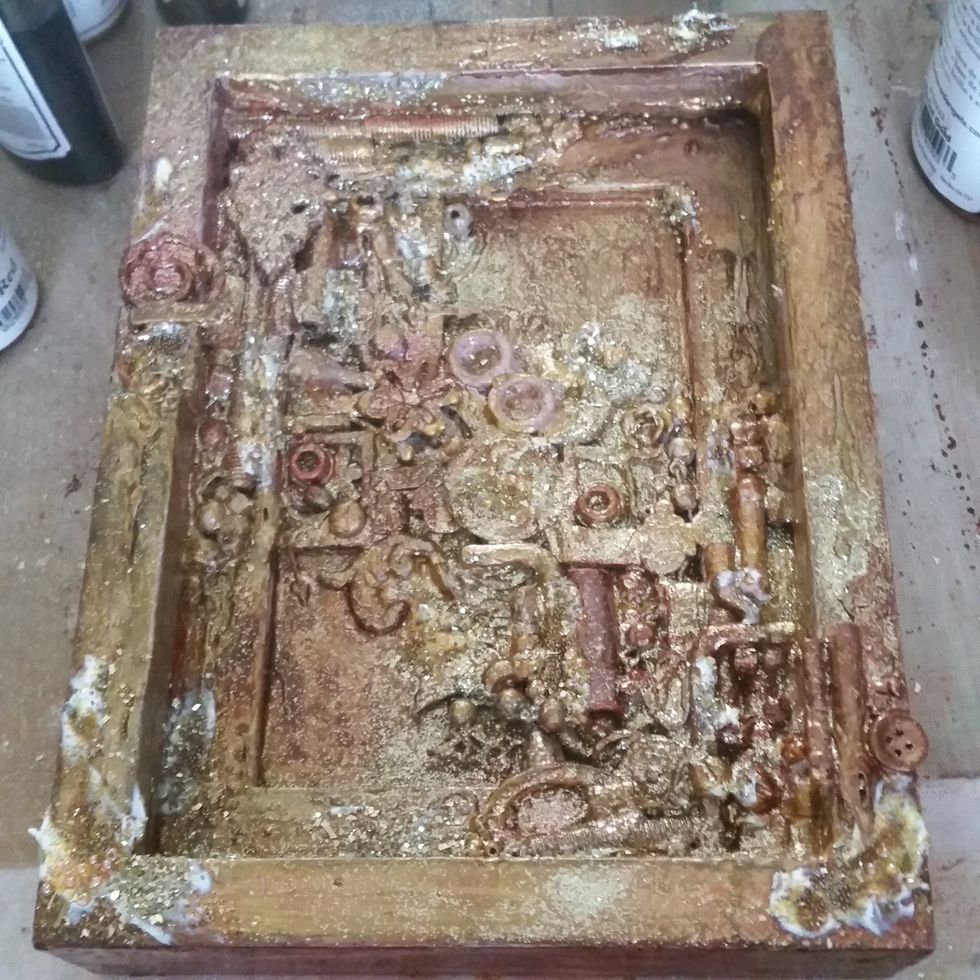
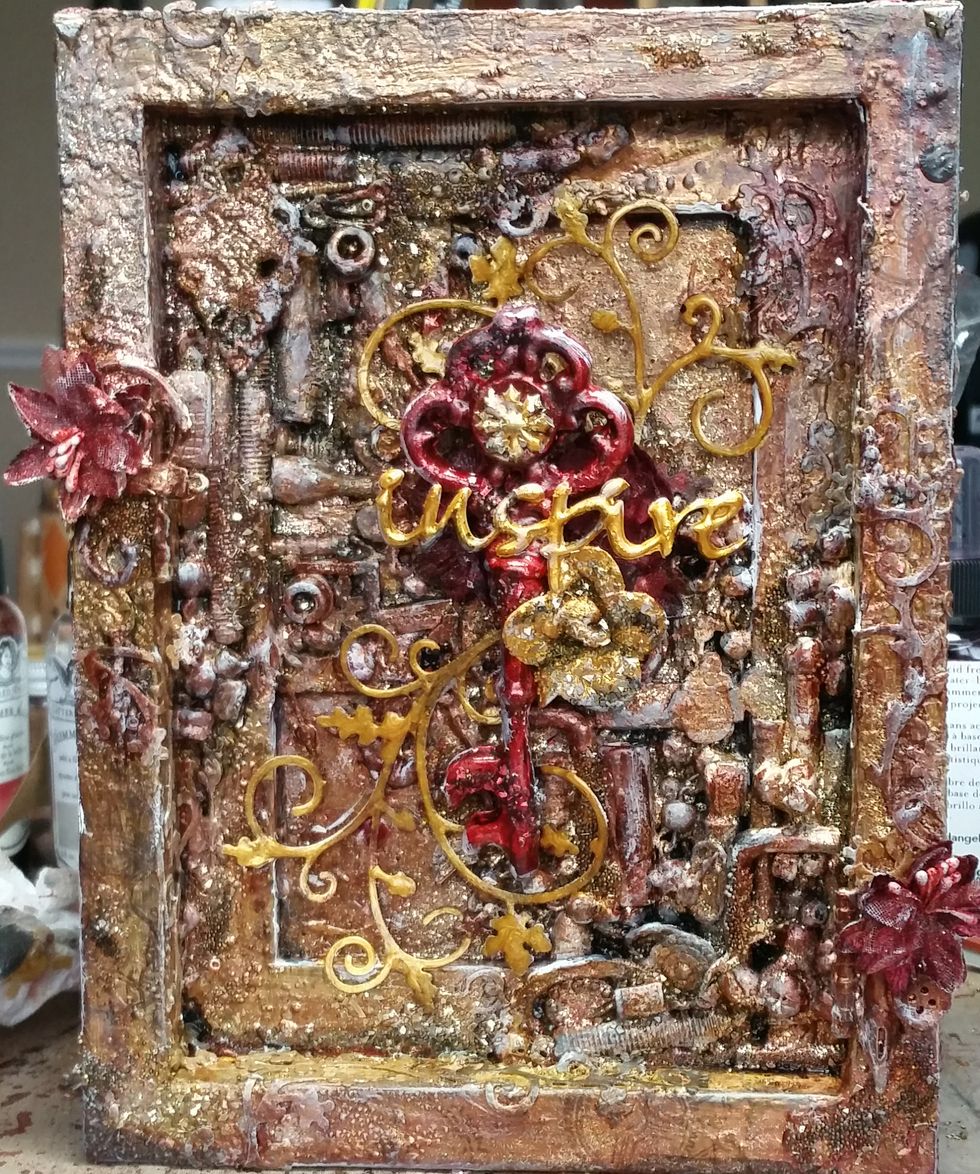
I started with a funky frame that someone gave me for free (I took the glass out of the front) and a deco key from Michales (it was on a string like and ornament but I cut it off).

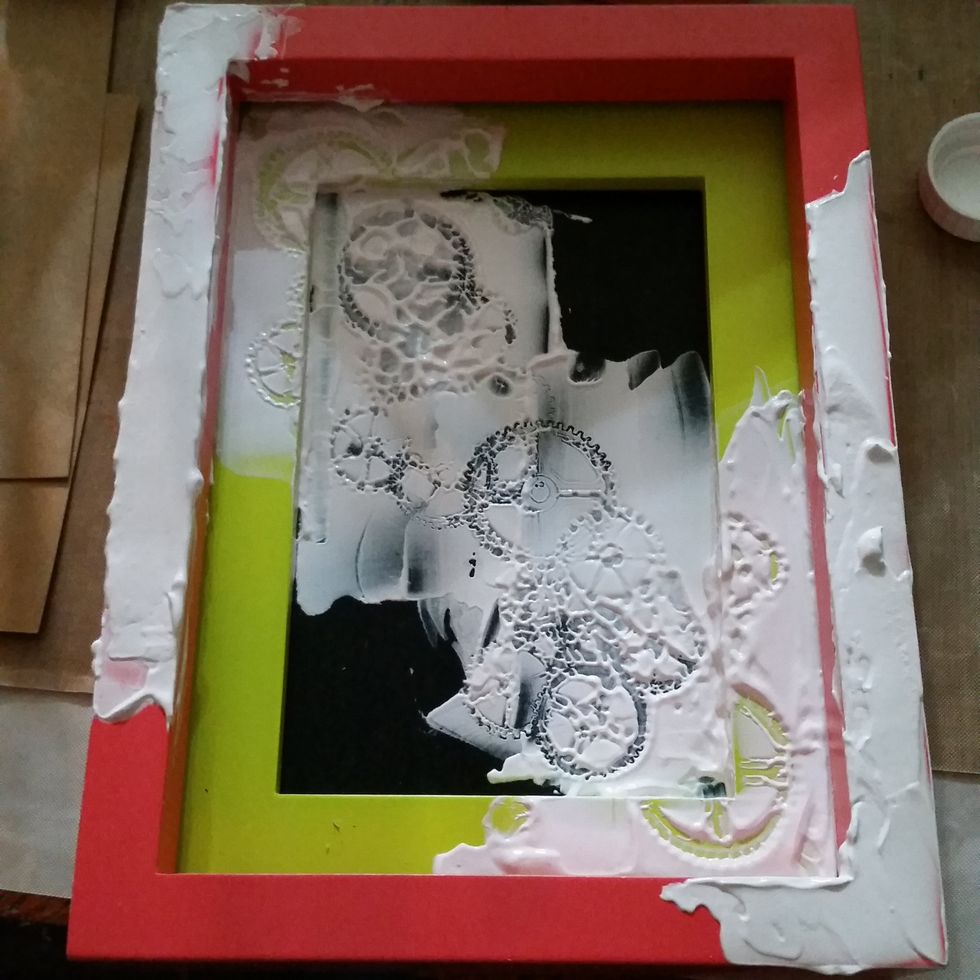
Deep Red Stamps - Gears Background
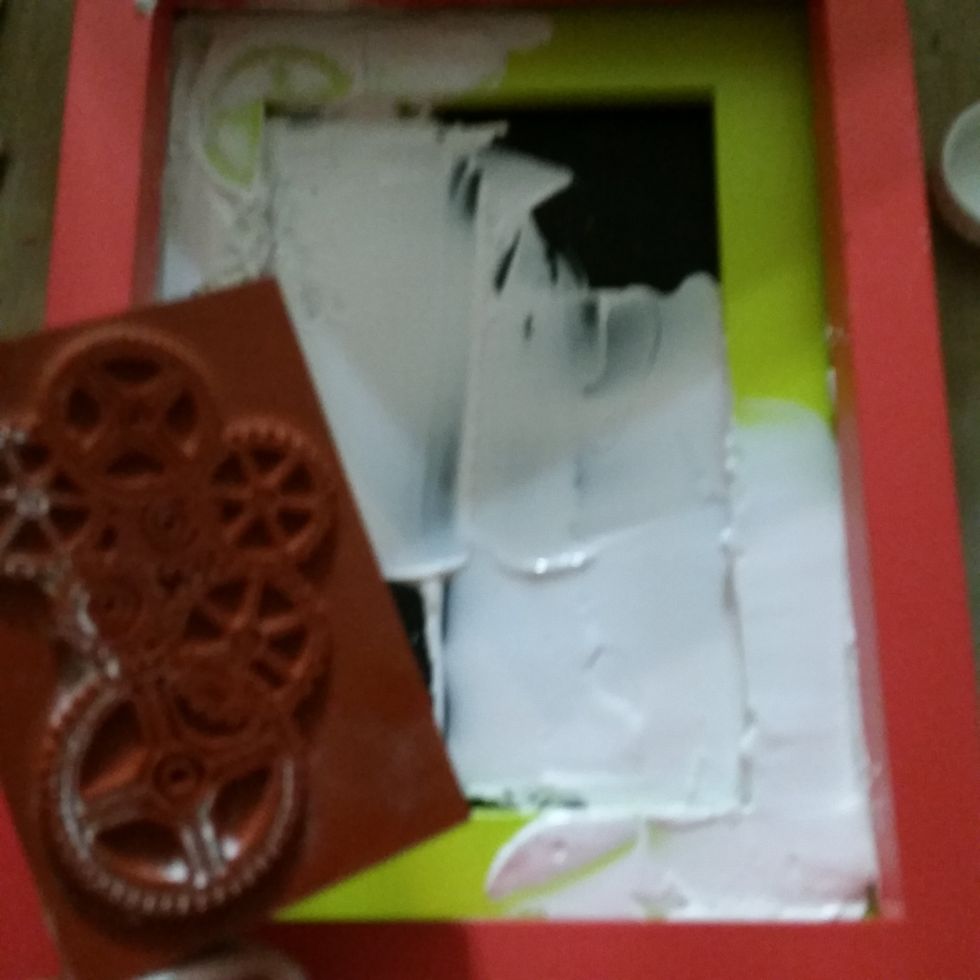
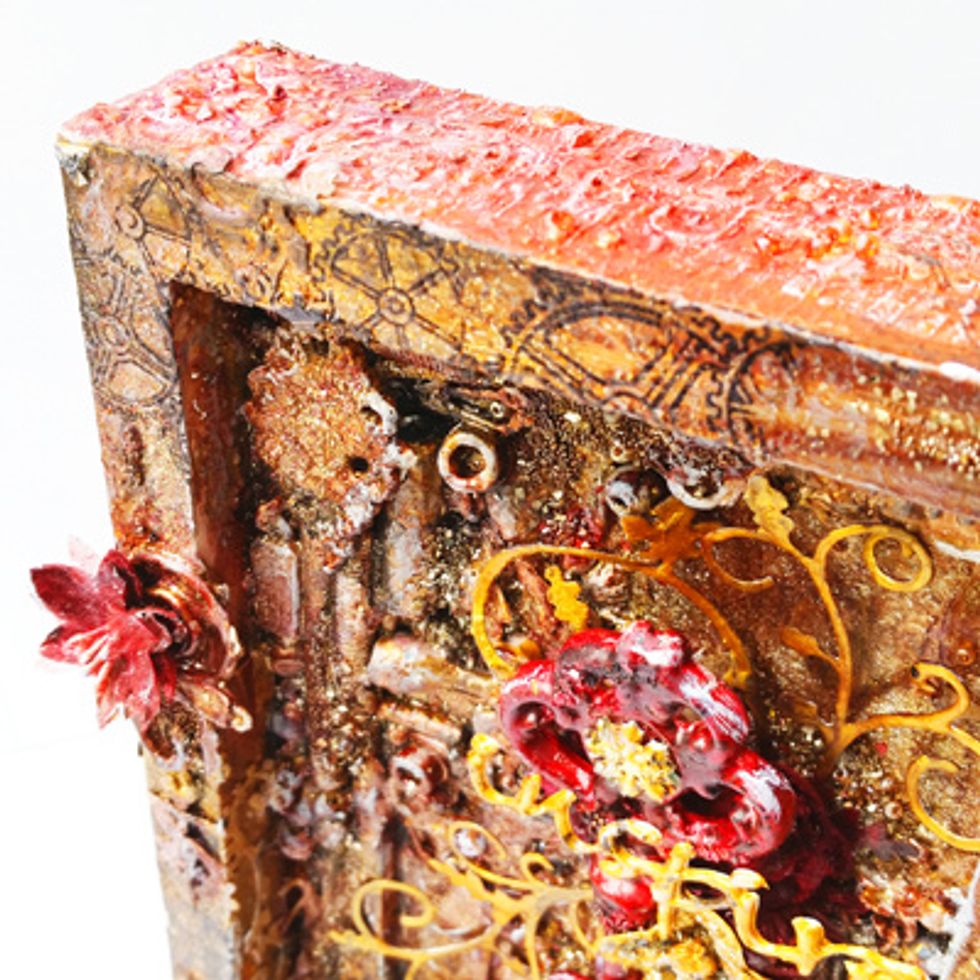
I placed some molding paste on the edges top left to bottom right and used the Deep Red Gears Stamp to make impressions in the paste for texture and let it dry.
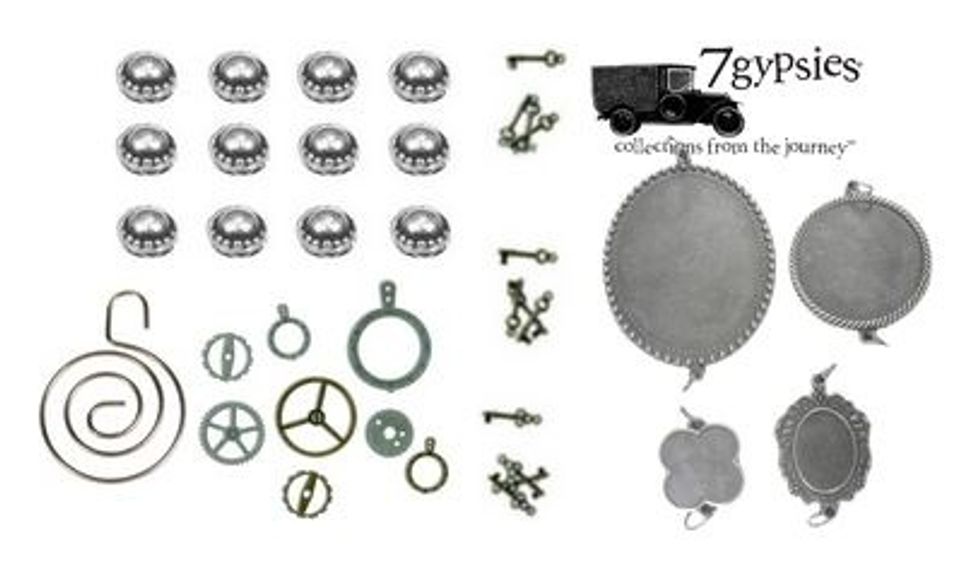
Some of the odd bits and pieces I used as the background for the piece - lots of 7 Gypsies metals.
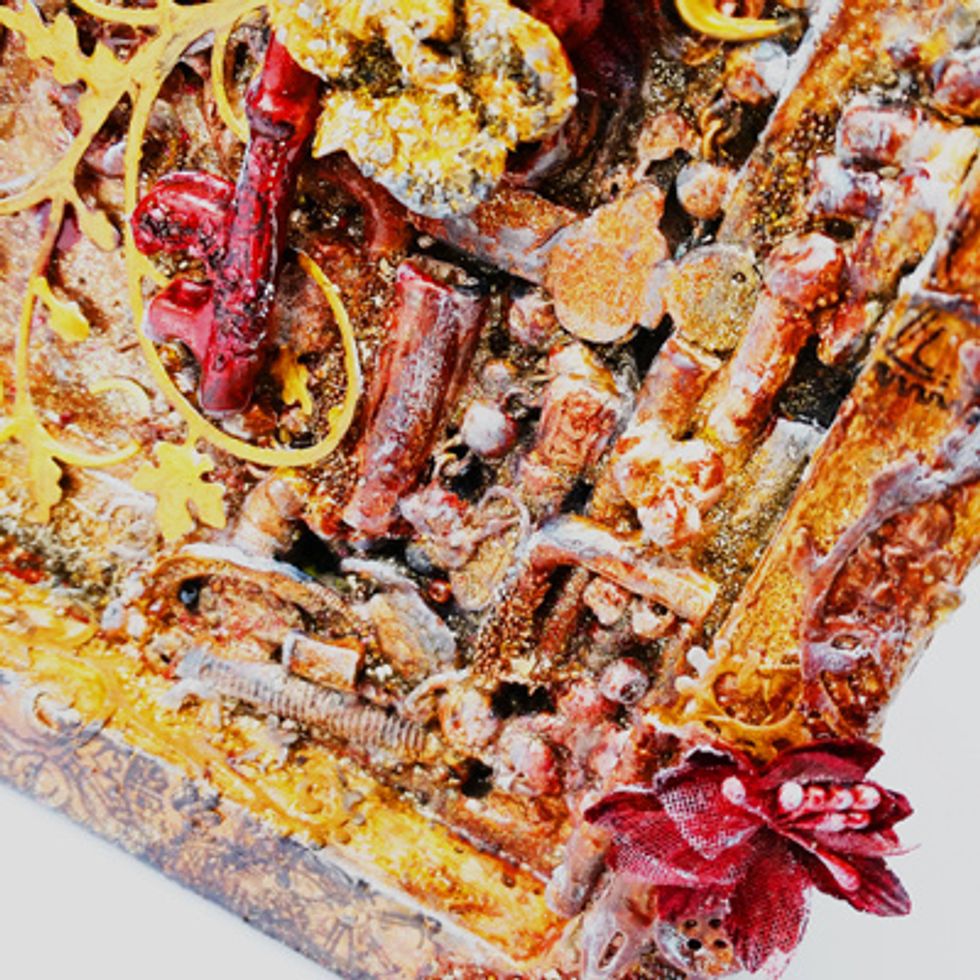
Using molding paste as the "glue" I layered lots of bits and bobs I have collected from hardware, buttons, beads, metals, wood, flowers, charms, etc. Let it dry completely.
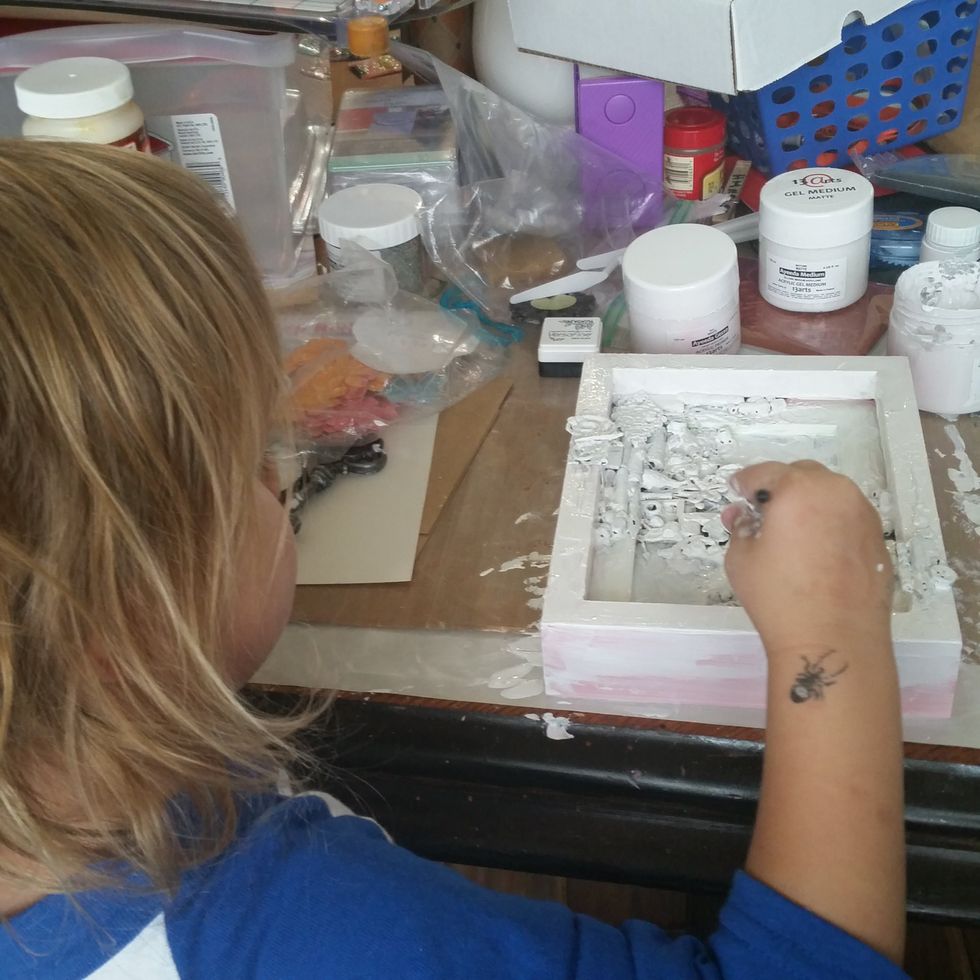
Next gesso everything, from the frame and all the little bits inside. It took me 2 coats to white wash everything. Here is my daughter helping me paint the gesso.
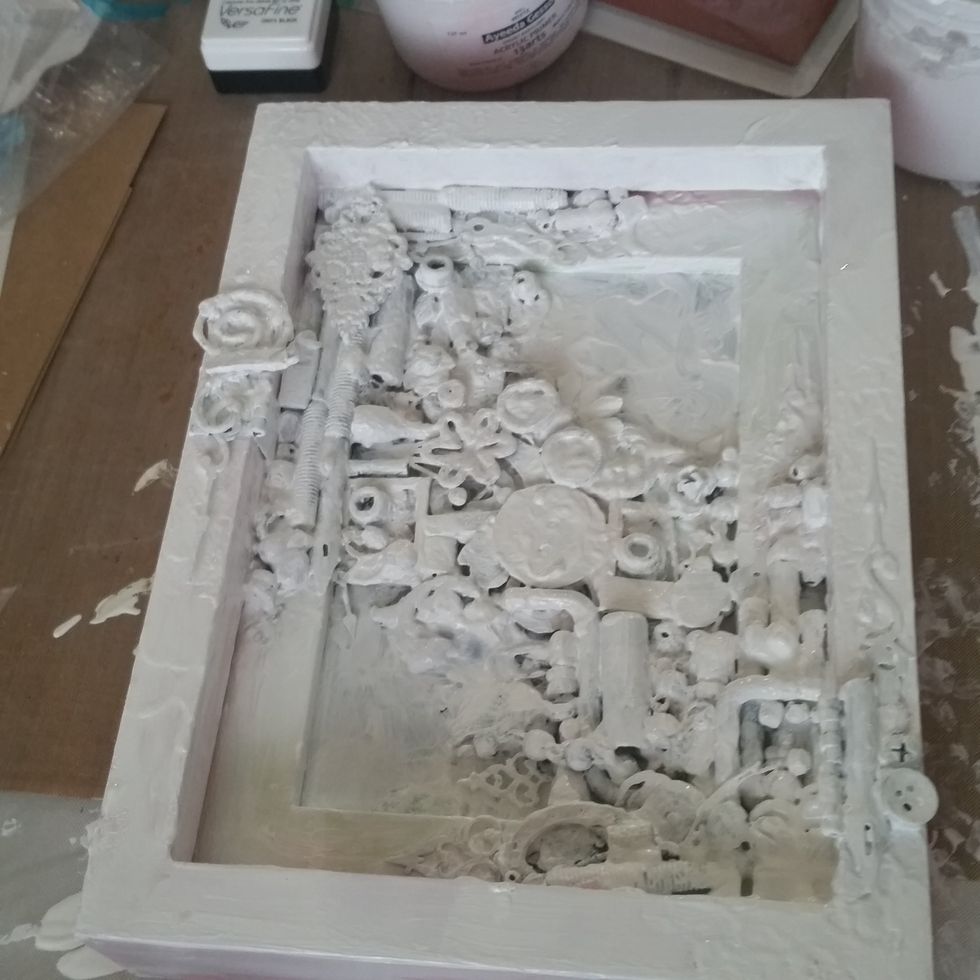
Let it completely dry!!!
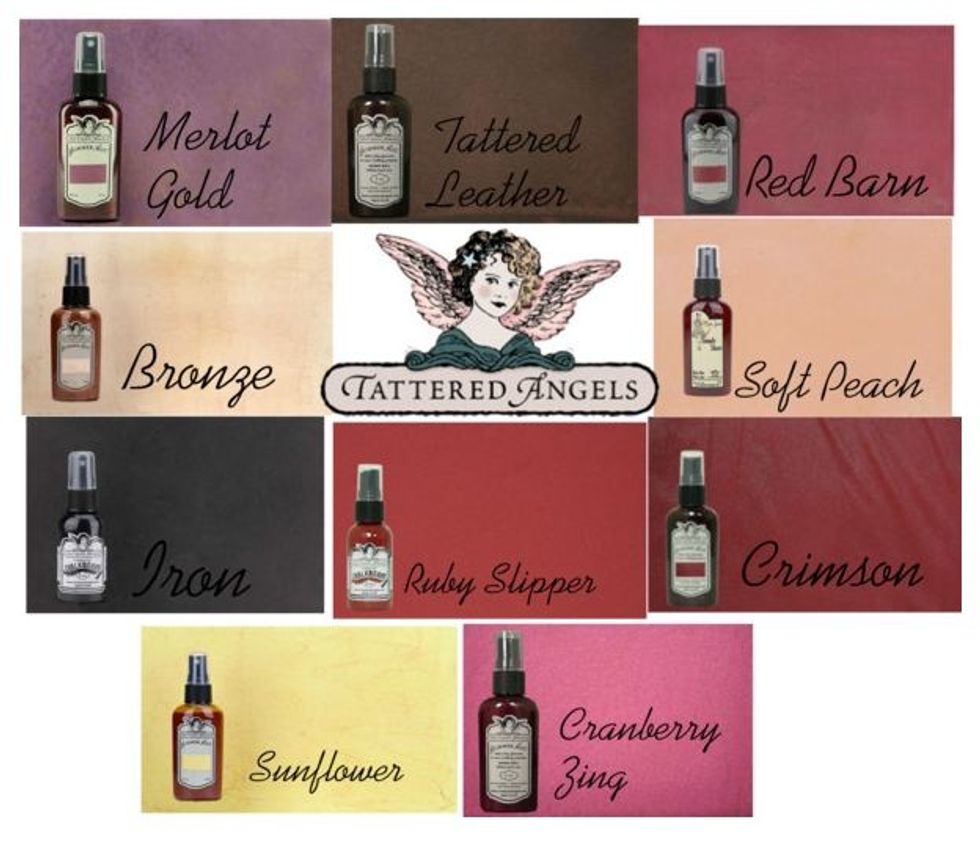
Tattered Angels Mists (Glimmer, Plain Jane, and Chalkboard) used in this project.
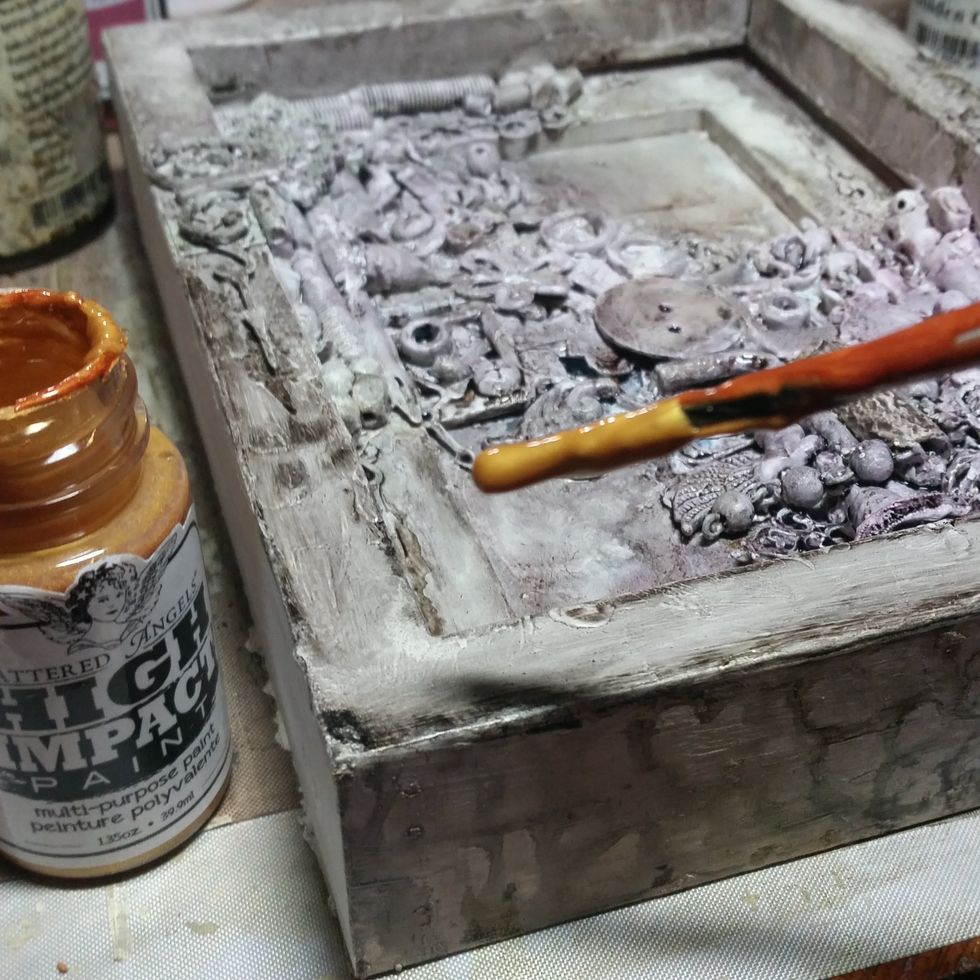
I started spraying the dark colors of mist first to get in the deep pockets to create depth of all the layers. I then painted a gold on top.
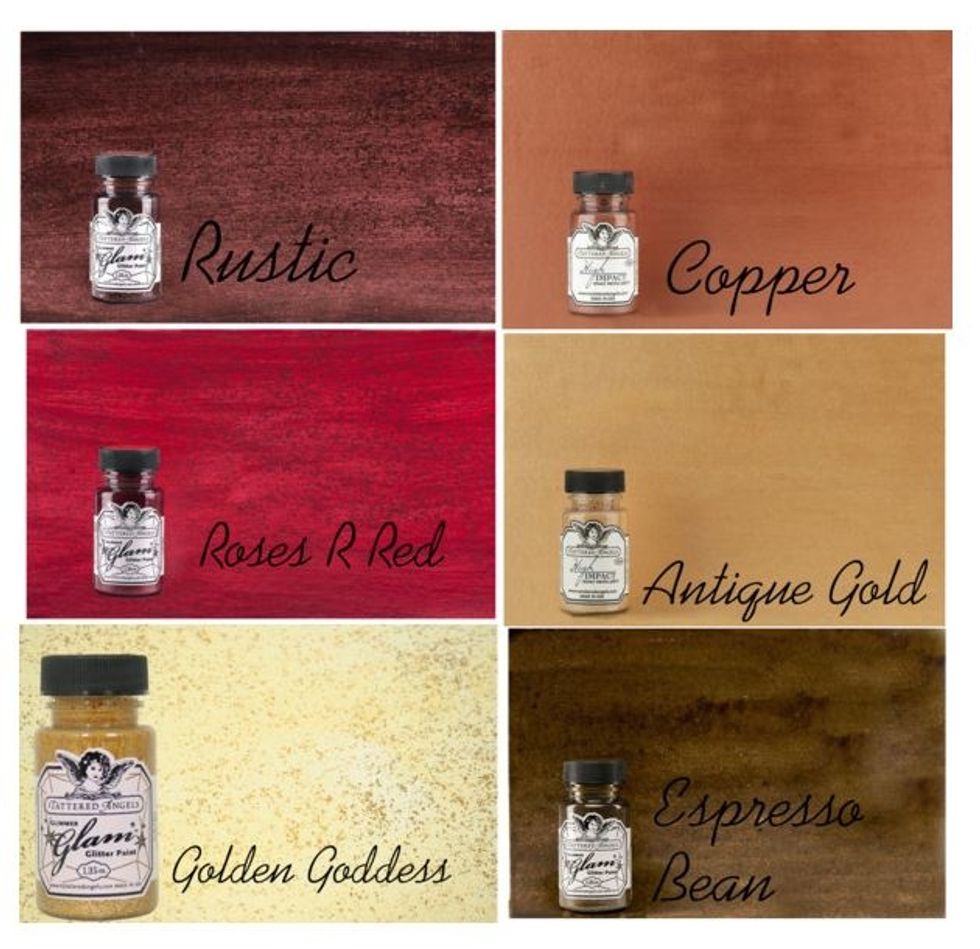
Tattered Angels Glimmer Glam and High Impact Paints used.
I gave everything 2 coats for good coverage.
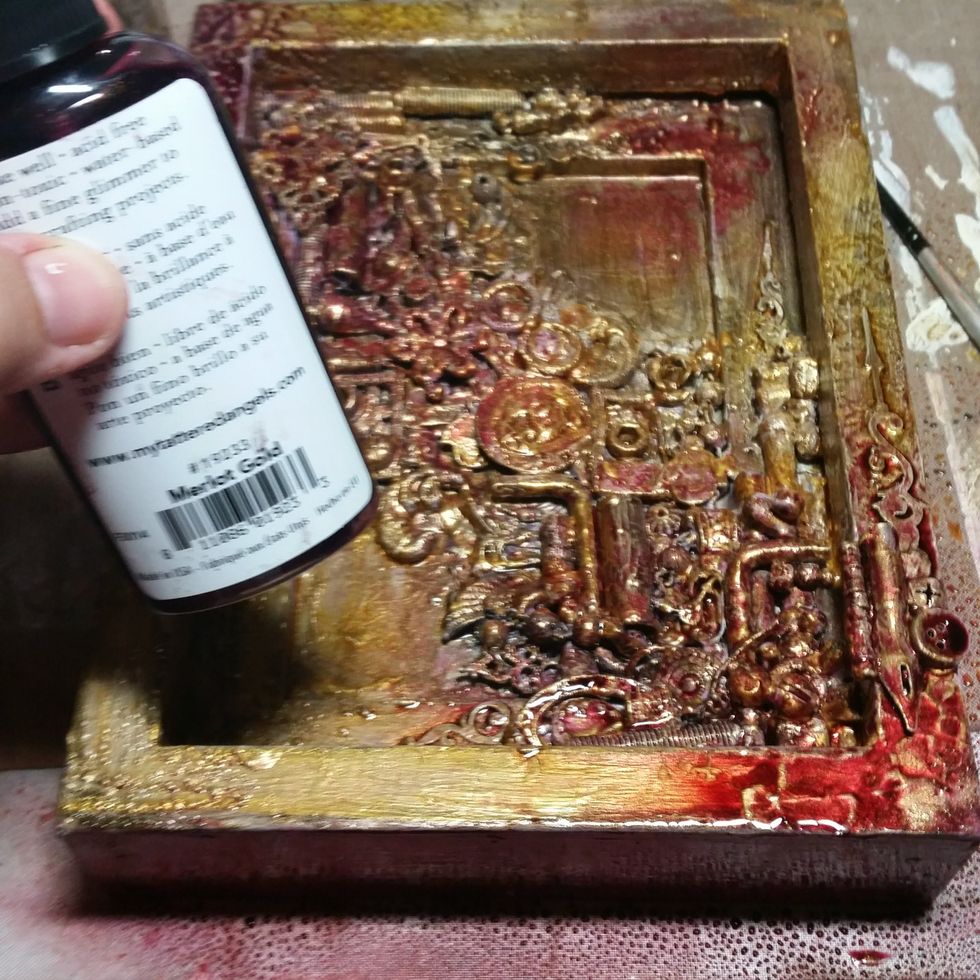
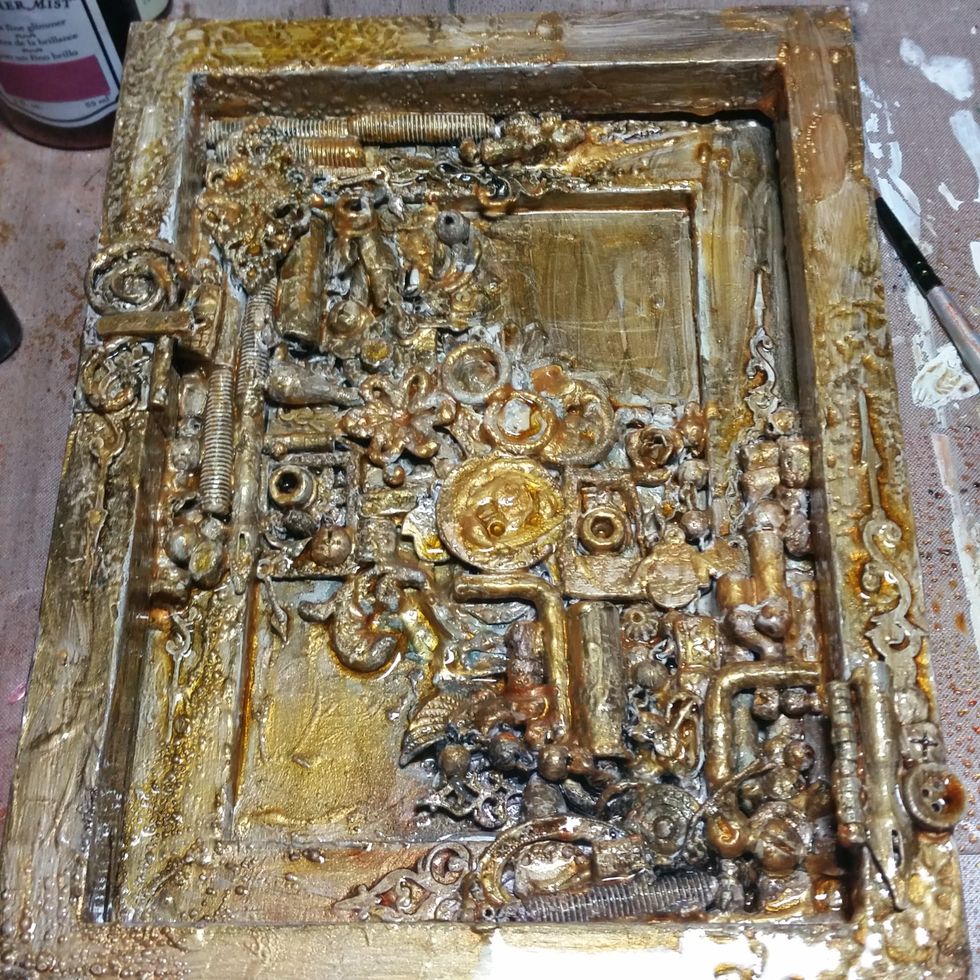
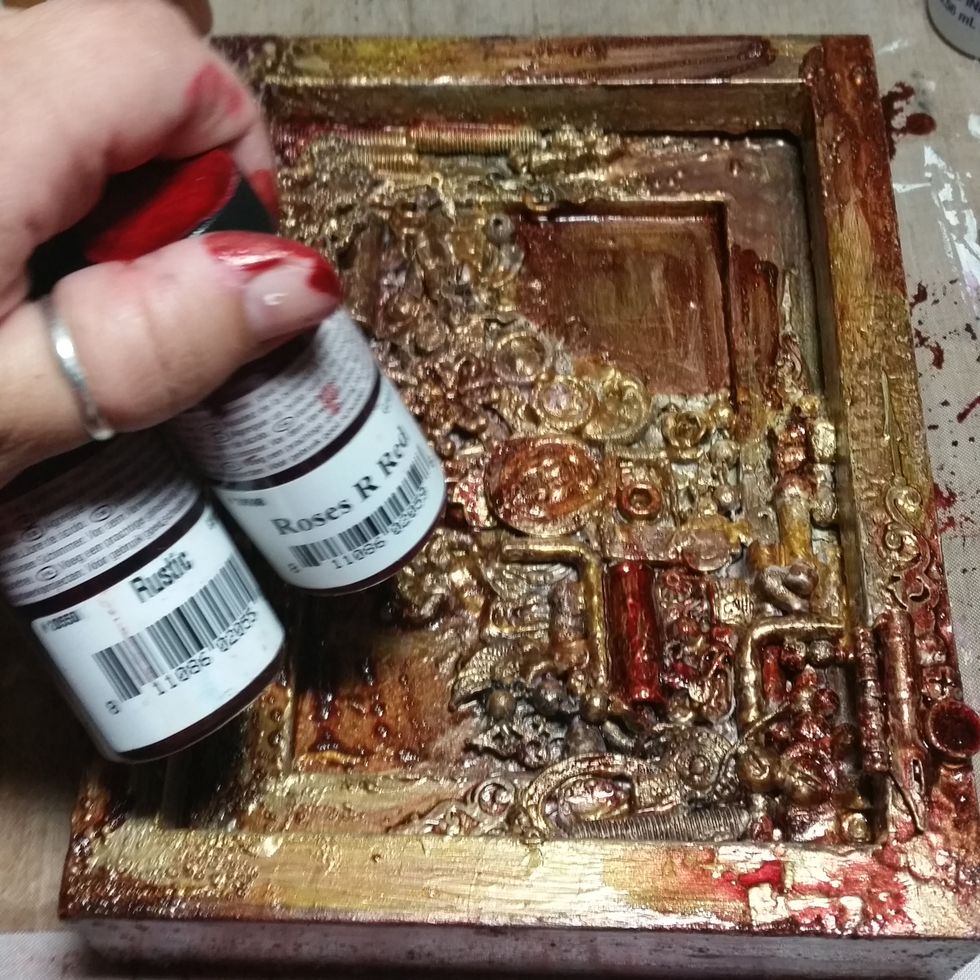
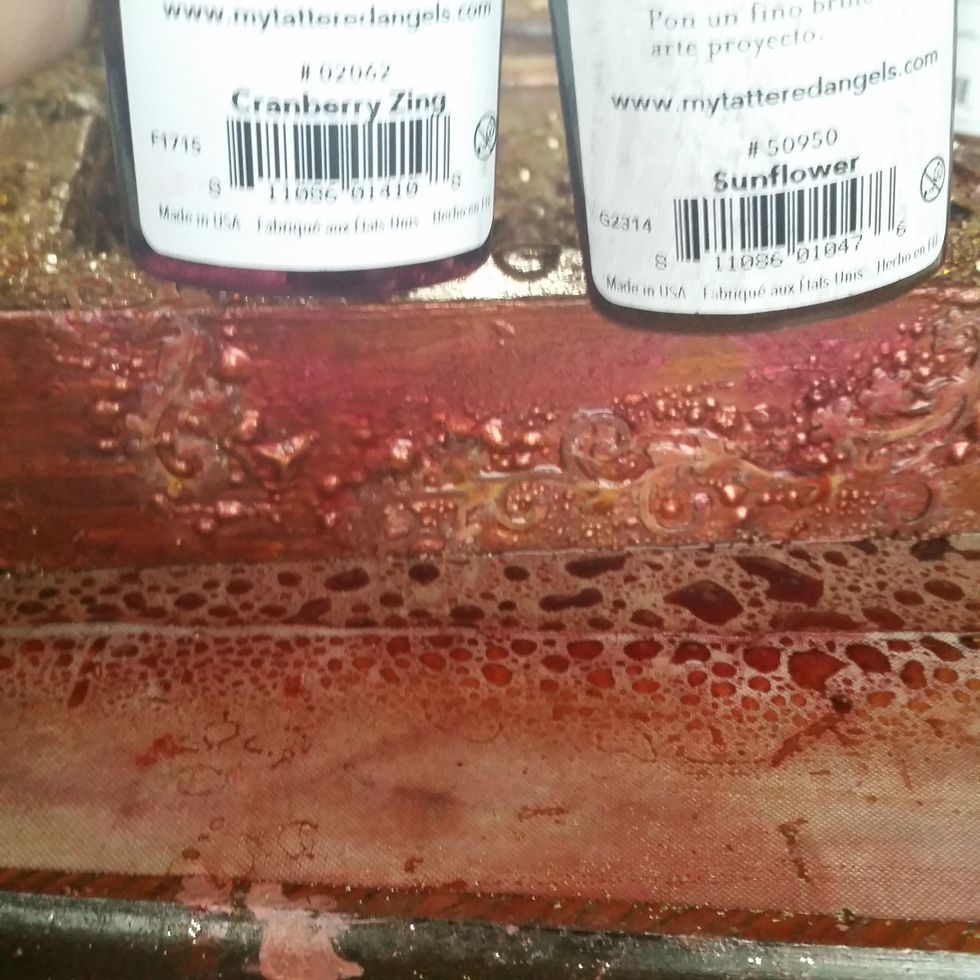
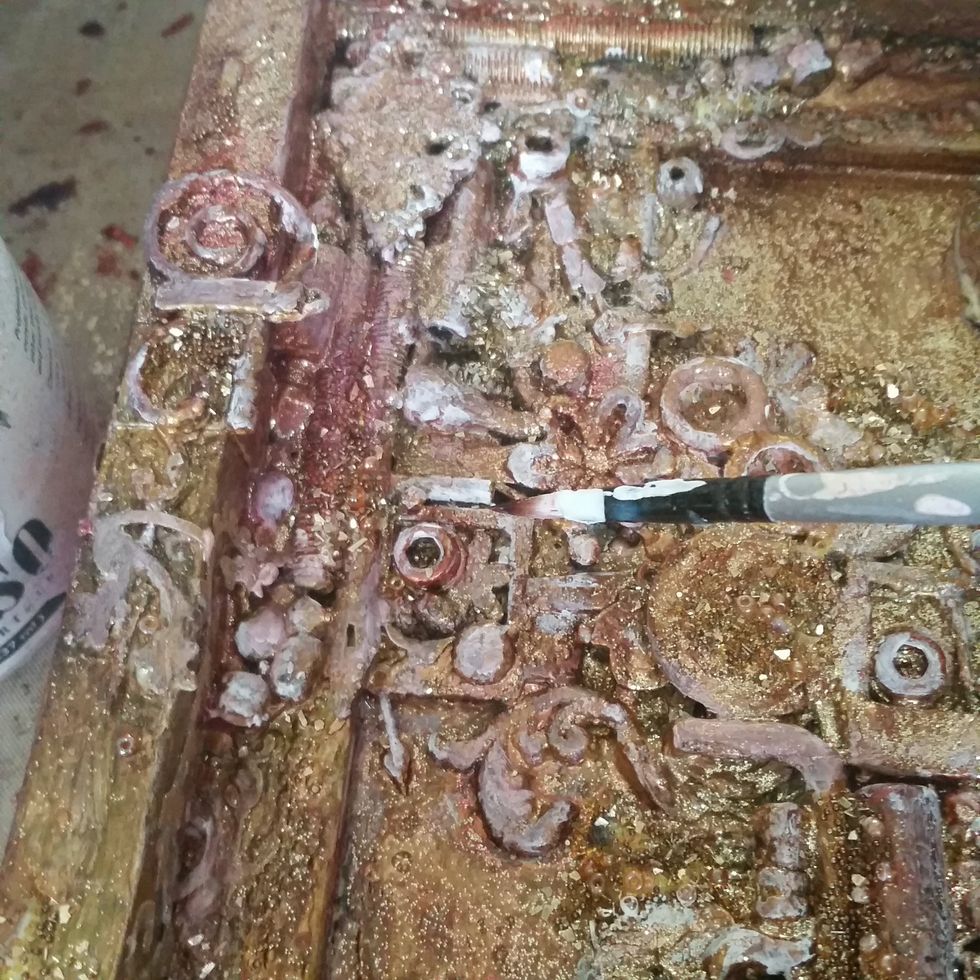
Now I started to layer mists of color in reds, bronze, yellows, golds, etc. Letting it dry and adding more where is needs more.
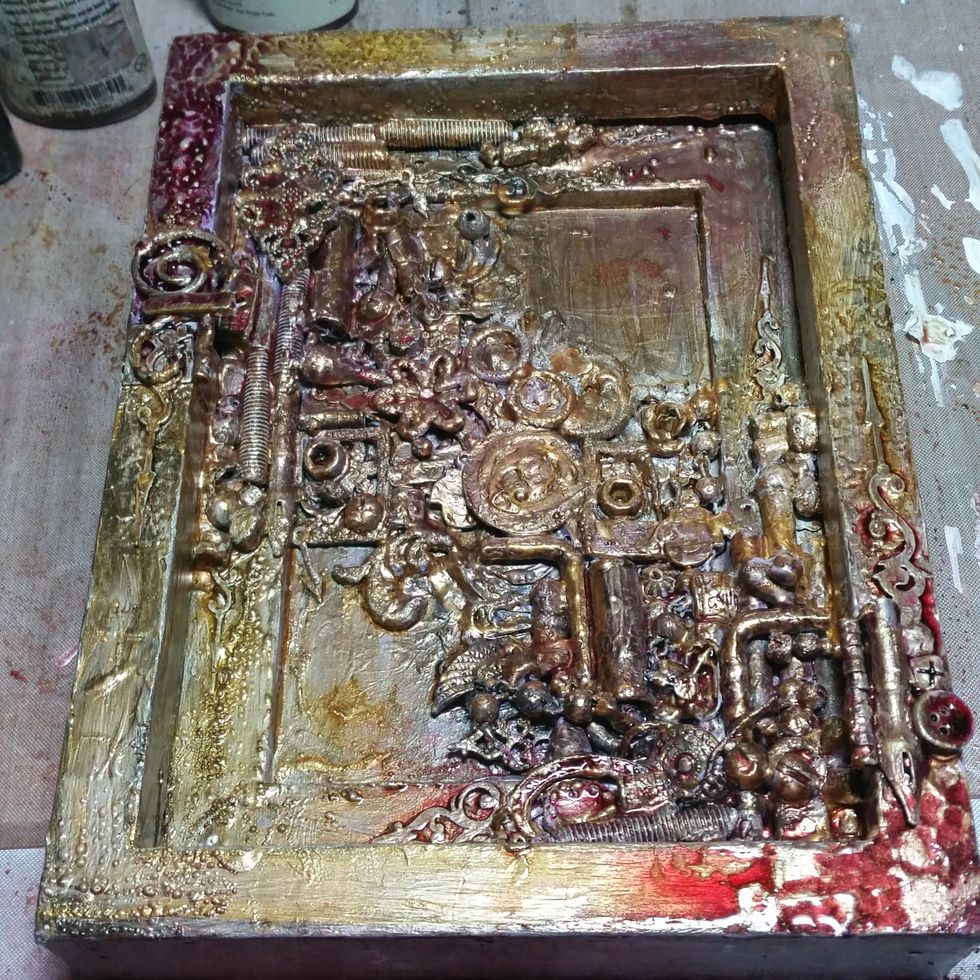
Add some extra depth with Glimmer Glam.
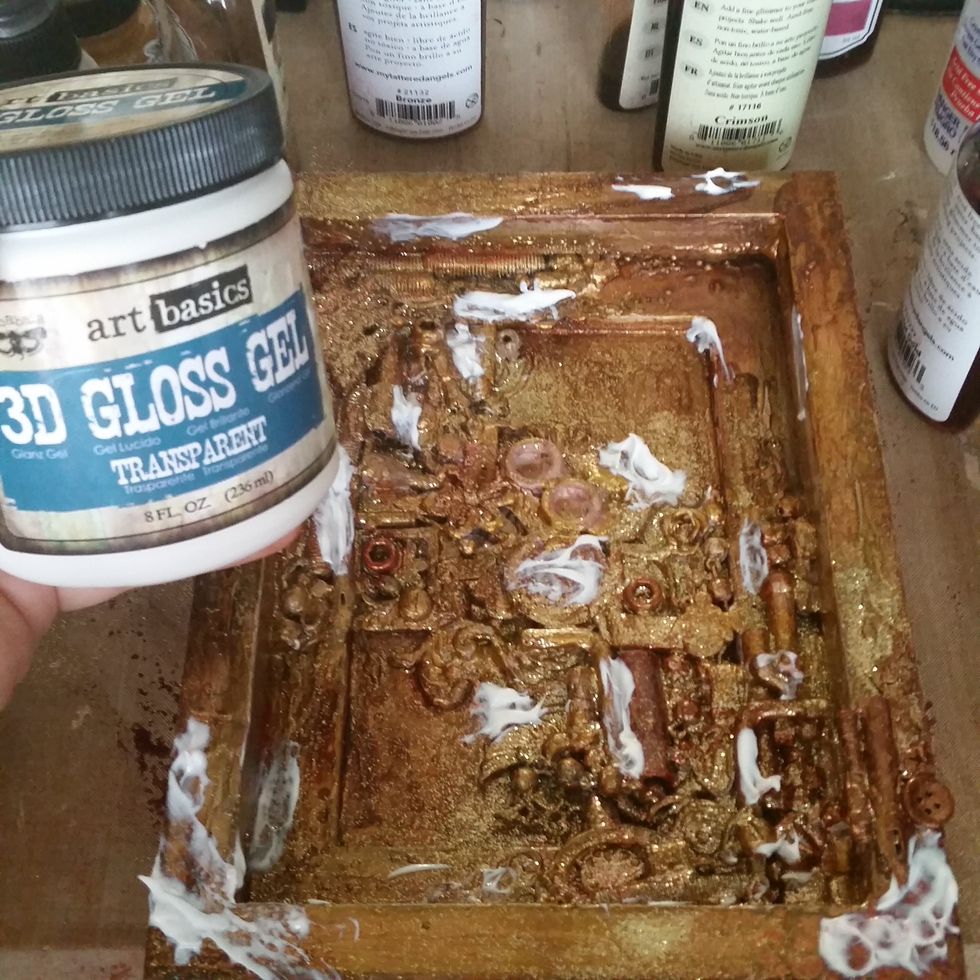
Randomly place gloss gel (like a clear drying glue) around the piece and add small beads, mica, glitter, etc for more texture. Let it dry.
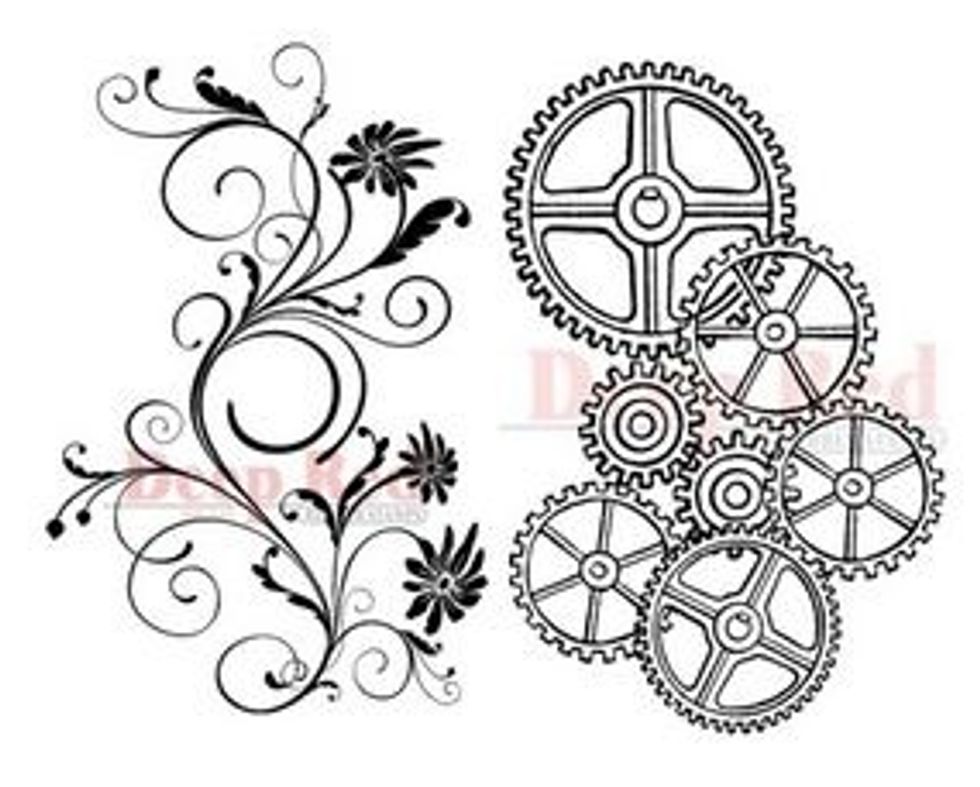
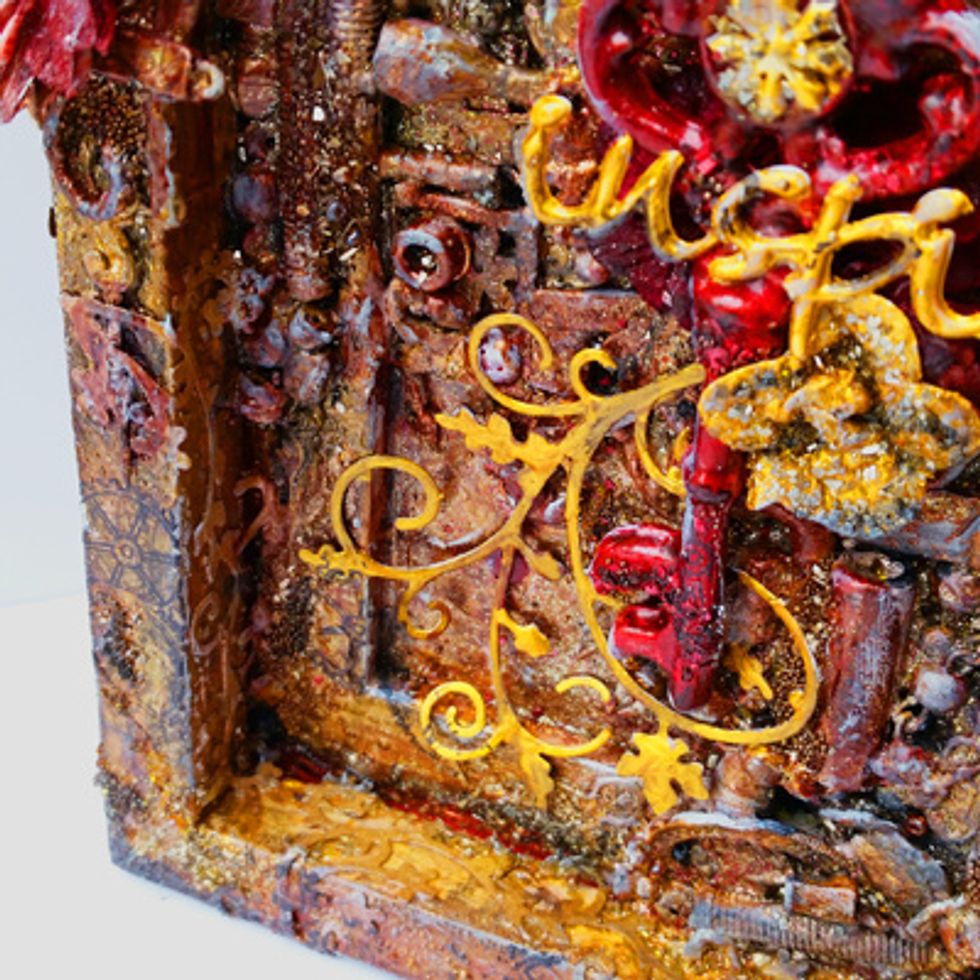
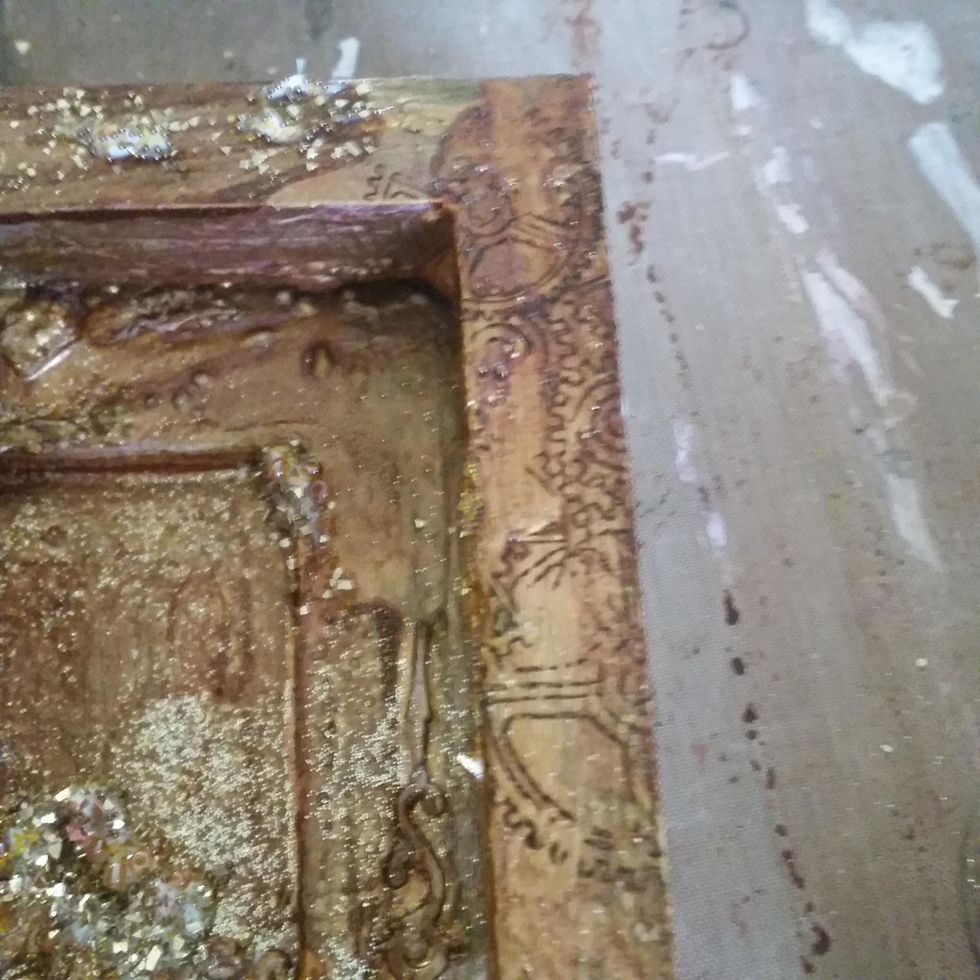
Add more layers of Deep Red Stamps - Gears and Large Flourish - around the frame in black pigment ink.
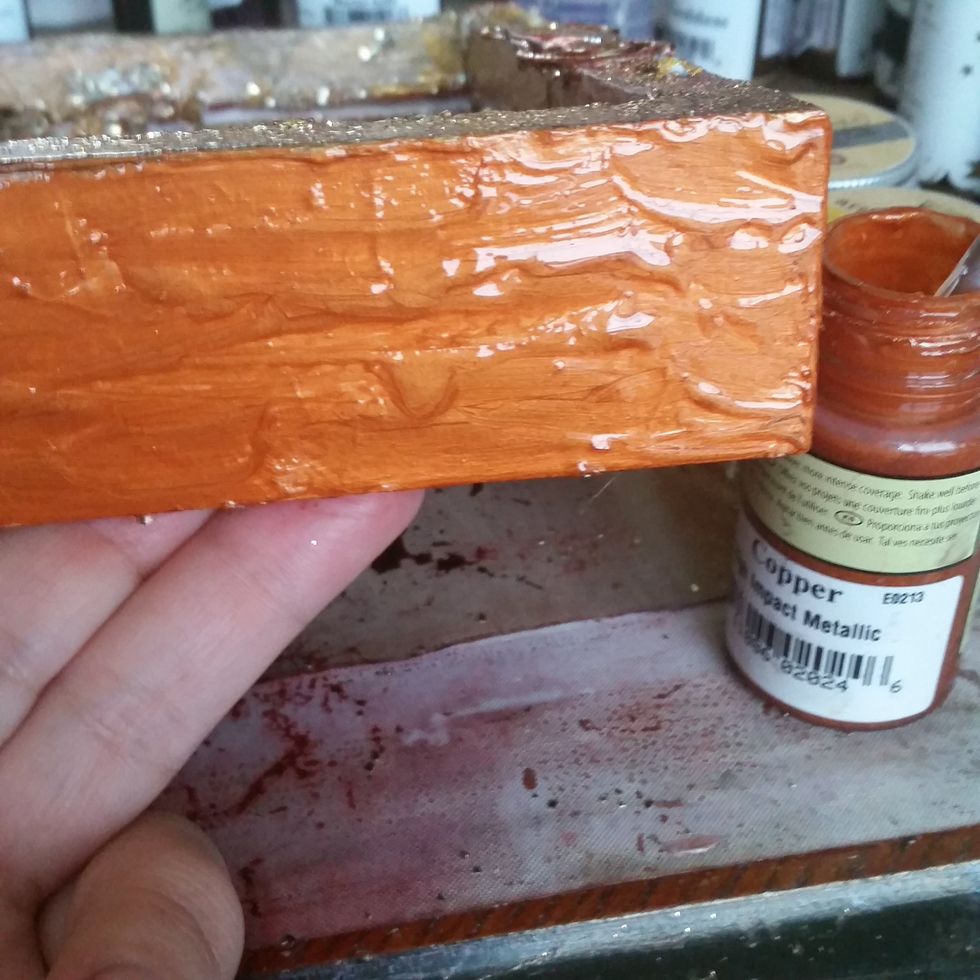
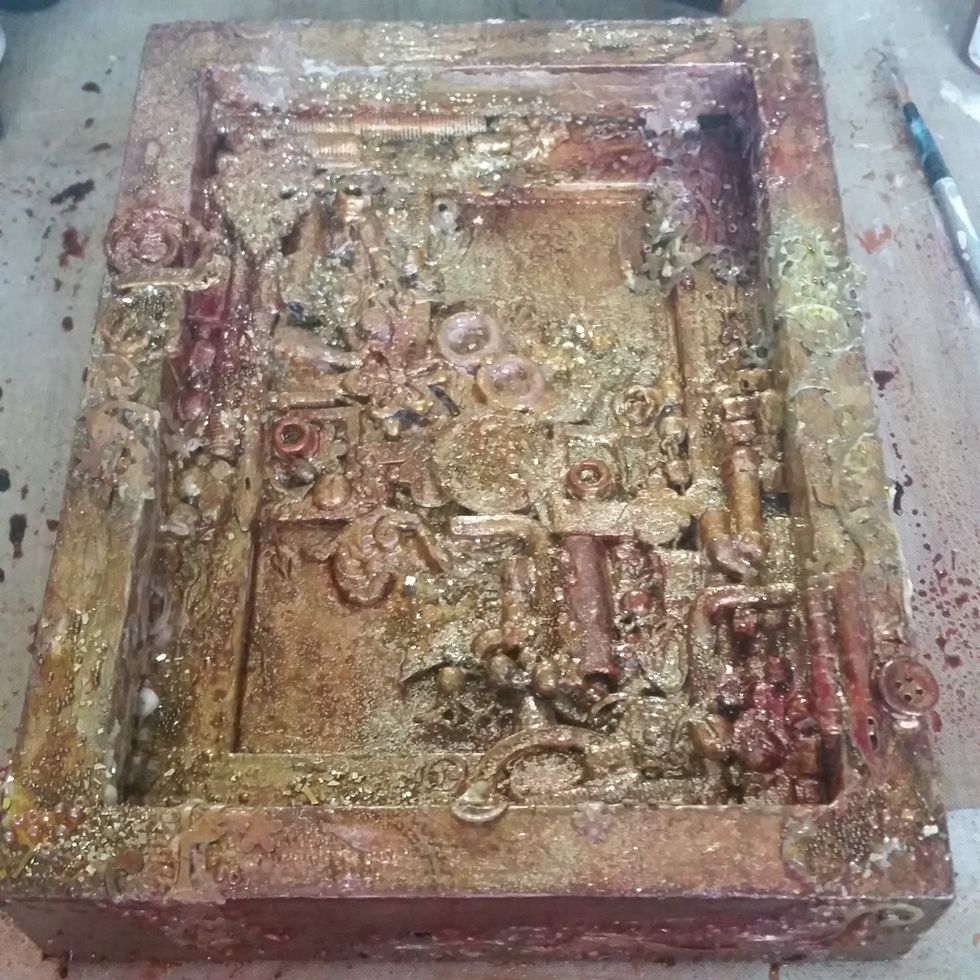
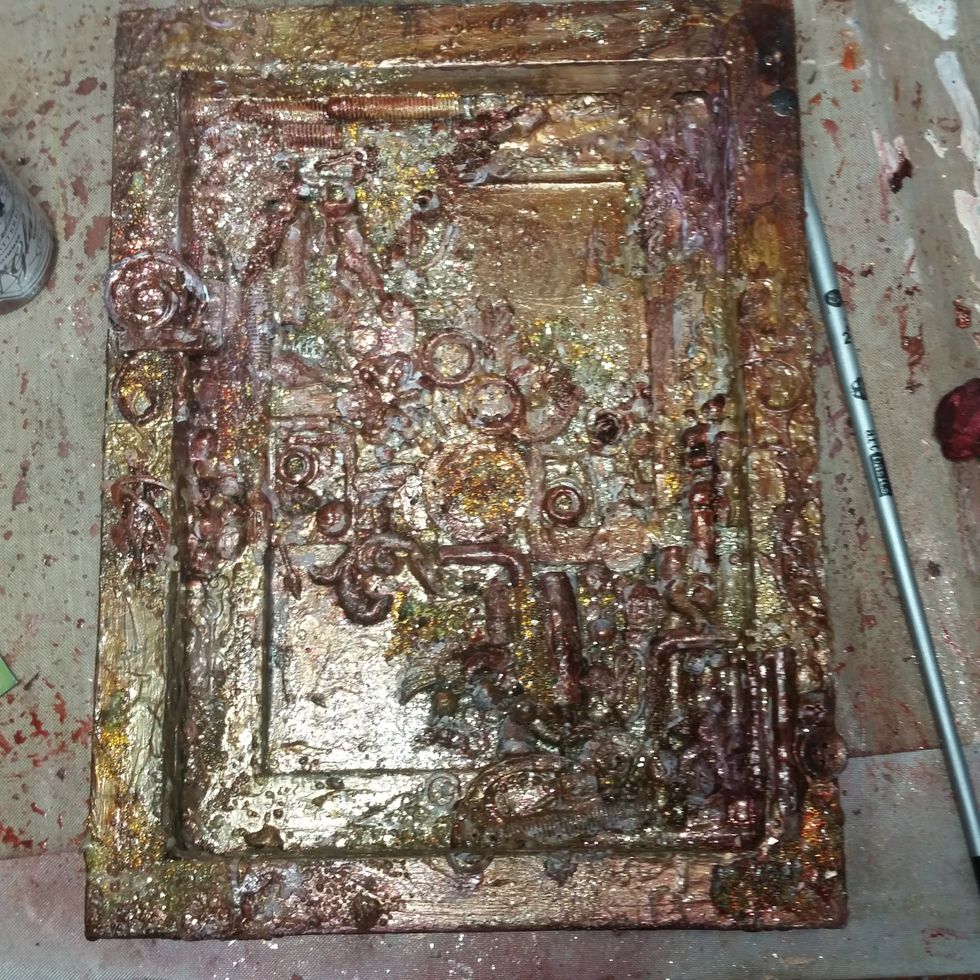
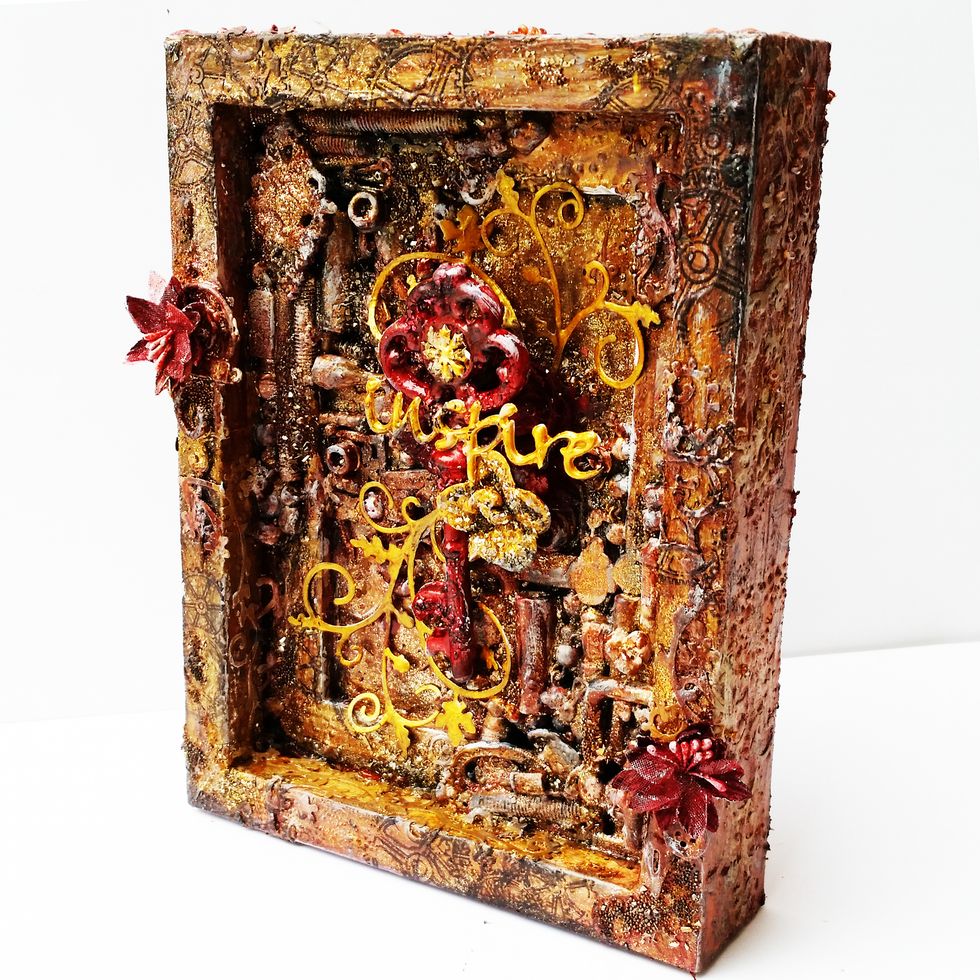
Paint the edges and sides of the frame in a thick coat of Copper paint. I did 2 coats.
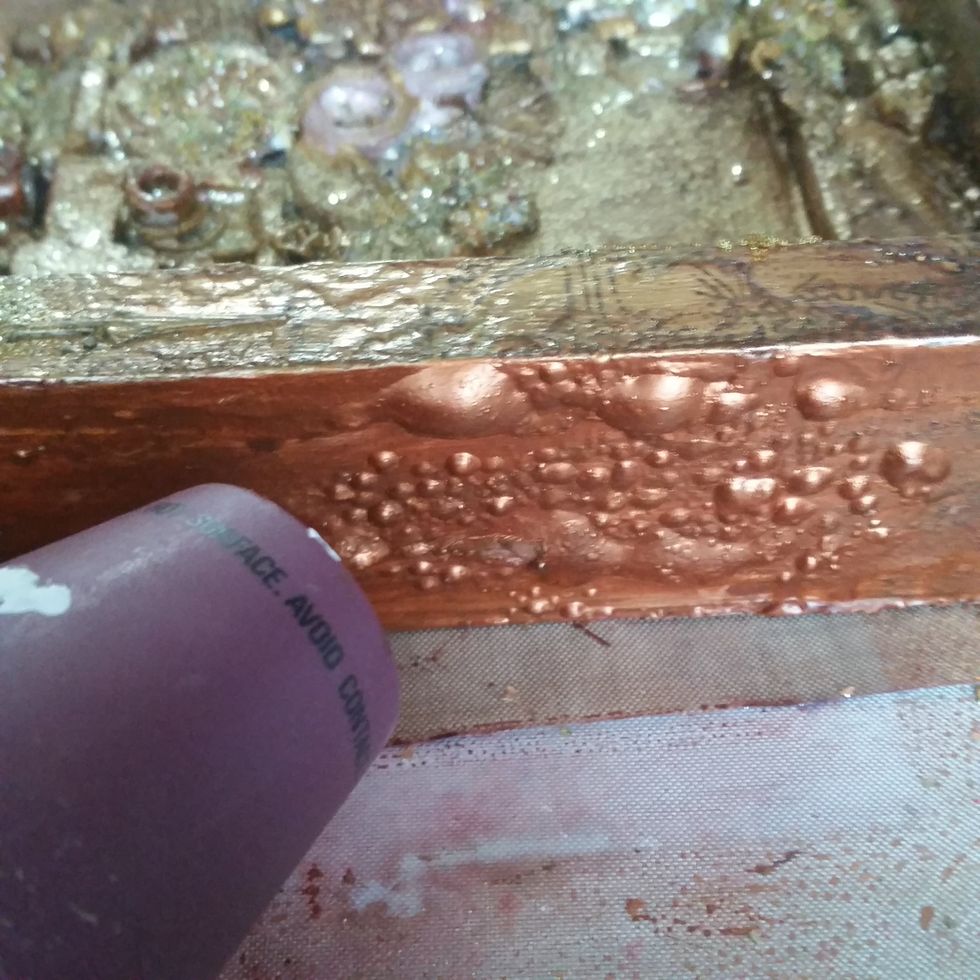
I then used my heat gun all around the project up close to create air bubbles for even more texture.
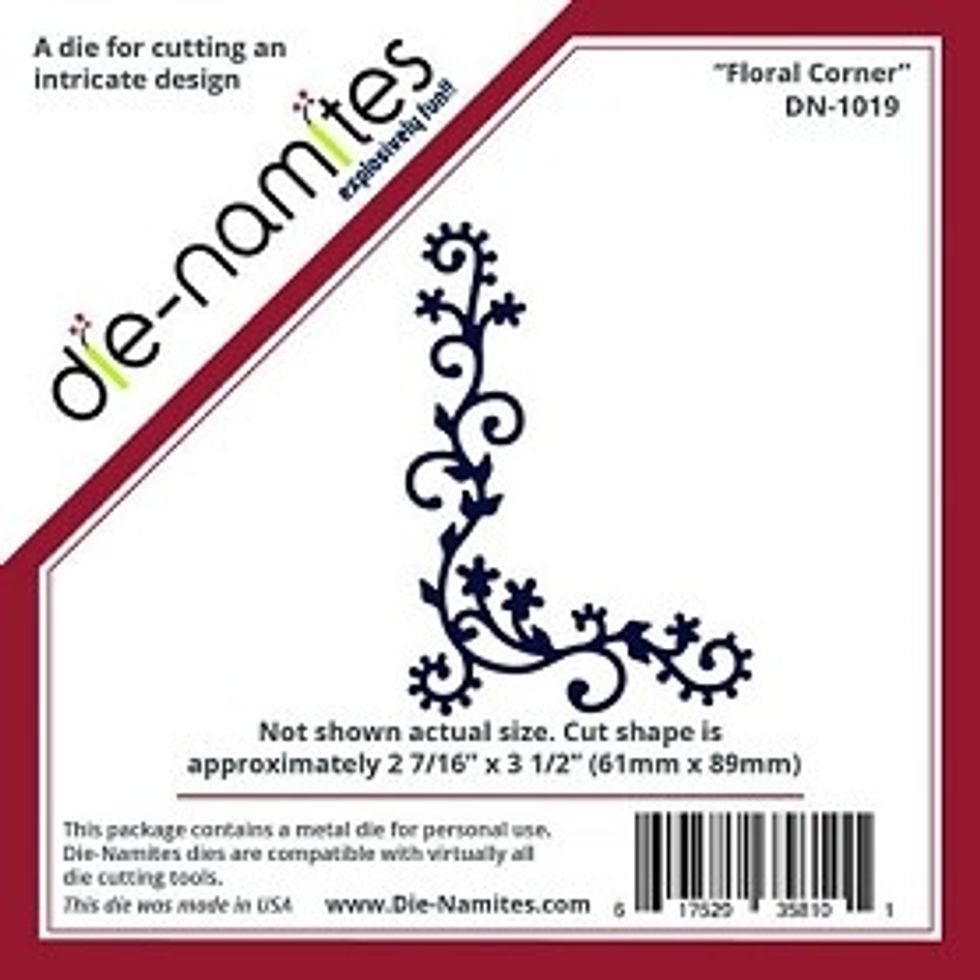
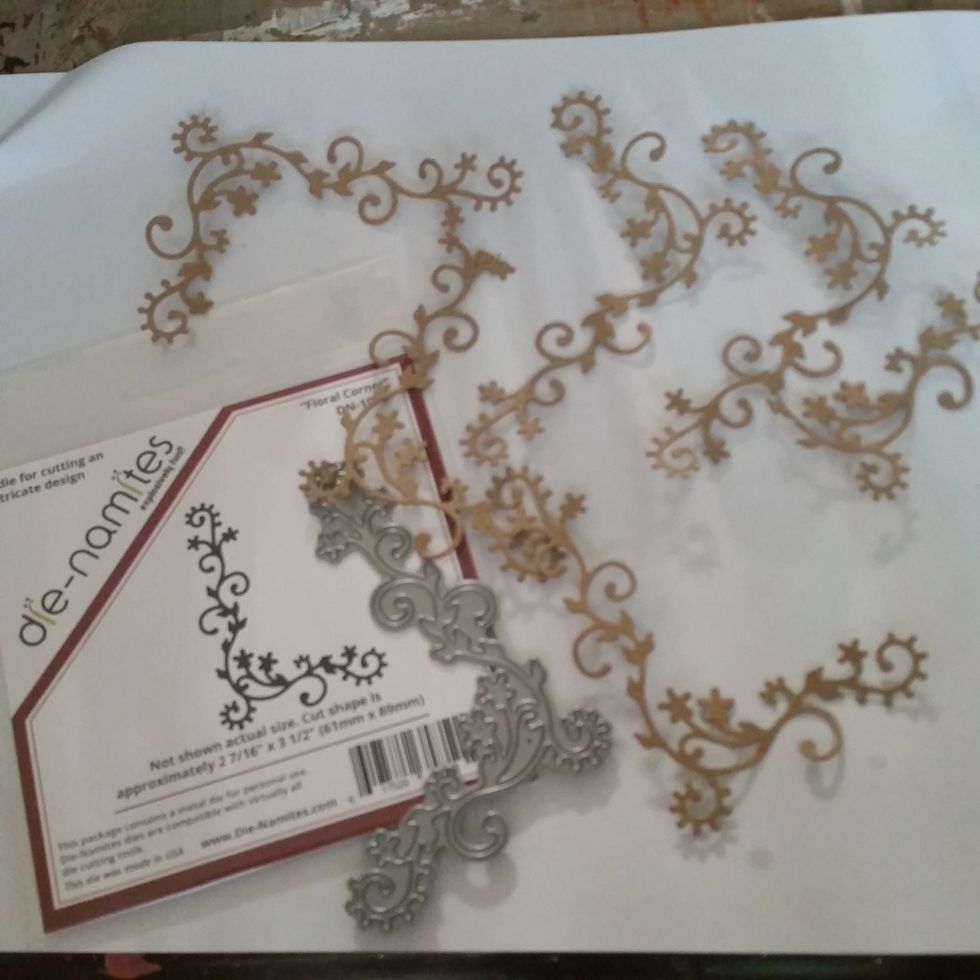
I cut about 10 Die~Namites "Floral Corners" in Canvas Corp Brands Kraft paper

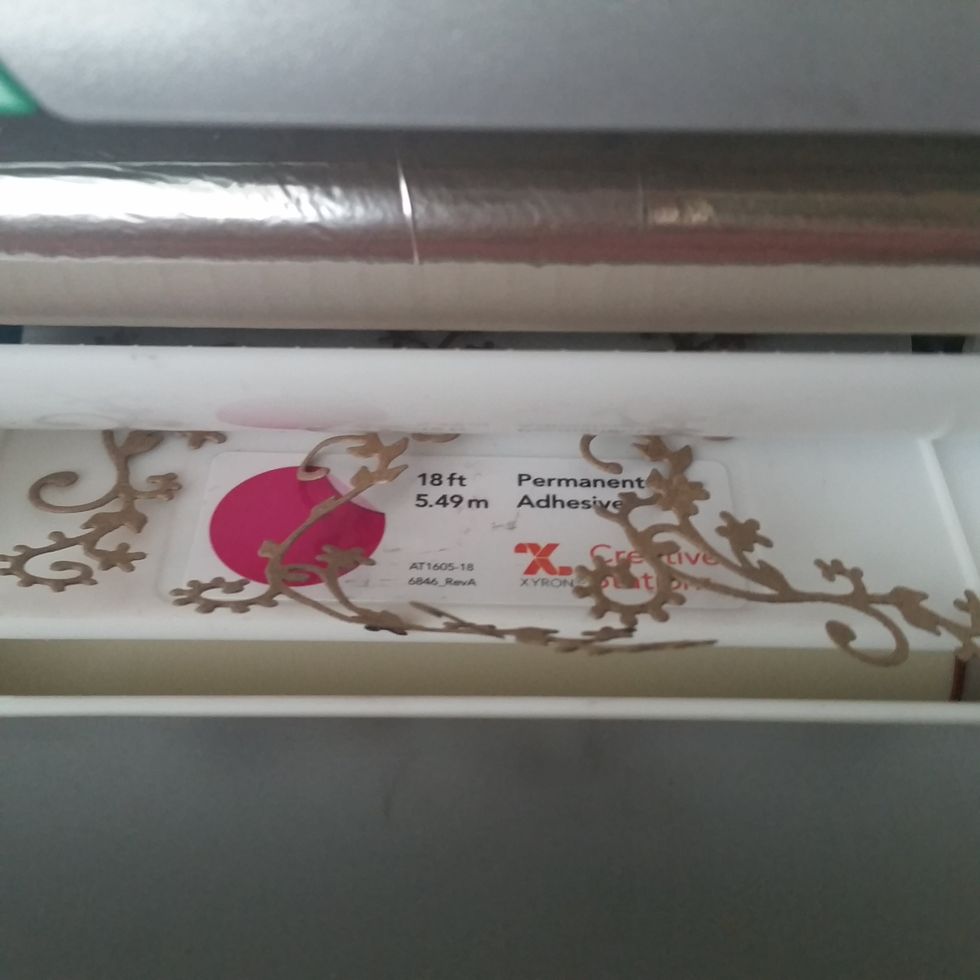
I ran them all the Floral Corner shapes through the Xyron Creative Station with the 5" Permanent Adhesive.
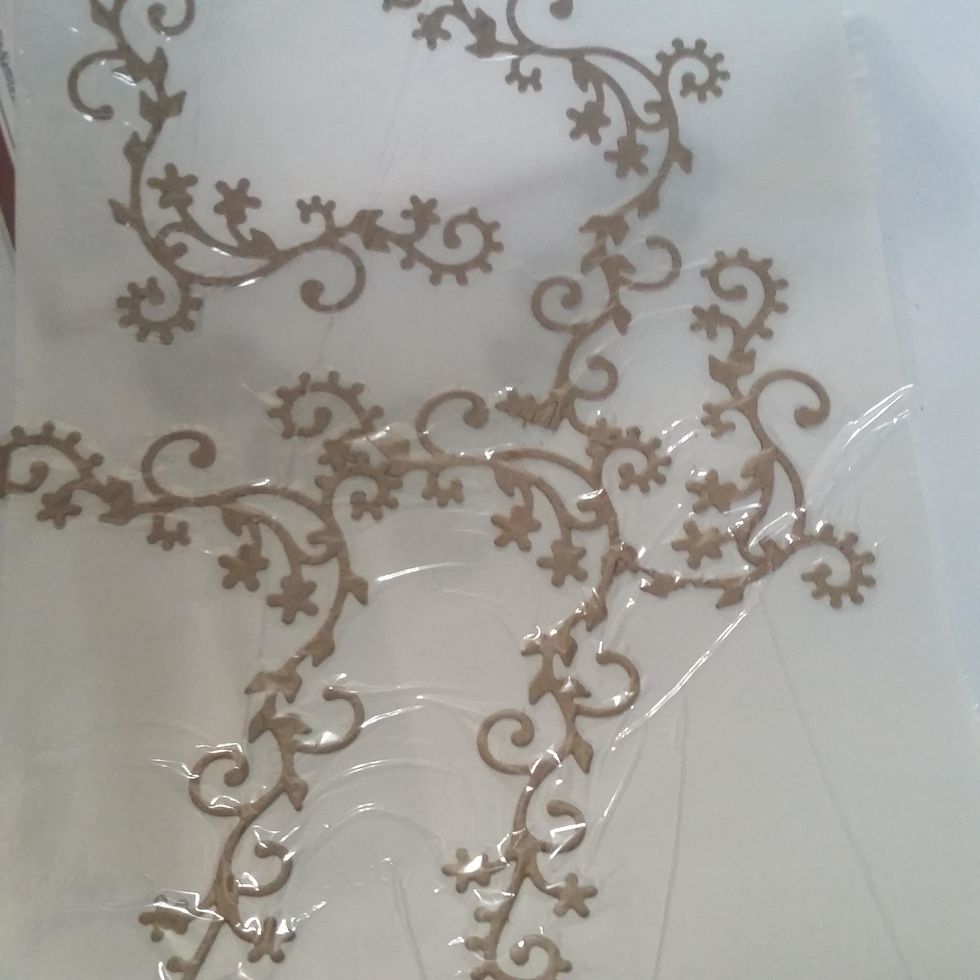
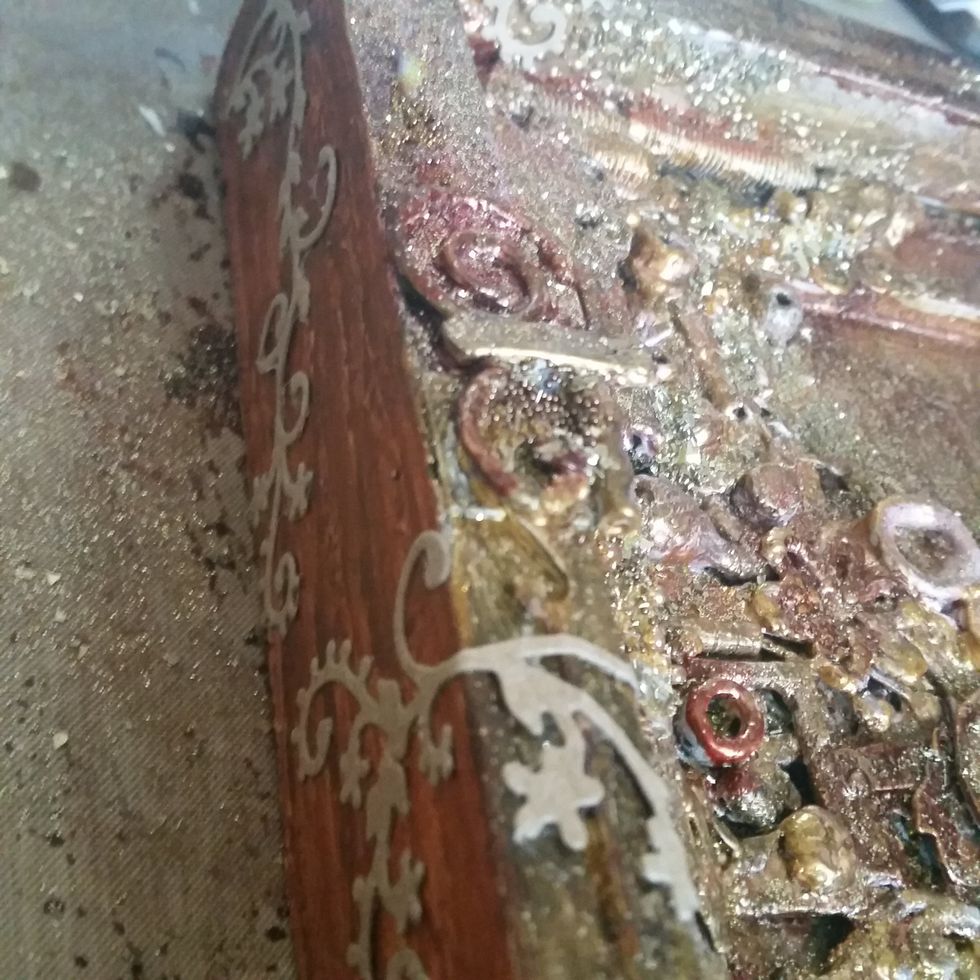
I then wrapped these shapes all around the sides, inside and out, up over the edges, to create even more texture all along the edges of sides of the frame.
Add more layers of mist to coat the papers and help them blend into the frame, giving the illusion for texture. Then heat set it for even more bubbles.
I added in some more layers is mist on the inside, it look to flat and need some different tones of color here and there.
Using a paint brush add some highlights to the top of the bits and bobs with gesso to show the depth and layers of the project.
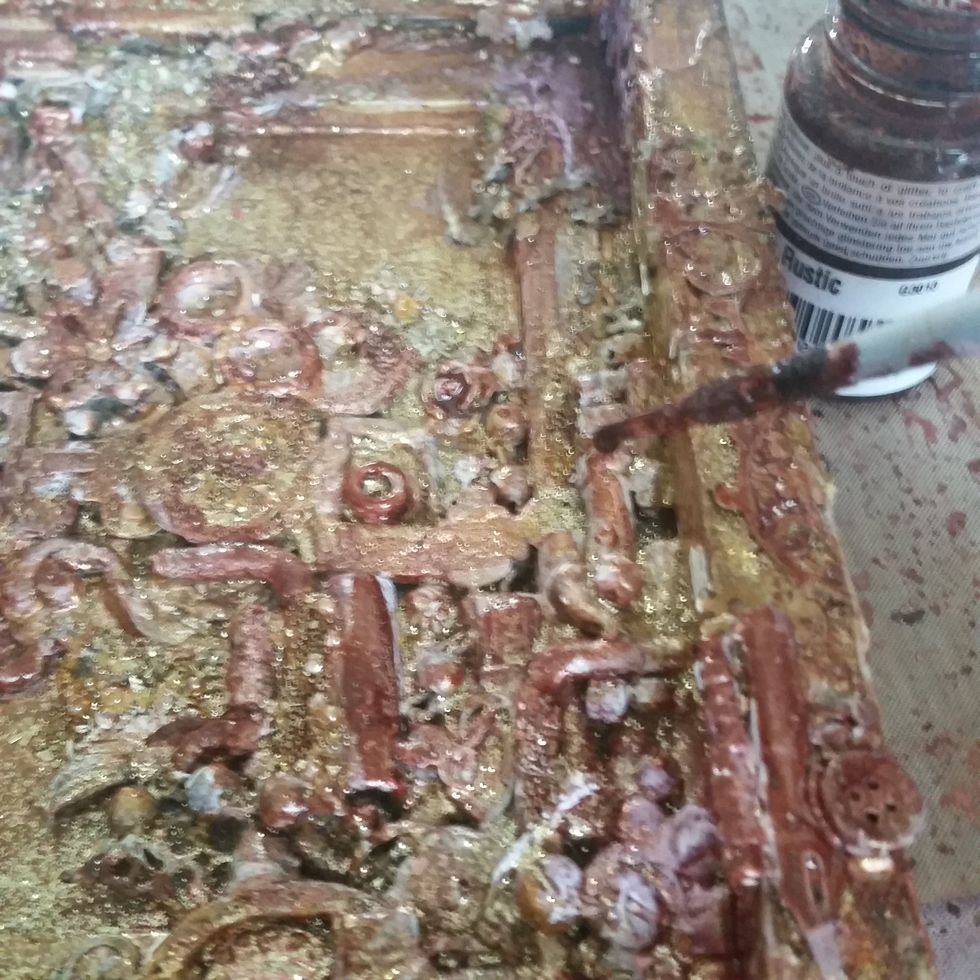
Fill in the deep crevices with a dark color with Iron Chalkboard Mist and Rustic Glimmer Glam to help give dark tones to offset the light tones on top of the layers.
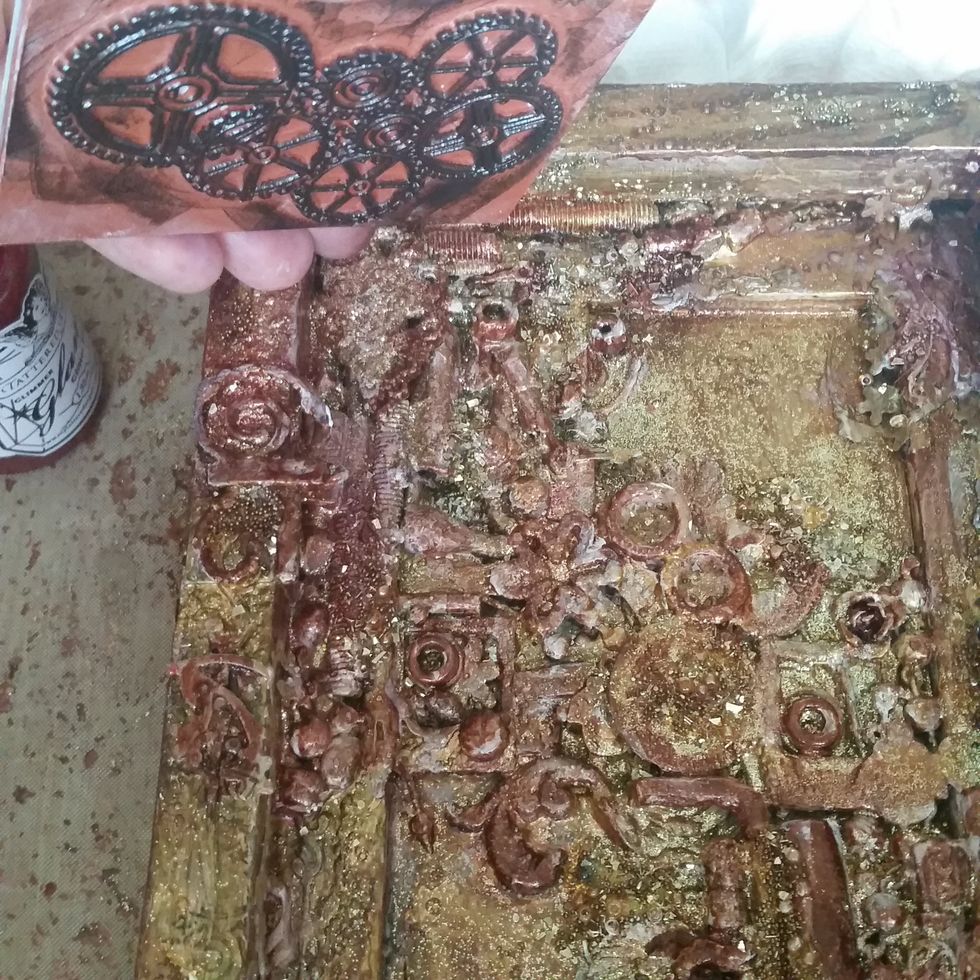
Add even more stamped layers as some have gotten covered up with mist now.
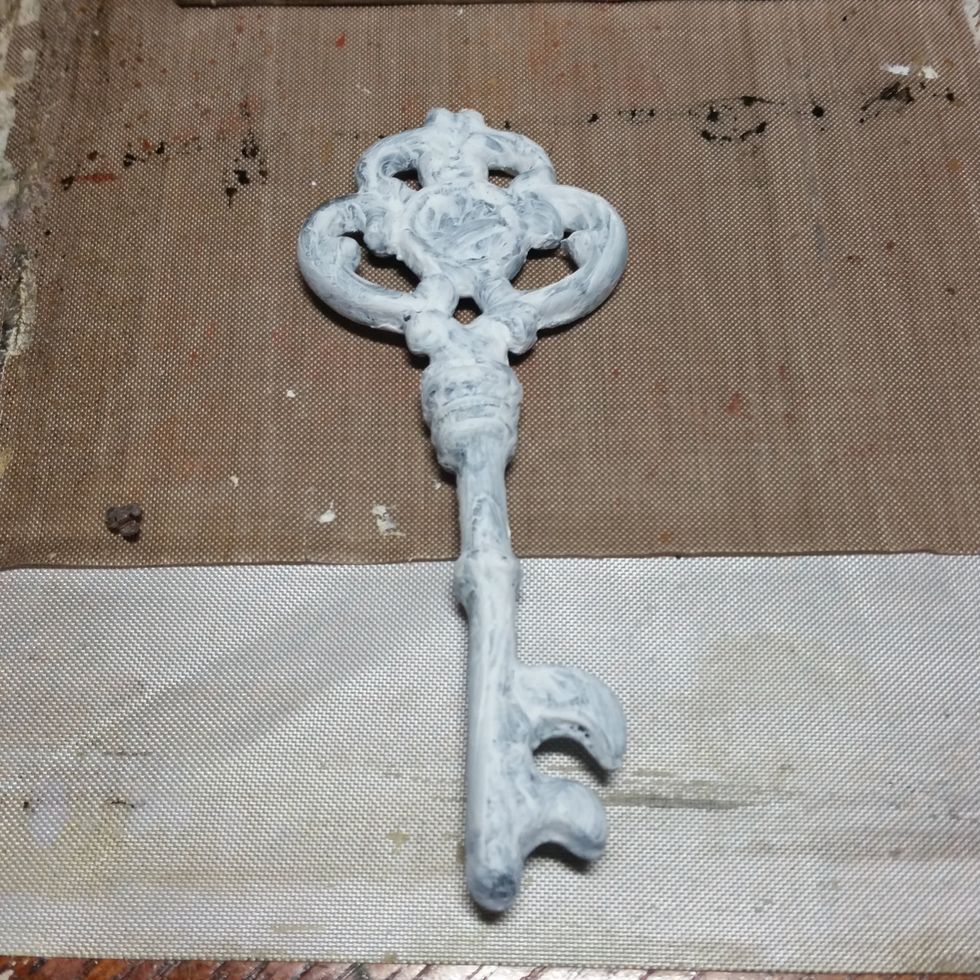
Paint the key with gesso, 2 coats.
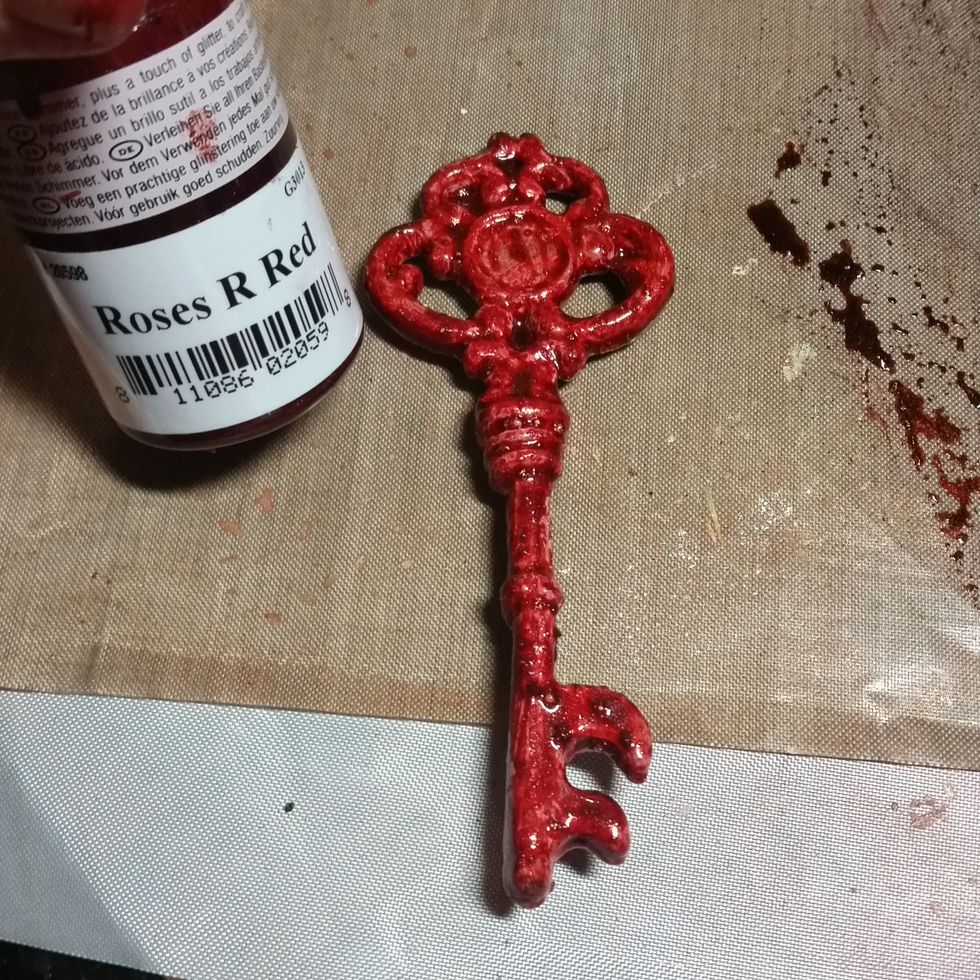
Paint with Roses R Red Glimmer Glam, 2 coats.
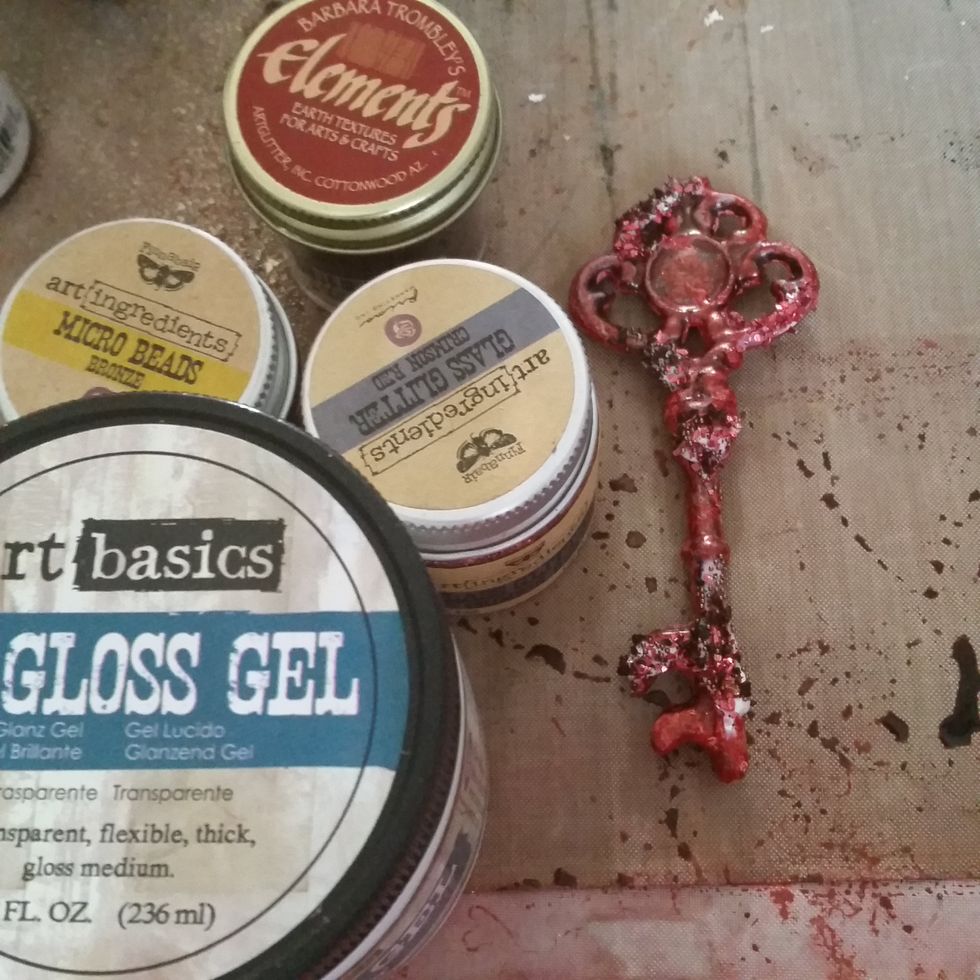
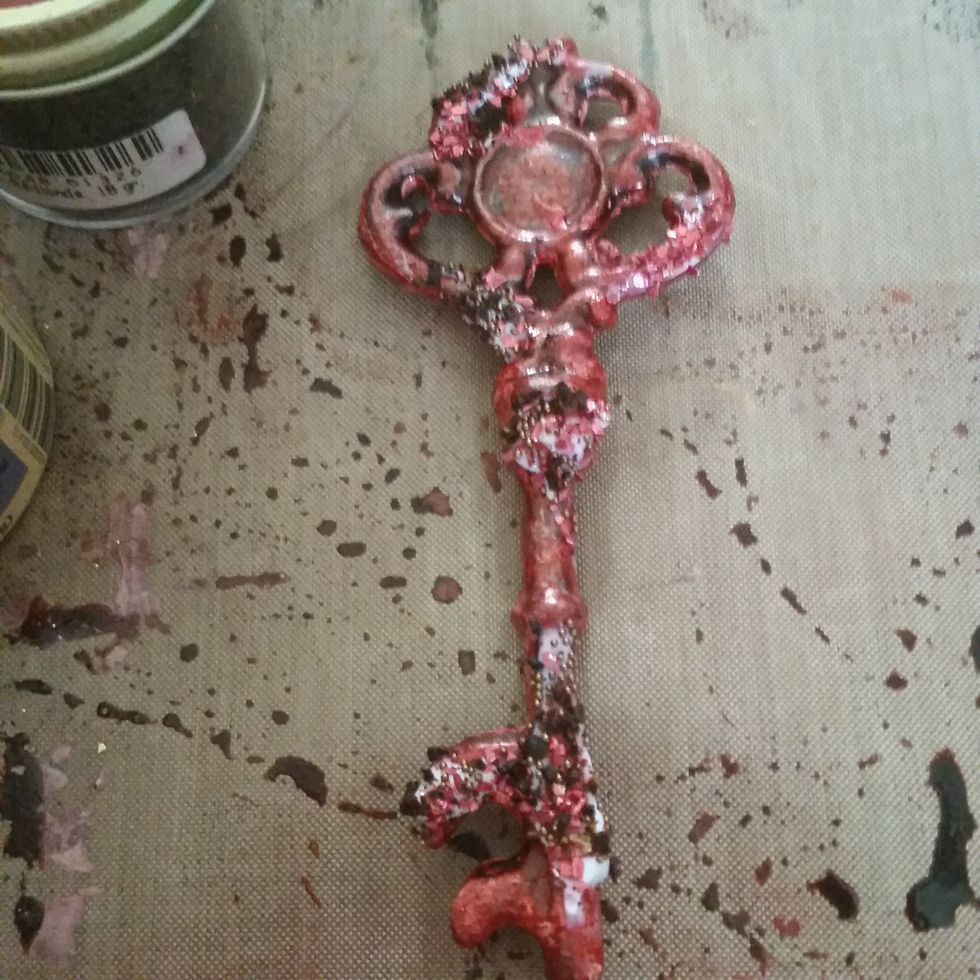
Add gloss gel to areas and fill in the red beads, glitter glass, and other texture elements for texture. to the key.
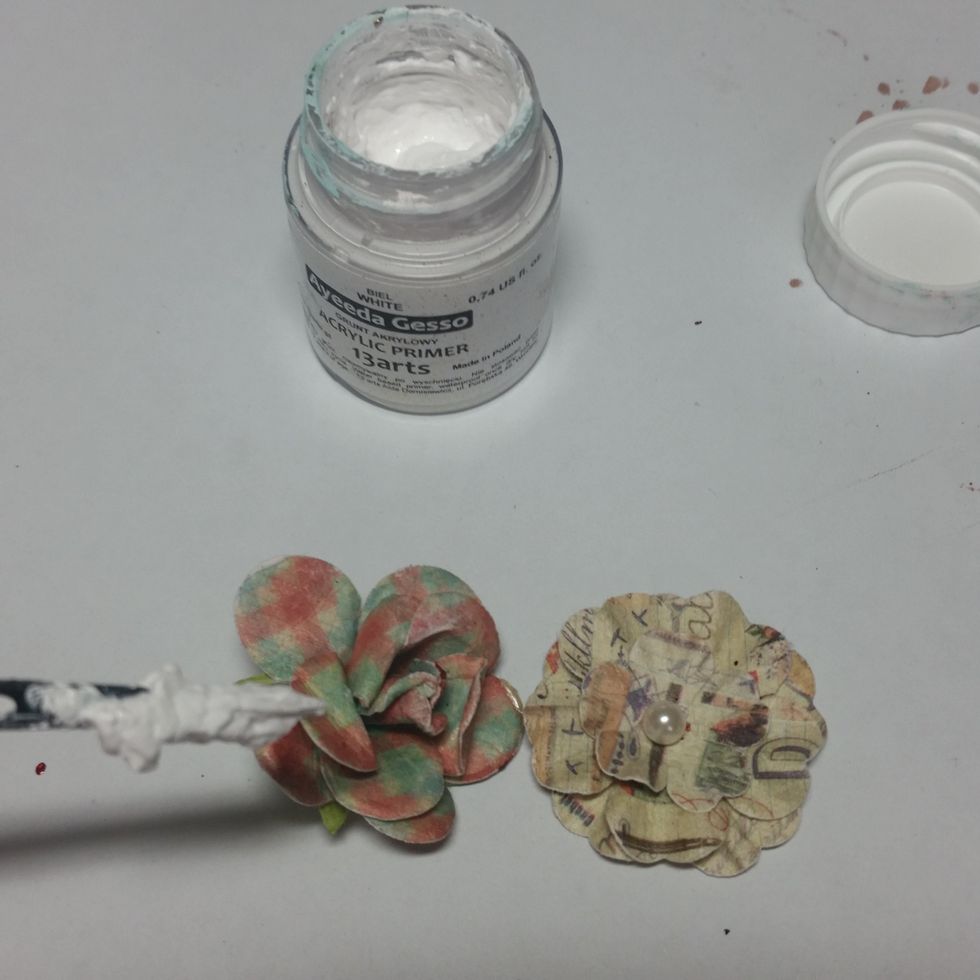
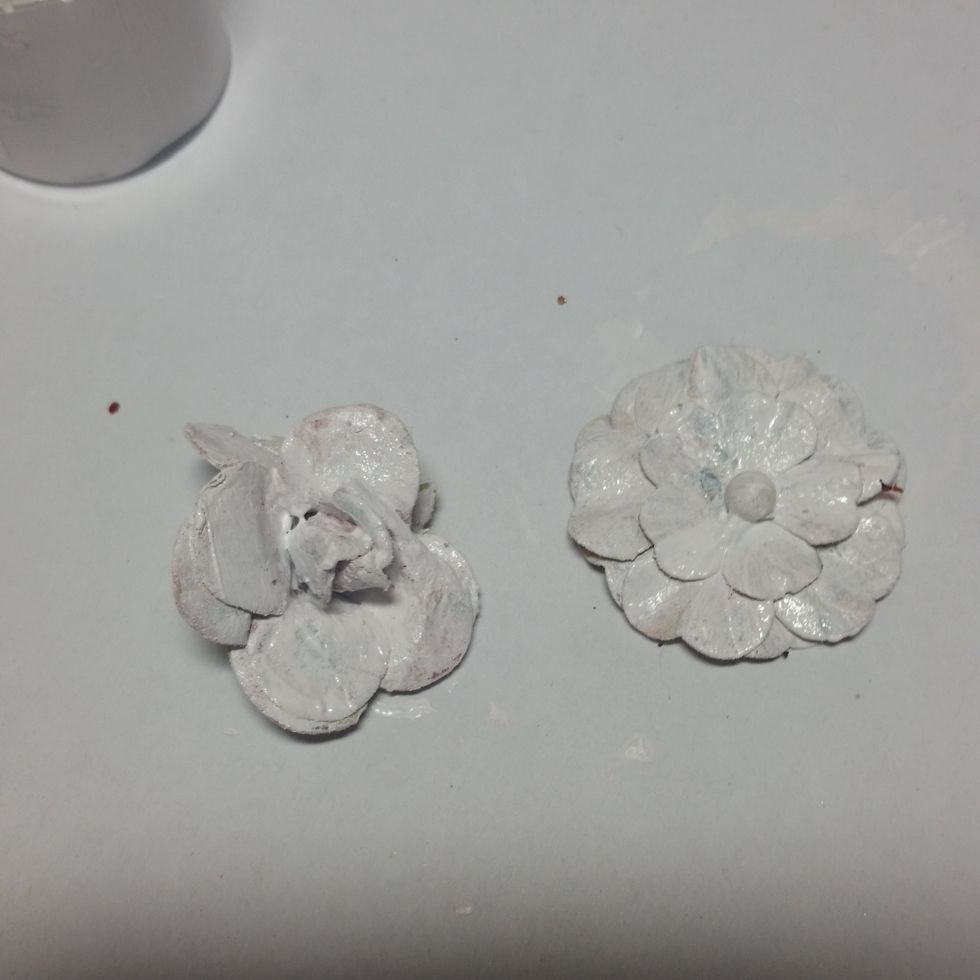
Use some flowers that you don't like (i have had these for ages and the colors are just all wrong for me). Paint with gesso.
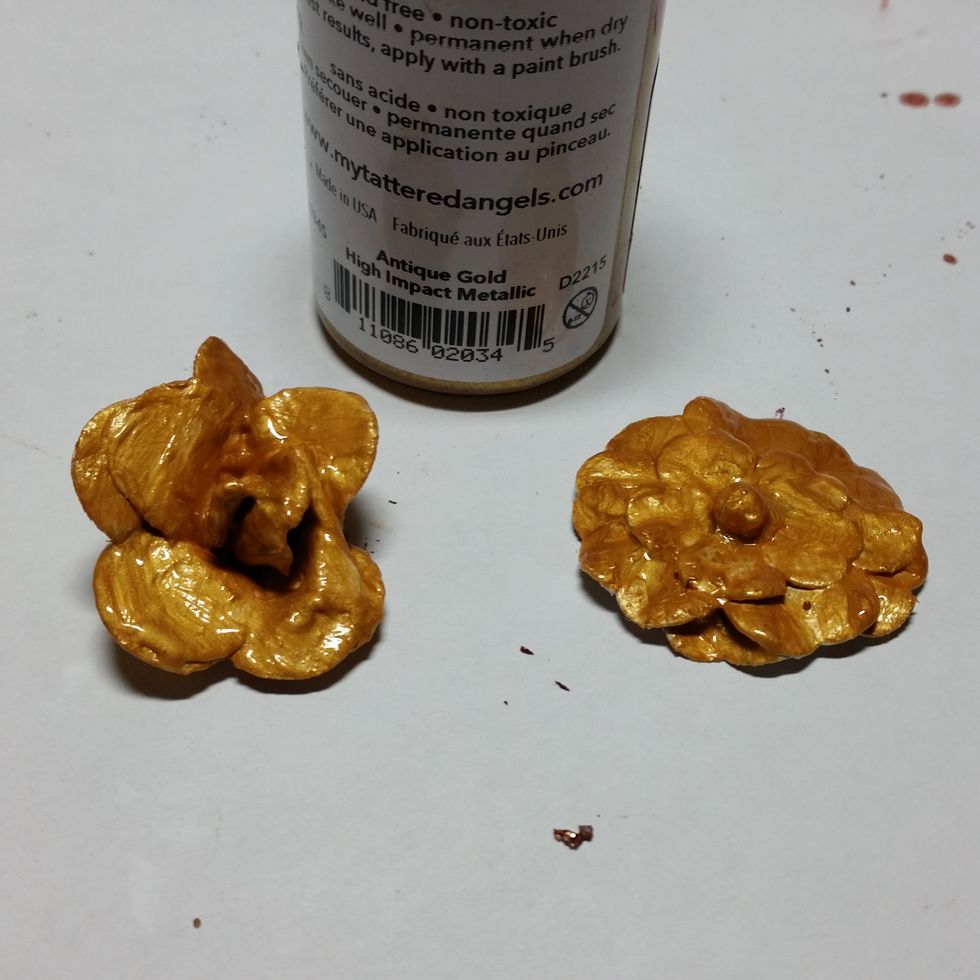
Paint with 2 coats of Tattered Angels Antique Gold paint.
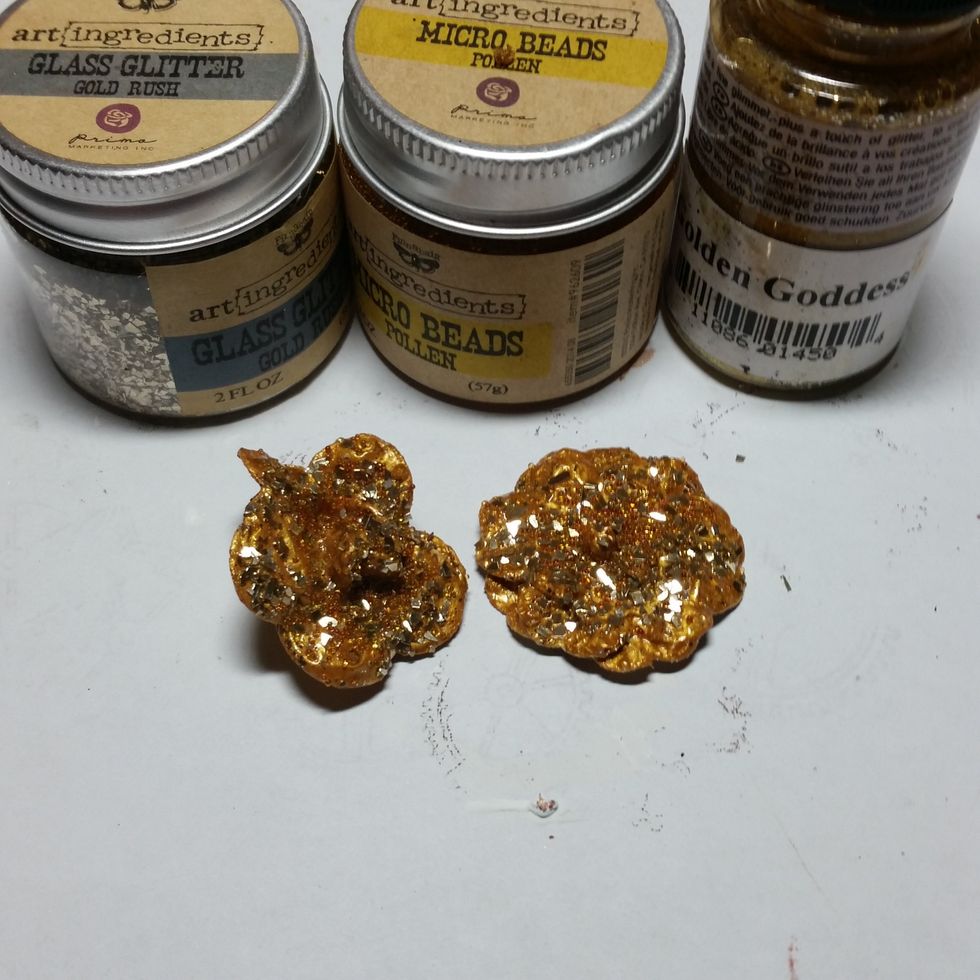
Add TA Golden Goddess Glimmer Glam and some extra texture to the flowers.
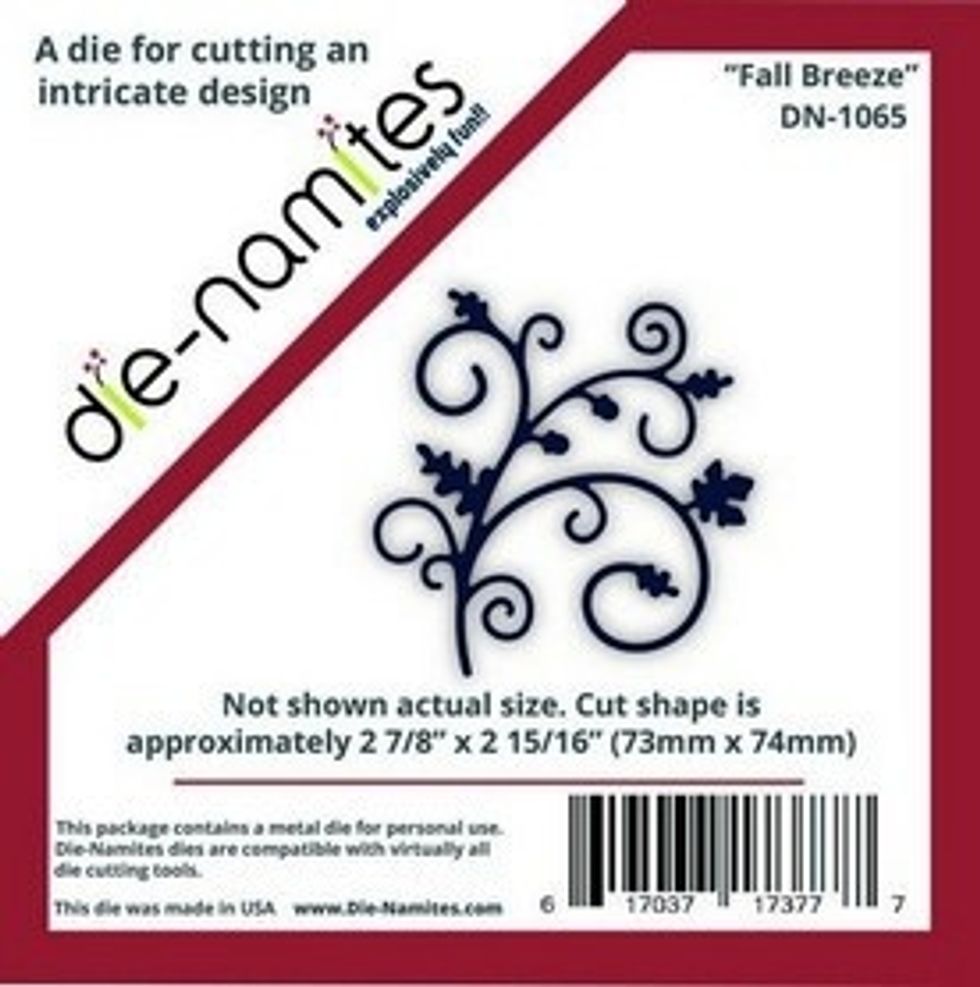
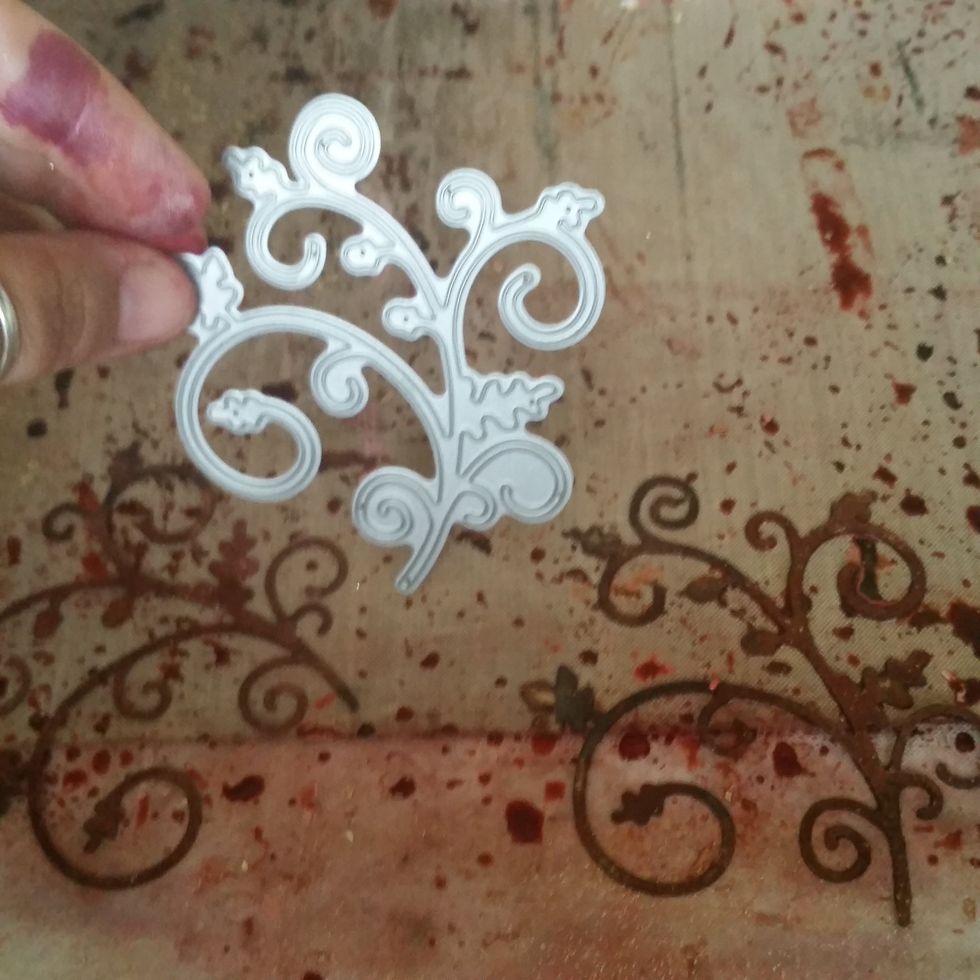
Cut out 2 Die~Namites Dies in "Fall Breeze" out of CCB Kraft Paper.
Glue 2 red flowers to the sides with molding pate. See if the red key, flourishes, and gold flower work together (have not glued them yet).
Paint the red flowers on the sides in Roses R Red to help them pop.

Paper House Puffy Stickers used.
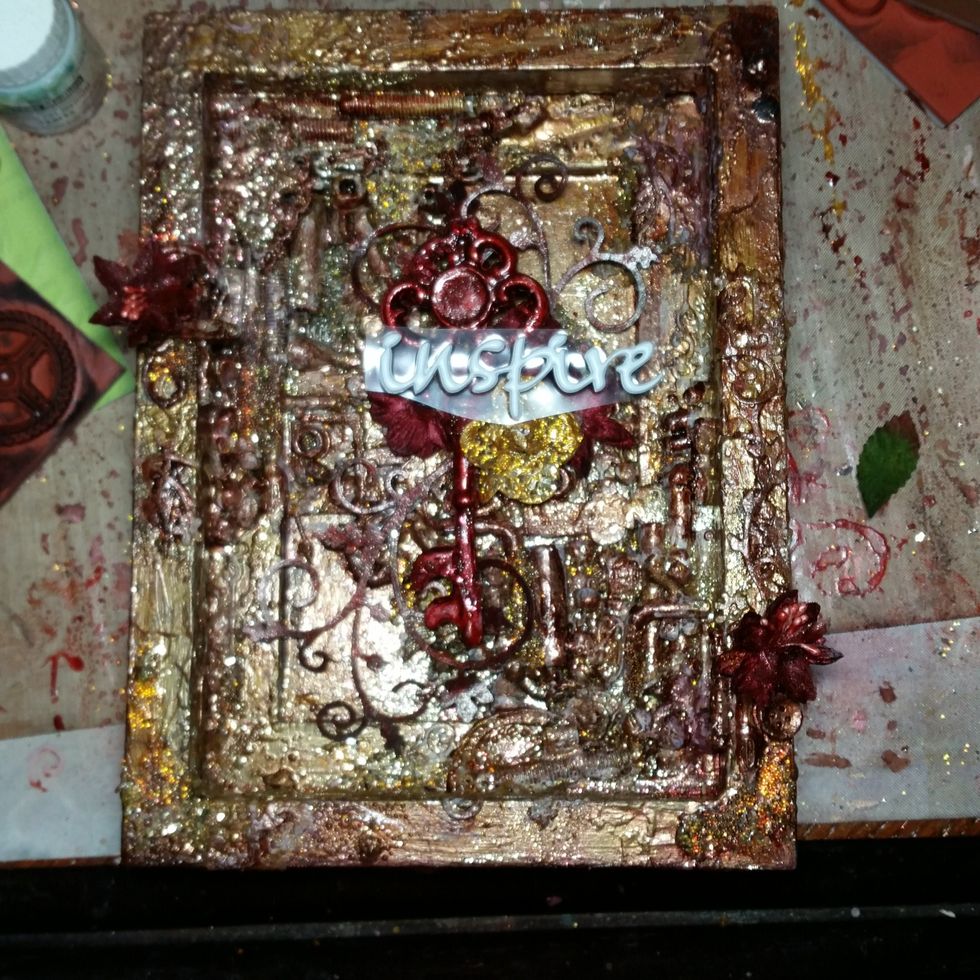
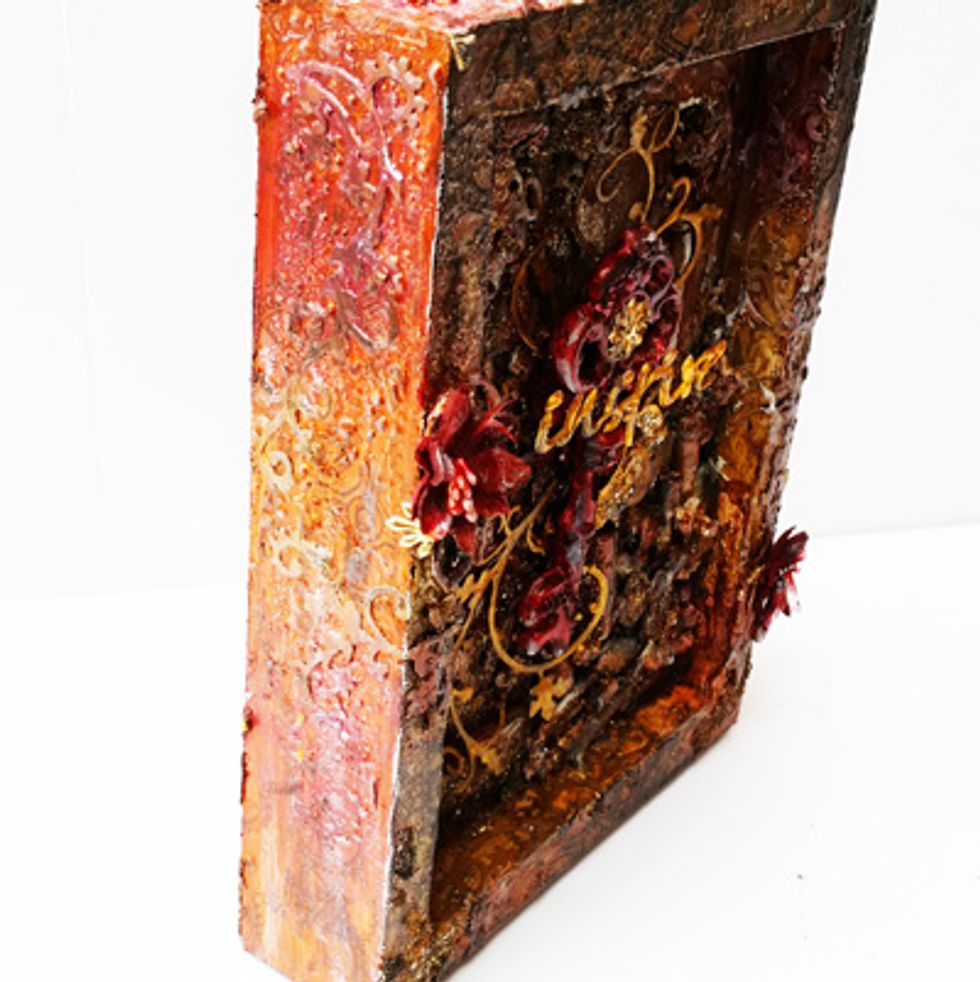
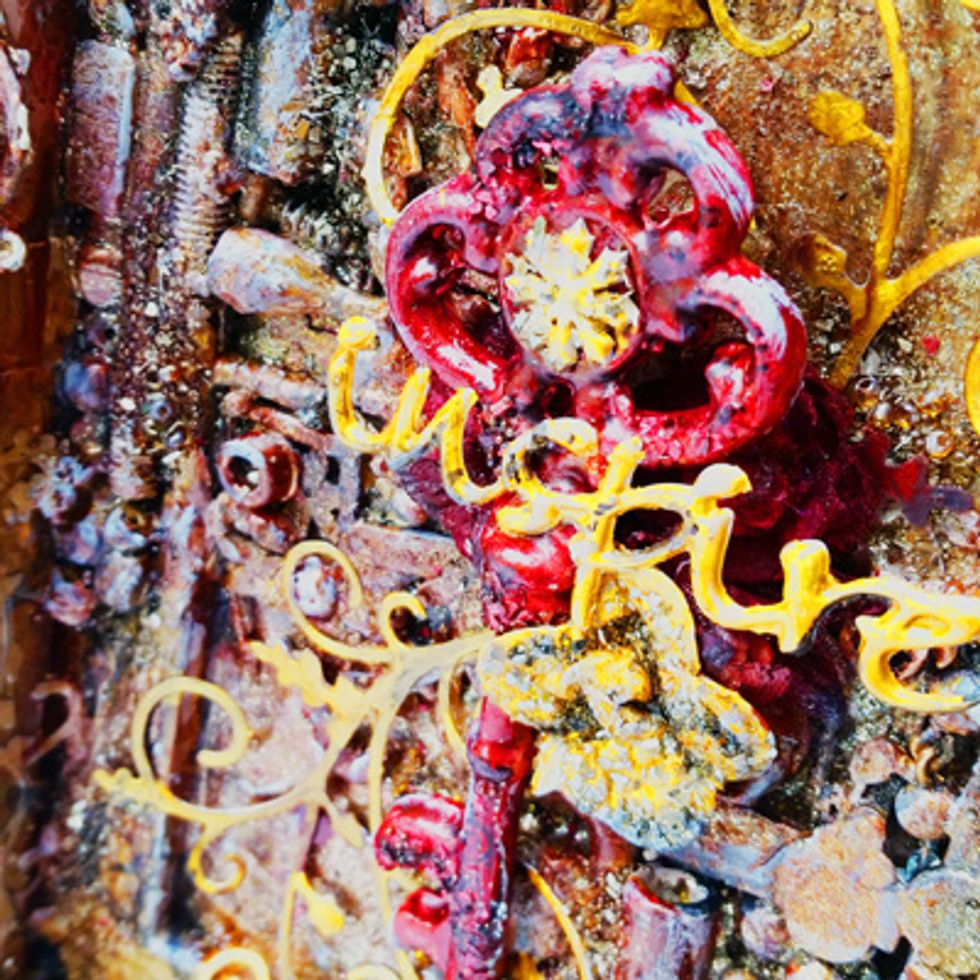
The gold flower and the red key did not have enough depth, so i added a word, stickers, and more red flowers. to the cluster.
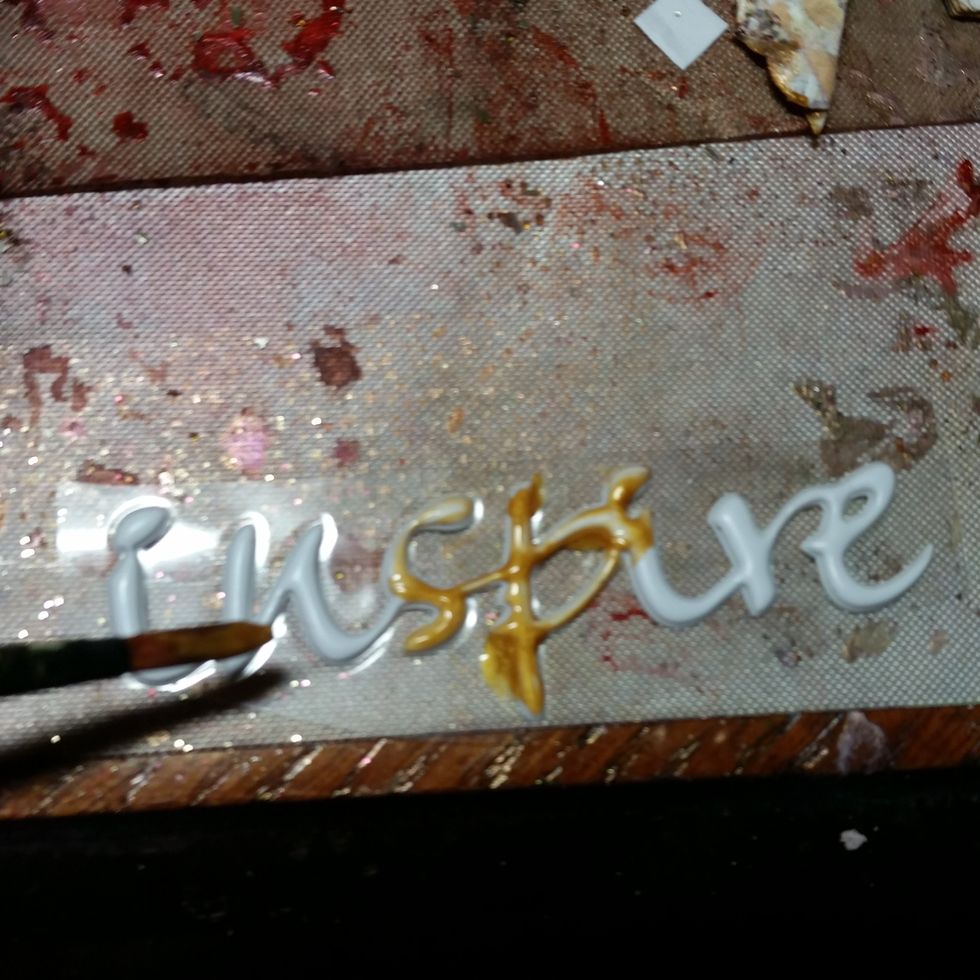
I painted the stickers with the TA gold paint to help them blend better.
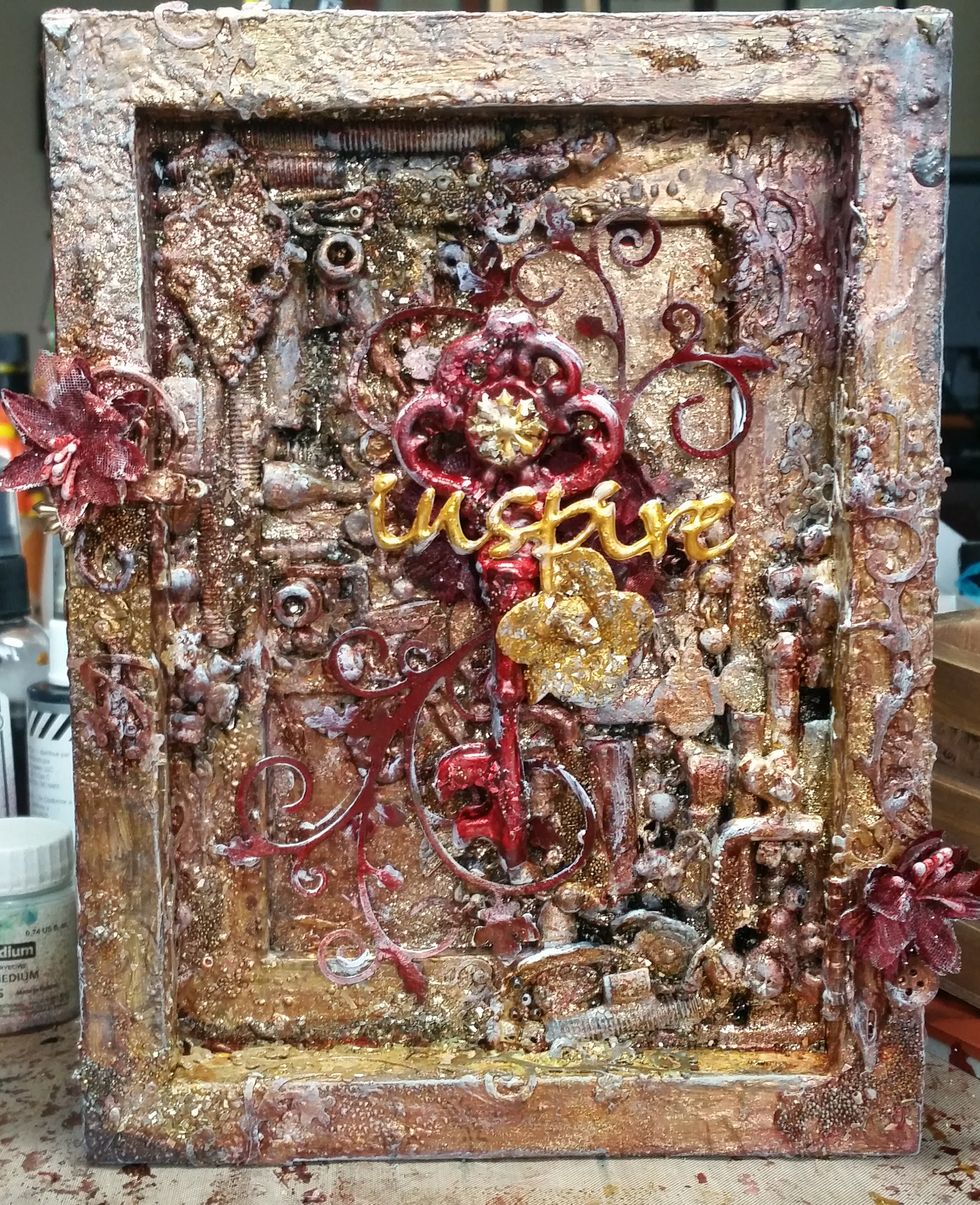
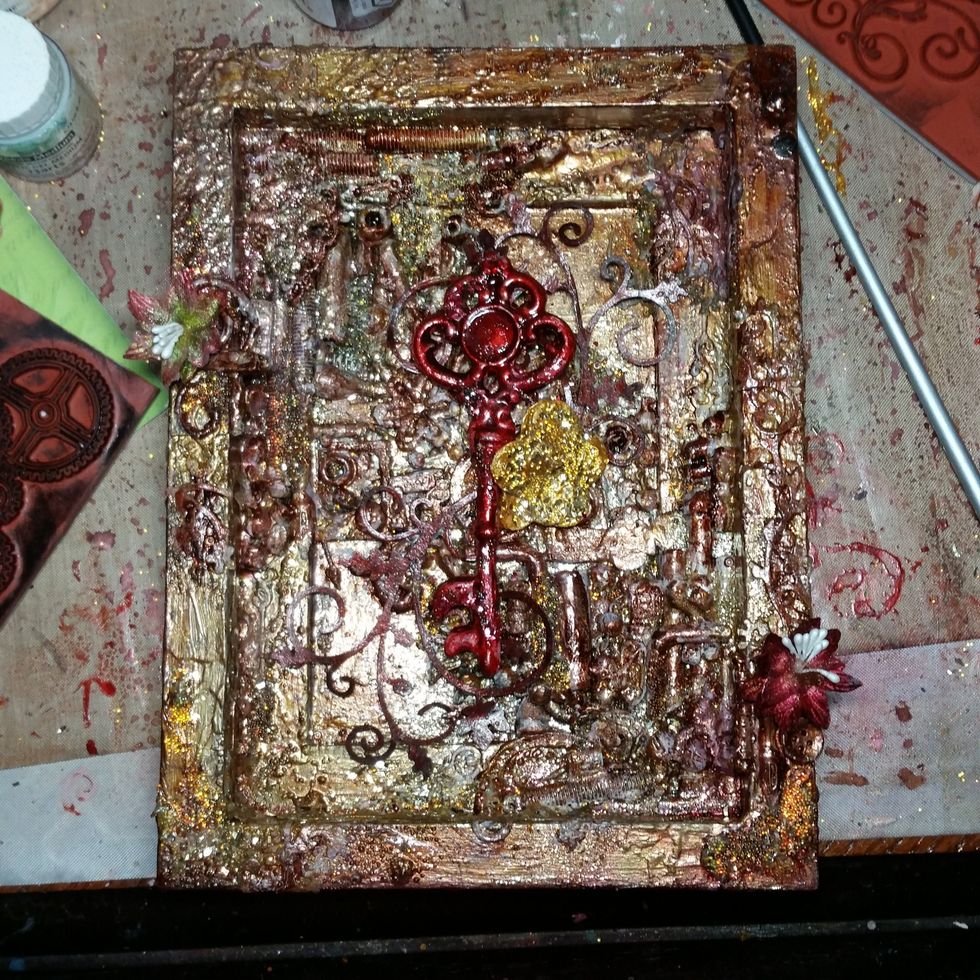
Added a Paper House Star Sticker to the key (with some Gold Glimmer Glam) and painted the red flowers under the Key in Roses R Red and glued everything down with molding paste.
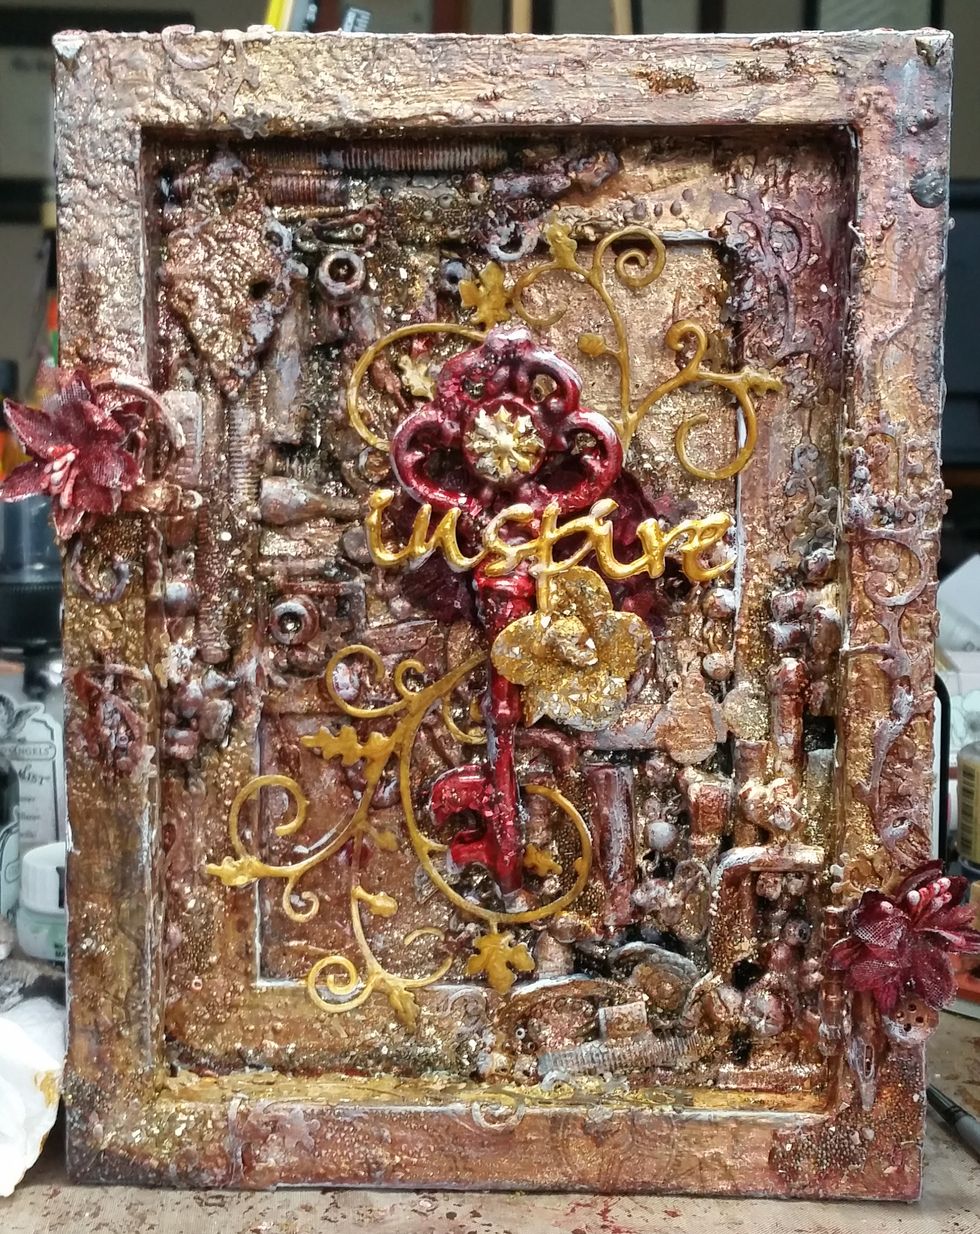
The Die~Namites "Fall Breeze" swirls under the key were in red, but they were hiding and not popping out, so I painted them in the TA Antique Gold to help them pop a bit more.
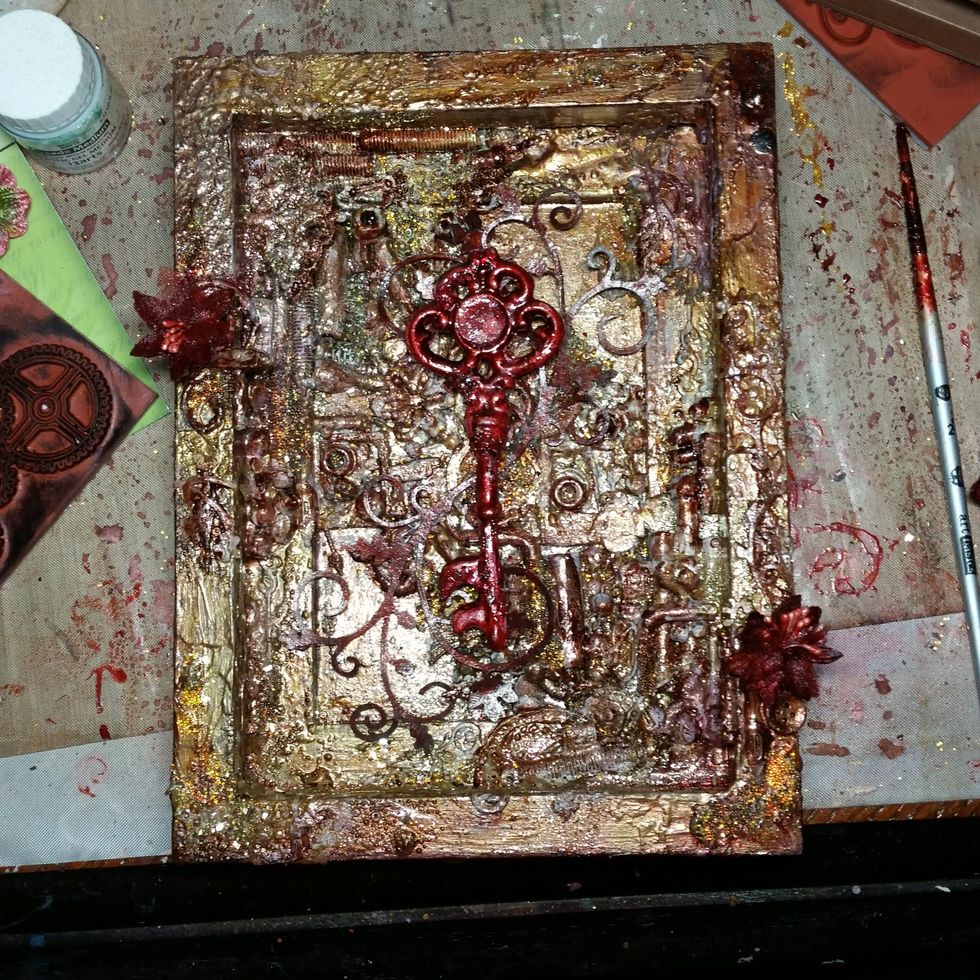
Added some more TA Iron mist to the gold flower to create depth and to other places around the piece.
Last thing i did was to apply one more layers of Deep Red Stamps around the edges to really help them pop and not be hidden.
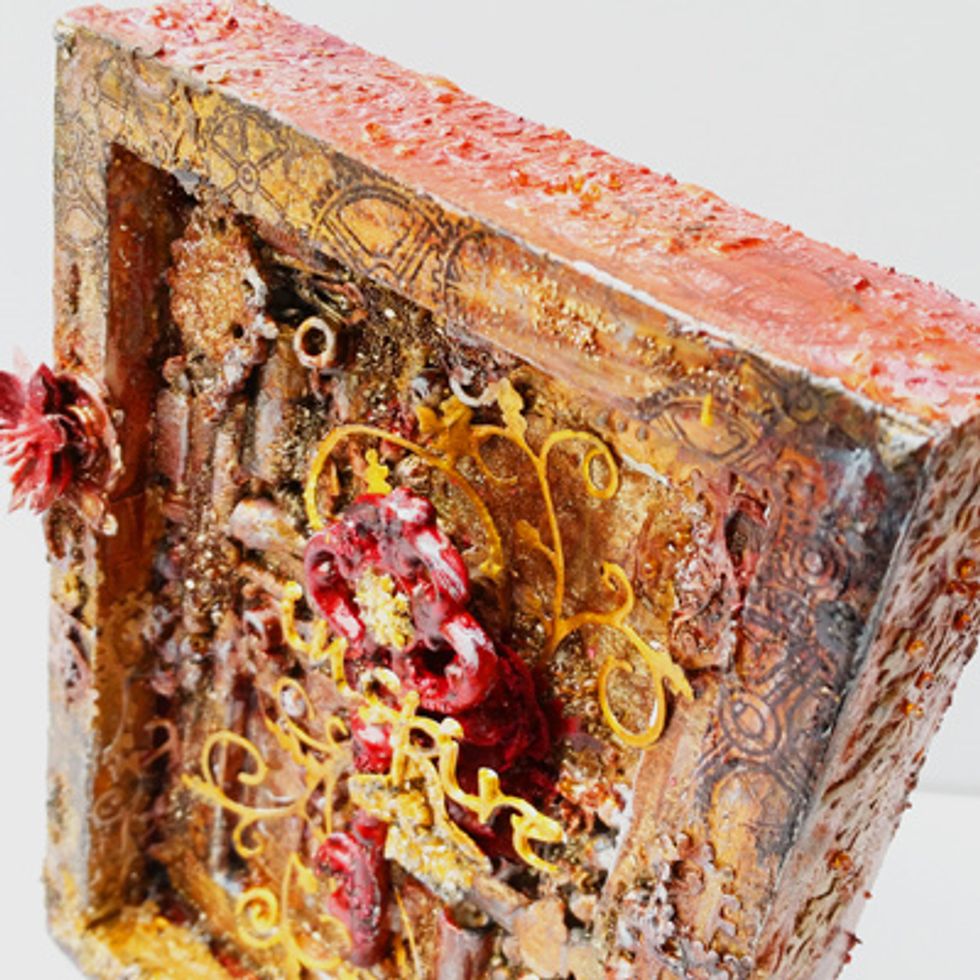
Colors are different here then in the tutorial due to better lighting when taking the final pictures.