The Conversation (0)
Sign Up
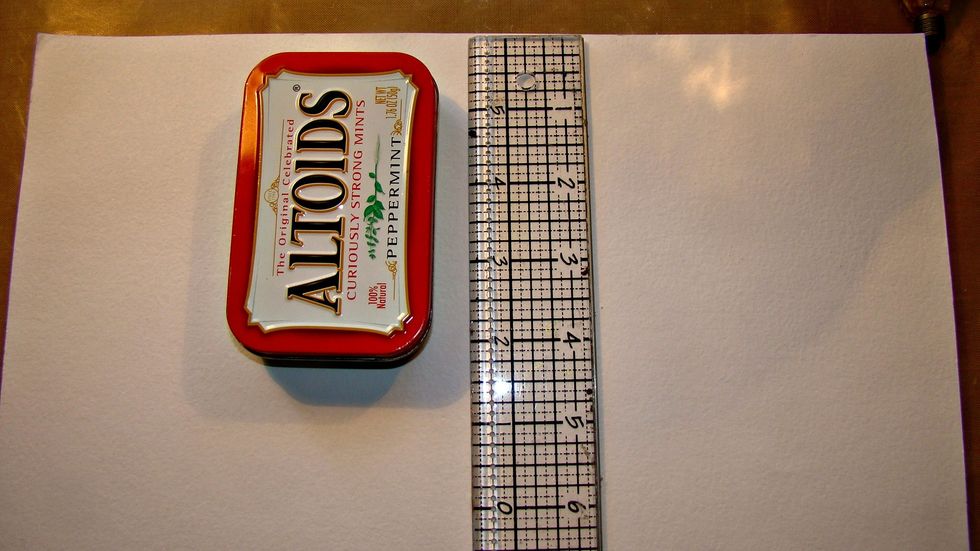
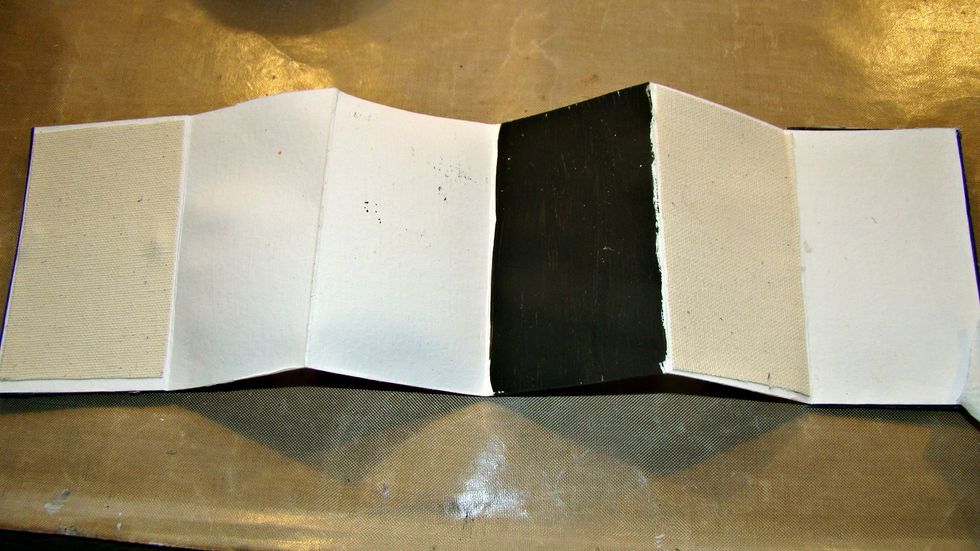
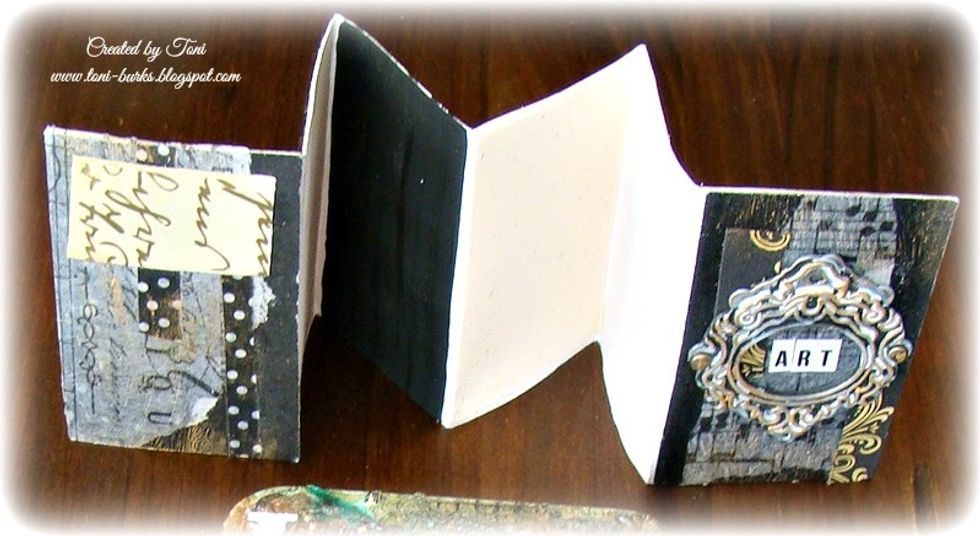
I used a 12 x 12 sheet of cardstock and measured the length of the tin and cut.
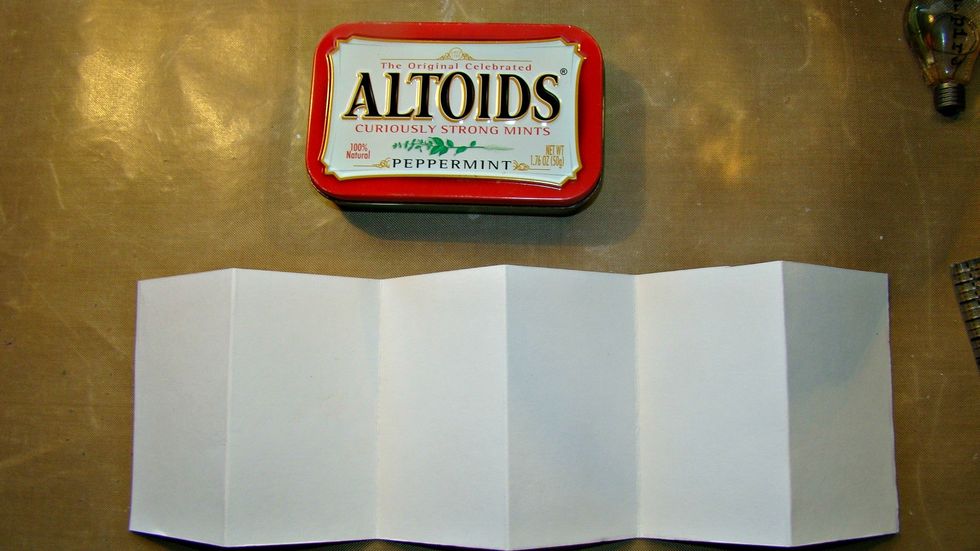
The width of the tin was a bit over 2 .25" so I folded my sections in 2" increments which provided 6 little canvases on either side. Comment
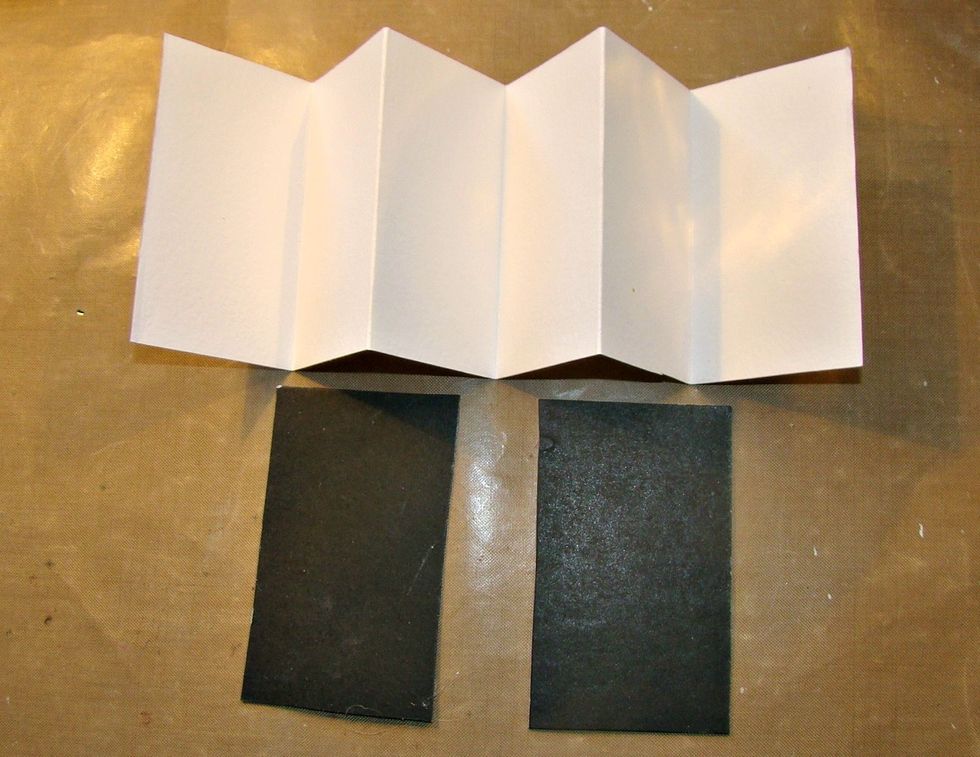
Taking heavy black chipboard I cut two for the front and back cover and adhered. Put aside, we will come back to this in a minute.
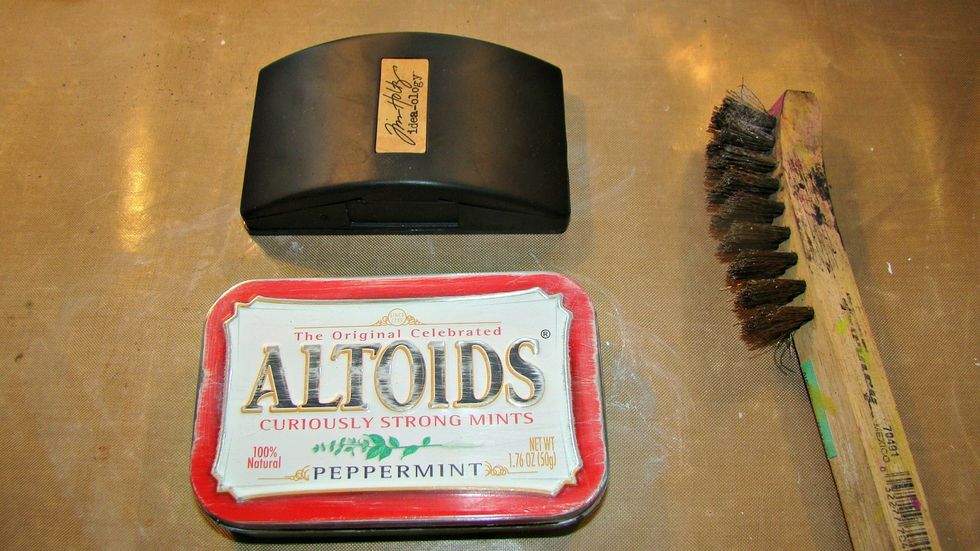
Using any kind of sanding device, rough up your mint tin to prepare for altering.
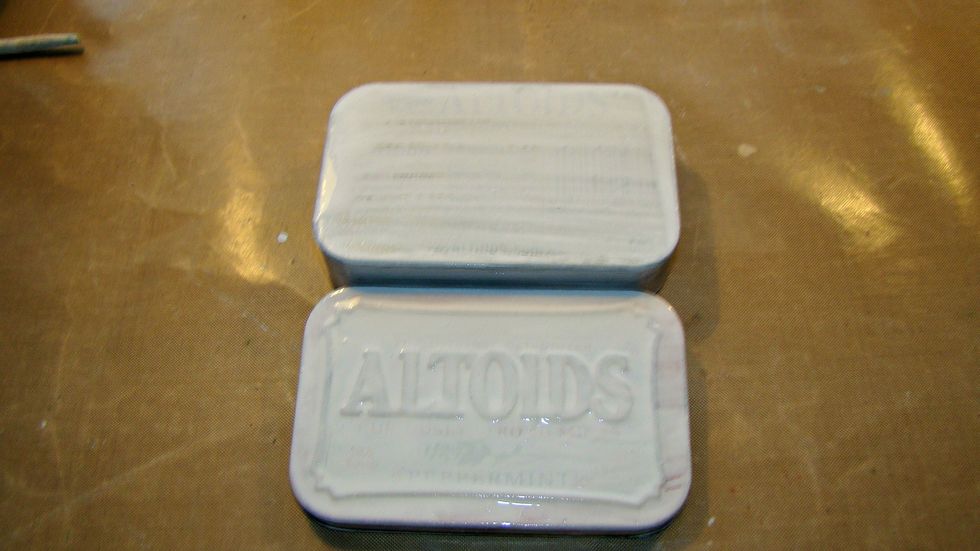
Give it a coat of gesso to prep the surface. Allow to dry
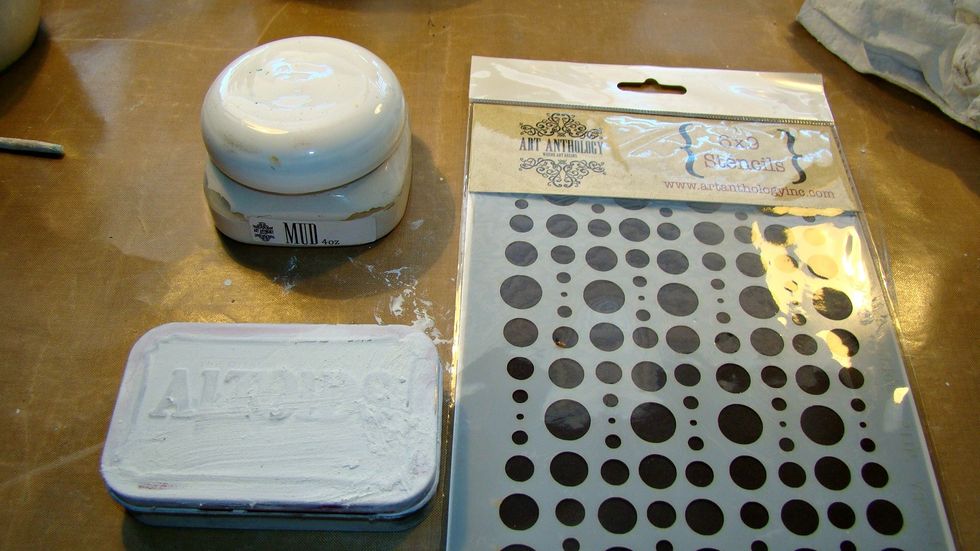
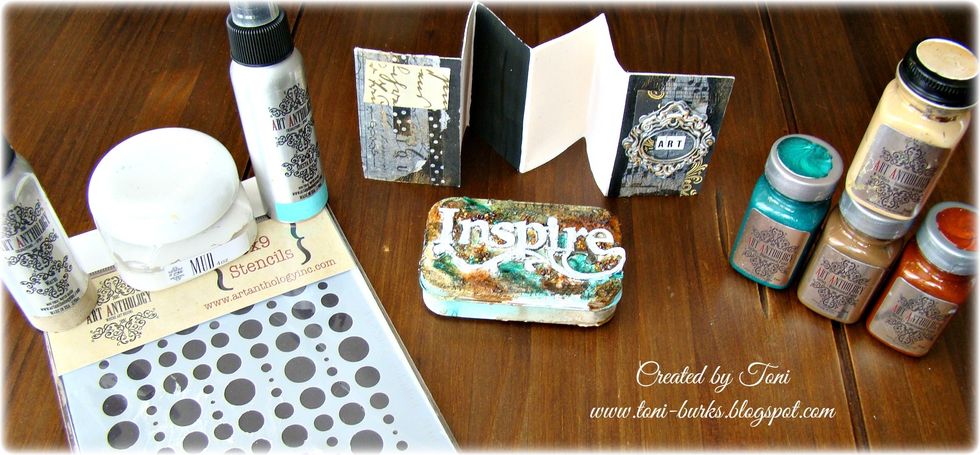
Using AA's Mud Paste and Bubbles stencil I started applying some texture to the tin.
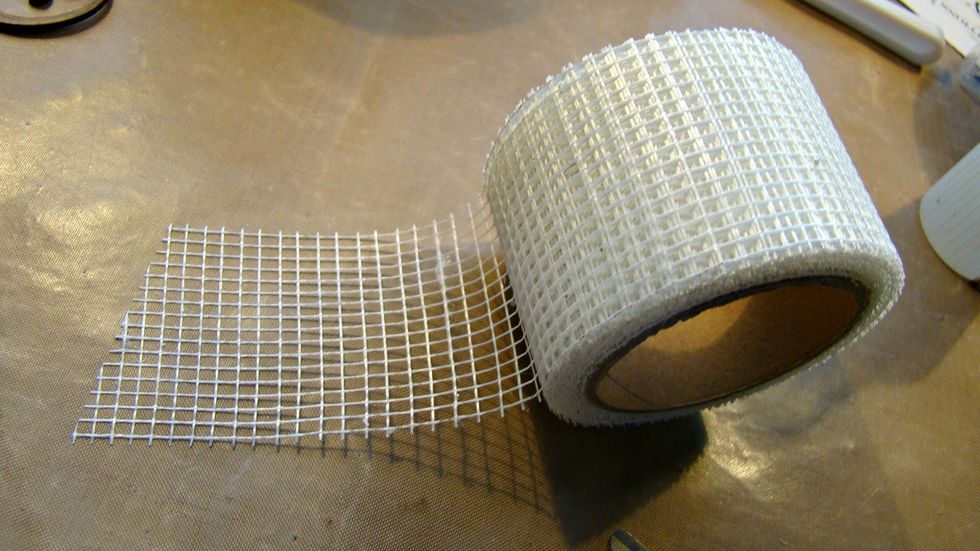
I purchased this mesh tape at the 1.00 store, just cut in pieces and add to your tin in random spots.
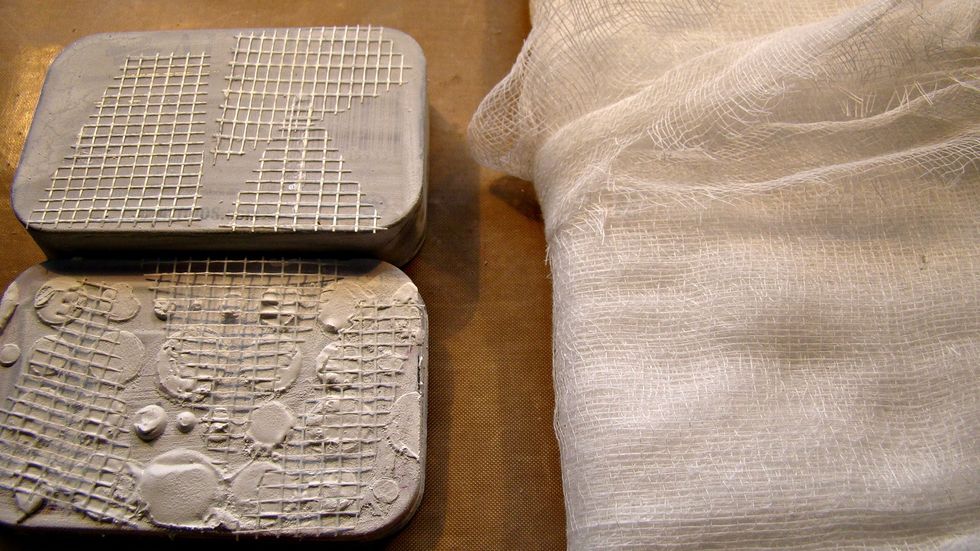
Let's add a bit more texture by cutting some cheese cloth and smoosh it onto the wet texture paste.
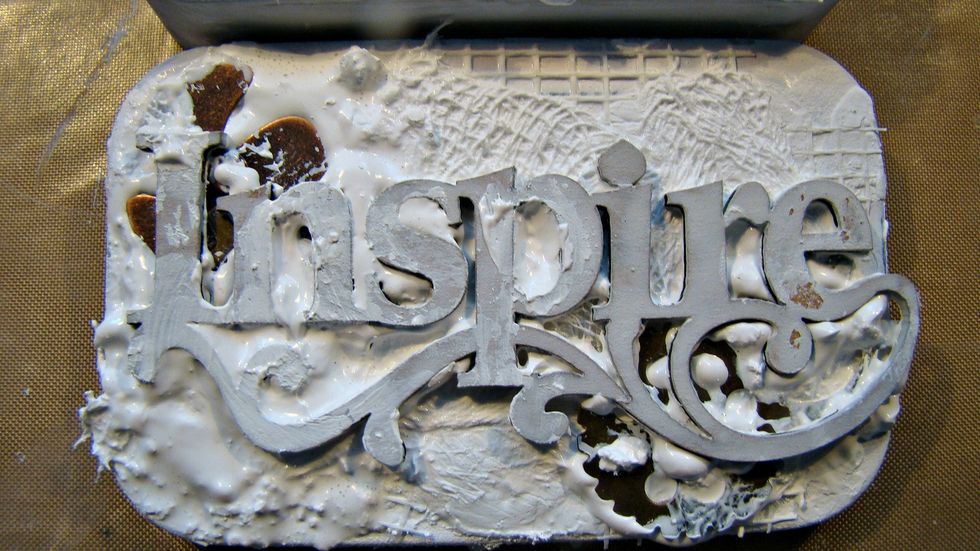
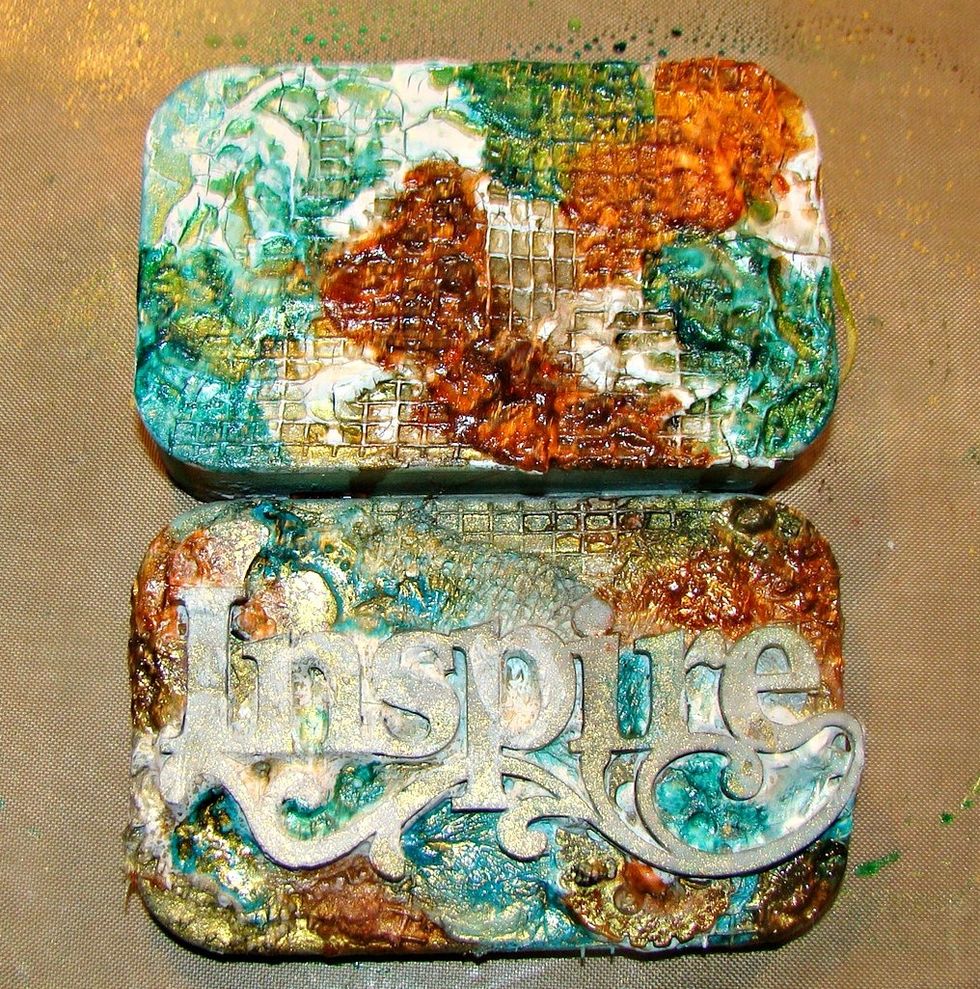
I chose my chipboard title and a few metal embellies and added them to the front cover. Add a coat of white gesso to the entire lid. Put aside to dry.
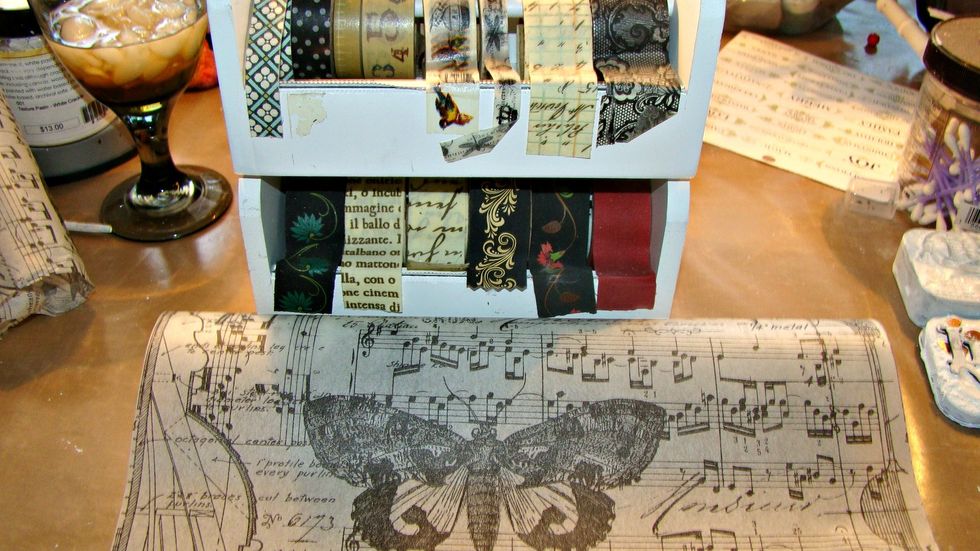
Let's decorate the accordian album. I wanted it simple so I chose some washi tape and Tim Holtz Tissue Wrap
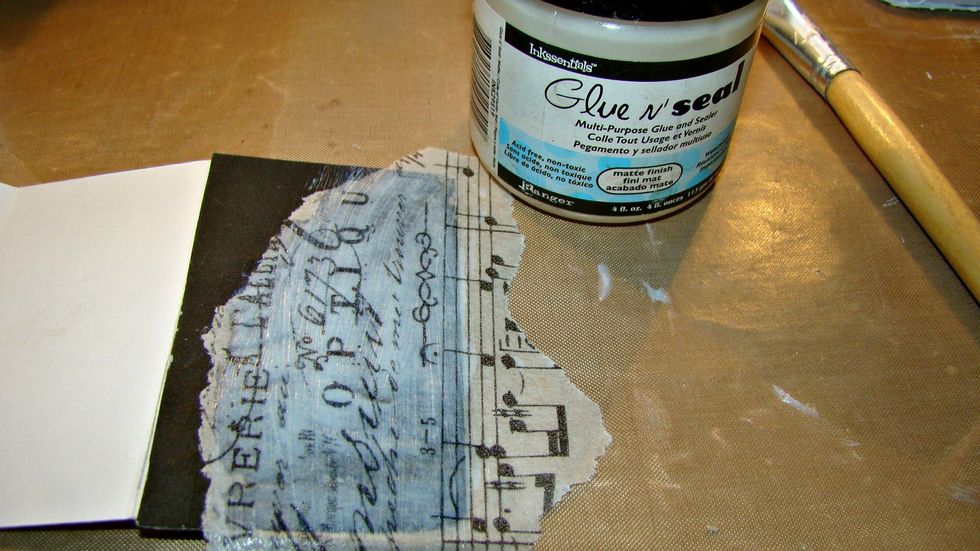
Tear tissue wrap and apply with your chosen adhesive. Cut off excess.
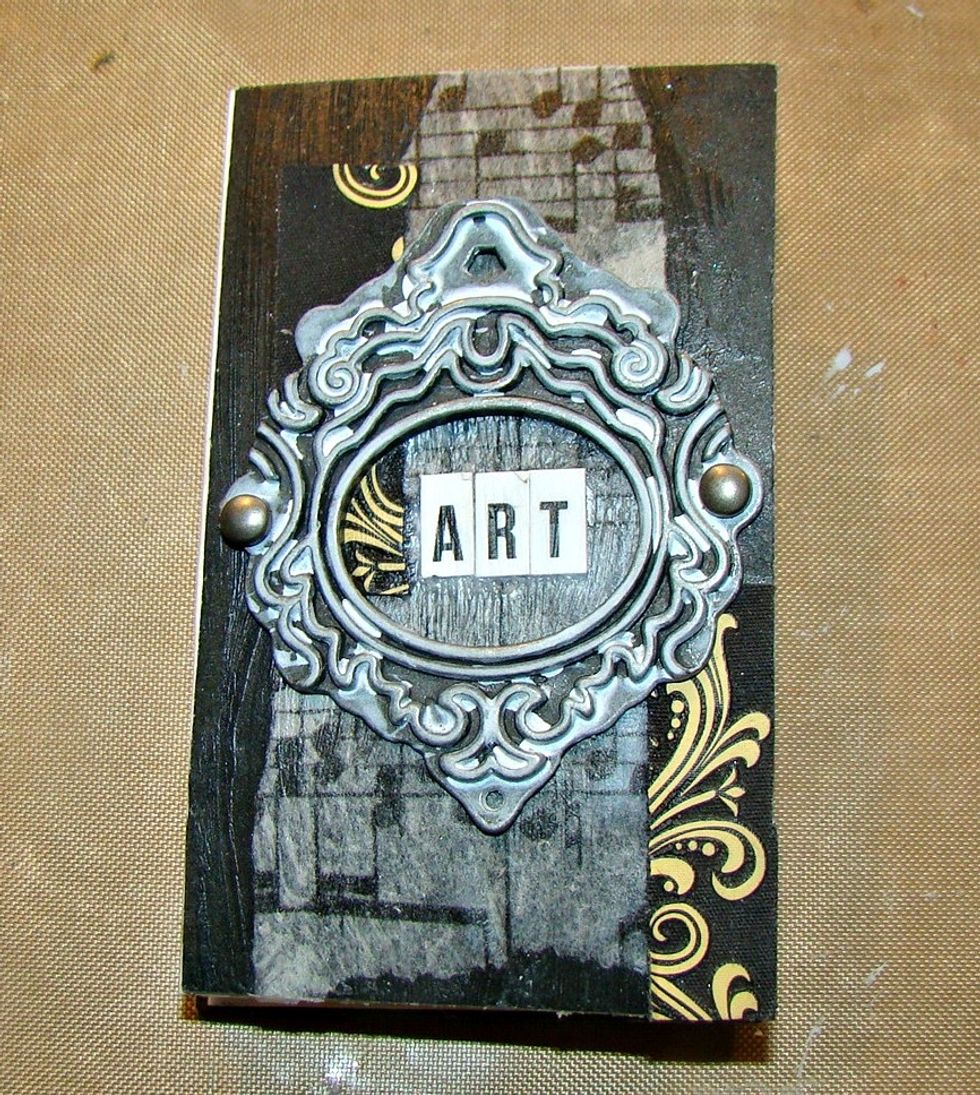
I Then added a mini metal frame and added the letters for my title. Brushed over with some gesso.
Now for your canvases, on a couple pages I added sticky back canvas & also watercolor paper. Then on the rest I prepped them with black gesso and clear gesso.

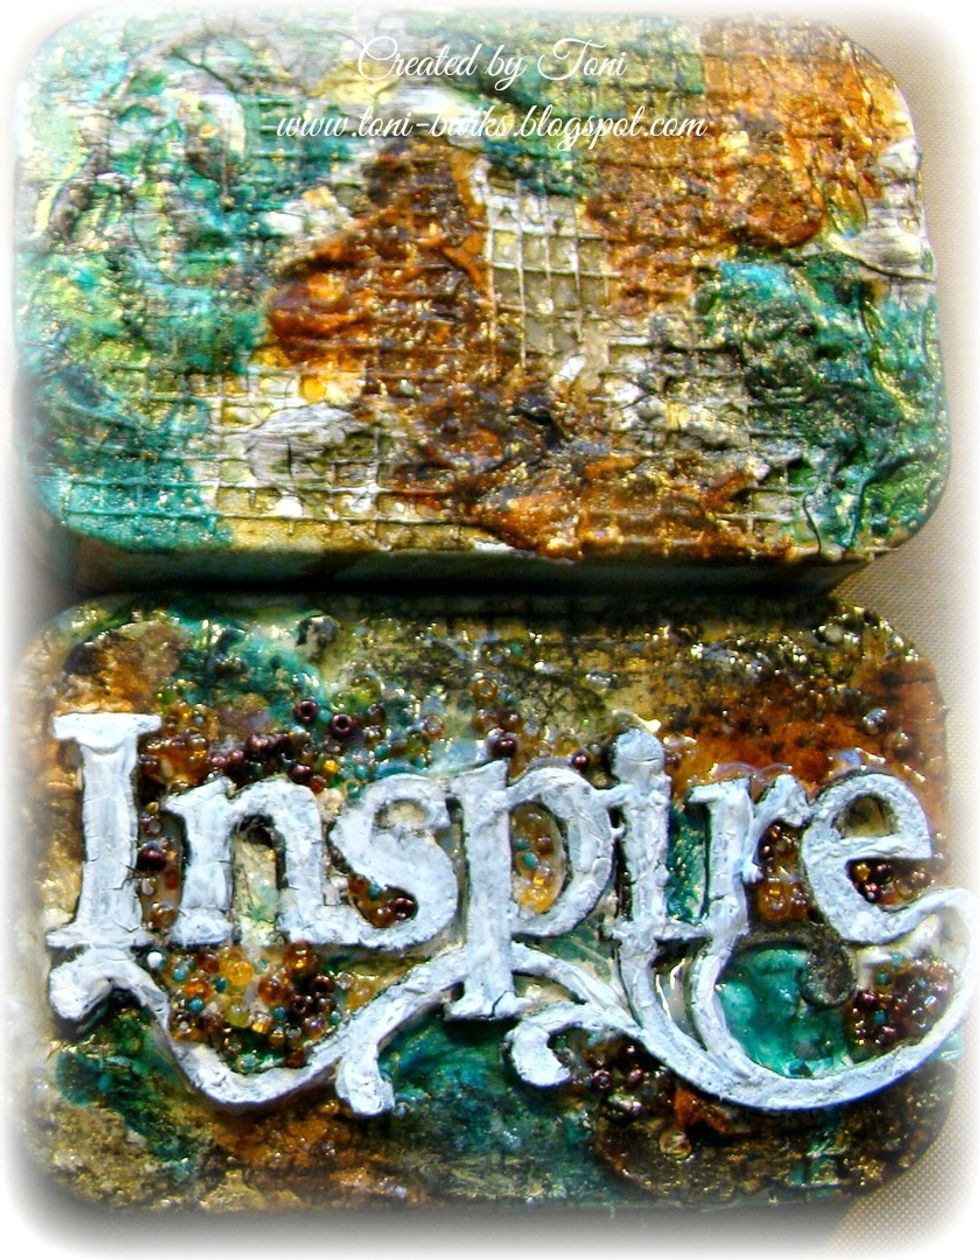
Ok, let's get started with coloring the outside of the tins. I started with my Coloration Sprays in Siesta Key and Warm spraying randomly and drying in between coats.
Now to add the yummy dimensional Sorbet's in Kenyan Copper, Viridian & Chocolate. Globbing it on to create more texture and glimmer.
Metal Effects Gold was watered down and spritzed on top to bring out a pretty gold sheen.
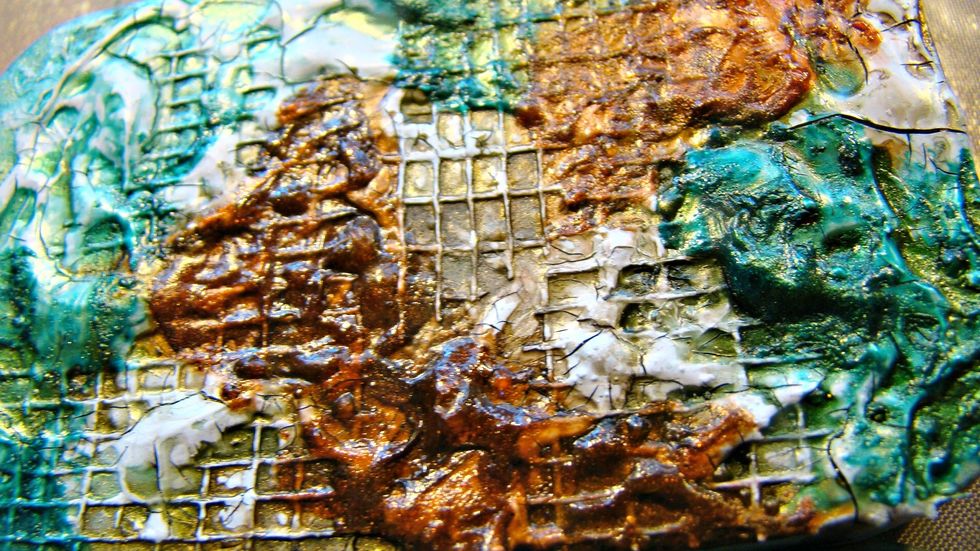
Just look at all that wonderful texture.
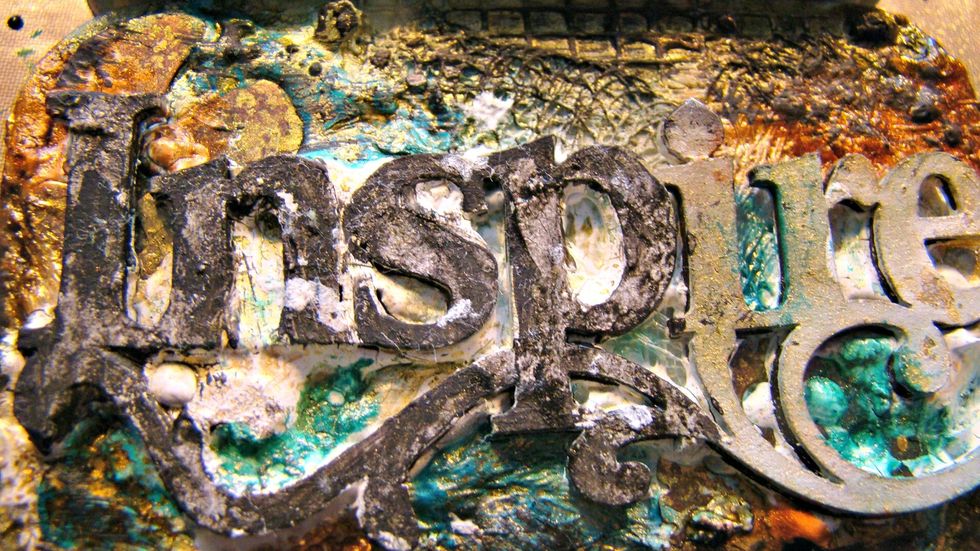
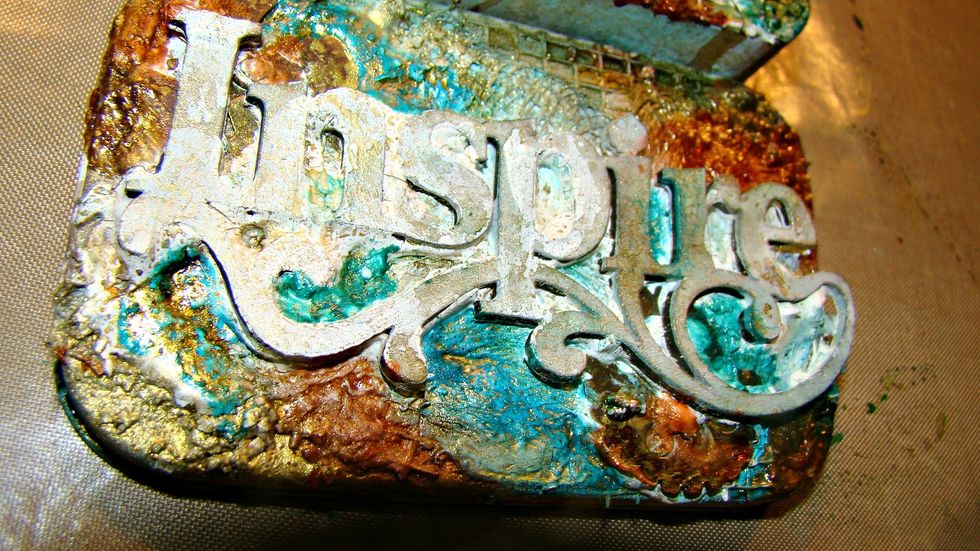
The letters I painted a coat of black gesso, and while still wet, using a baby wipe I dabbed off some to soften the intensity.
Once all that is dry I gave it another coat of white gesso to the title.
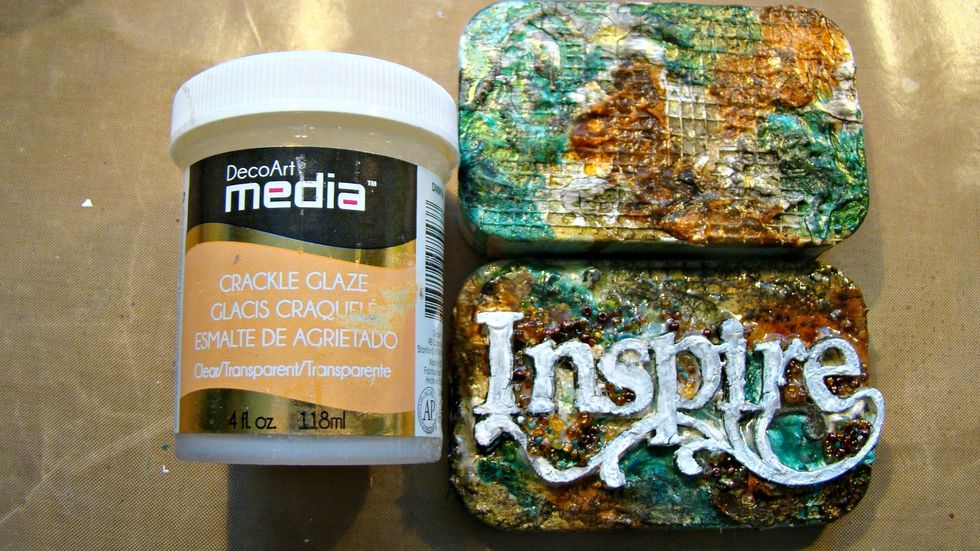
For the finishing touches I brushed on a coat of Crackle Glaze on the entire piece and once this is dry it will have a beautiful aged cracks.
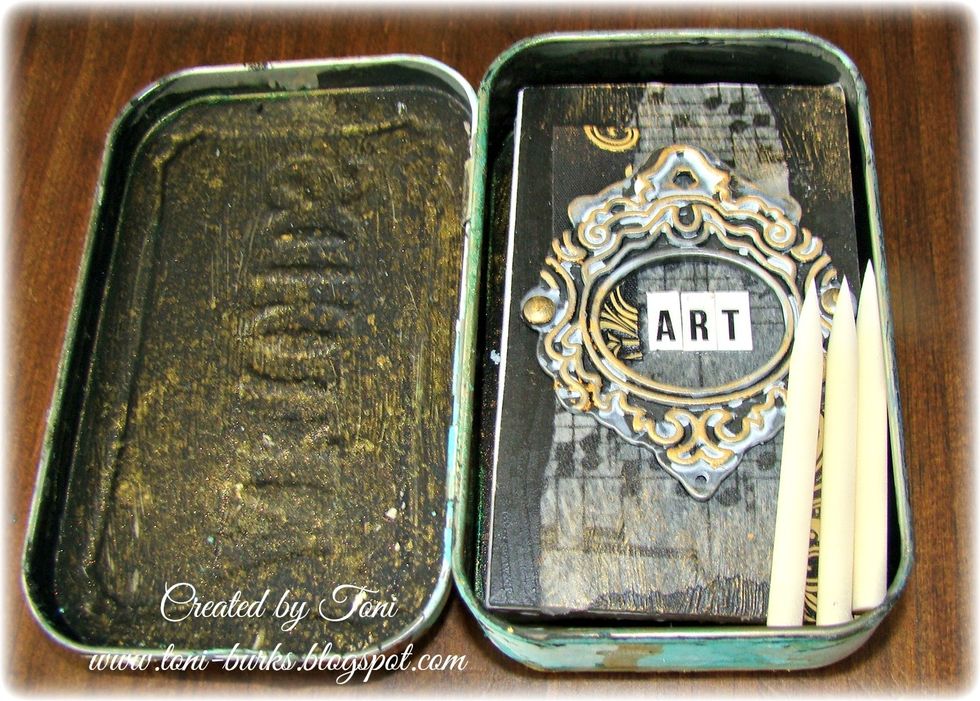
The inside was prepped with black gesso and Metal Effects Gold was spritzed. The tin now holds all your little canvases perfectly as well as you have room for pen nibs or little brushes needed.
Now you have a great way to keep your creativity going even while you are traveling.
Wishing you safe travels and a creatively beautiful summer!